|
|
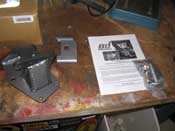
| HD Steering Bracket/Brace |
| |
When Jen picked up her 1976 Jeep CJ-5, it had undergone a restoration. After she
got her hands on it, it got a whole lot better. Then I came along. We met through the Jeeps and we have
continued to work on them.
So, last Christmas, I got her a HD steering bracket and a brace. It only took me 7 months to put it on!
|
| |
|

|

|

|
| |
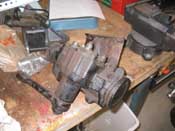
There are 2 parts to this installation, the bracket and then the brace. The
first step in putting this together is to do the bracket. The brace attaches to the power steering gear and that
needs to be in place prior to putting this on. If you have a winch/bumper, etc. you need to remove that first.
With that removed, remove the power steering gear. The stock bracket needs to be separated from the gear. In the
instructions, it says it can be done with it lowered in place on the Jeep. If you can do this, you are a better
man then me. I tried and tried. I got the 2 lower bolts off with an impact gun, but the top 2 bolts are inverted
torx bolts. I couldn't get these off without stripping them. And once they were stripped, there wasn't much I
could do, so I removed the gear completely.
NOTE: You never know what you are going to find. I found a rock inside the frame rails. I assume it was
from AZ and had been in there a while... who knew?
|
| |
|

|
|

|
| |
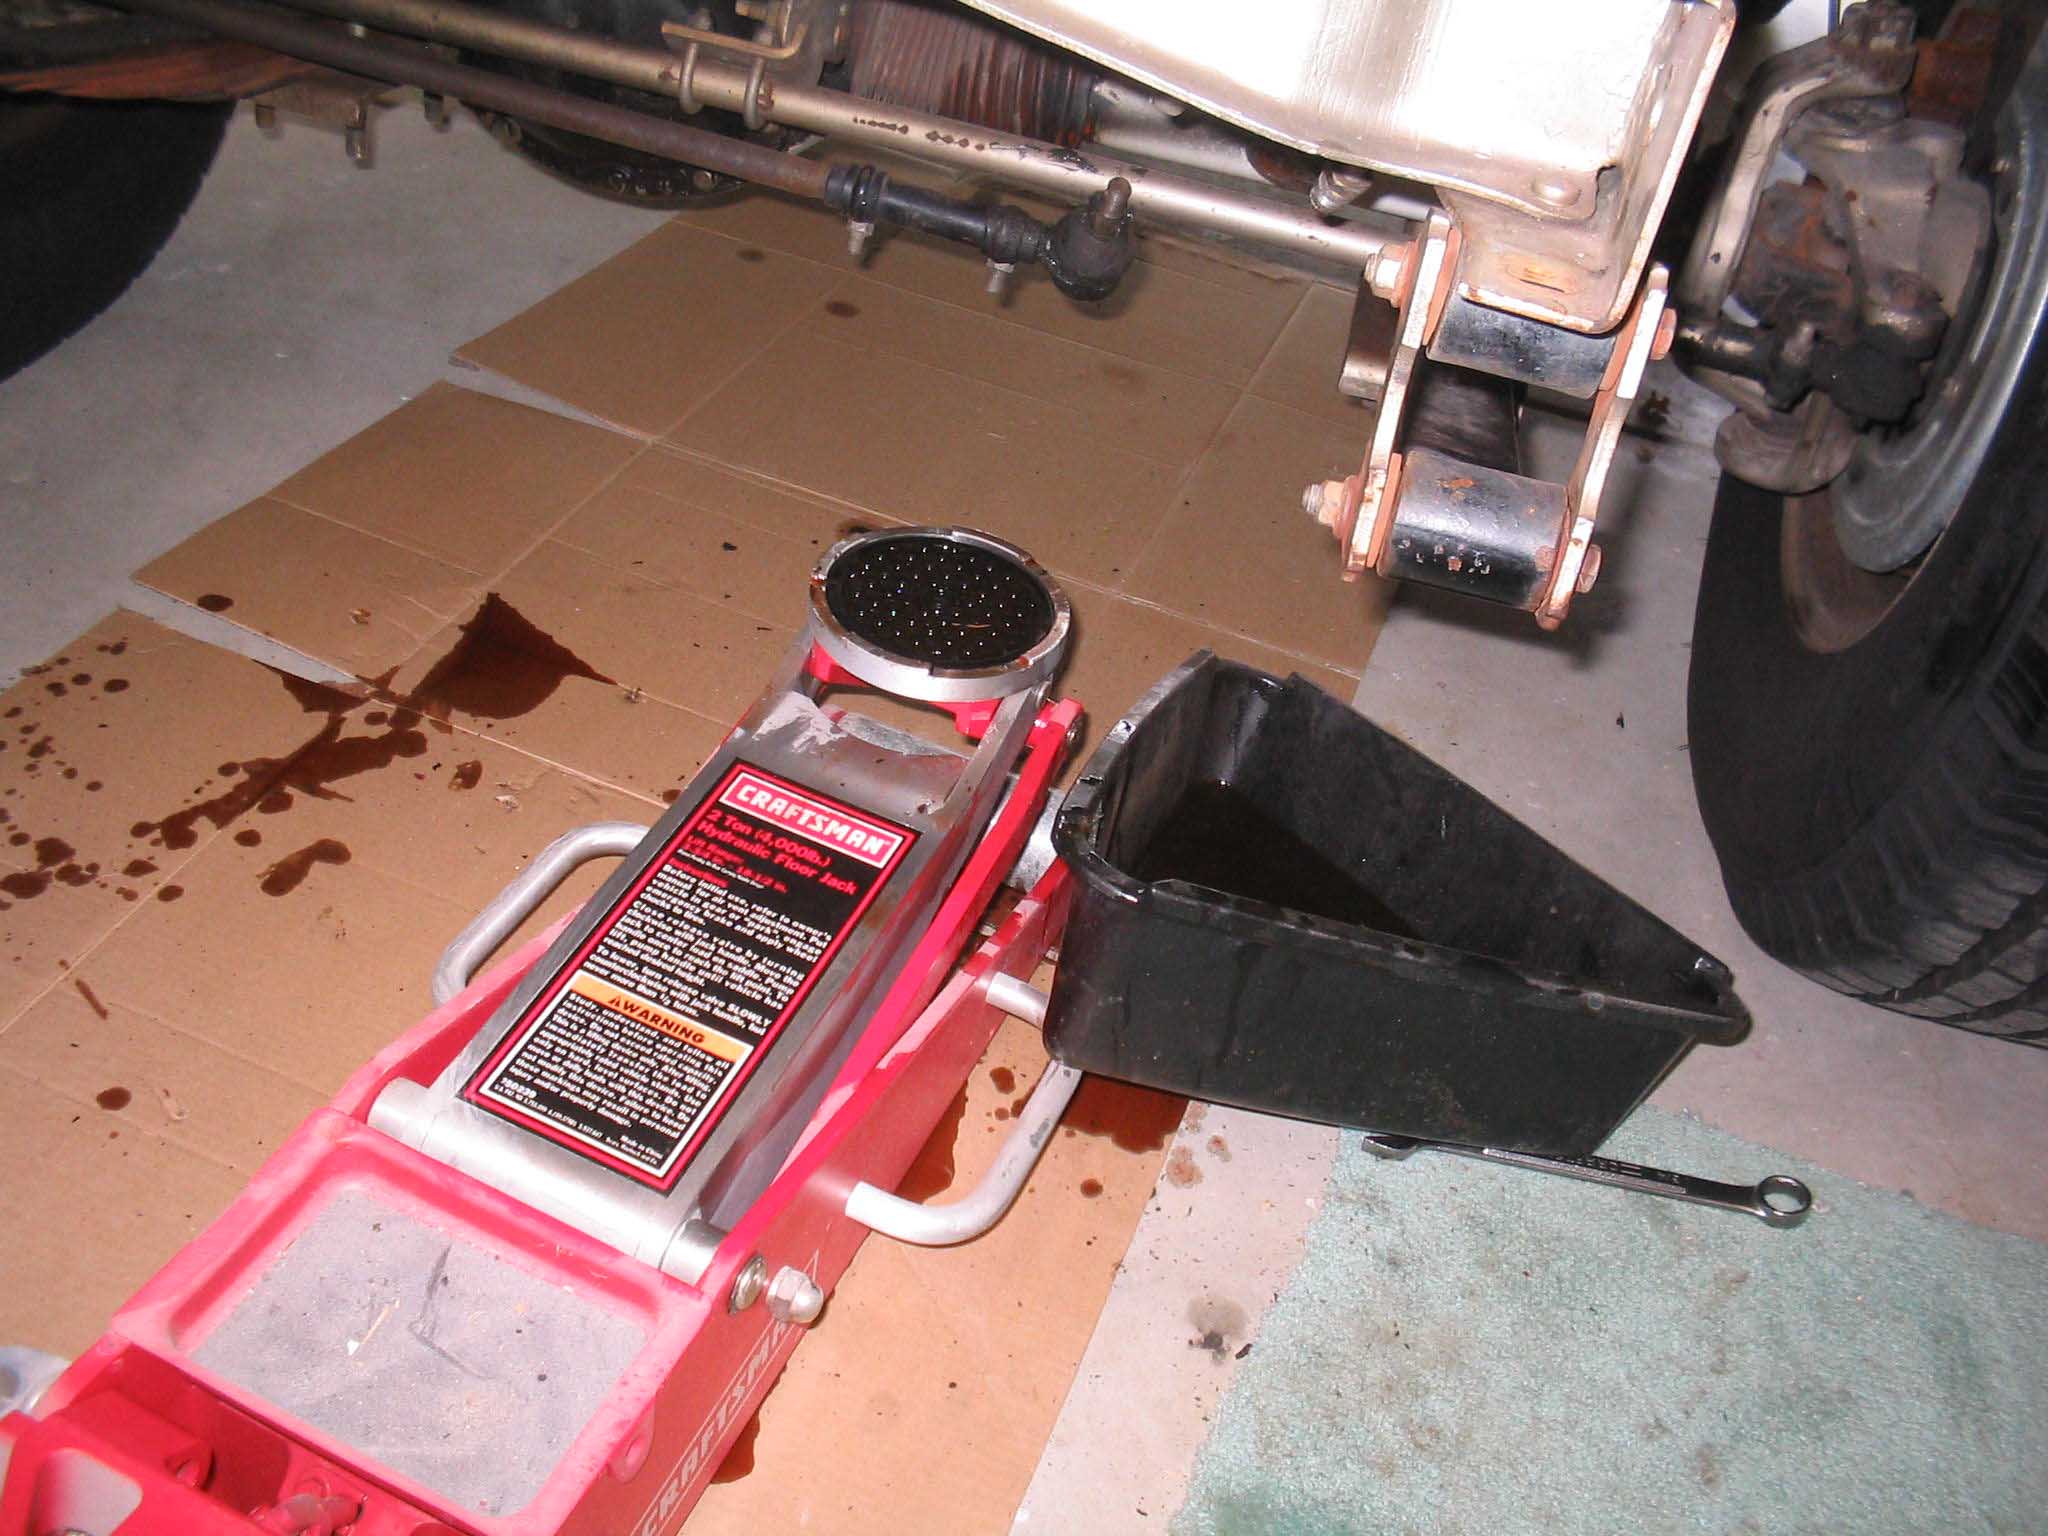
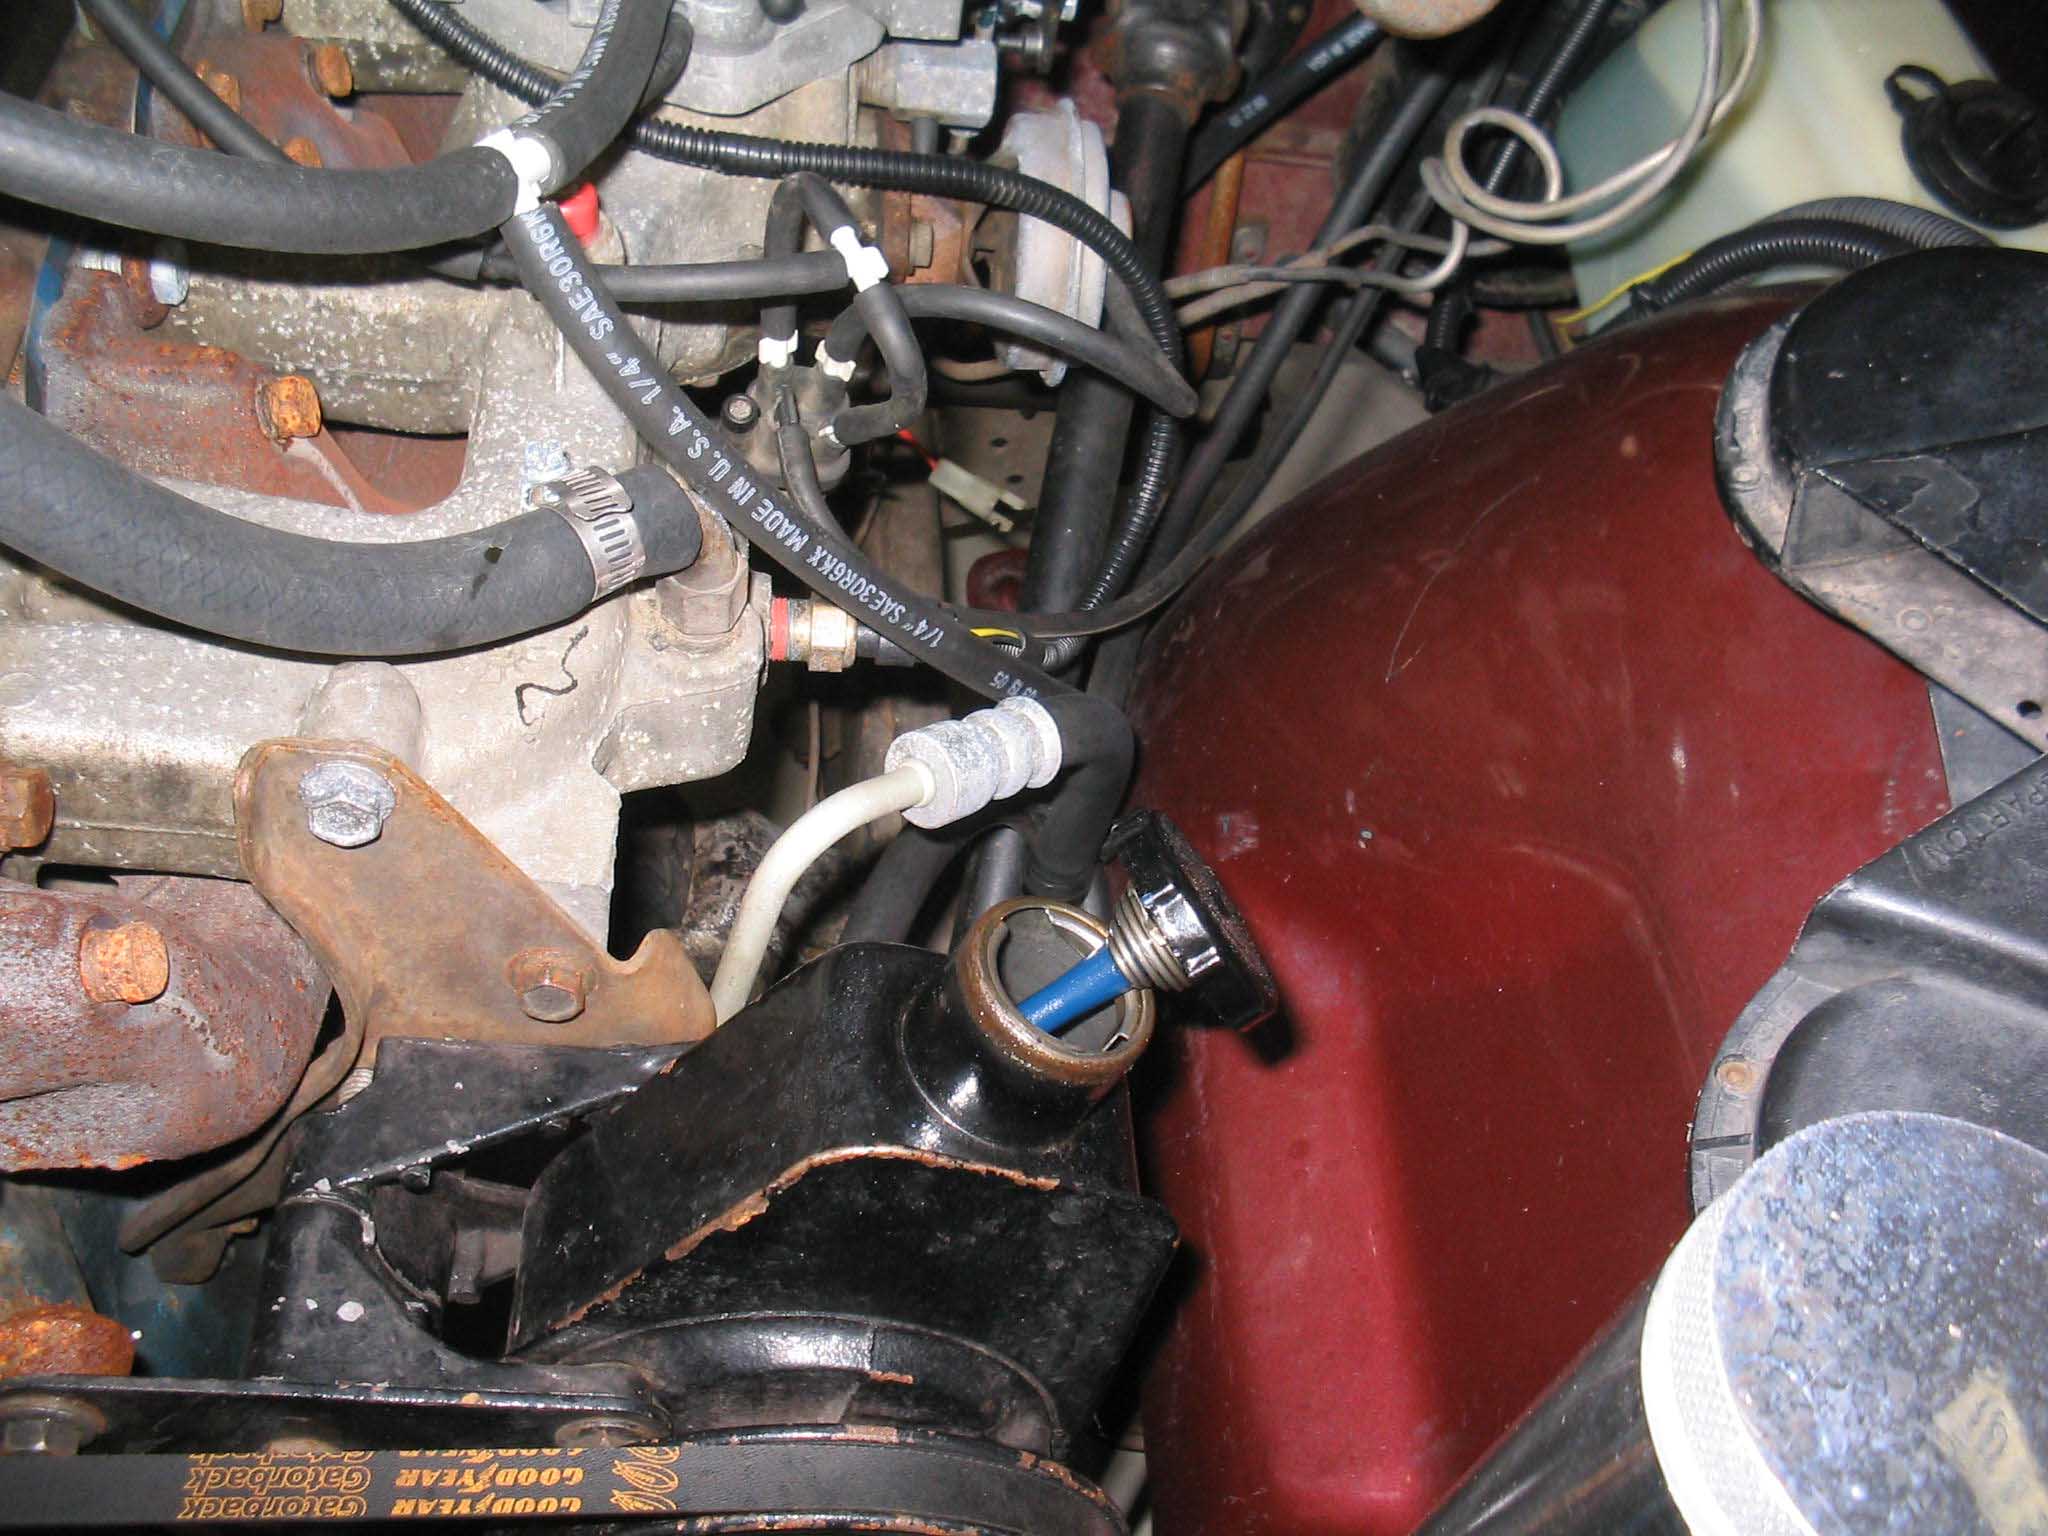
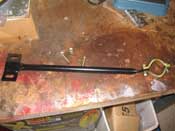
To remove the gear, I undid the castle nut for the tie rod end and remove that
with a removal tool I then removed the steering shaft and then the 2 power steering hoses. This gets messy;
so make sure you have a drain pan to catch the fluid.
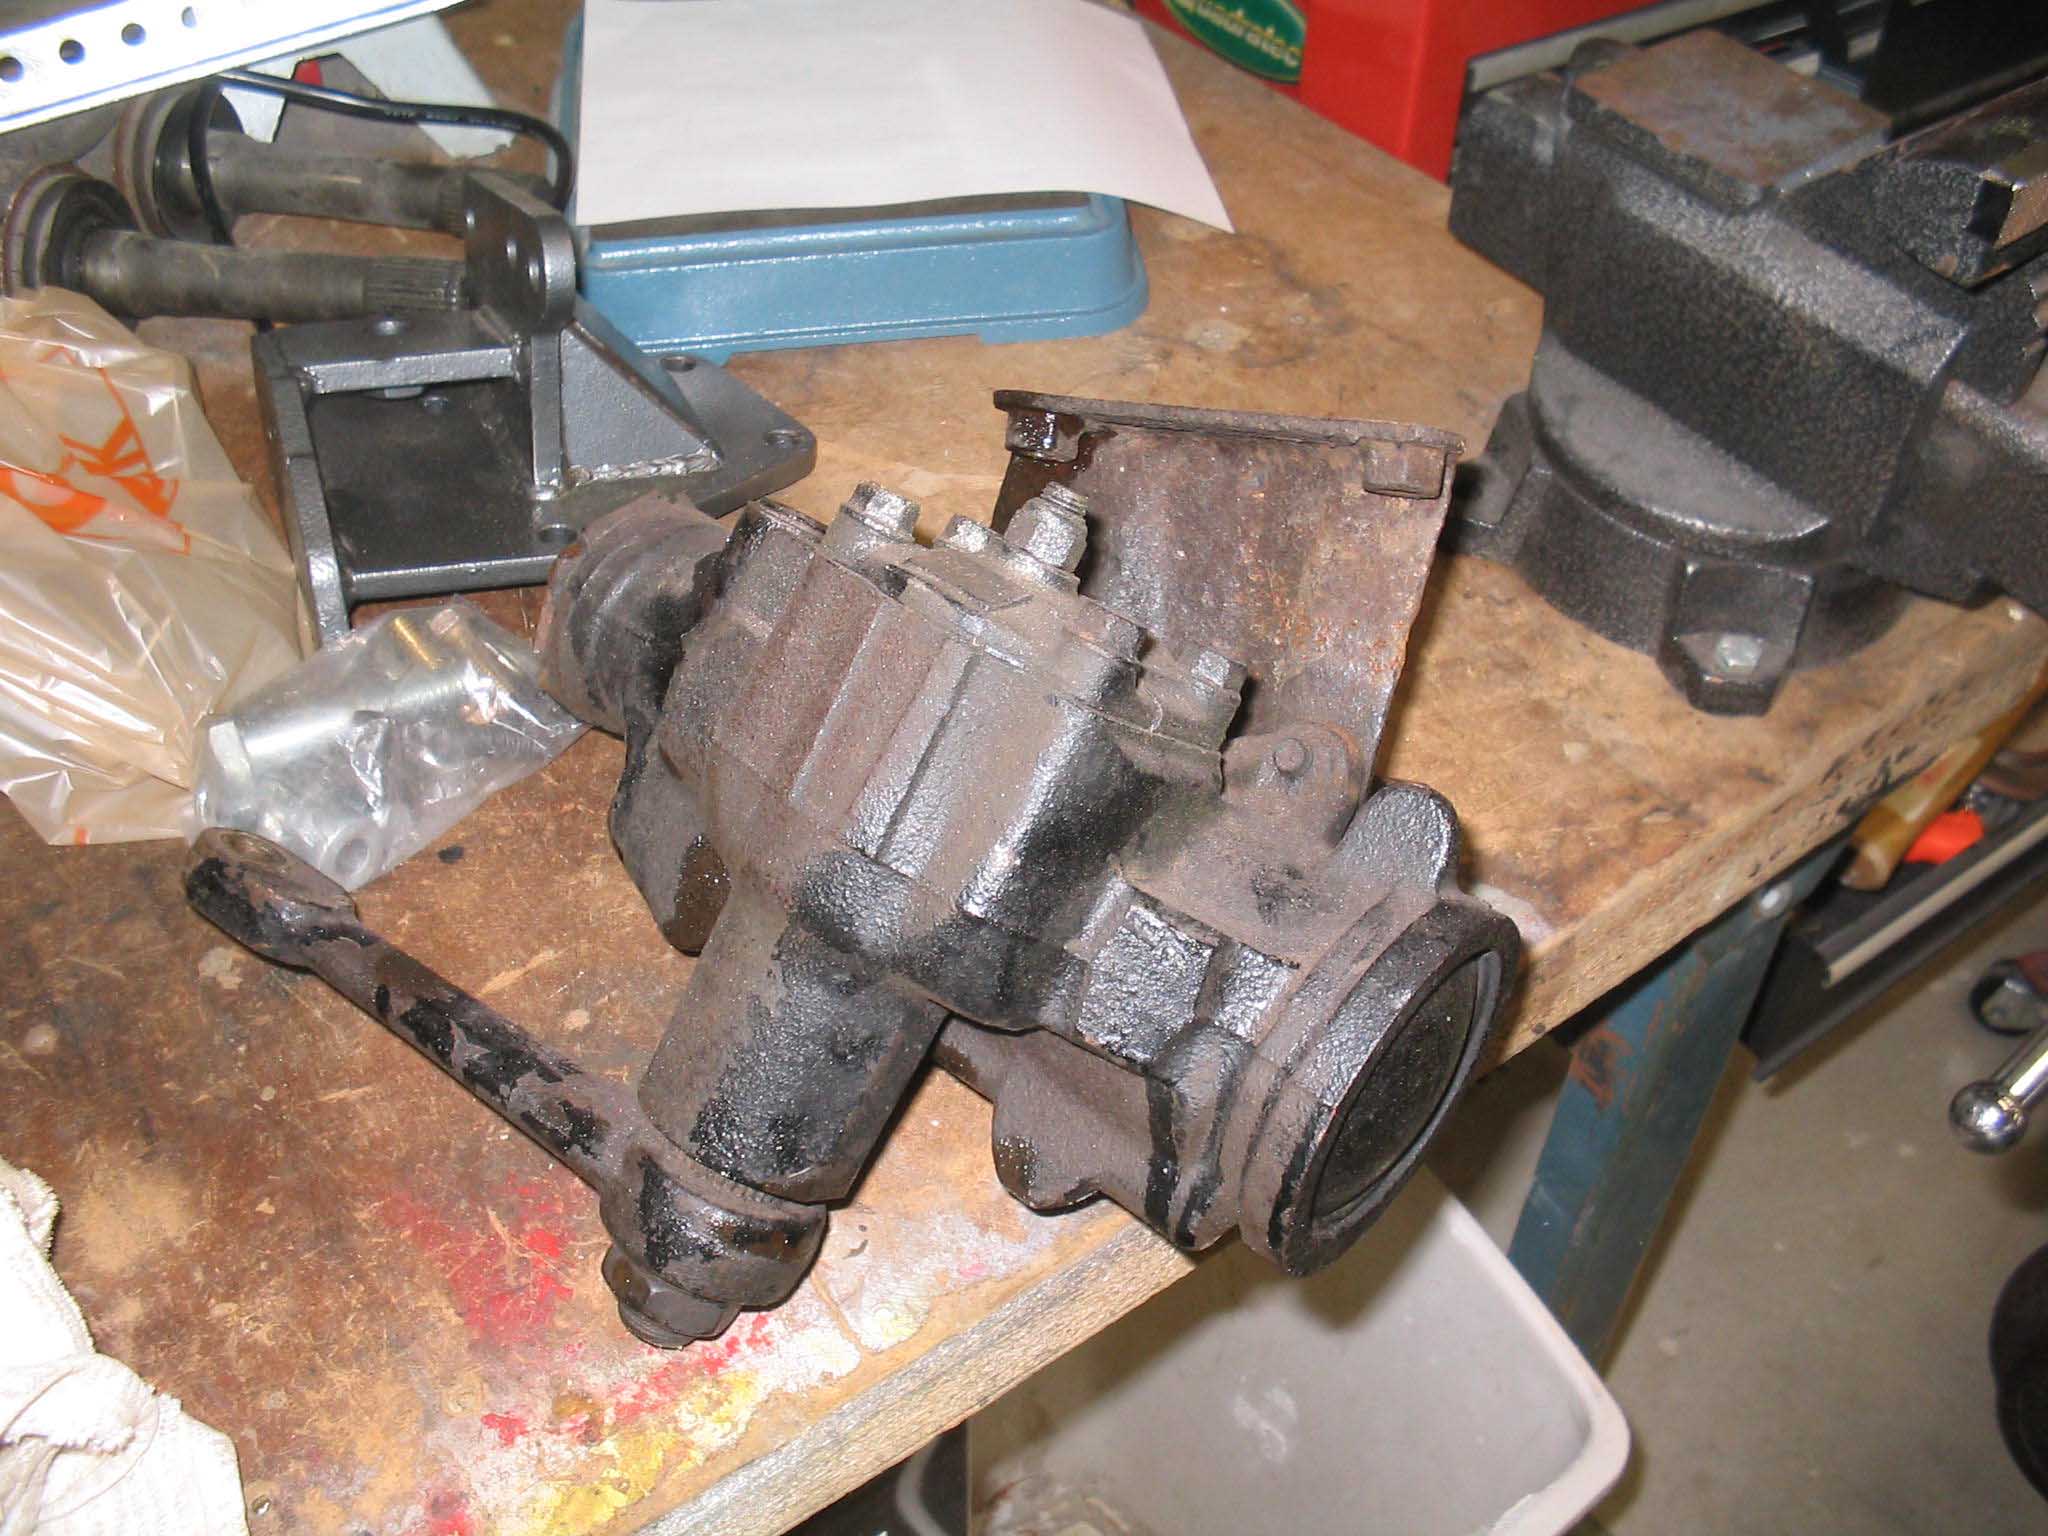
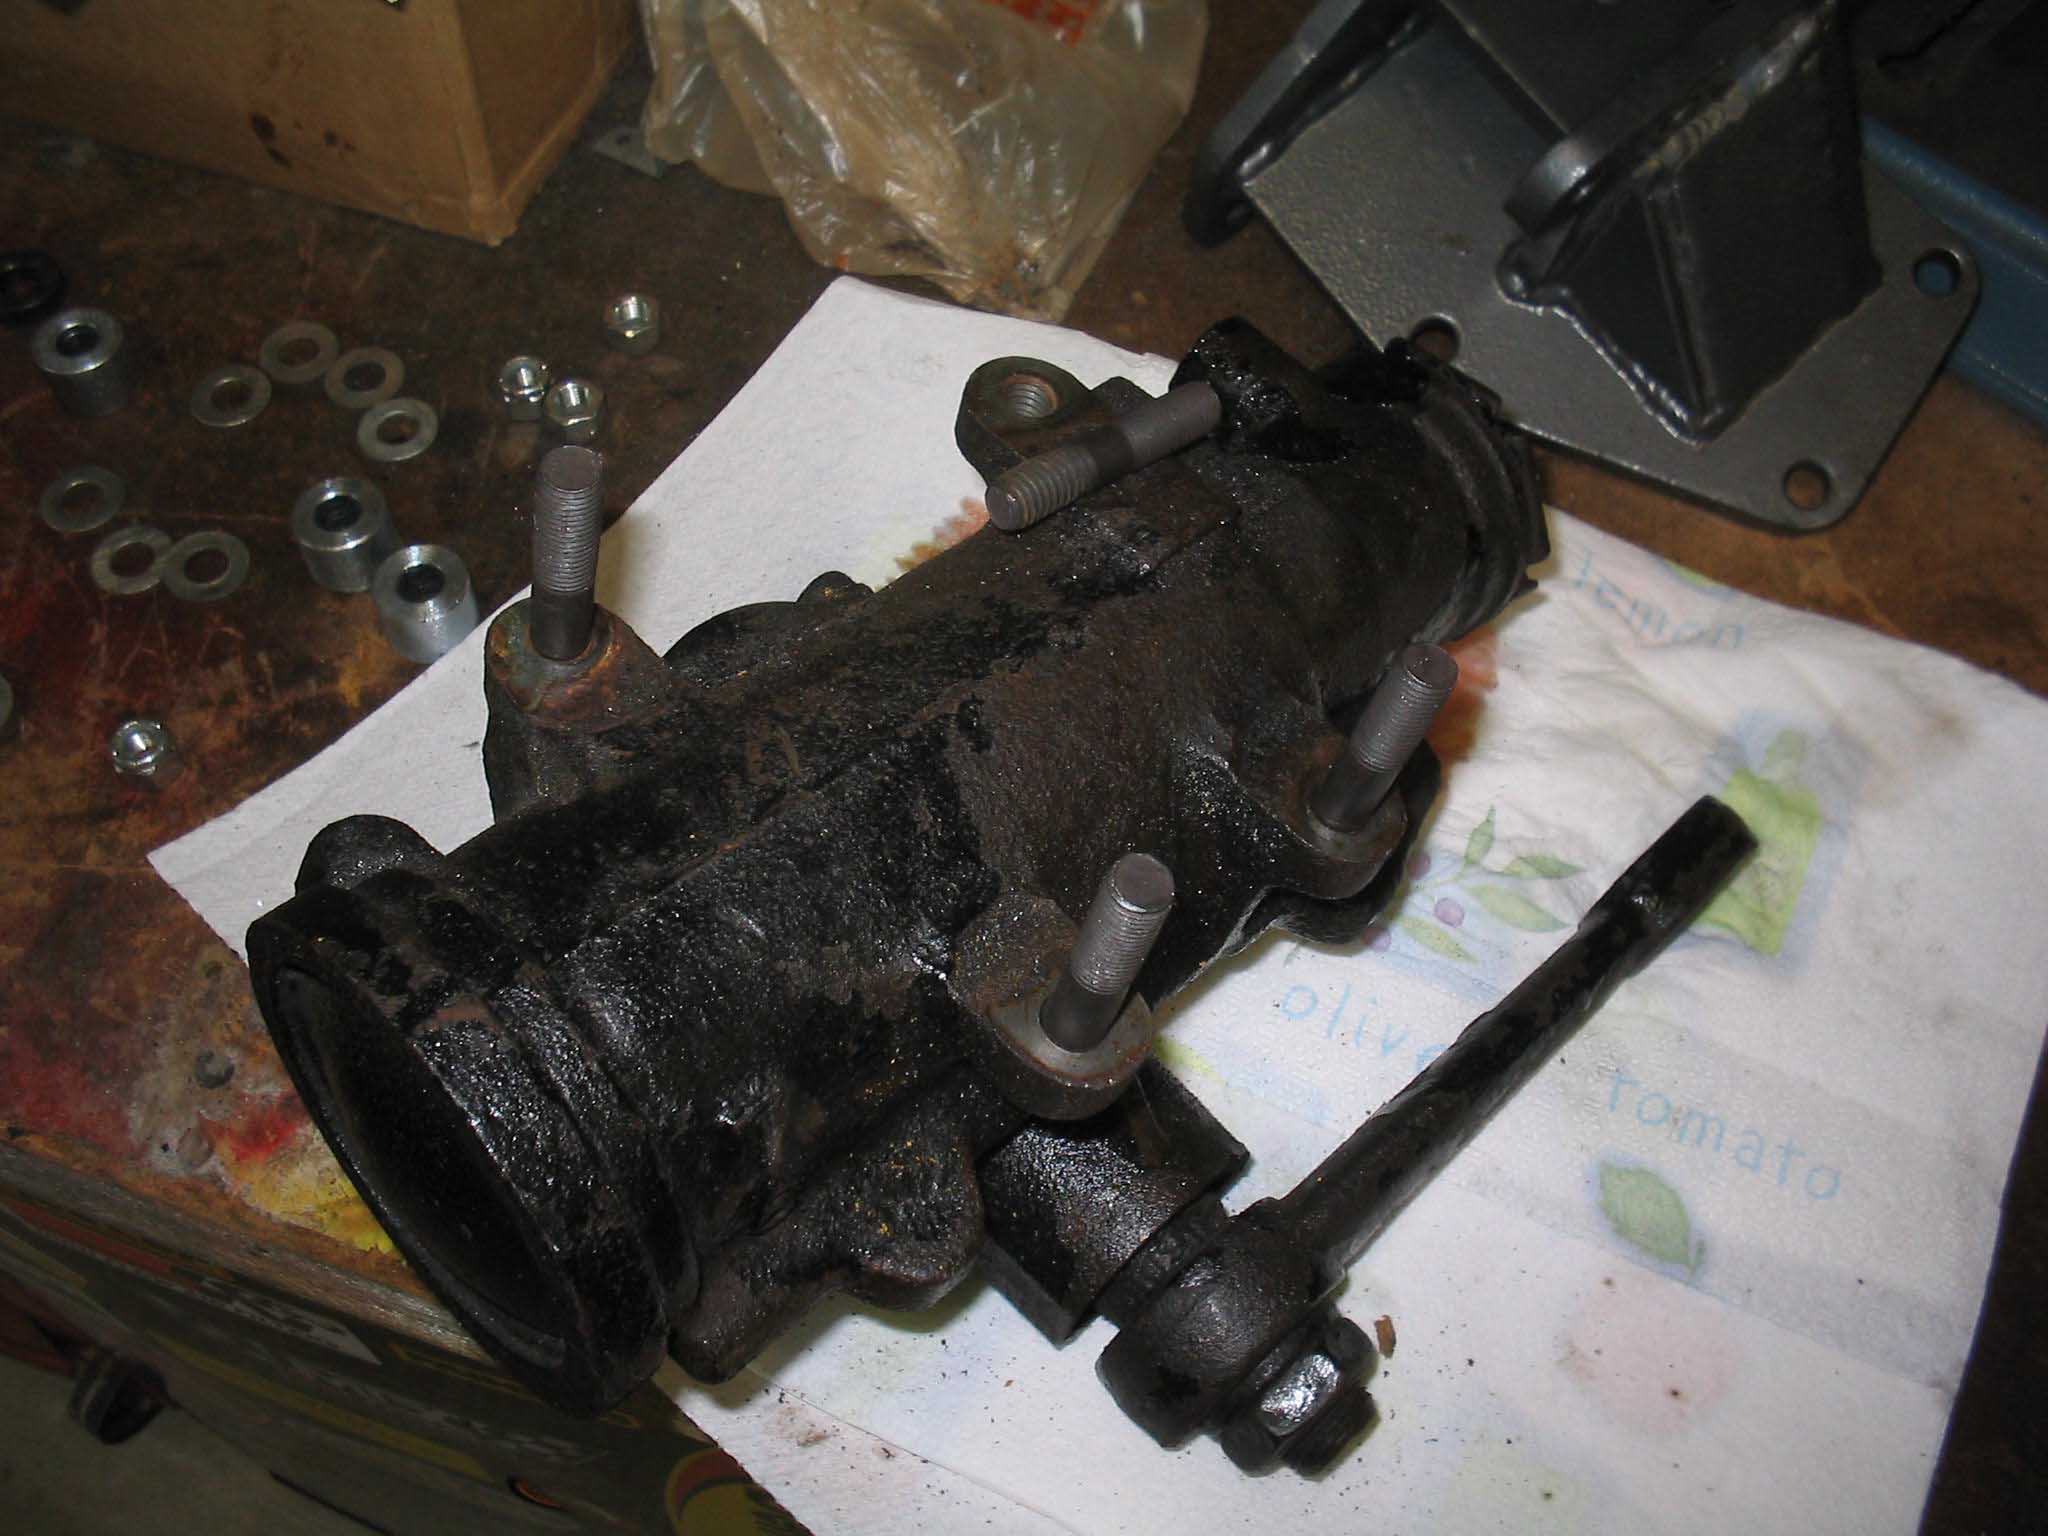
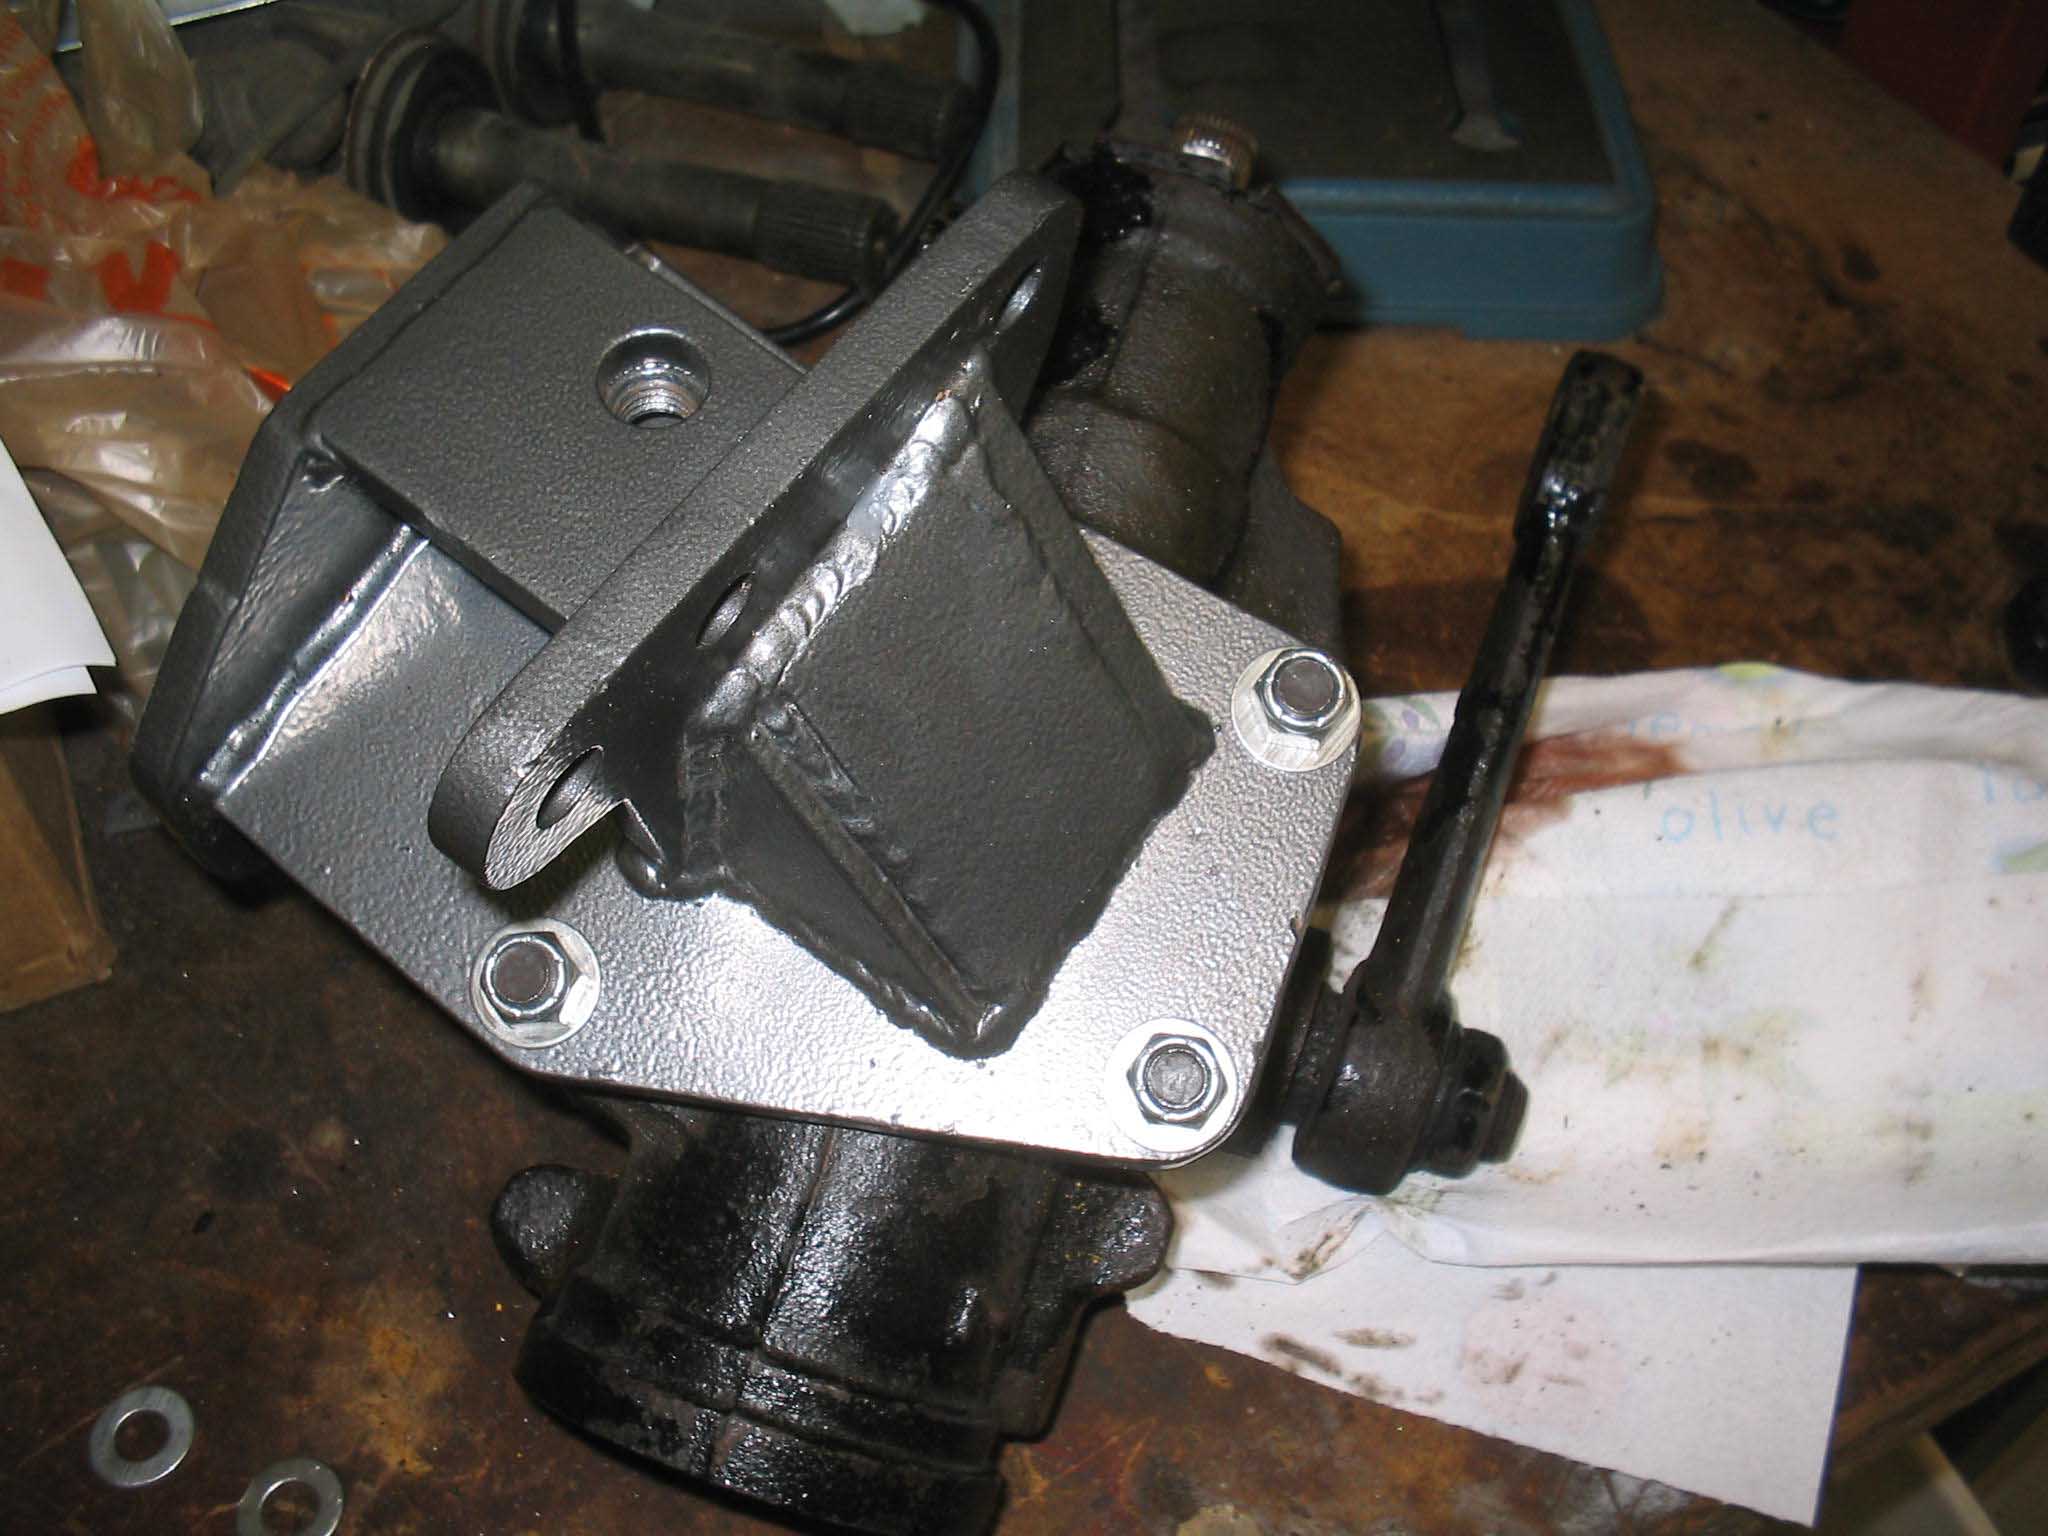
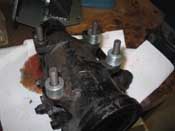
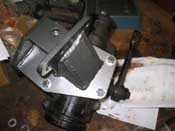
With the power steering gear out of the Jeep and up on the workbench, I was able to cut off the upper mount.
You might be able to save yours, but this was just not possible with what had been done. There was thread lock
galore on the bolts and they didn't want to come out. Even though this was a clean AZ jeep, they wouldn't budge.
I need a little bit of heat and the cut off tool and finally the vise to get the 2 bolts out. Once they bolts
were out, the installation of the bracket can begin.
|
| |
|
|
|

|
| |
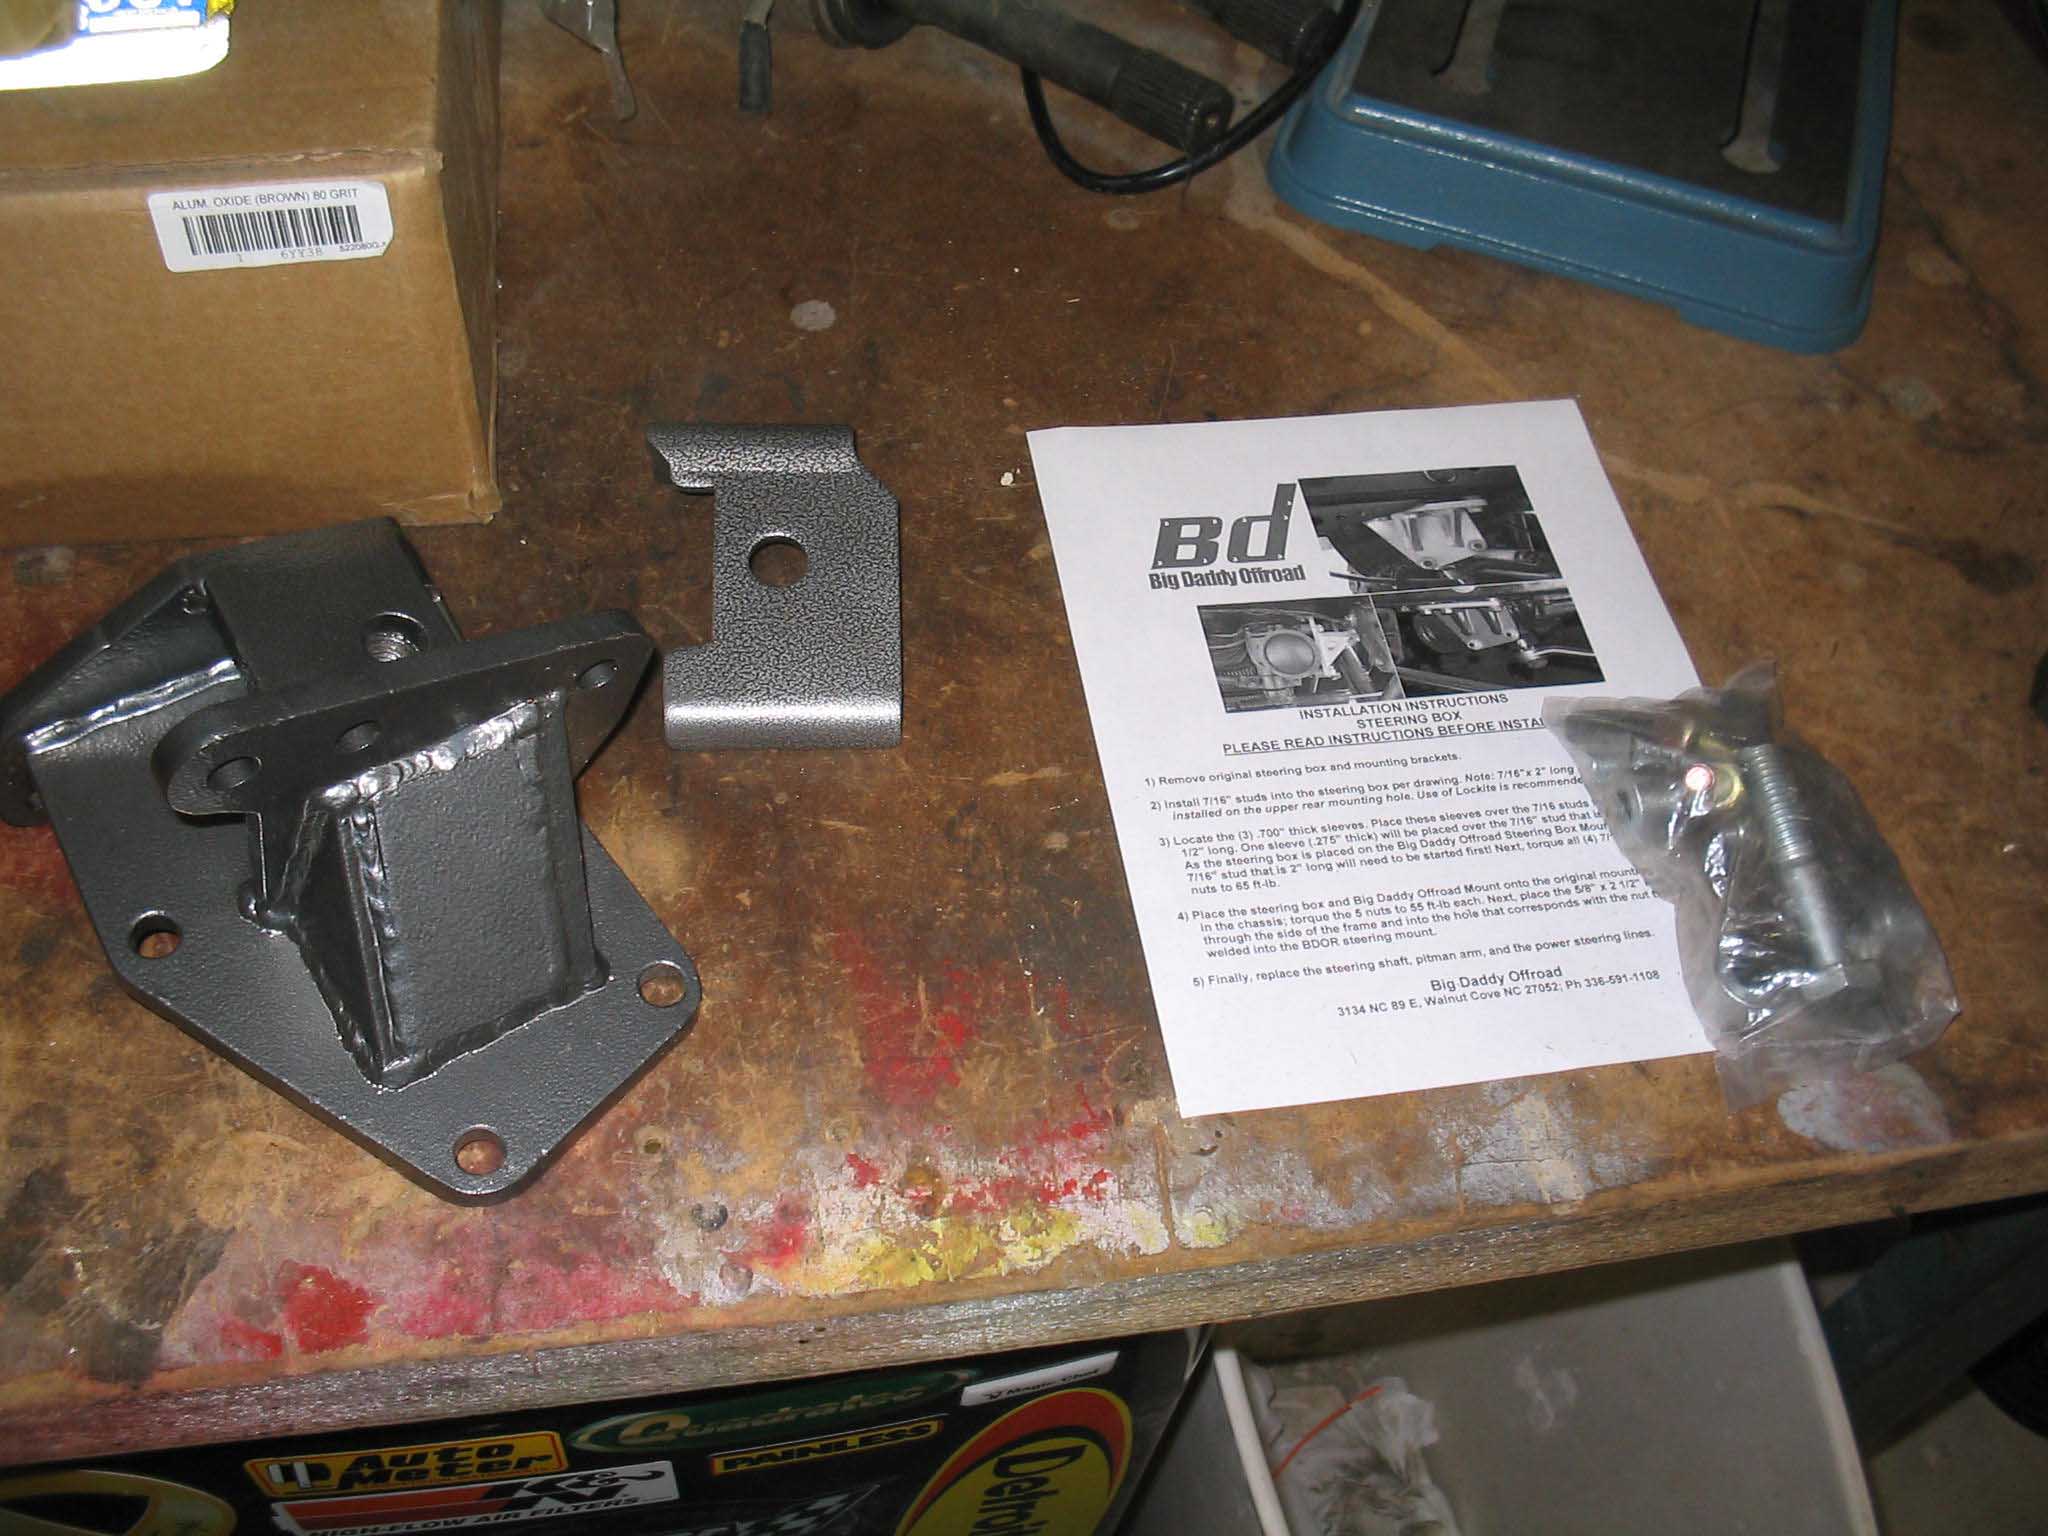
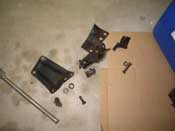
There are 4 bolts included with the kit with spacers. Put the new bolts in (one is
slightly shorter) with locktite and tighten them down according to the specs. After that is done, you can put
the bracket in place and tighten the nuts down to the supplied torque settings. With that done, the assembly is
ready to go back into the Jeep.
Lining everything up is a PITA, but the jack helps a bit. I put the top 2 bolts in place very loose and then did
the underside bolts. I used a screwdriver to line everything up and in they went. Once all 5 of the bolts are in
place, tighten everything down.
|
| |
|

|
|
|
| |
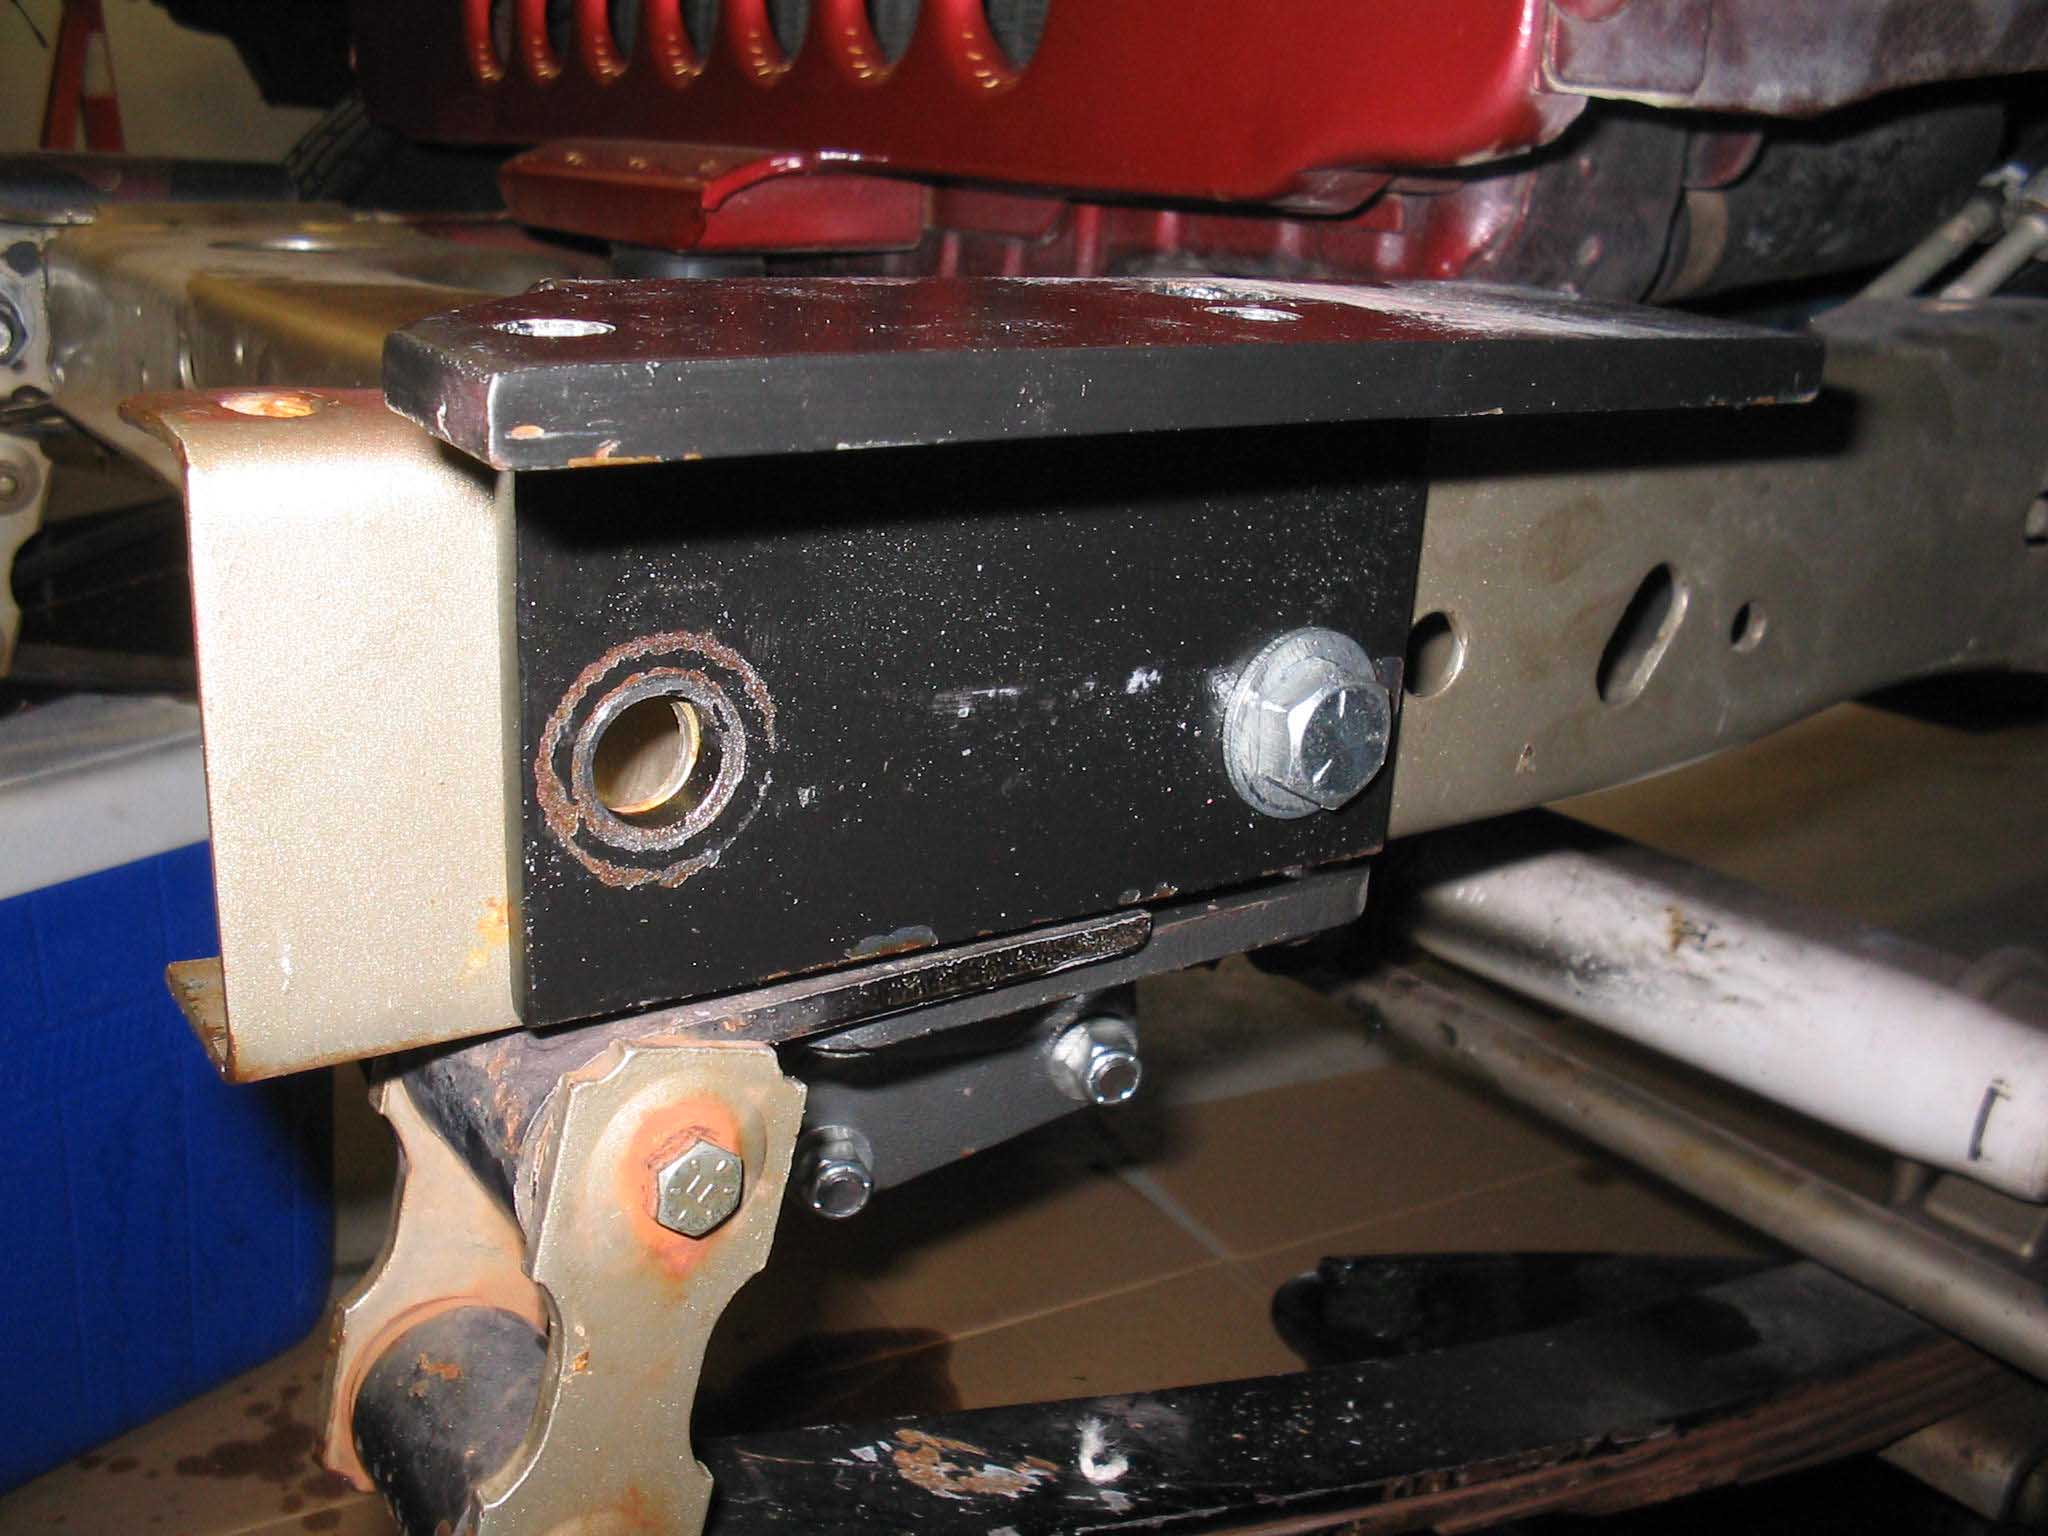
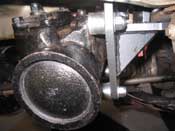
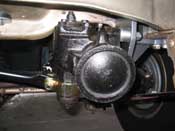
| With the bracket in place, I hooked up the steering shaft, the power steering lines
and finally the tie rod to the pitman arm. With all that in place, I proceeded to drill out the hole for the
winch plate, as it was too small. The HD bracket has a side bolt that goes through the frame for additional
support. It is like 5/8" or something and then hole was not. With that done, I was able to tighten that down
and get ready for the brace.
|
| |
|

|

|
|
| |
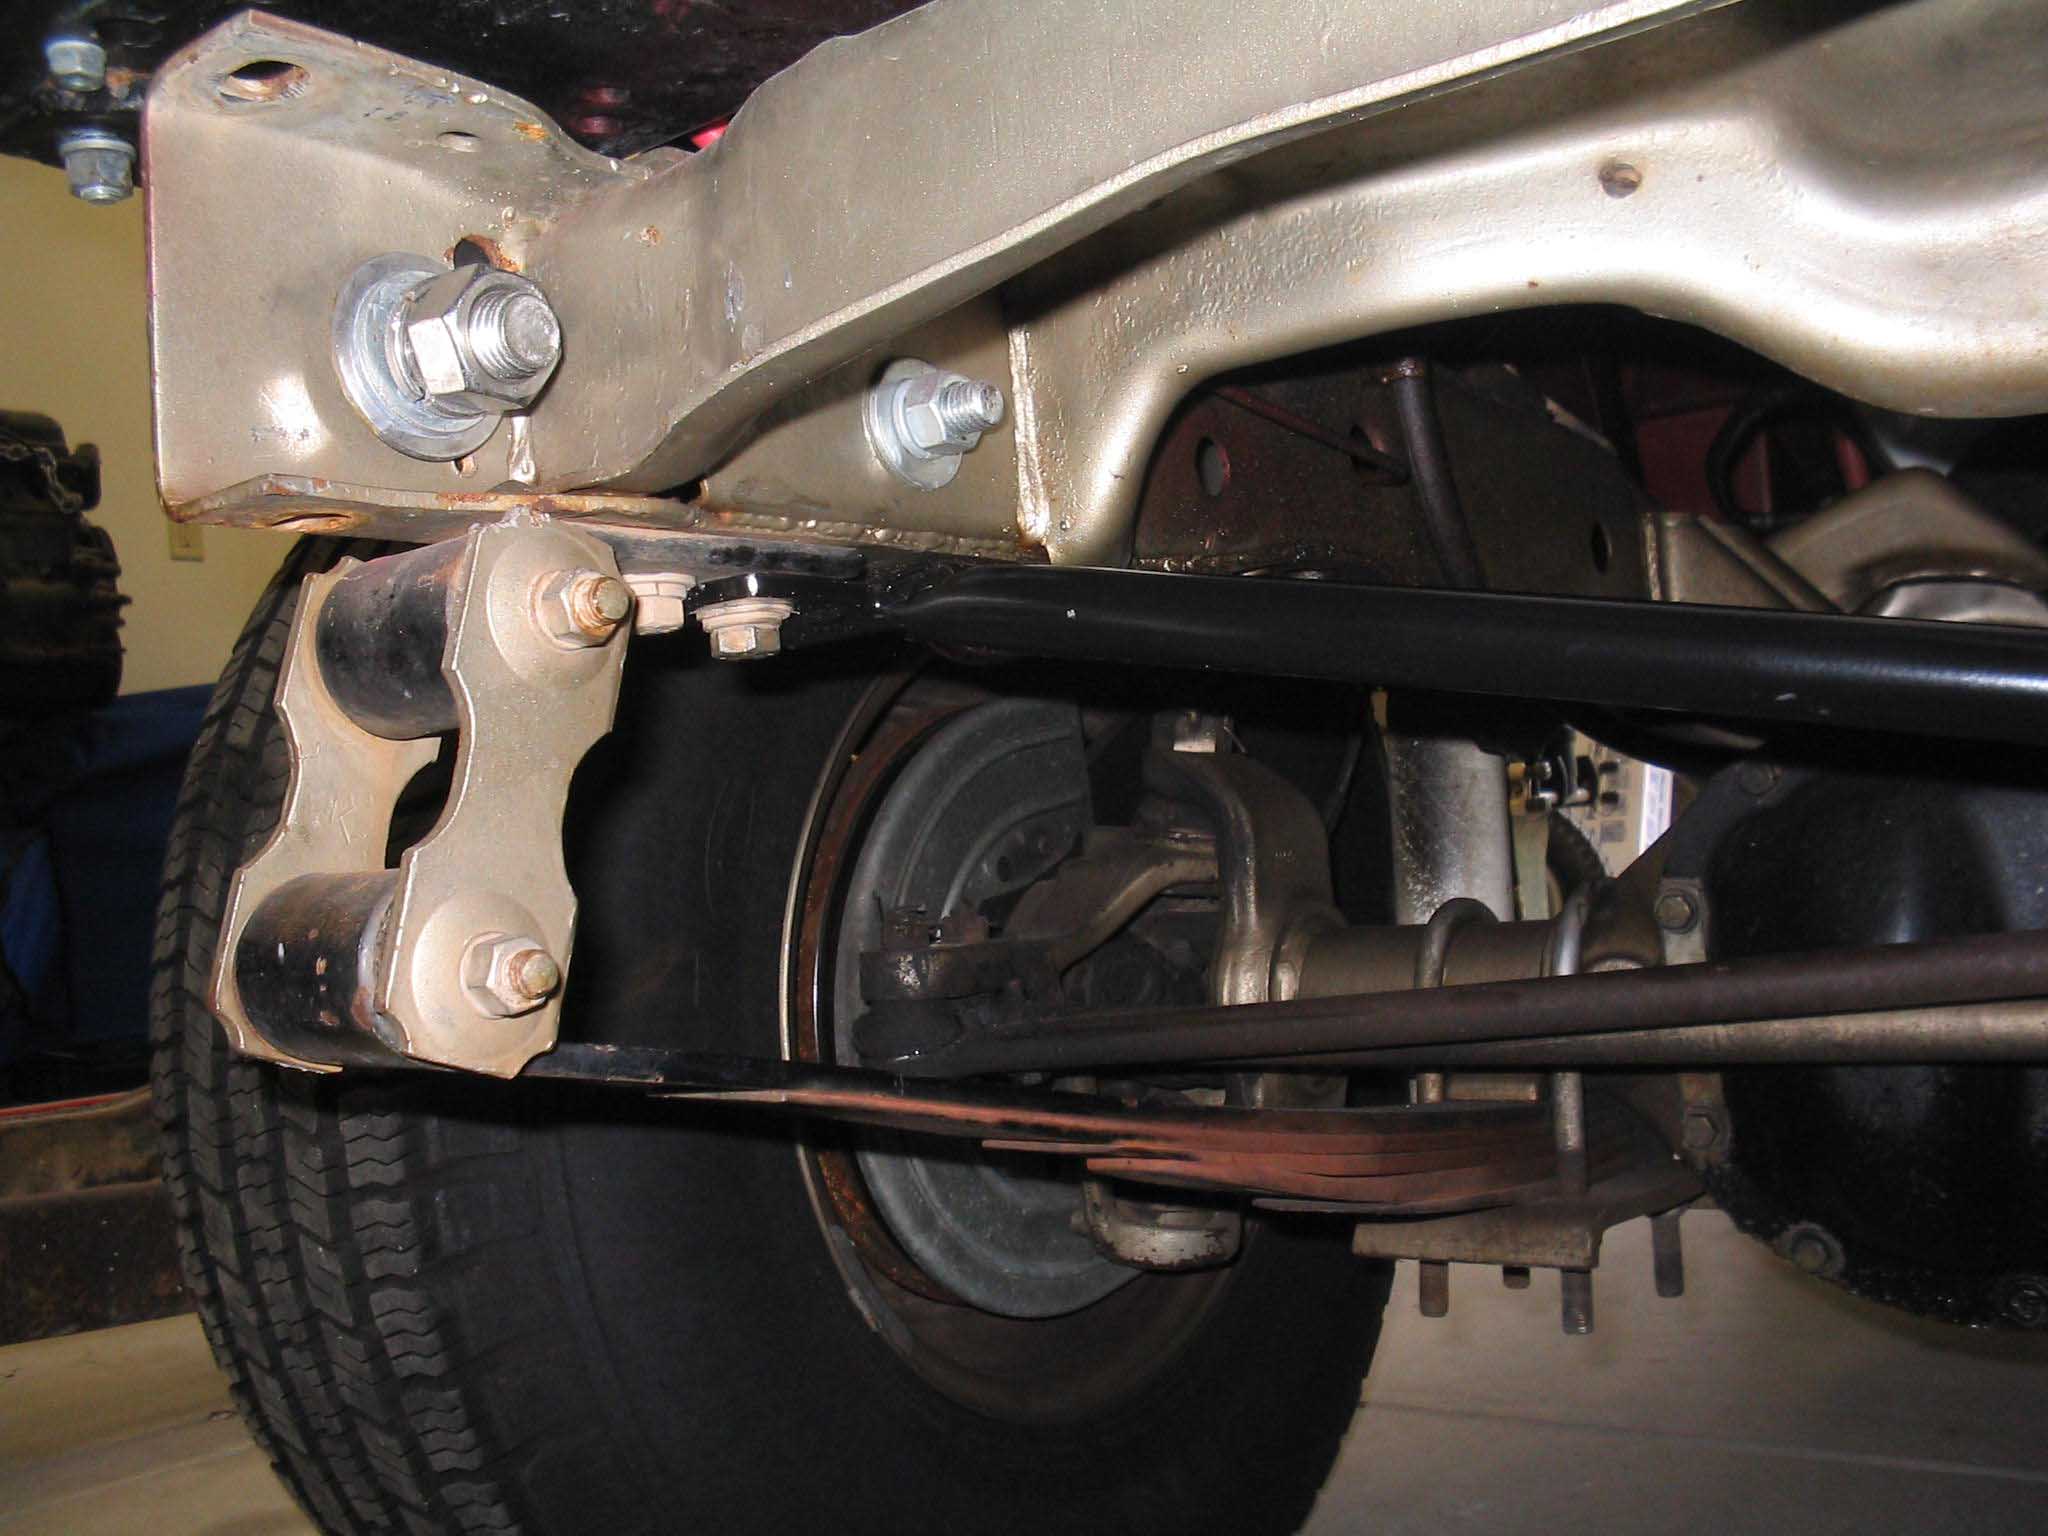
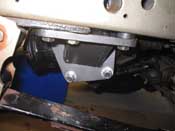
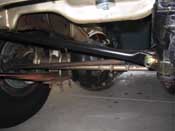
| The steering brace installs really quite easily. One half of it goes to the
opposite side frame rail and the other side goes around the power steering gear. With it loosely in place, tighten
the bolts a little at a time until all 4 are tight. That completes the installation. I had to put the winch and
bumper back on and finally I filled up the power steering reservoir. To bleed the system, jack up the front end
and turn the steering wheel back and forth until it burps out the bubbles. With that done, put it back down on
the ground, top it off and then take it for a ride in the driveway making sure you have no issues.
|
| |
| Lessons Learned the Hard Way |
| |
| So, my lessons learned here would have to be that even though this was a rust-free
AZ Jeep, the bolts are still going to give you hell coming out. I didn't soak these in penetrating lubricant, but
I should have. This would have made the job a lot easier. Take your time and it shouldn't be too hard of a job.
If you can do this in the Jeep, all the better, but more then likely it will have to be done on the bench. This
job is best done during the build-up of a frame off if you can. Doing it after the fact really makes you have to
take apart the whole rig.
|
| |
| Conclusions |
| |
This is a fairly straightforward bolt on conversion. There are 2 main pieces and
simple hand tools will complete the tasks. If you have the right tools, it should be easy, if not, you might have
to end up cutting the old mount off like I did.
cb (07/11/07)
|
|