| Frame Preparation |
| |
| After much reading online, we found out a lot of information on Jeep frames and
there... lack of ability to fight rust, especially after 30 years. The project CJ was in quite good shape for
the years, so it was sandblasted, grinded down, and 8 coats of
zerorust were applied. |
| |
|
|
| |
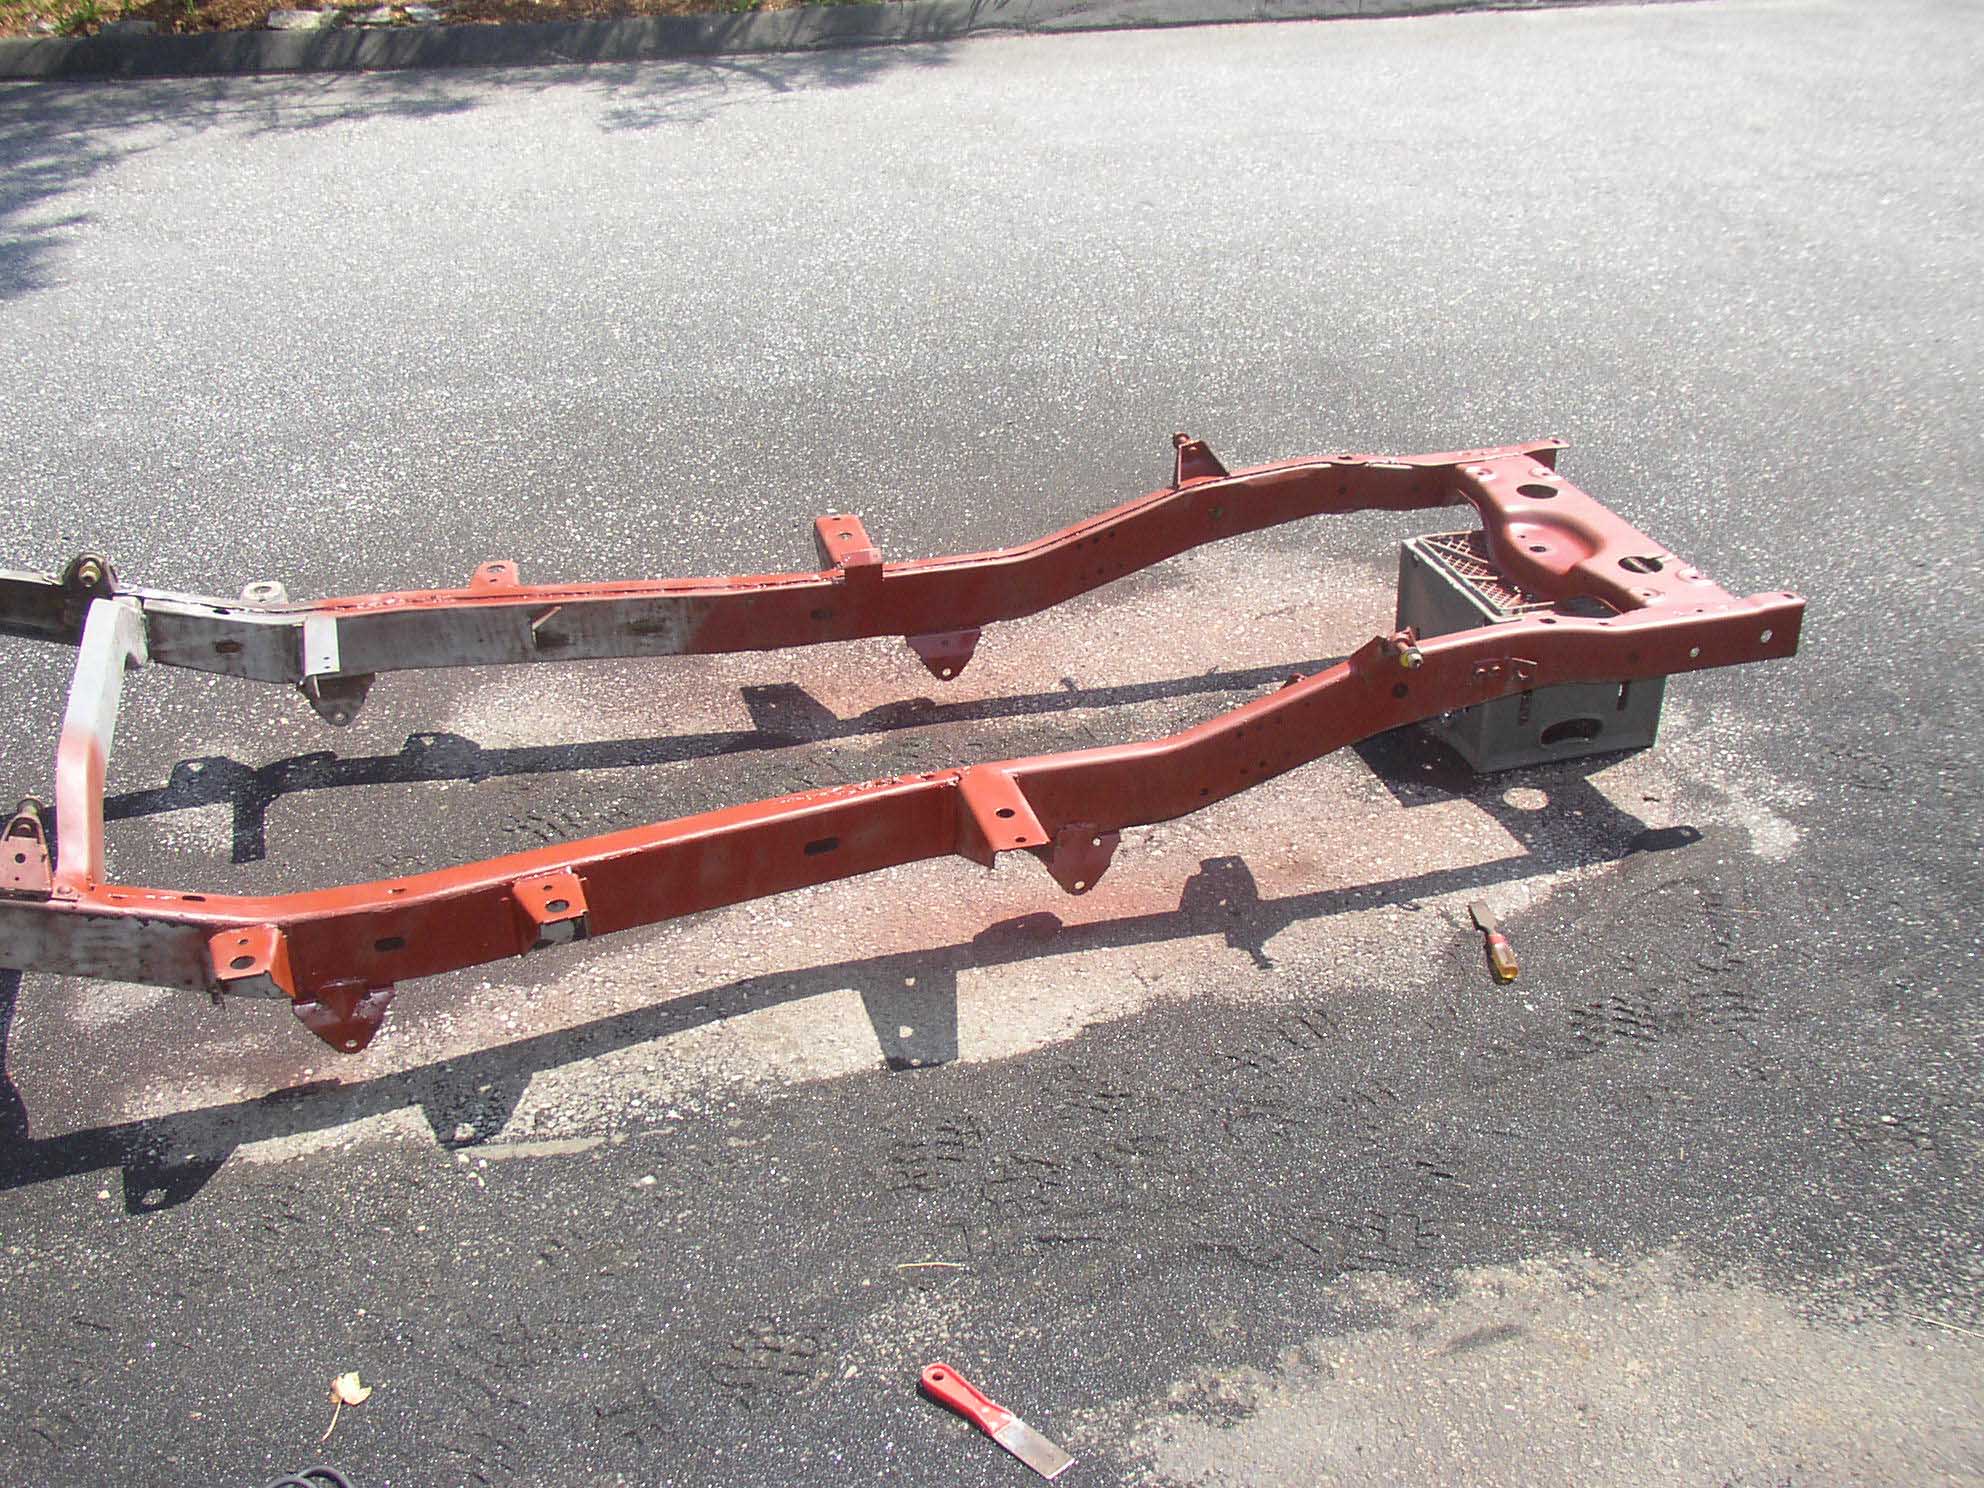
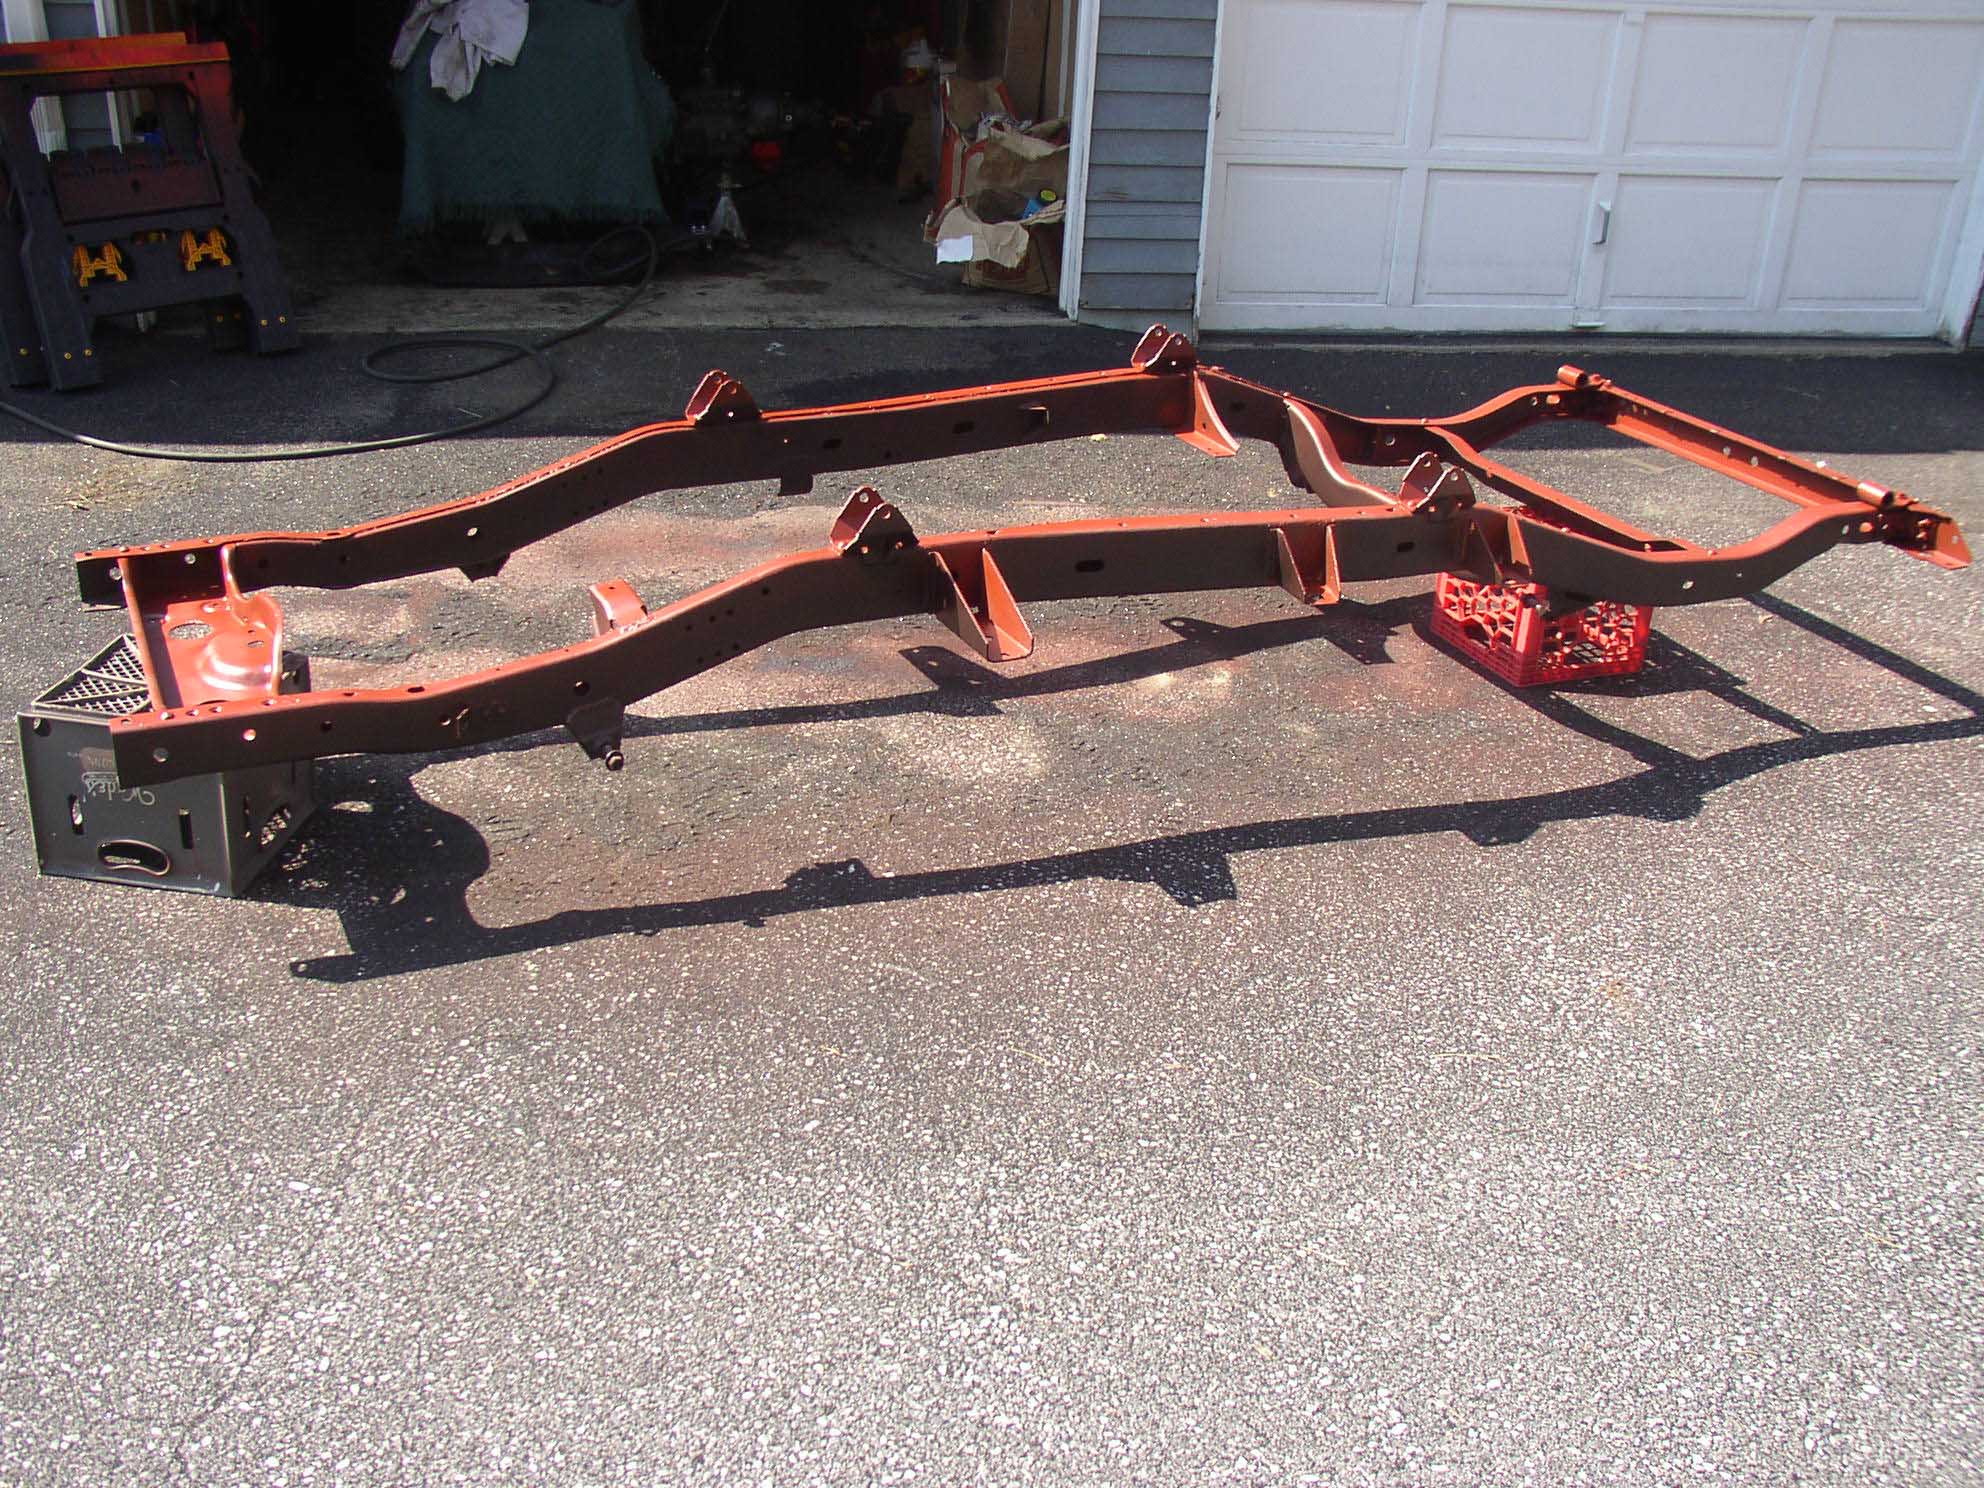
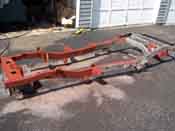
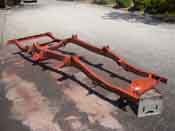
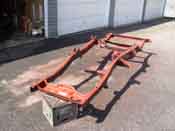
| The frame was very dirty, but sandblasting took care of that. It revealed a
frame that was in very good shape aside from the rear cross member. The previous owner had backed into a tree
or something and the rivets that held it in place on the driver's side were pulled out and the whole assembly
was twisted. This was cut out, rivets drilled out, holes drilled in place of the pop-rivets, and the whole
thing was bolted back in place and welded up. The rest of the frame was gone over and a couple of touch up
welds were done for precautionary purposes, but it was ready for a new coating.
|
| |
|
|
| |
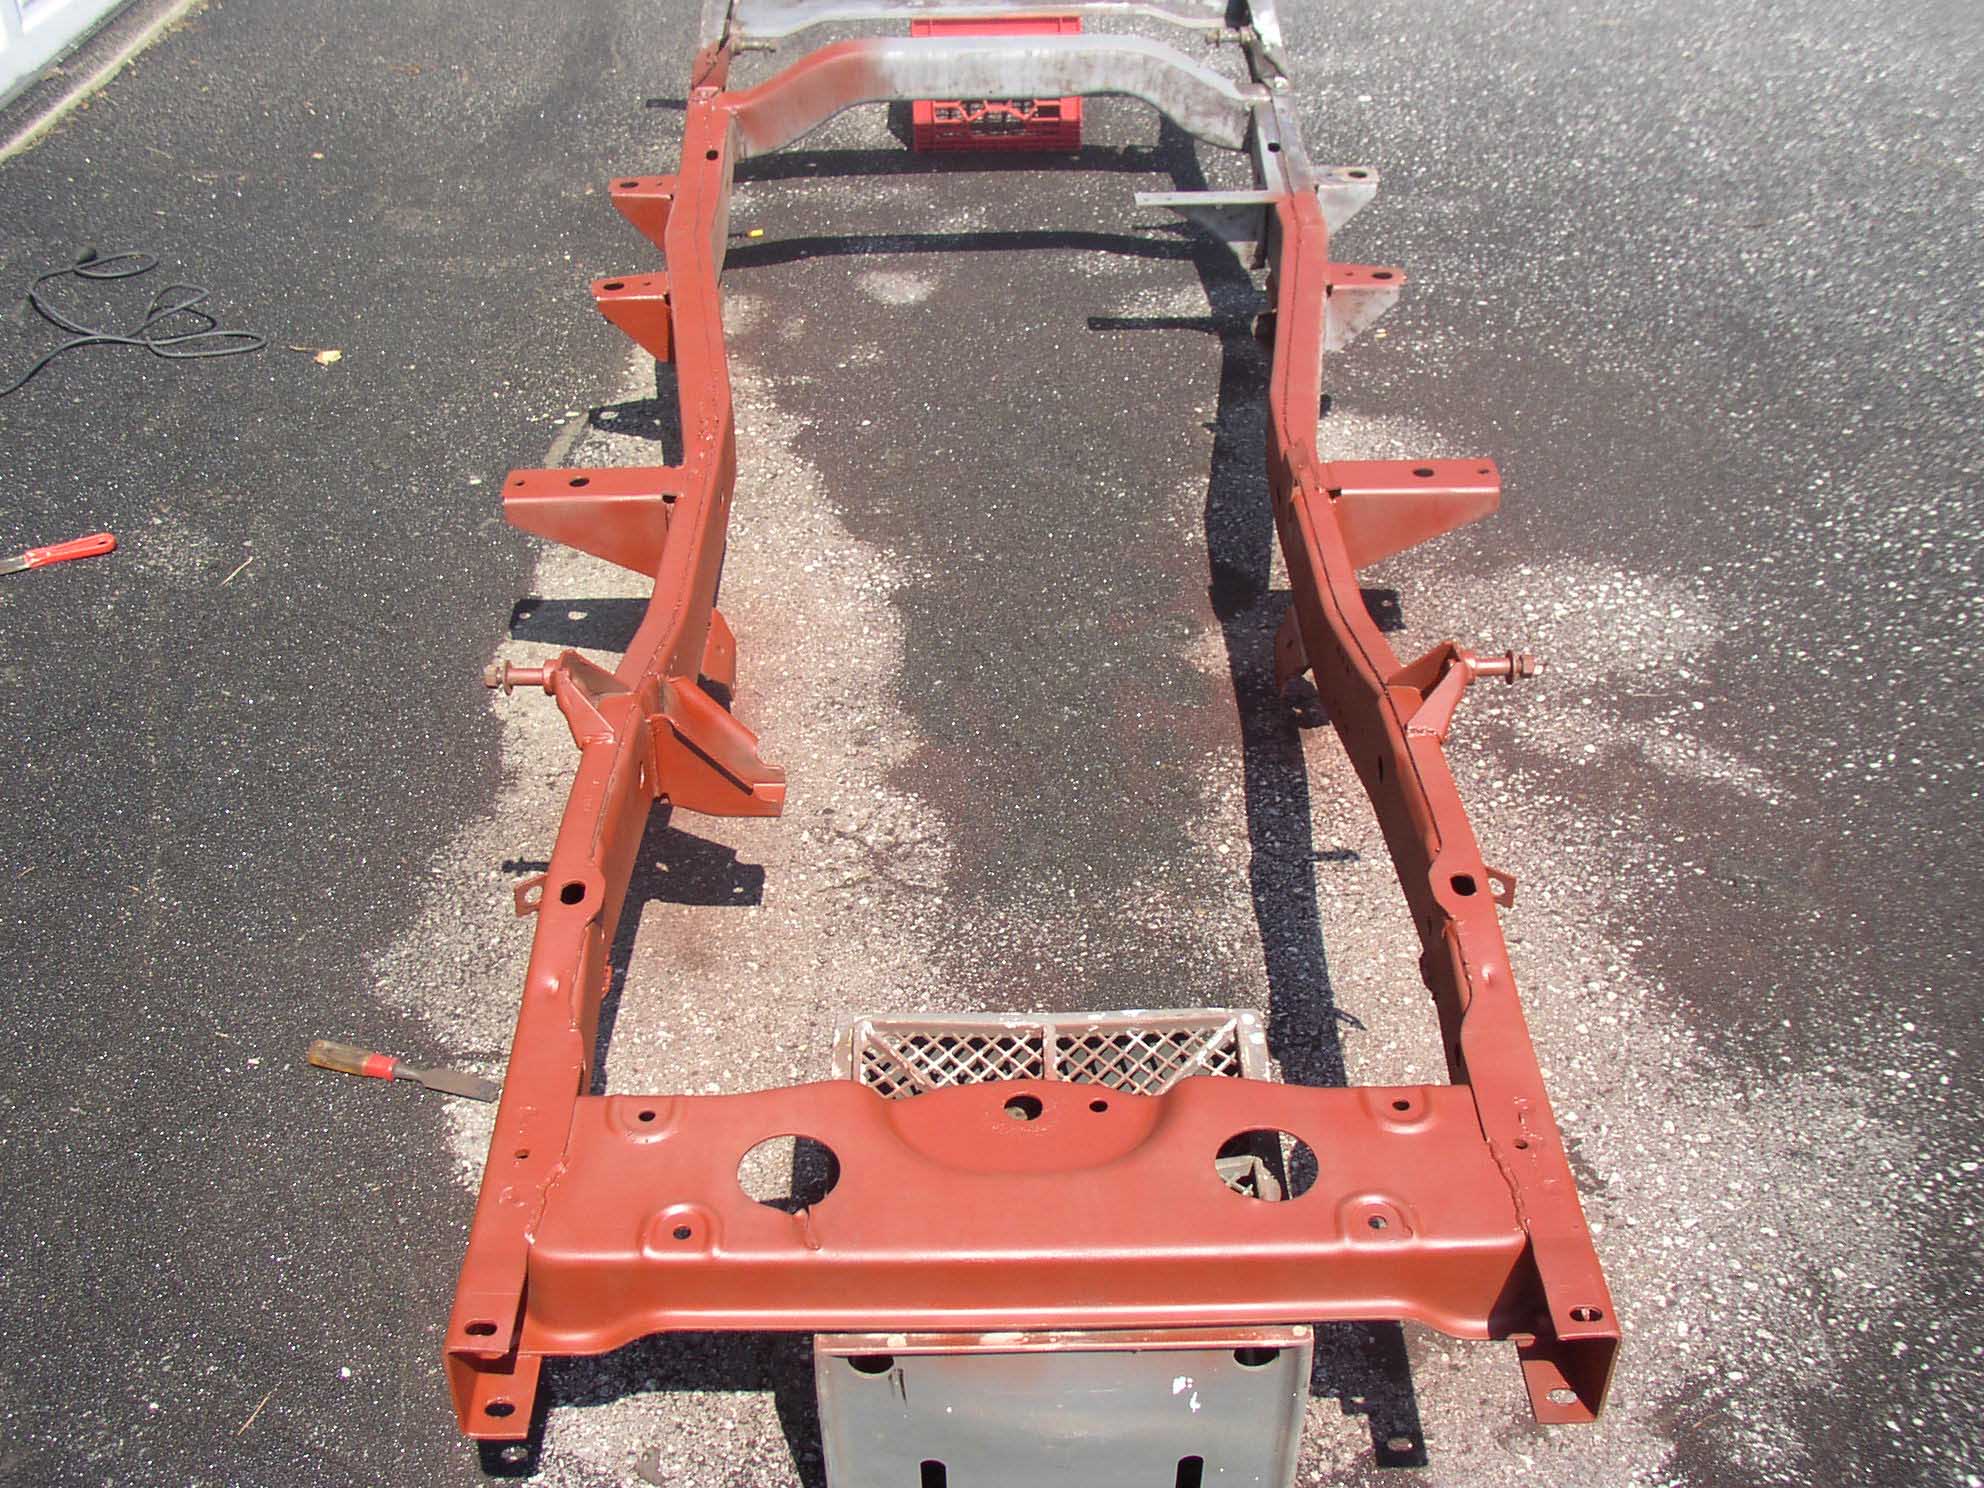
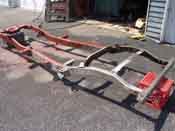
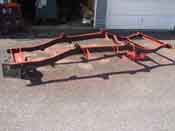
| I had researched POR-15 and zerorust extensively and figured I would go with
zerorust since it didn't require a topcoat to protect against UV damage. There were also many colors that the
zerorust came in. I opted for 4 coats of rust brown and 4 coats of black. This was recommended in that you can
see the coverage from coating the bare frame with the sealer coat of rust brown and then when you apply the
black, you will make sure that all the rust brown is gone and covered up with the black.
|
| |
|
|
|
|
| |
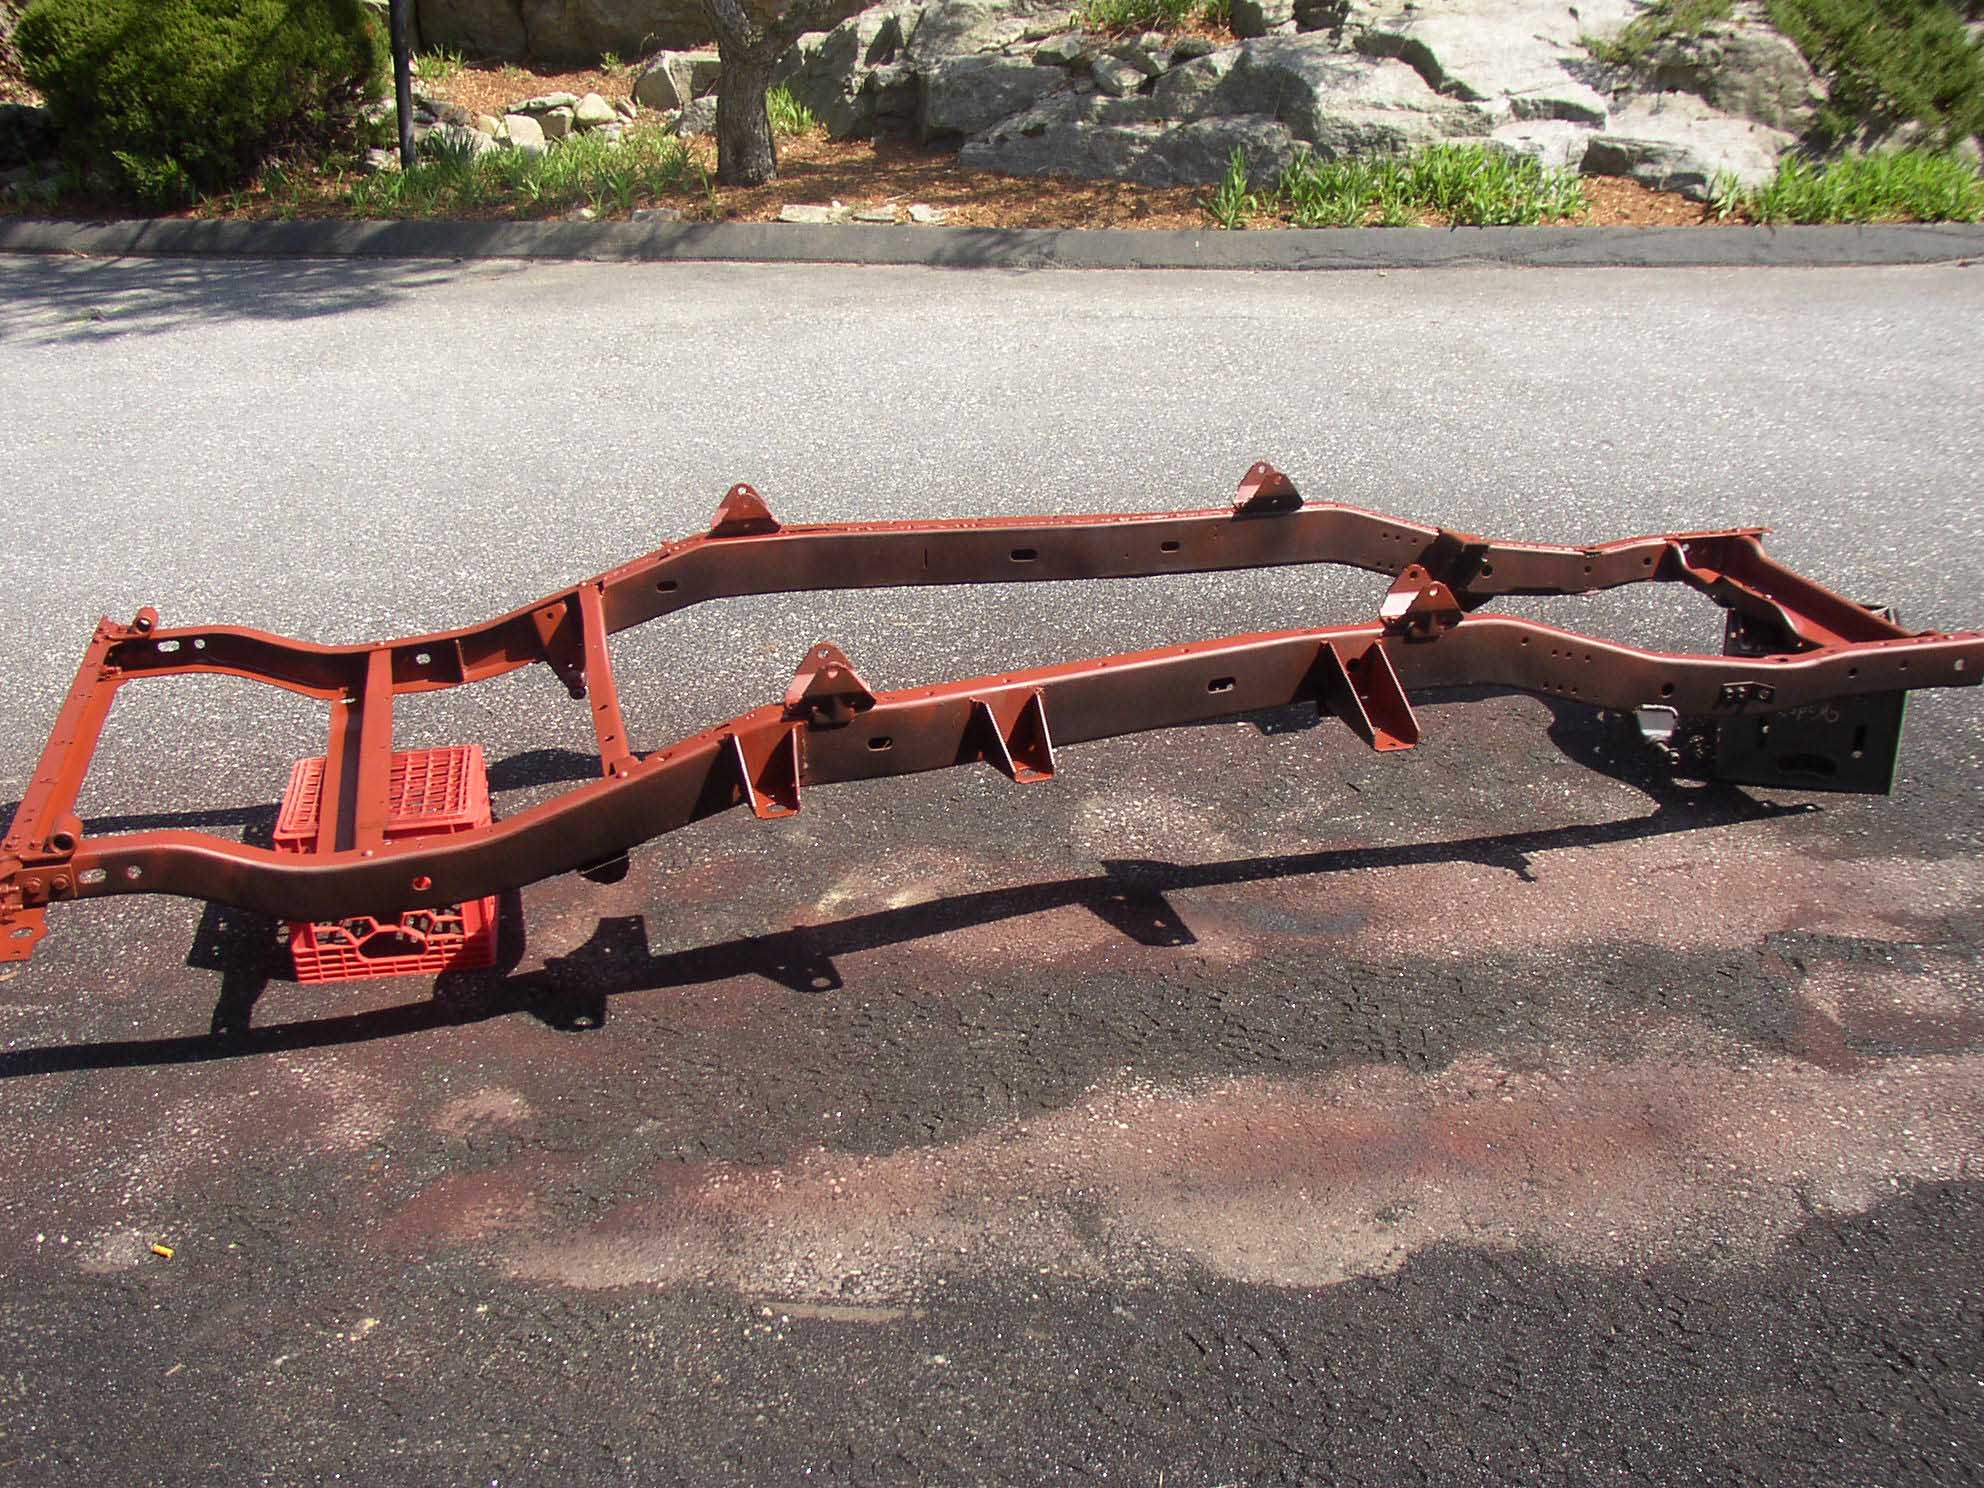
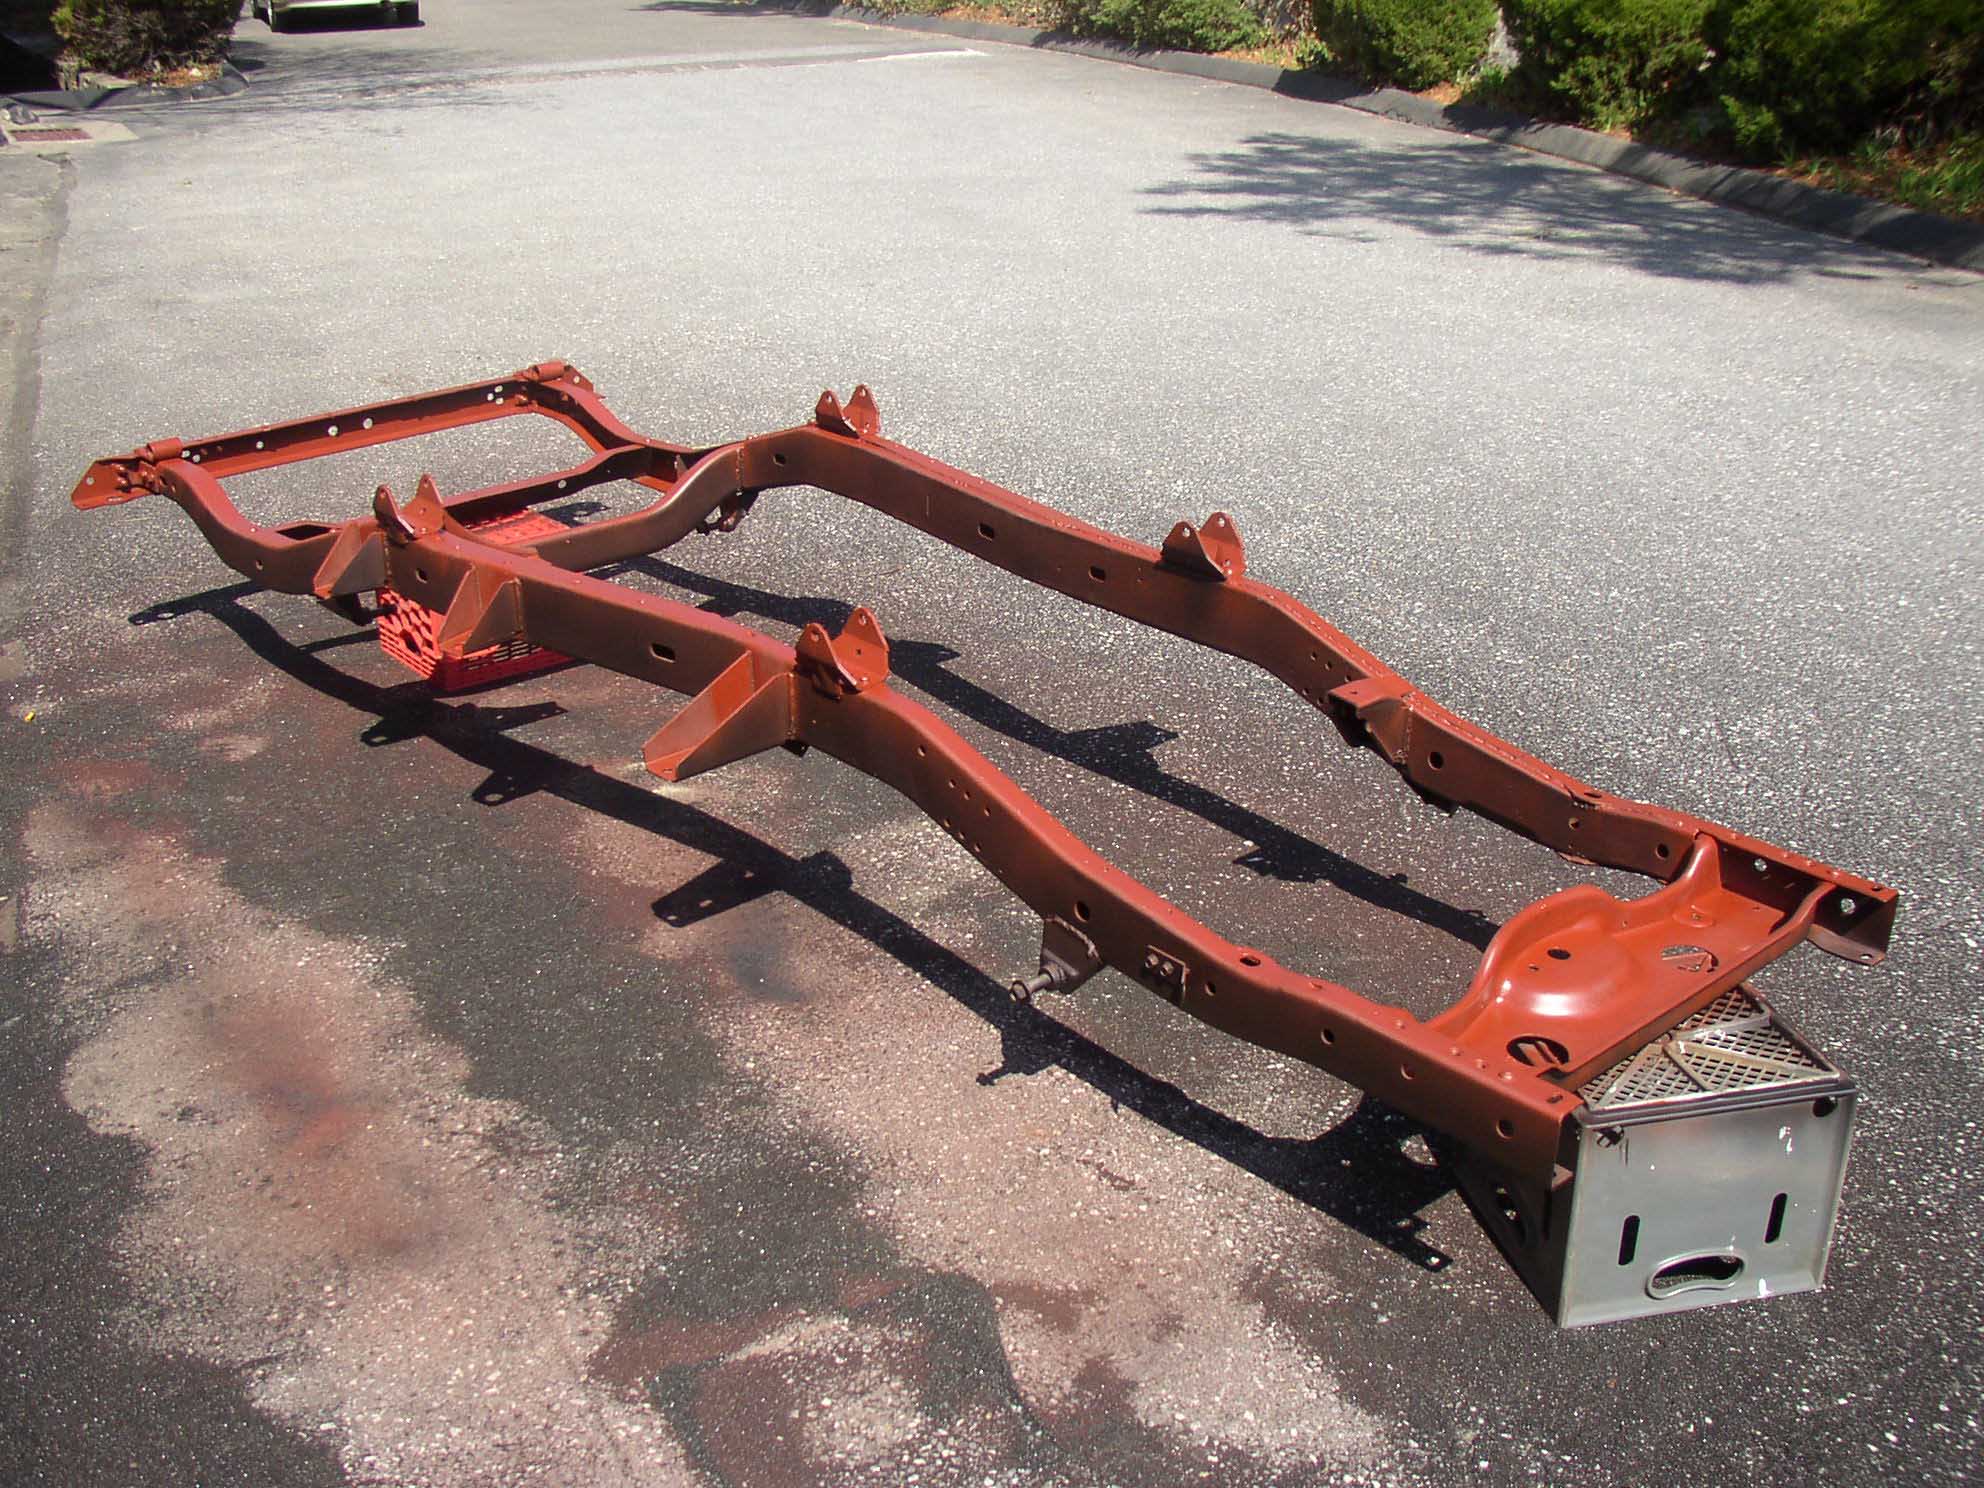
| Each coat requires drying time as well as flipping the frame over after each coat
on the one side to do the other side. This is a time consuming process. I picked a nice day in July to do this
and it worked out for the best that way. I let the sun bake it somewhat and it took about 30 minutes to set up
each time. After all 8 coats were applied; it was ready to have the suspension bolted to it.
|
| |
|
|
| |
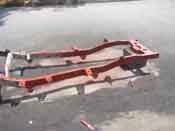
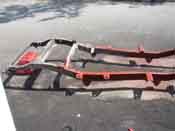
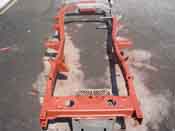
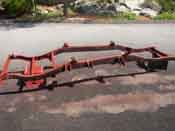
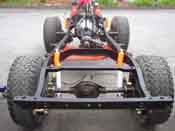
| Unfortunately I don't have a finished picture in black of the frame by itself,
just a partial one of the first topcoat and then the frame flipped over for the first coat on the underside.
In my haste to get this part of the project done, I forgot to snap a picture of it before the suspension got
bolted to the frame. My haste was due to sunlight hours running out and my help for the installation of the
suspension getting impatient with me. This is just part of the process. Delays are inevitable, plan ahead for
time issues. As seen in the suspension picture, the frame turned out very well and held up well to the
re-installation of the suspension and engine components.
|
| |
| Lessons Learned the Hard Way |
| |
So, my lessons learned here would have to be that having more people to help
move the frame around would have been helpful. I am a strong guy, but that frame is hard to maneuver by
yourself.
Take your time as well and make sure each coat is dried when you apply the rust inhibitor. This application is
vital in making sure that your rig is protected in the future from rust. Try to get as much in the holes as
well since there isn't a very easy way to get the inside of the frame rails unless you get it dipped. There are
hot galvanizing options out there, but they are very expensive.
|
| |
| Conclusions |
| |
This is a pretty easy thing to do for the overall difficulty in the frame-up
restoration process, plus it makes the frame look very nice and clean looking. This also helps to protect
against future rust issues.
The frame turned out better then I expected and a year later, I don't have any complaints. There are no UV
issues that are common with the POR-15 application from what forum members have indicated.
Make sure you plug all boltholes with tape or something to ensure that no paint gets into the holes. If you
don't do this, you will have to re-tap the holes to get the paint out of there. Also make sure you do this in
a well-ventilated area. The fumes are not horrible, but a mask helps out quite a bit.
|