| Rear Bumper Frame Tie-in Installation |
| |
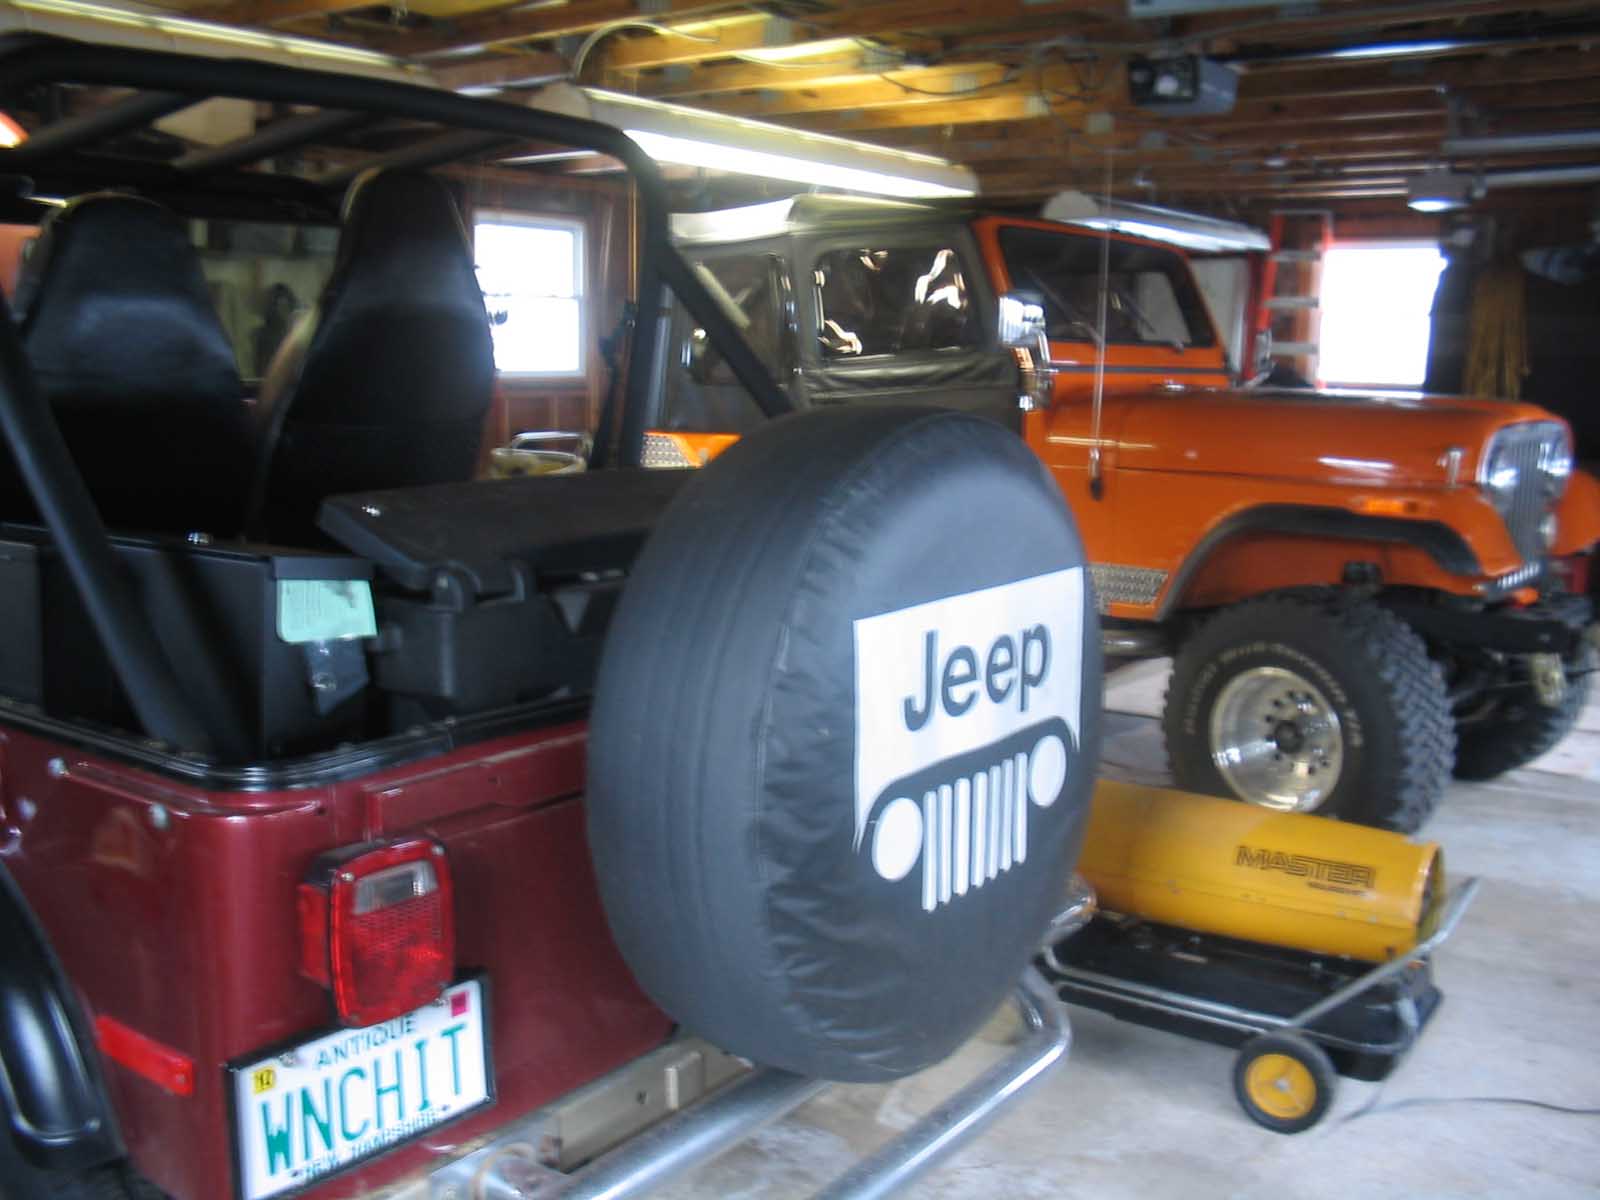
| With most rigs that are purchased, the previous owner has customized them to their
likings. This is no different especially when it comes to bumpers. Some bumpers are for show and some are used
to help extract your rig out of a tough situation. When it comes to the latter, it is always good to have some
extra support on what you are pulling.
|
| |

|
|
| |
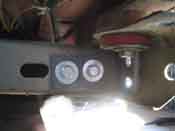
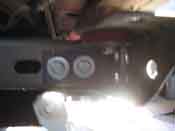
| After getting the interesting chrome bumper off the Jeep, the frame tie-ins that
were purchased off eBay were put on.
Before this could be done, the old bolts that went through the frame were removed. This particular frame was
"boxed-in". This means that the 1976 Jeep CJ-5 that usually came C-channeled had had some extra support on it by
closing in the frame on the inside.
|
| |

|
|
| |
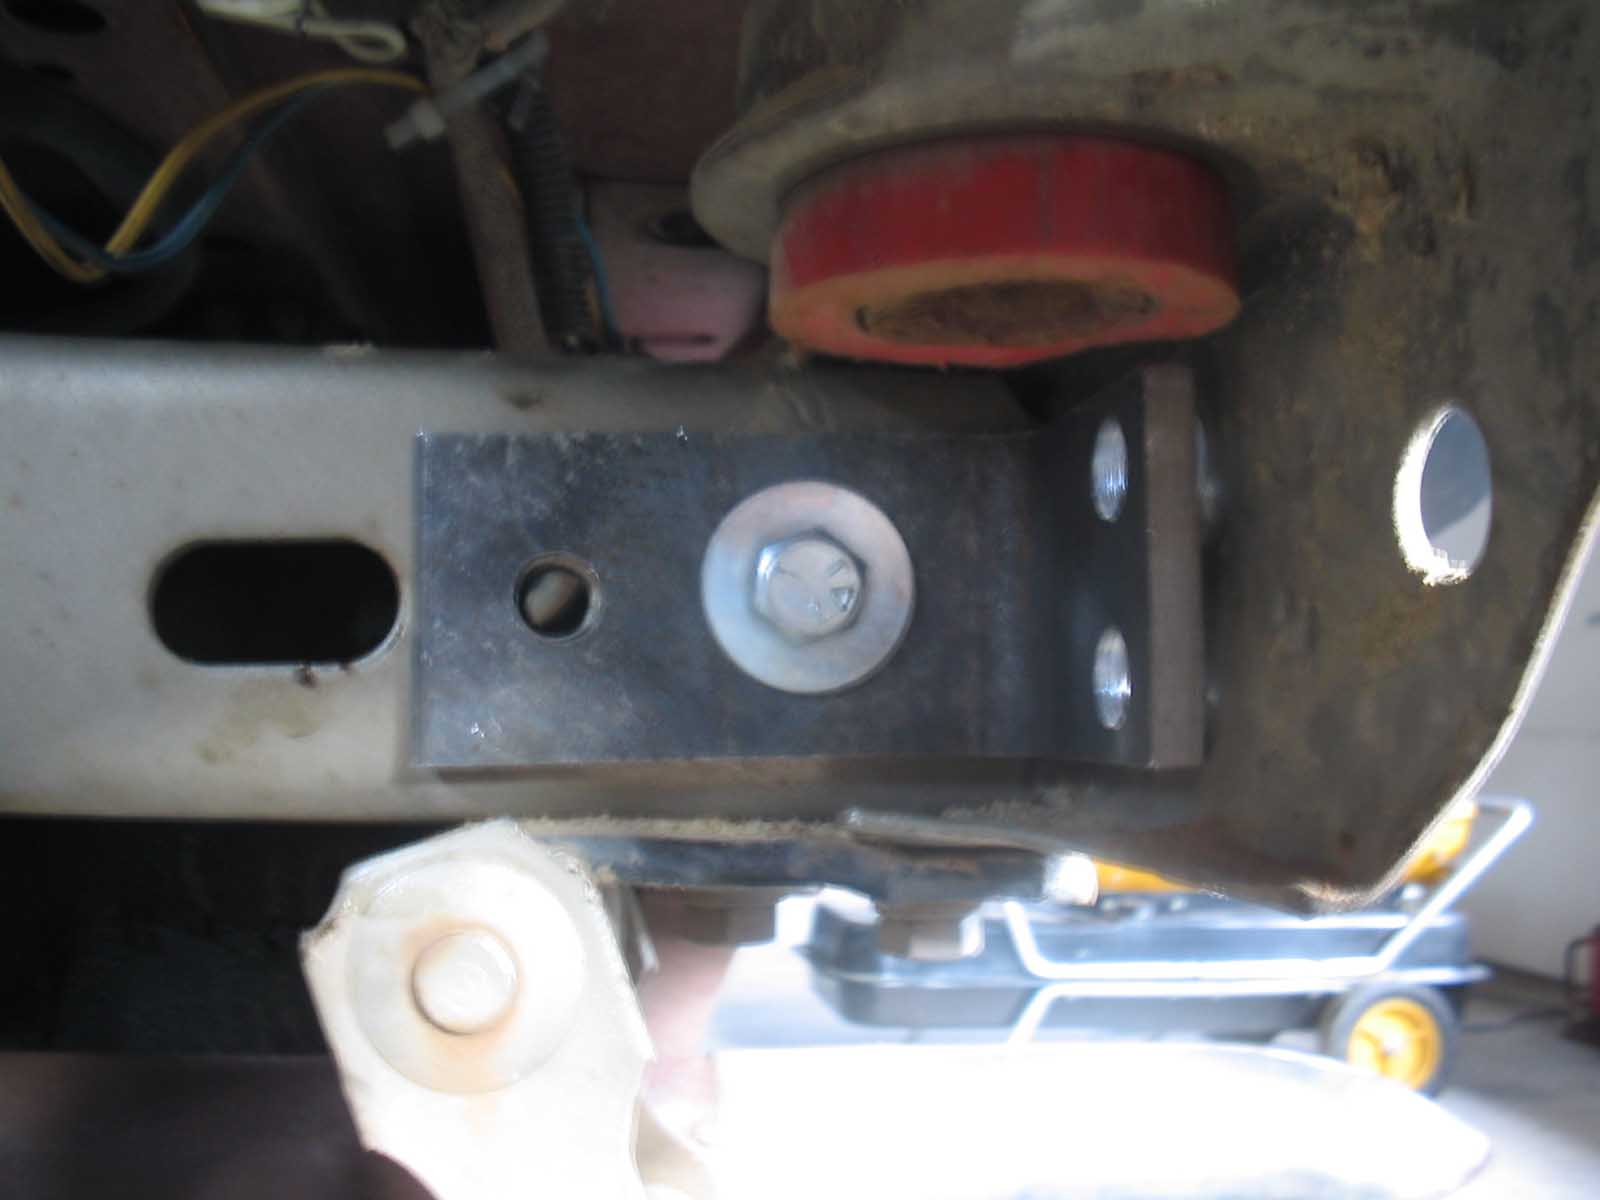
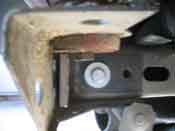
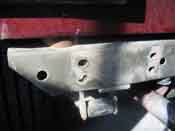
| I took off the 2 bolts that went through the frame and with the supplied hardware,
started to put the outer frame tie-in that was purchased onto the frame. There was already an inside frame tie-in
that was tacked in place. The kit came with 4 bolts that replaced the bolts that were already through the frame.
The new bolts had a crush sleeve cylinder that went inside the frame so when the bolts were tightened down, the
frame would not distort. When putting these in the frame and mocking the setup into place, a clearance problem
with the body mount was encountered.
|
| |
|
|
| |
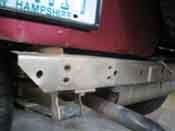
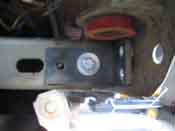
| The body mount issue was remedied by cutting it in half to allow for clearance.
This cleared up the problem and the bolts were put in and hand tightened. The holes were lined up for the rear
bumper mounts and everything was tightened down. This is now a very stout mounting surface inside and outside the
frame rails for the new rear rock bumper that was ordered.
|
| |
|
|
| |
| There are D-ring tabs that come with the bumper and when load is applied to them,
this will now evenly distribute the load across the rear frame cross member and the inner and outer frame tie-ins,
thus distributing the load in more places then what came stock. With the "boxed-in" rear section of the frame,
there is even more support then was stock on the 1976 models.
|
| |
| Lessons Learned the Hard Way |
| |
| So, my lessons learned here would have to be that make sure you don't have any
clearance problems when mounting up the frame tie-ins. This usually comes in the way of body mount spacers that
might have to be cut down. Also, when mocking this into place, make sure that you don't have any issues with the
rear frame cross member. By this I mean that you have to make sure the holes line up and that the rear frame
cross member isn't tweaked in anyway that won't allow for proper mounting of the rear bumper.
|
| |
| Conclusions |
| |
| This is a pretty simple way to insure that you get some extra support for when
the D-ring tabs are used on the new rear heavy-duty bumper. This upgrade will help to distribute the load across
more area and lessen the likeliness of failure when being extracted. This upgrade is cheap insurance against
having the bumper come unglued when being pulled from the depths of who knows what you got yourself into.
|