|
|
| Front Disc Brake Conversion - part #2 |
| |
| Reassembly |
| |
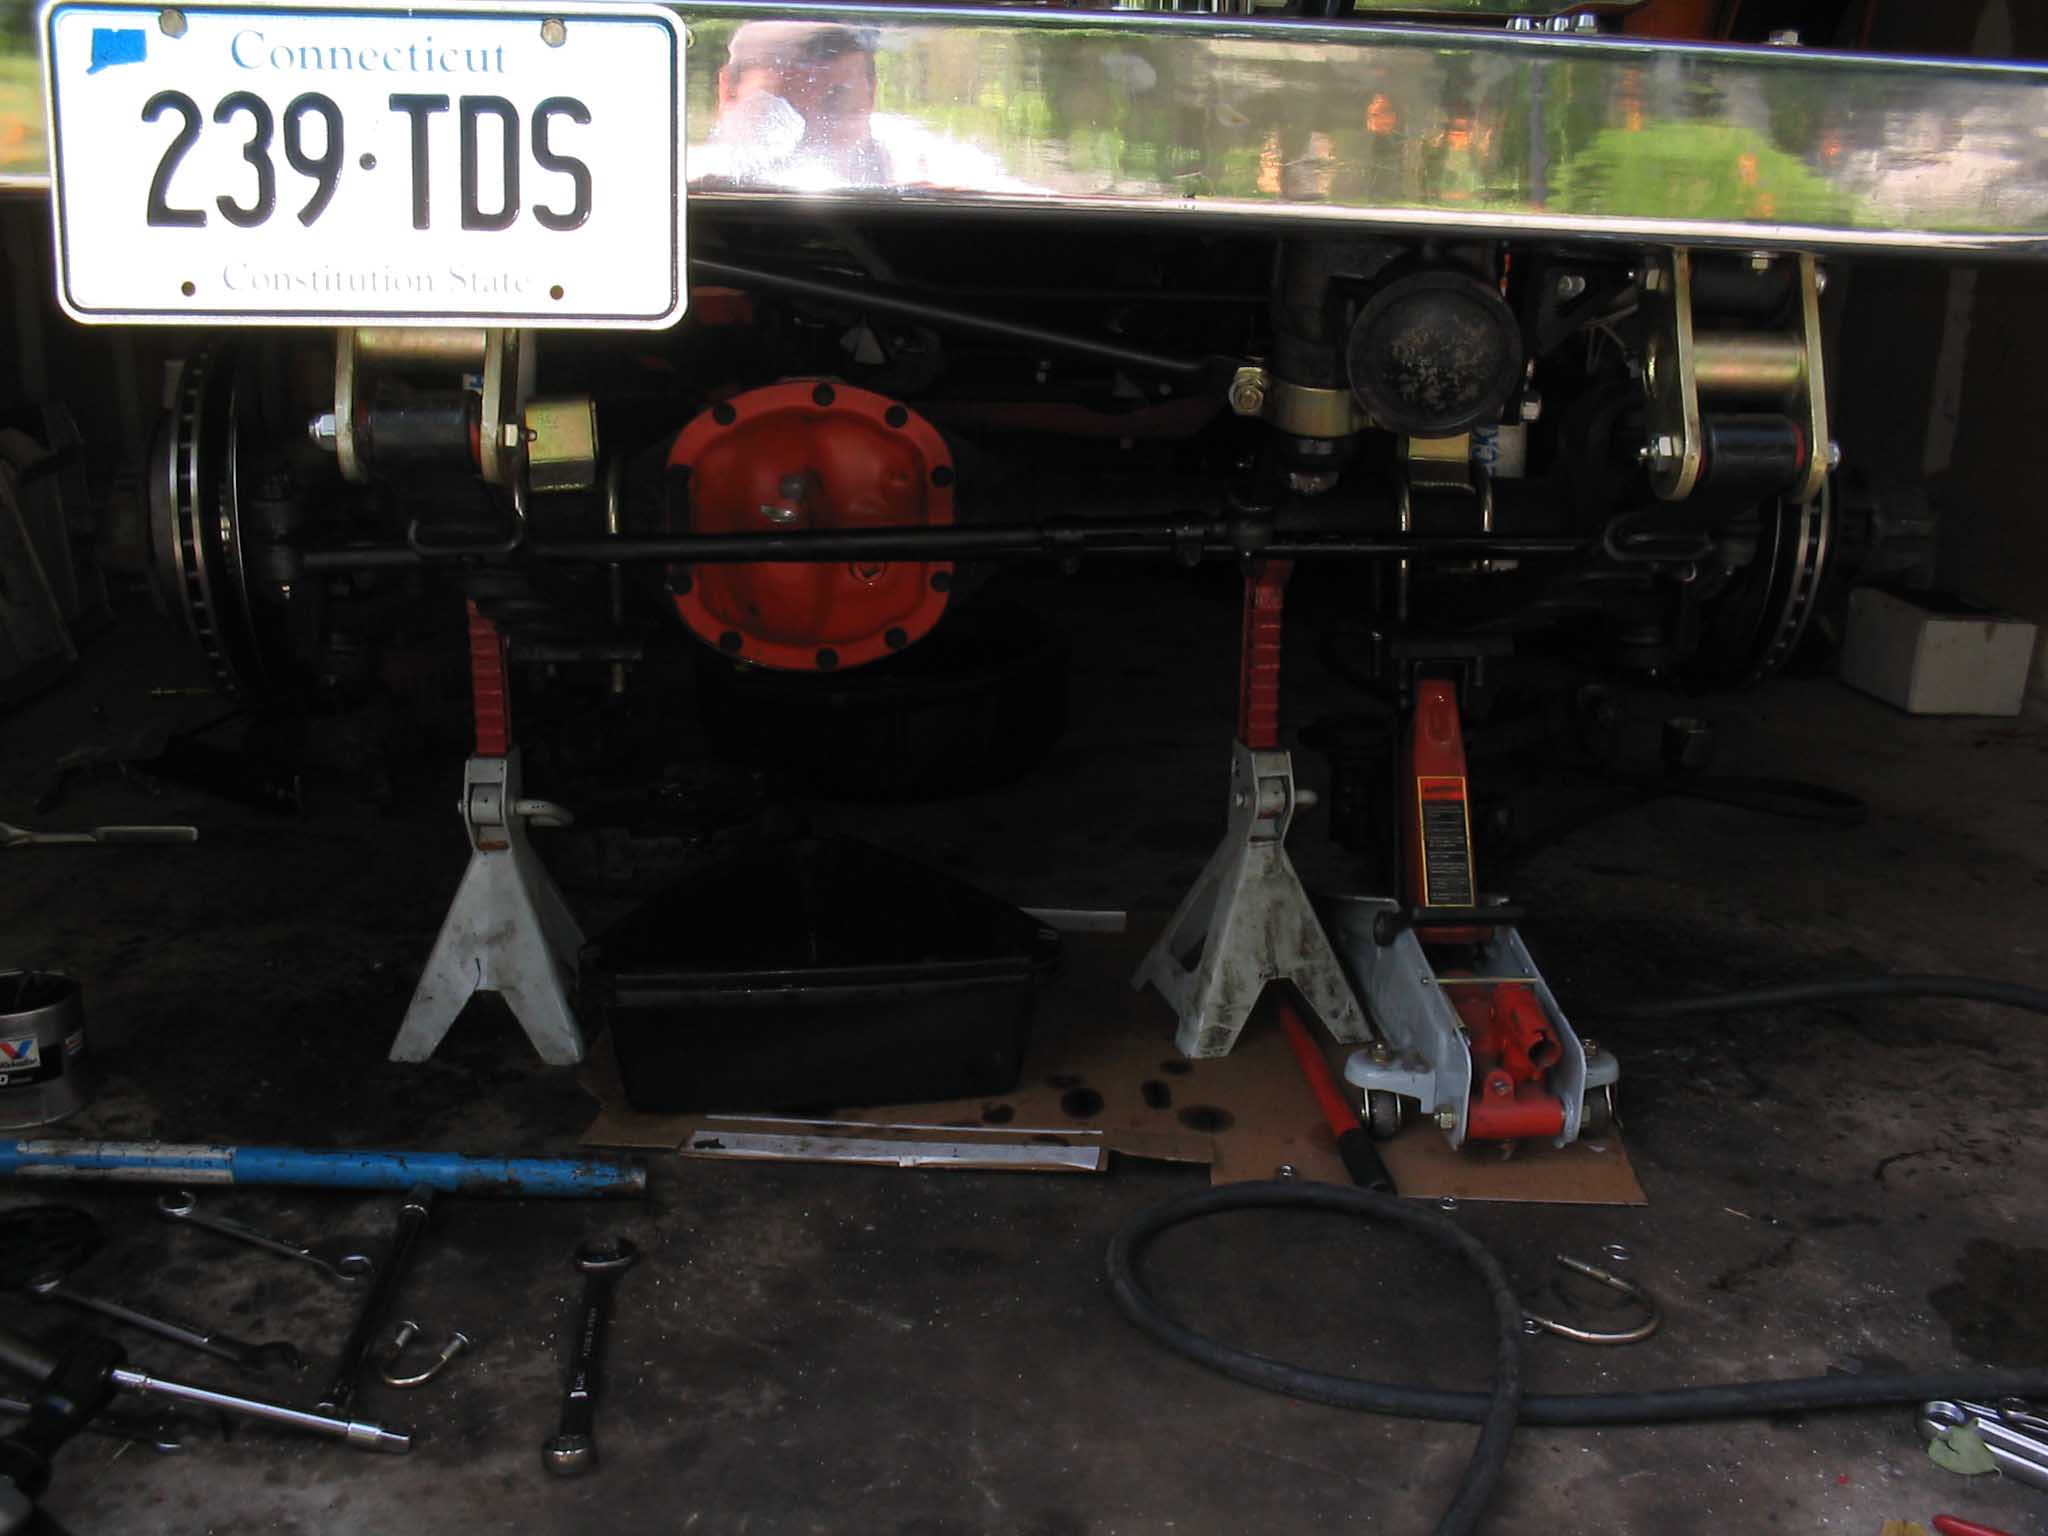
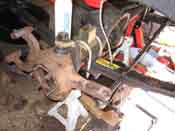
| With the front end all-apart, I was able to clean out the dirt and grime in the axle
tubes. This also showed that the stock axles had been chewed up somewhat. So, I went back to the machine shop with
the axles from the donor axle and had some new u-joints pressed in. Since it was apart, it was the time to do it.
The cost was not that much, although it would have probably been cheaper had I put all the machined parts in for the
same order. They would have not had to stop and I would have gotten a cheaper labor price.
|
| |
|
|
| |
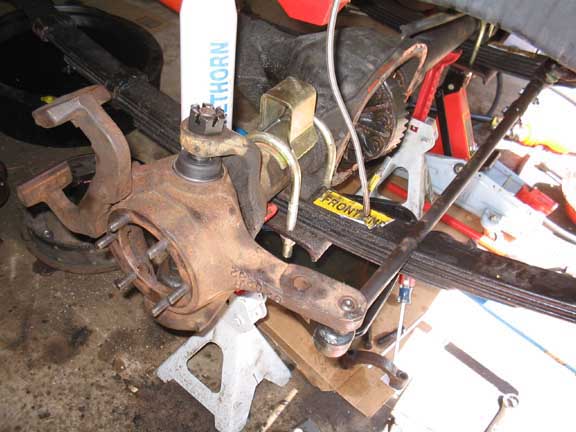
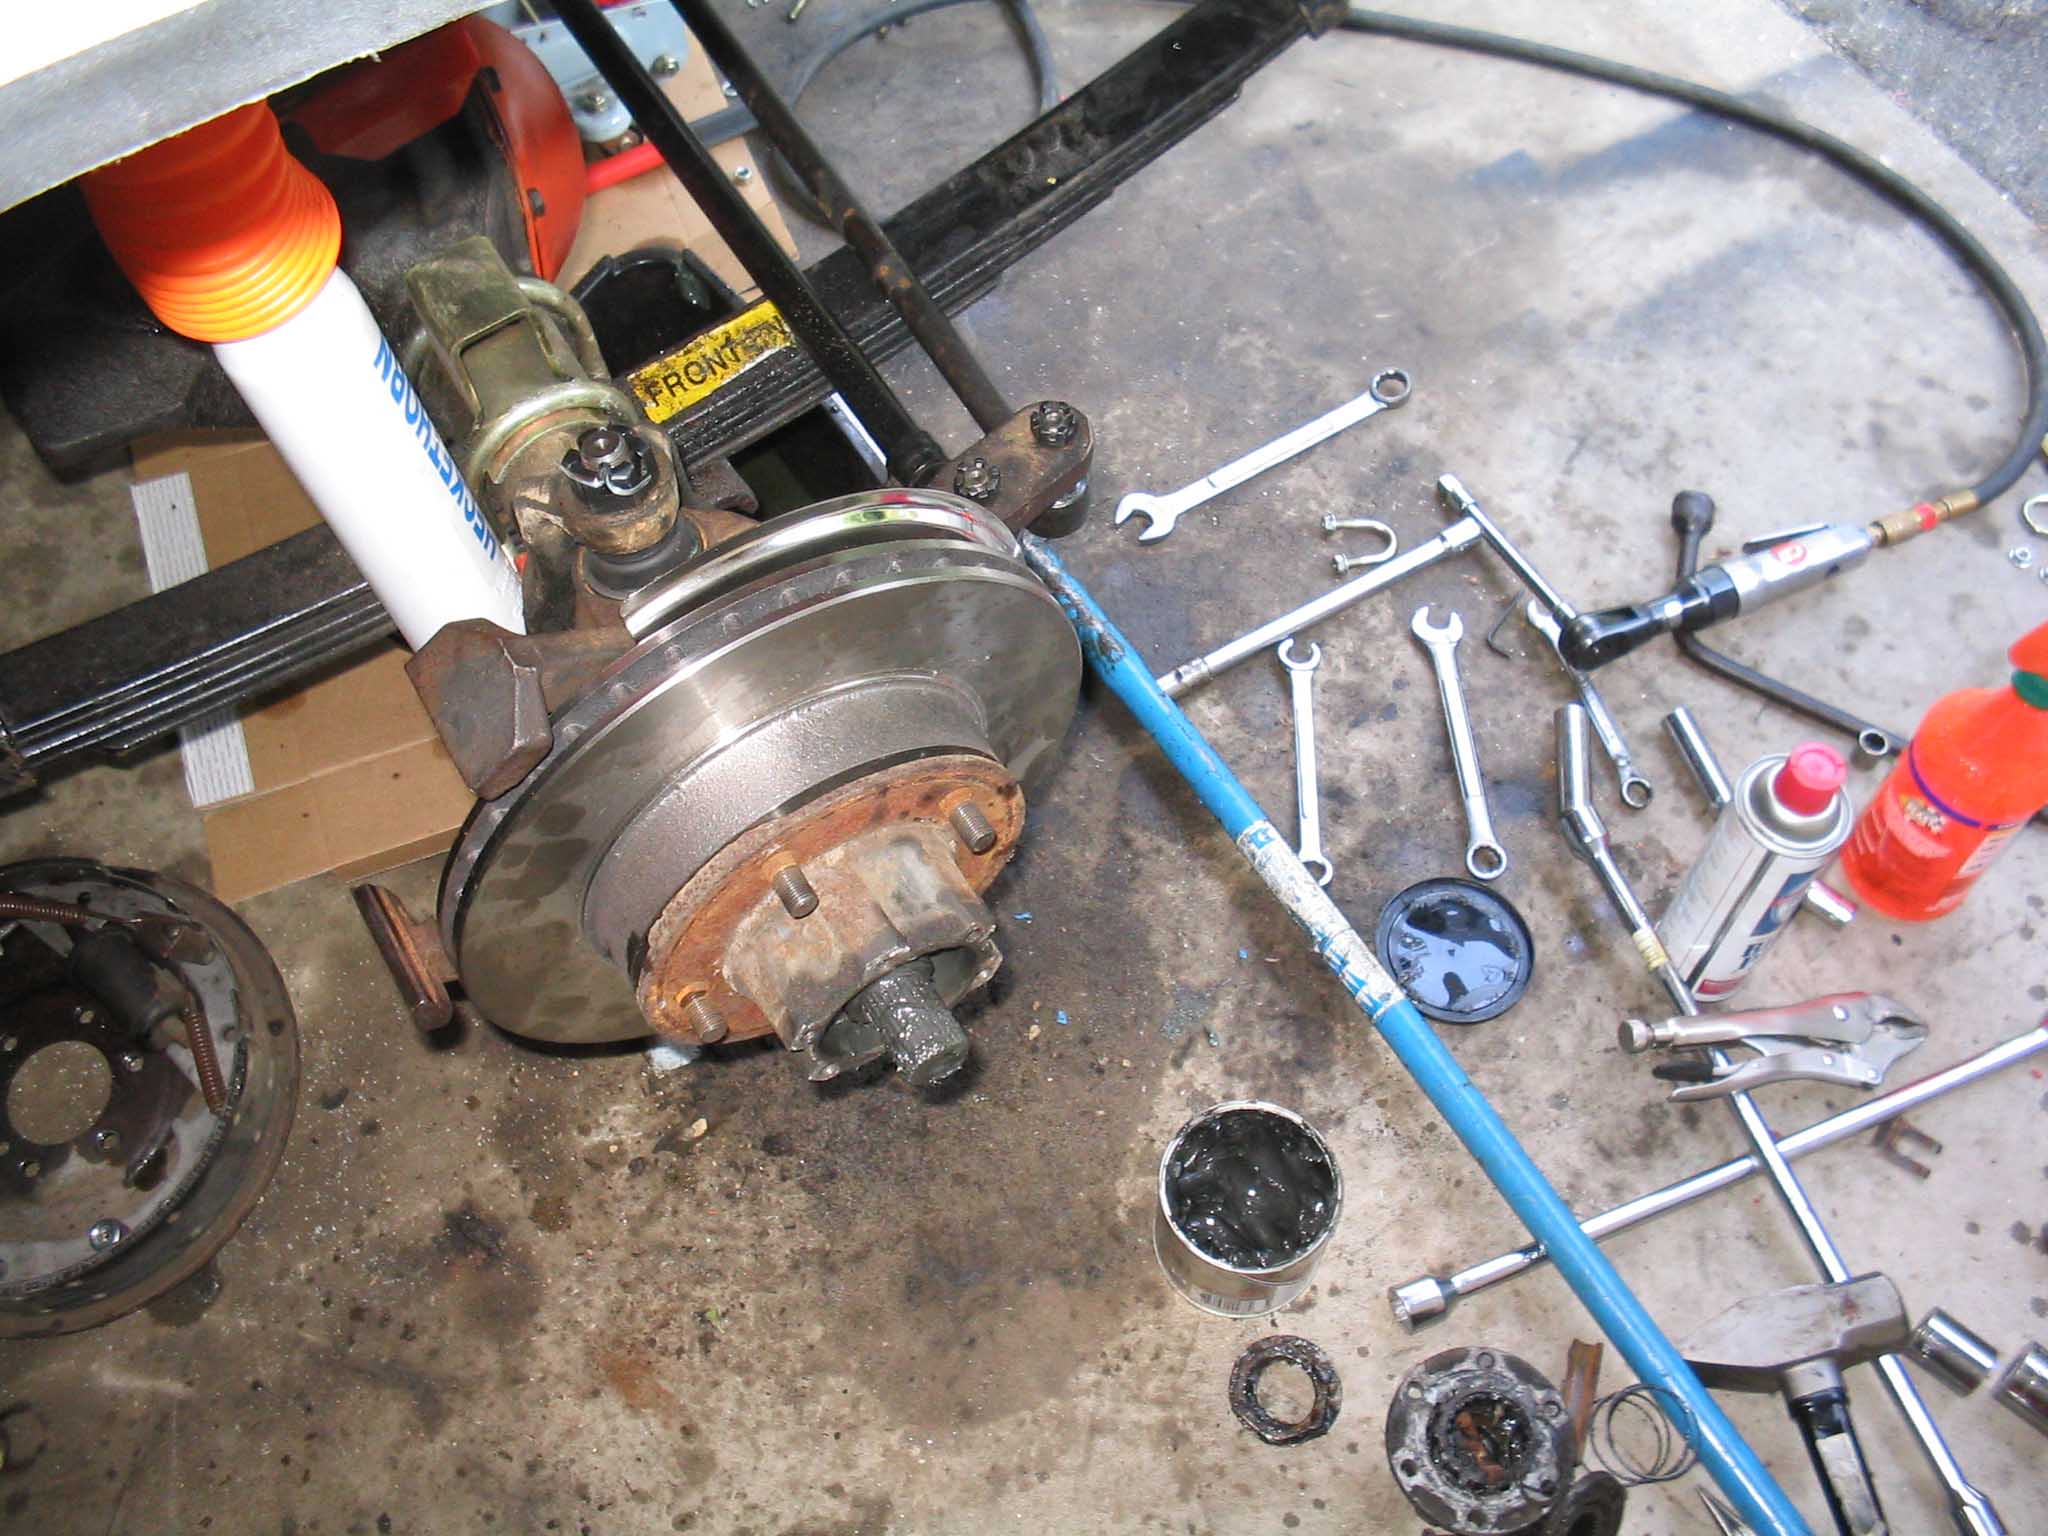
As you can see in the below right picture, this knuckle setup has the caliper mount that
I didn't have in the top picture of the knuckles. This is the most important item for the disc brake swap. I put
on the knuckles, set the pre-load correctly and then torqued everything down the way the manual stated. The
pre-load I am referring to is the sleeve in the upper knuckle hole that holds the ball joint in place. You first
have to torque down the lower ball joint, then set the pre-load, then torque down the upper ball joint. If this
isn't done, you will end up wandering all over the road because both sides won't be equally set. This must be
done if you want any hope of all in having the work you are undertaking to work correctly.
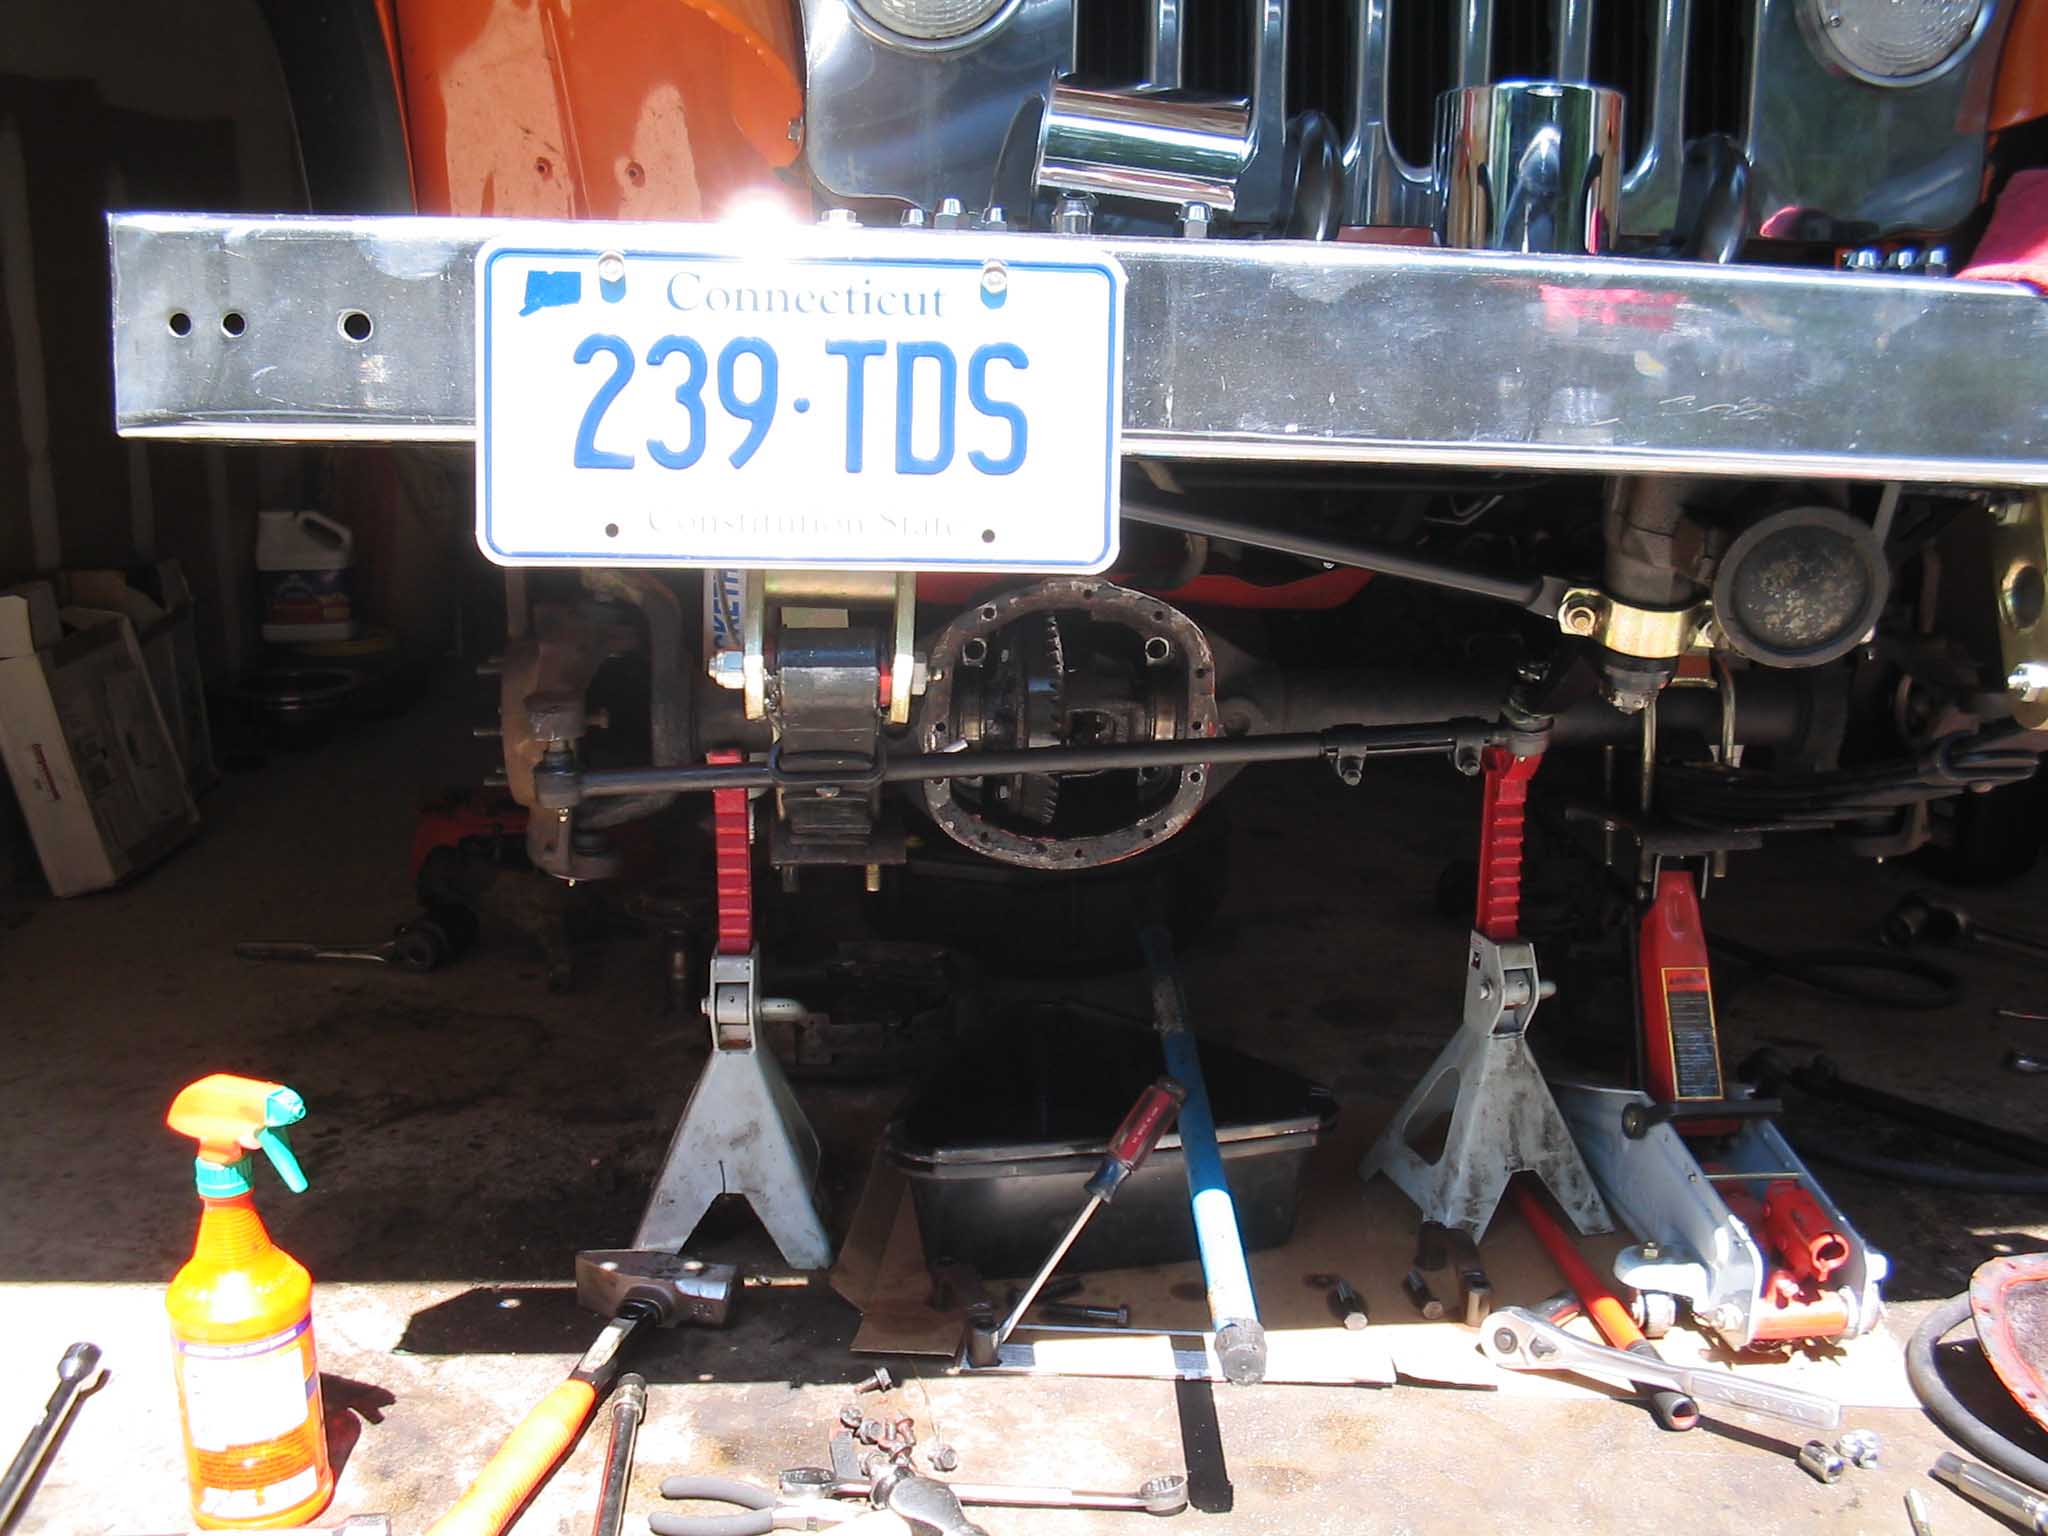
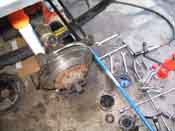
Also, this is a good time to drain and refill the front differential and put a new gasket on. I took the
opportunity to also sand the cover down and respray it orange so it would match the rest of the rig and give it a
cleaner different look.
|
| |
|
|
| |
You will need to attain a socket for setting preload of the ball-joints. This socket
fits a little sleeve in the upper ball joint seat. The specifications are in the manual that you should have
bought already and read cover to cover. If you don't get this and forget to torque them correctly and you do it
by fell as I did, you will have unevenly torqued ball joints and when you go down the road, you will feel as if
the front end is wandering all over the road and your top speed will probably be around 40 mph. You will have to
re-tear down the front end because of not torquing it correctly and you will become agitated and bitter. Don't
be like me, do it right the first time and never assume you know more then the manufacturers. If you don't know
something, don't guess. It will more then likely get you killed going down the road.
After the knuckles are on and are torqued down correctly, you have to slide the axles back in, put on the
spindles, and button up the rest of the parts in the order you took them off. It is best to lay them out in a
line of how you took them off; it makes reassembly a lot easier. Remember to use axle grease liberally where
applicable and make sure you pack the bearings correctly. You can do this with a bearing packer, or put a
dollop of grease in your hand and smack the grease into the races. Make sure the grease penetrates and isn't
just sitting on the surface.
|
| |
|
|
| |
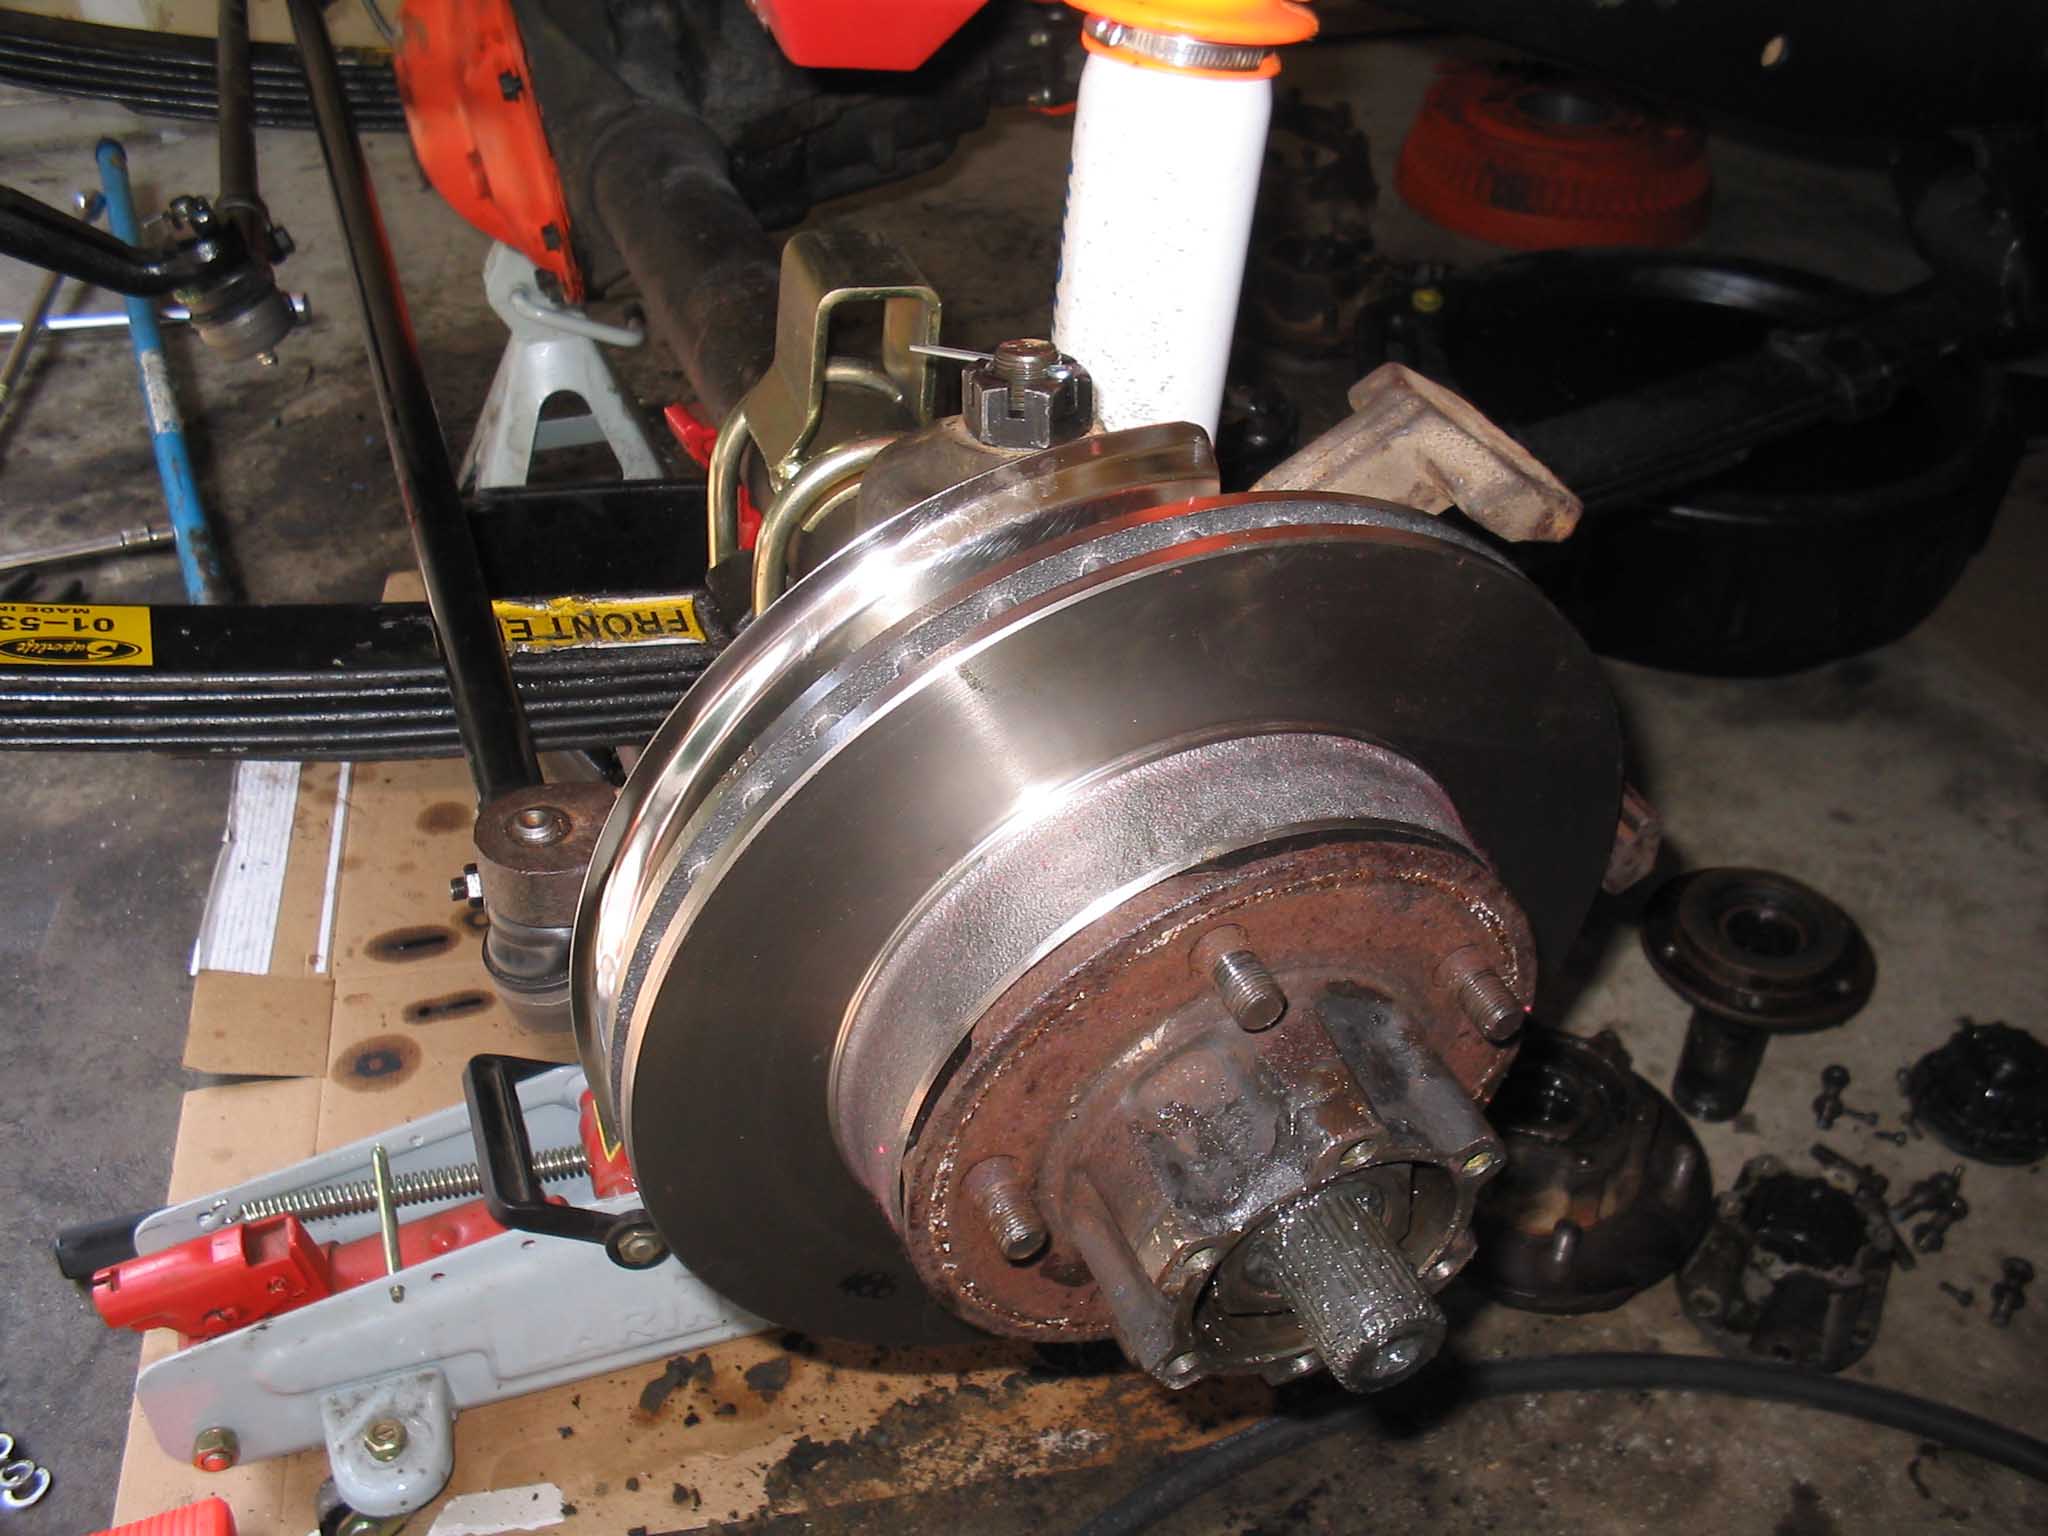
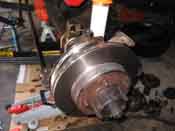
If you want to replace the backing plates, now is the time. They come in black metal, or as you can see in the
picture, you can upgrade to stainless steel ones. I opted for this because the ones I pulled off were in quite
bad shape and they had rusted to the knuckle assembly and I had a hard time getting the nuts off to remove it. A
lot of time with a chisel was required to remove all the fused material between the studs. Be careful not to snap
these off when removing the nuts or you will have to address this on the existing knuckle or get new ones. You
will have to transfer the wheel stud lugs to the new hubs if you are converting from 5 to 6 bolt on the hub
and put the rotor assembly together. Make sure these are fastened down correctly. You can do this with a sledge
and a vise, or you can have the machine shop press it all together for you. Next, you then have to slide the
brake pads into the calipers and put the calipers on. I opted for new calipers, so the cylinder was pressed all
the way out for easy assembly. If you don't have new ones, you can use a C-clamp to push out the inner cylinder all
the way out. If there is difficult moving, you will have to address this so it moves free and there is no binding.
Next. Connect up the brake hoses and make sure they aren't binding. With all that done, you have your final
assembly. Take a step back and admire your work, you are almost done.
Once all the components are in place and everything is buttoned up, you will have to bleed the brakes. There is
the old fashion way of having someone press on the brakes and you crack the bleeders, or you can buy a new system
that will bleed them through air pressure, either way, you have to make sure this is done correctly or nothing will
work. This is a good time to check the rear brakes as well. Make sure your reservoir is full the entire time or
you will get air into your lines. Once this is done, you are all set. You now have disc brakes. Maybe it is time
for a power booster upgrade as well to help assist more with your new stopping power.
|
| |
| Lessons Learned the Hard Way |
| |
So, my lessons learned here would have to be is not to do anything that I think is
right and to read the re-install torque information. This would have saved an additional teardown and an
additional 4 hours worth of labor.
The second lesson learned is to gather up all the parts you are going to need to be machined and take them to the
machine shop at the same time. This saves on labor costs as well as time and fuel costs running back and forth.
I can't count all the times I went out, got everything I think I needed (because I was in a hurry to get it done)
only to find myself going back out to get more tools, buying more parts and wasting more time.
When disassembling the front drum parts, take your time if you plan on selling these to help re-coop the cost of
the project. I was in a hurry and broke the stainless steel brake hose on the passenger side. This sucked since
the 50 bucks I spent on the hoses a few weeks earlier was now gone and I just sent the single line along with the
drum setup and lost that money.
|
| |
| Conclusions |
| |
Number one, don't be like me. I am the type of person that now isn't soon enough.
Take your time; it will pay off big time in the end. I spent so much time running around because I was trying to
get this done so I could take it out and enjoy it that I ended up doing it 2 times over. Granted the second time
I did this on my CJ-7 it didn't take as long, but you just have to learn through experience to know what to do and
in what order.
When taking off parts, think about how you are going to sell them if you plan to. I took off the entire backing
plate assembly and sold that as a whole unit. This makes the buyer happy as well as you the seller. The buyer
can bolt it on without having to assemble and you save on packaging costs. Also, think about if you plan on
selling pieces or the entire setup. I opted for pieces as I thought it would net out more money. It did in the
long run, but I ended up running to UPS a lot more then I planned on to send out the individual pieces.
Be prepared to see things inside that might be broken as well, this is always the case. I had to re-use the
warn hubs from the old setup because even though the new ones looked better from the outside, the internals were
in not as good shape as the old ones. This comes into play more if you are going from 5 bolt to 6 bolt. Make sure
that you account for this as things are not always as they seem.
|
| |
| << Previous |
<< First |
|