| Front Speaker Pod Installation |
| |
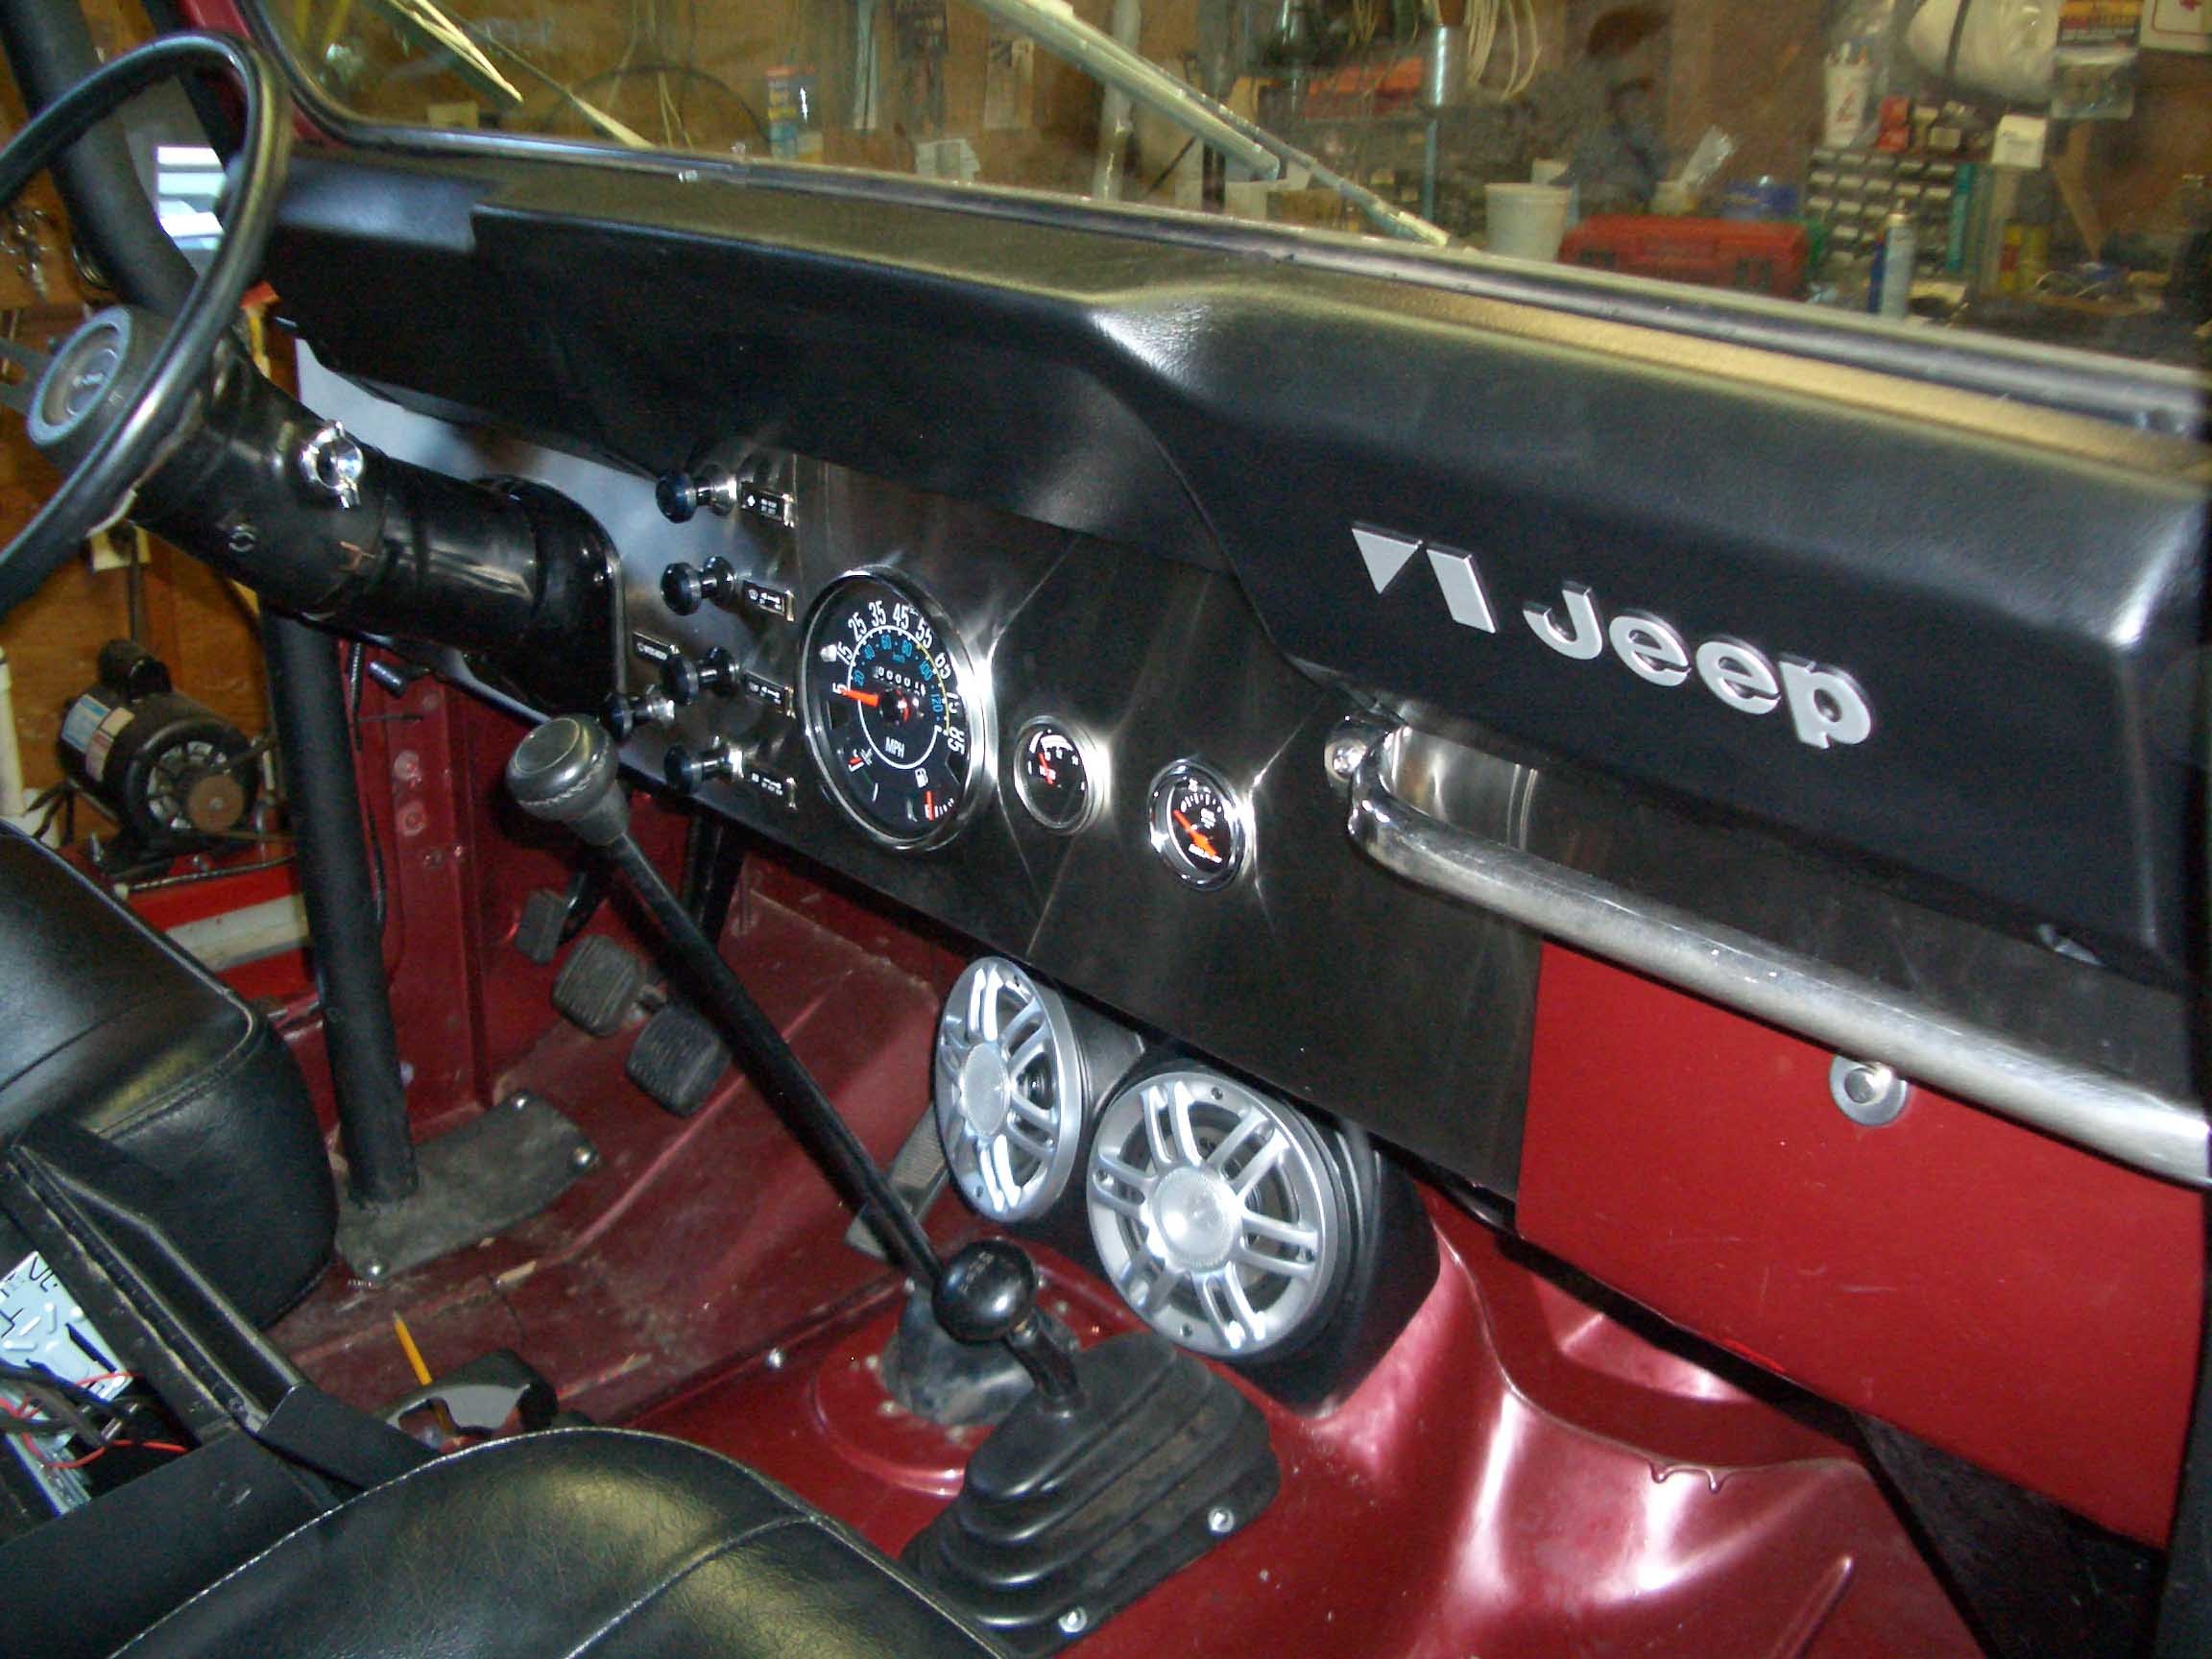
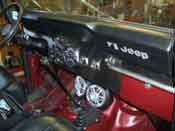
| So, with the new stainless steel dash installed, it was on to figure out how
front speakers could be added with minimal effort. After looking through the
Quadratec catalog, we came across
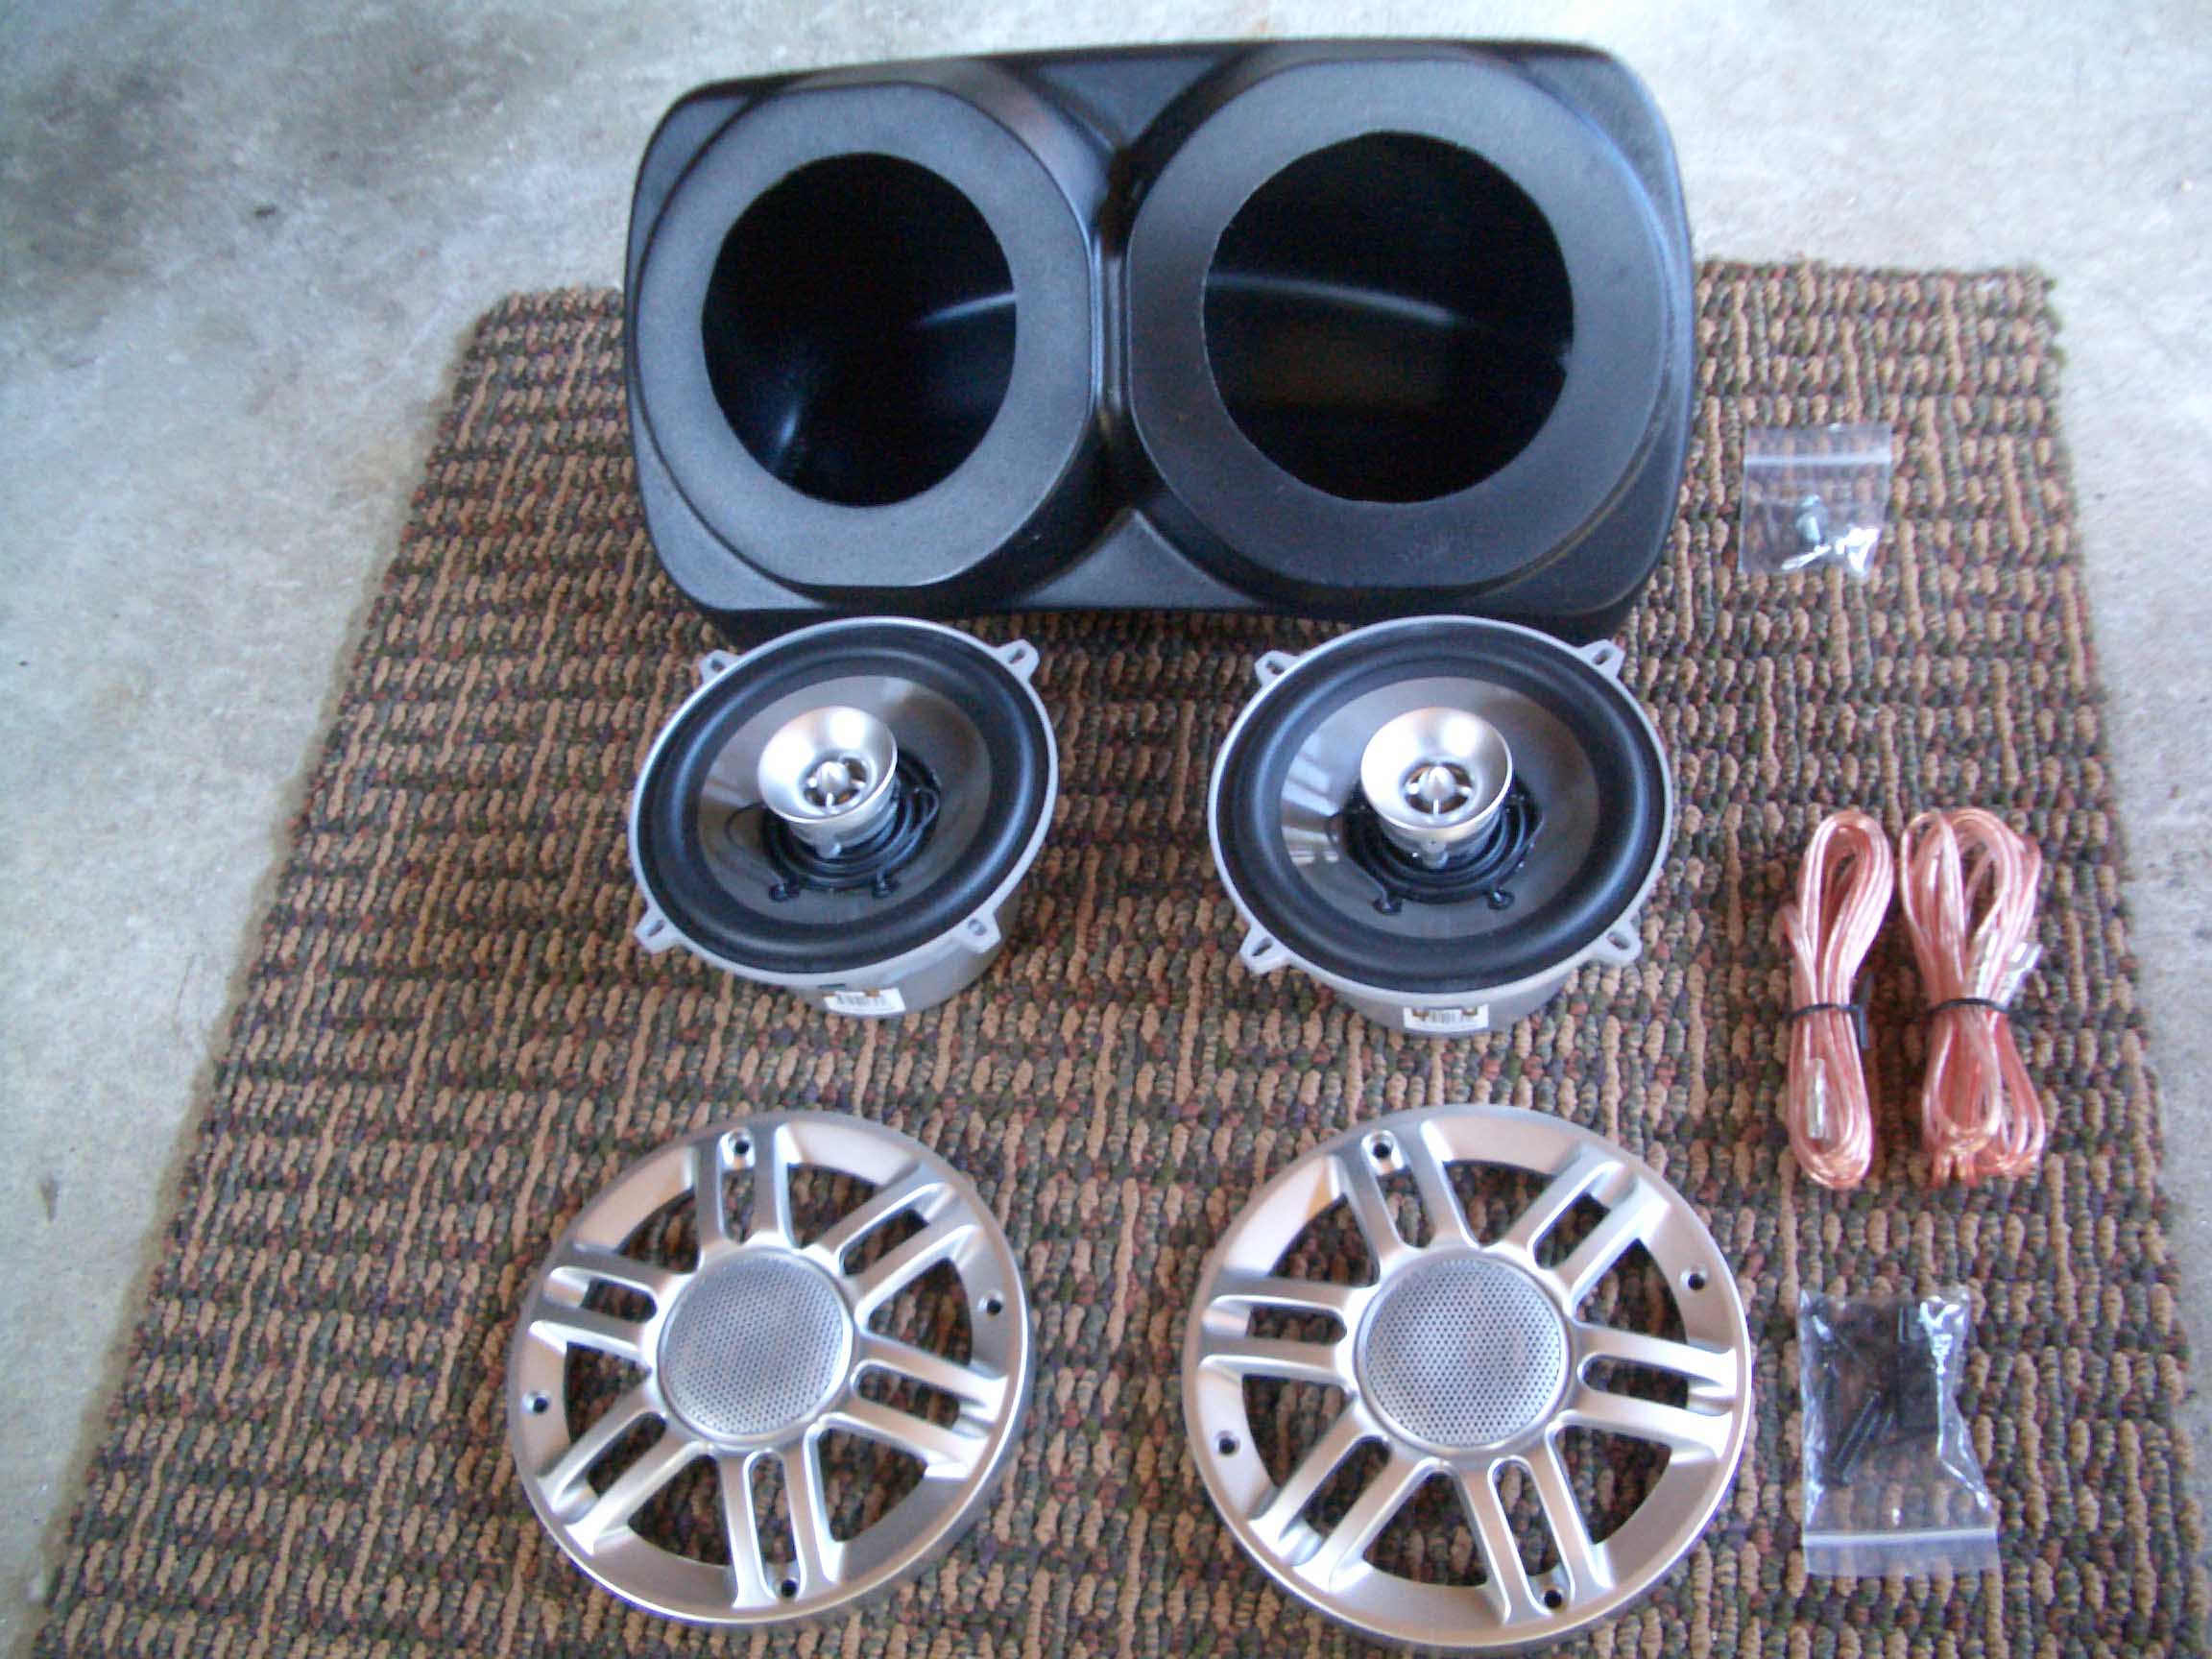
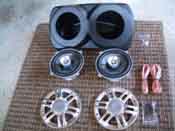
a speaker pod setup (part# 14136 03) that looked like it would work great. The speaker pods
would hold a pair of 5.25" speakers and you could order them with or without the speakers. We opted for not
getting the speakers with the pod and ordered it up and it arrived a few days later.
|
| |
|
|
| |
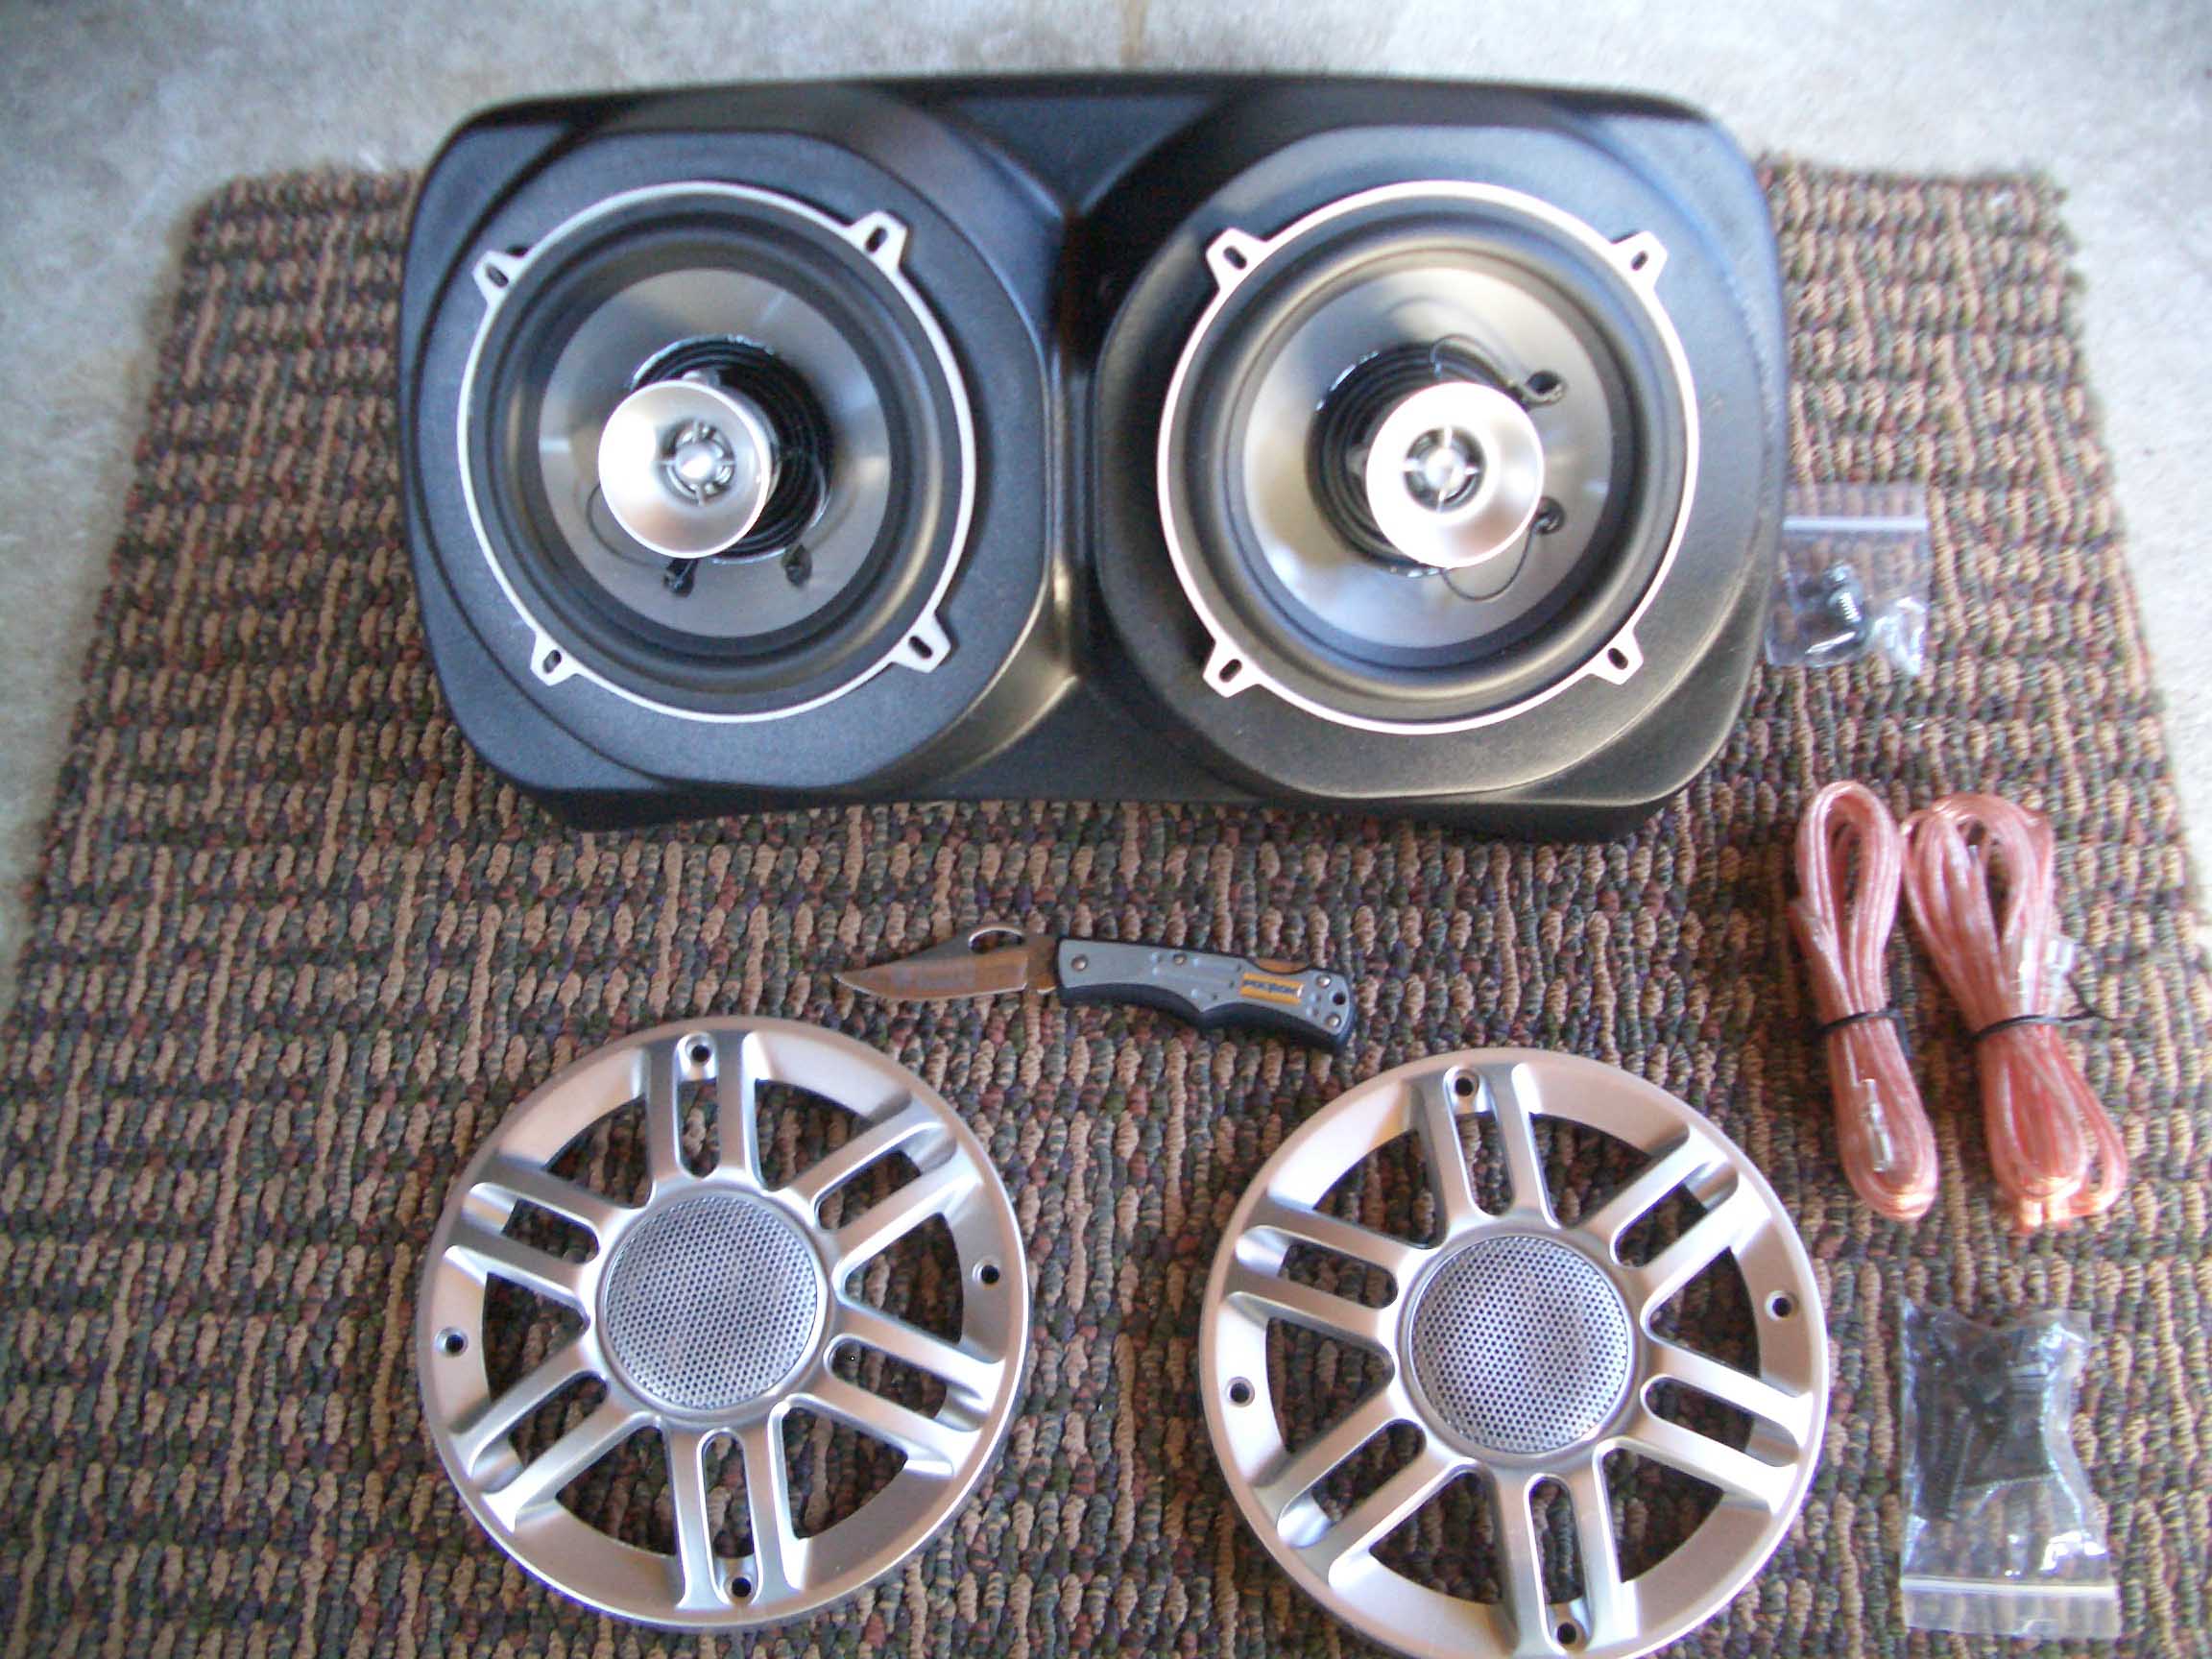
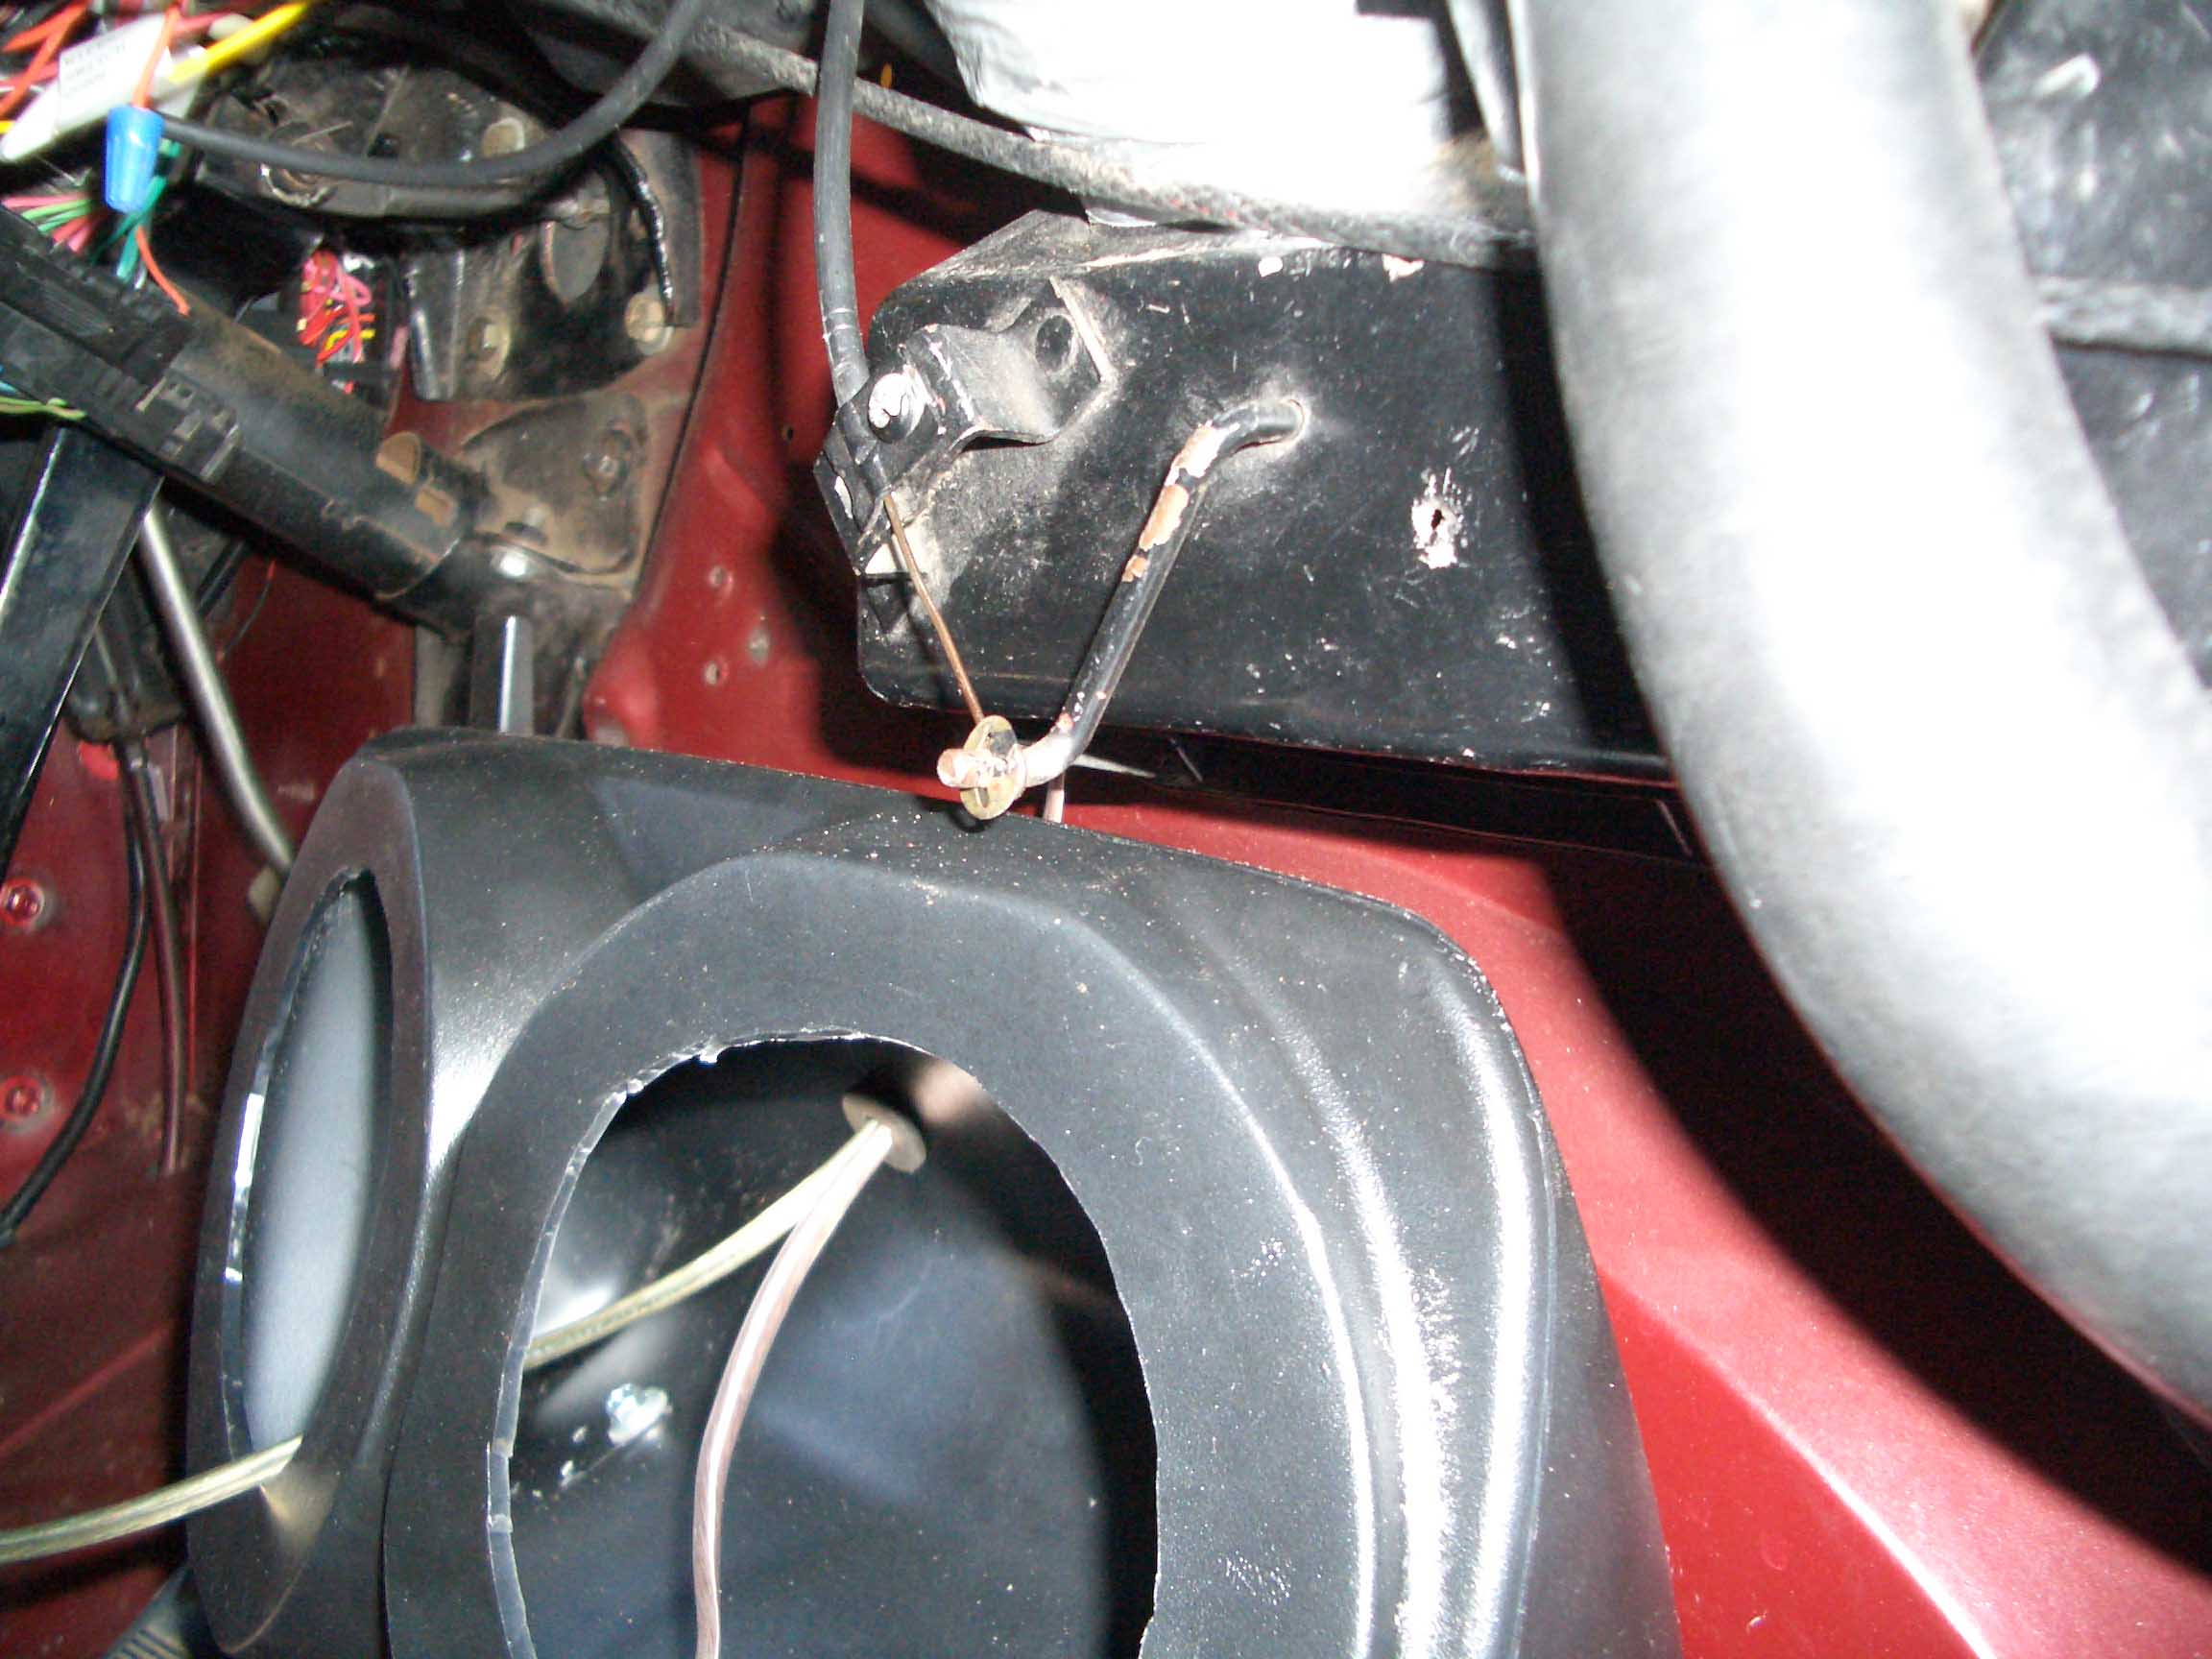
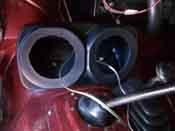
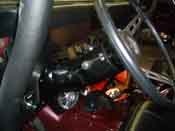
| So, with the speakers ordered up and the pod in, the pod installation began.
There are a few things to note here. First, in order to fit speakers to box, some cutting may be necessary
to enlarge the hole. After this is done, you will then have to fit box to transmission hump. The use of a line level
will make sure it looks OK.
|
| |
|

|
| |
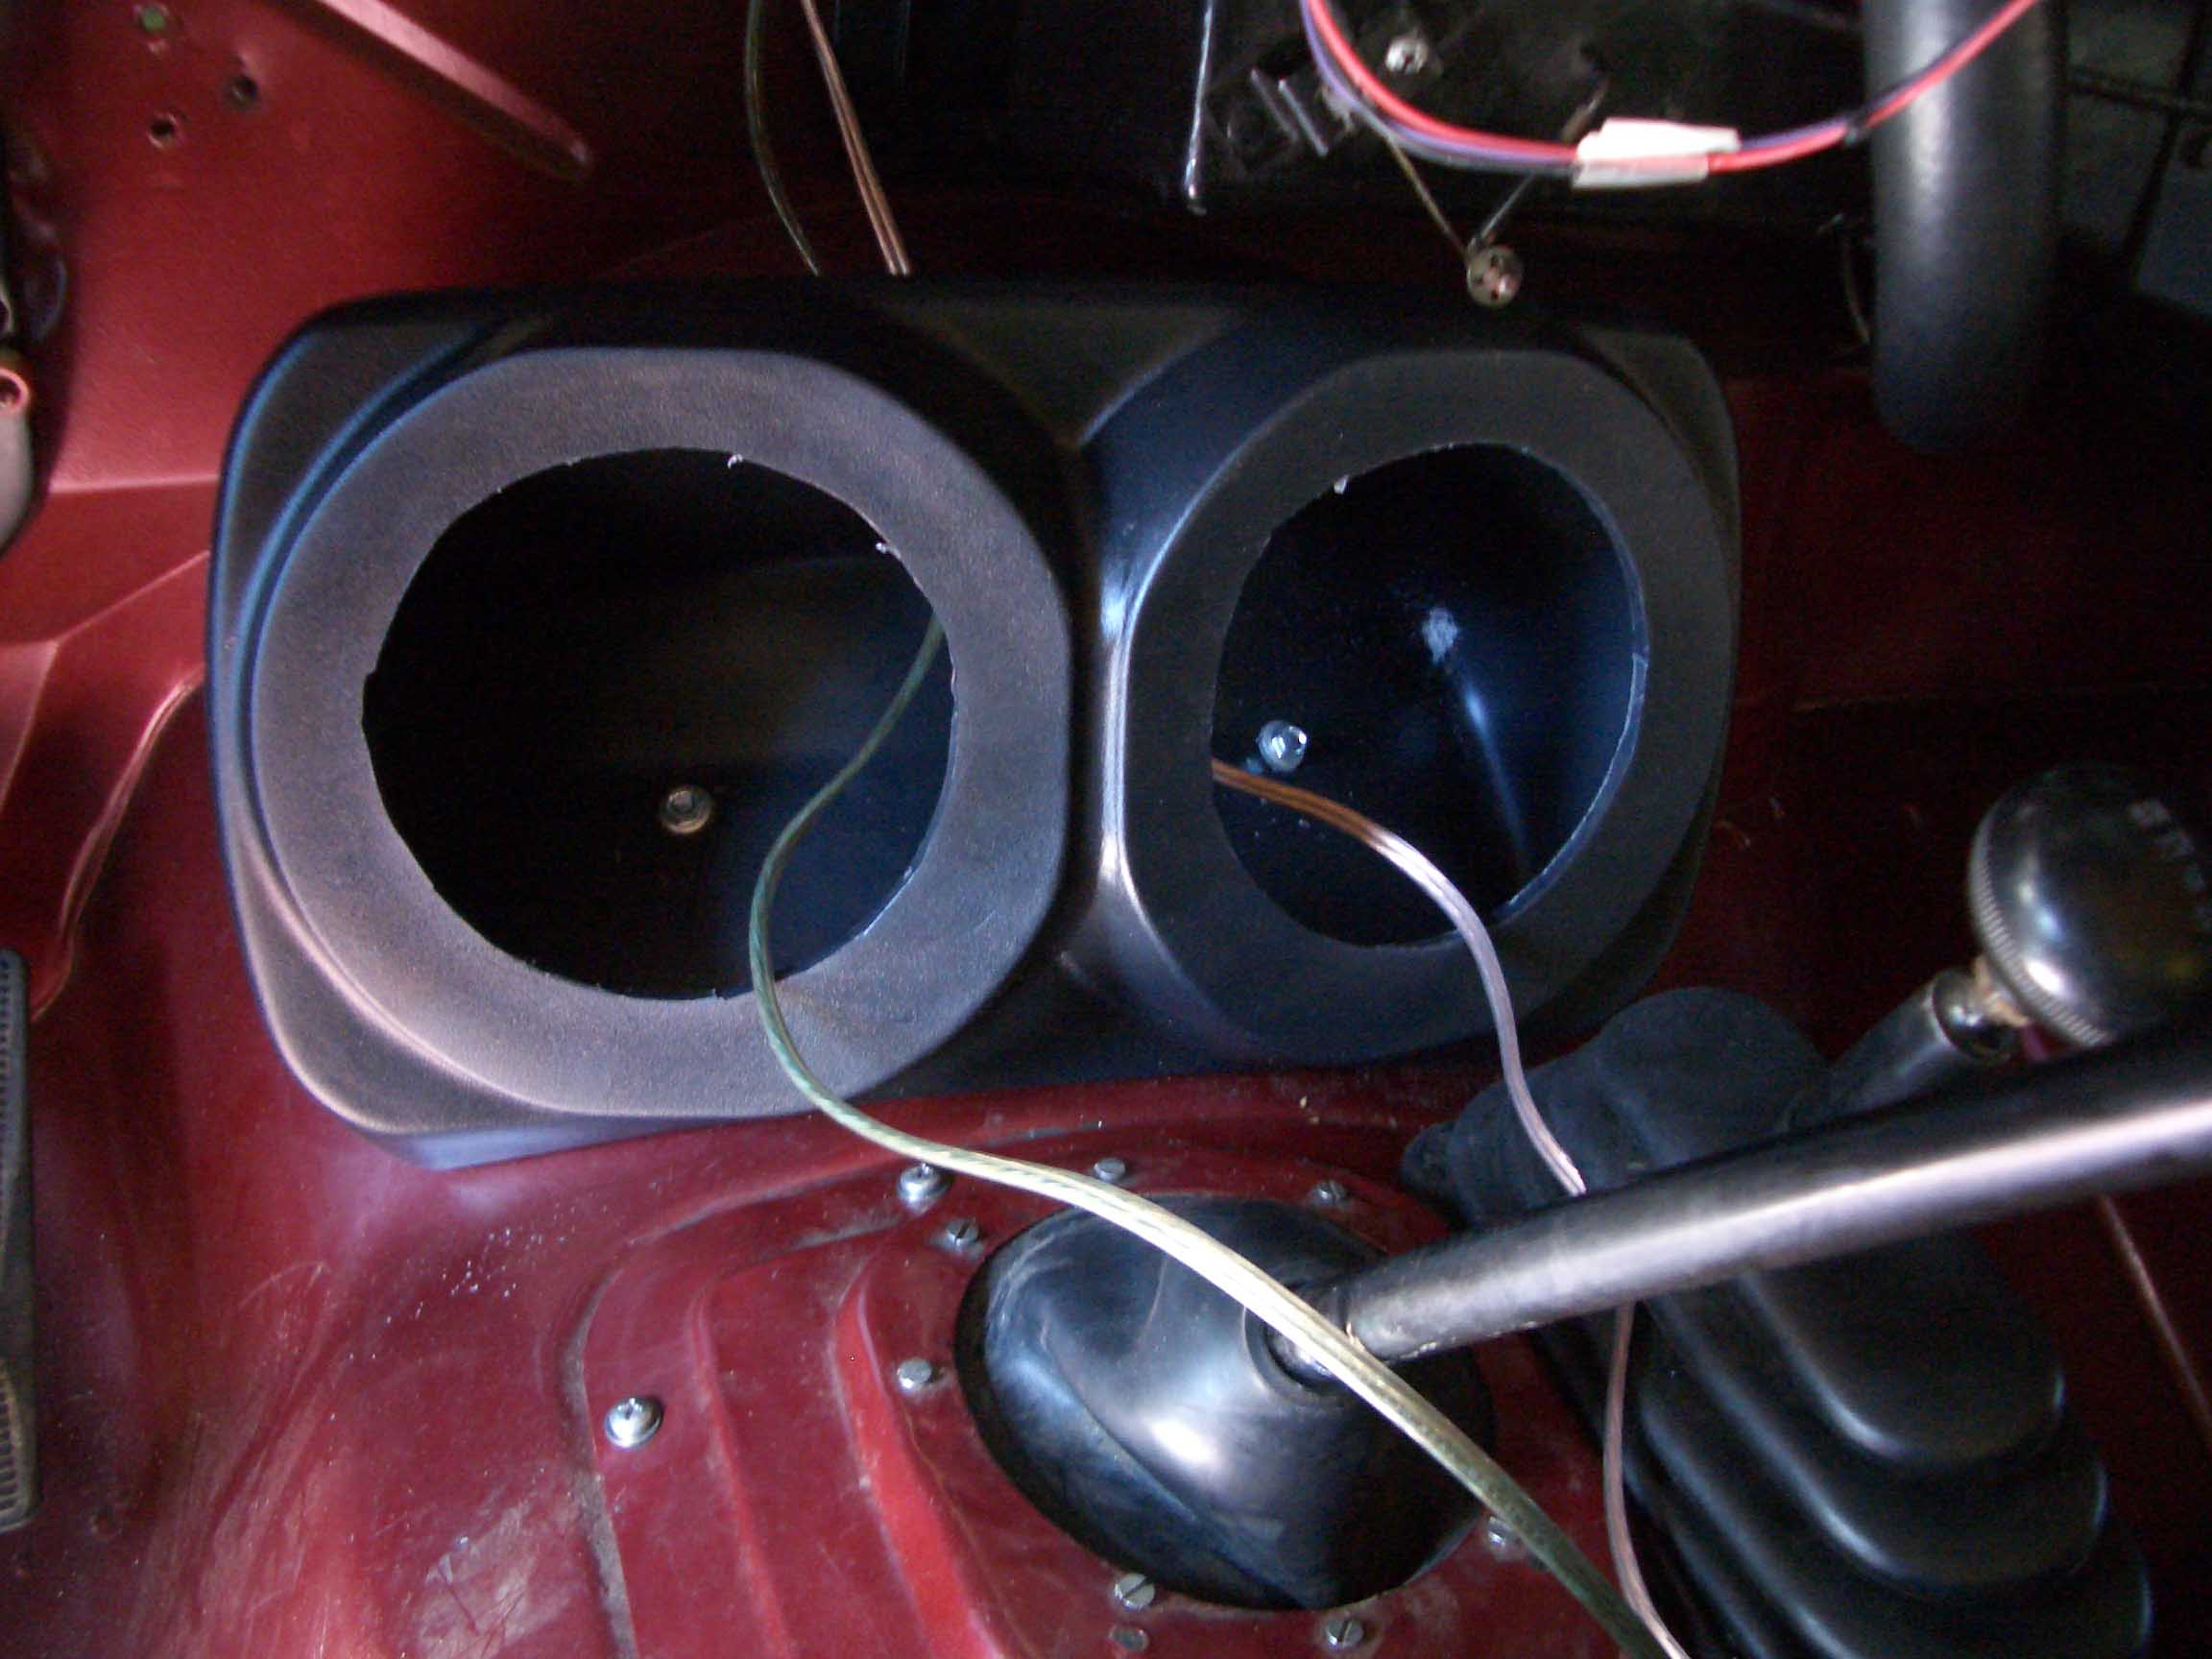
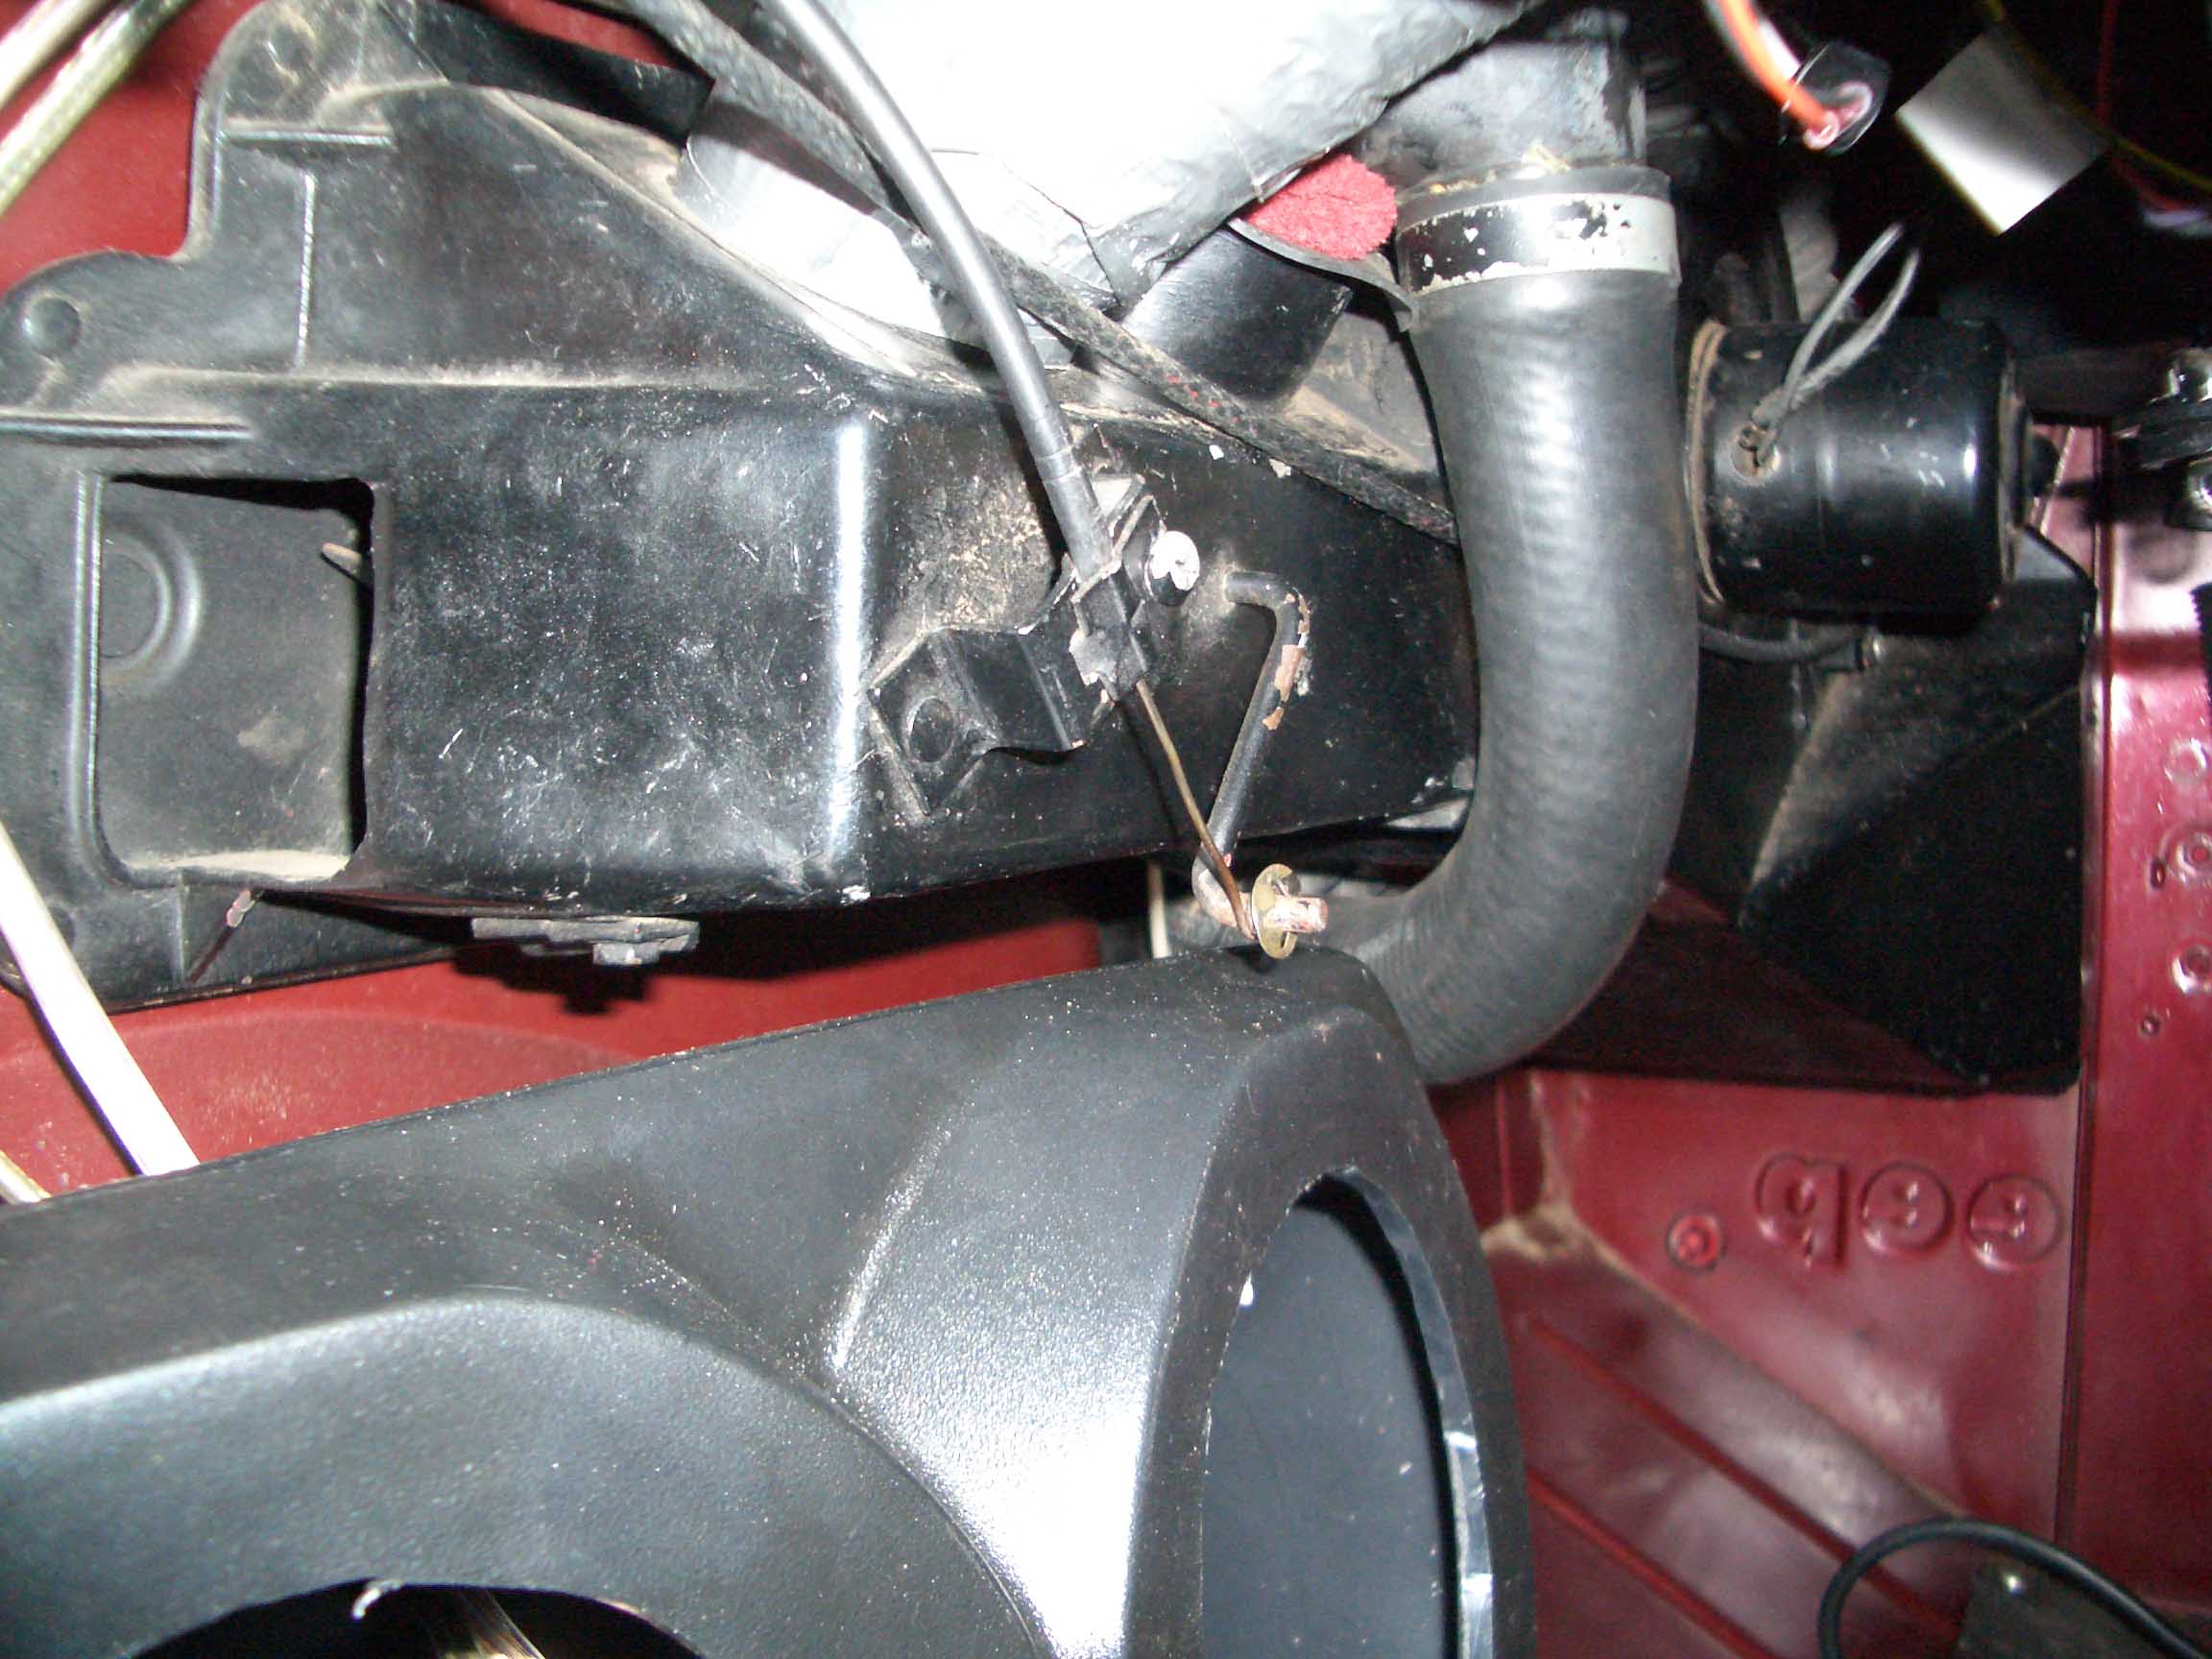
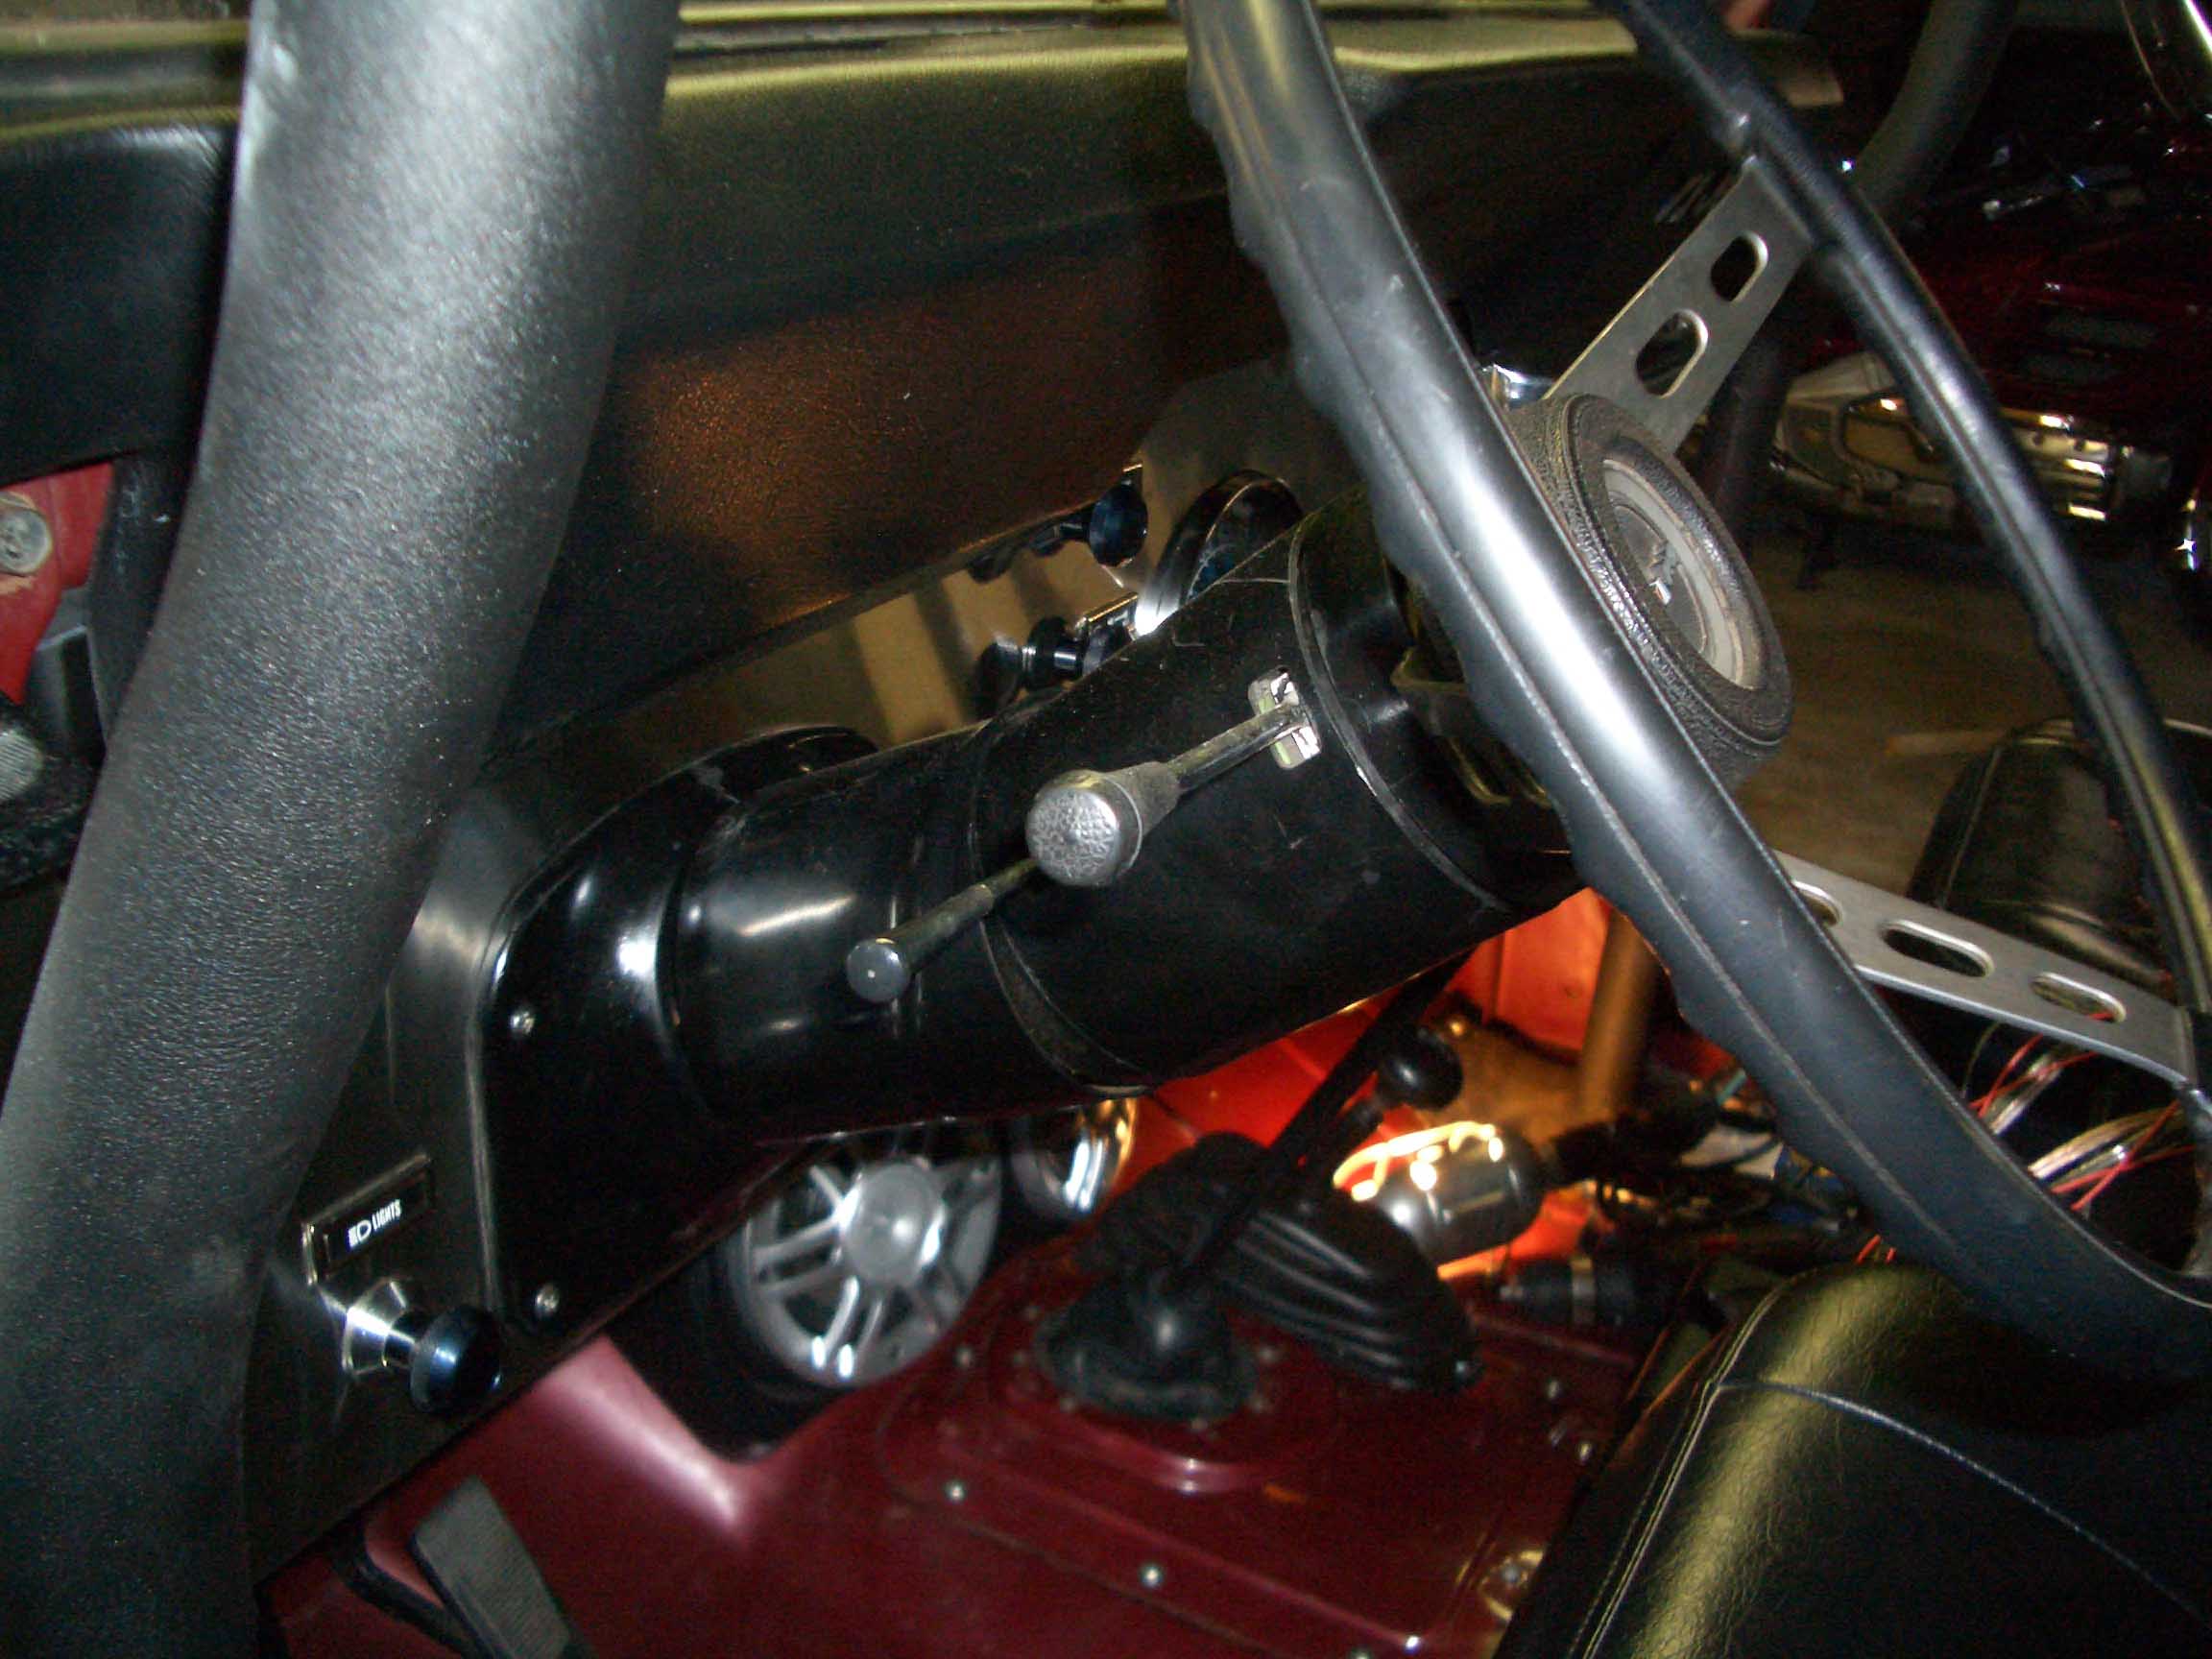
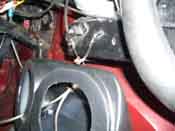
| Next, make sure the heater defroster cable works and you can shift into 4W high
without hitting the speakers. This is very important. This is an aftermarket part that is going in an area
that normally doesn't have anything there. Make sure when you put it in; everything works transmission, transfer
case, and heater wise.
|
| |
|

|
| |
| Next, place speaker wires thru hole in back of box. Once the wires are in place,
it is time to mount the pod itself. After the pod is wired up, mount box using the 2 self-tapping screws
provided as per instructions.
|
| |

|
|
| |
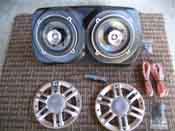
| Moving on, you can next connect wires to speakers as required noting the
positive connections. This is important to keep the speakers in phase with the head unit.
|
| |
|
|
| |
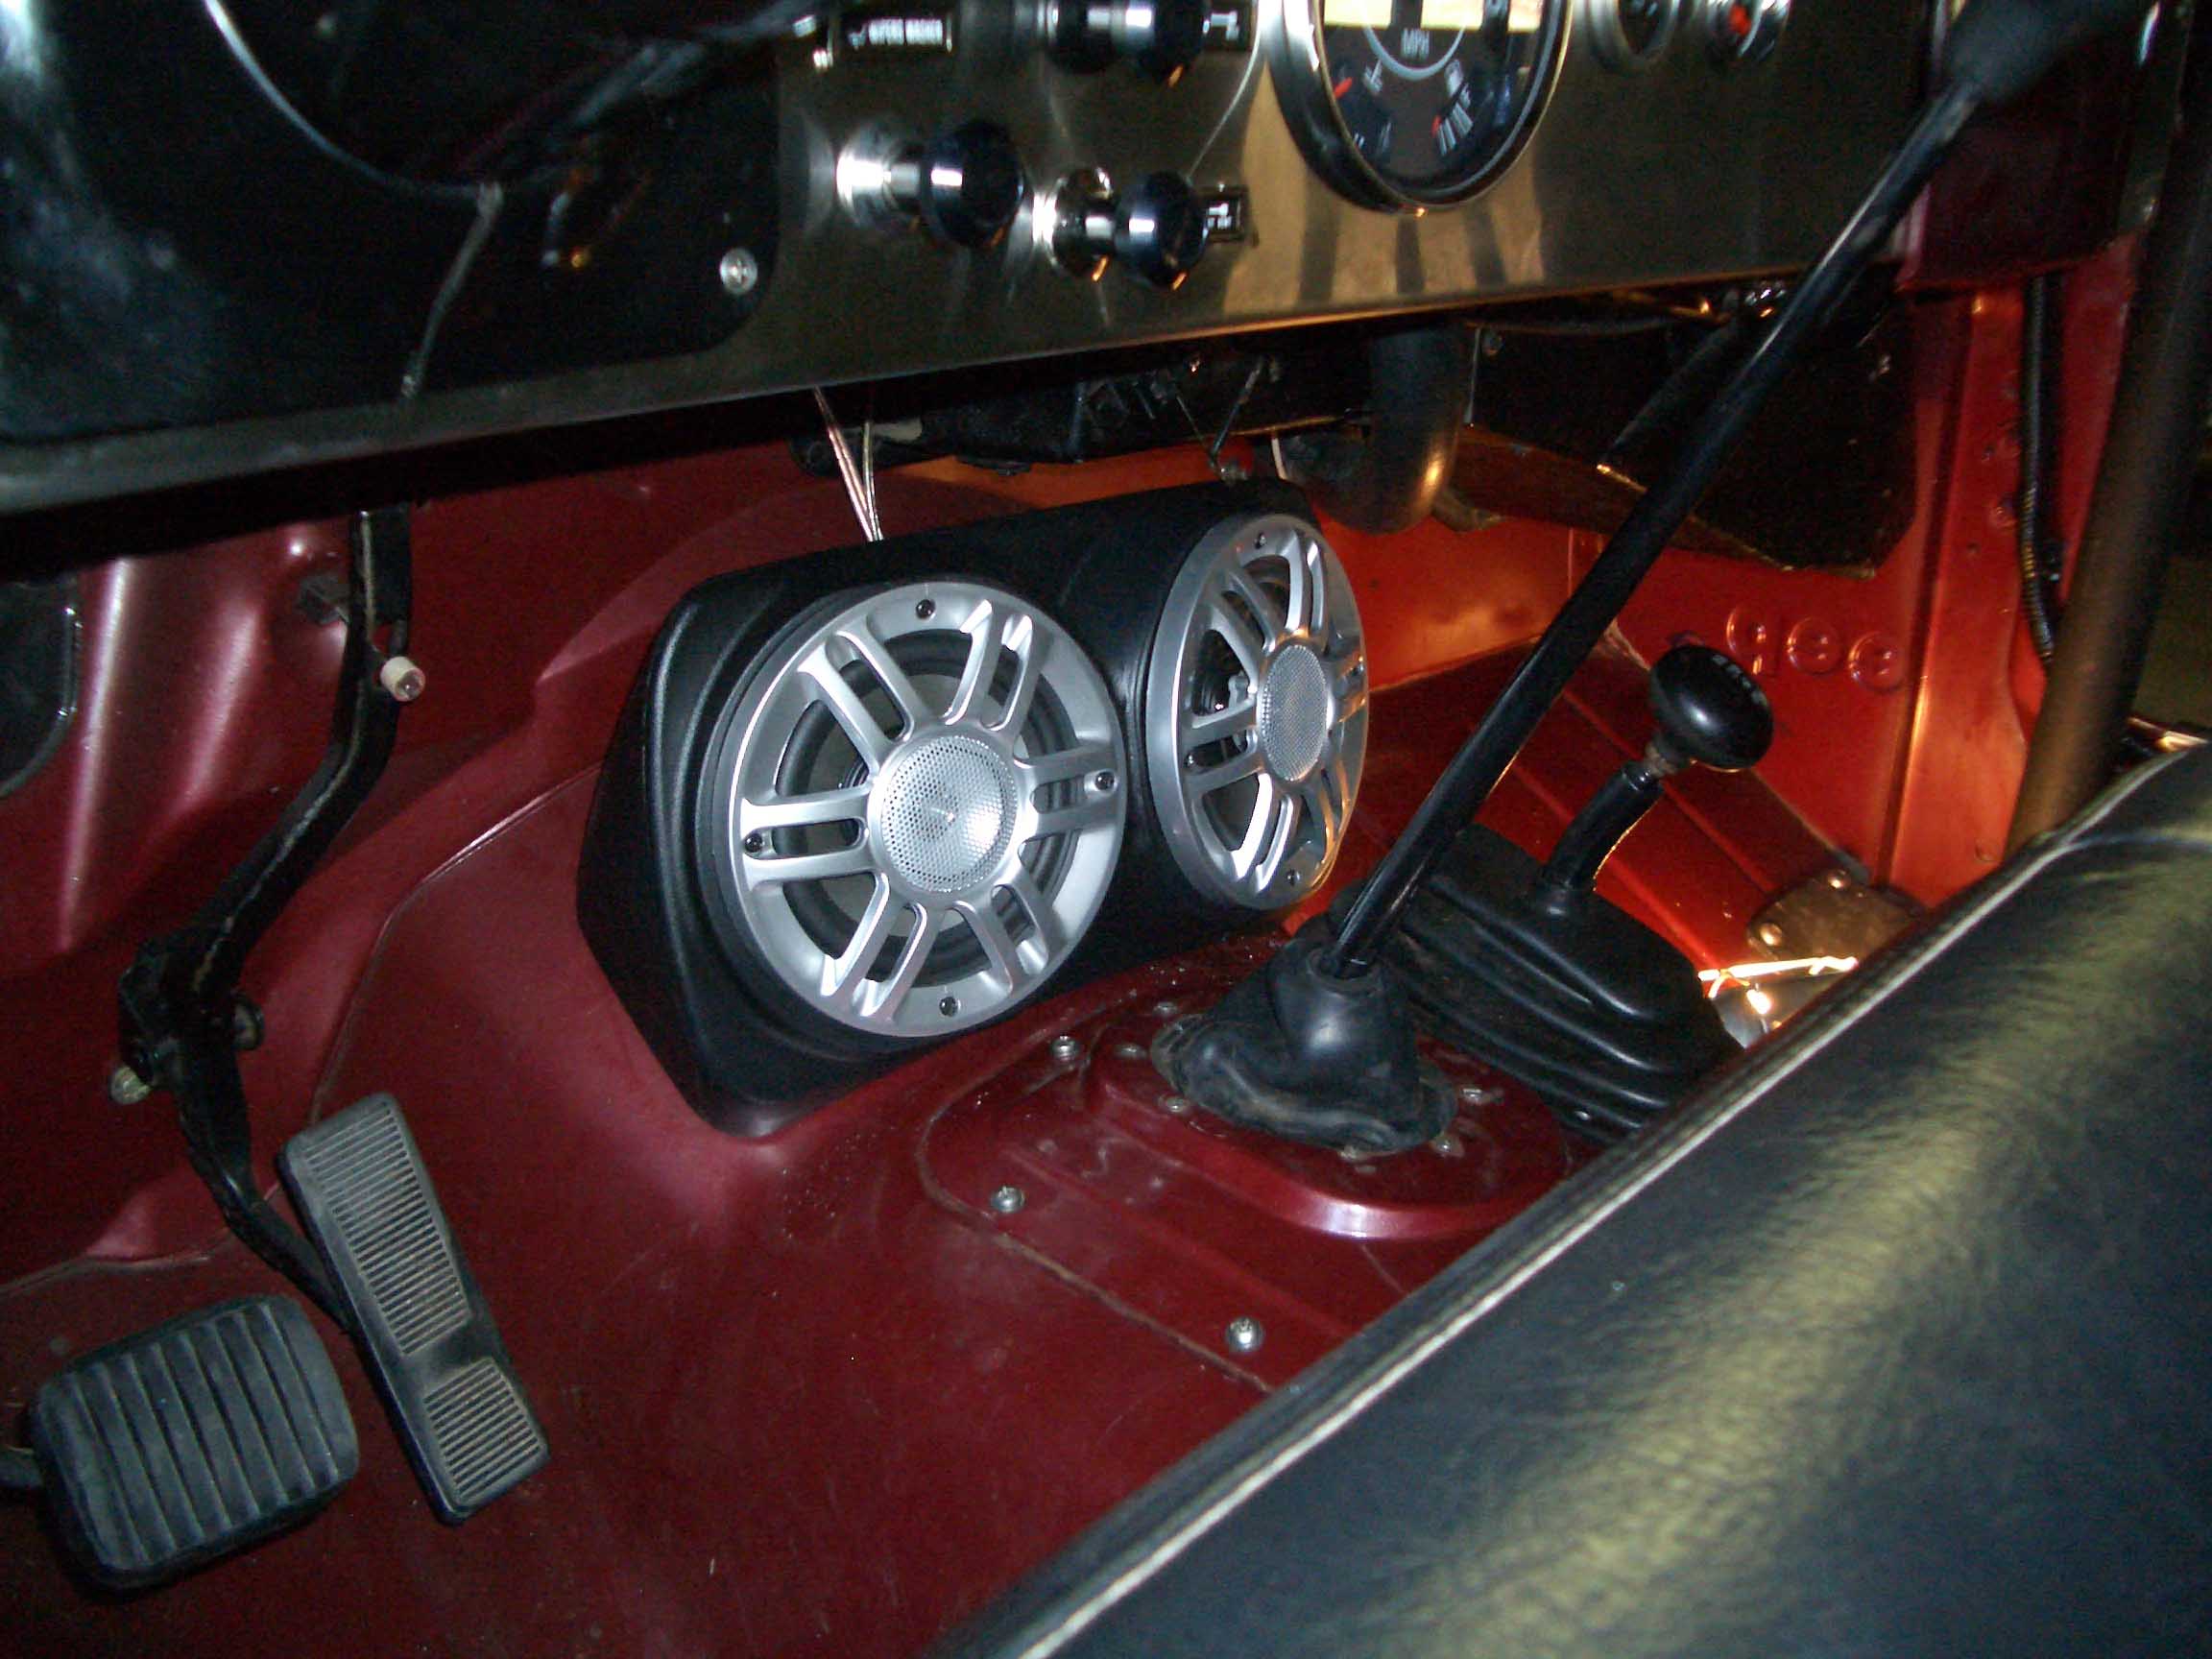
| Finally, you will need to drill holes in the box to mount speakers. With the
holes drilled, it is finally time to install the speakers and the speaker grills to box. With this completed,
the installation is complete and now you can hook up the speakers to the head unit.
|
| |
| Lessons Learned the Hard Way |
| |
| So, my lessons learned here would have to be that you will need the better part
of the day to put this in if you want to make sure that everything goes in as you expect it to. Since you will
be drilling into the body, make sure that any wires and fuel/brake lines are out of the way so you don't drill
into them. Take your time and you should be all set.
|
| |
| Conclusions |
| |
This is a fairly involved process that takes a lot of preparation work. The
process itself is fairly easy, but it requires a lot of patience. You will need to fit and make sure that
everything goes where it is supposed to and at the same time you will need to make sure that all the levers and
parts work with the new addition. This is especially important in the area of the 4wd shifter, the transmission
shifter and the heater cables and such.
NOTE: Thanks to Frank Schaub for the write-up notes on this. It made making the page all that much easier.
|