| Affordable Fuel Injection Installation - Part #2 |
| |
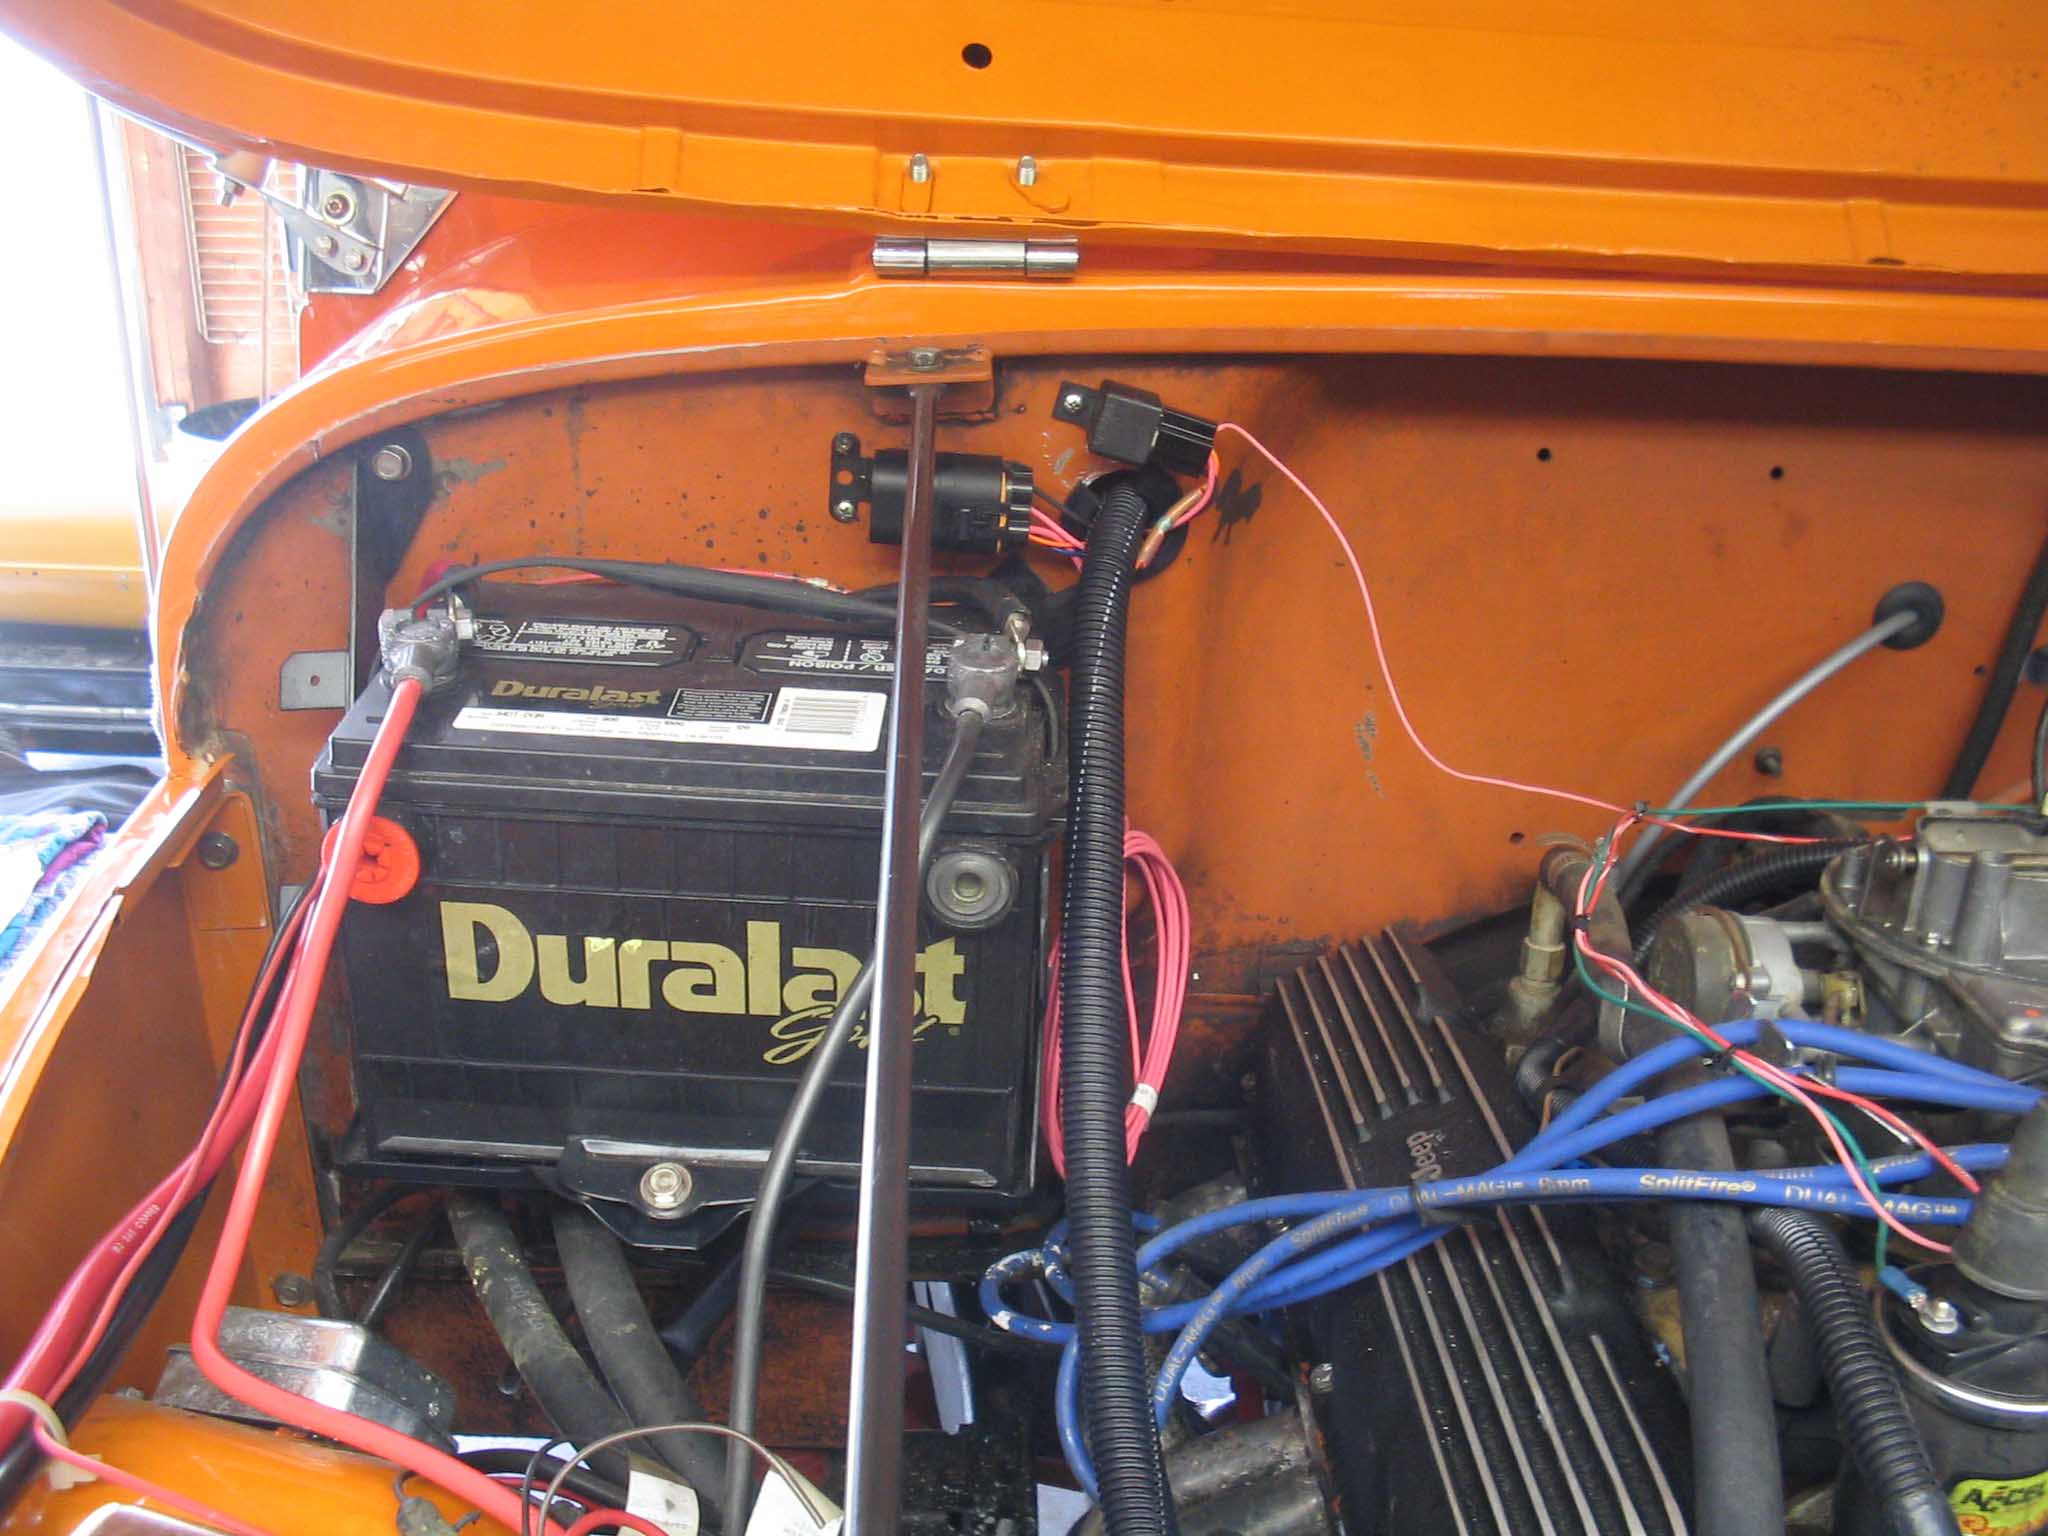
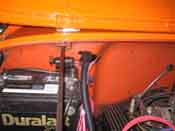
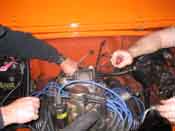
| Next, the wires were fed through the firewall and connected up to the computer.
The 2 main pieces of the harness were fed through to hook up to the computer as was the diagnostic port and
finally the idiot light for the engine warning to tell you if there was a problem.
|
| |

|
|
| |
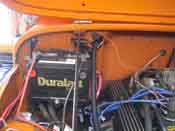
| With all that in the Jeep, the harness was laid out in the engine bay and the
O2 sensor was installed into the bung that was previously put in place. We moved onto disconnecting the
fuel lines and getting the carburetor off next.
|
| |

|
|
| |
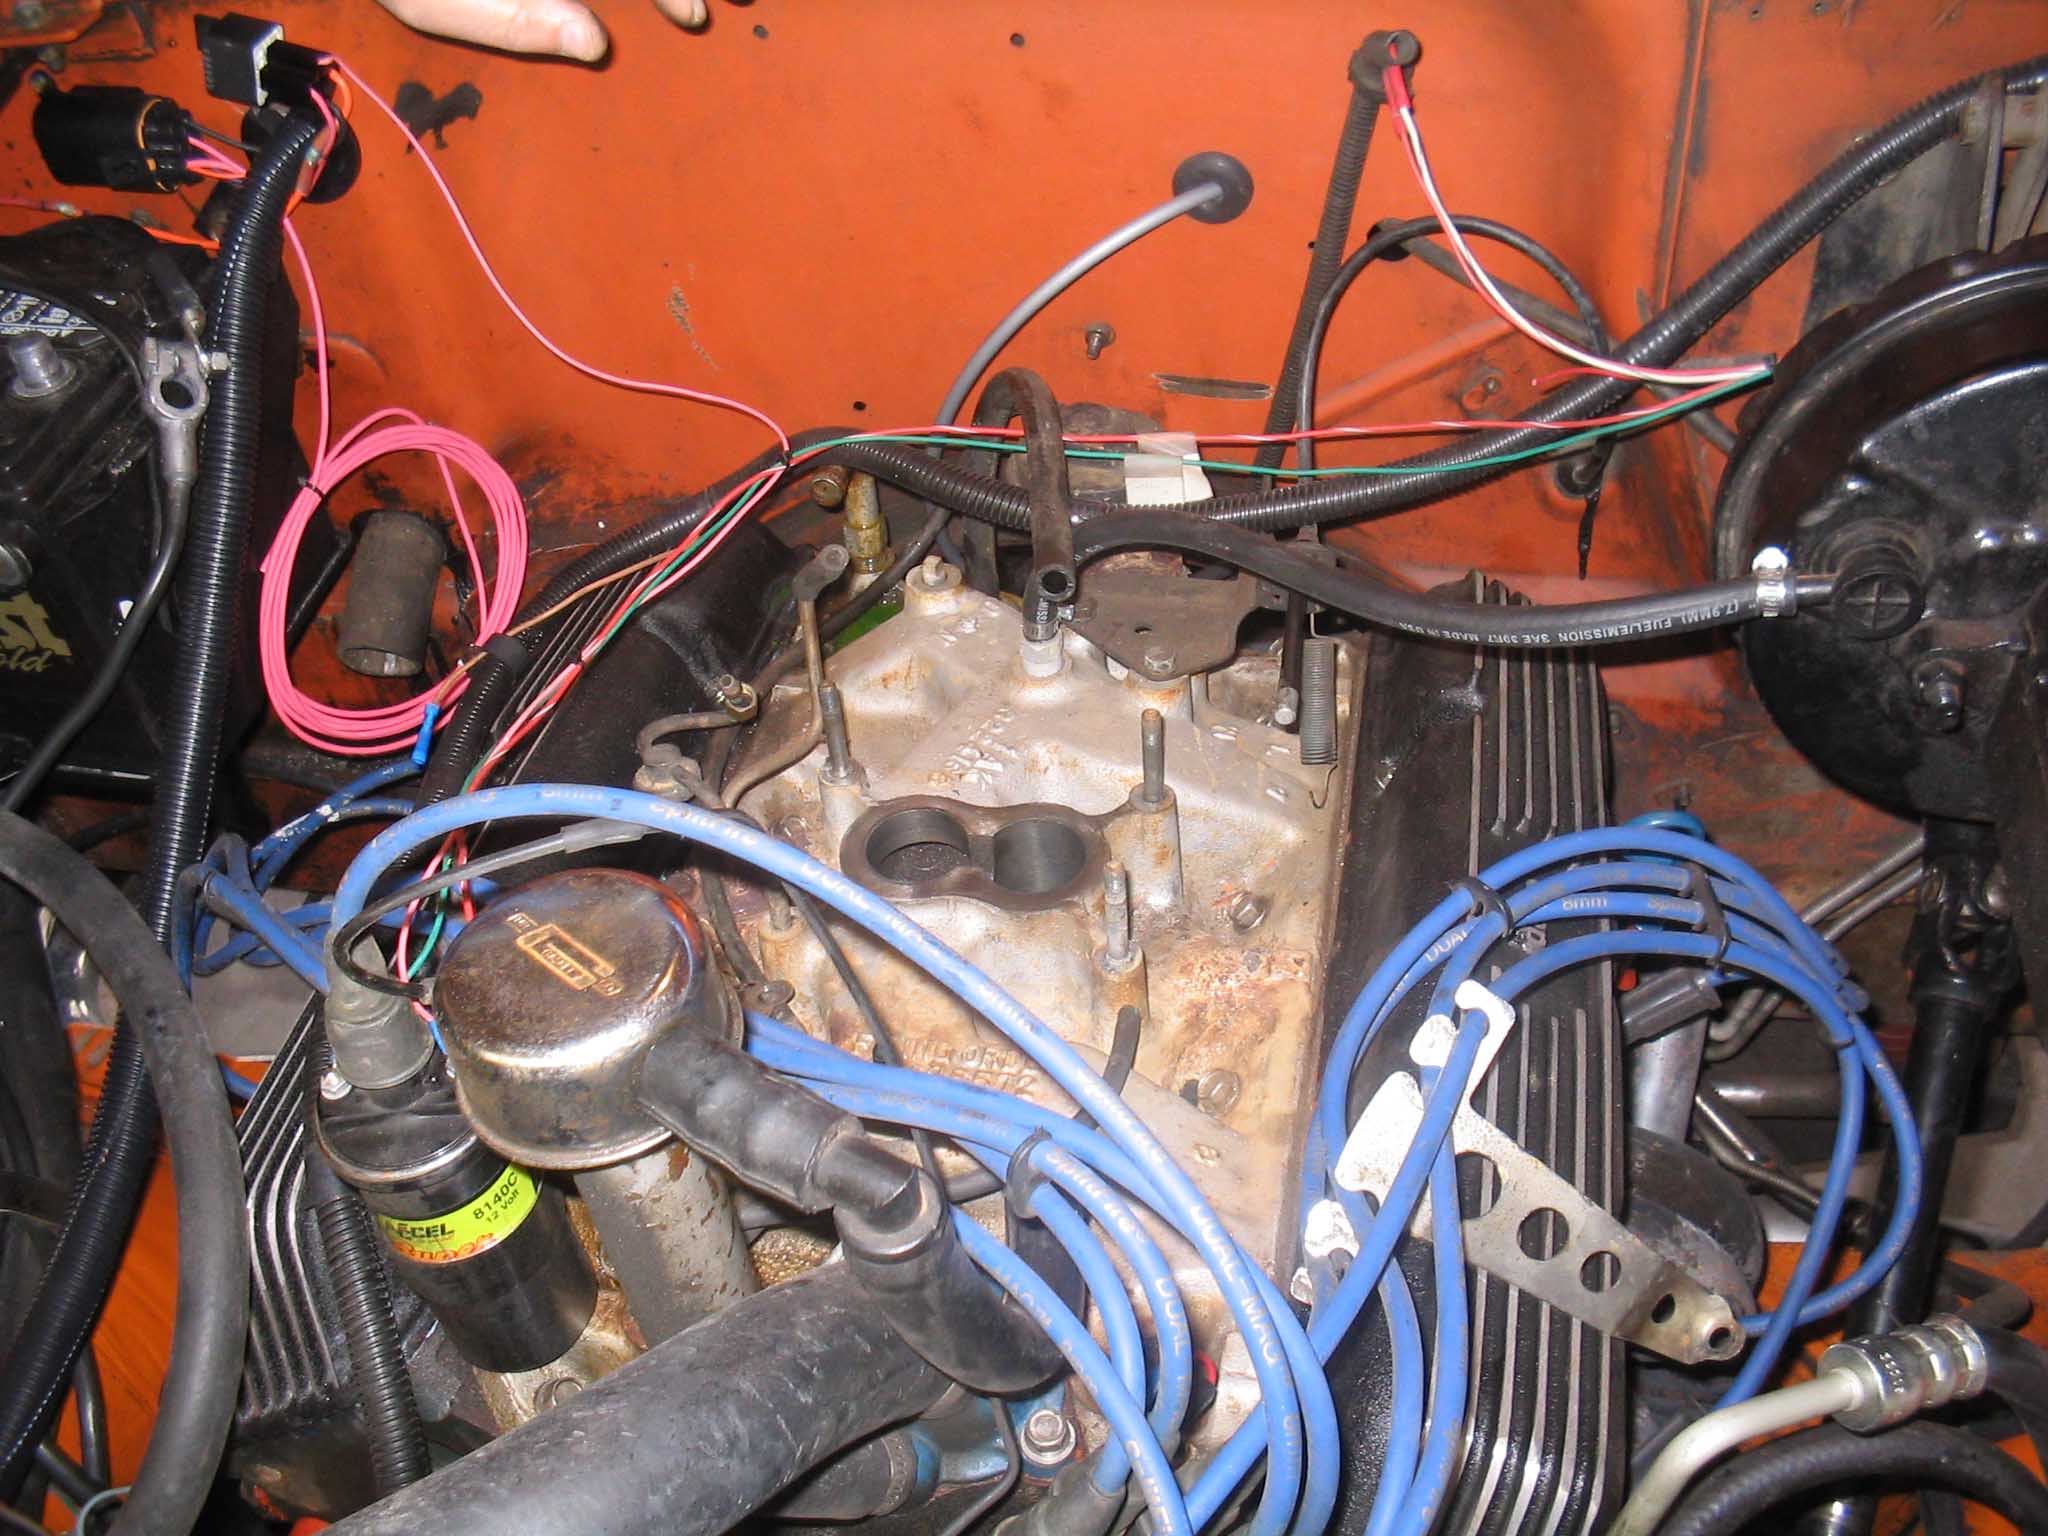
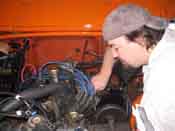
| With the fuel lines off, that is when problems hit. I took off the carburetor
and much to my surprise, the bolt pattern as well as the 2 holes in the intake were quite a bit different
then the plate that I was sent with the kit.
|
| |
|
|
| |
| This pretty much stopped the progress of the fuel injection dead in its tracks.
This couldn't continue until I got the guys on the phone and tried to figure out what happened and what I have
to do to continue the installation. I called them up late on Saturday afternoon, but they weren't there,
so I sent an email and got a response the following day.
|
| |
|
|
| |
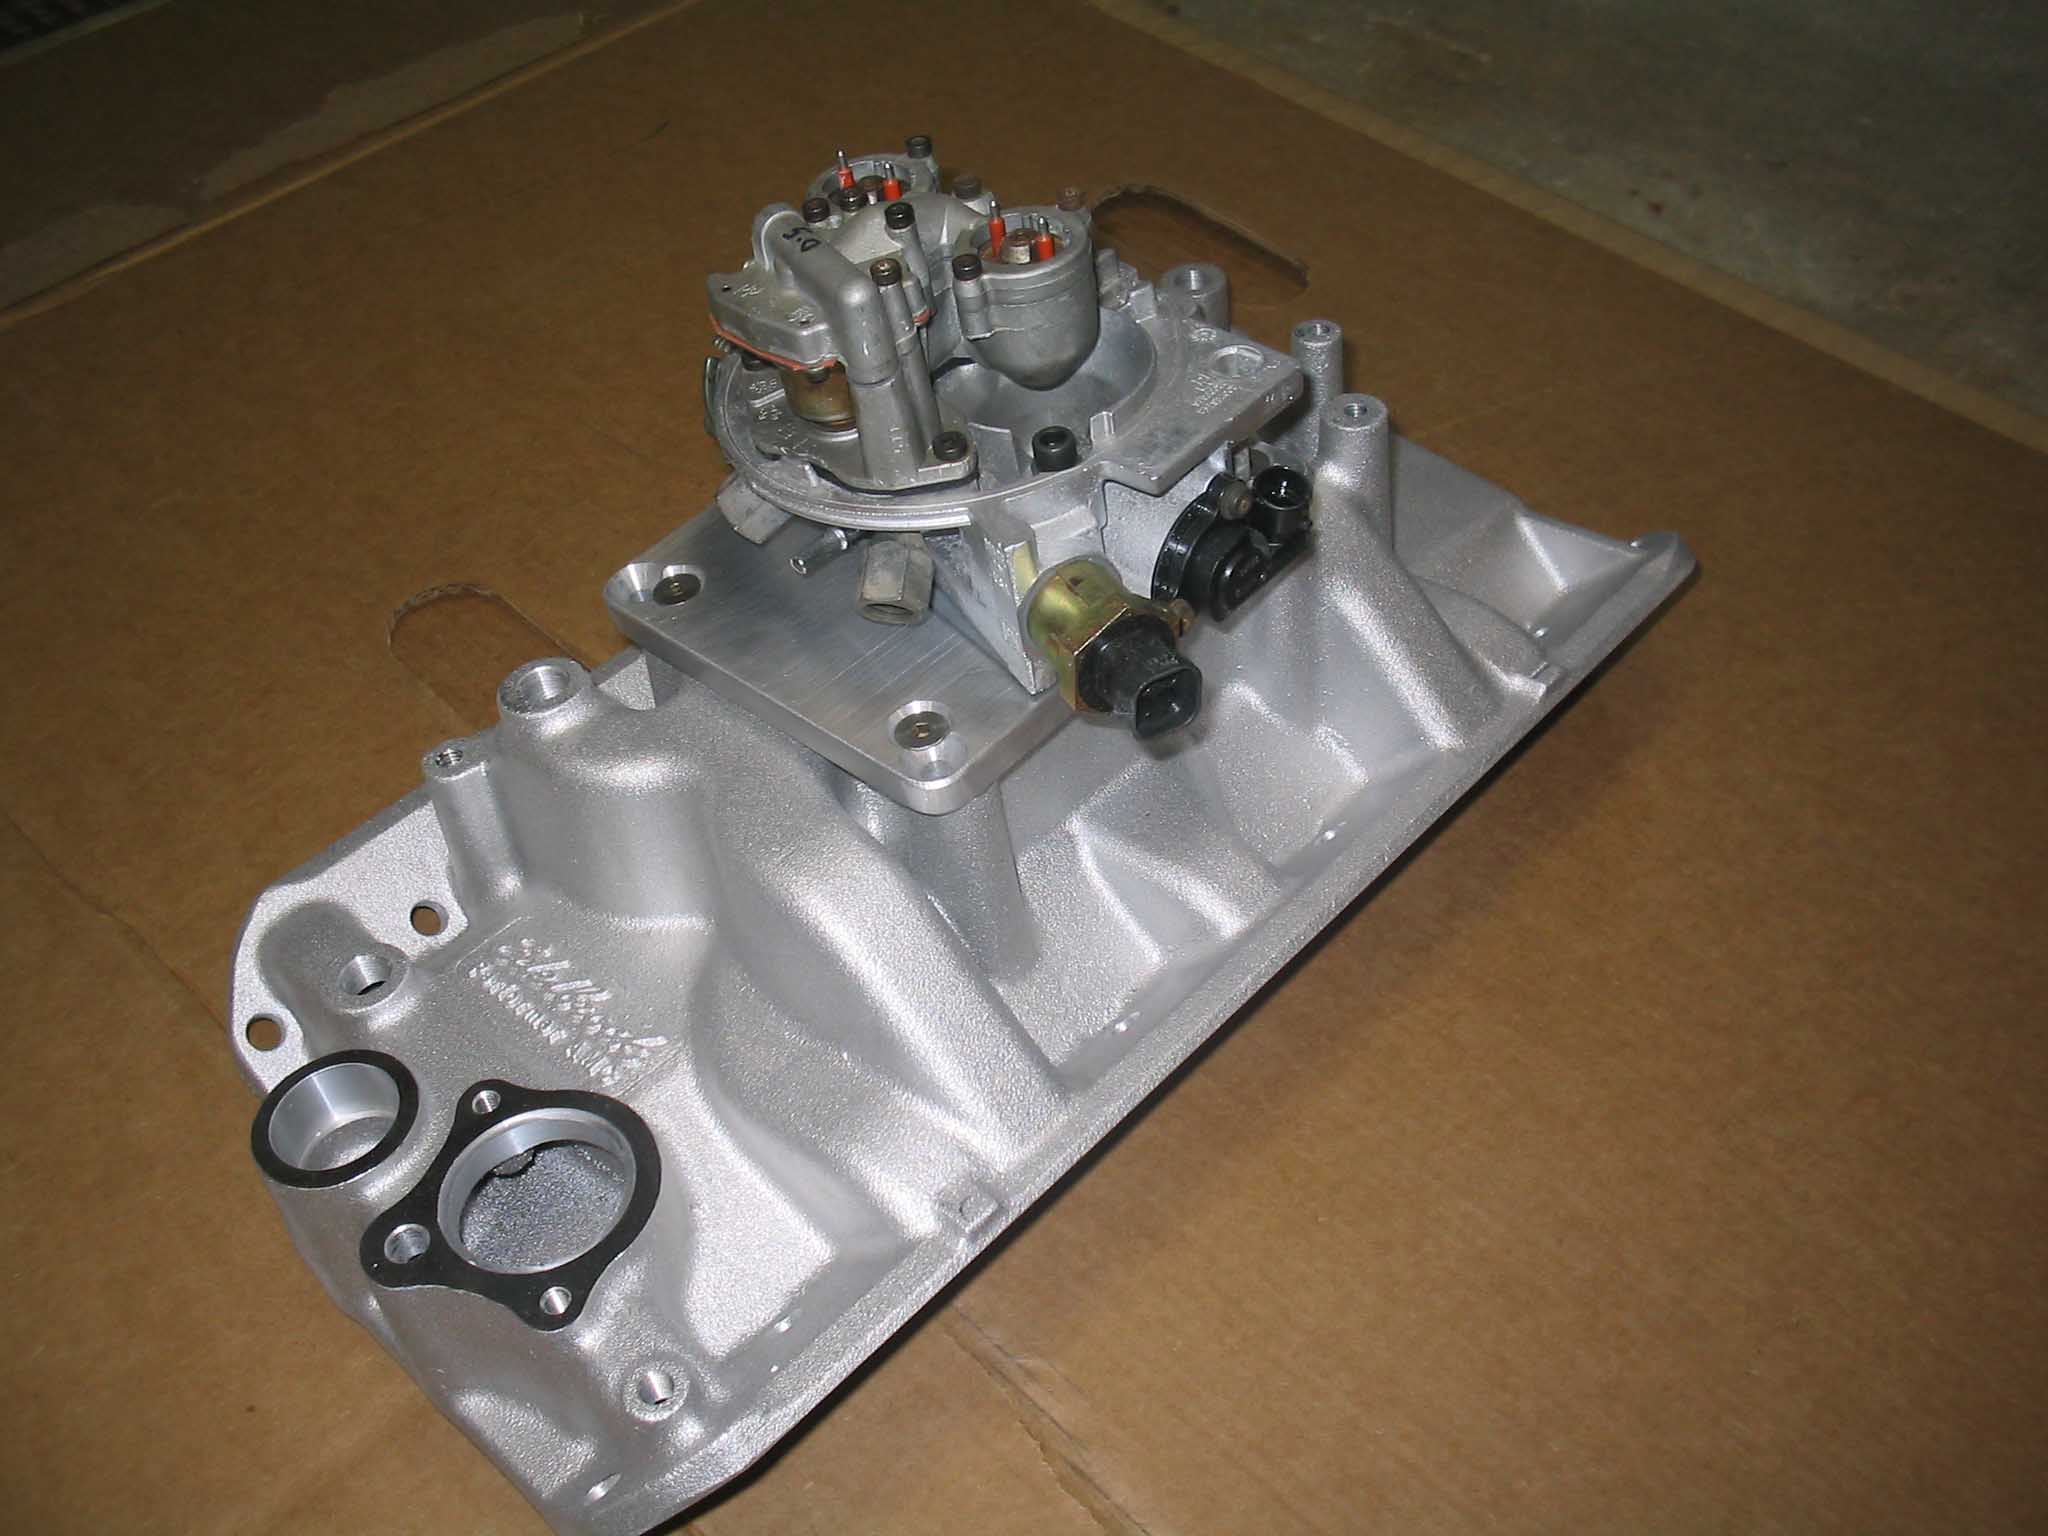
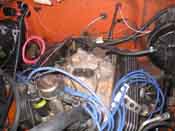
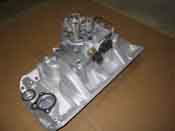
| So, with a lot of research and more time going by, I realized with the help of
the people at affordable fuel injection that when you build a system to inject fuel into the engine, the best
way to do it is if you can get more fuel into the engine. The 2 bbl manifold was much to small and to build
an adapter plate was going to be a bear, so I opted for a new Edlebrock Performer 4 bbl Intake Manifold. I
got it from Jeg's and it was here a few days later. I proceeded to do some more prep work on the Jeep and
what I found was something that I wasn't expecting.
|
| |

|
|
| |
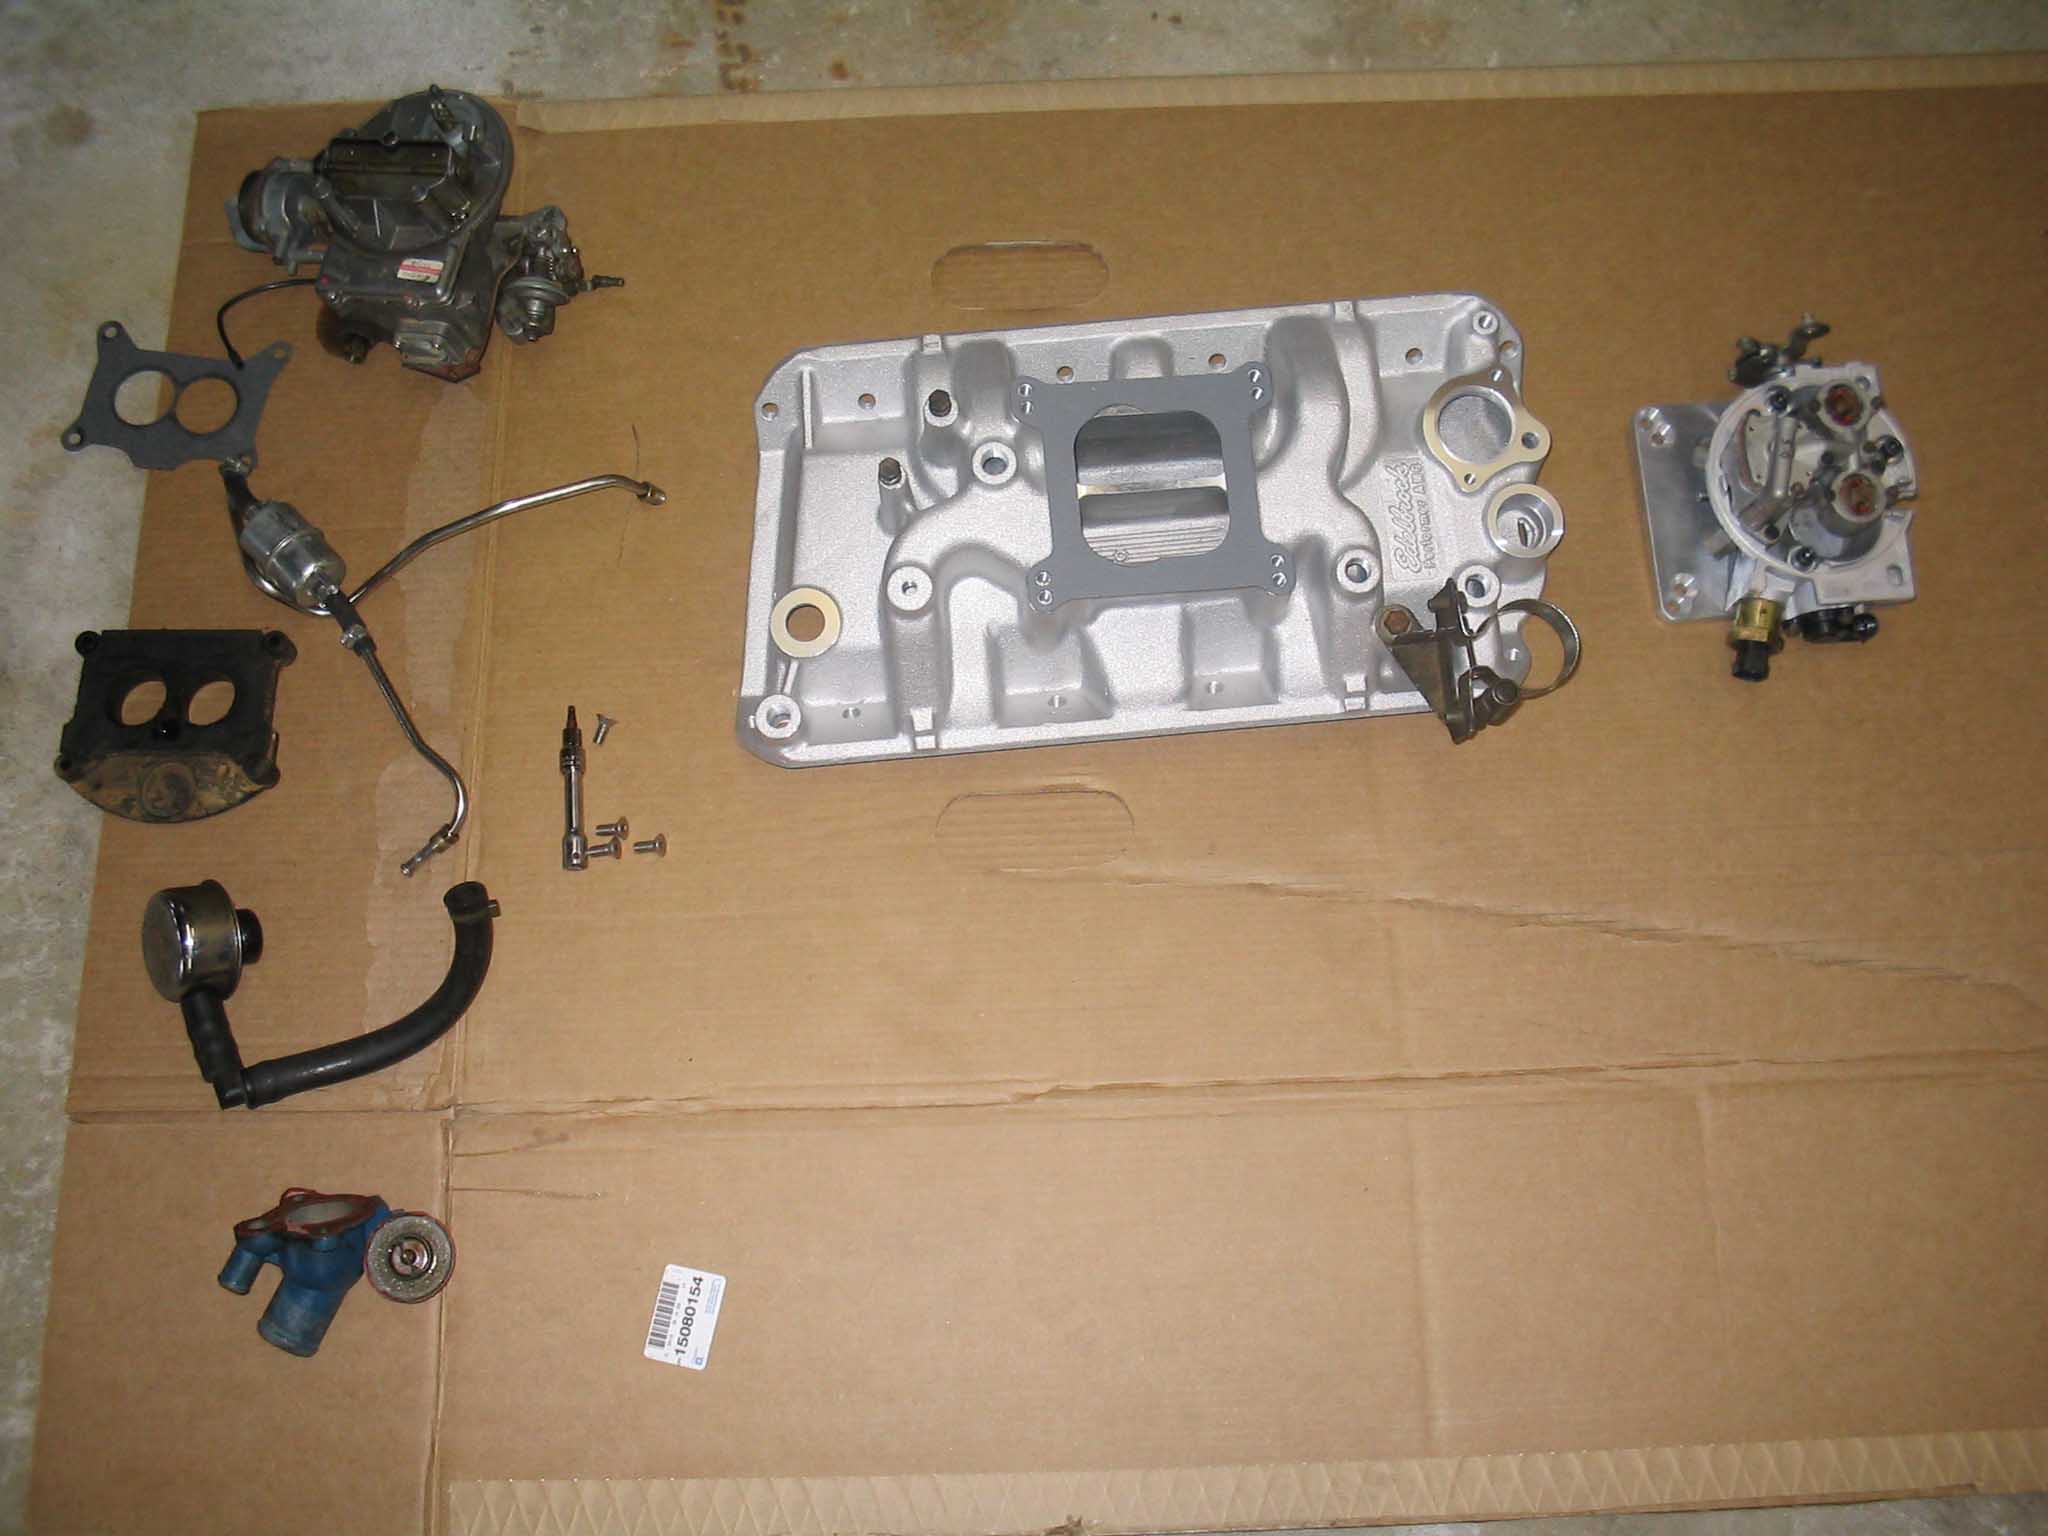
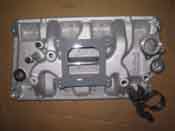
On the underside of the intake manifold there was a cover, a tray almost that
was held in place with spiral type rivets. Getting these off was a lot of fun. It required banging on it with
a hammer for a bit and then getting the vice grips on them just right to remove them. There were 6 of them,
so that took some time.
After that was off, all the items were transferred from the old intake to the new intake and then the gasket
material was cleaned off the heads and the new gaskets were fitted for placement and clearance. Once this was
completed it was getting pretty late, so it was decided to wait until the next morning to continue.
|
| |
| << Previous |
Next >> |