|
|
| Hood Louver Installation |
| |
After the projects were finished and the Jeep finally fired to life, I began
sorting out things like why the fuel gauge wasn't working and things like why the temperature gauge was always
reading higher then I would have like it to.
This brought me to try and figure out a lot of things here and there and it was time consuming. So, one day I
was flipping through the new JP Magazine rag and I found
myself staring at an ad in the rear of the magazine for a set of powedercoated louvers that looked like they
would fit on the hood of the Jeep perfectly.
I finished up what I was doing (going to the bathroom) and headed over to the computer to check out the site. I
got to their site Race Ace Louver Site and checked around
for a little while. They seemed to be legit and I went from there. I ordered up a set of louvers and waited
for them to come in. I did some reading in the meantime and from what it looked like was going to happen, the
hood was better off being not connected to the Jeep then to keep it there.
|
| |
|
|
| |
I had the fortunate position to be changing the color of the Jeep at the time, so
if I messed up the hood in anyway, shape, or form; it could be fixed by the body shop. The kit came in and I
started laying out the parts. The two louvers came, along with a ton of aluminum rivets that somehow separated
from the bag they came in, and a new drill bit, and finally some directions.
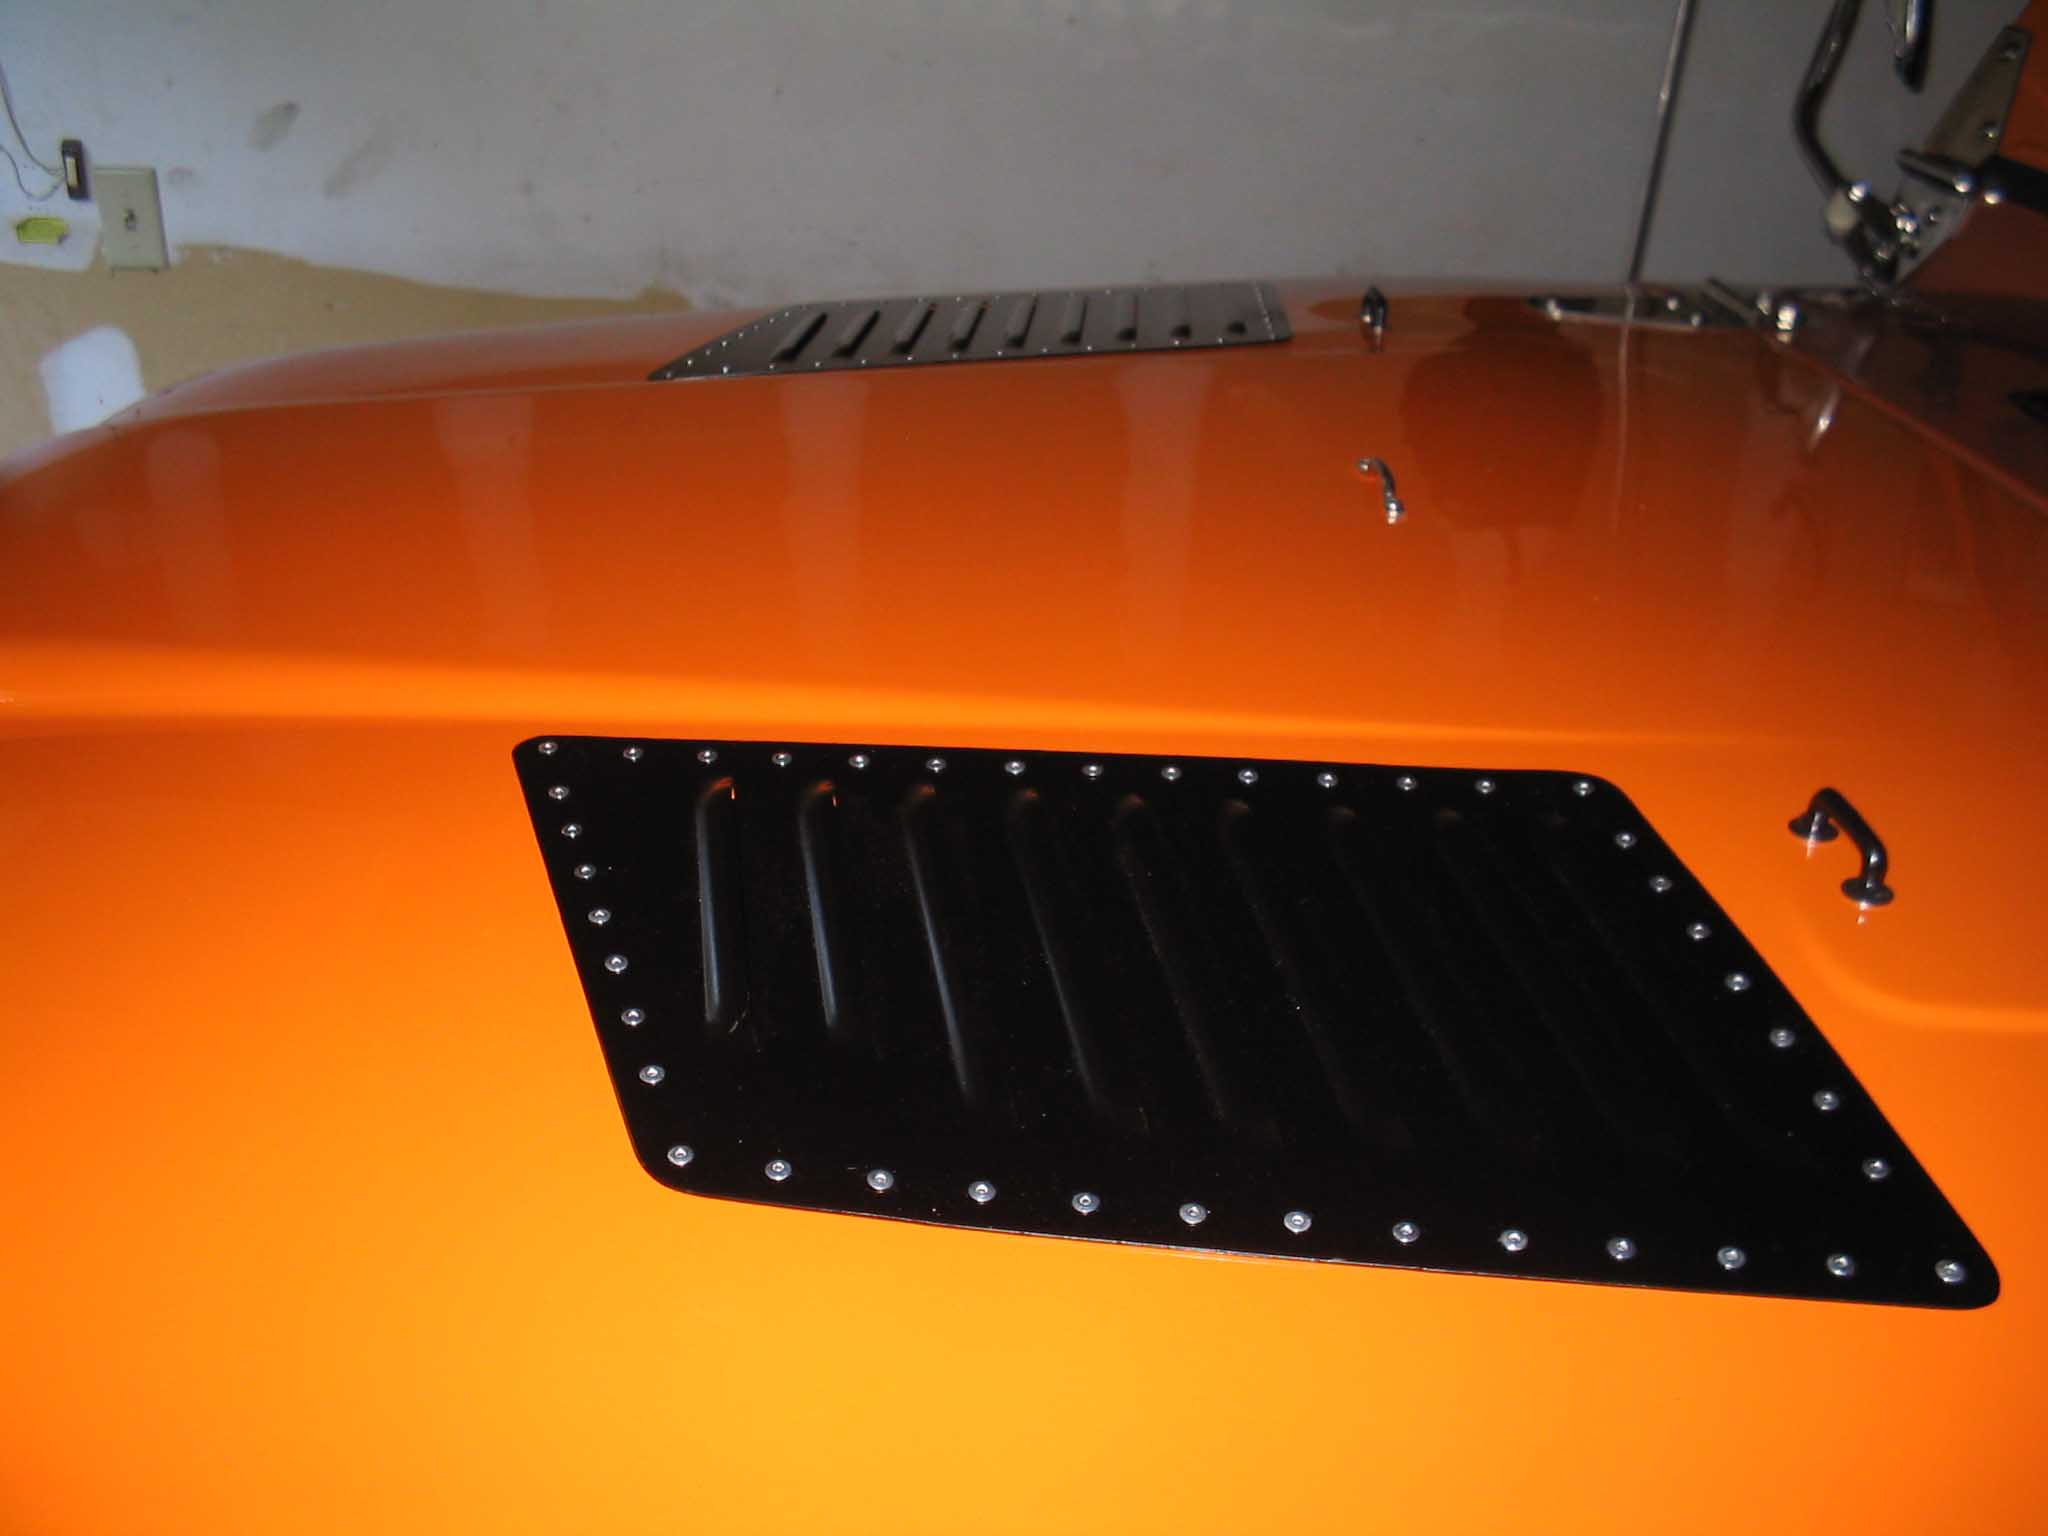
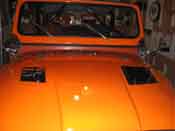
I read the directions and found that I had to lay out the louvers where I wanted them, measure so they were even
on the hood, cut out the taped off portion once I had another 3/4" inside the tape lines to account for the drill
holes for where the rivets would be going and finally after everything was marked and the center cut out, then
the drilling could begin. There are a lot of holes to drill, check out the first picture, you can see all the
holes that had to be drilled.
|
| |
|

|
| |
In drilling the holes, make sure that after each and every hole you drill, you go
back and place the louver over the drilled and non-drilled holes to make sure you are still on track. You marked
the holes earlier, now you want to make sure they line up. I would put a few rivets in place just to make sure
everything was lining up (not popping them in with the rivet gun, but just putting them in place).
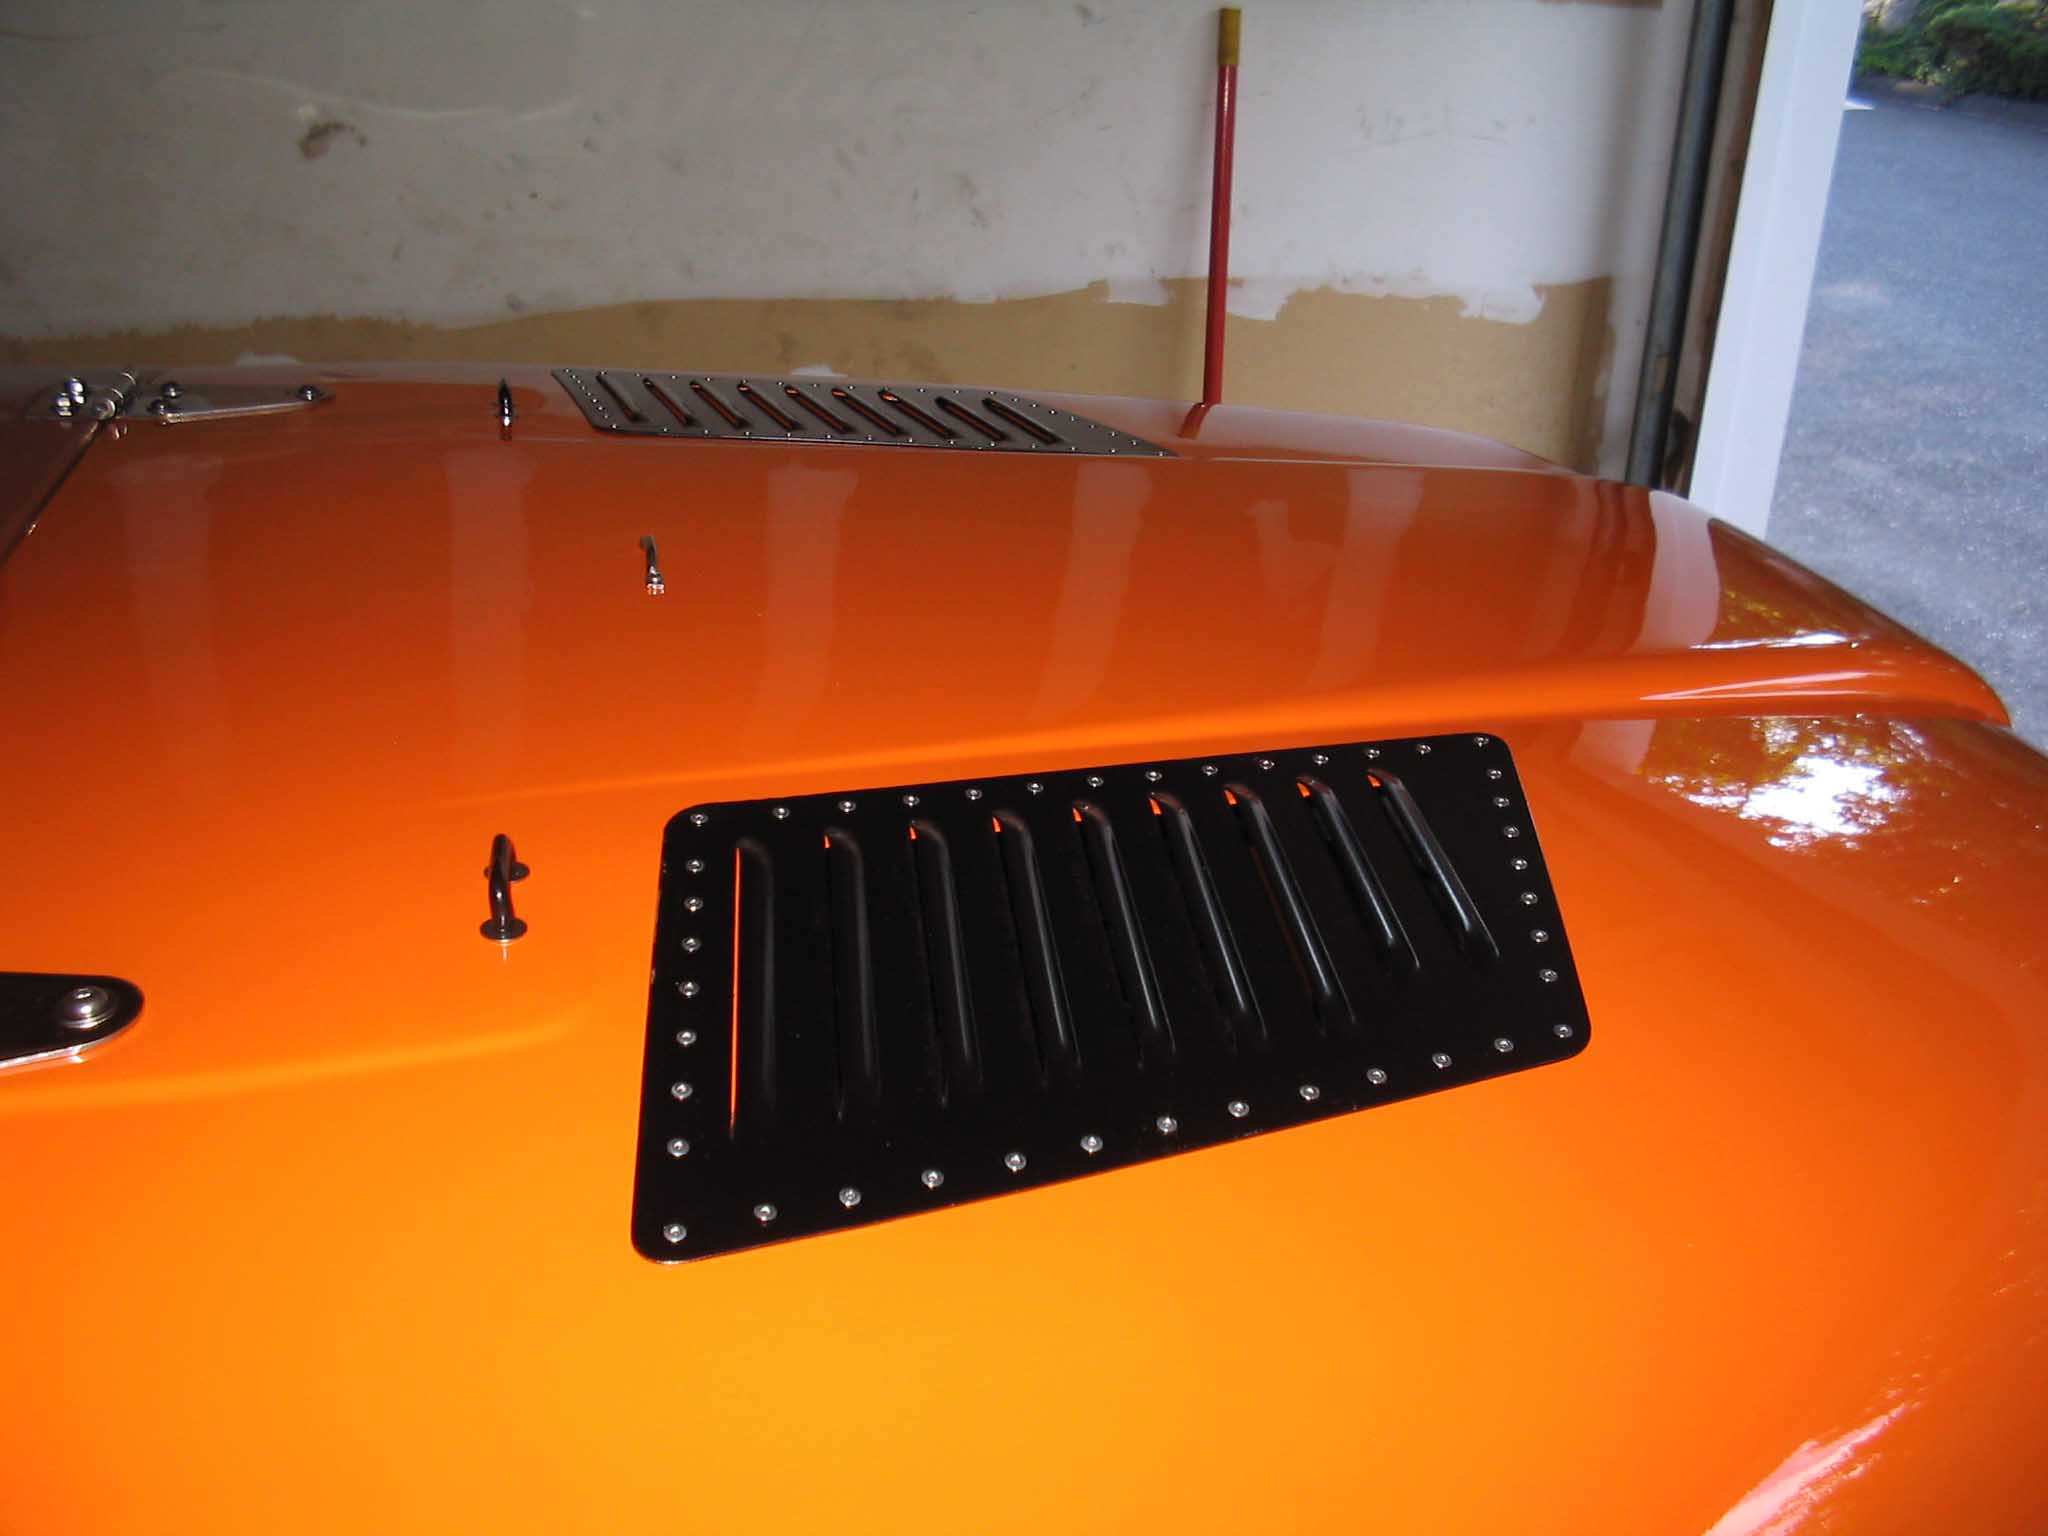
So, with all the holes drilled, it was off to the painter for some new paint on the hood. I ground down all the
holes and inside of the cutout area and shipped it off to him. A few days later it came back and it looked like
the top left picture. I didn't get a chance to snap any prior to going to the body shop, I guess I was just too
excited.
|
| |
|

|
| |
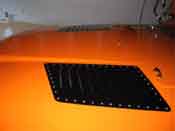
Once the hood was back, I noticed that the holes were a little too filled in with
paint in some cases and what fit before during the test fitting, didn't really fit this time. The test fit was
next, so I started putting in some rivets and smoothing out some of the holes that had too much paint so the
rivets would fit.
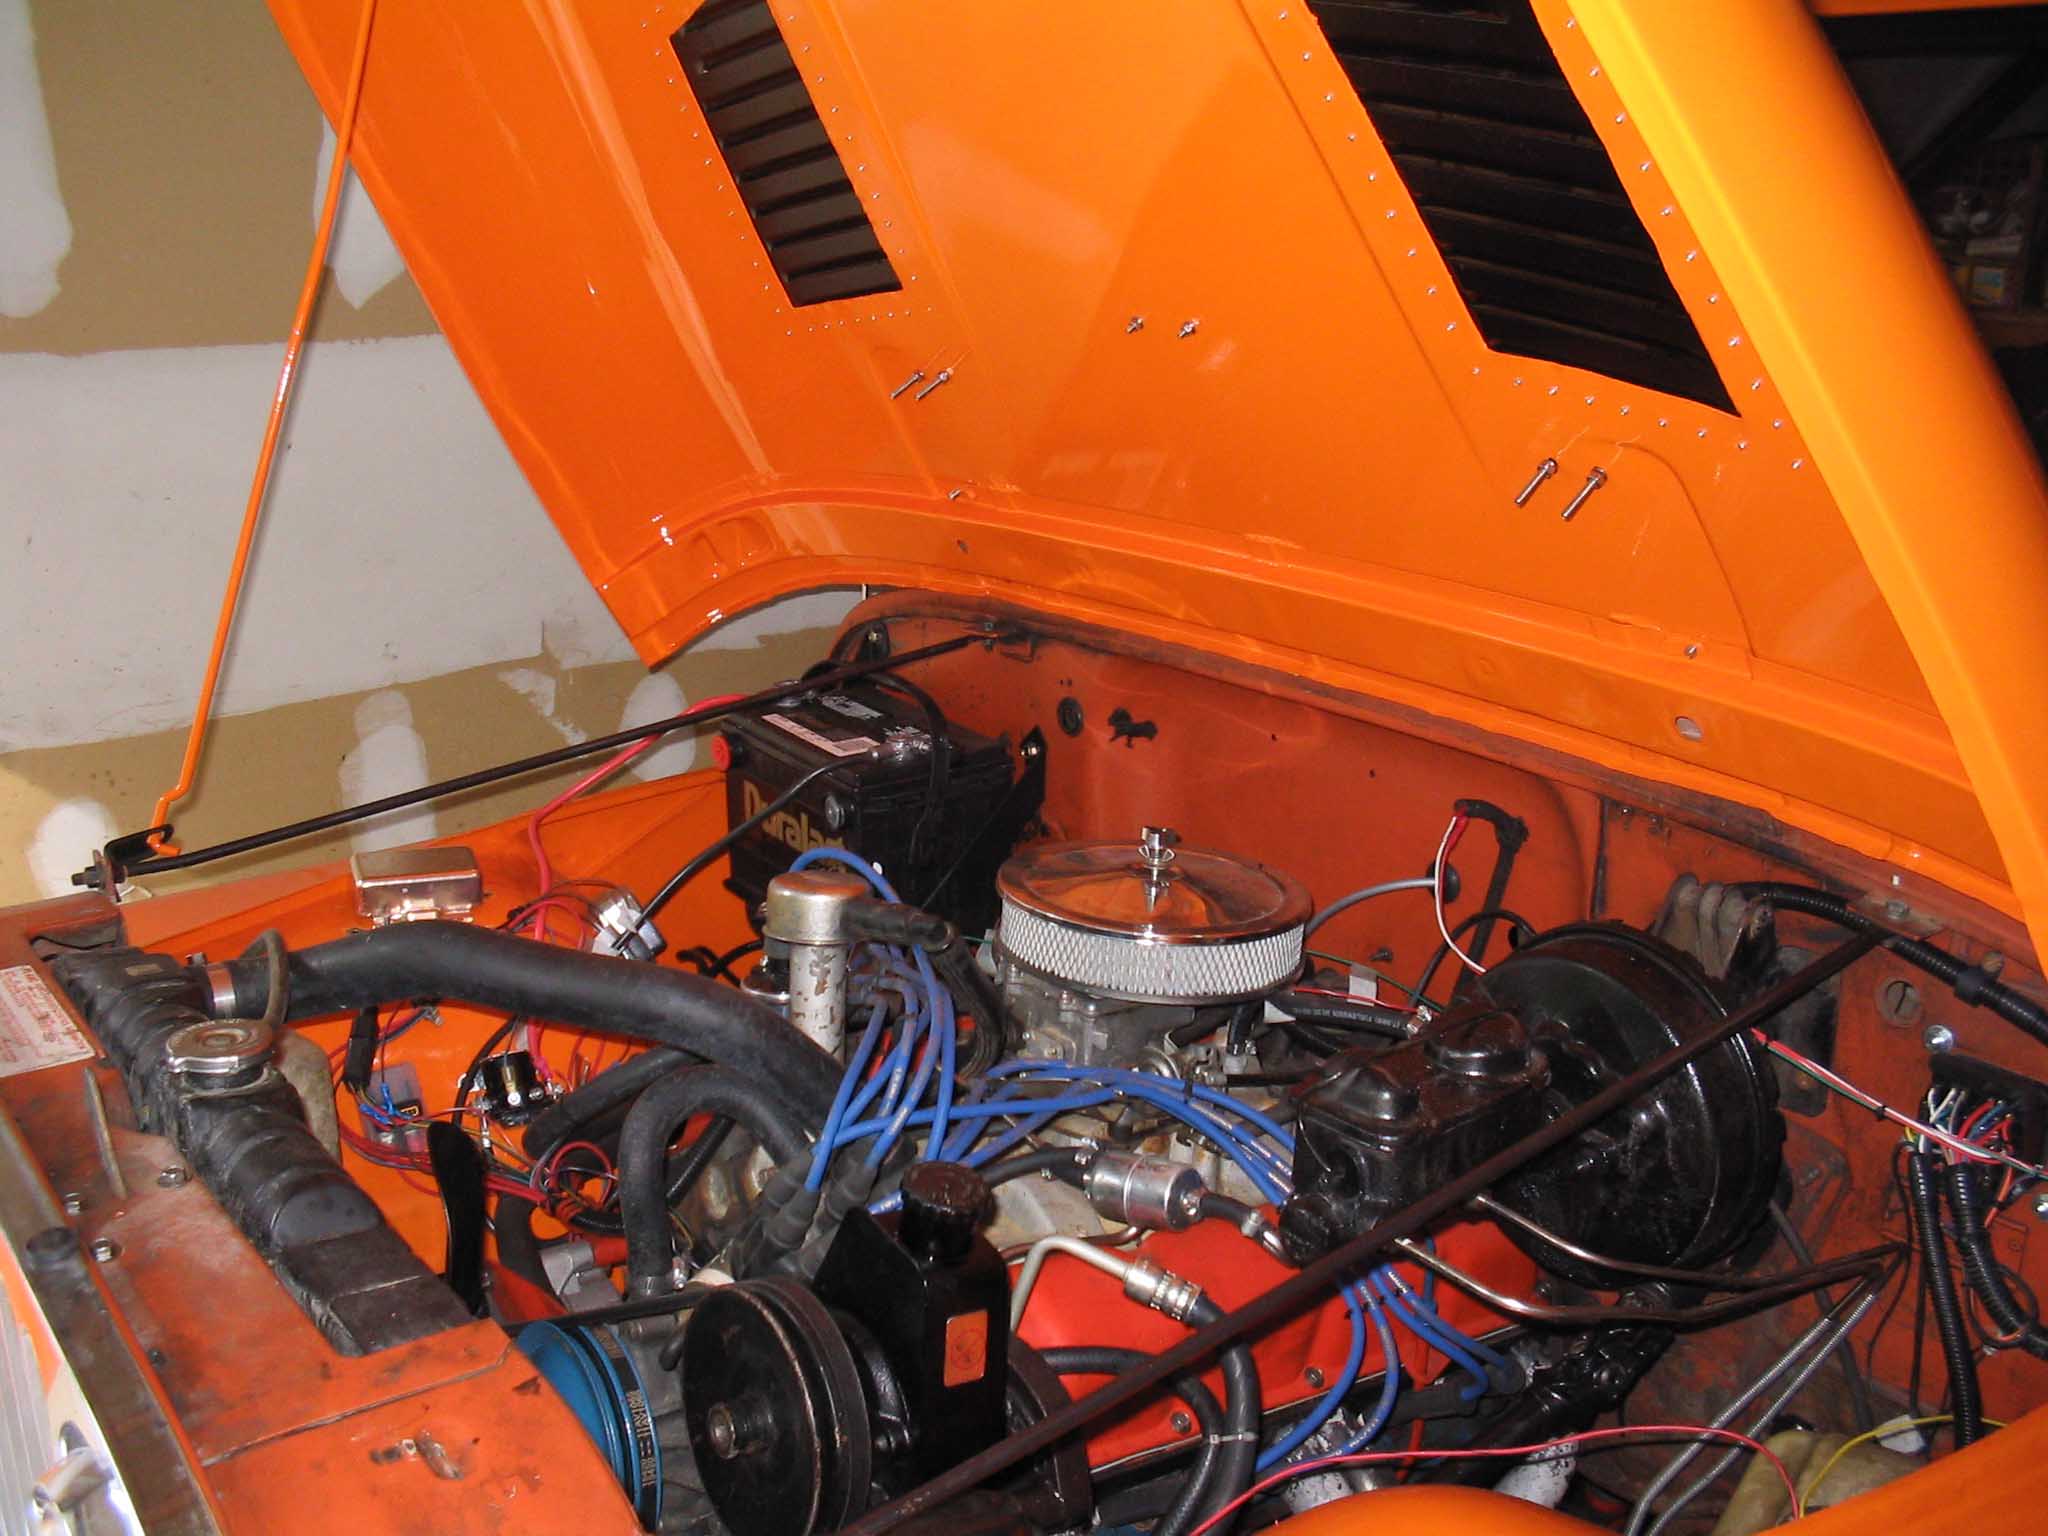
In order to avoid shifting, I kept the rivets in place as I popped the centers in place. I then went to the
corners and made sure that they were secured and then I filled in the rest. This is quite a time consuming
process. Also, you may have to redrill some of the holes if you have it painted to make sure it lines up
correctly. They rivets have some give, but when it is all said and done, you want to make sure you drive these
down flush with the powder coated surface for a nice clean look.
|
| |
| Lessons Learned the Hard Way |
| |
So, my lessons learned here would have to be that in looking back, I think the
drilling should have been done prior to cutting out the centers. This would have allowed for more stability of
the hood surface. Basically in some of the corner drill holes, when pressure was applied to the hood for the
drill bit to bite, it seemed to push down and bend the metal slightly.
Make sure when you are grinding down the drill holes that you chill out on the grinder. Literally. Heat from
the angle grinder was causing some warpage around the area cut out of the center. This had to then be fixed prior
to painting. Do yourself a favor and just take your time and grind down in small bursts spreading the heat out
when you do this.
I was very pleased with the results of doing this myself. Take your time and everything should turn out good.
|
| |
| Conclusions |
| |
This is a pretty easy thing to do for a nice clean look to the Jeep that also
adds functional cooling to the high heat generated in the engine bay. It actually disippates a lot of heat
which is great for the 304. It puts out a lot of heat and this is a great looking way to get rid of that heat.
If you don't plan on painting the hood afterwards, you will probably need some paint that is close to the color
of your rig. I say this because the holes and the cut out edges from the center will need to be addressed or
they will rust. Keep this in mind if you plan on doing this. Also, you don't need to take off the hood, but I
found that the hood on a couple of sawhorses really was at the correct angle for me to work on it. It also
allowed for the scraps and metal shavings to fall on the floor instead of the engine. If you plan on doing
this, make sure you put some blankets over the engine and make real sure that when you are done that you get all
the garbage off the engine prior to restarting.
Wear eye protection with this one! Don't ask, just do it!
|
|