| One Piece Axle Installation |
| |
So I go out to garage after one hellish day in August putting the Jeep
suspension on the newly painted frame and dropping the motor in. I was beat after the 12+ hour worked
day that ensued to put that beautiful frame together and I push the Jeep out of the garage to start to
assemble the shocks and such and I hear a grinding noise coming from the rear end of the Jeep.
Now, my spidey senses tell me that it is probably the hub since that is everything that I had read
said. Spun hub this and spun hub that. Needless to say, I don't do anything about it right then; I
put the suspension together and continue on.
|
| |
|
|
| |
I had planned on doing 1-piece axles, but I was very concerned with why I hadn't heard this before. I
was in the middle of trying to figure it out when I glanced at the garbage can and saw all the towels
and rags that I had to use to clean out the drum backing plates from when I stood the axle on end to
save room in the garage when I was putting all the parts back in the garage during the tear down and
rain storm that hit out of no where. Apparently when I did this, the gear oil leaked down and knocked
some of the bearings loose from the race. Now I do realize that it was probably in bad shape prior to
me doing what I did, but it certainly didn't help things.
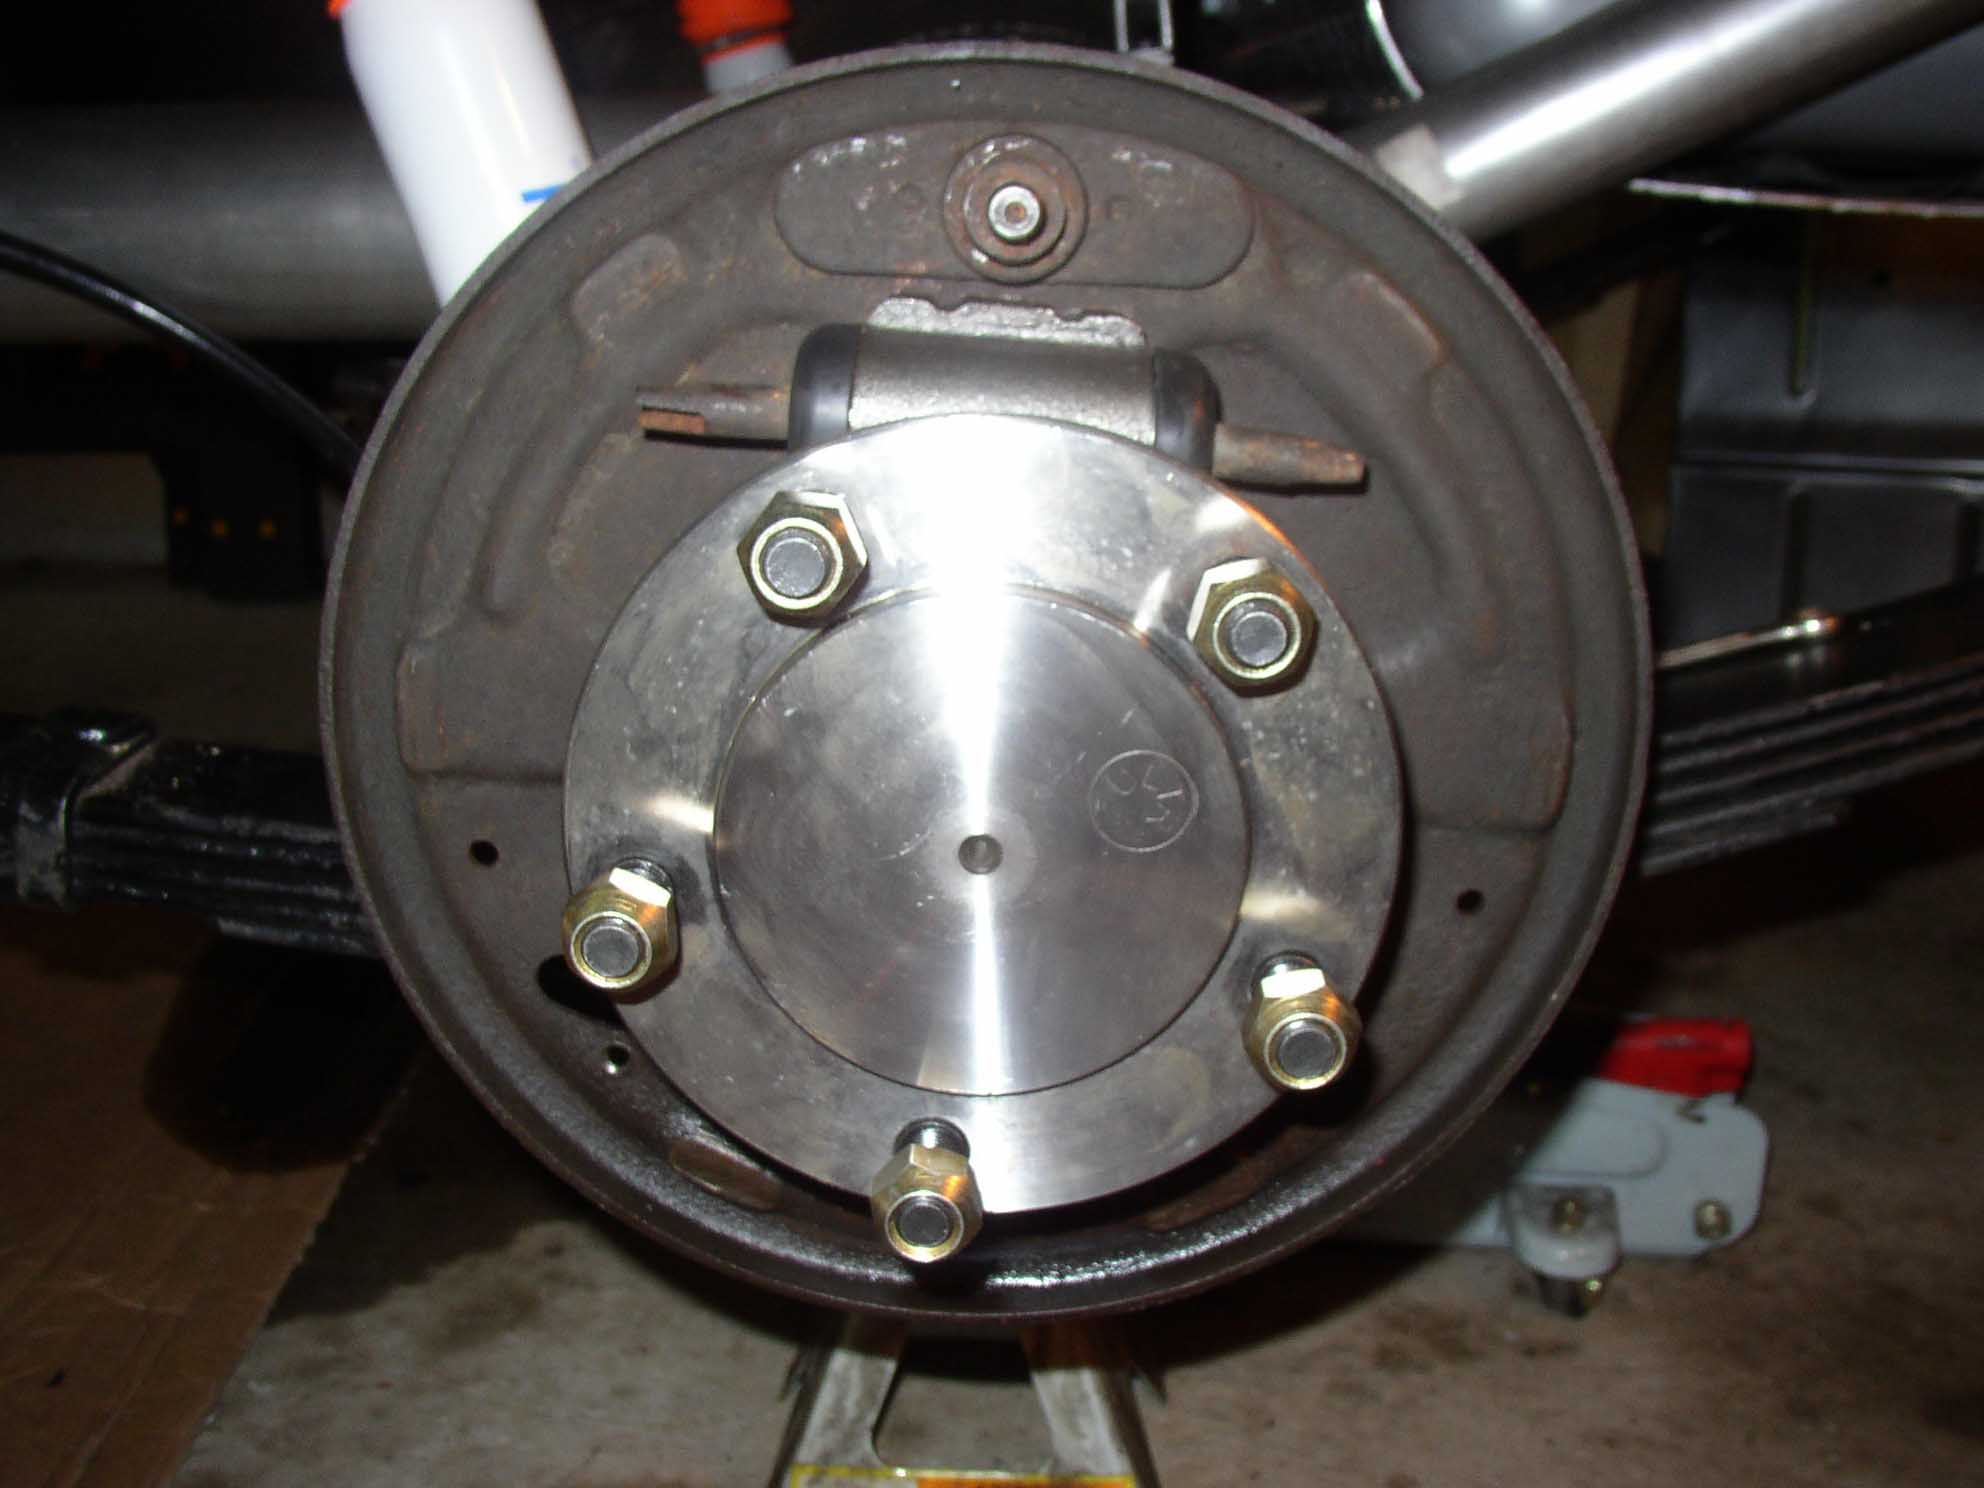
I took off the rear wheel and disassembled the brakes and attempted to
pull the backing plate off. This really didn't want to come off because the hub and axle were on and I
couldn't seem to get the hub off the axle. After reading some posts on-line I realized that I could
pull the whole assembly with an old school trick.
|
| |
|
|
| |
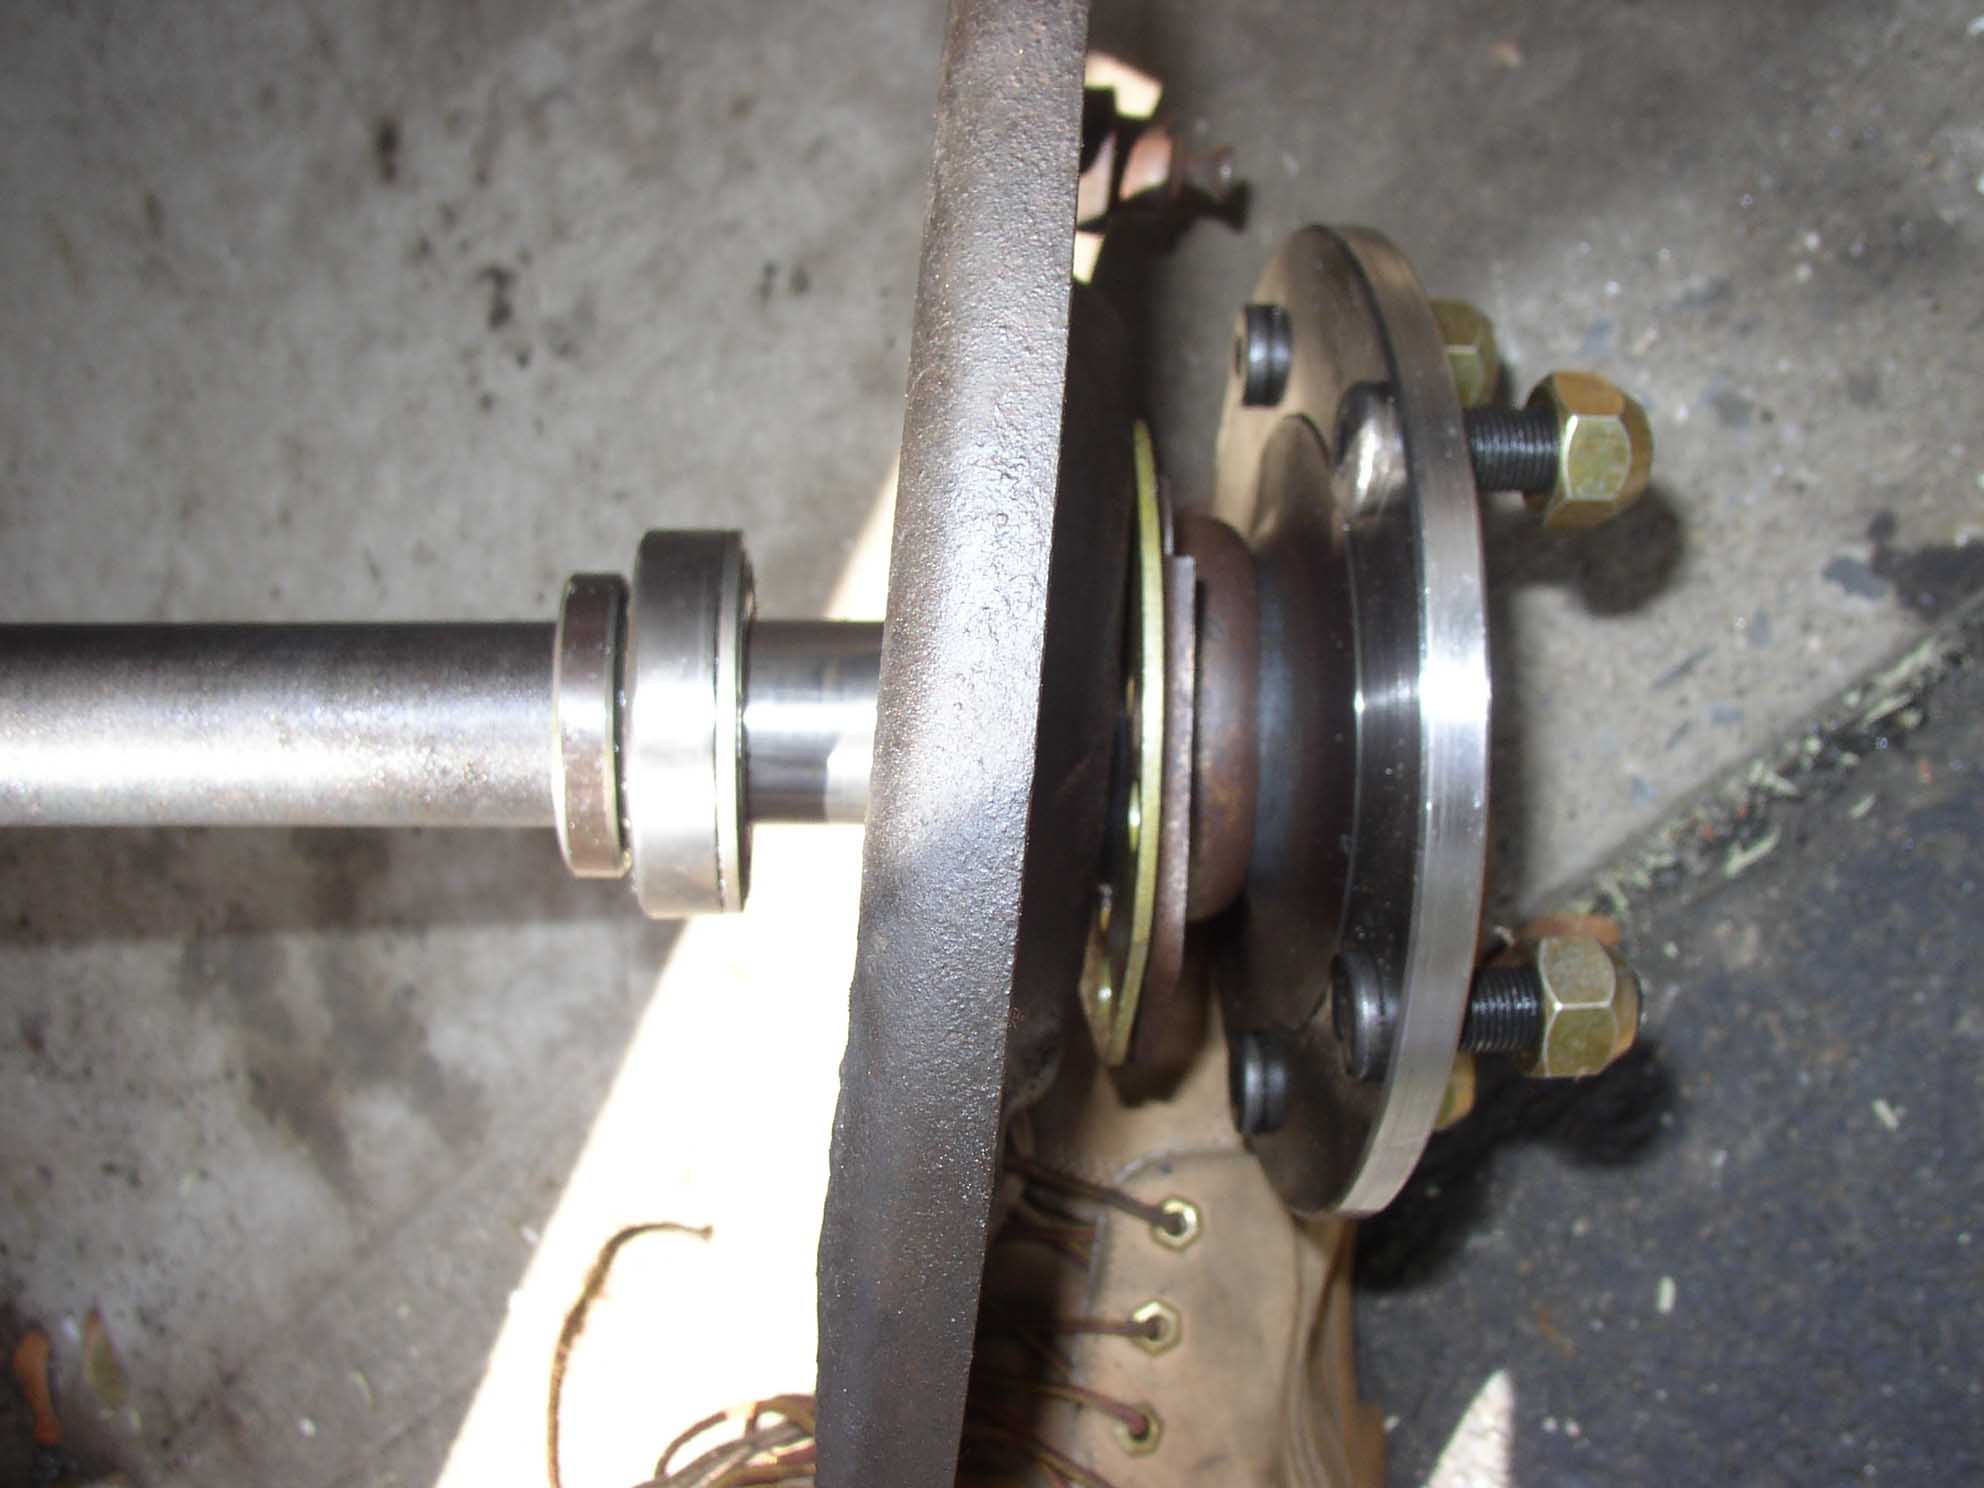
Take your brake drum and flip it around. Put it on the axle hub. Put 3 lug nuts back on, but only
thread them about 4-5 turns in and make sure the 3 are relatively even. Bracing yourself against the
frame with my feet, I began using the brake drum with both hands as a slide hammer. A few good tugs
tore the axle free from its location. I repeated this on the passenger side as well.
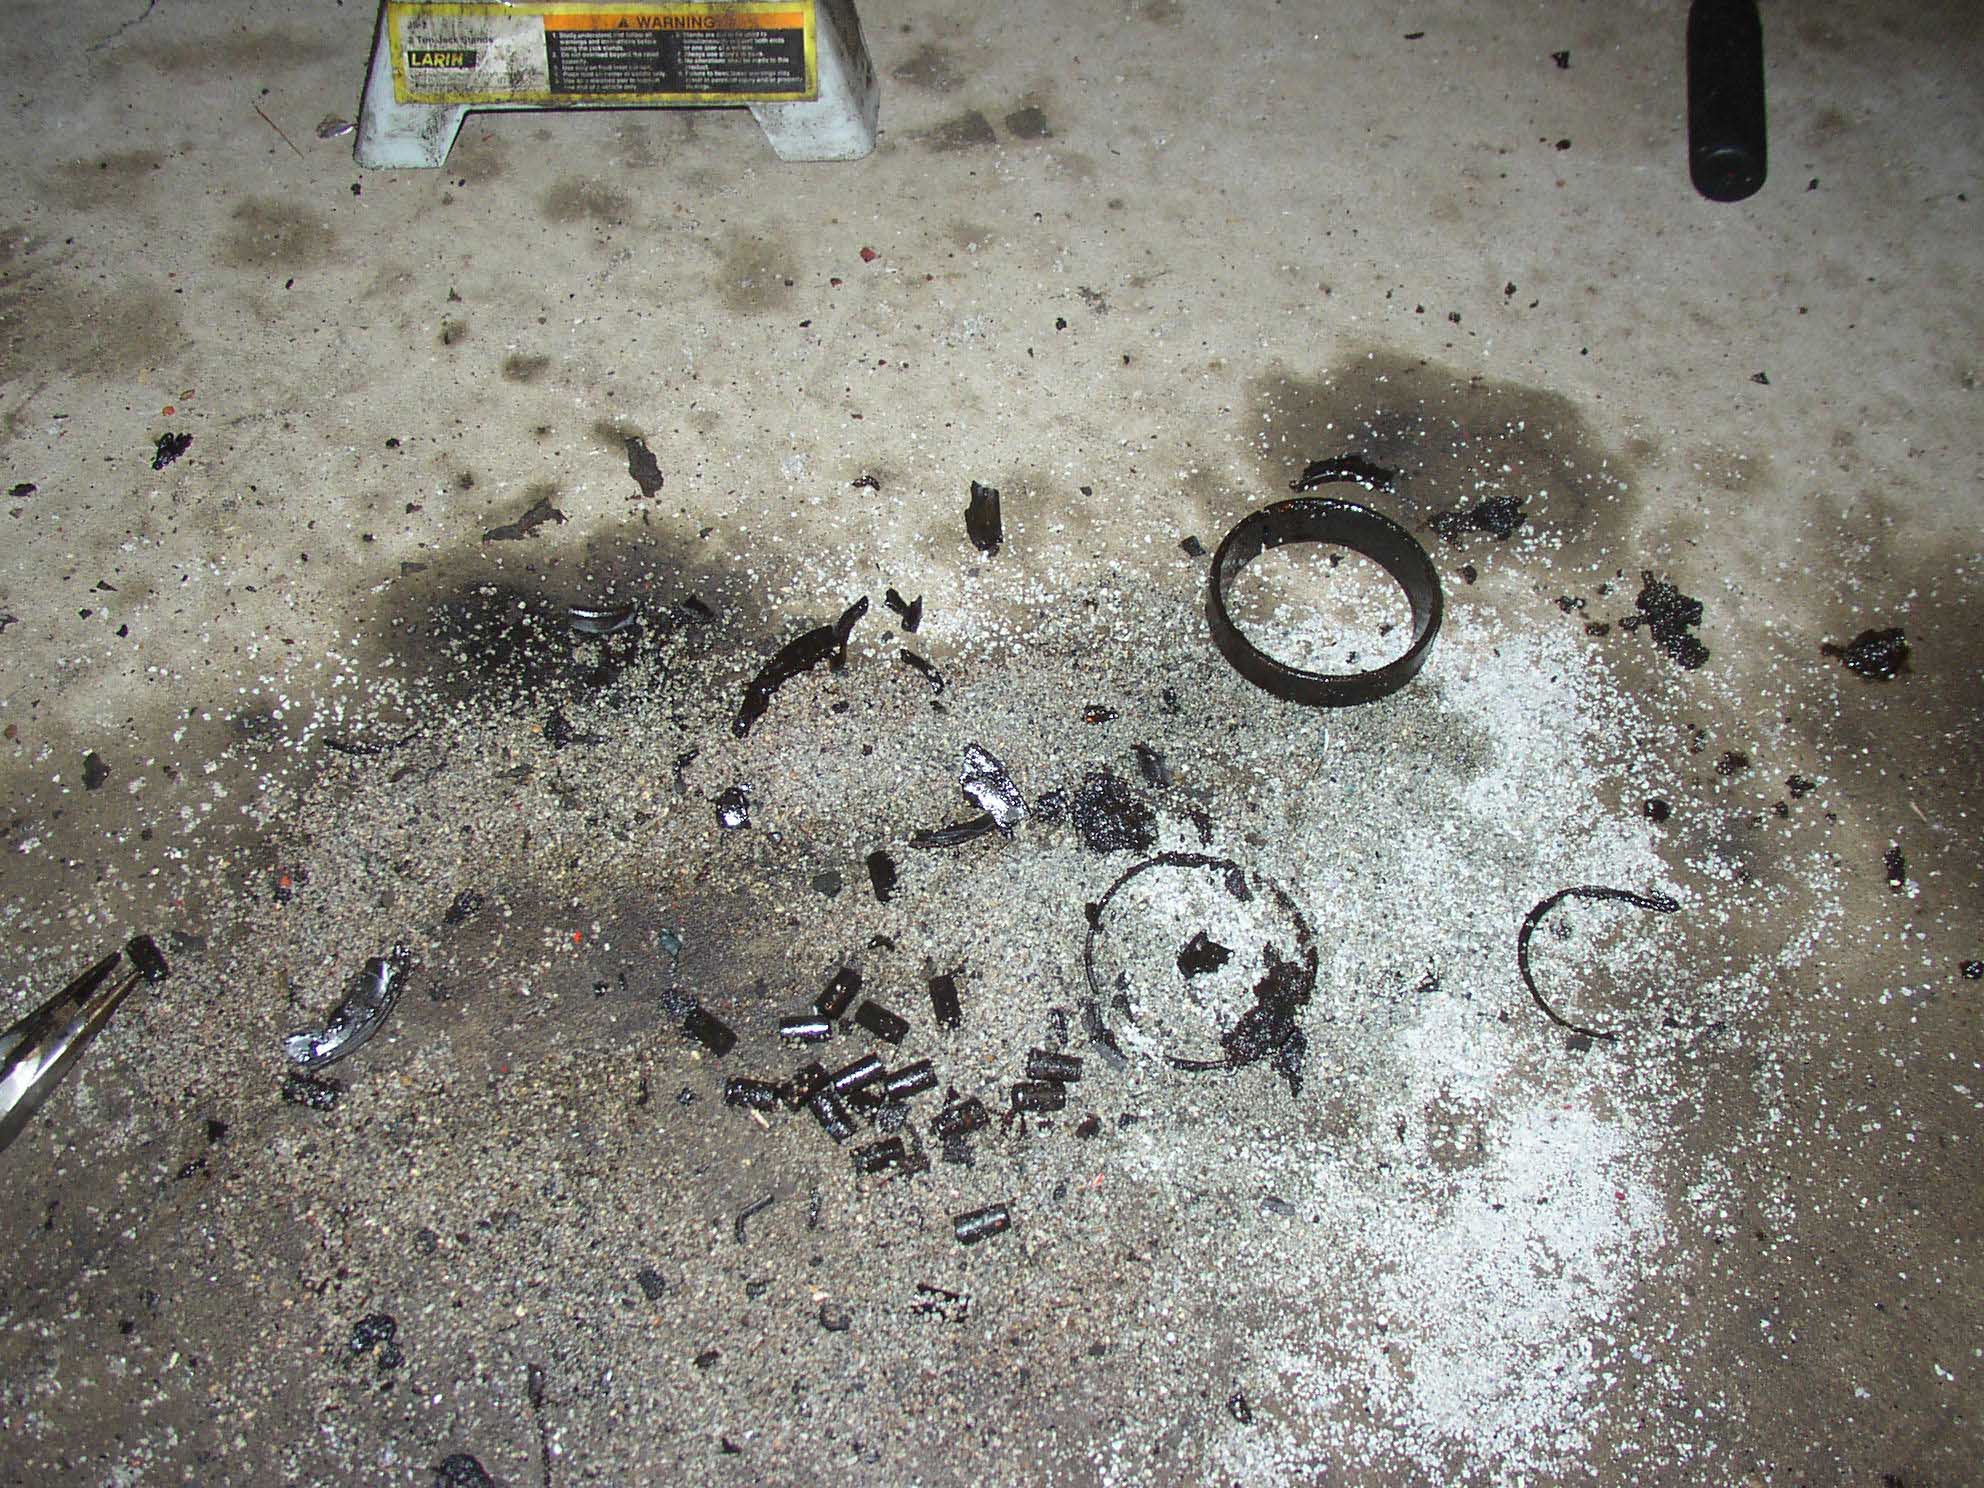
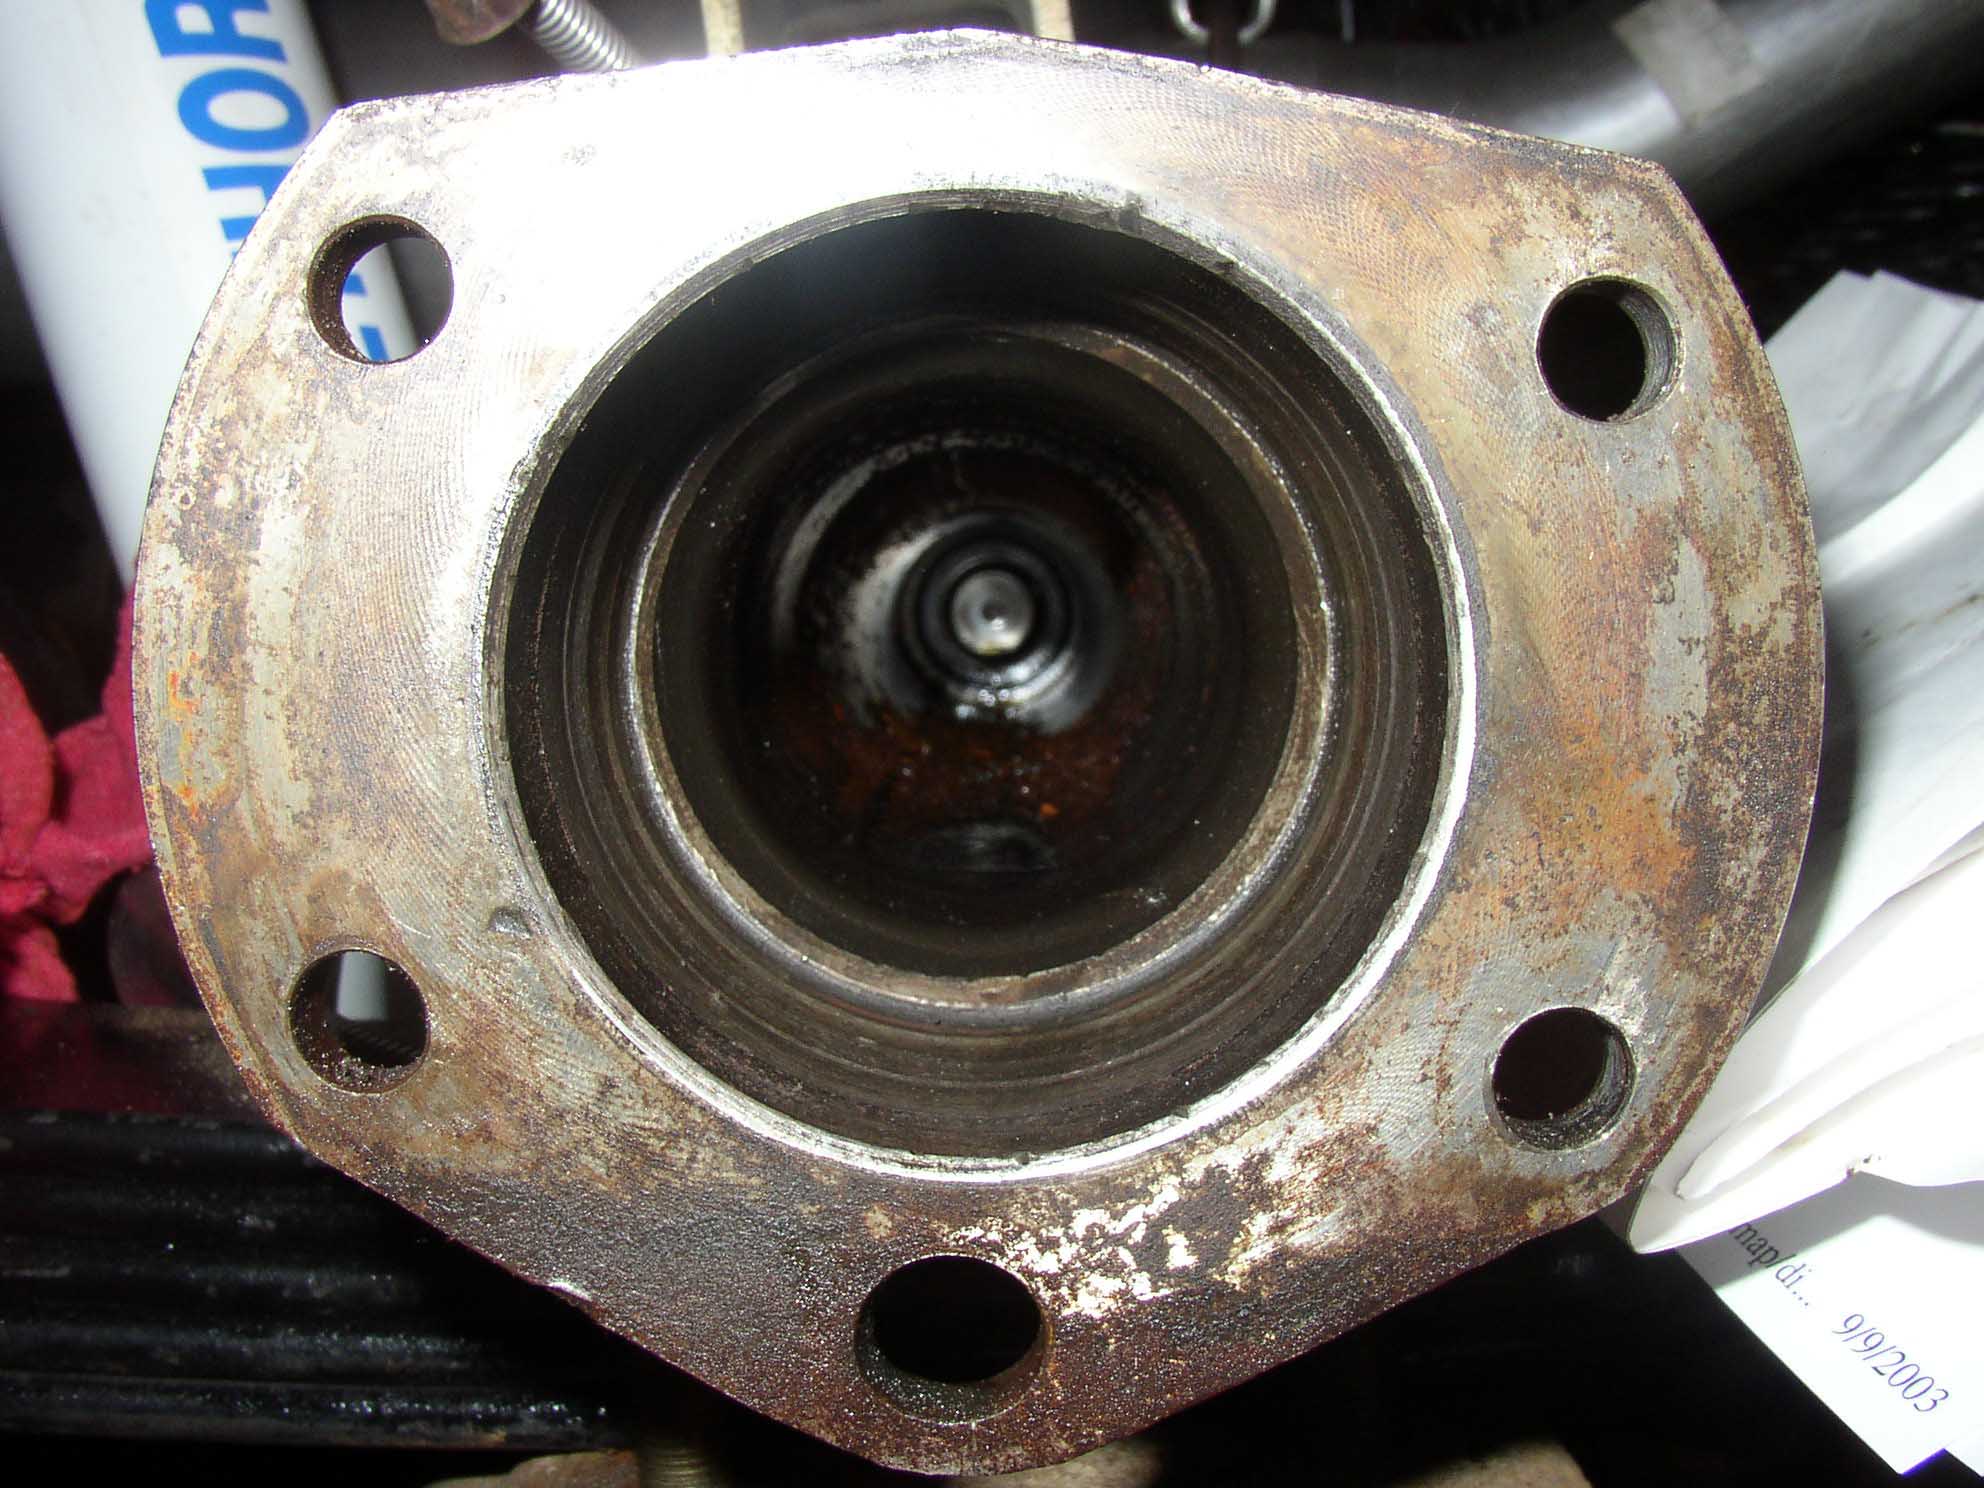
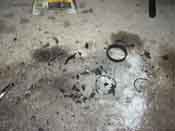
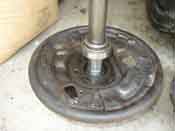
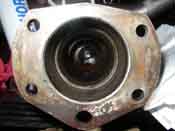
After removing the axle from it's housing, it decided to puke some parts on the ground as can be seen
in the pictures. The bearing and race decided to part ways and there was crap all over the place. The
oil seal was also left behind and really was stuck in there good. I ended up having to cut it out with
some metal cutters, and then pop it free with an oil seal t-bar.
|
| |
|
|
| |
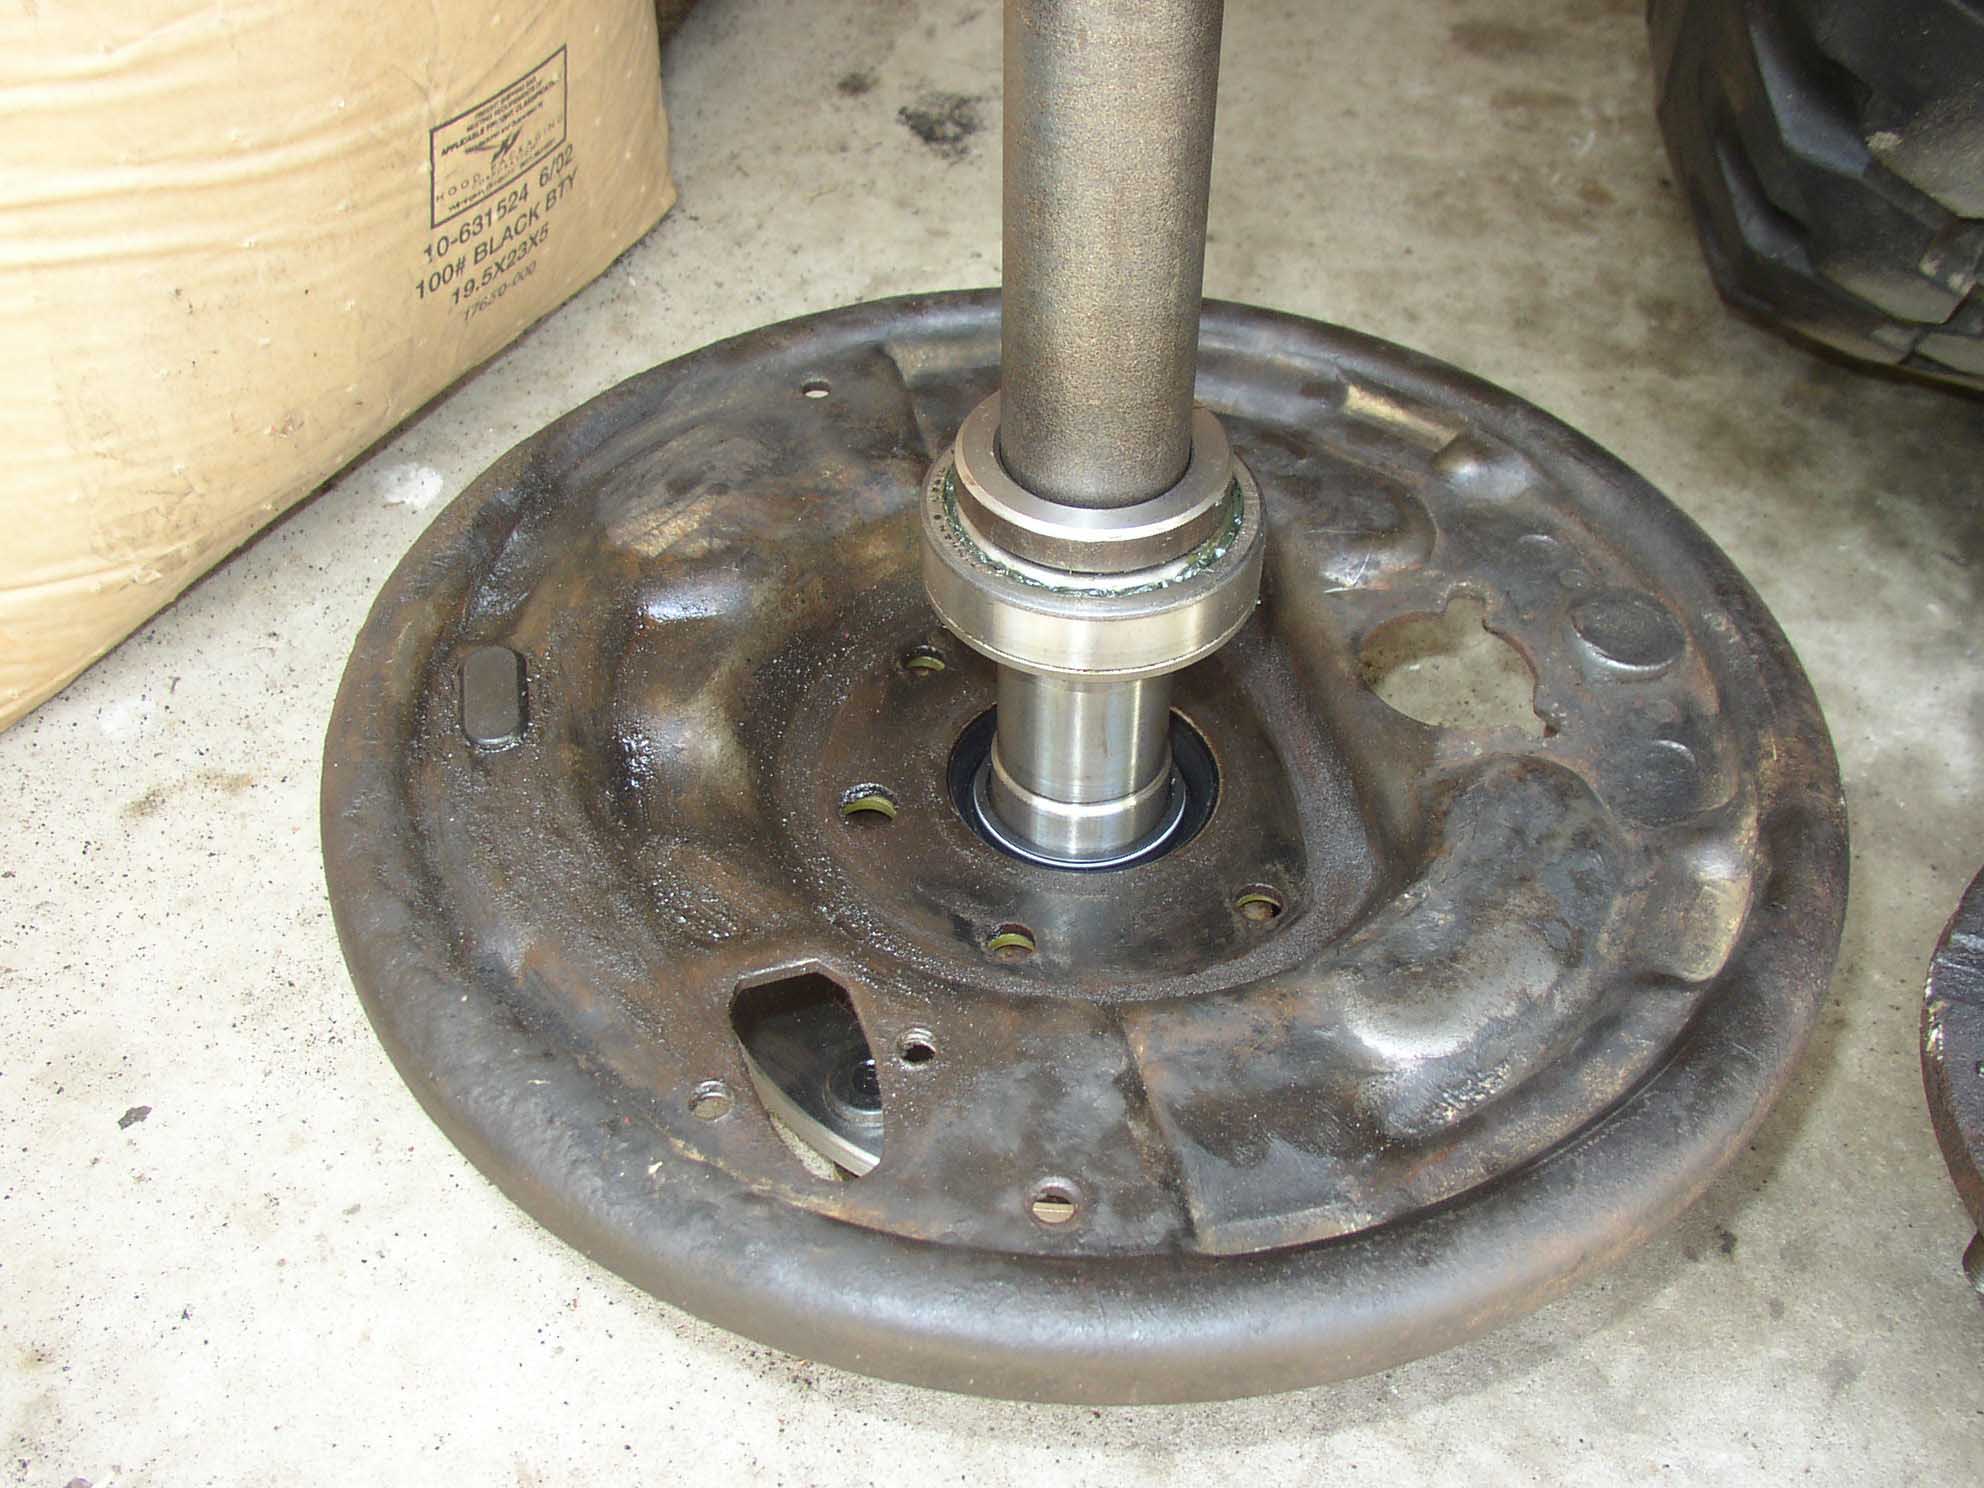
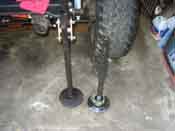
The new axles came in and I set them up according to the directions and
put them next to the old axles to make sure they were the same size. I had a narrow track setup and
the dimensions were perfect. I did realize at this point that I was going to have to enlist the
services of the local machine shop to press the bearing onto the shaft.
NOTE: This could be done many ways by you and just as many ways as it could be done, it could be
damaged. Don't hit it with a hammer or force it with this or that. Pay the 20 bucks and have them
pressed on the right way and you will end up being a lot happier in the long run.
|
| |
|

|
| |
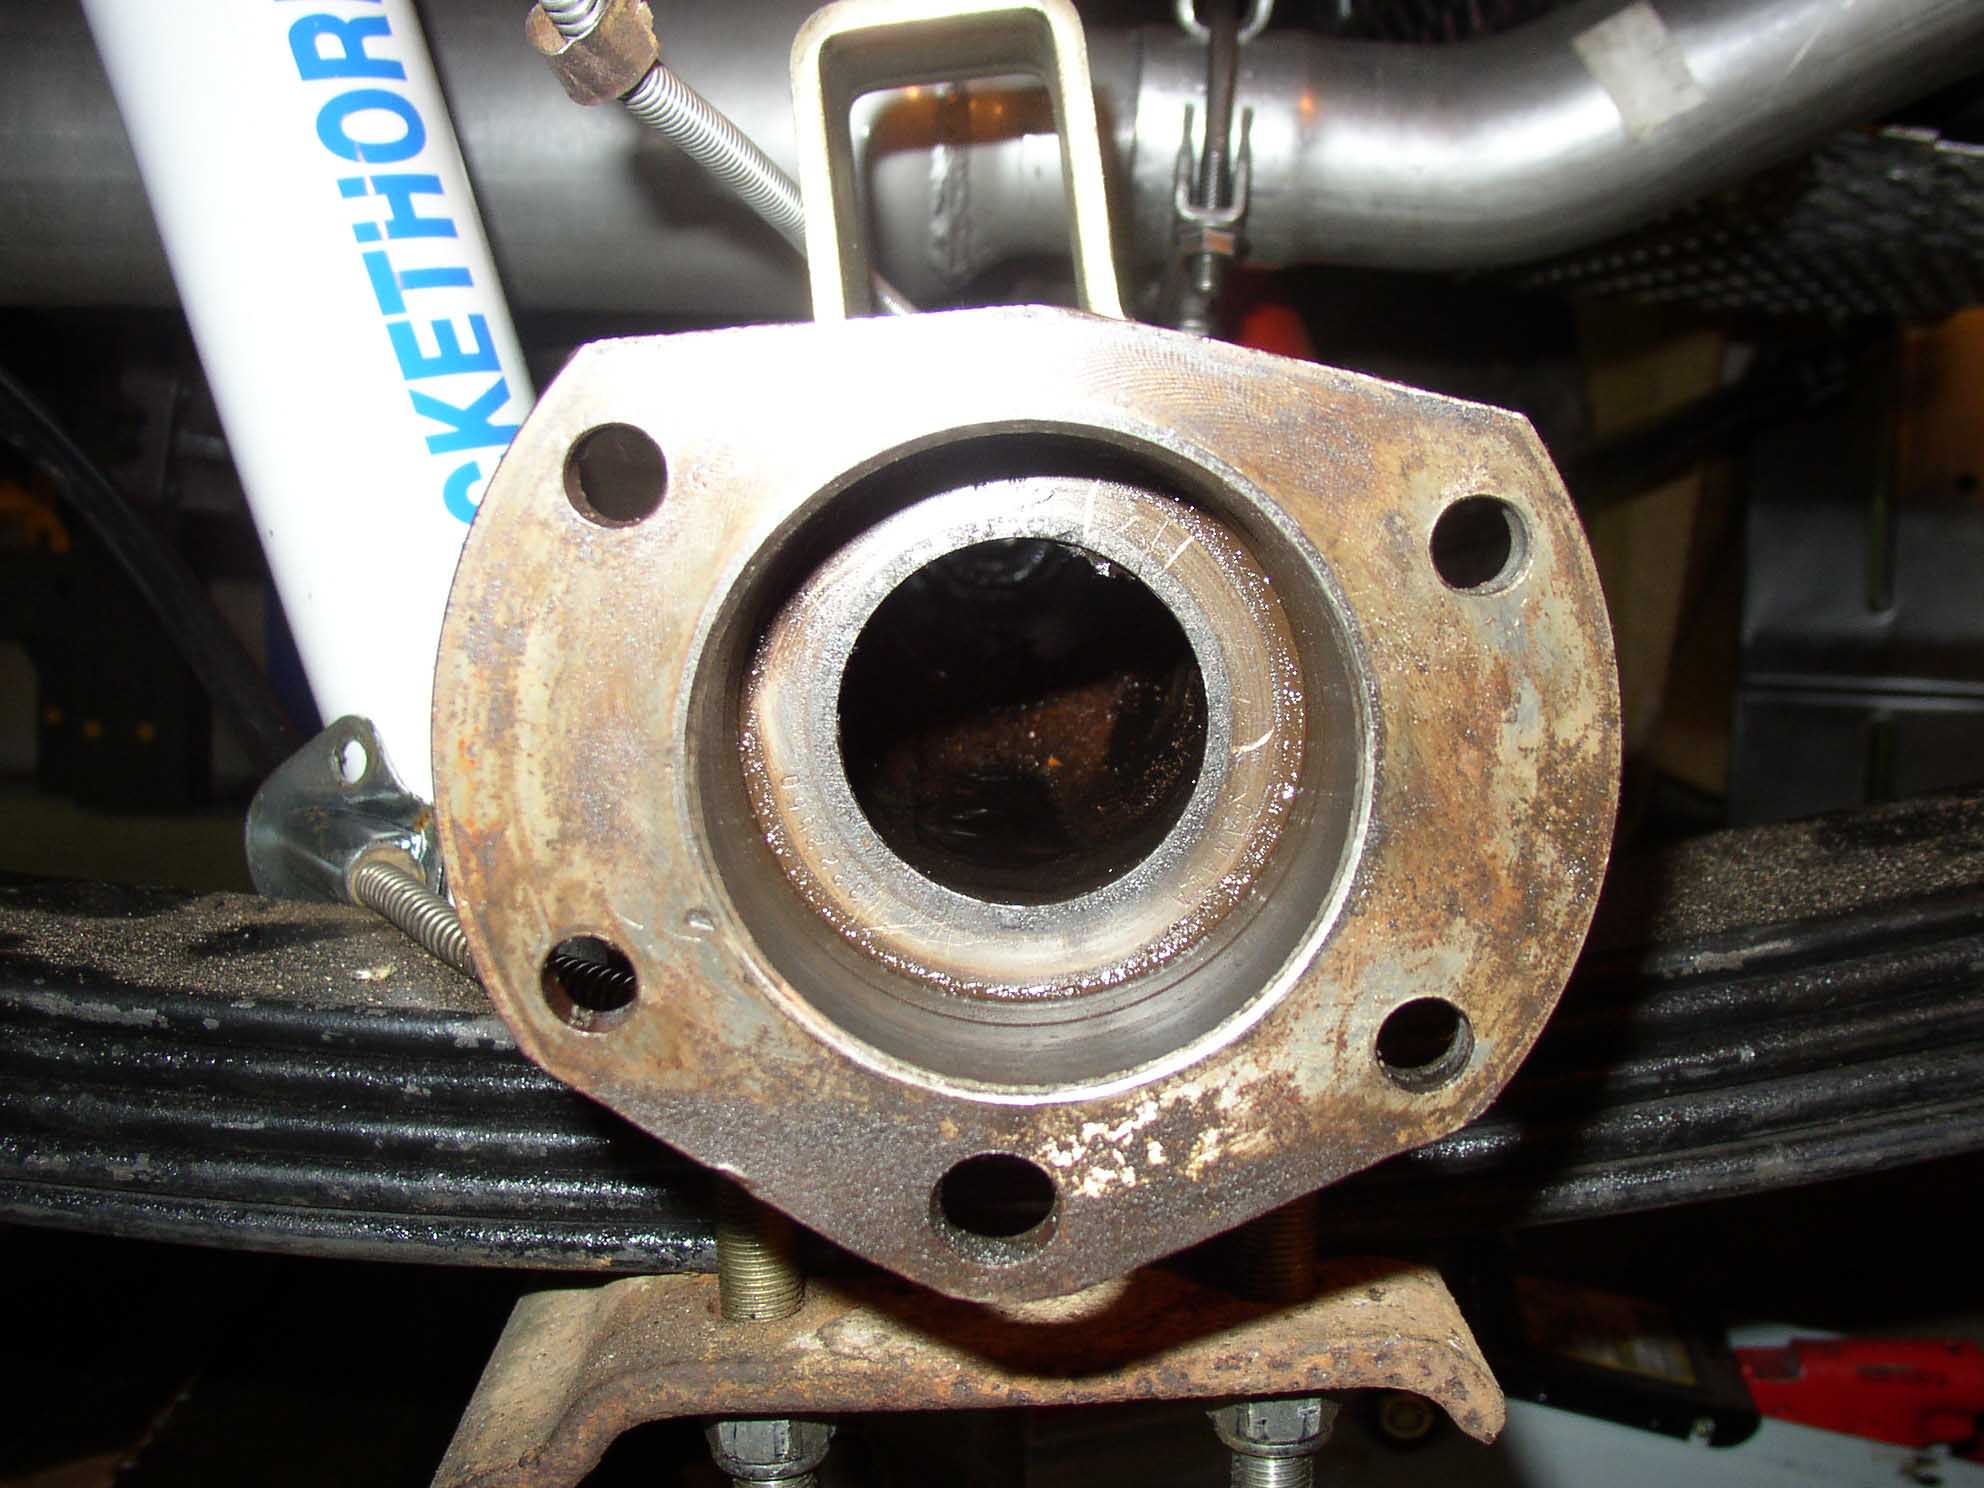
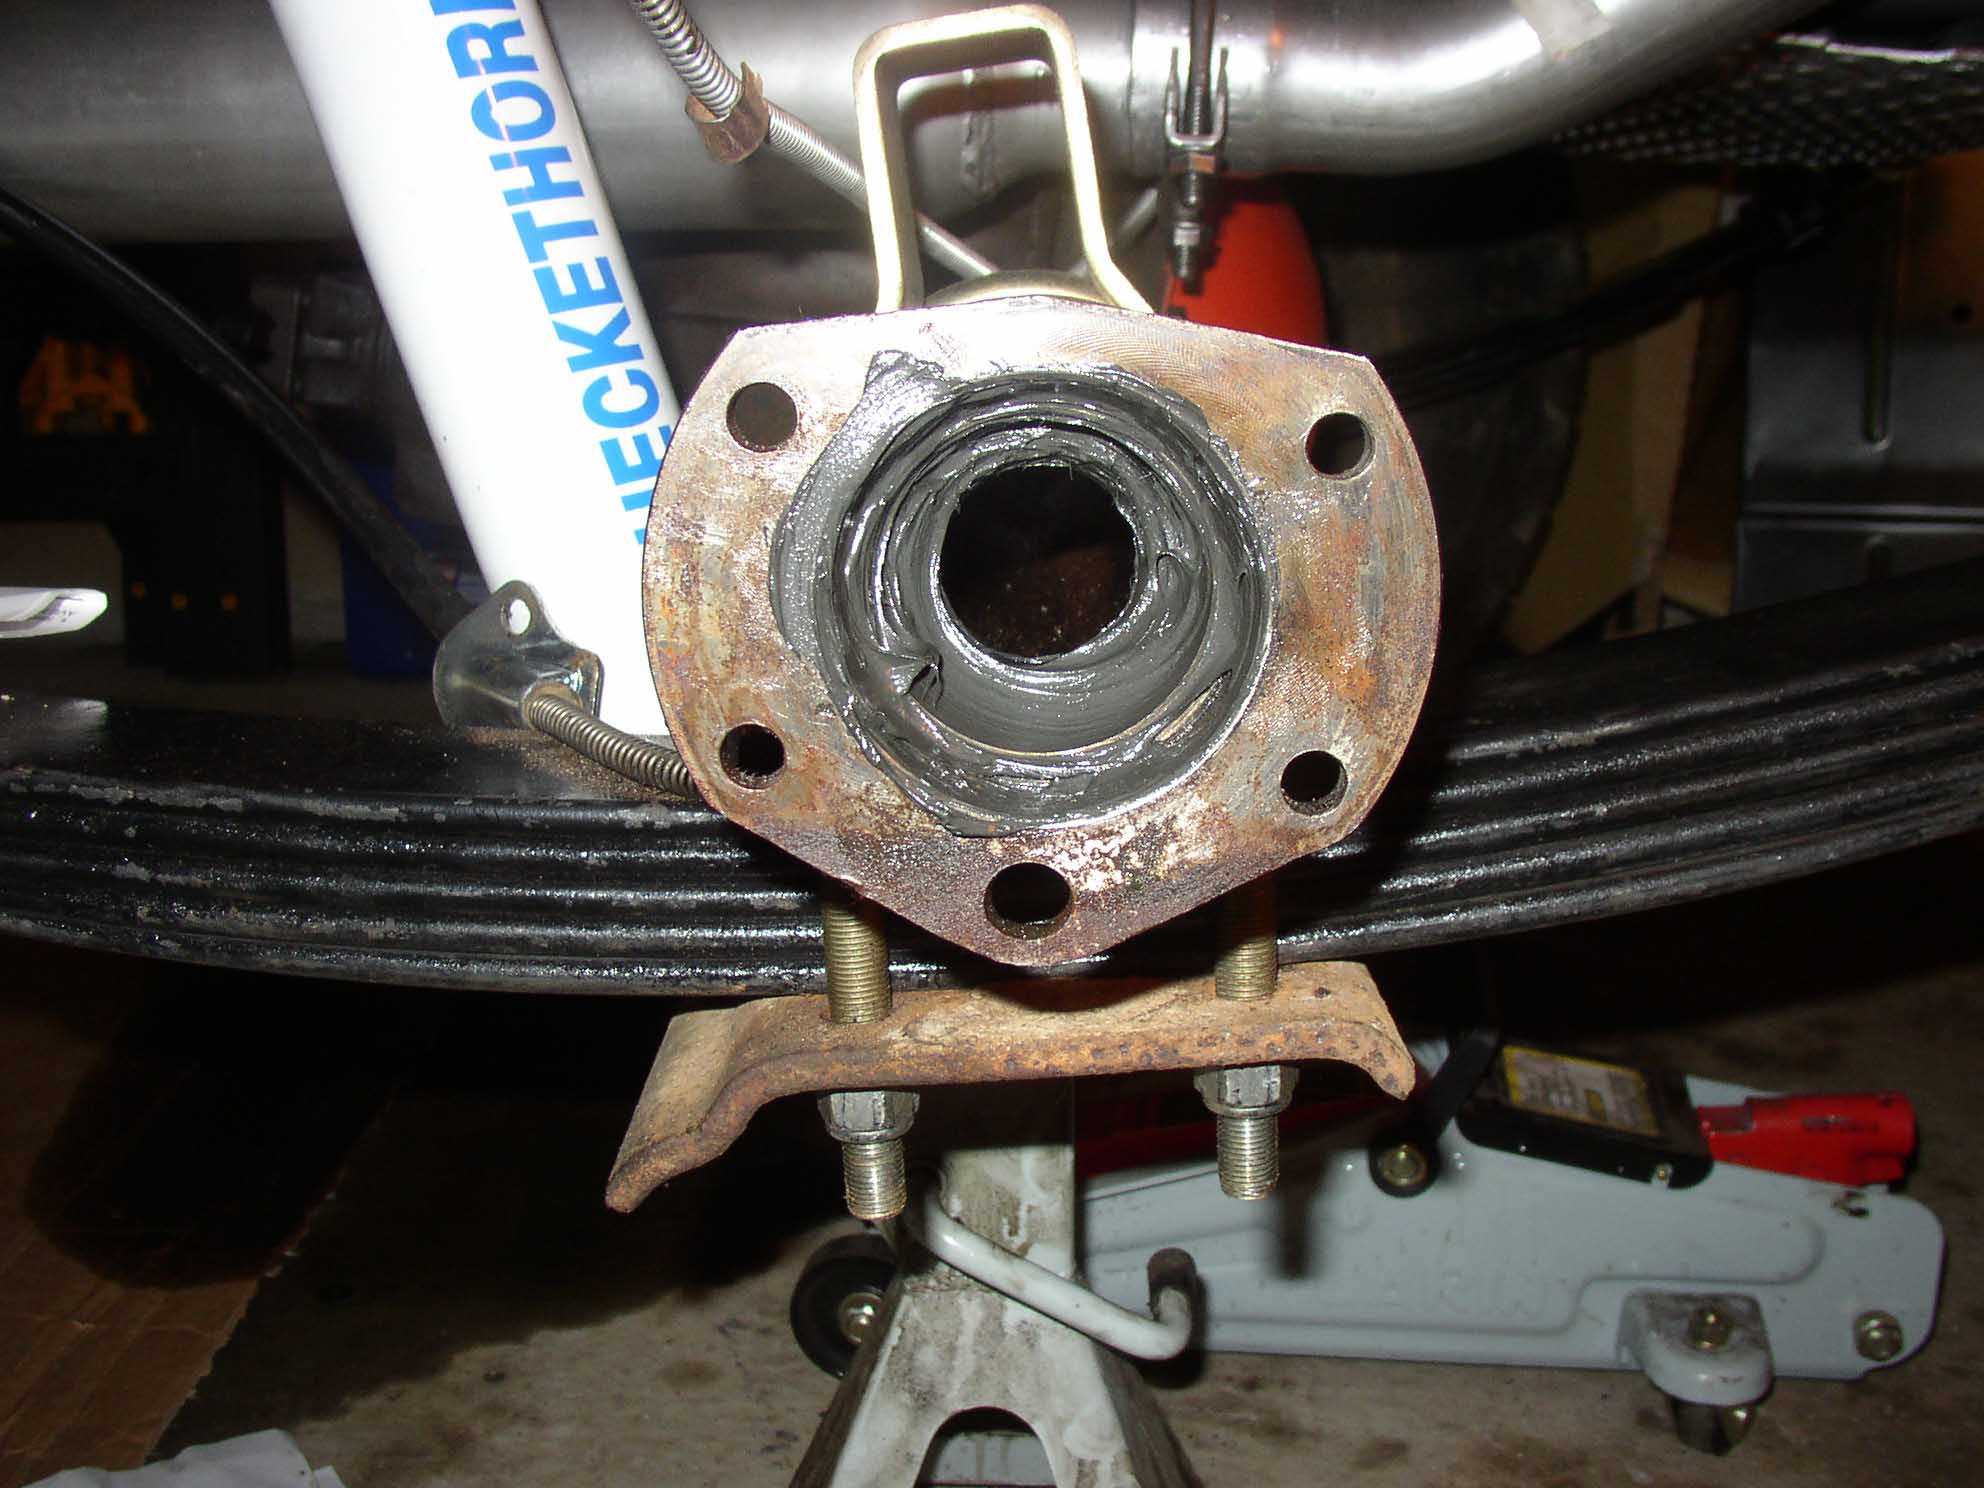
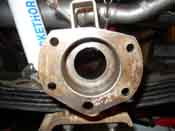
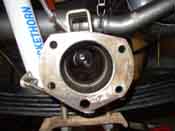
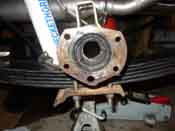
I was about to drop off the axle at the machine shop when I noticed a bunch of crap in the axle tub.
It was combination of dirt, oil, and rusty pieces of crap. I stuck a screwdriver it the hole with a rag
to clean it out. It cleaned up rather easily.
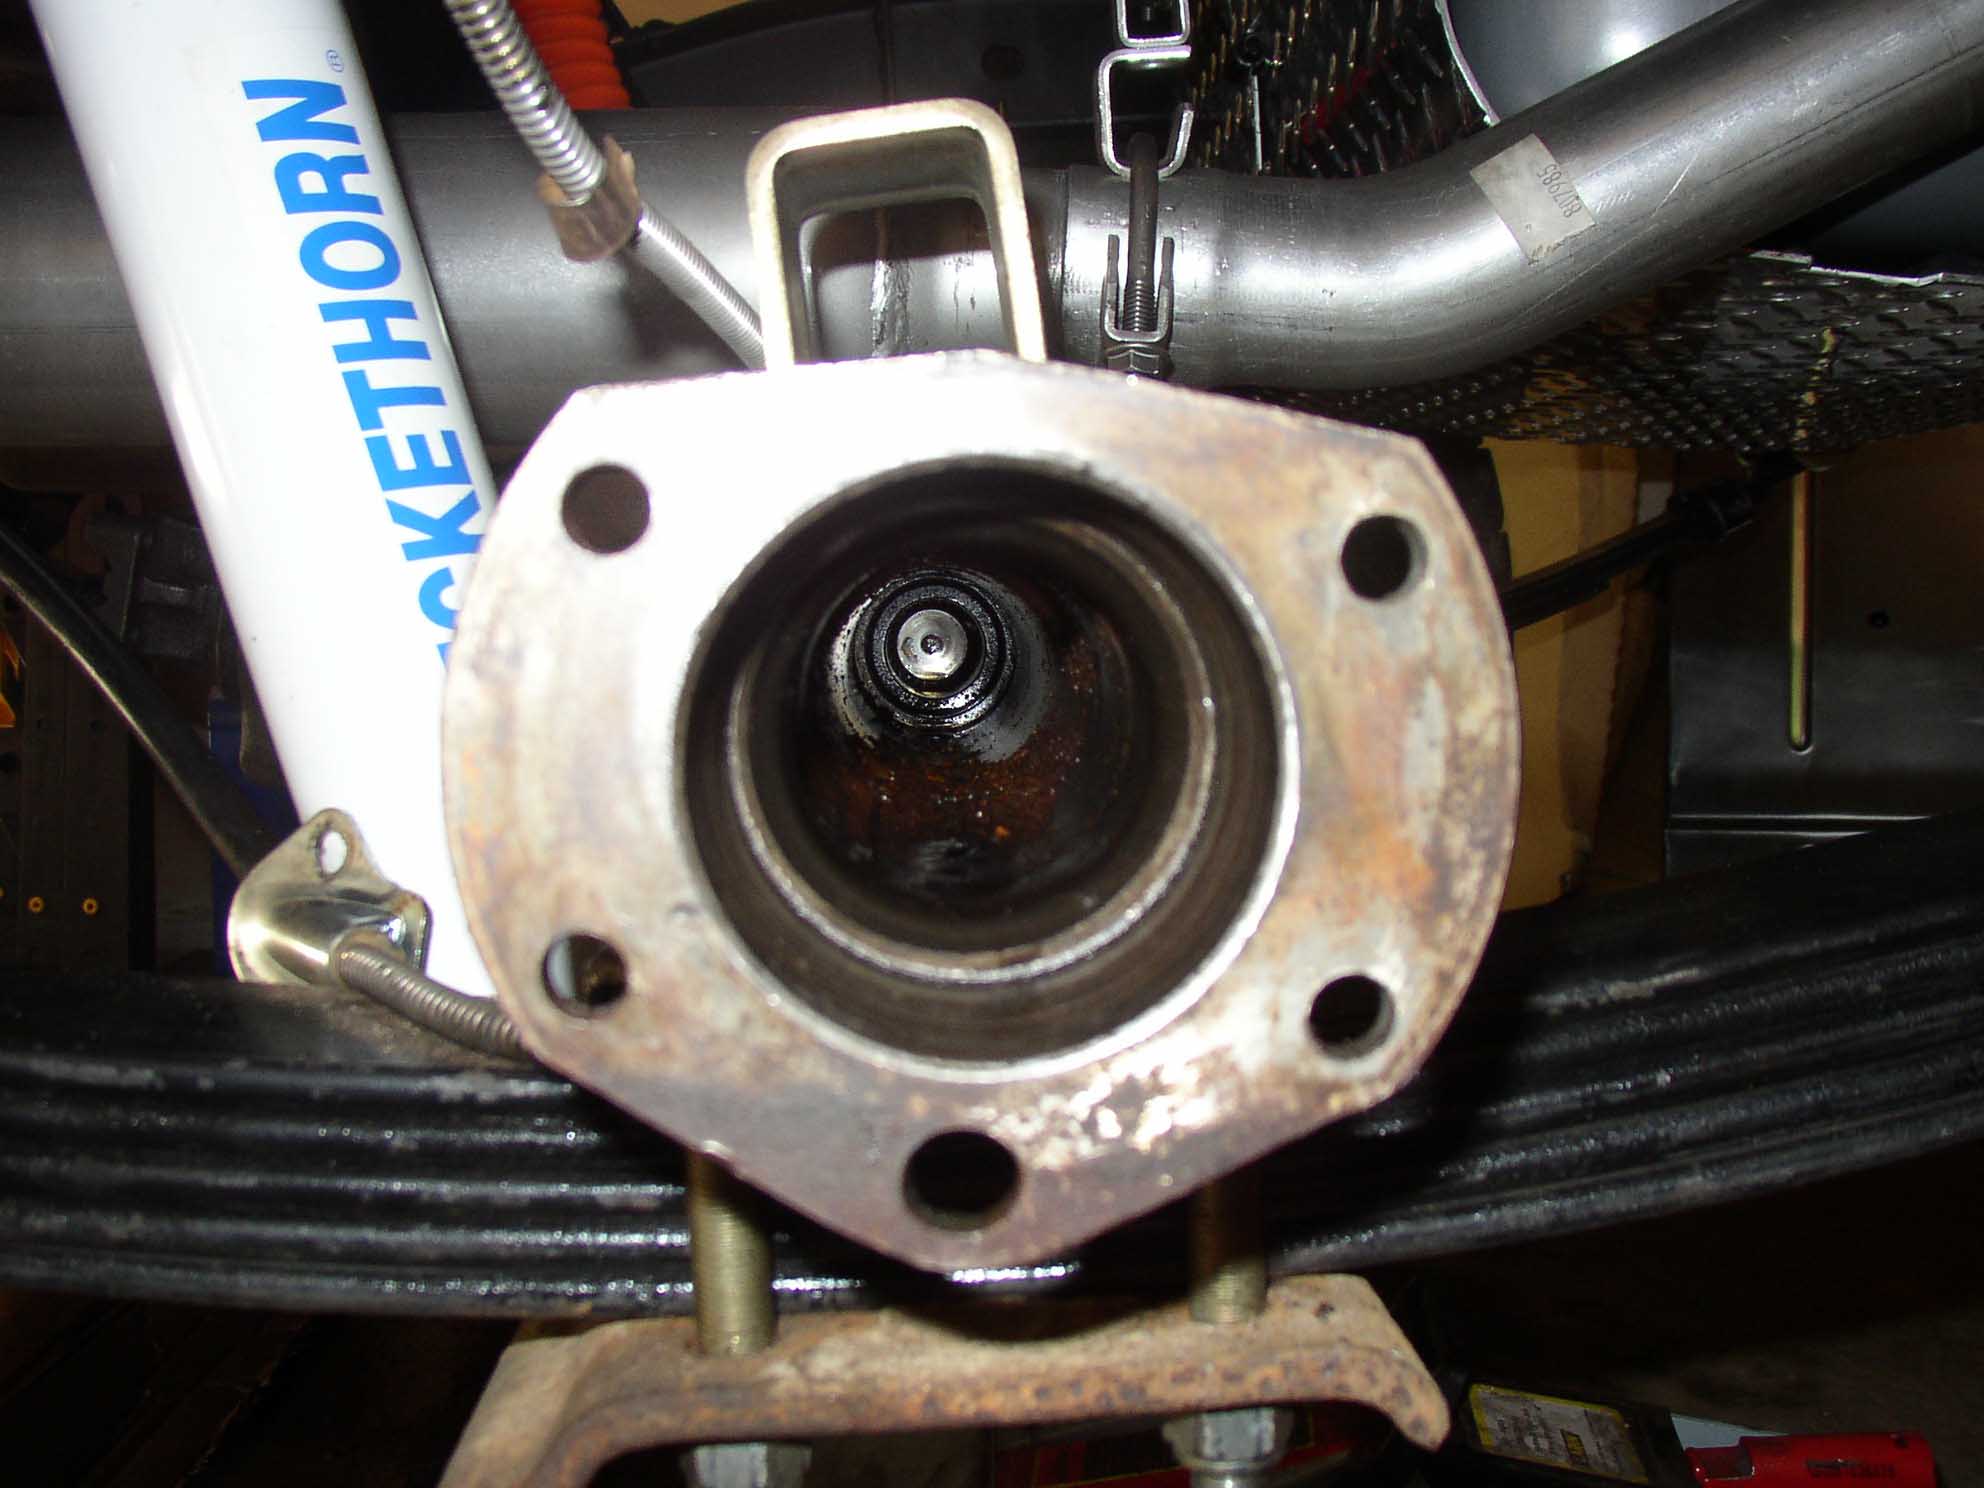
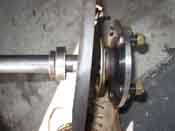
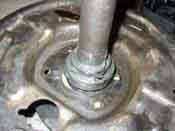
Shown in the picture below was prior to going to the machine shop. Everything was in the
place I wanted it to be, it just needed to be pushed down the shaft. This was done in a few minutes at
the machine shop. So, with everything back from the machine shop and assembled, the axle was ready to be
put back together and the brakes buttoned back up.
|
| |
|
|
| |
|
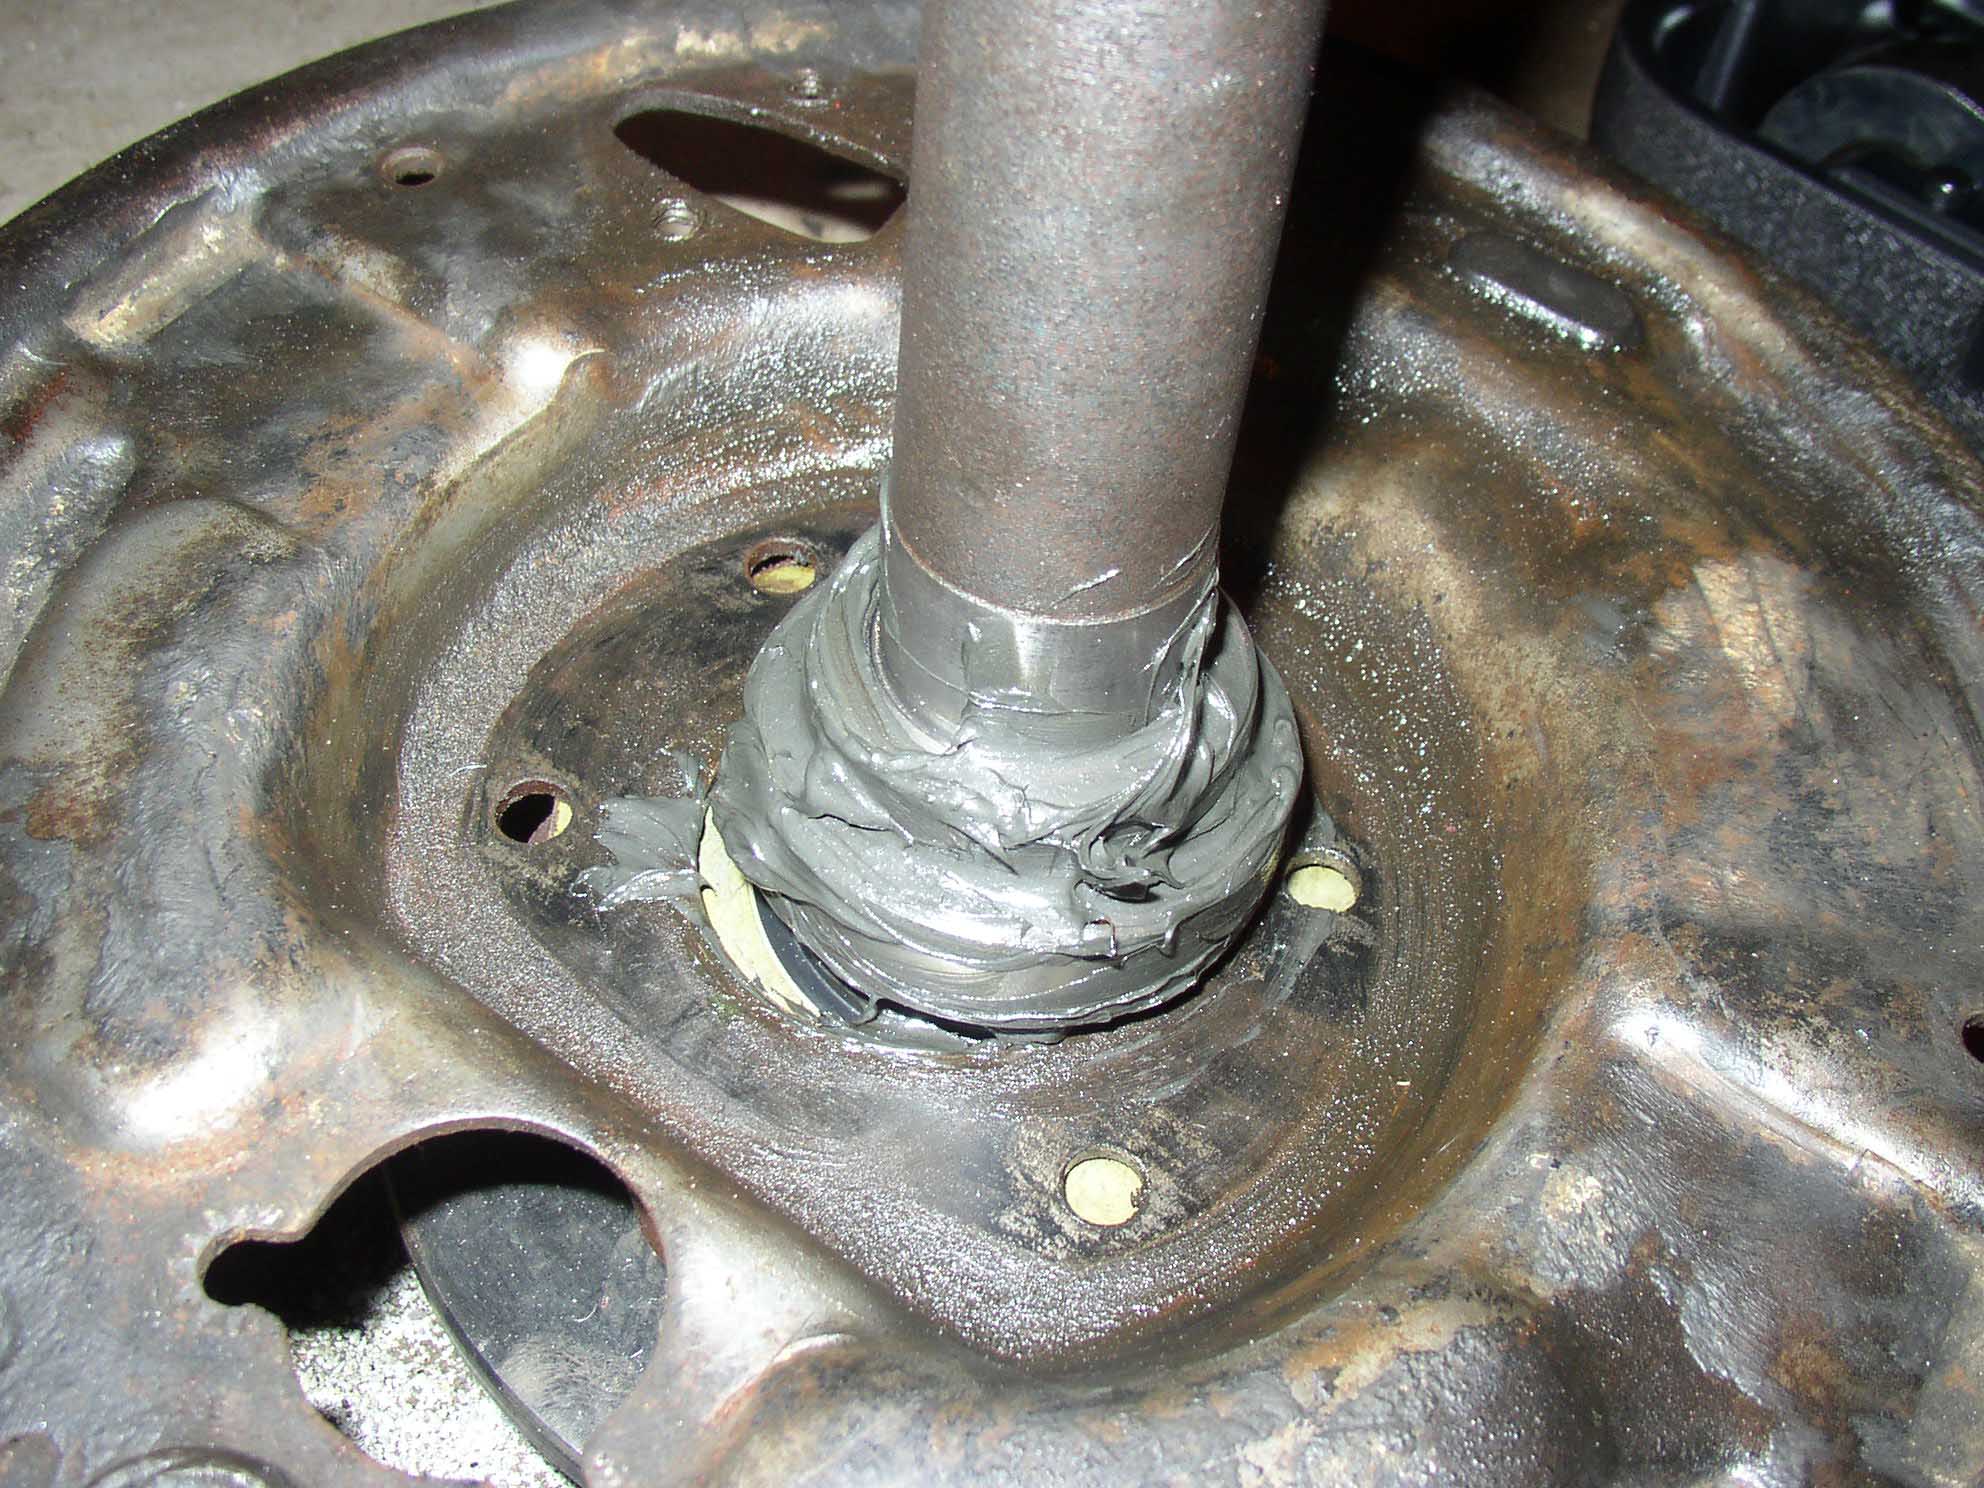
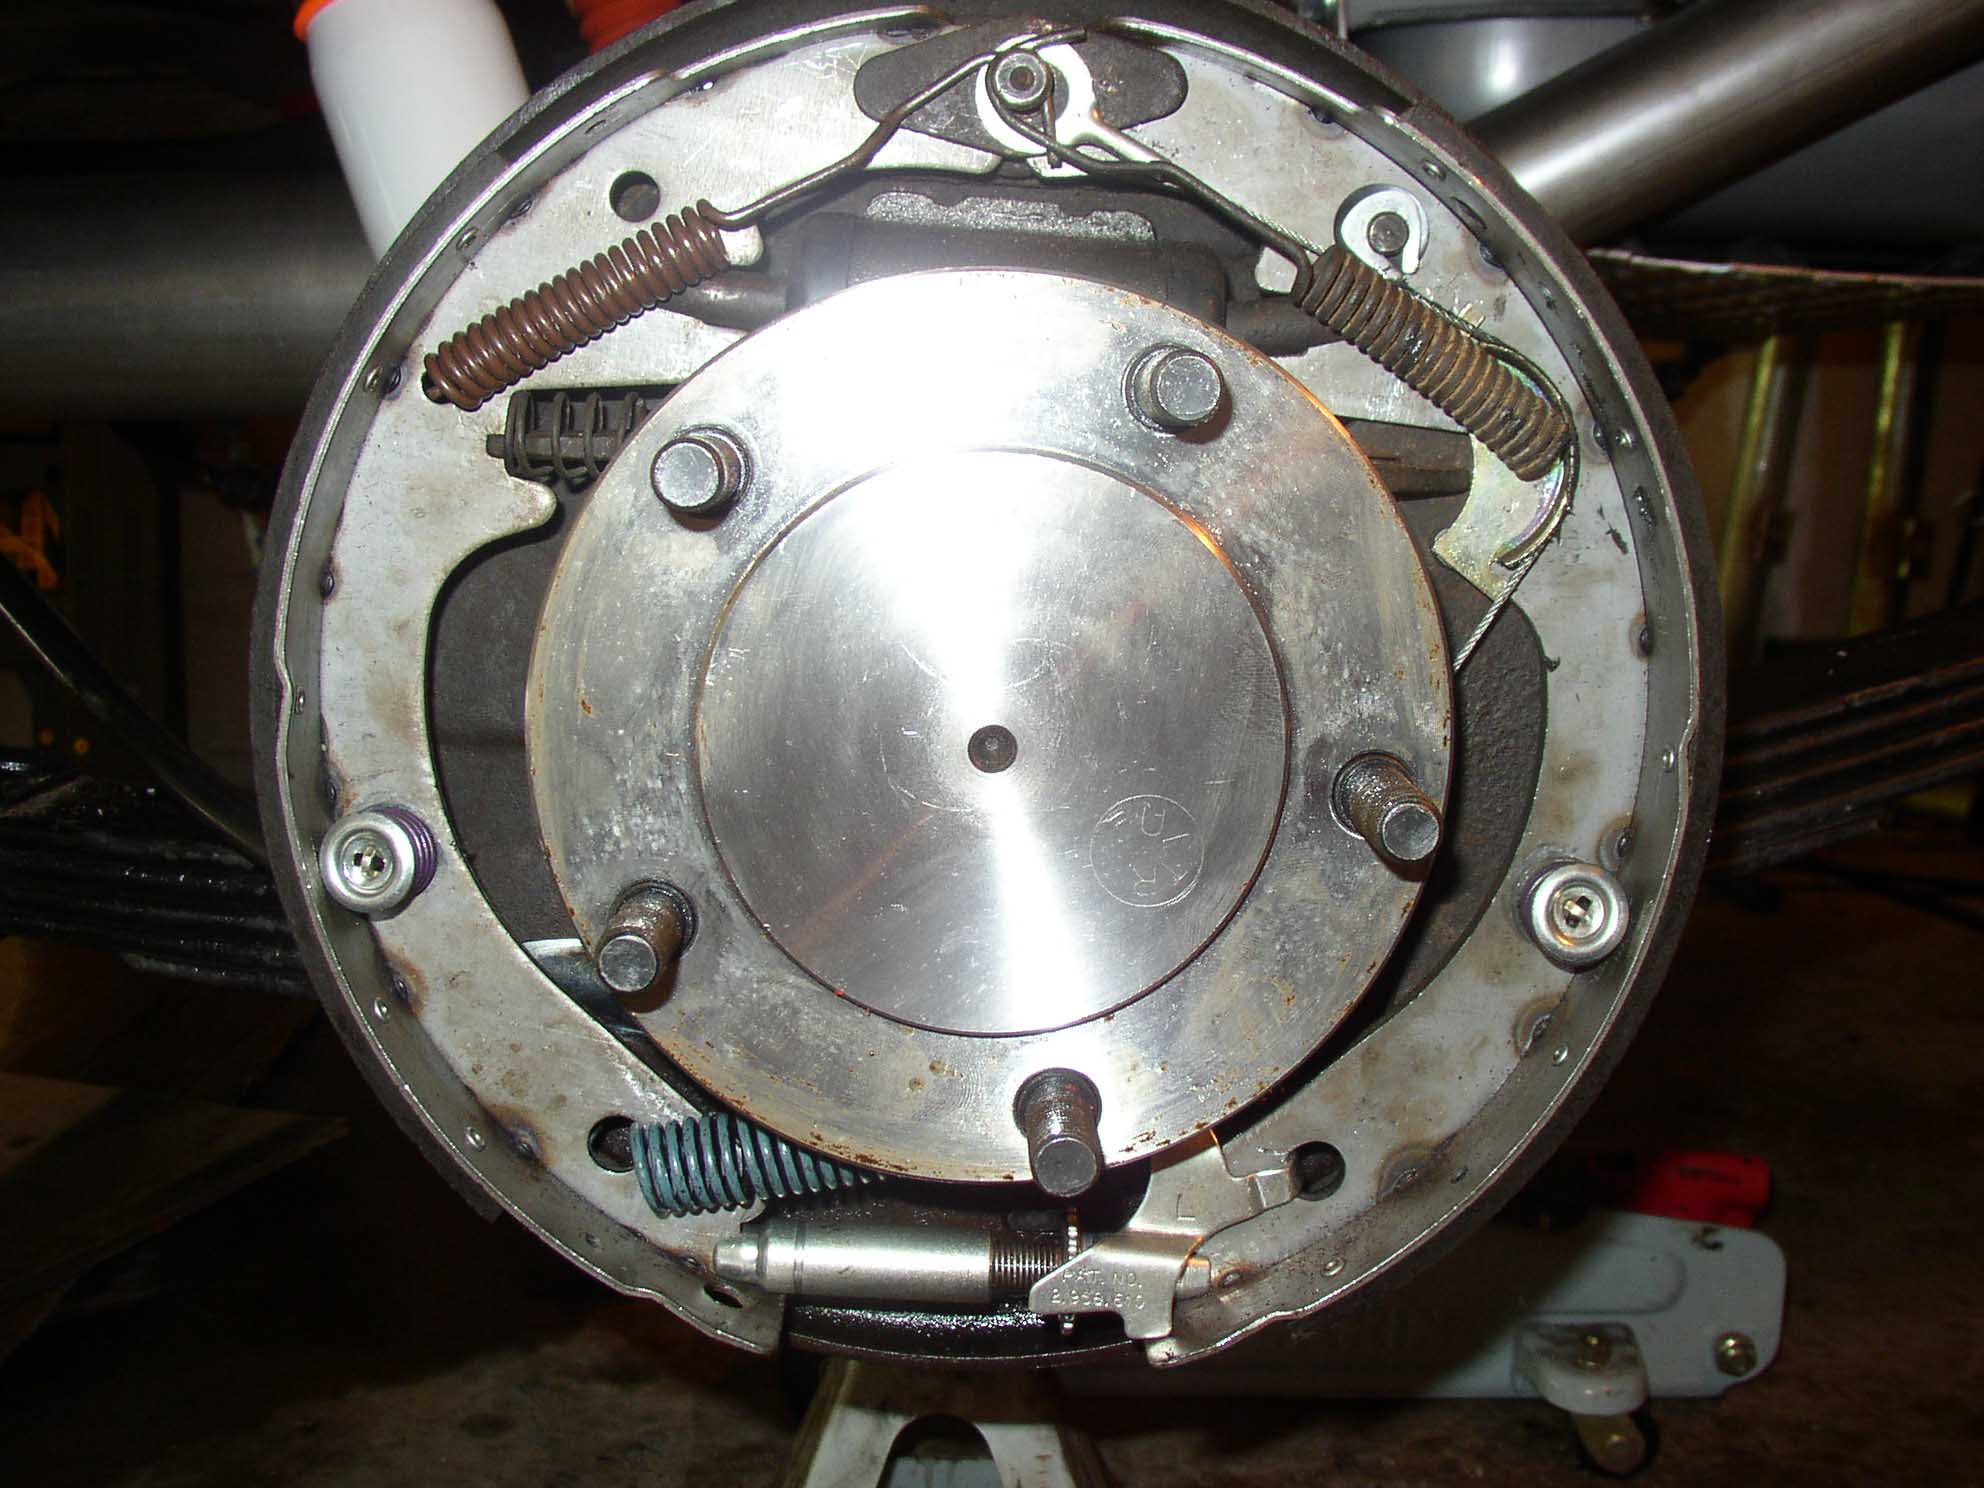
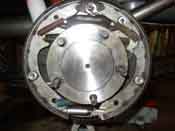
The oil seal gets installed with some grease and at the same time the bearings get greased up and then slid
into place. The backing plate then gets attached and torqued down correctly. Make sure these bolts are
tightened down, they can walk off later on and that is no good for anyone involved.
|
| |

|
|
| |
Reassemble the brake drum hardware and put the drum back on. Make sure during this process that the axle
turns freely, especially when you tighten down the 4 backing plate bolts. This is mentioned in the
installation instructions that you should have a little bit sticking out of the housing. Make sure this is
followed to the dimensions stated. Don't try to push it all the way in, it doesn't work that way.
If you have shims on your axles/backing plates you shouldn't need them with this installation unless your
axle was shortened for some reason. I have read stories about people that had shims that didn't need them
as well as stories of people that needed them. I didn't have any and I didn't need any, just something to
keep in mind.
|
| |
| Lessons Learned the Hard Way |
| |
So, my lessons learned here would have to be that you never, ever, put a
wire/wheel/axle combination up on its end. If you do, all your gear oil from the differential will have to go
somewhere and that somewhere is going to be inside your brake drums and it is going to make a mess all over
the place.
The second lesson learned is one that I didn't have to learn myself, but I learned from reading the frustrations
of others in the forums, and that is, have a competent machine shop do all your work for you in pushing the
bearings onto the shaft and not using BFI to do it because it will ultimately mess things up with the slip of
the hammer. I am so glad I am learning to listen to others; it is starting to save me some cash...
|
| |
| Conclusions |
| |
| This is a fairly straightforward bolt on conversion that results in a lot more
piece of mind in rolling down the road and going out on the trails. AMC 20 axles are notorious for spinning
on the hub due to the less the stellar 2-piece design. By installing the 1-piece design, this weak point is
eliminated and the overall strength of the axle increases 10 fold. There are plenty of more things that can
be done to strengthen the axle further with trusses and what not, but this is a great step in preventing what
easily results in too much throttle and a loud clanking sound and then driving home in 4 wheel drive only to
have the front wheels work.
|