|
|
| Rear Drum Brake Replacement |
| |
| When I picked up the Jeep, I was driving it down this road and when I hit
the brakes, I didn't stop. The kid I bought the Jeep from said the brakes were "soft". Non-existent summed
it up more then what he had said. I then limped back to the trailer and threw it on the trailer and even
then I almost dumped the Jeep since I couldn't stop when I was putting it on.
|
| |
|
|
| |
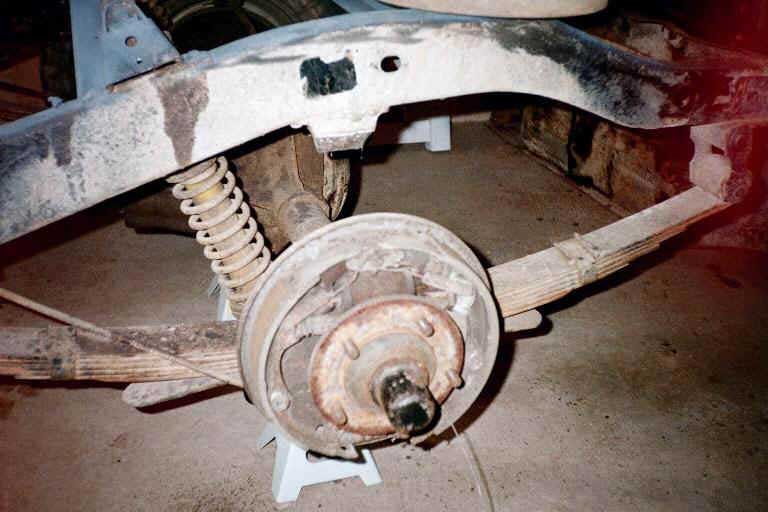
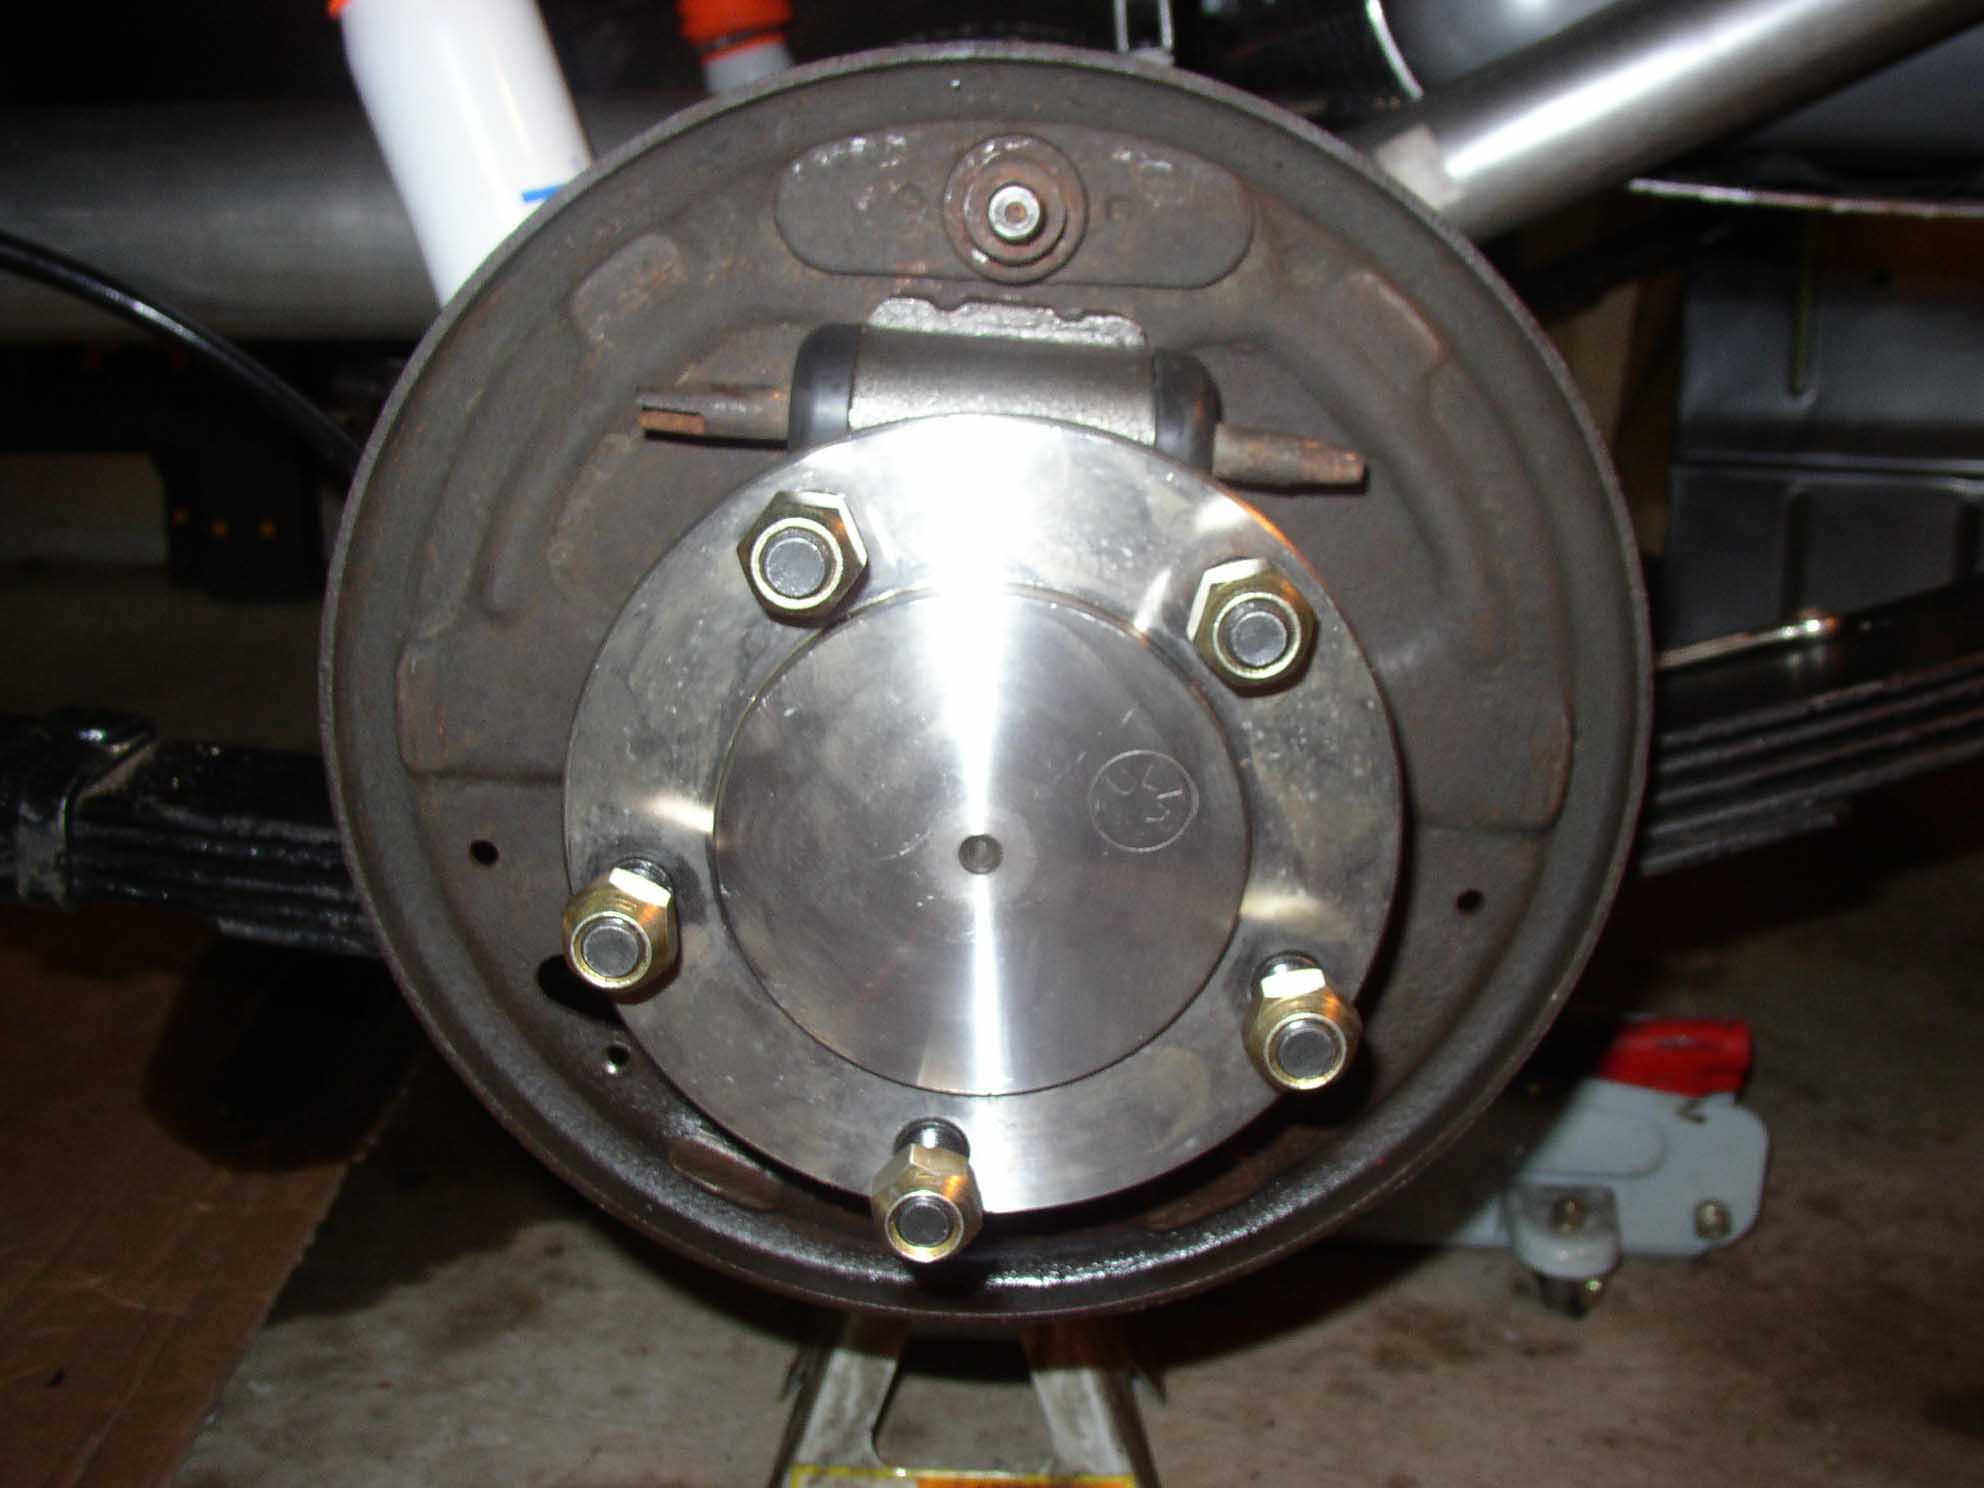
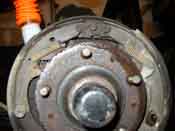
| I got home and I started the disassembly. When I pulled the drums off, things
didn't look horrible, so I set out to see what else was up. I then noticed that the rear brake hose was
swollen and there was no fluid going to the rears. Since I couldn't stop at all, I figured the same was true
for the fronts.
|
| |
|
|
| |
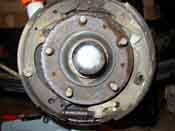
I then proceeded to decide on a replacement of all the hoses with stainless
steel braided brake lines as I was already planning on replacing the steel brake lines with stainless steel
ones. Enough of that though, since this is a write-up on the rear brakes.
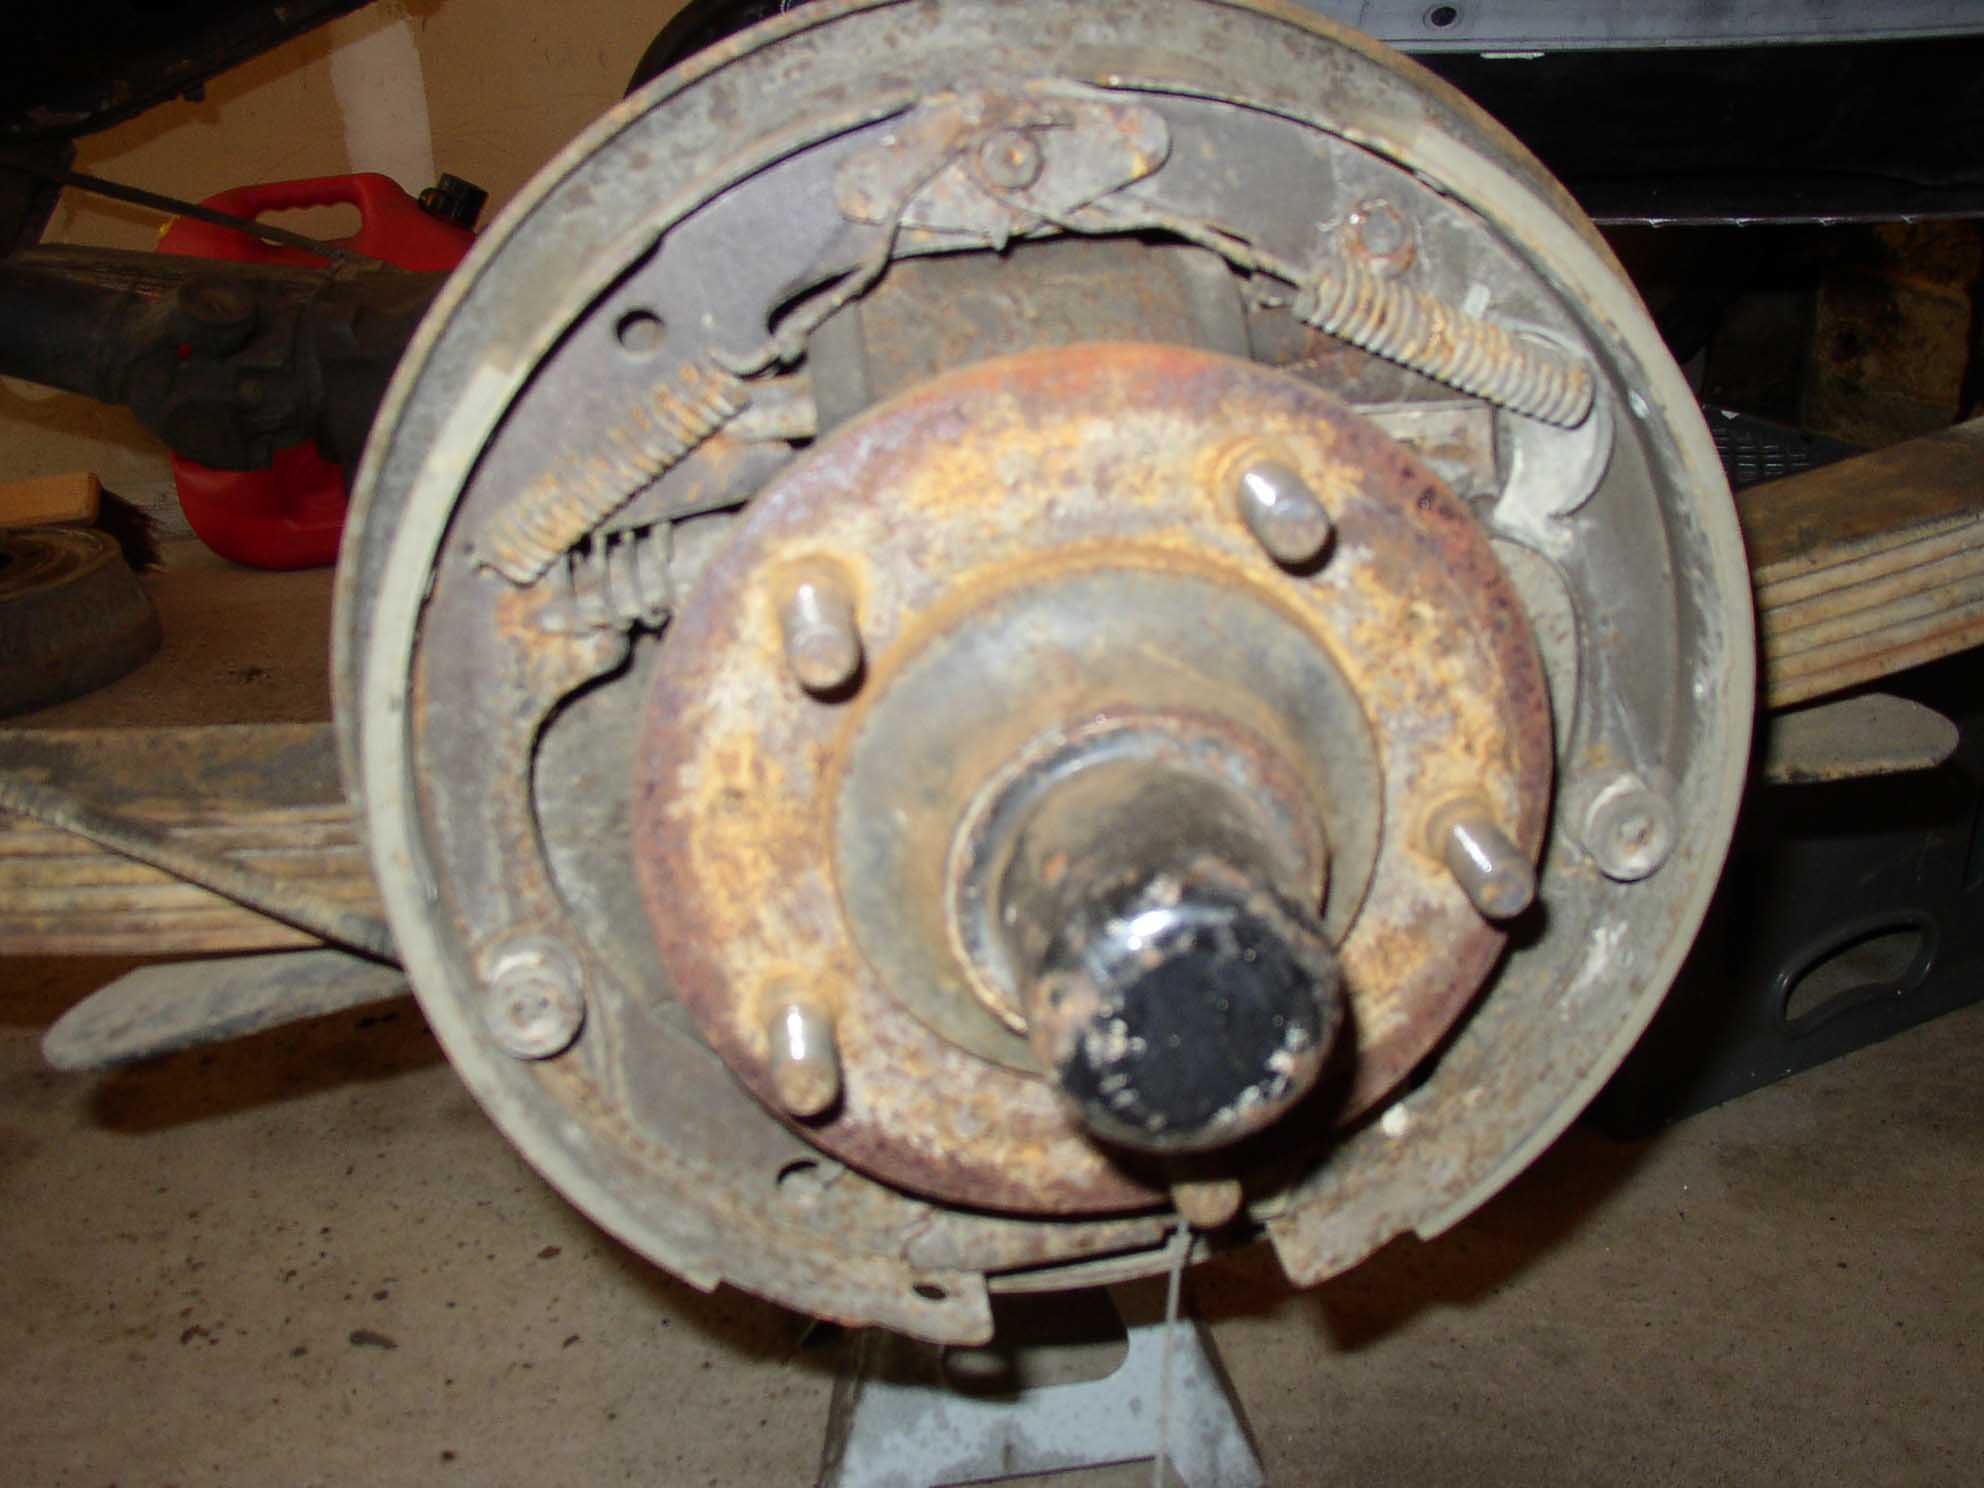
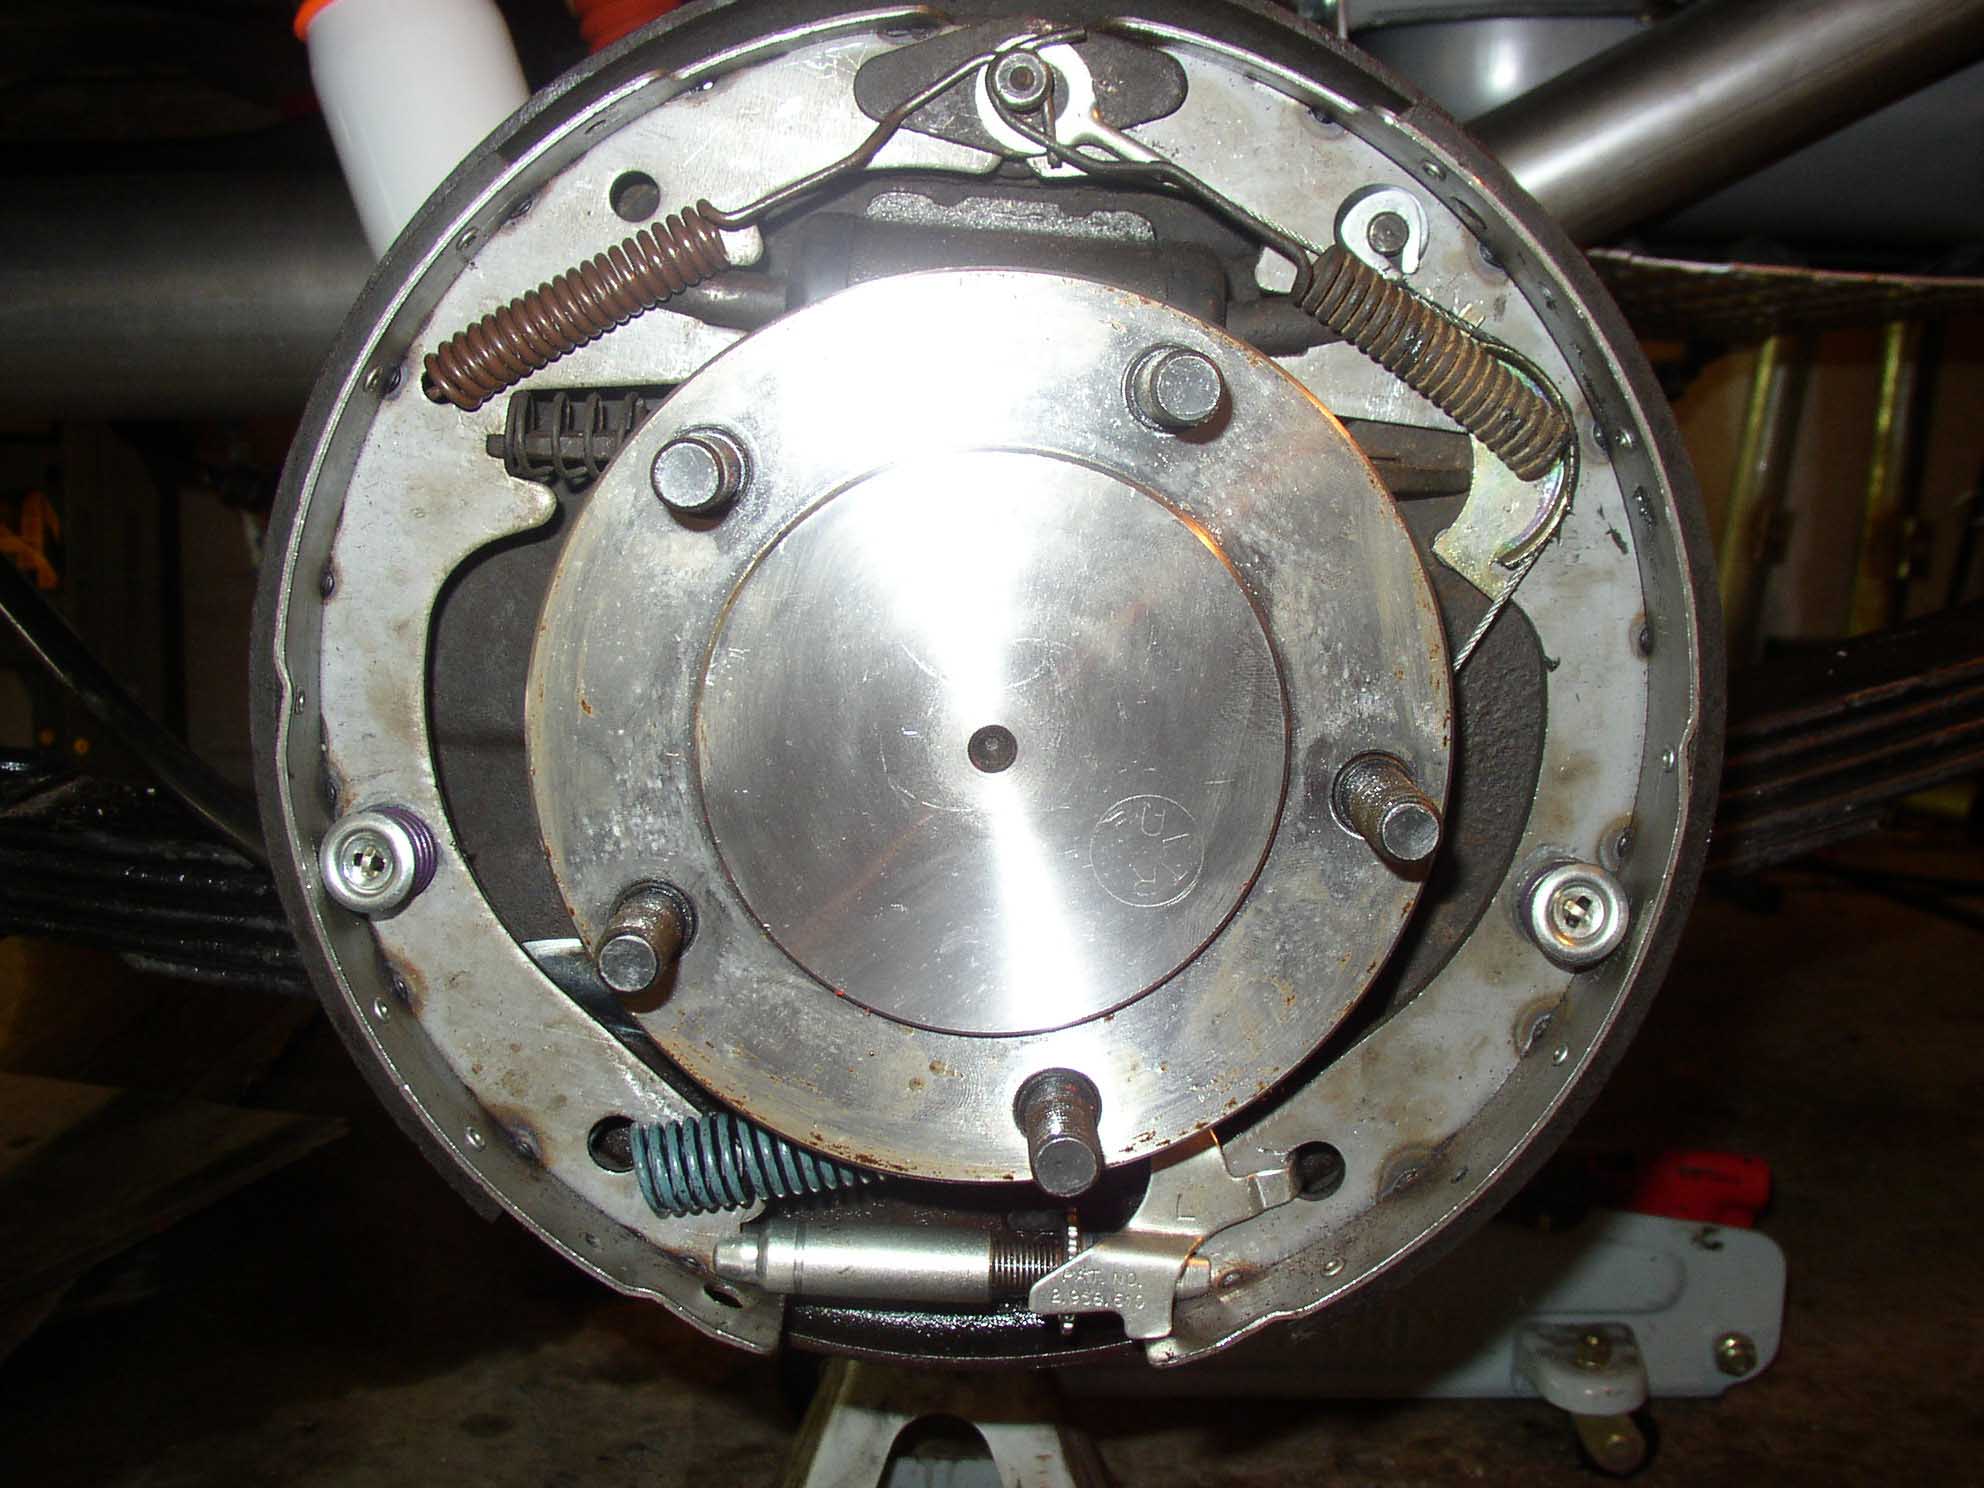
I had read in the forums multiple times that the weak point of the AMC 20 rear axle was the 2 piece design
of the axle shafts with the hub pushed on. I was hearing a clunk in the rear; so I figured I had spun a
hub already, so I had already decided on a 1 piece setup. With that ordered, I set out to disassemble the
rear brakes. To do this, you have to remove the hard line that goes into the back of the backing plate and
into the wheel cylinder. I don't have a picture of it, but the rear passenger side was all gummed up due
to the wheel cylinder leaking brake fluid.
|
| |

|
|
| |
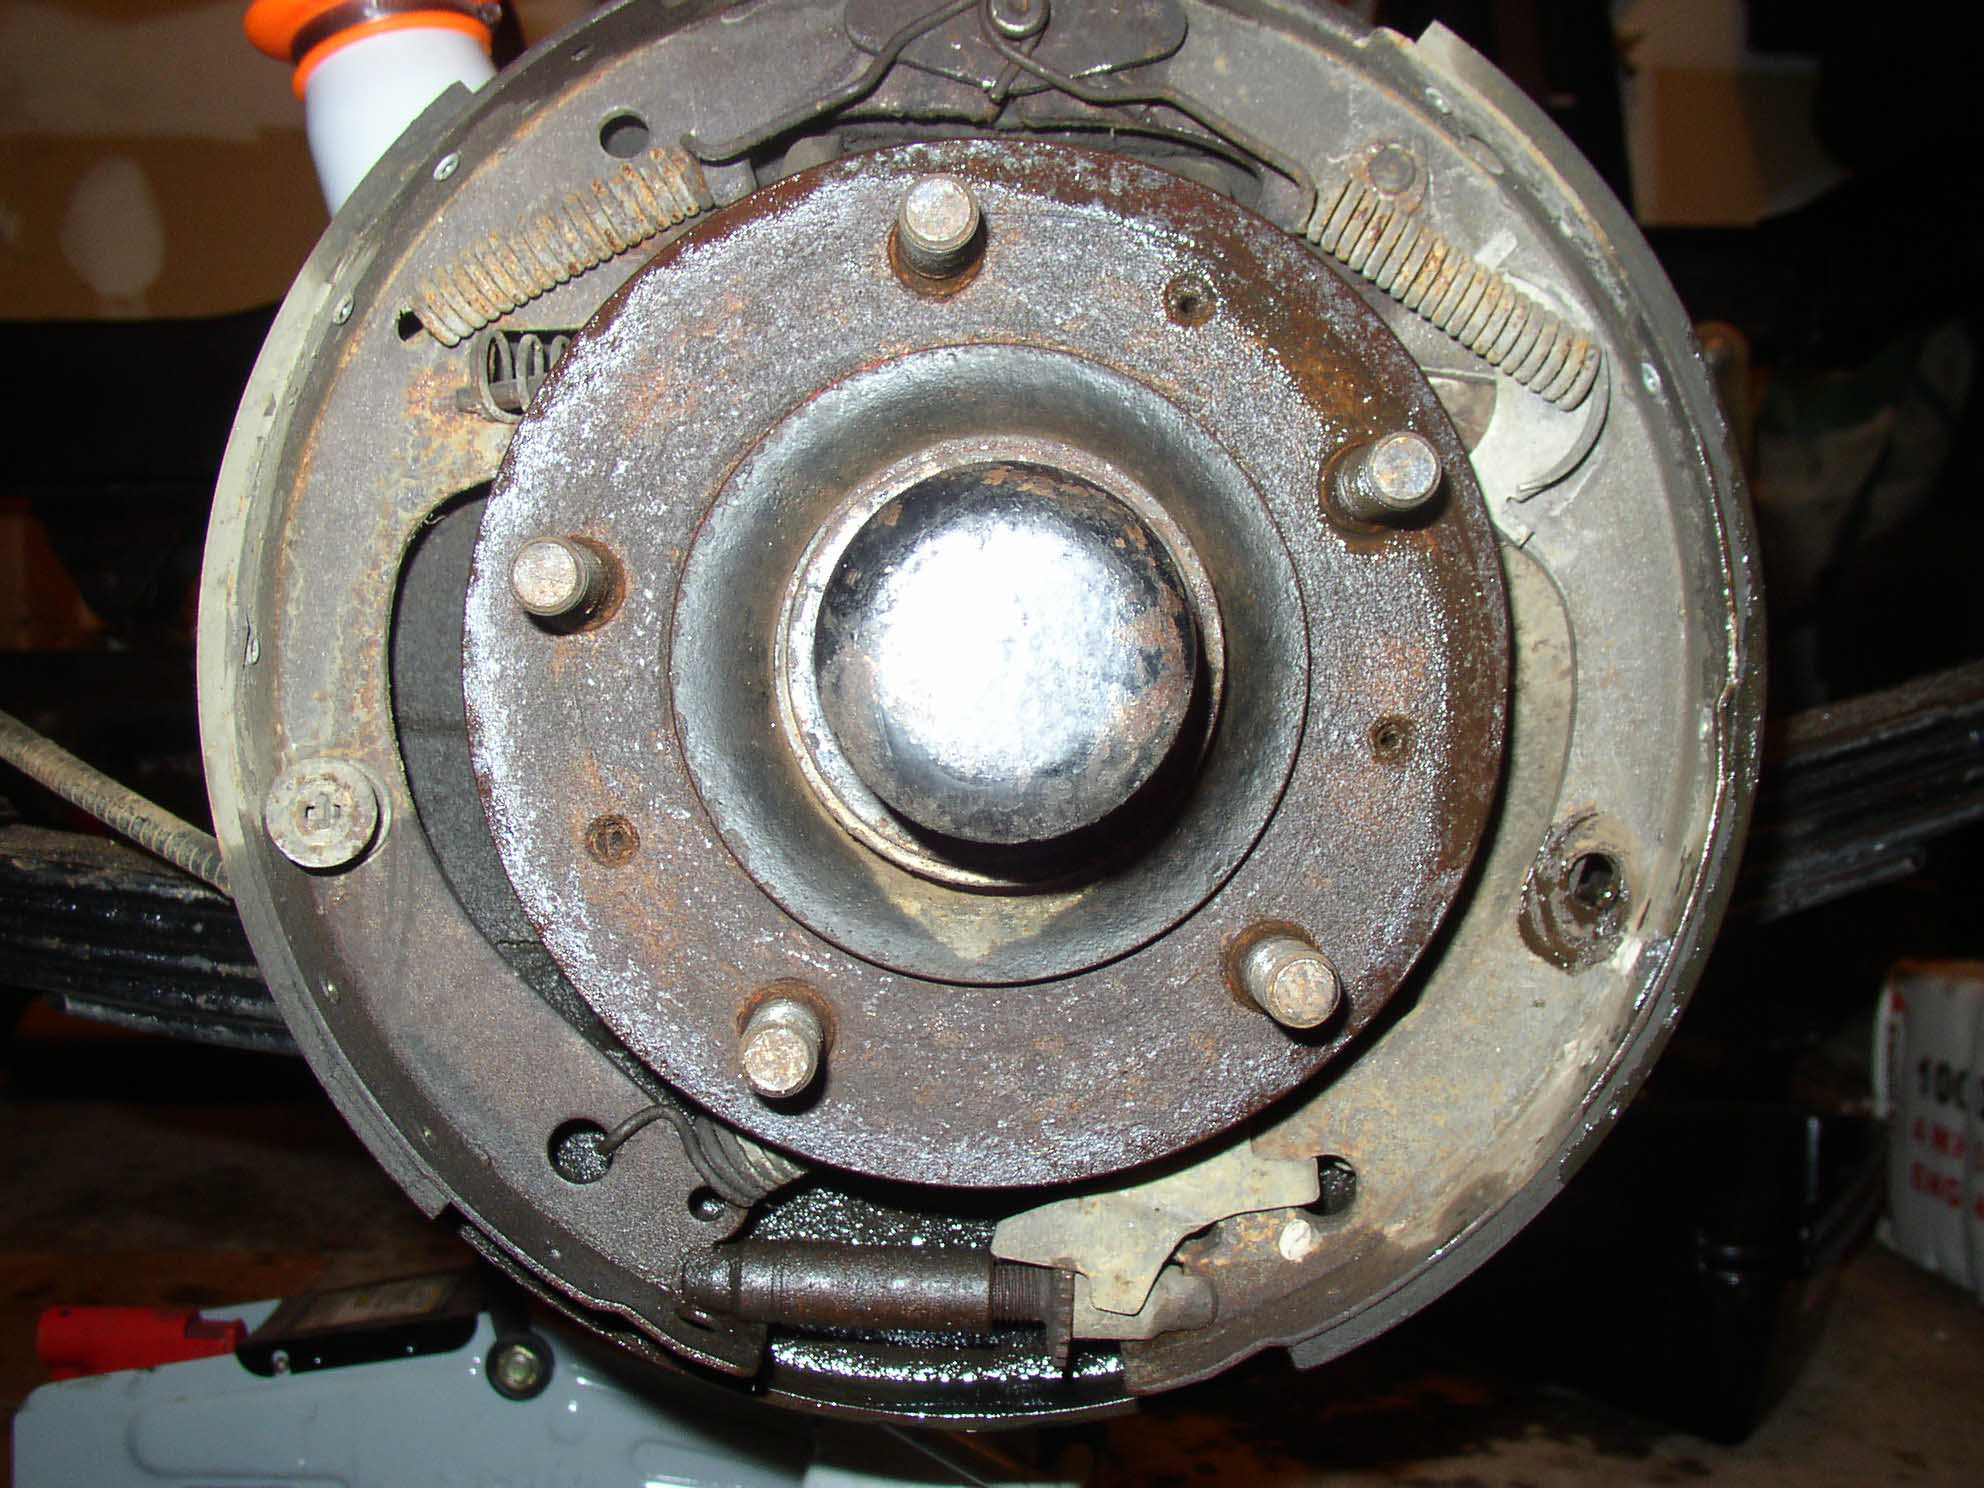
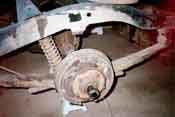
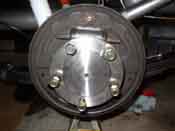
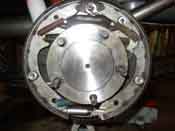
I took everything apart after that. It took me taking off the brake shoes that
were held in place with some springs and disconnecting the parking brake cables. I got the 1-piece axles
delivered and then I ordered up a complete brake kit (part# 56215 904) from
Quadratec. They offer a kit that
replaces all the shoes, springs and etc. parts. This kit reduces the cost by getting all the parts as one.
The drums were in OK shape, so I took them down to the local Midas and had them cut down. This cost around
$20.00 and saved me a bunch of money in having to buy new drums. NOTE: The kit listed is for a certain
size brake drum in the rear, make sure you order the correct one for your setup.
With all the new parts in hand, I went off to the local parts store to buy a
brake spoon, brake spring pliers and finally a brake spring compressor. These parts aren't necessary, but I
found the extra money spent was well worth it since it made life easier.
The last thing that I did was take the 1-piece axles down to the local machine shop and have them press on
the bearings that came with the kit. This cost $20.00 and was a great time saver, not to mention me trying
to push them on with a hammer would have ruined the setup.
|
| |
|
|
| |
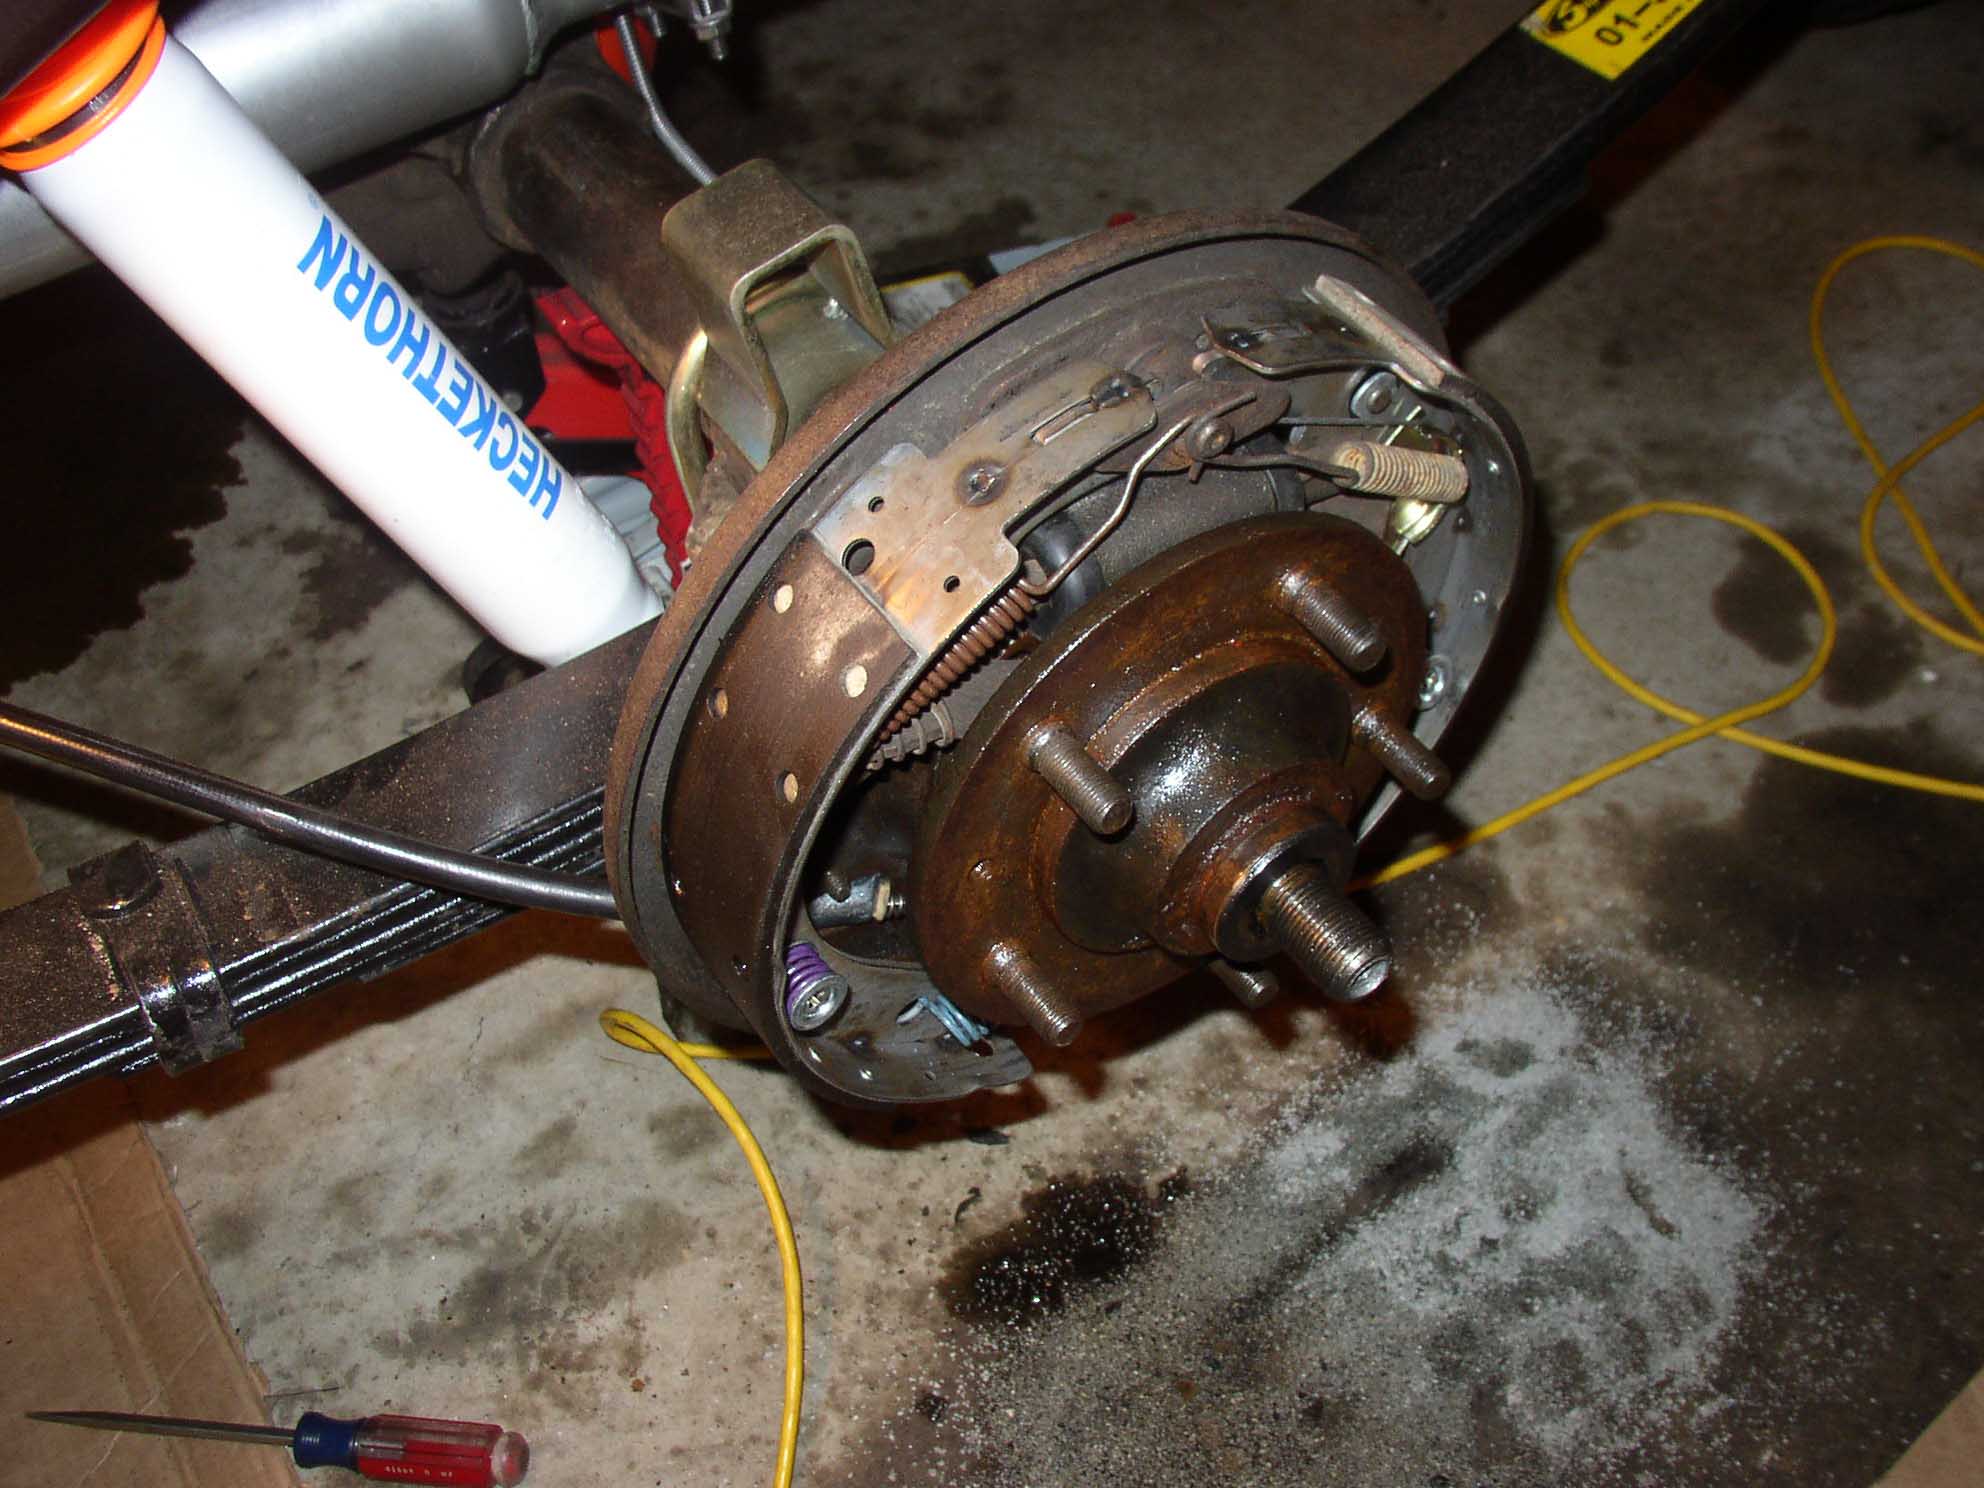
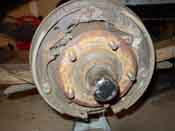
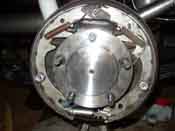
I proceeded to put in new axle seals as well before I put the axles in and then assemble the rear brakes. This
will prevent against your axle leaking gear oil on the nice new setup you have put together. This is cheap
insurance and it is highly recommended. They might come with your 1-piece kit, if not, then get some from
one of the on-line shops.
With all the parts in hand, the axles were slipped into place, the tolerances were checked against the directions
in the 1-piece kit and then the shoes, springs, and parking brake cables were put in place. The adjusters were
adjusted so the drums just dragged slightly. With that done, the little rubber cover was put into the brake
backing plate to keep debris out of the adjustment area.
The system then needs to be bled to get the air out and then you can try out your new brakes. Make sure when
you put the brake backing plate on that you tighten the bolts down and even use some loctite if you want to since
the vibration might back them off. That happened to me and I had to take everything apart to do this. Learn
from my mistakes!!!
|
| |
| Lessons Learned the Hard Way |
| |
| So, my lessons learned here would have to be to get all the parts upfront that
you will need to do the job. It might cost more in time and money upfront, but at least you won't be sitting
around waiting for parts to come in and also you won't have to take it apart later to do something that would
have cost a few extra bucks to do upfront.
|
| |
| Conclusions |
| |
I had never done a rear brake job ever and I was able to accomplish this with
a bunch of reading and snapping some pictures and asking a mechanic friend to review them and tell me if I had done
anything wrong during the setup. Everything turned out good and even thought I was nervous about it, I think
I could rip off a drum brake job in about 30 minutes per side now.
The front setup is similar and will take even less time since there are no parking brake cables and levers to
have to deal with. I ended up replacing the front drums and then after driving the Jeep with bigger tires and
even with power brakes, decided to go to a front disc setup. It really ended up costing me more money when I
did this, but I was quite pleased with the results.
One last thing to note. I did a lot of reading about cross-drilling the drums in the front and also in the rear.
Simply put, this puts holes in the drums like they do in the discs. By doing this, any built up gasses, water,
or debris are forced out of the holes during breaking. This helps in water or mud crossings. I tried this and
noticed a bit of difference, but nothing compared to when I went and converted to a front disc setup. You can
do some reading on this if you want to and see what you think. Whatever you decide, brakes are important, so
make sure you don't cheap out and make sure you replace everything that needs replacing. If you don't, it might
mean that you don't stop and all the work you have done on your Jeep will be for nothing.
|
|