|
|
| Oil Pan / Rear Main Seal Replacement |
| |
In a previous write-up, I had mentioned that I put on new oil pan gaskets
because I thought that they oil pan was leaking. After putting on the new gaskets, I realized that I was
still leaking a lot of oil and that the oil pan was not the culprit. Being humbled by the literally
backbreaking effort it took to get the new oil pan on, I set out to research what was going on before I jumped
to any conclusions. I read what I thought was the answer on the forums and set out to replace the rear
main seal since that is what I thought was leaking. A little more thought and some cleaner on the block
could have shown me that it wasn't the only place that oil was coming from, but more on that later.
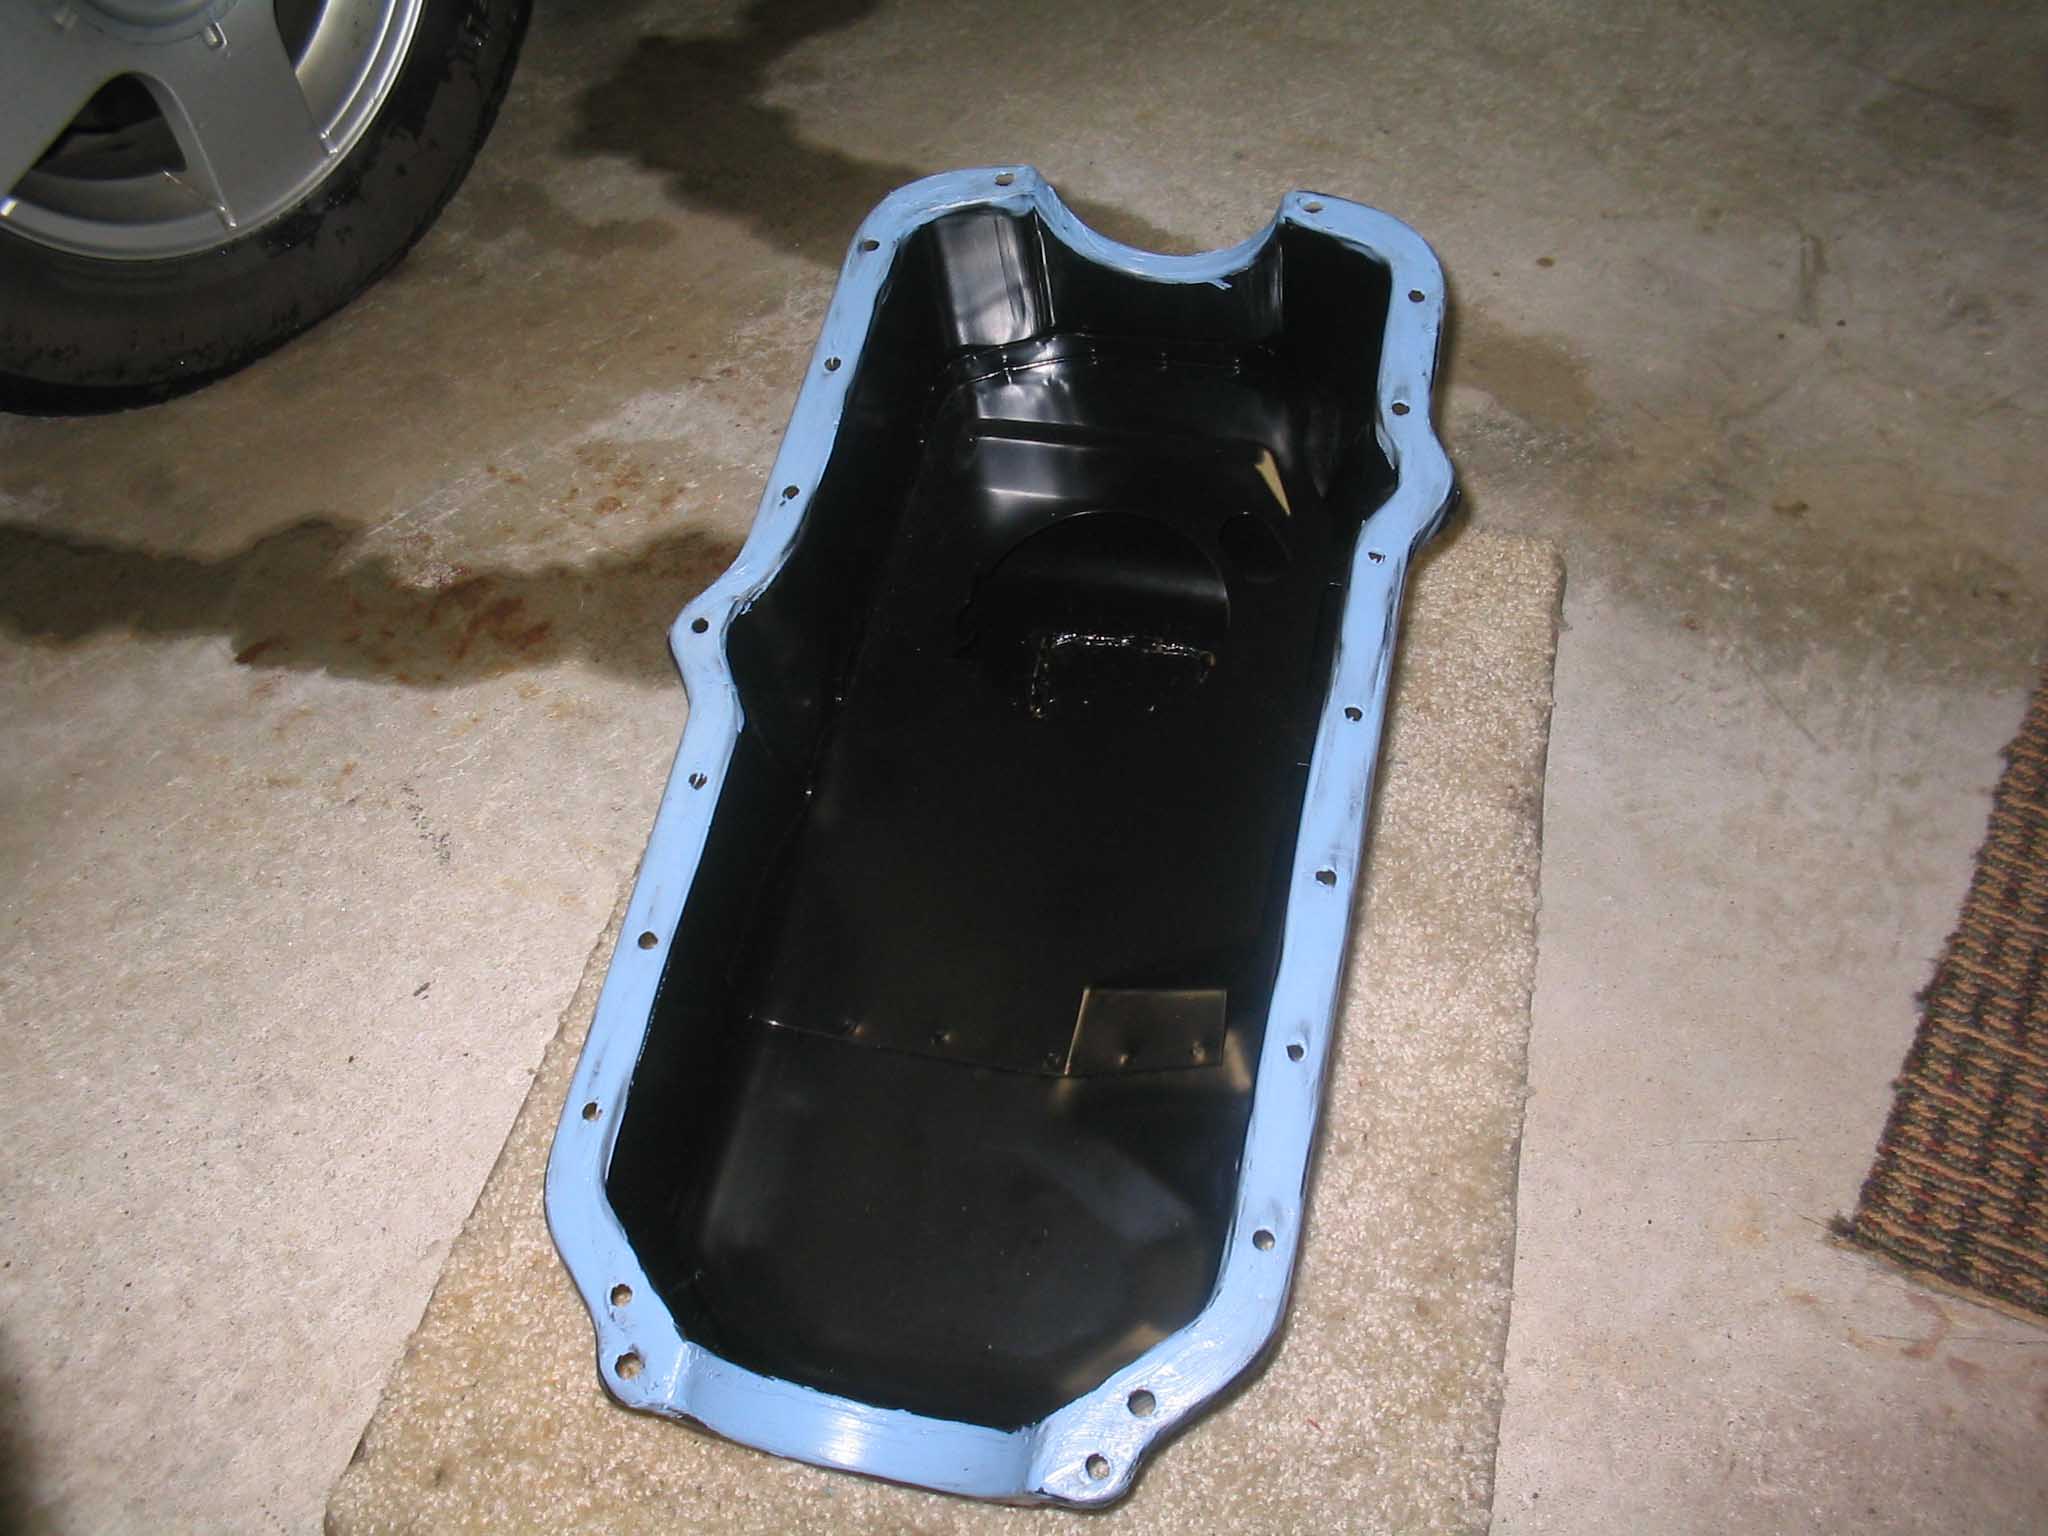
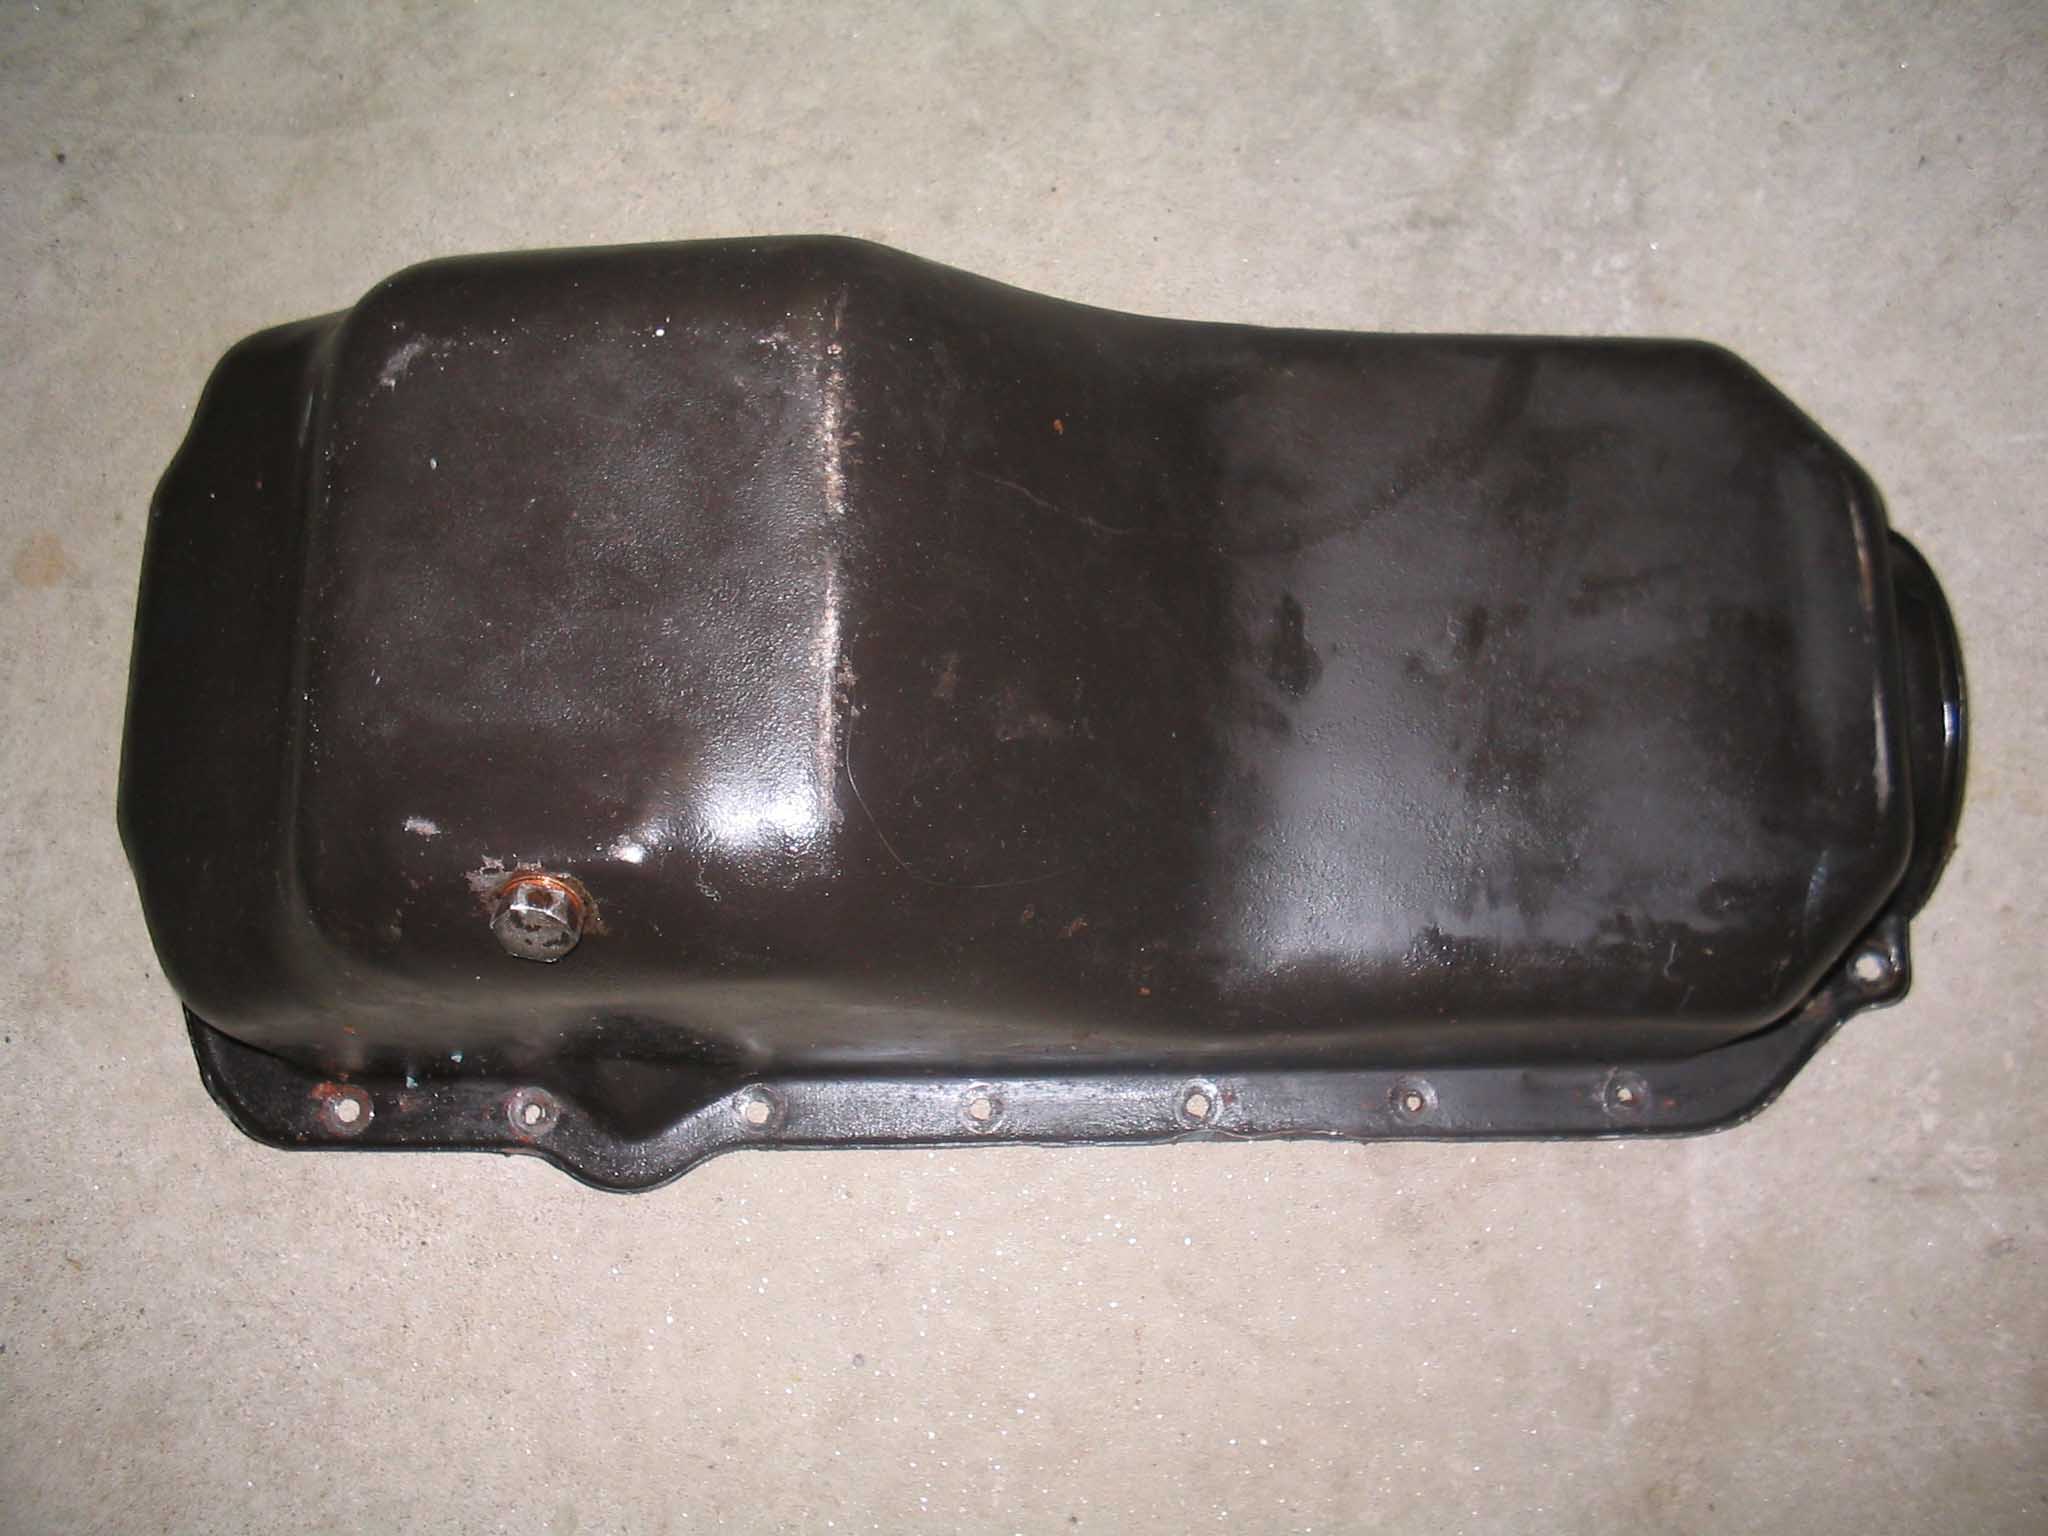
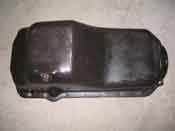
I saw an ad for a new oil pan with a slam guard on it in 4wd.
I checked out there website at Trans Dapt
and I was happy with what I saw. I then decided to get this oil pan, so I ordered up the new oil pan
(part# 262887) from 4wd.
|
| |
|
|
| |
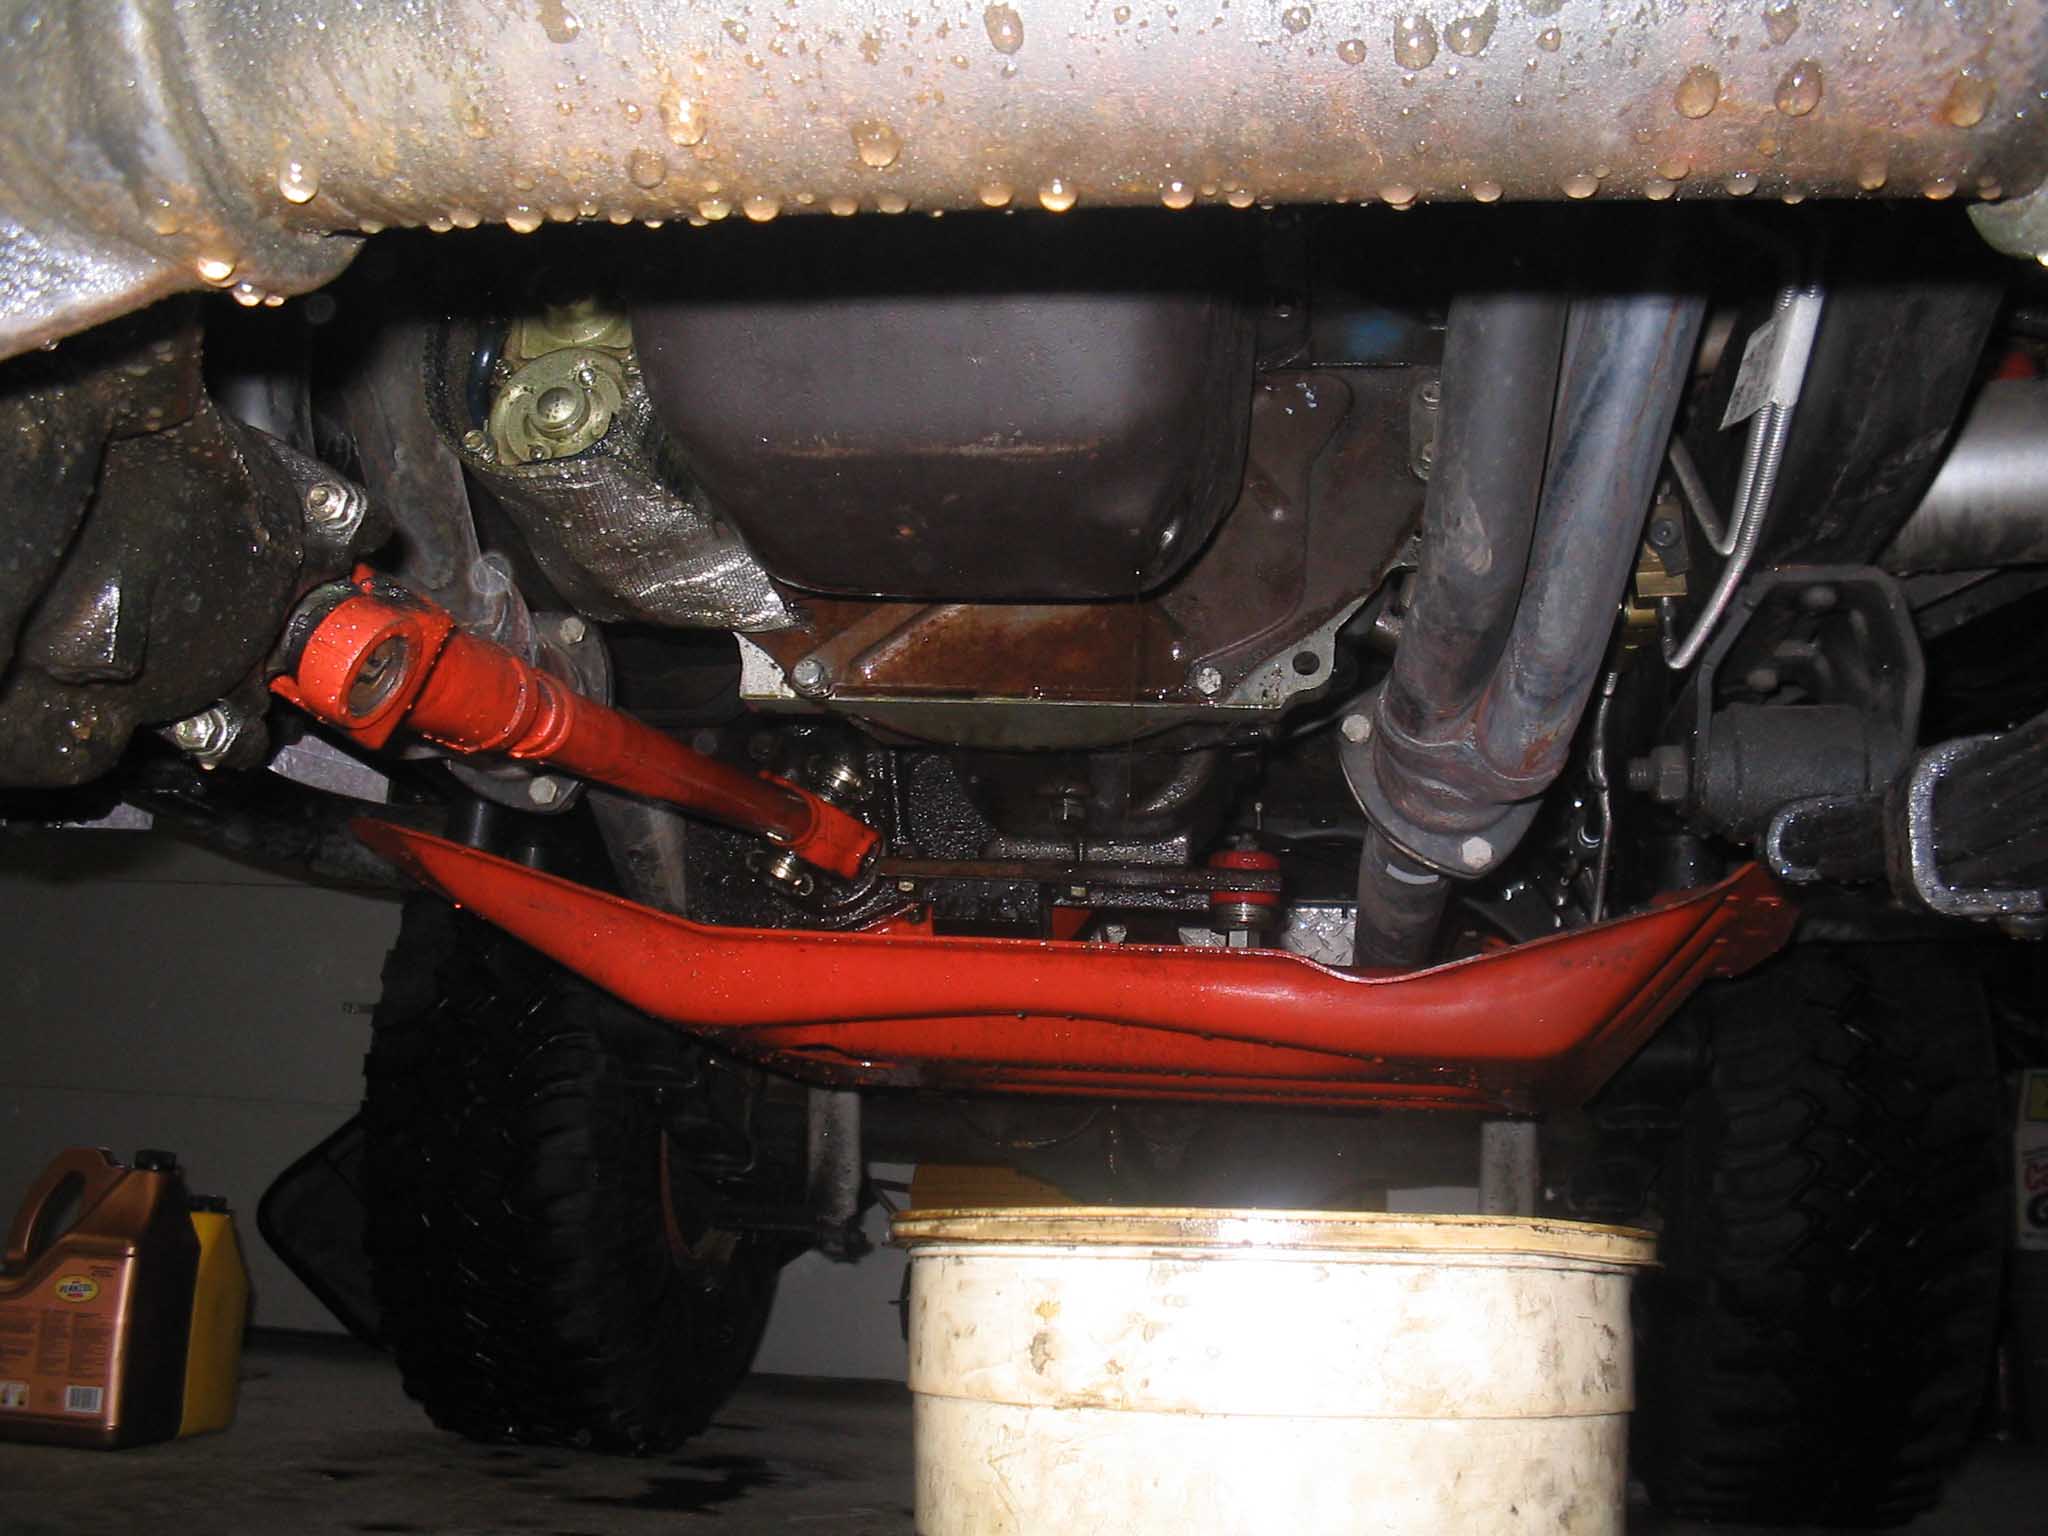
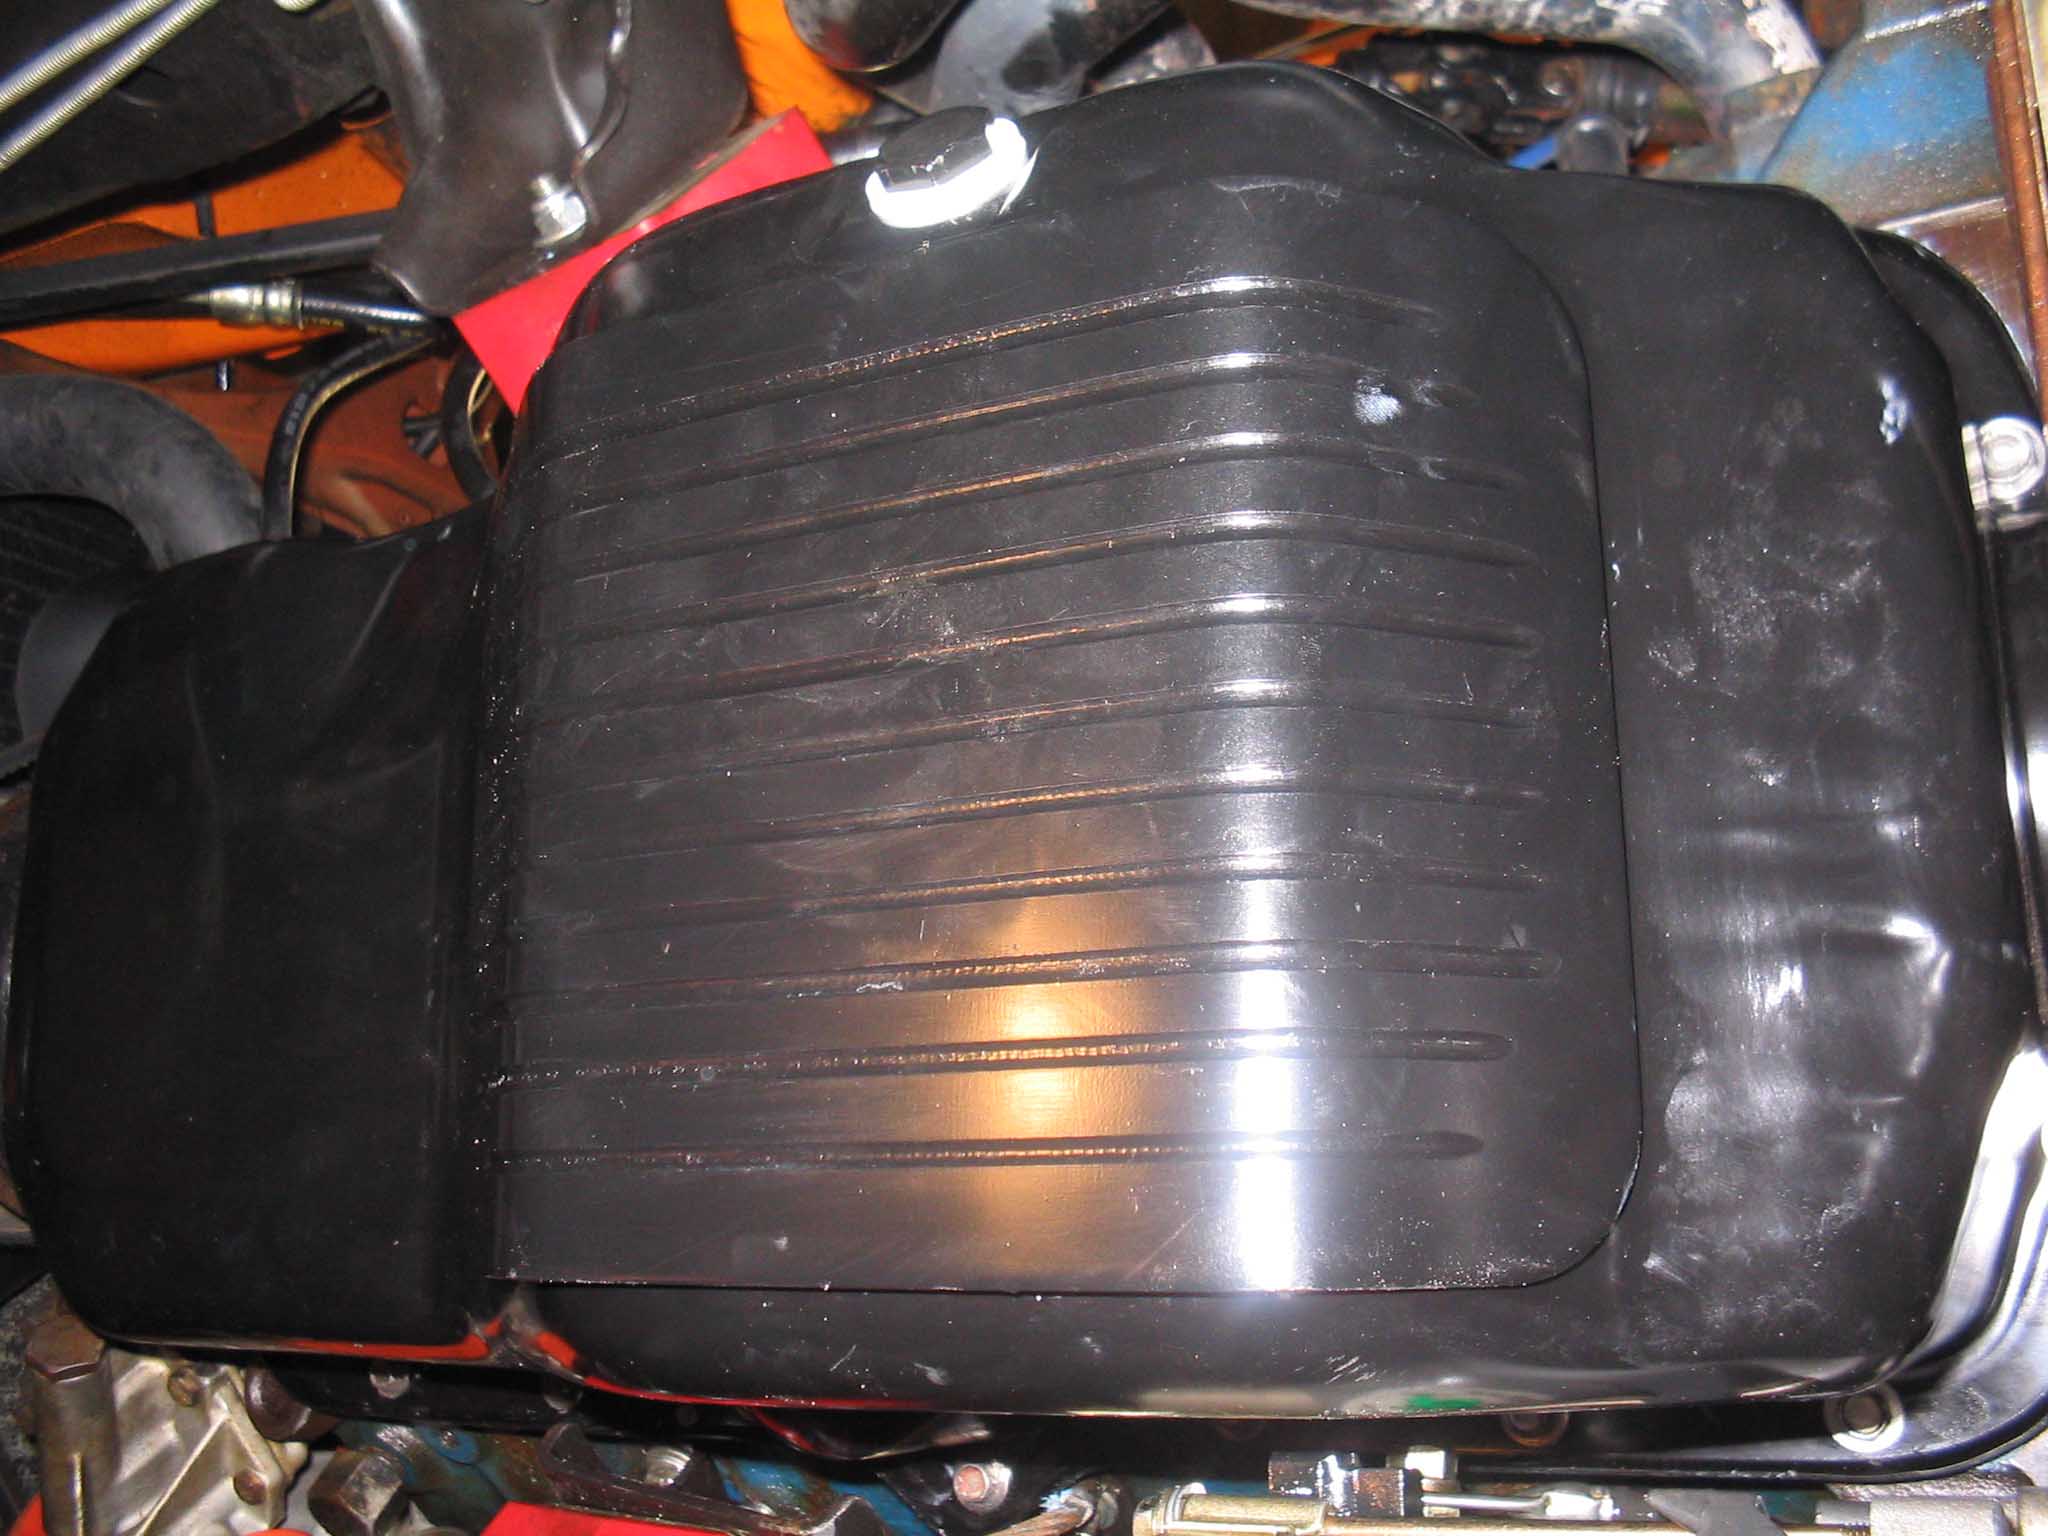
| I headed up to the garage to put this in after receiving the new oil pan. I
received it about 3 days after I ordered it and that was in conjunction with an
eBay auction for a complete
engine gasket set that had the rear main seal halves as well as the oil pan gaskets and the new valve cover
gasket that I was looking to replace. After arriving at the garage, I started to disassemble the Jeep to gain
access to the oil pan. Since this was the second time around, the disassembly part when rather quickly. The
battery was disconnected, the cross brace bar from frame to frame rail was removed, and then the starter was
removed and put on top of the header to get it out of the way.
|
| |
|
|
| |
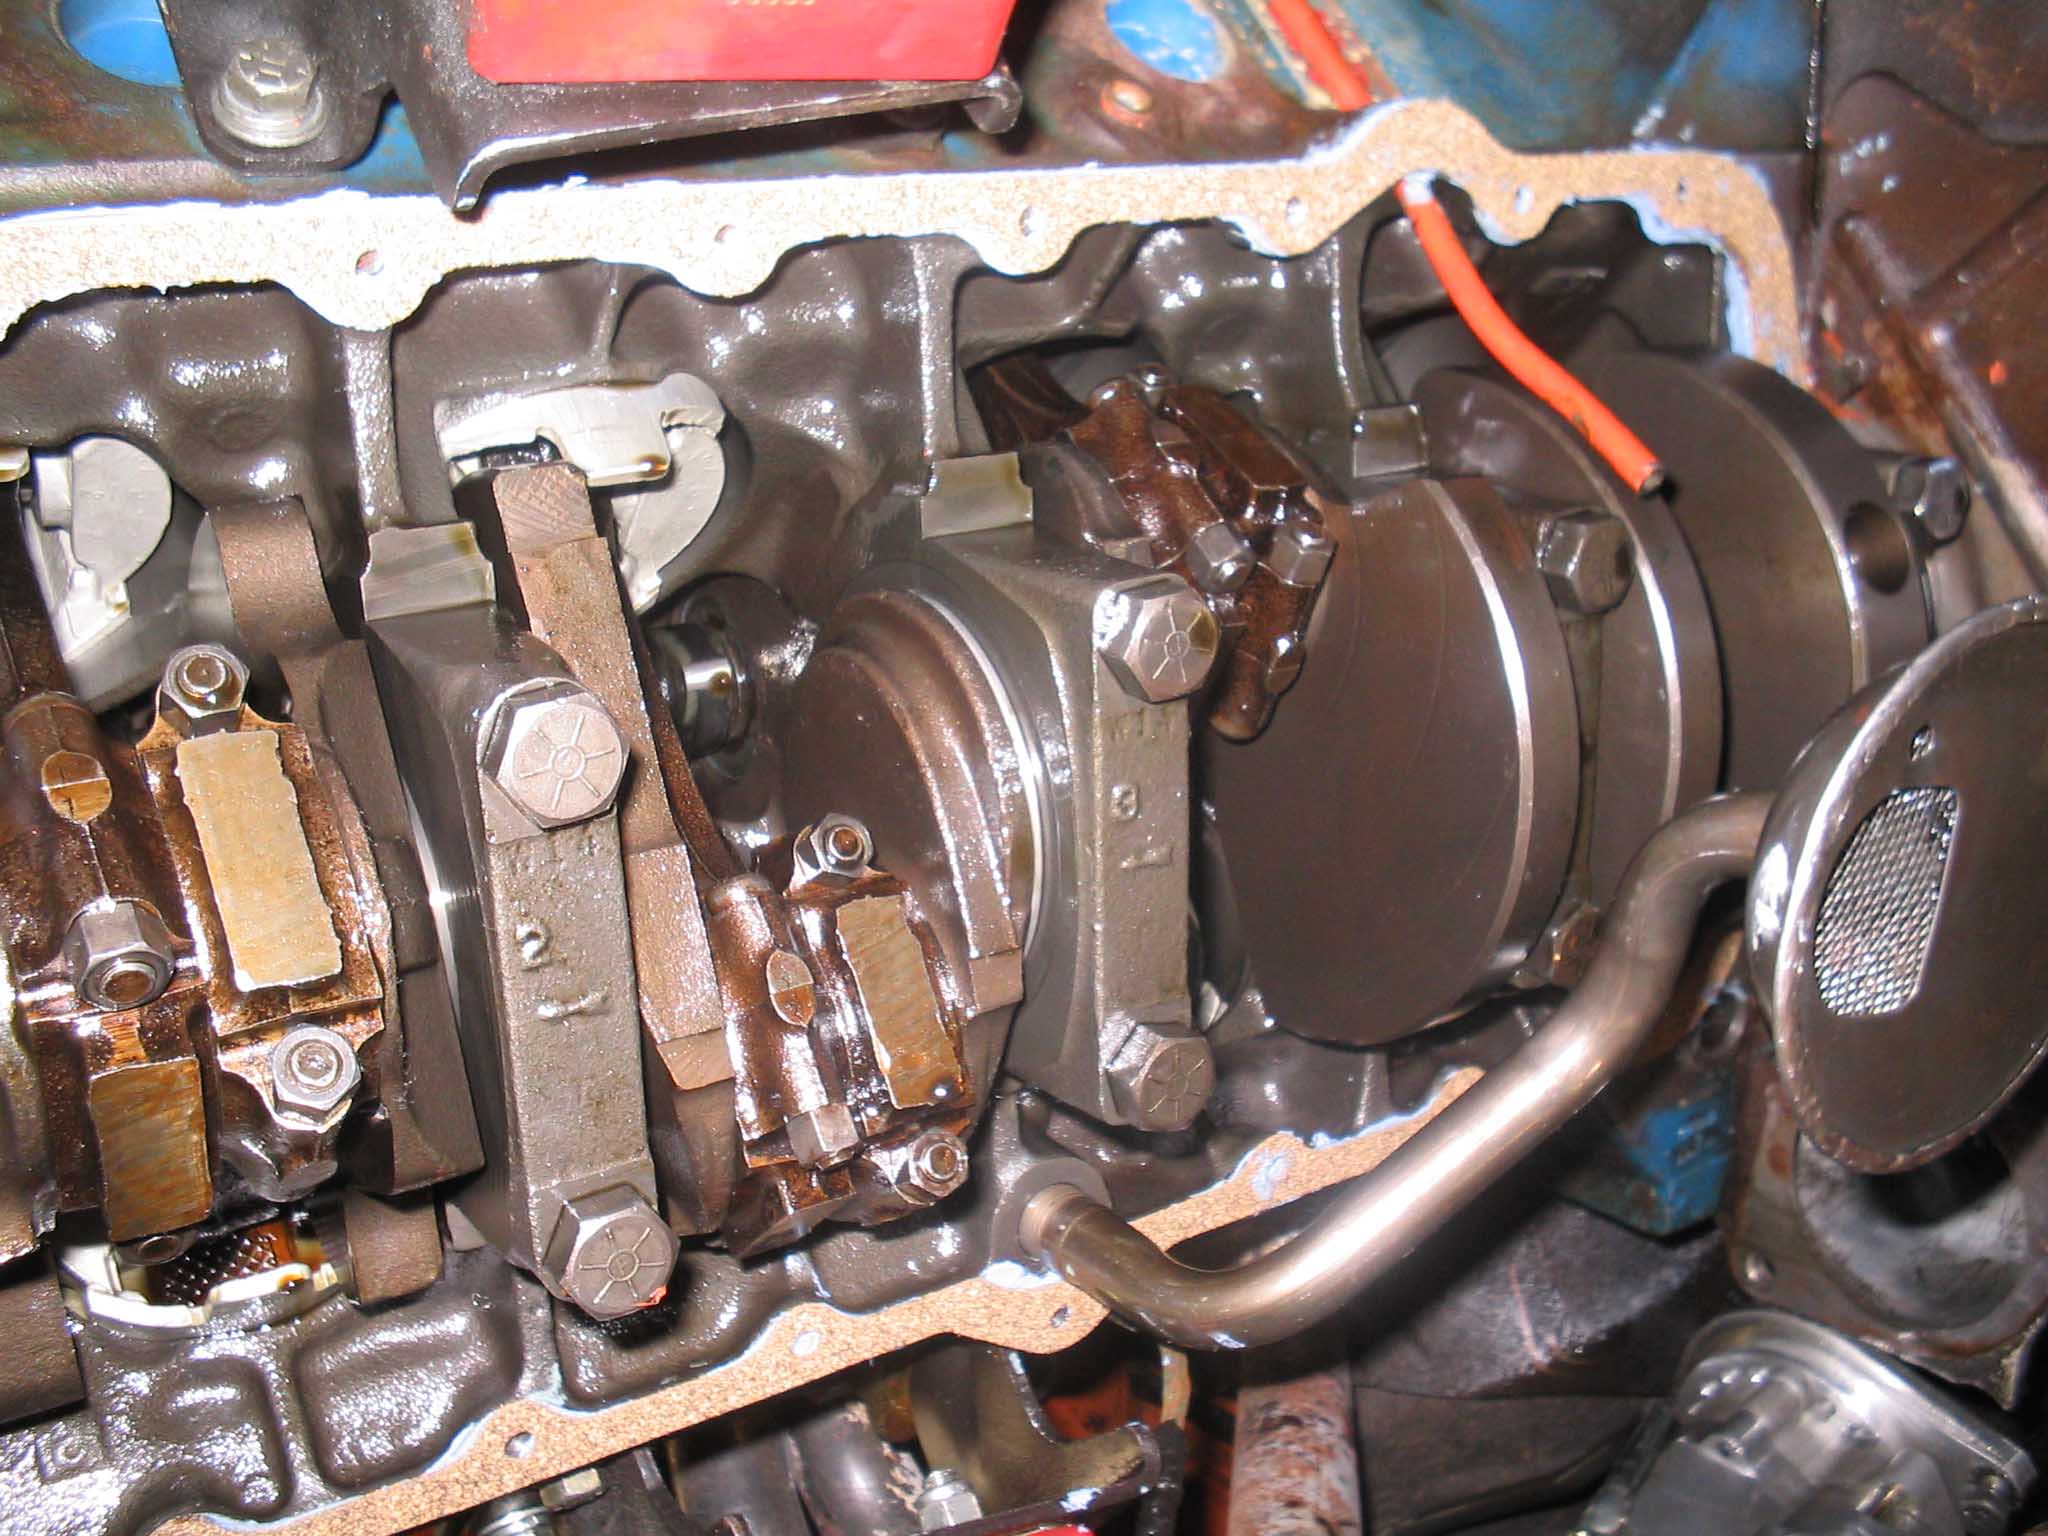
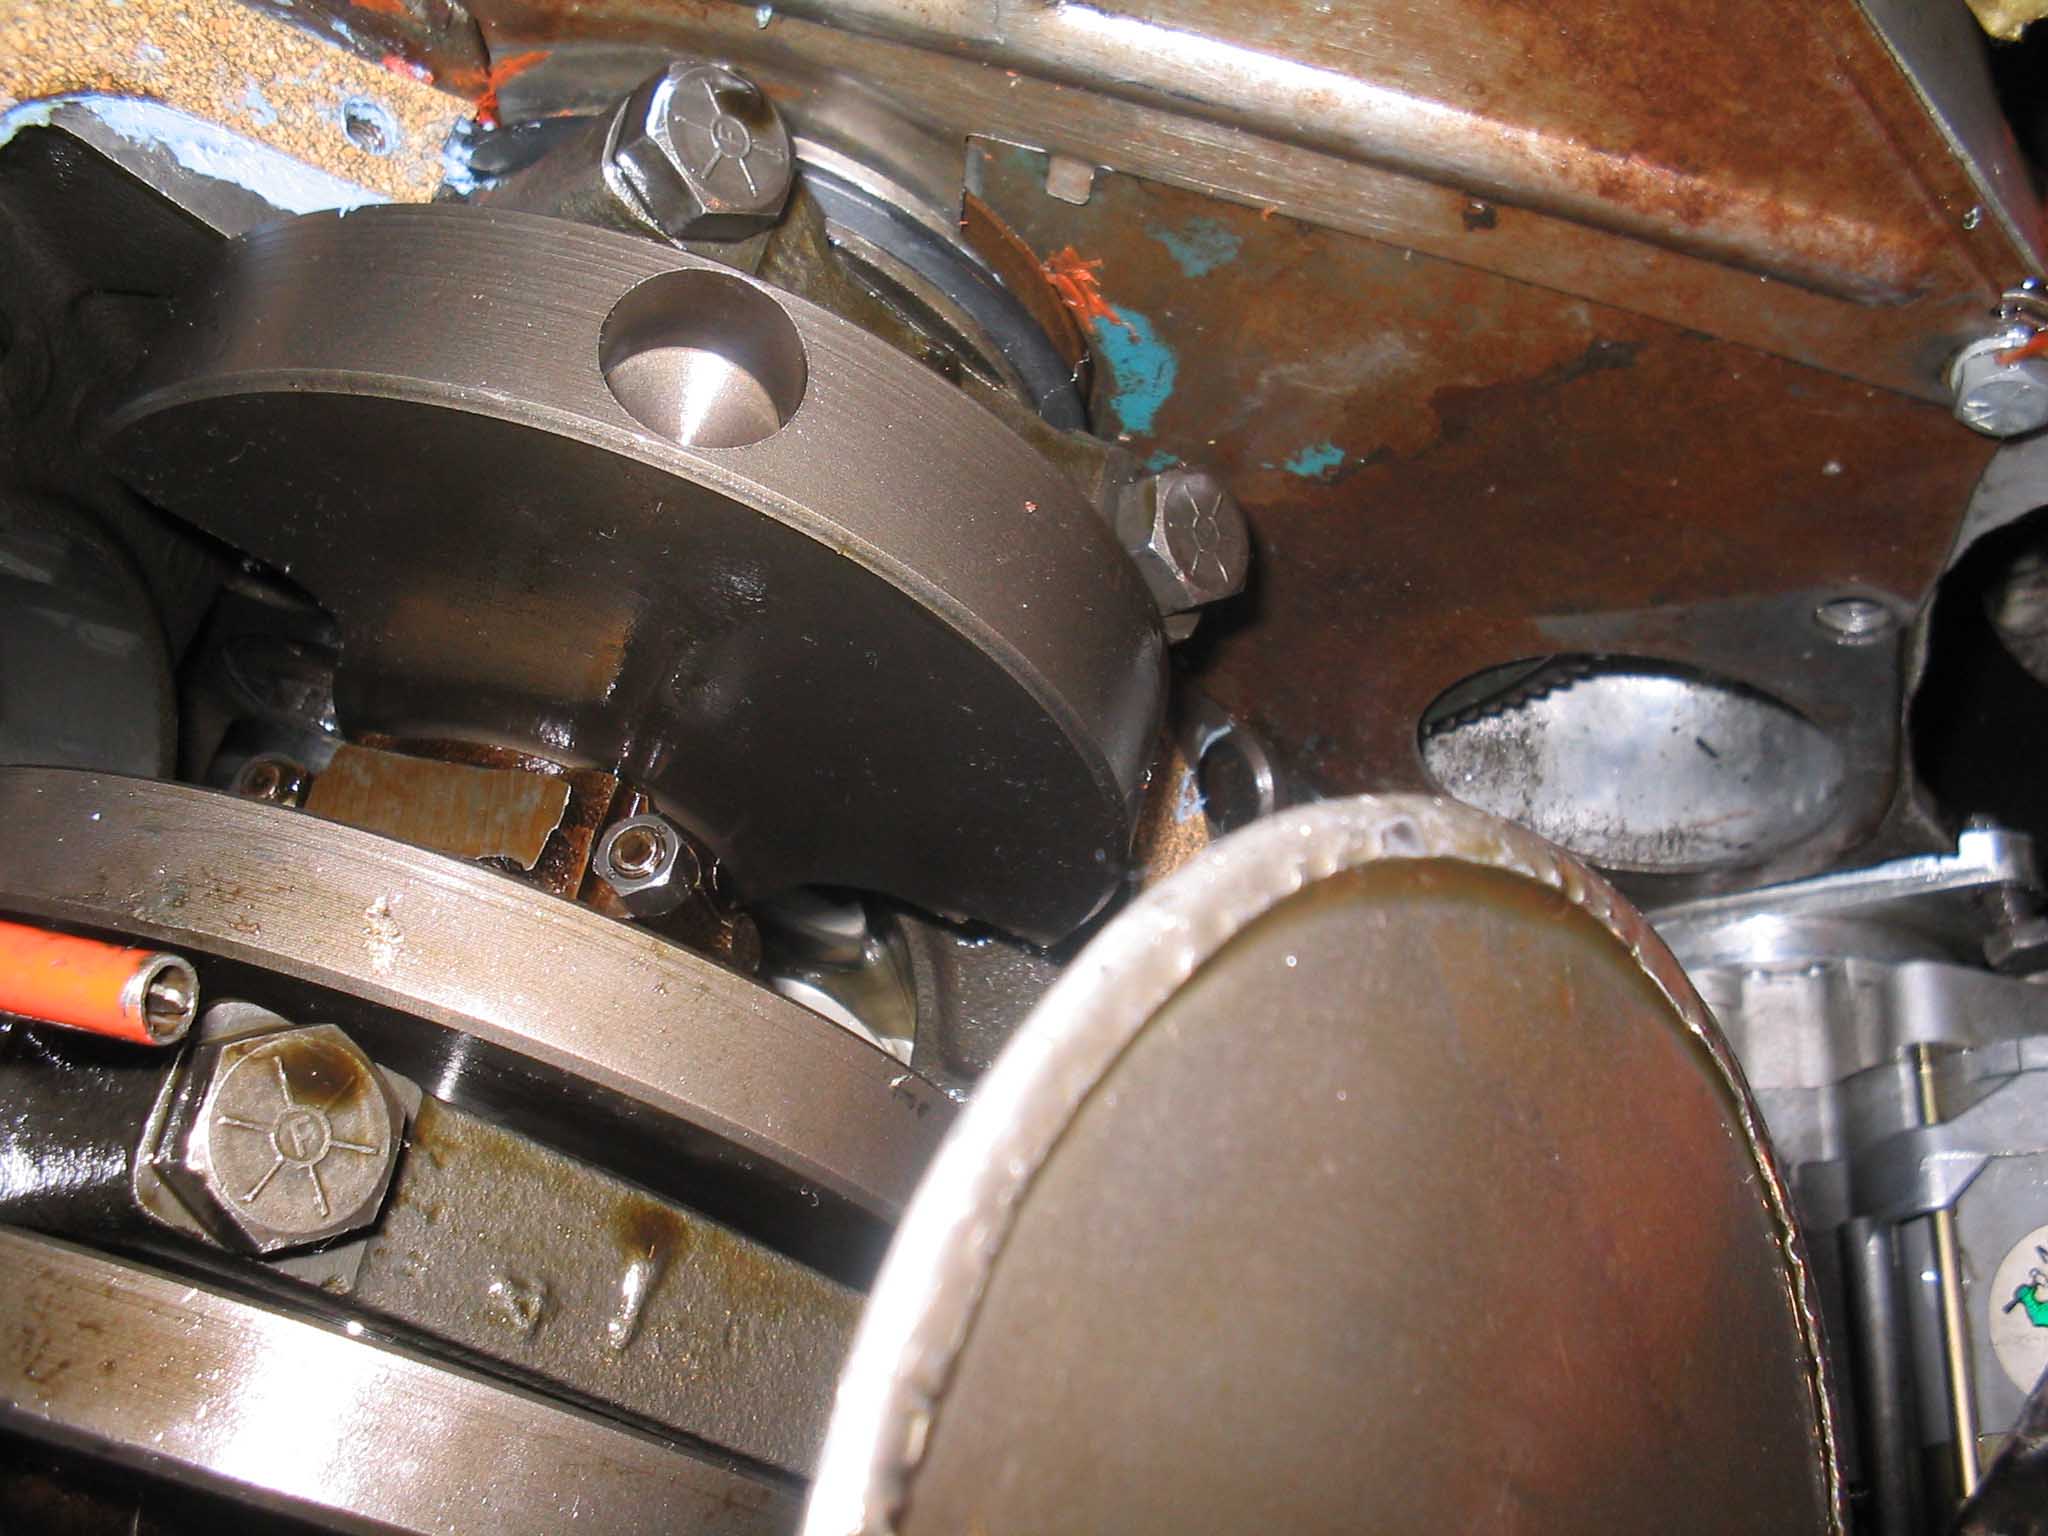
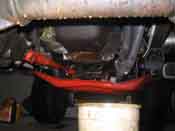
| A floor jack with some wood on it was placed under the bell housing to help
support it when the motor mounts are loosened. Basically the motor mounts need to be untightened and remain
in the engine block so the oil pan can be removed. This is because there is a lip on the passenger side of
the motor mount connecting to the block that interferes with the oil pan removal.
|
| |
|
|
| |
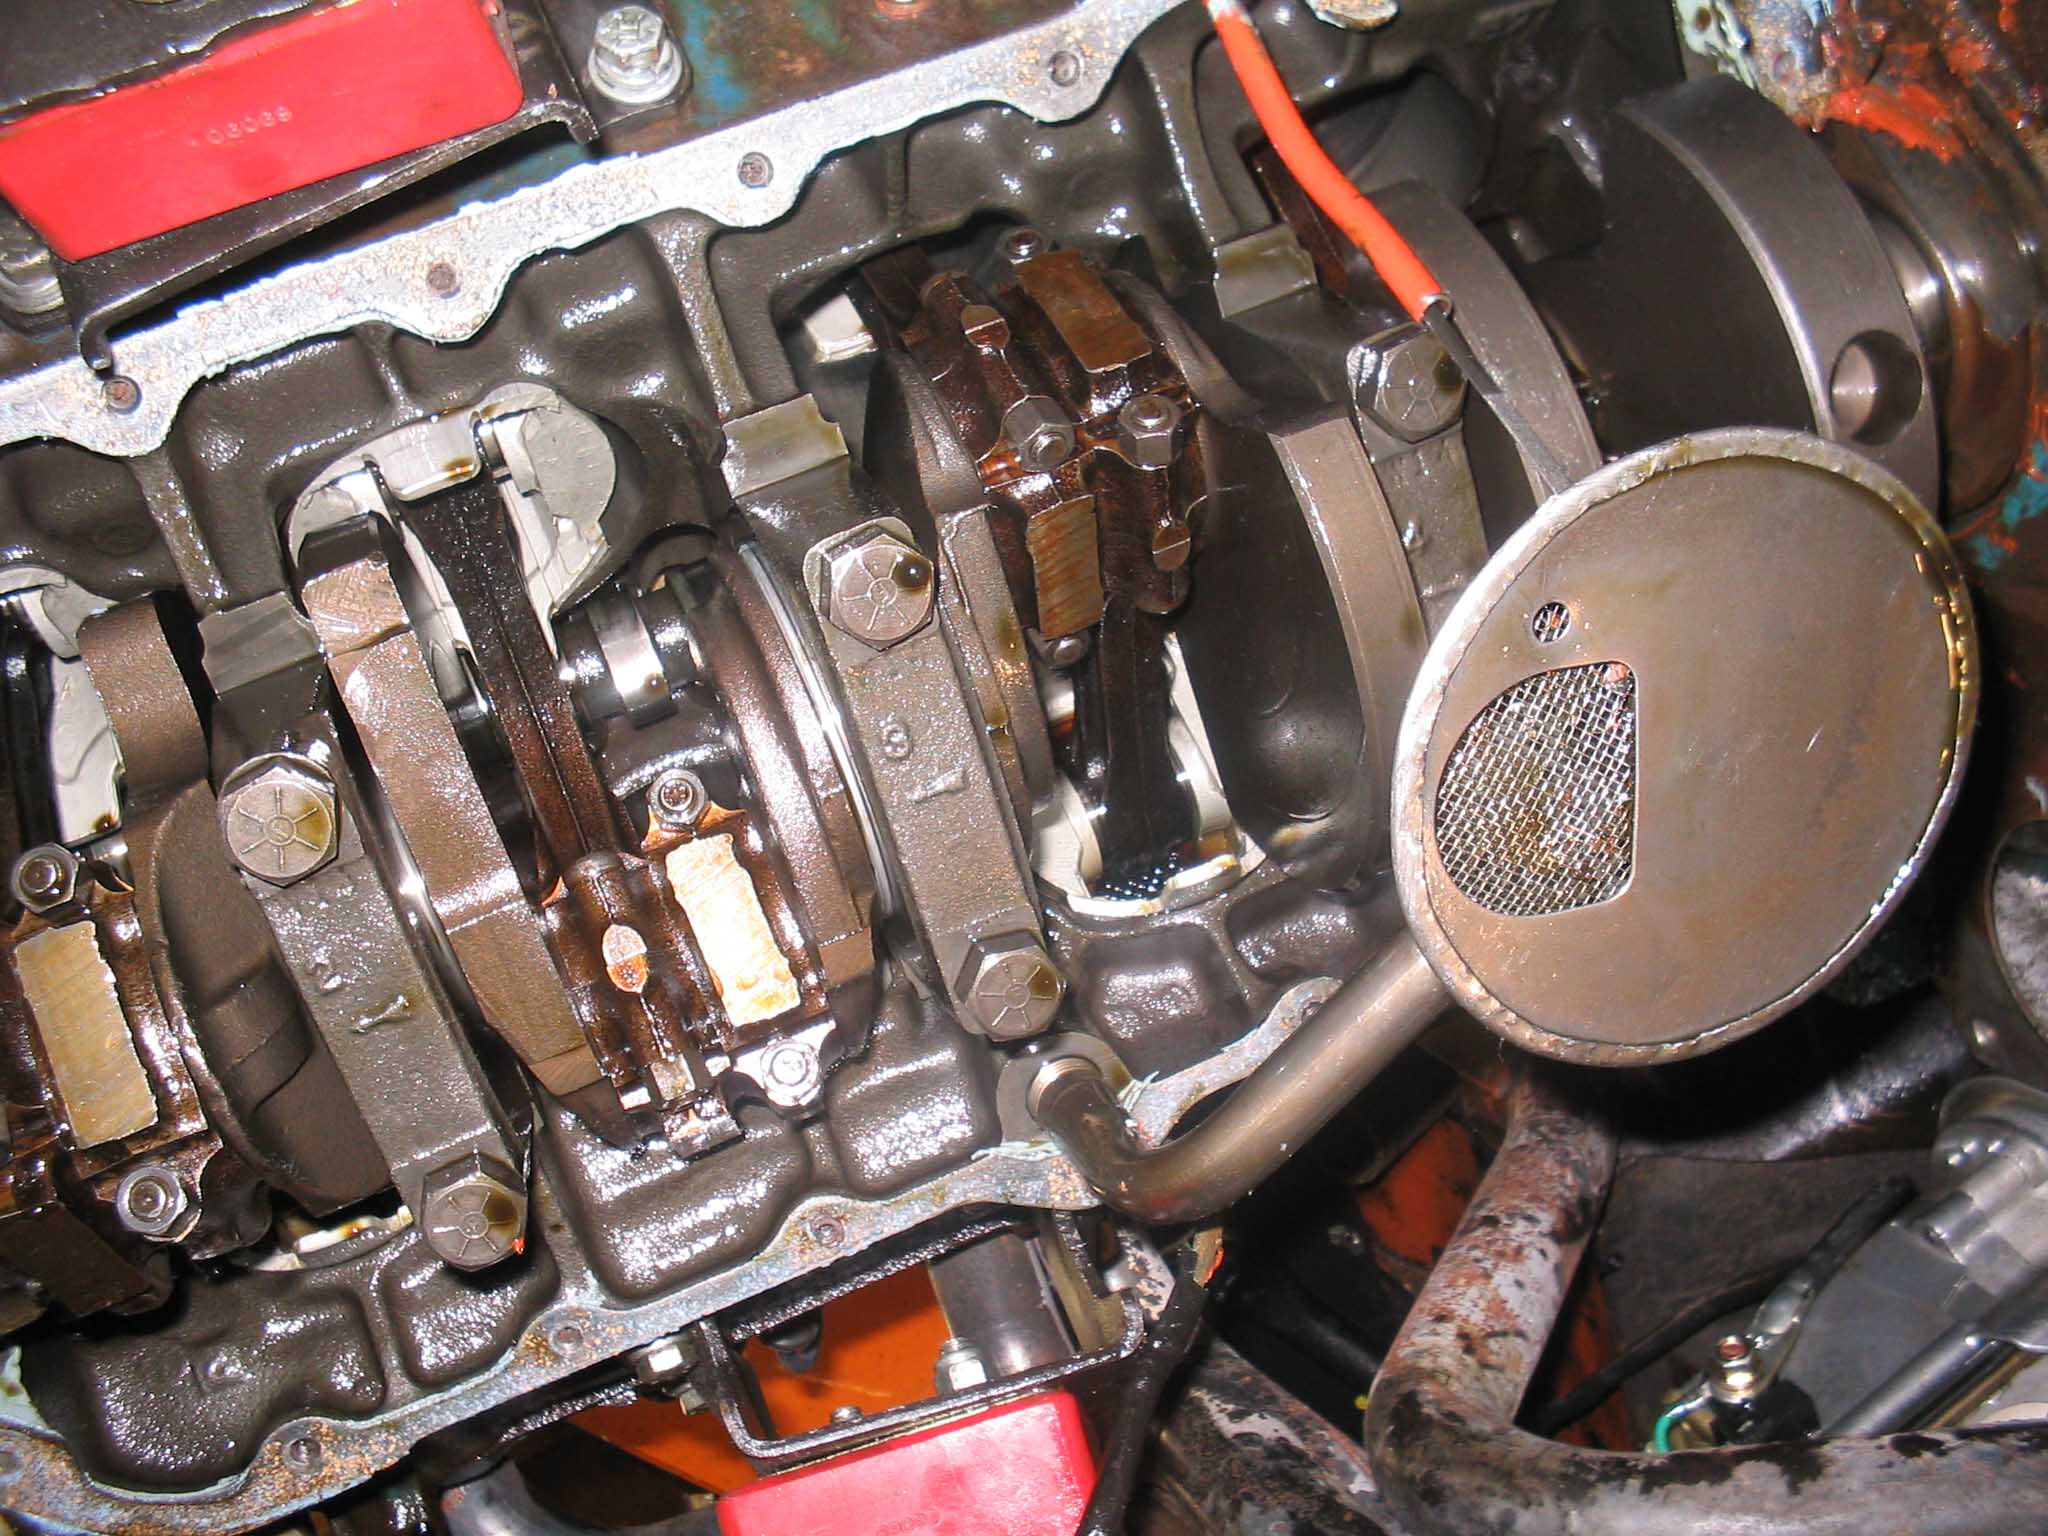
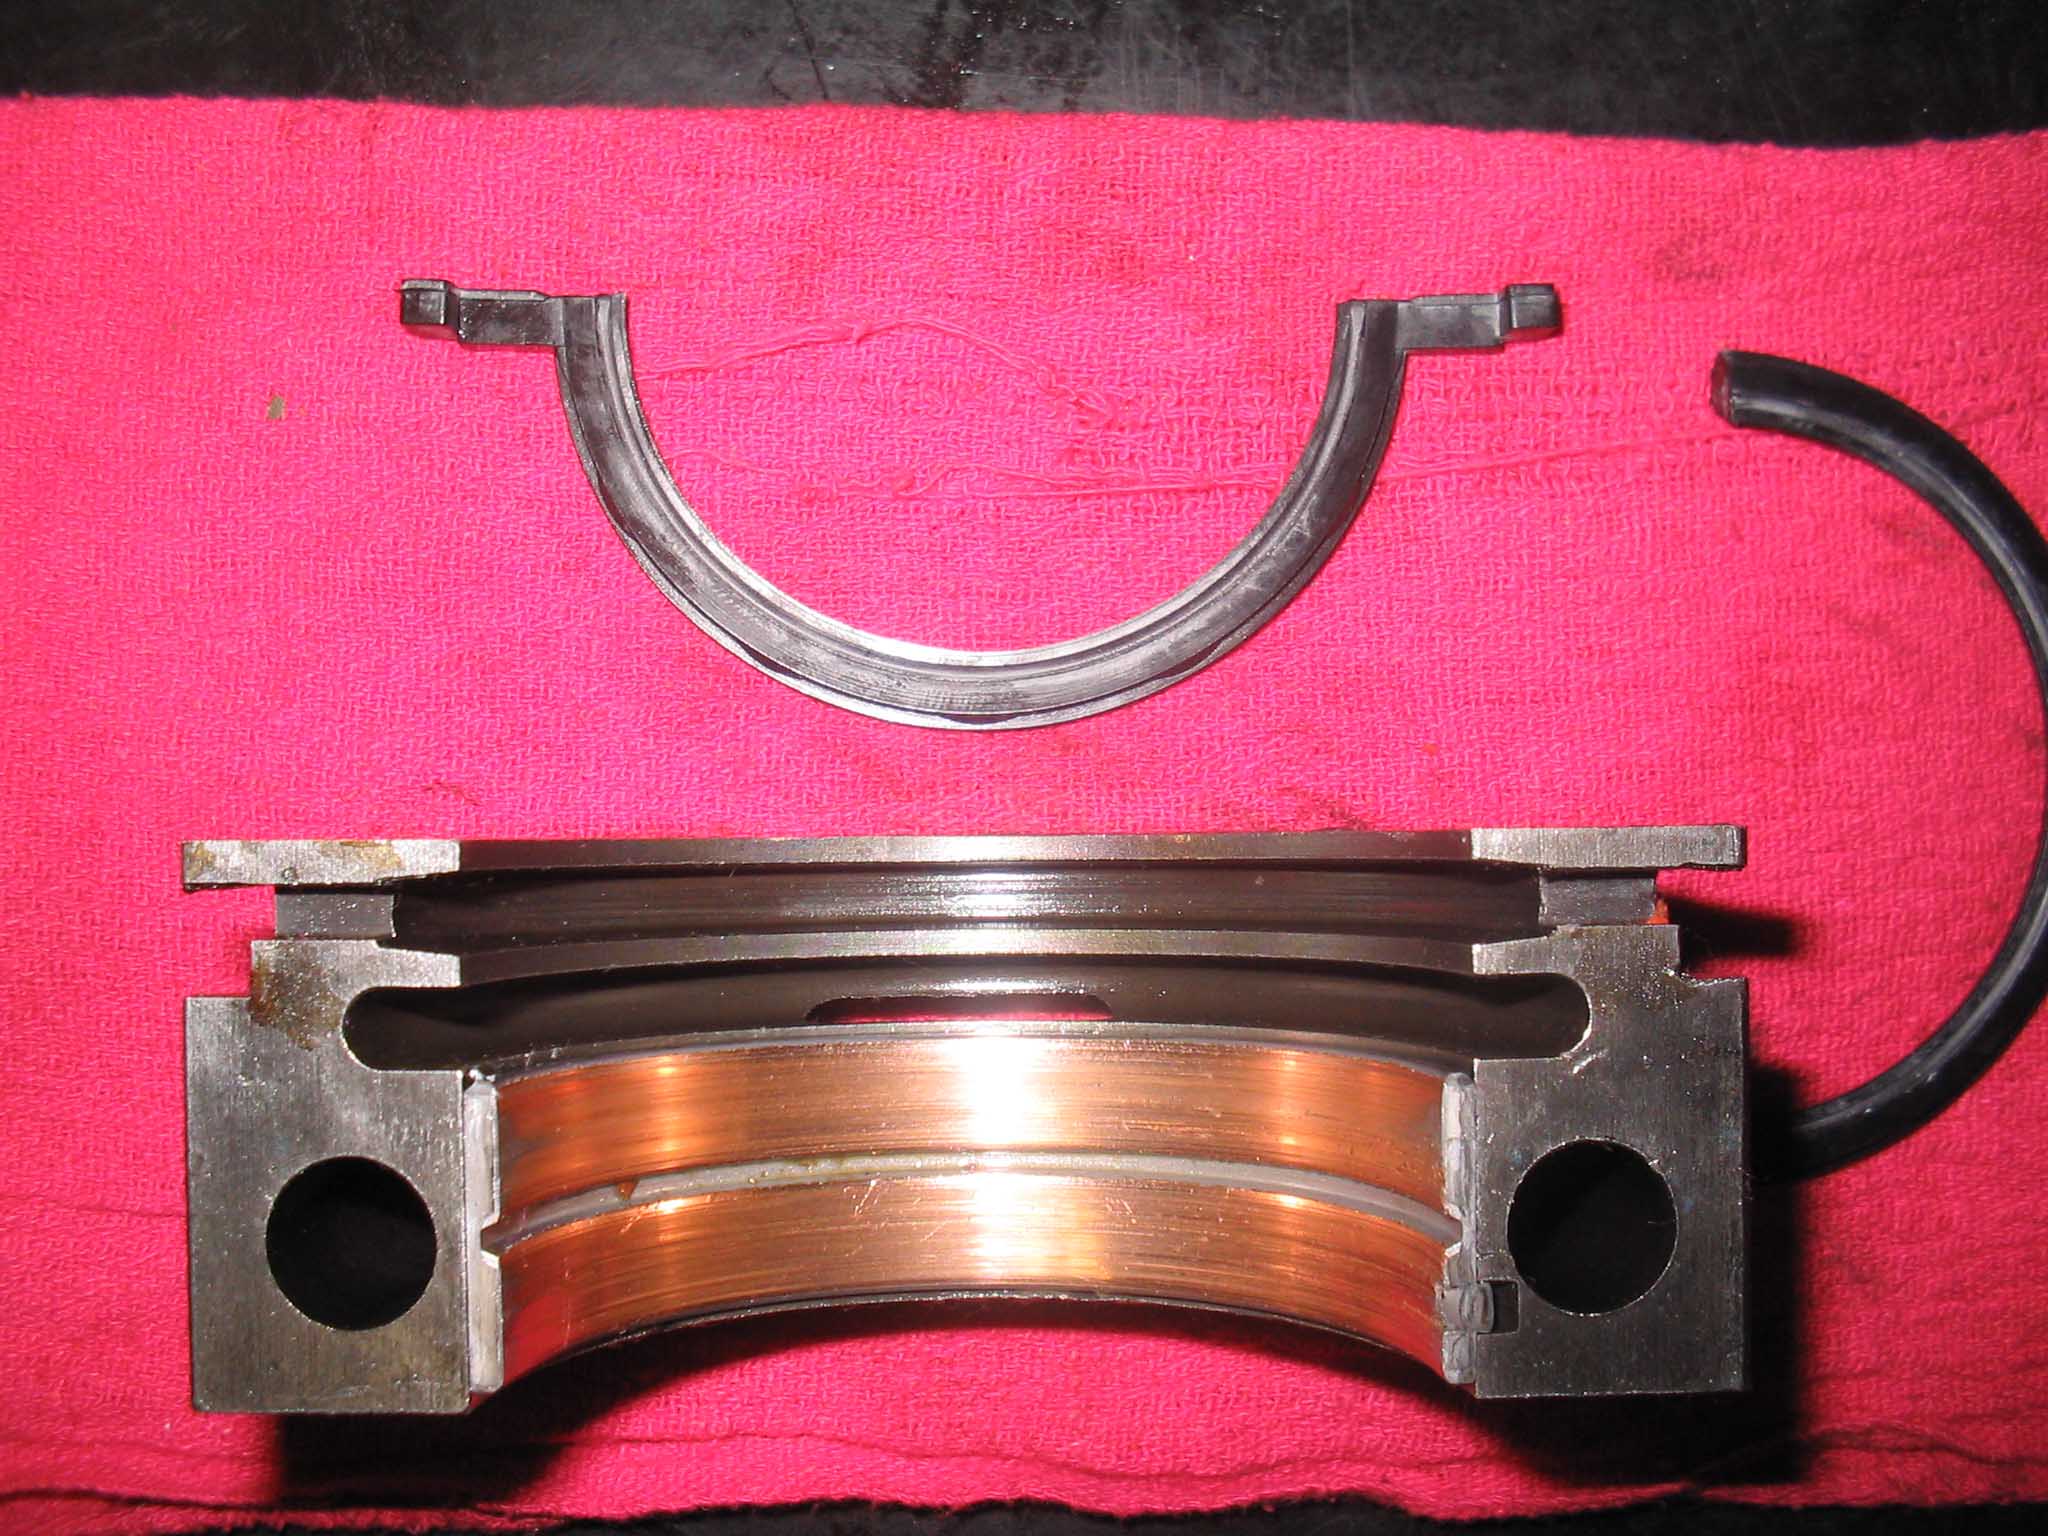
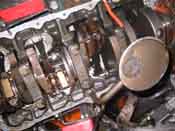
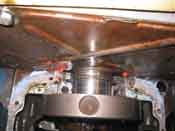
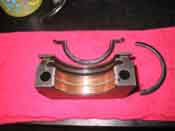
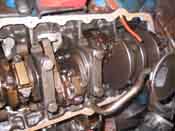
| Now that the oil pan was removed, the rear main cap could be removed to gain
access to the rear main seal. The 2 bolts were loosened and then the cap was removed. Remember, this
could potentionally be very hot if you had just been driving the rig. The rest of the main cap bolts were
loosened as well to allow the tension to be taken off the crank so the rear main seal could be slipped out.
I used an old punch to remove it. You basically push up on one side of the rear main seal upper section and
it slides out the other side. Grab this with a pain of needle nose pliers and you will be all set.
|
| |
|

|
| |
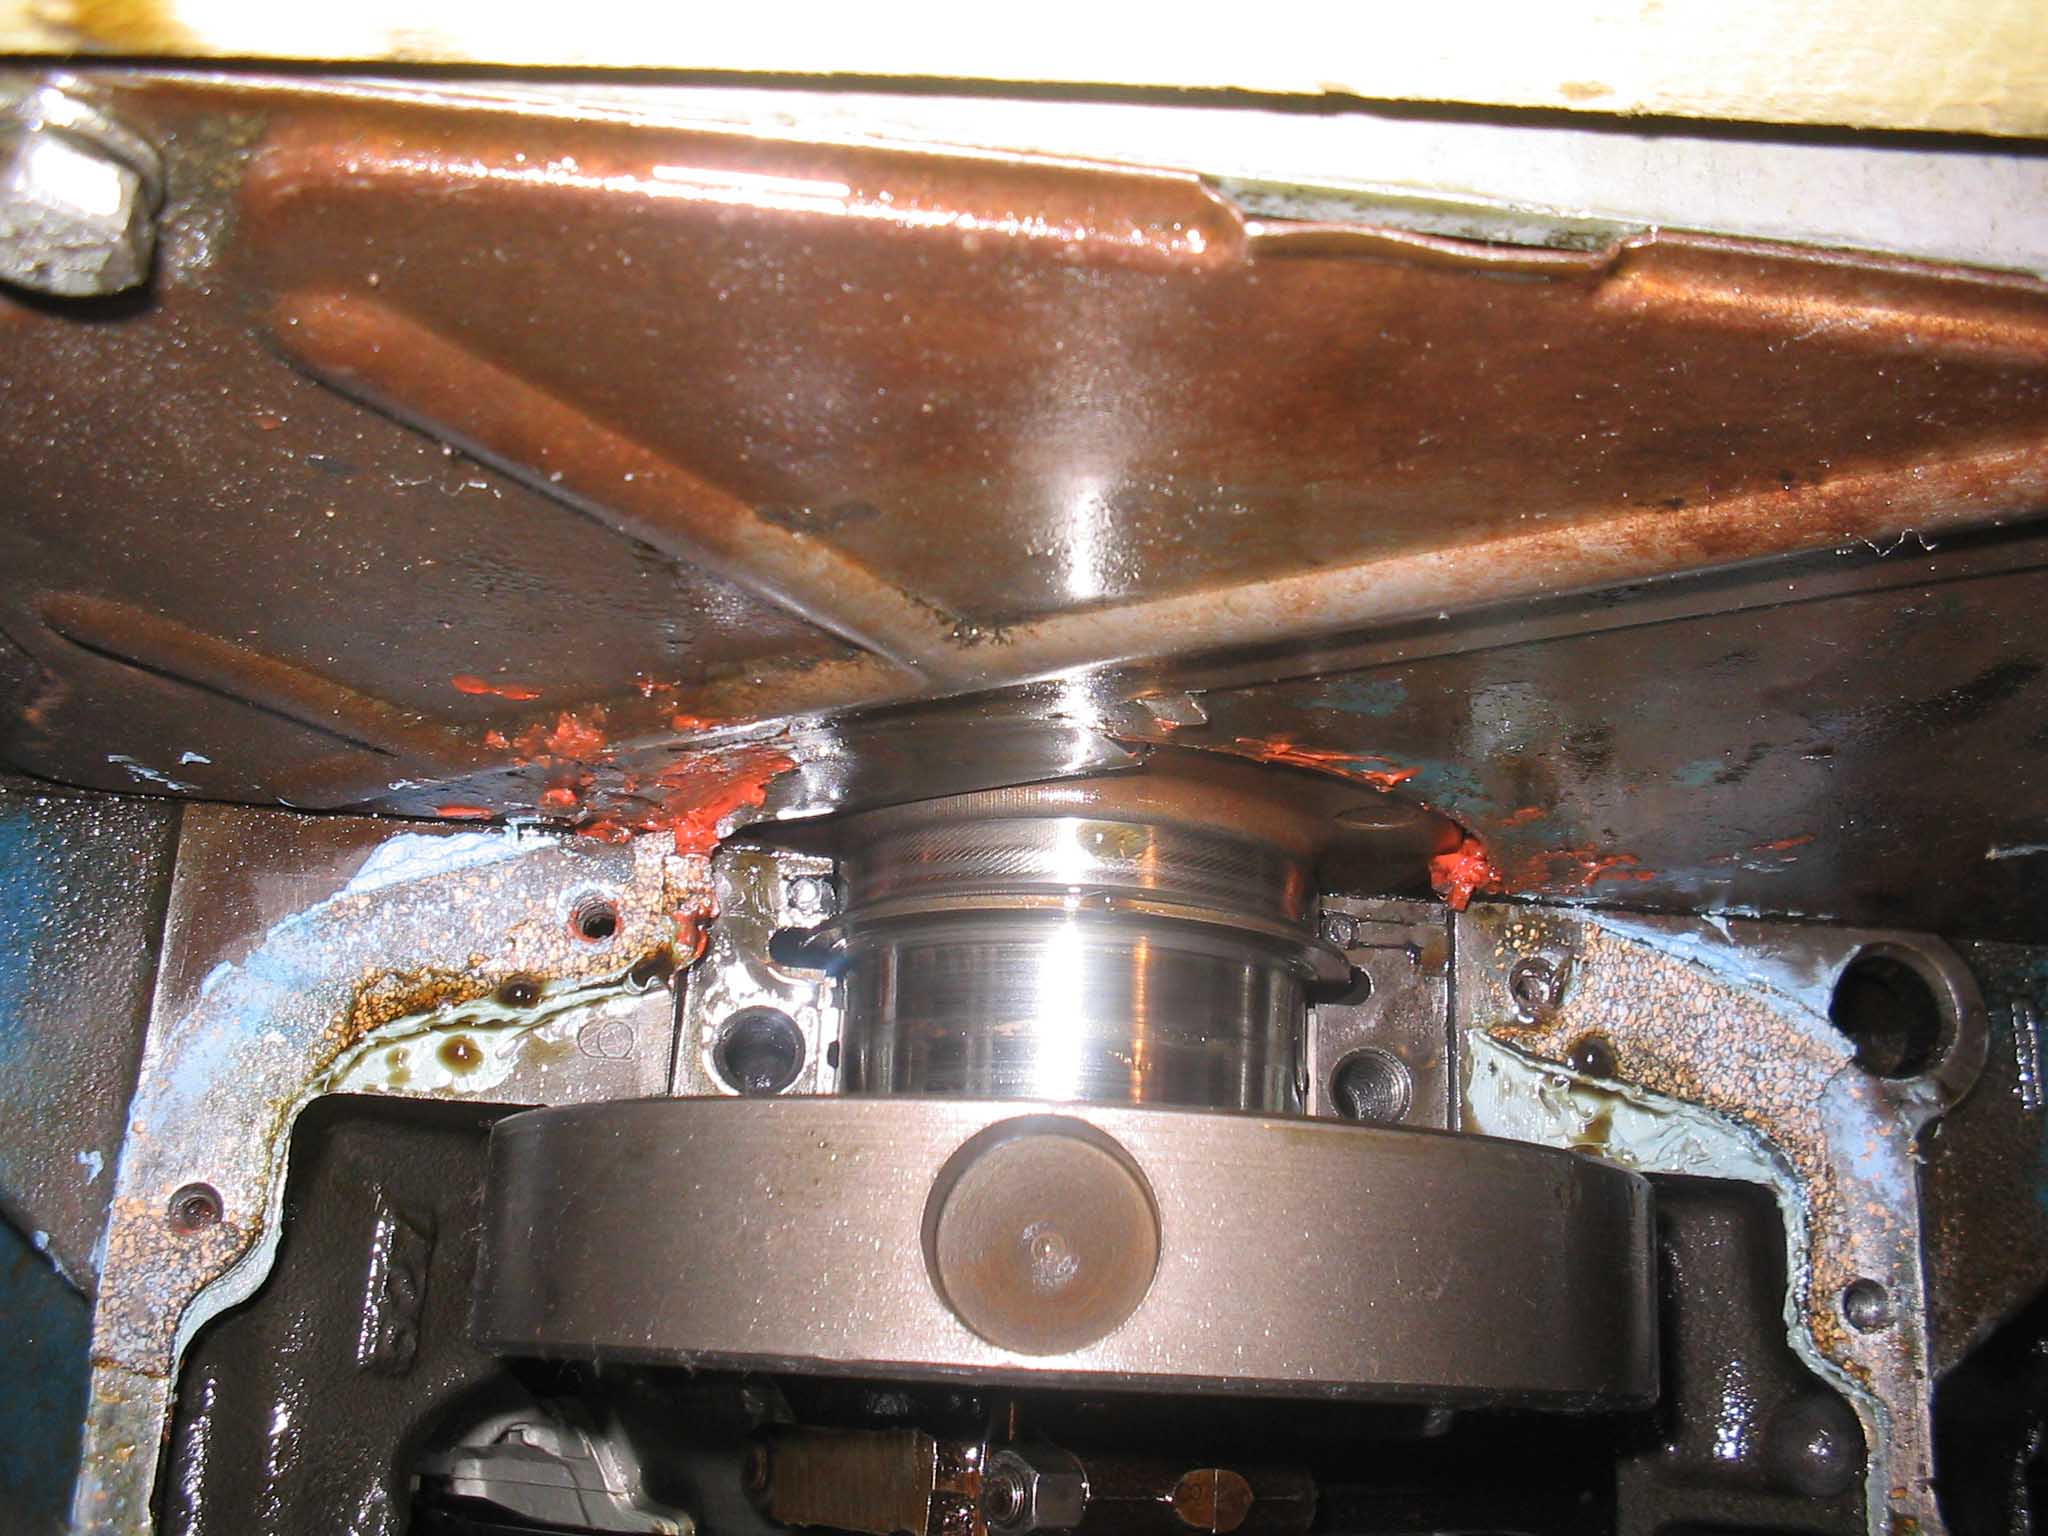
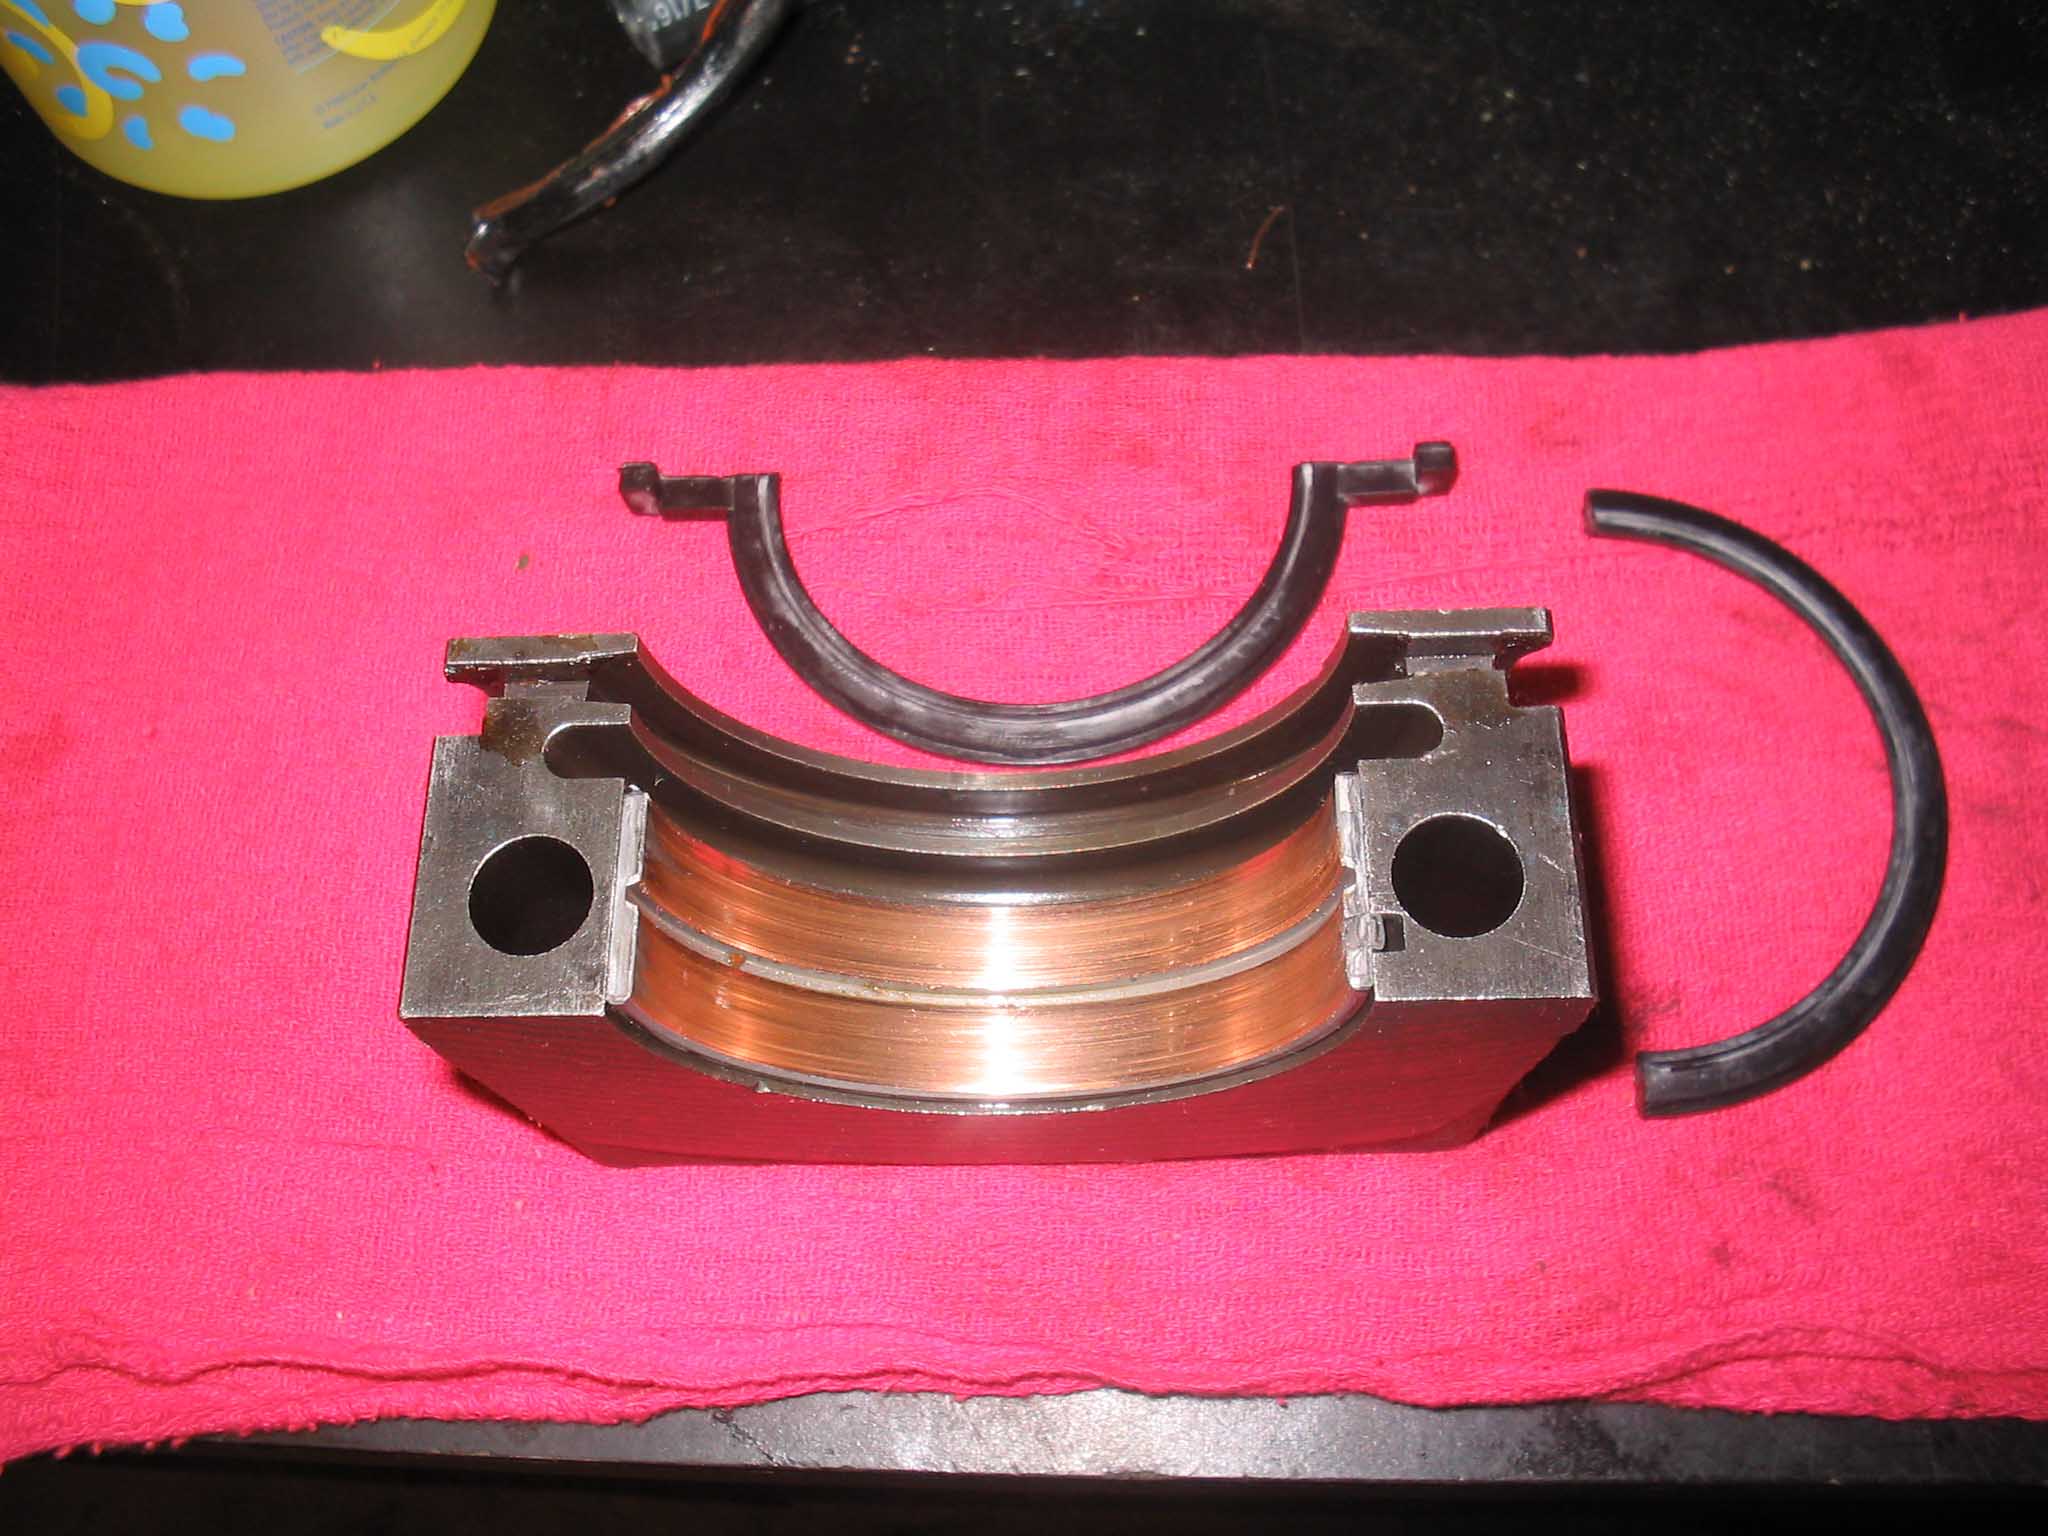
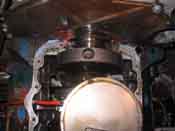
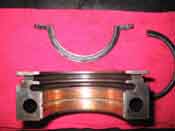
| The new rear main seal halves were put into the rear main cap and the block
by coating the inner lip with engine oil and the outer lip was coated with dish soap. Don't ask why,
just do it!! With everything in place, the cap bolts were torqued down to 80 ft. lbs. in a criss-cross
pattern starting at 50 ft. lbs. and incrementing slightly at 10 ft. lb. intervals.
|
| |
|
|
| |
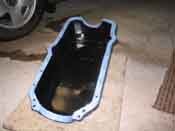
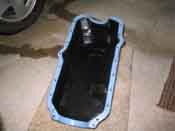
| The old gasket material was then scraped off of the block
itself as well as the old oil pan because I planned on selling this. The block was wiped down with alcohol
and water to get all the oil off the surface and then the new gasket was held in place with RTV on the block
itself. A little more RTV was put on the oil pan itself after the new oil pan was scuffed up a bit with a
scotch brite pad to get the RTV to stick to it better. The installation was the reverse of the removal,
so replace Everything that you removed carefully.
|
| |
|

|
| |
| All the bolts were put back in place and lightly torqued down. You don't need
a lot of torque on these bolts, just enough to keep the pan on and snugged down. Any tremendous amount of
force will cause the oil pan material to bend around the holes and this will cause high and low spots on the
pan that won't allow the seal to seal correctly.
|
| |
| Lessons Learned the Hard Way |
| |
So, my lessons learned here would have to be that having a second set of hands
in doing this really helped out a lot. I had someone help me during this that helped out a lot, thanks Frank!
This really helped to speed up the removal, cleanup, and installation. Let's face it, lying on your back
under the Jeep is great for the first few minutes, but banging your head and getting RTV in your hair should
really be shared between friends.
I also had the help of a tool girl as well. She really helped out a lot in getting the tools to us when we
were flat on our backs. This really helped out in that we didn't have to get out from under the Jeep and could
continue to work. She also made lunch as well... I don't think there are too many more of this model available
since she seems to be the only one that loves Jeeps and still comes back for more... and she brought a turkey
sandwich. LOL. Thanks Jen!
Also, you don't need a tremendous amount of RTV sealant when you re-install this. You really just need some to
hold the gasket in place. Too much will cause the gasket to slide all over the place when you are torquing down
the bolts. You don't want this gasket to slide around during this process; you just want it to remain in one
place.
|
| |
| Conclusions |
| |
This is a fairly easy process that will give you a better seal on the oil pan
that will hopefully lead to less leaking of the motor. In this case, the oil pan was not leaking, the rear main
seal might have been leaking, but if there were more time putting into the investigation of what was leaking, it
would have very easily been found that the passenger side valve cover gasket that I thought was sealed really
wasn't. When I sealed it the previous week, one of the boltholes didn't line up and when I torqued it down, the
cork part when into the valve cover instead of sealing it up. This then leaked down the block under the header
and around to the backside of the block, so it appeared that the rear main seal or the oil pan was leaking when
it was really something else.
So, the moral of this story is to get yourself a good bottle of cleaner, in this case I used simple green and
spray the SH*% out of your engine and then rinse it off. Once dry, run the rig and watch for leaks. If I had
done this, I would have probably saved myself the second time of doing the oil pan gasket, rear main seal, and
oil pan replacement. Let's not even talk about the new $175.00 oil pan I have sitting under my 304 now.
As with everything, there are still leaks from other areas that still need to be investigated. These are now
dime size and only a couple instead of the river that I had before, so progress is being made. Take my advice,
take your time, and don't over tighten the bolts, investigate fully before doing, and you should be all set.
NOTE: See the Hints section on this here
|
|