|
|
| Stainless Steel Dash Installation |
| |
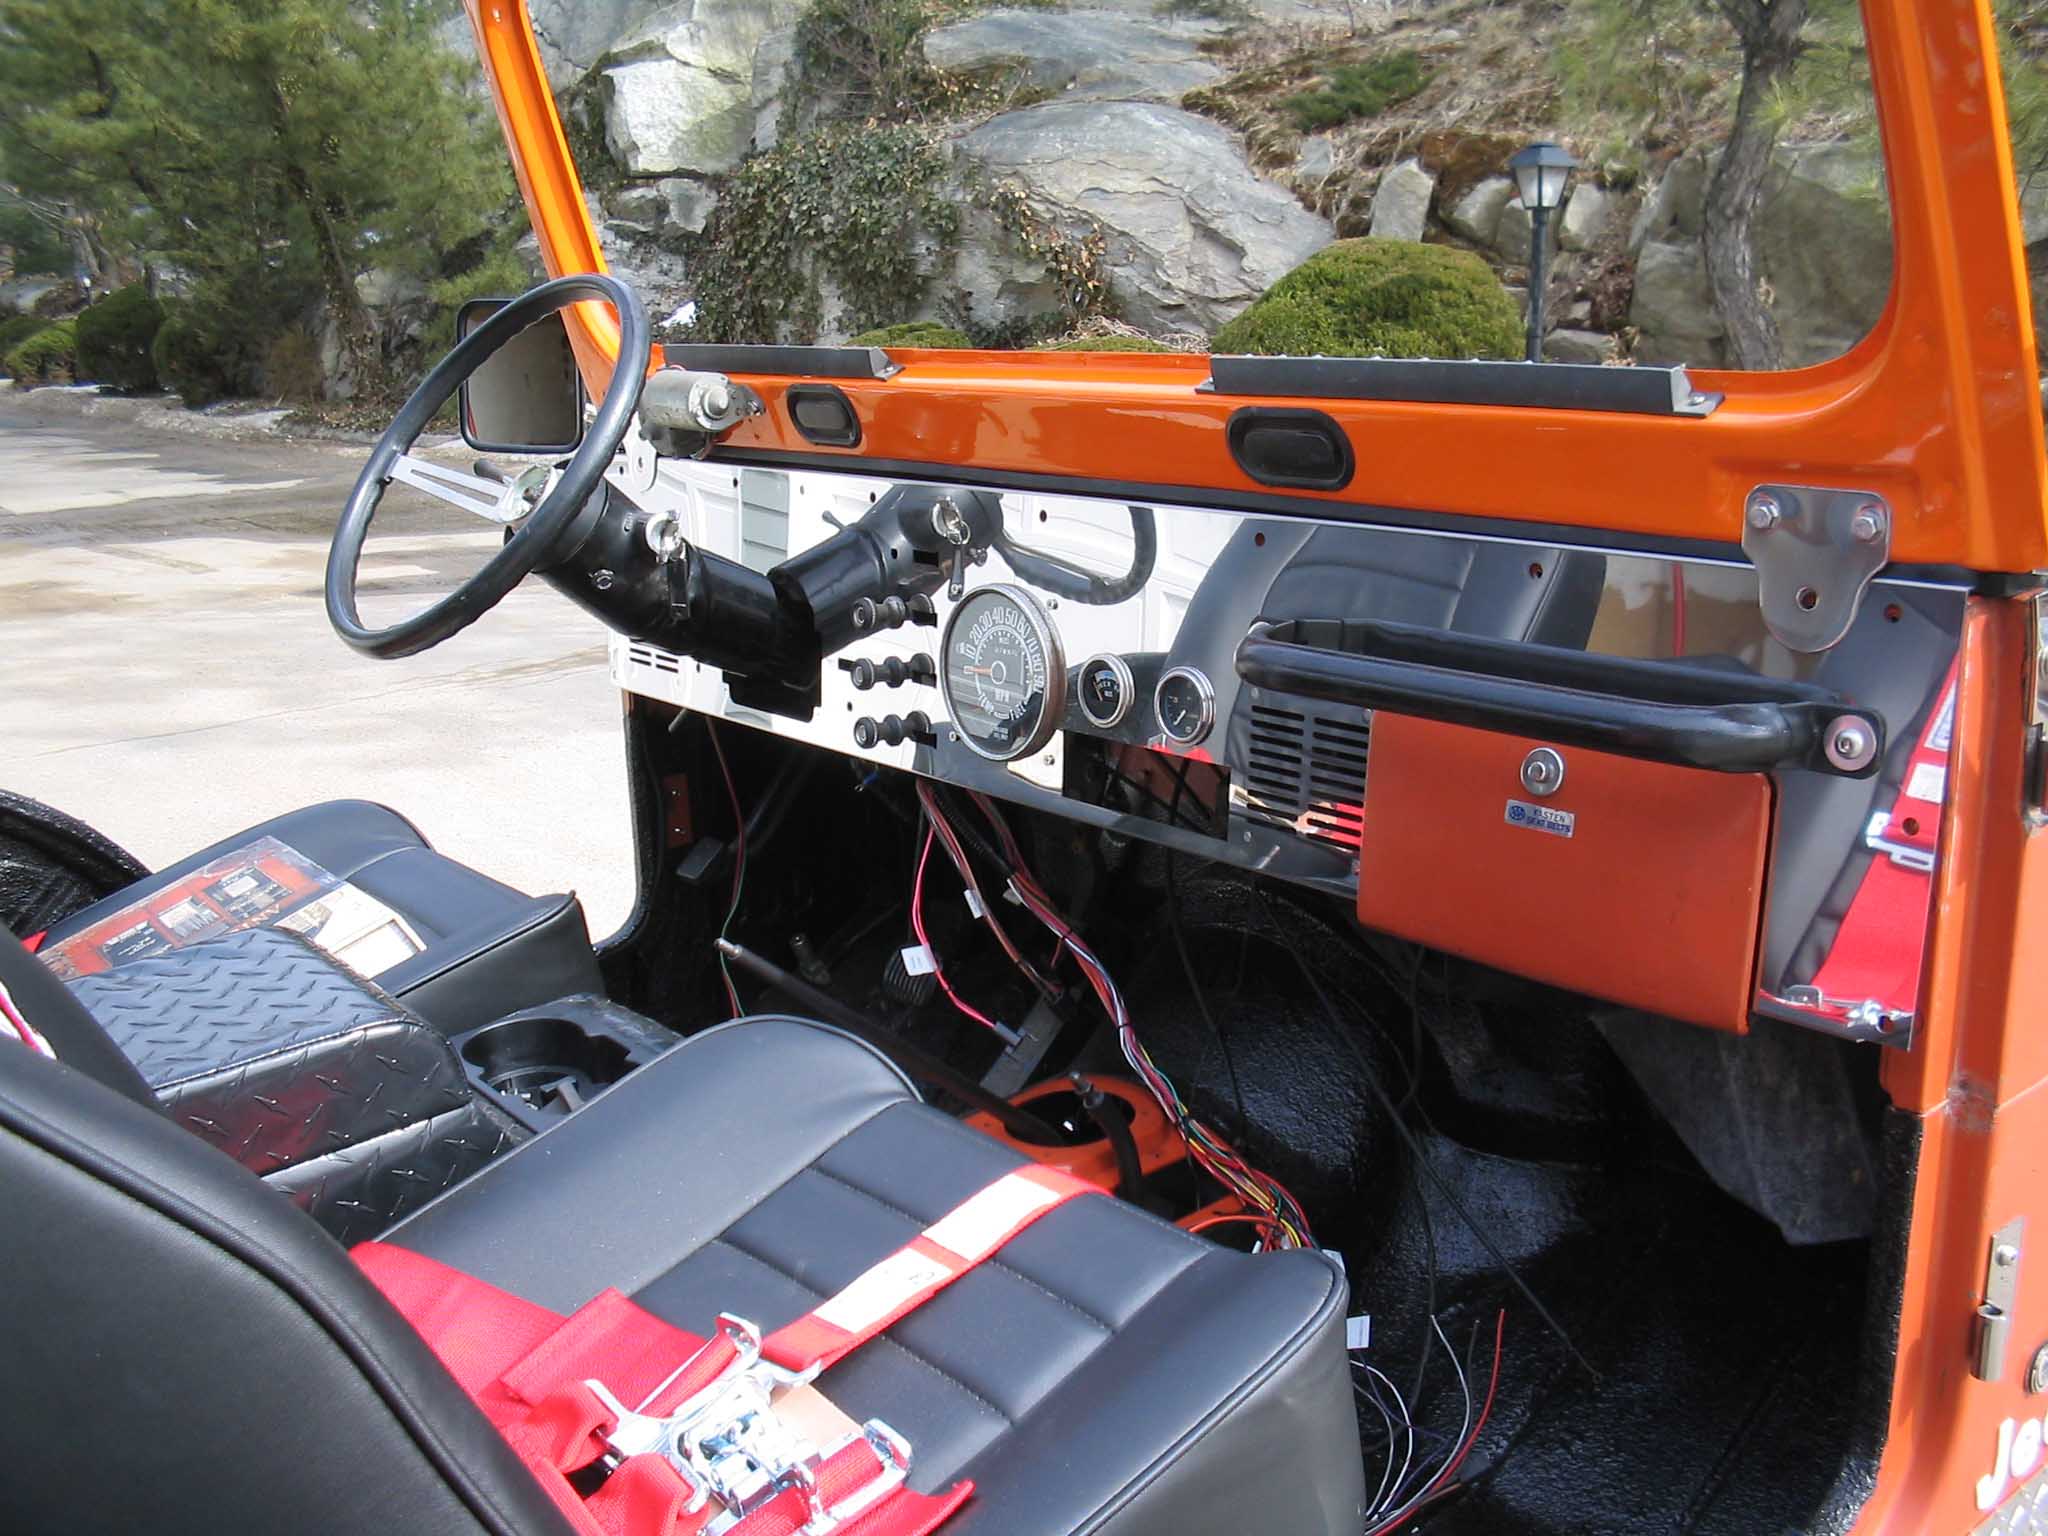
| In order to update the look to the interior of the Jeep and to add a little
bling bling, and contrast to the all orange body, I decided to add a stainless steel dash. I liked the look
and figured it would be a straightforward and relatively easy installation. Good thing I think well, it was.
|
| |

|
|

|
|
| |
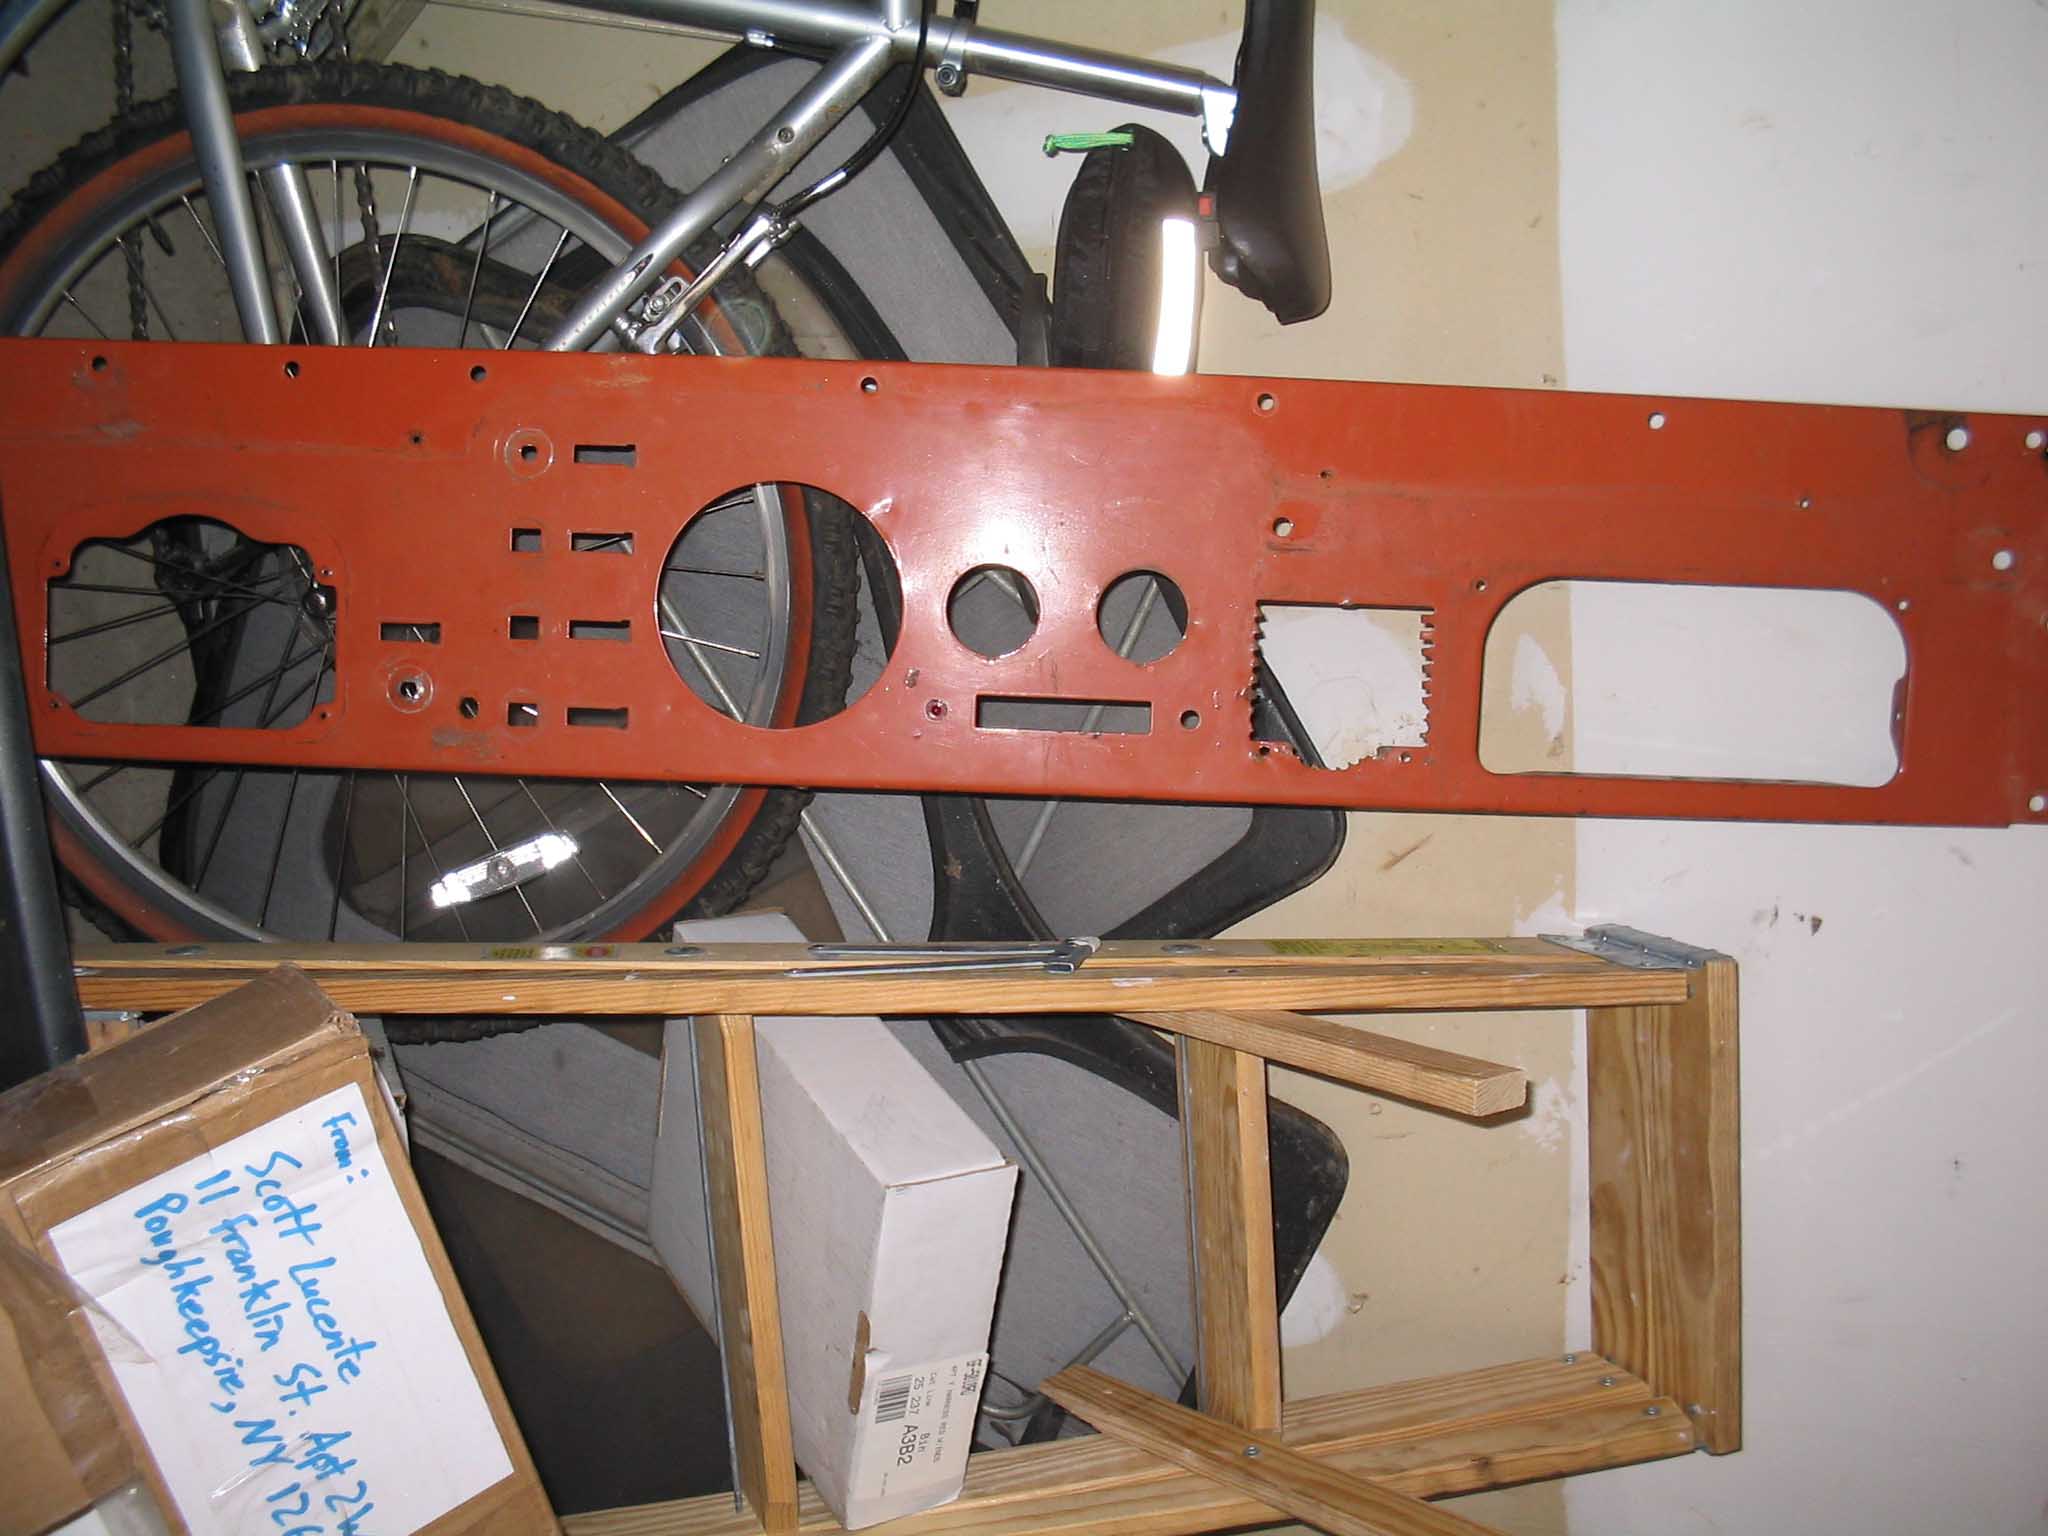
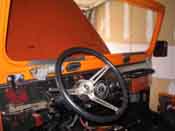
I removed all the old gauges, levers, and lights that were on the old dash since
it was already out of the Jeep and I set out in transferring them to the new dash setup. Unfortunately, 30 years
of weathering took their toll on the indicator lights, these crumbled when I went to take them out. Also to
hit the garbage can were some of the switches. I couldn't get them off, so I figured it was worth the money to
replace them since they are relatively cheap.
I was able to pick some up on eBay
where I picked up the stainless steel dash. Many people fabricate them, just do a quick search and pick out the
style you like. I was planning on putting a stereo in the dash, so I ordered one up with a DIN cutout for my stereo.
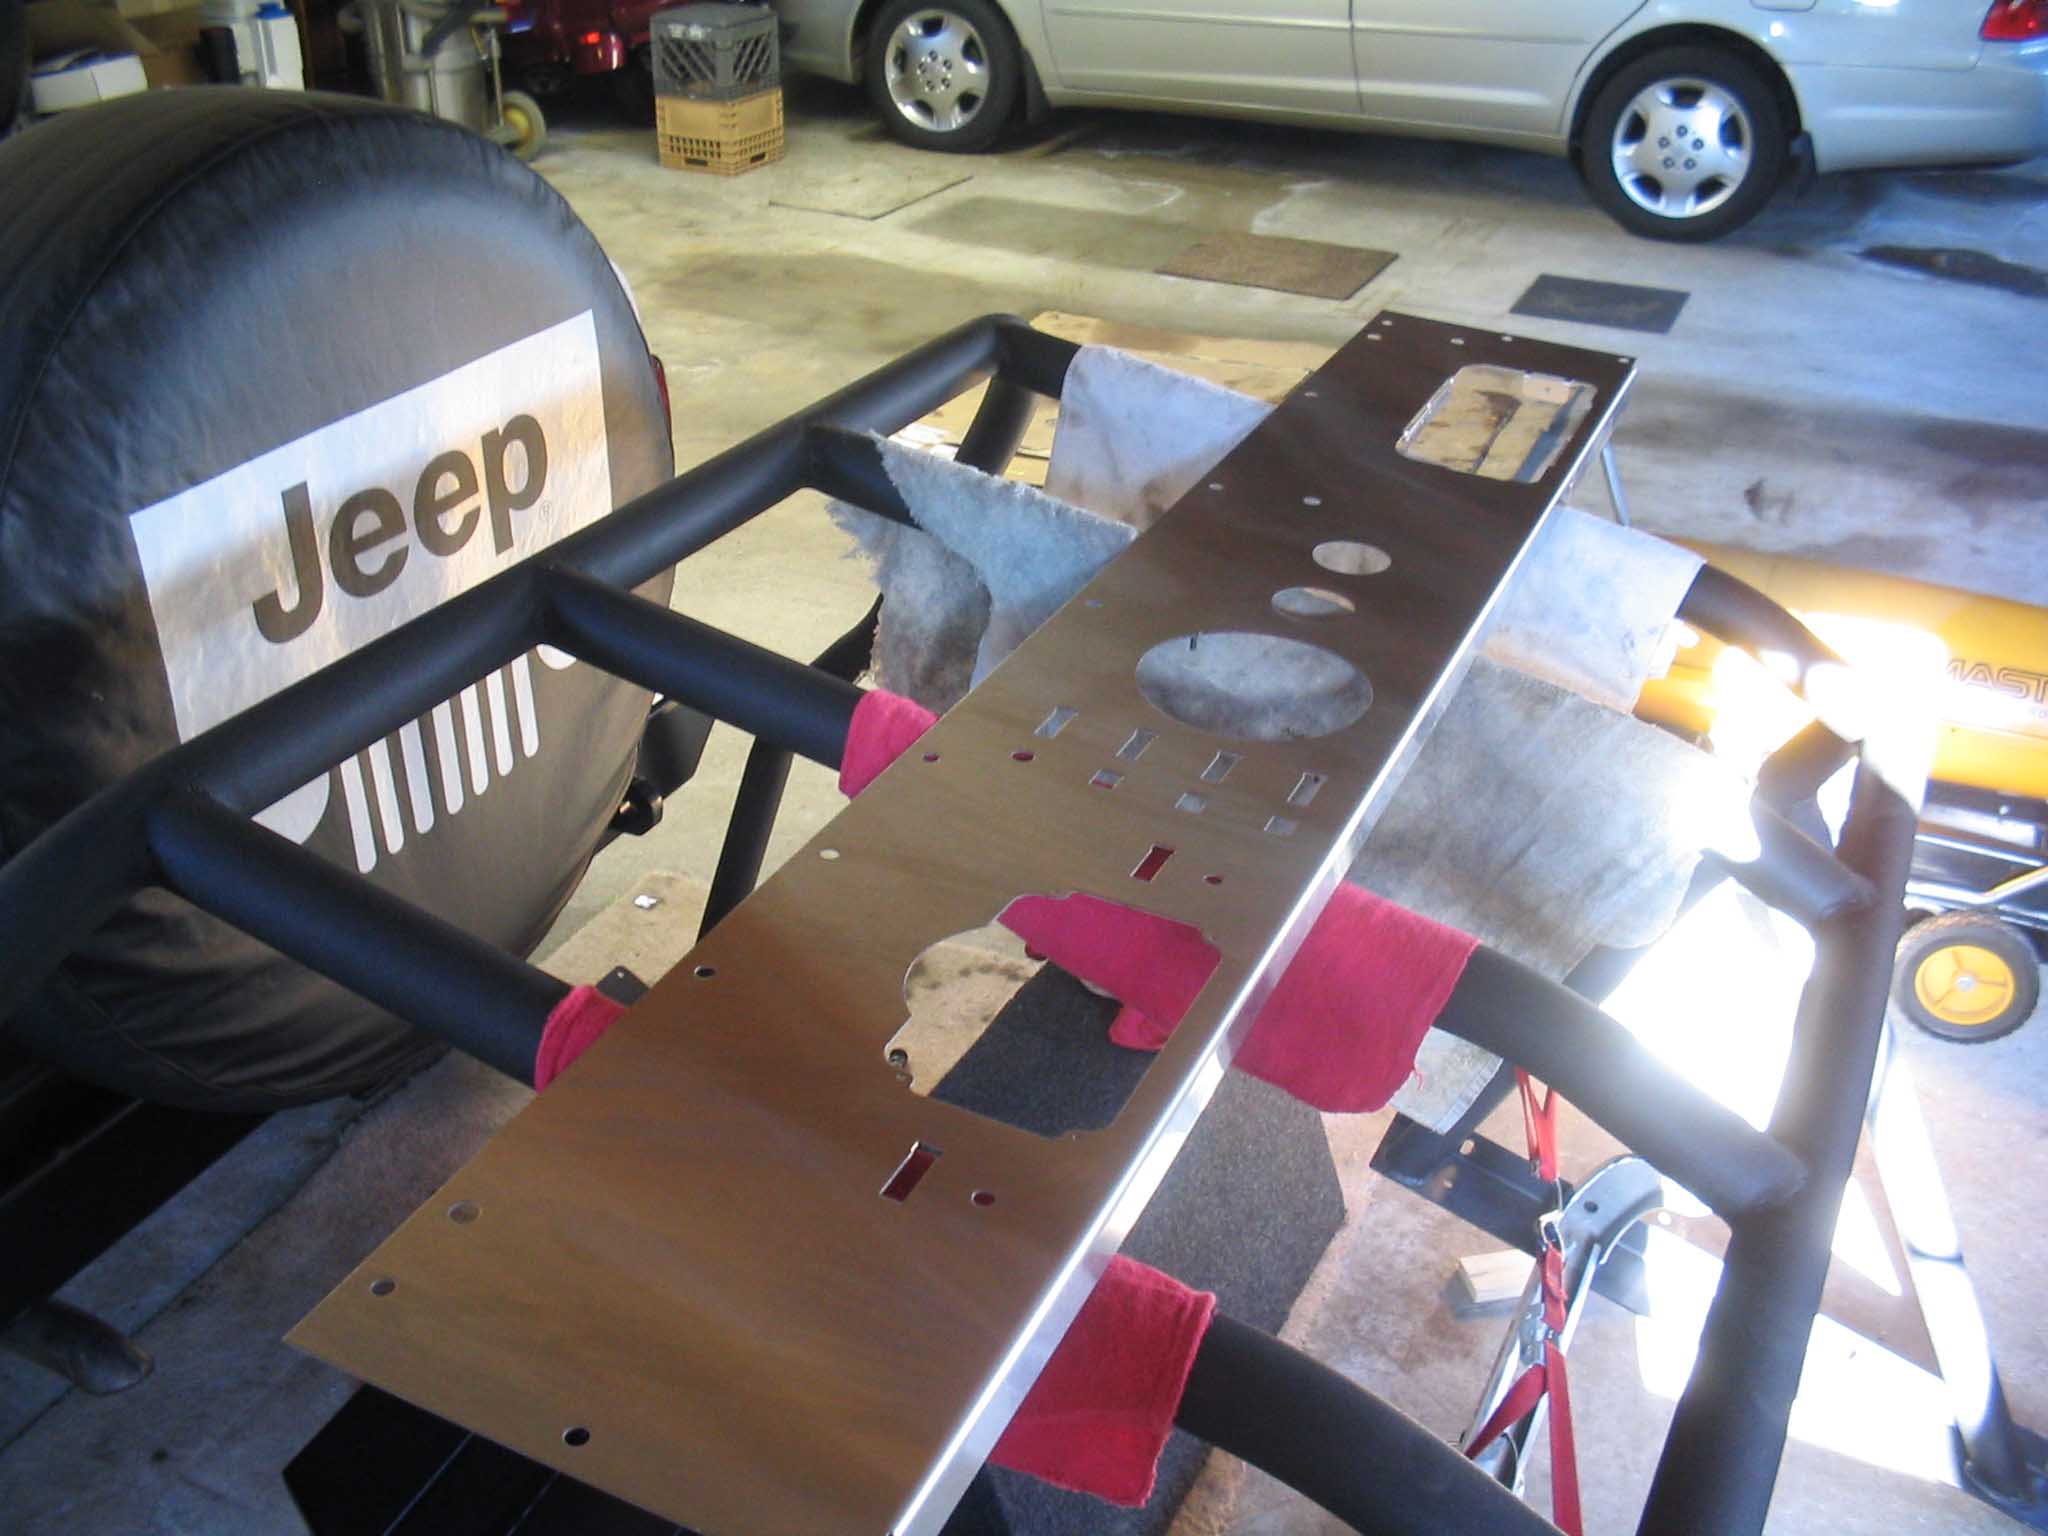
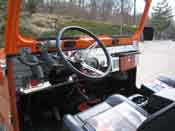
I test fit the pieces and put them all in. This was a relatively easy and straightforward process. I made sure
that the new wiring harness would fit all the existing gauges and then I test fit the dash into the opening.
Everything was a go except I noticed at this point that there was no way the stereo was going to fit with all
the duct work behind the dash.
|
| |
|
|
| |
| |
|

|
| |
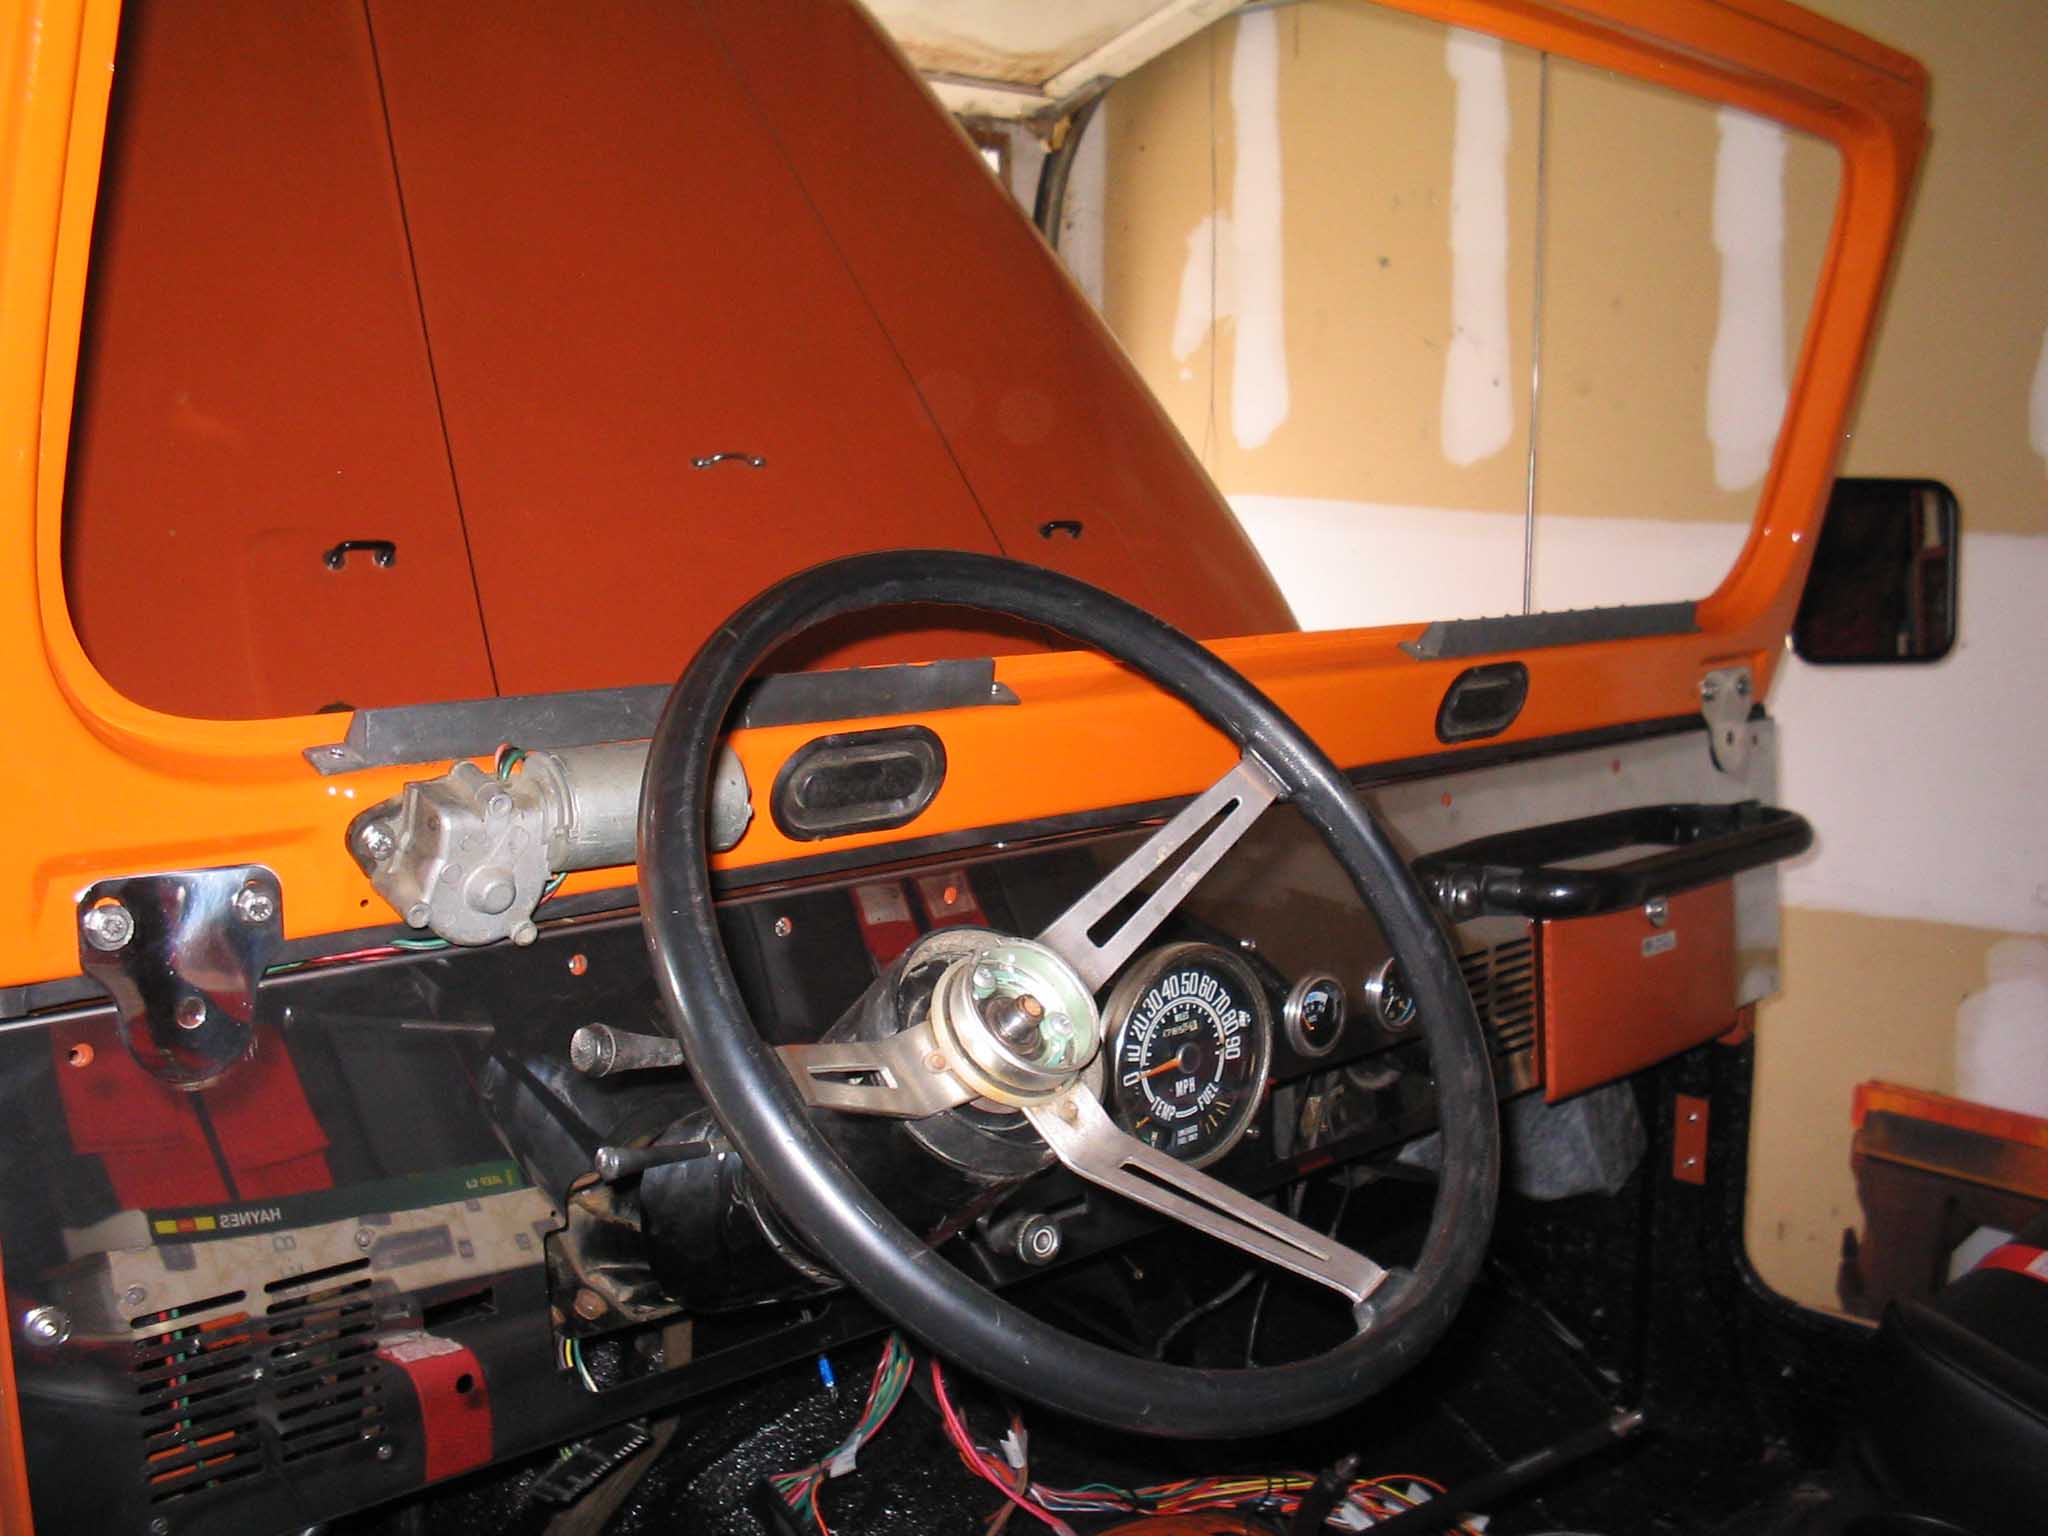
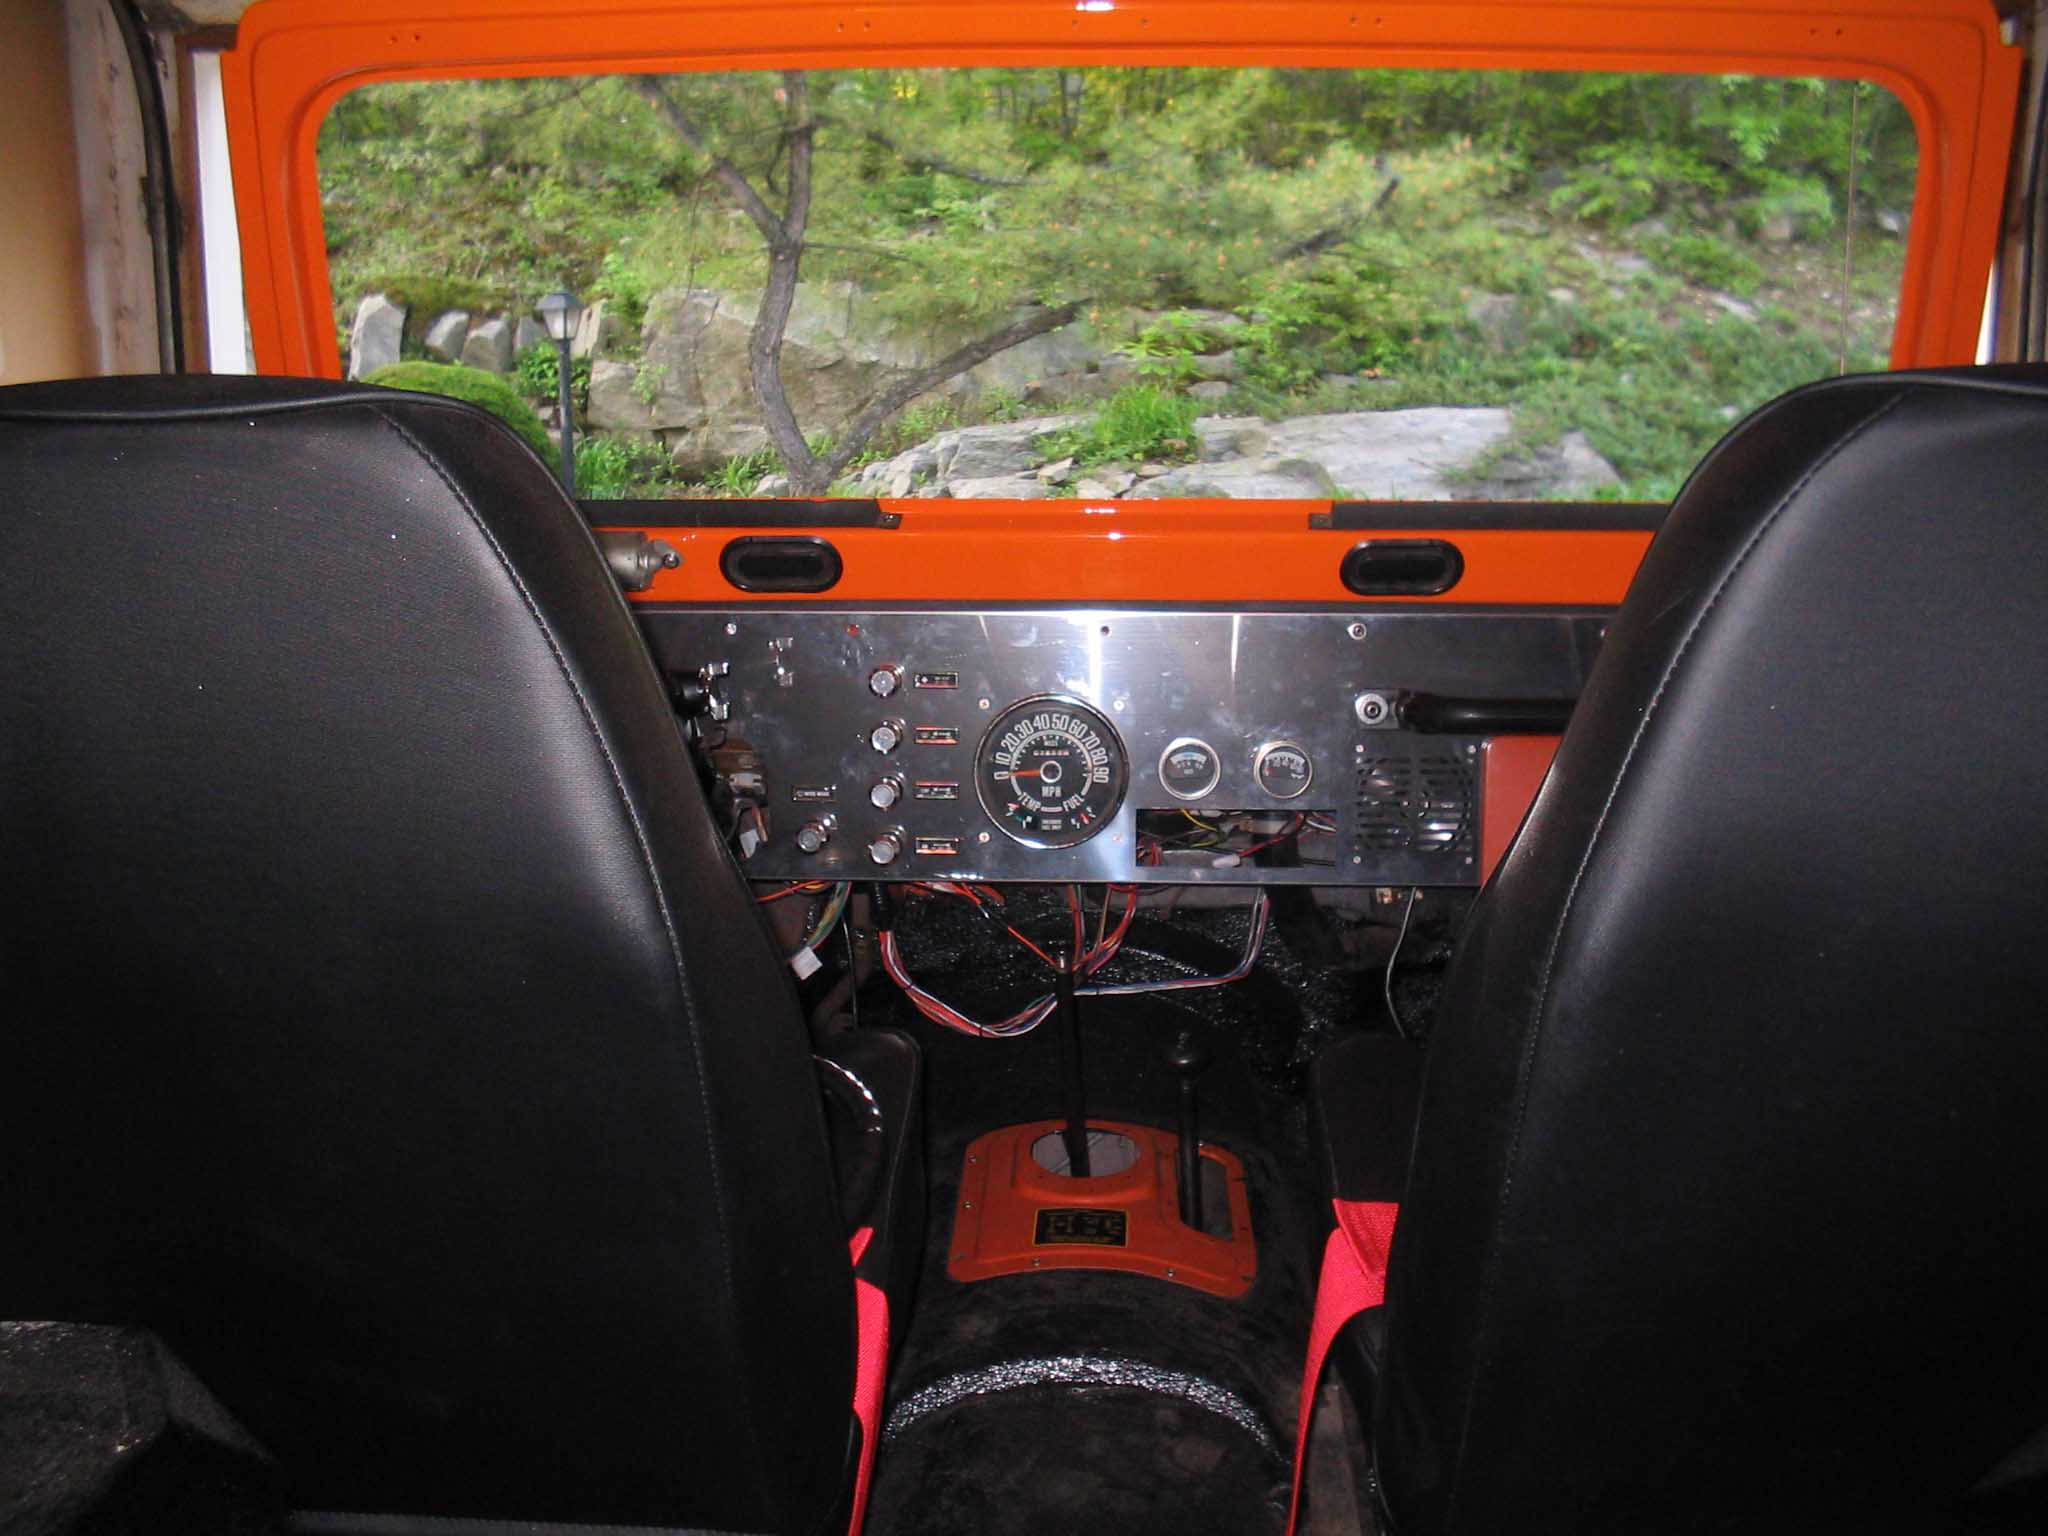
| With the test fit completed, I took it and laid it down and started to hook up
all the switches and gauges. This went fairly quickly and I had a dashboard that updated the look and feel of
the 30-year old CJ.
|
| |
| Lessons Learned the Hard Way |
| |
So, my lessons learned here would have to be that even with the best intentions,
not everything is going to go as you planned. First is that you might not be able to get everything out of the
old dash that you want to, it is a fact of life. These pieces have been in there for 30 years and then are
quite stubborn when it comes to being taken out.
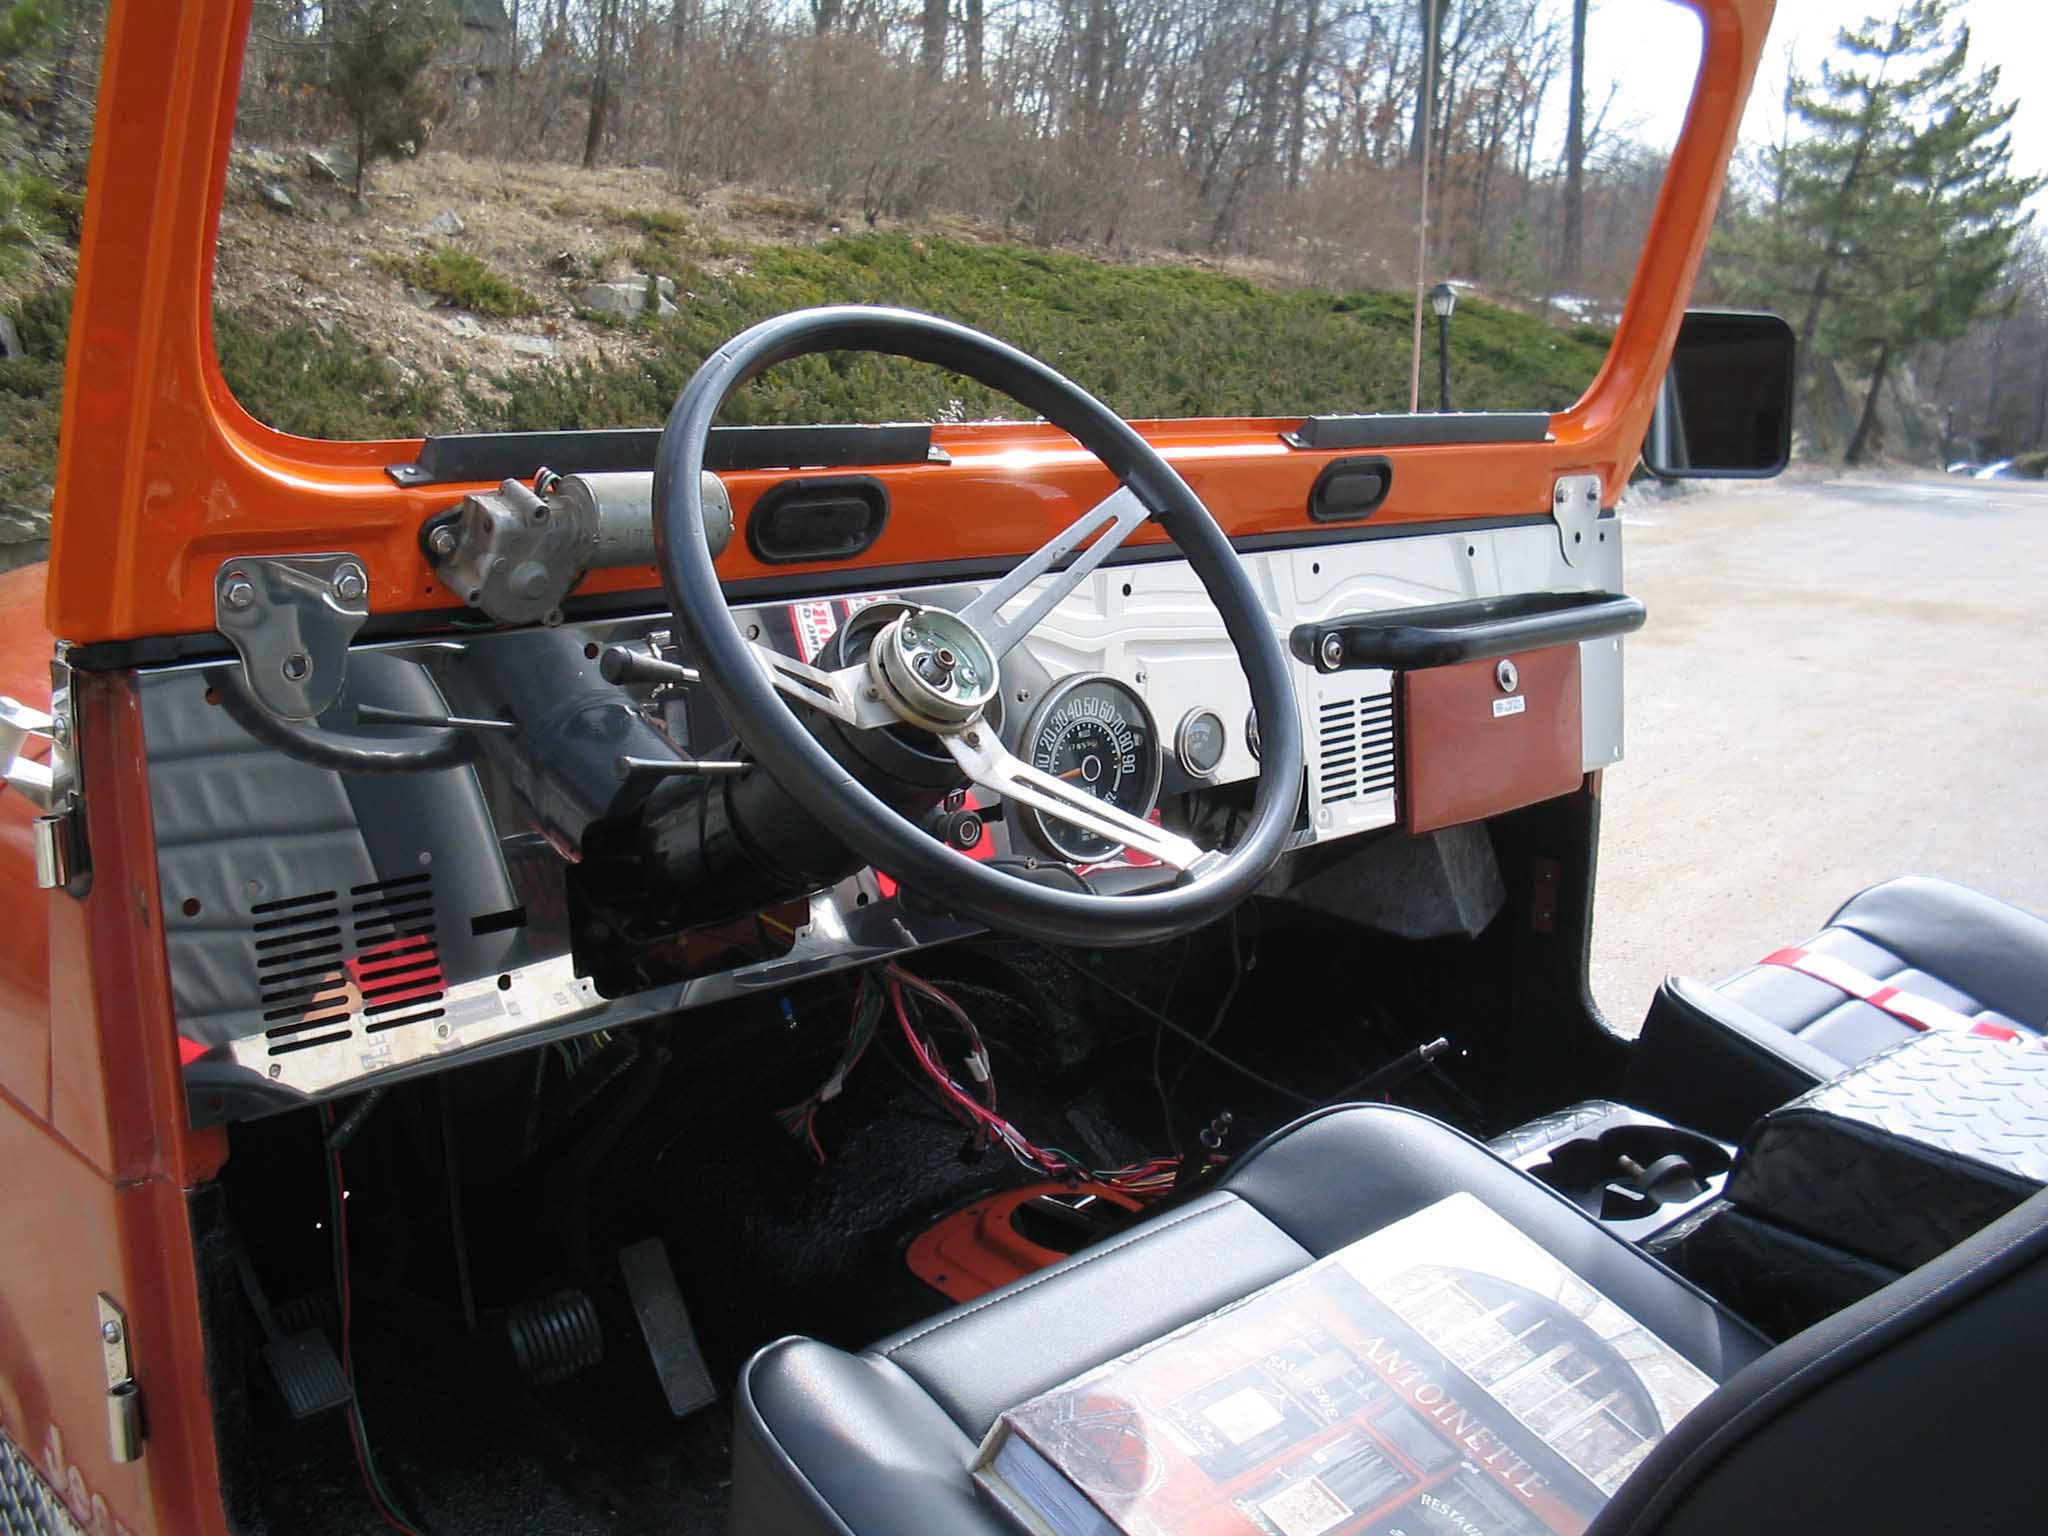
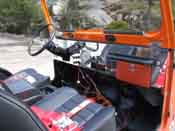
Secondly, the stereo was not going to fit. Fortunately I was able to switch my plans around with a tuffy
security center console that had a stereo cutout in it. This then left a hole in the dash. Can you say cb
radio? I can and did, I now have a cobra cb radio sitting in the cutout. No harm, no foul.
|
| |
| Conclusions |
| |
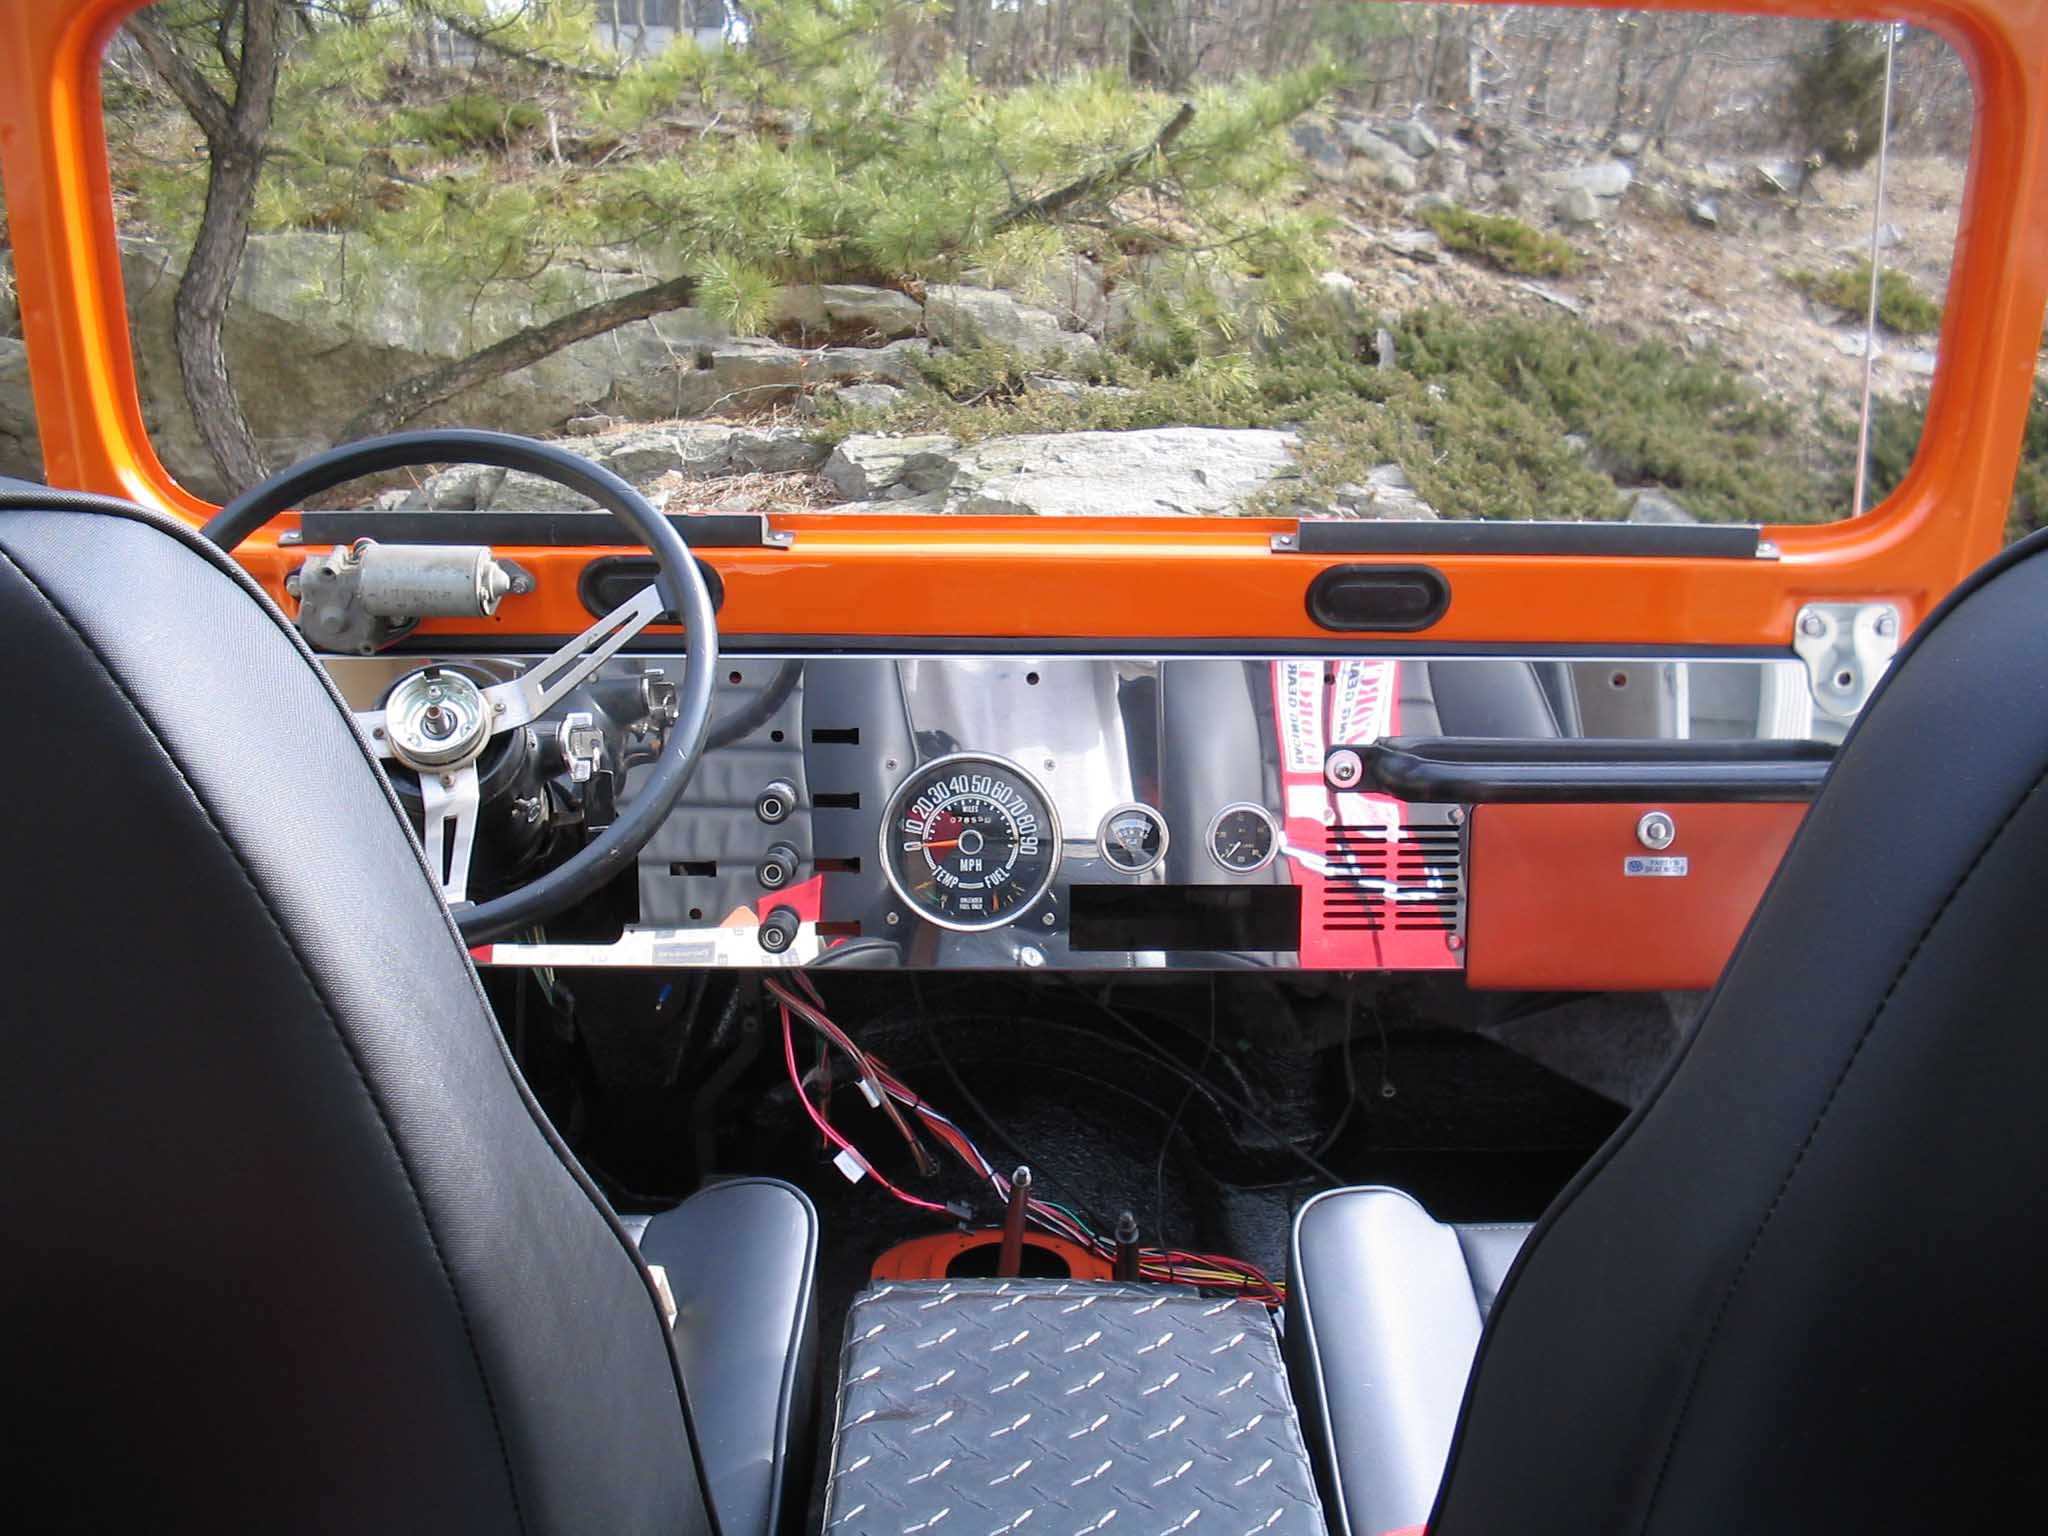
This is a pretty easy thing to do for a nice clean look to the Jeep, but keep in
mind if you are looking to rearrange your gauges or want updated aftermarket gauges in there, this won't work
for you. You will have to buy one that you can cut your own gauges in.
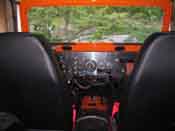
I also bought a new dash door as well as a padded grab bar to complete the build up. I had the dash door
painted to match the Jeep. It is a nice contrast with the transmission pan to set off the inside of the Jeep to
match the exterior.
This is a relatively straightforward install. You will need some simple hand tools and in the case of one
replaced gauge, you will need to do some filing. The opening on the oil gauge was just a little too small for
the width of the new gauge. These things happen, just make sure you test fit everything first.
NOTE: See the Hints section on this here
|
|