| DayStar Polyethylene Transmission Mount Installation |
| |
| So I set out to replace all the rubber bushings on the Jeep with Polyethylene and
I start reading the forums and much to my delight, a company called Daystar makes everything that I need to
replace the transmission mount as well as the transmission torque stud.
|
| |
|
|
| |
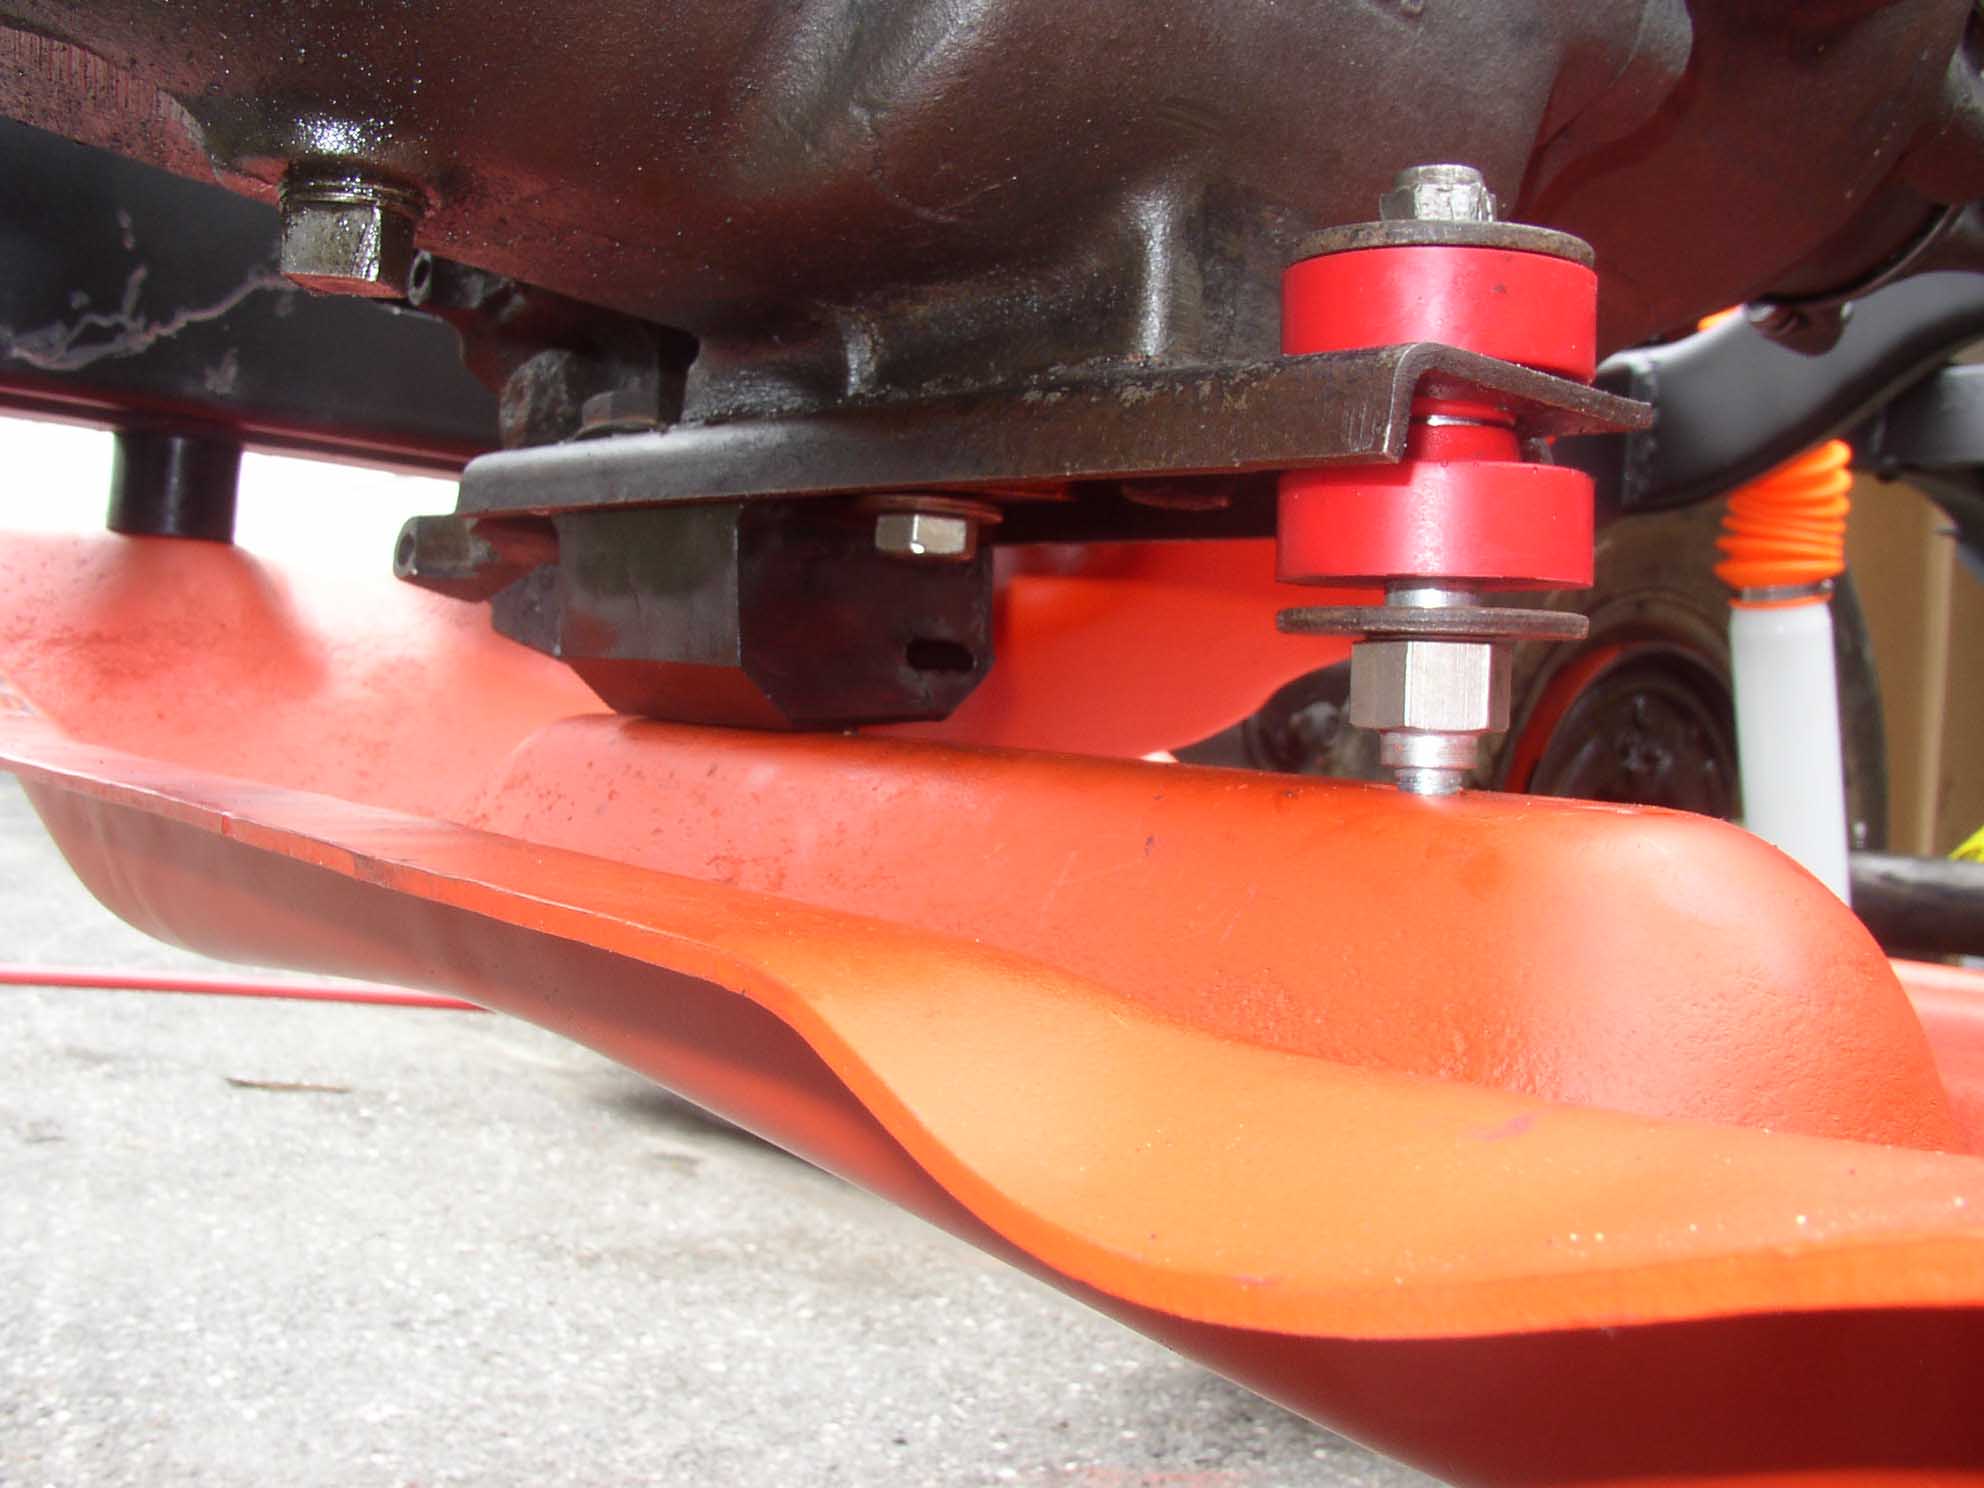
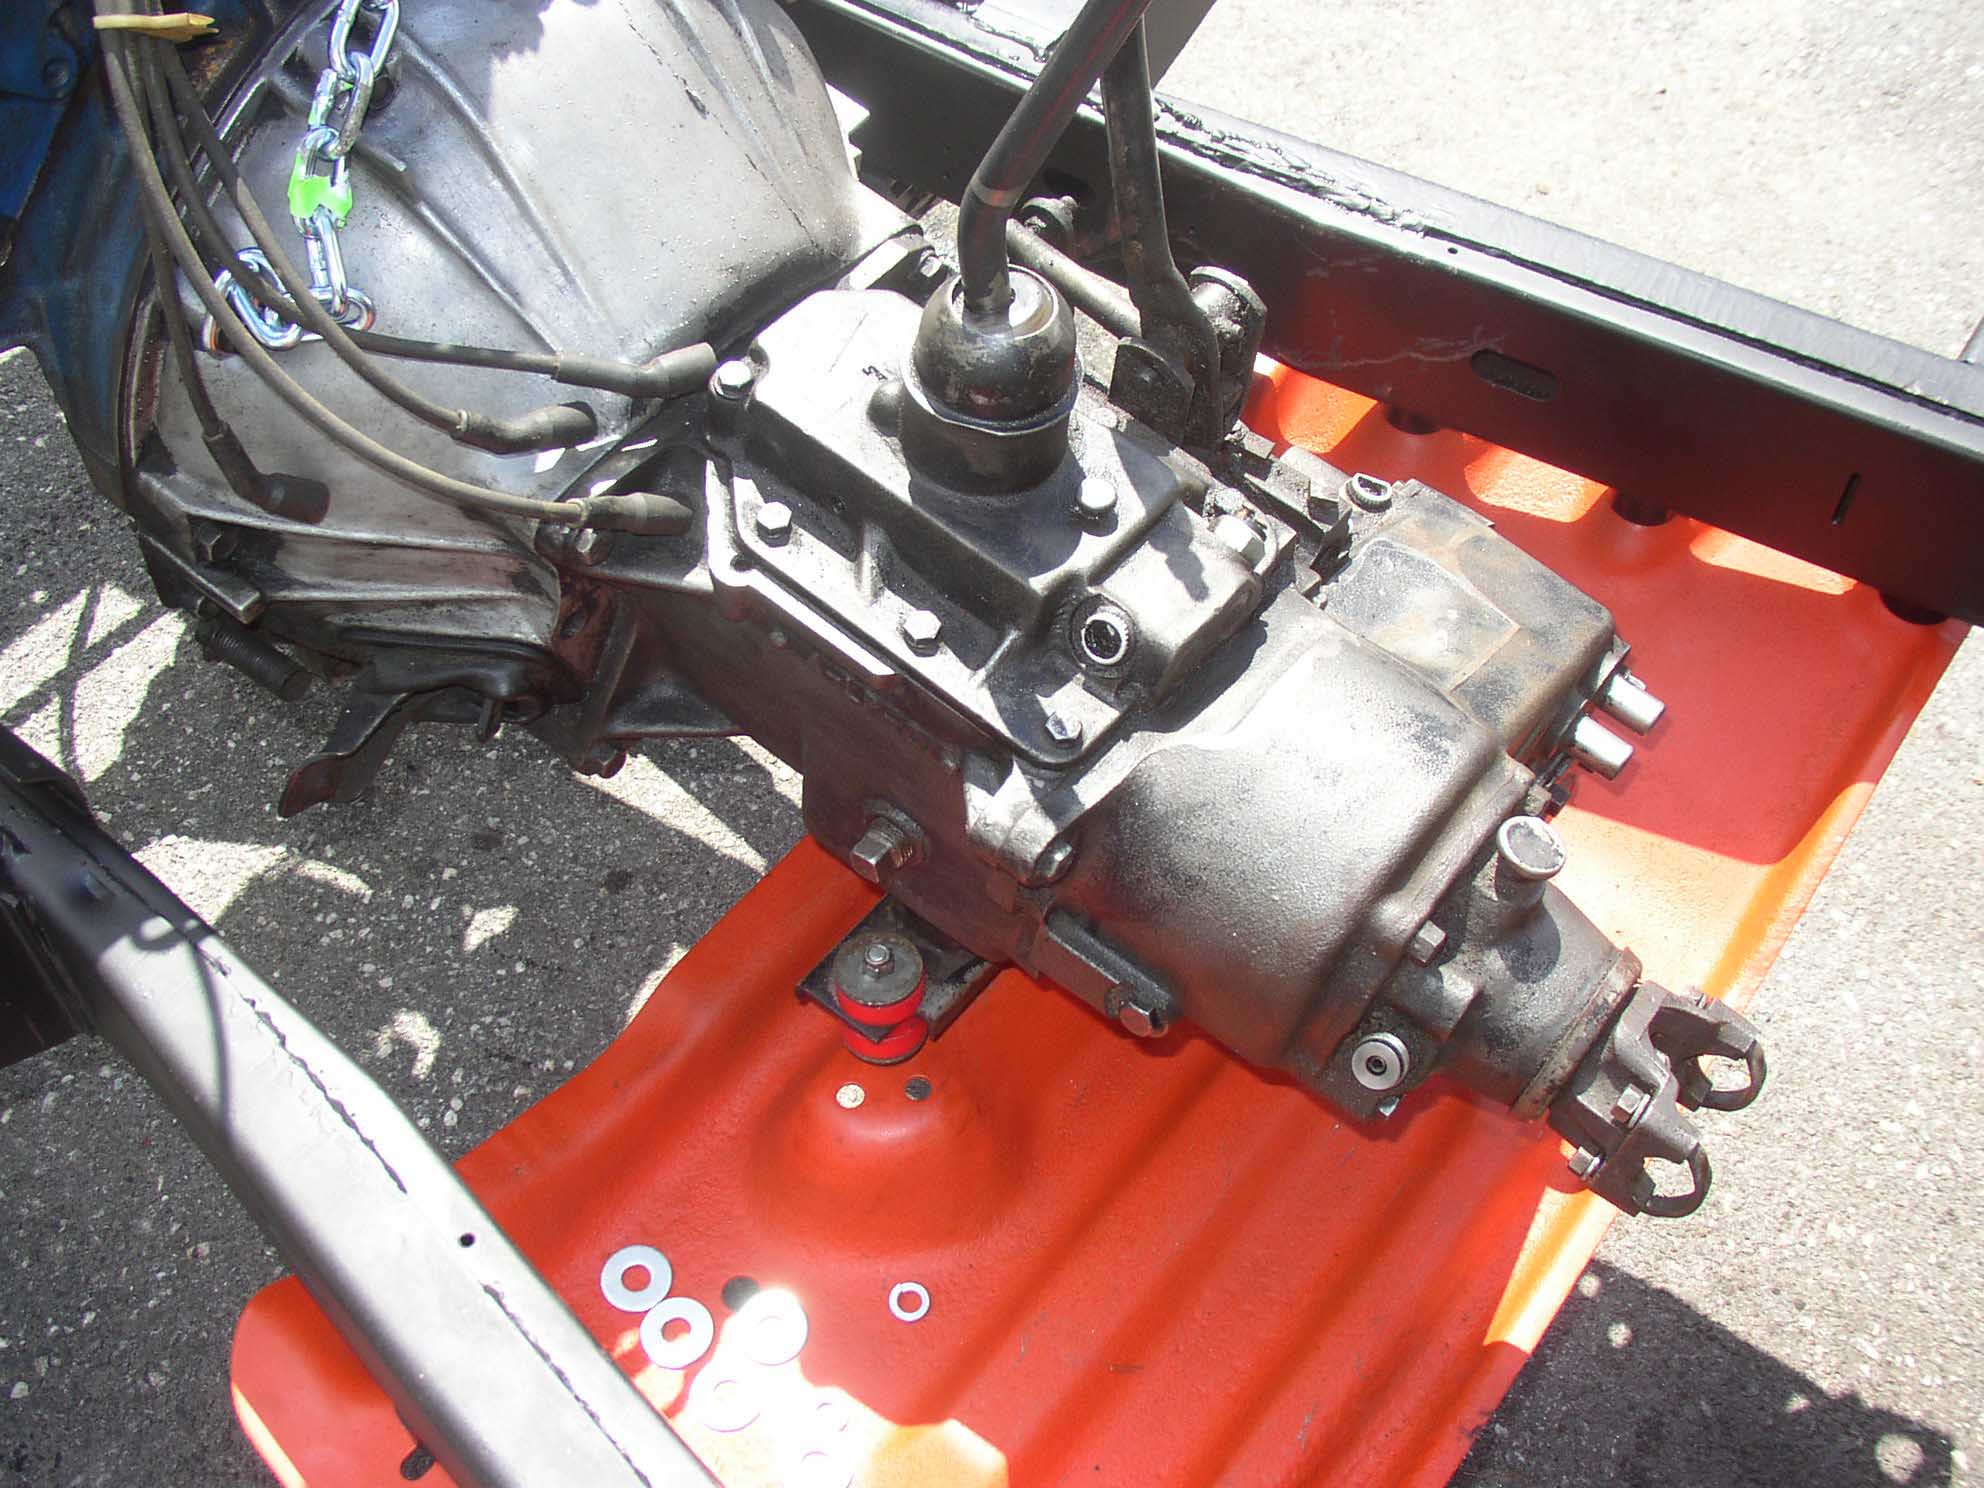
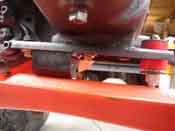
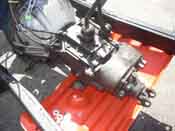
| I had done a frame off and just placed the engine back into the frame so it was
easy to bolt up the transmission mount as well as the torque stud. When I did this, things needed to be moved
around a bit to get everything to line up correctly, but when it did, all that was required was to torque the
bolts down and join everything together.
|
| |
|
|
| |
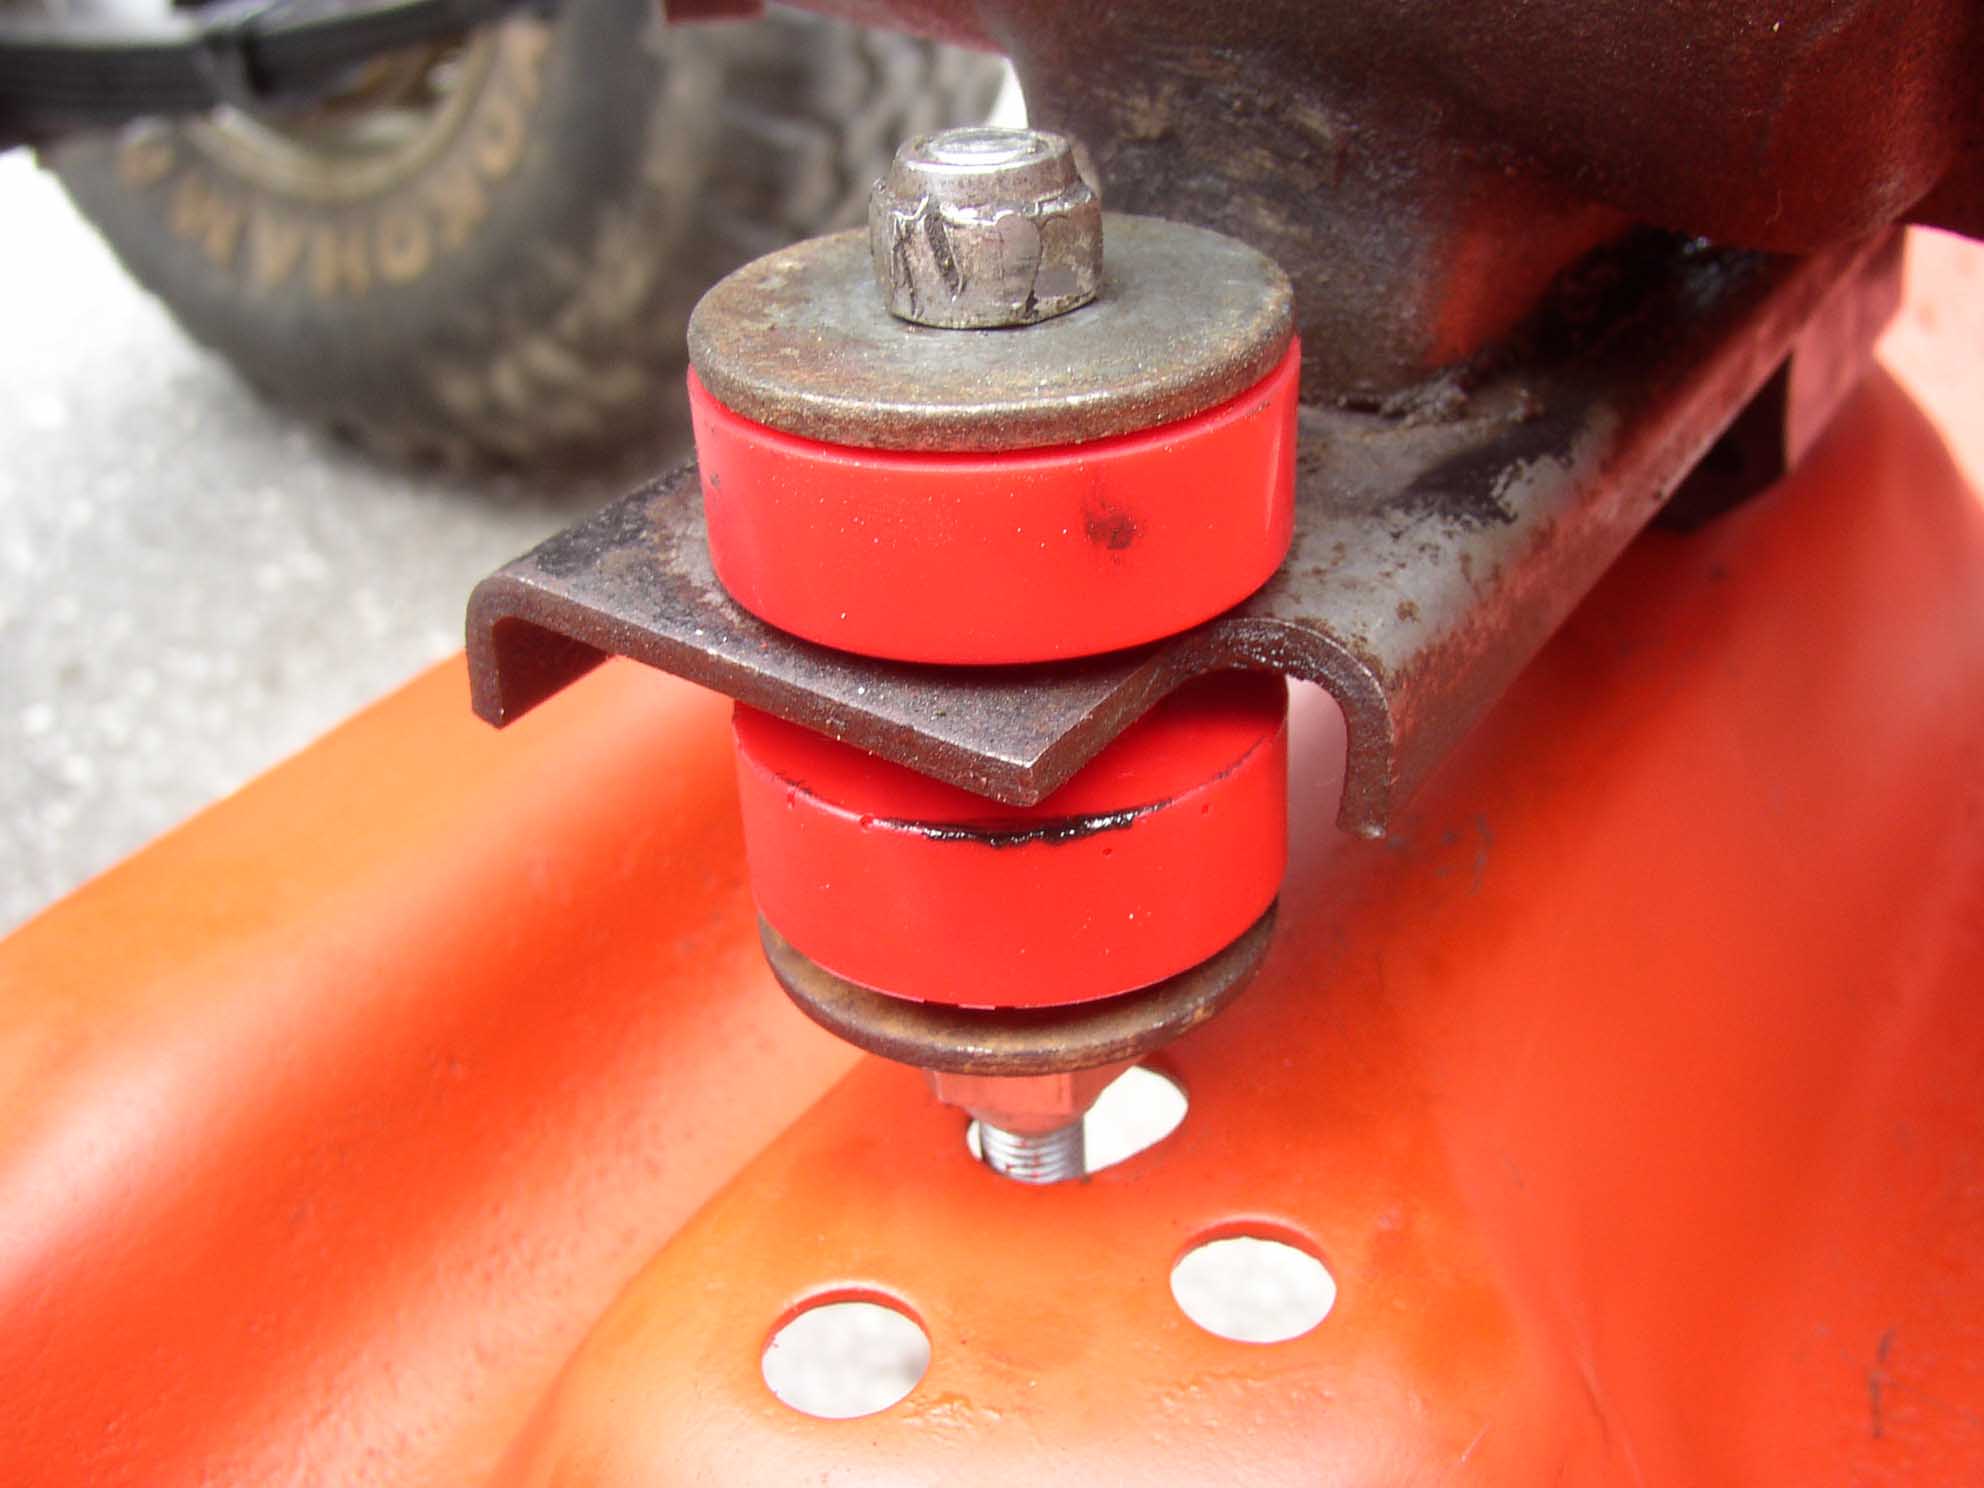
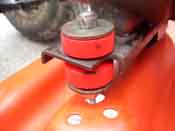
| This is when I noticed that the new transmission mount was quite a bit higher then
that of the one that was removed from the Jeep. So, this meant that the transmission torque stud was going to
come up a bit short. So, I had to get some information from the forums at this point. People talked about
shimming the stud with washers, so that is exactly what I did.
|
| |

|
|
| |
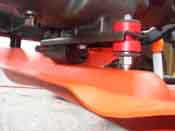
| To make up the difference, I put a couple of washers underneath the bottom of the
poly bushing on the torque stud and tightened everything down so it all squished together nicely. It made
everything fit the way it was supposed to and over time when the main transmission mount relaxes, I would just
torque the bushings down again. I also did this after about 500 miles to make sure everything was all-good and
it was.
|
| |
| Lessons Learned the Hard Way |
| |
| So, my lessons learned here would have to be that you can do this by yourself, but
it is a lot easier to have a friend jiggle the transmission around from the top to get the boltholes on the
transmission mount to line up. Remember that this is a brand new piece and is probably a bit larger then the
one that came from the factory. Factor in that the new one is solid and the old rubber one is probably all
filled with oil and has deteriorated, the angles are going to be a bit snug, so get a friend and buy him some
beers for helping you out.
|
| |
| Conclusions |
| |
| This is a fairly straightforward bolt on conversion that results in a lot more
piece of mind rolling down the road and going out on the trails. This upgrade in conjunction with the
motor mount upgrade mentioned in another write up tightened up the engine so you don't feel the pull now when
you take off from a stand still. This is a great way to get your rig under control for not a lot of money.
|