| Aluminum "Jeep" Finned Valve Cover Installation |
| |
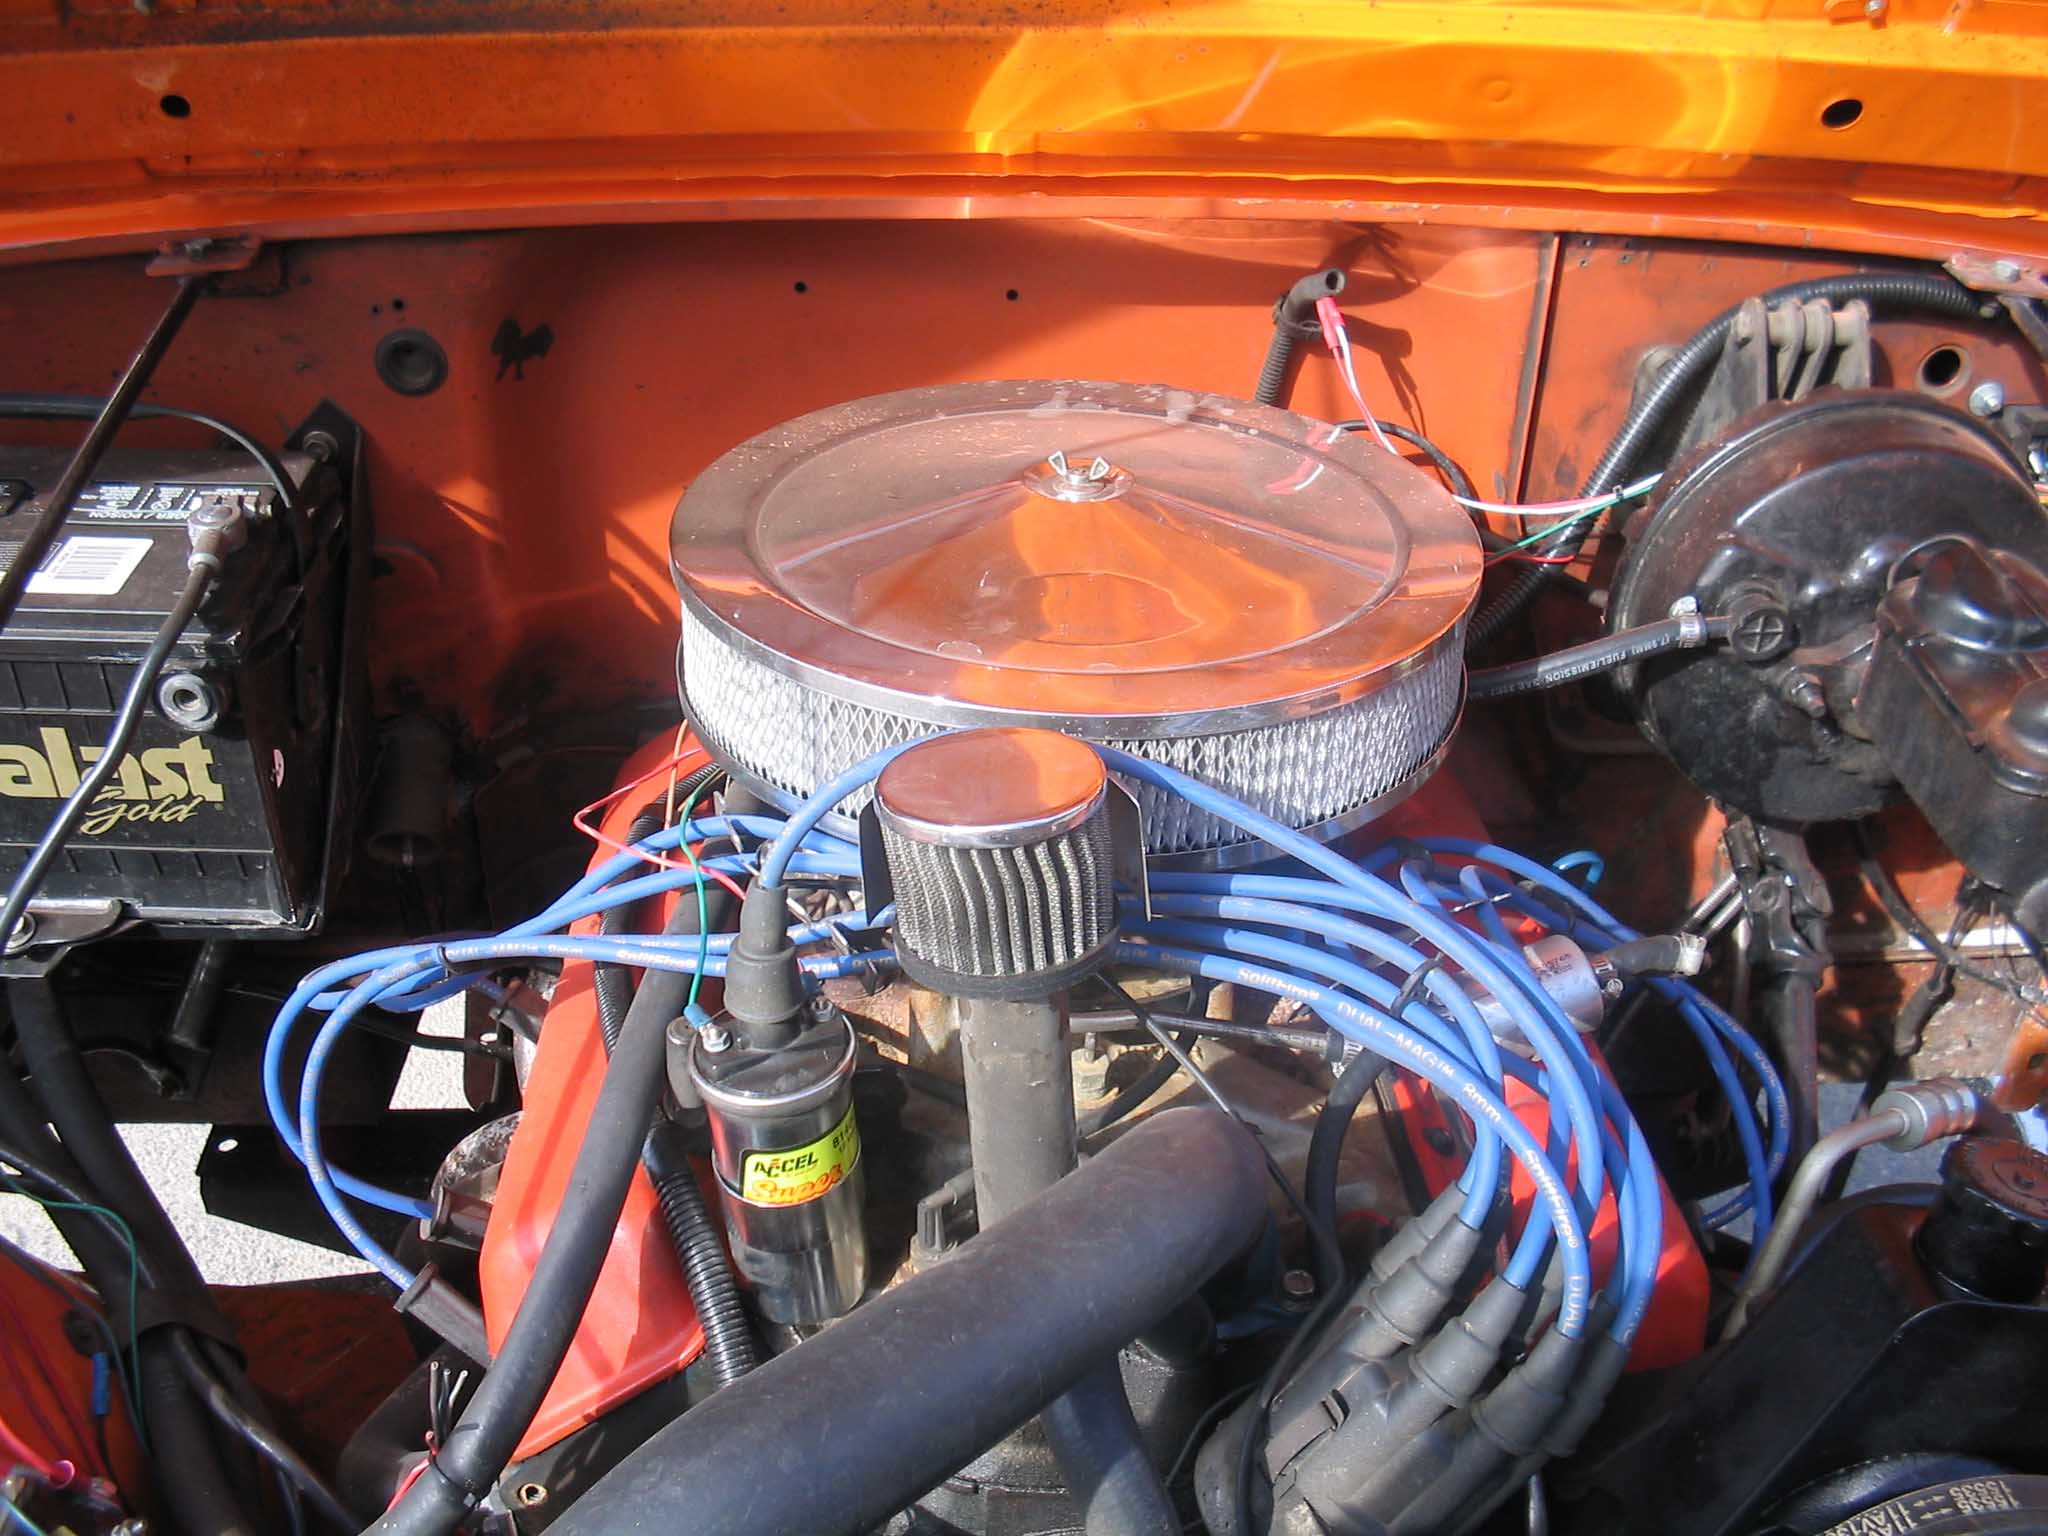
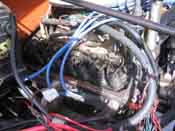
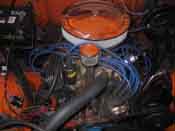
| After seeing the amount of oil that was leaking out of my valve covers, I decided
that it was time to update the valve covers on my 304. The valve covers that were on there were the original
ones and they had served their purpose. I looked around and found some aluminum finned valve covers that were
supposed to dissipate heat better and they looked stylish with the "Jeep" log stamped into them.
|
| |

|
|
|
|
| |
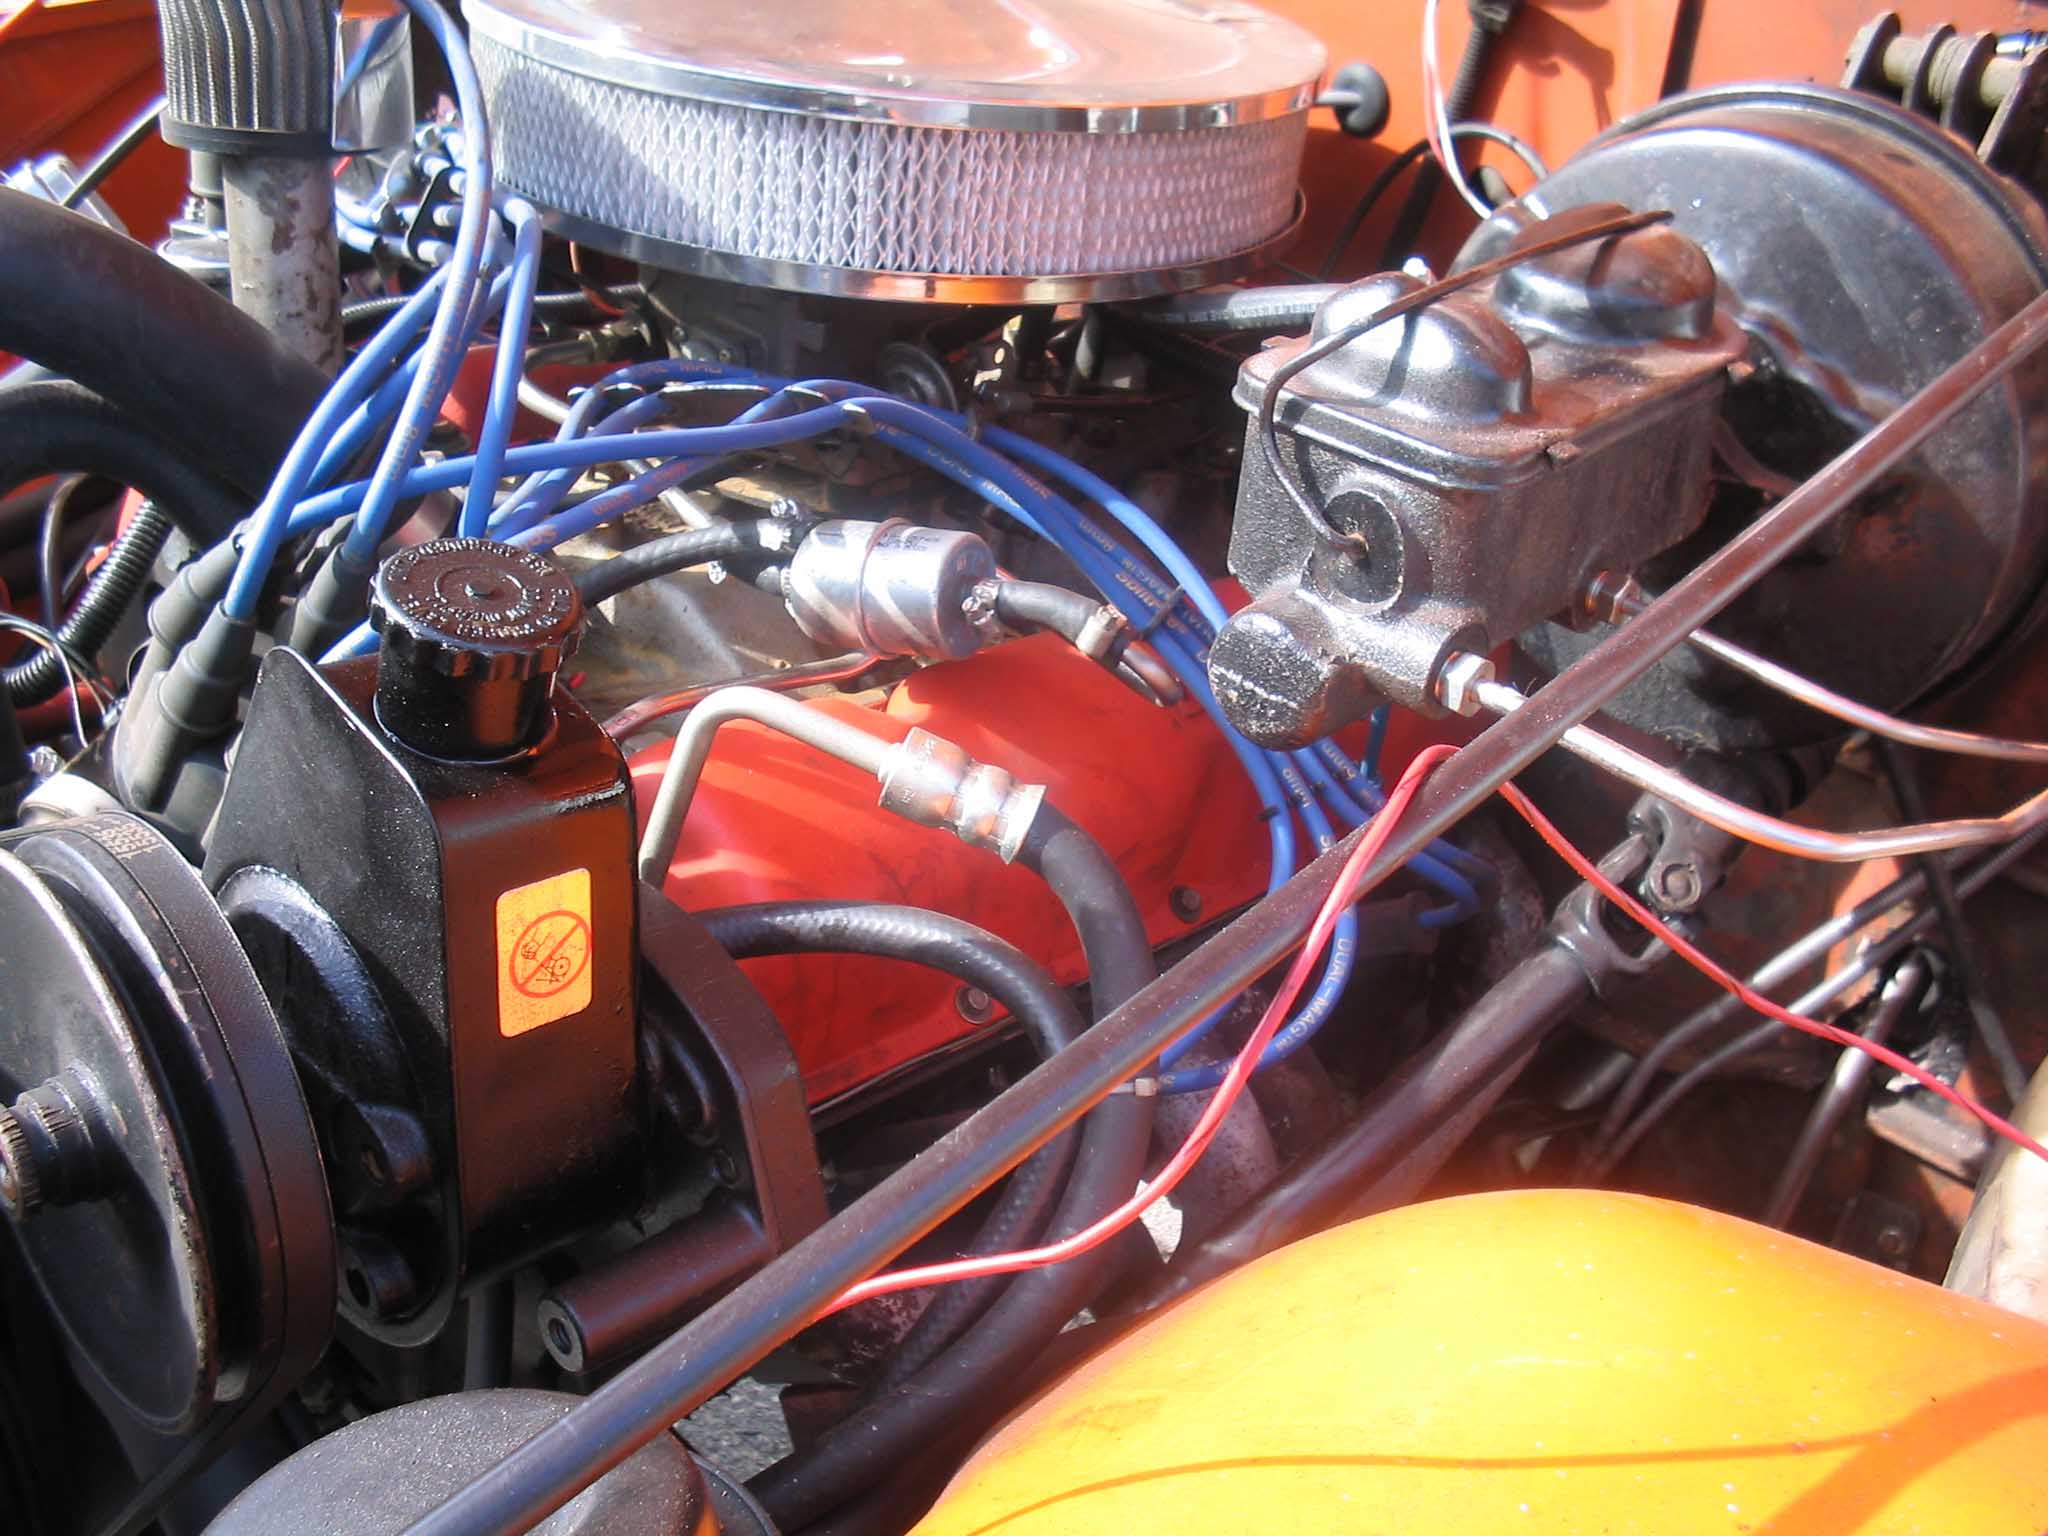
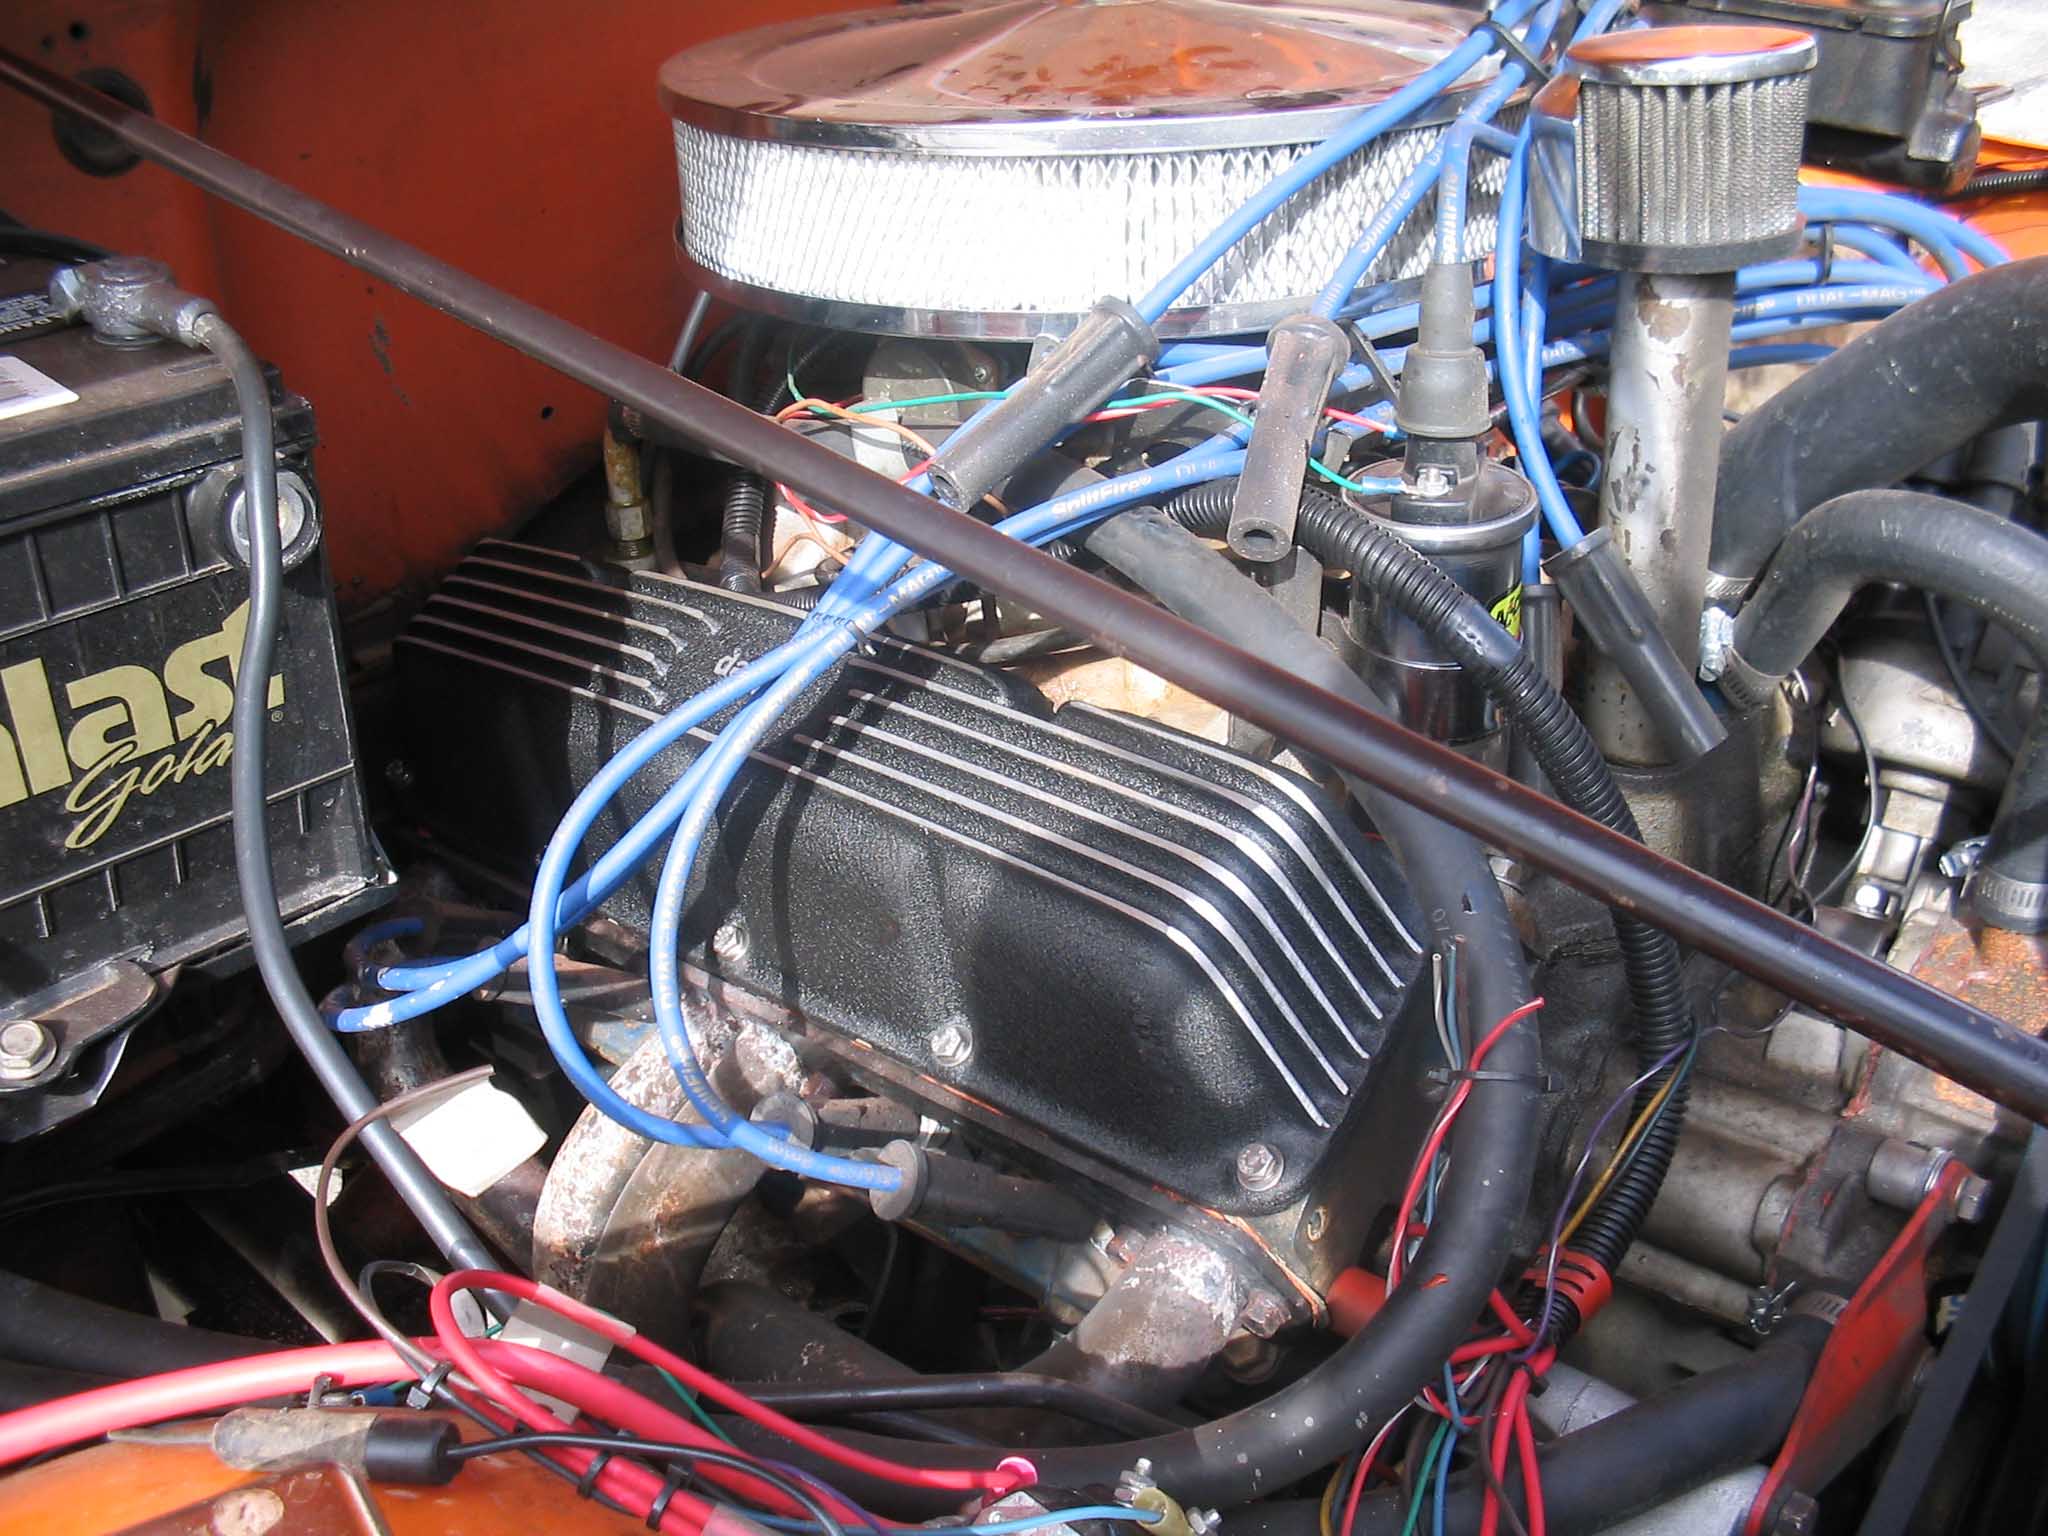
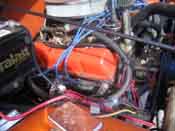
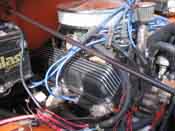
I ordered them up and started to get into the engine to remove the existing ones.
The existing ones came off easy on the passenger side, but not so easy on the driver side. The driver's side
has a lot more stuff covering them that has to be removed. The valve covers are held on with 7 bolts each and
are easily removed, except for the ones right next to the firewall. The socket didn't want to go over them and
these require a little finger power to remove them.
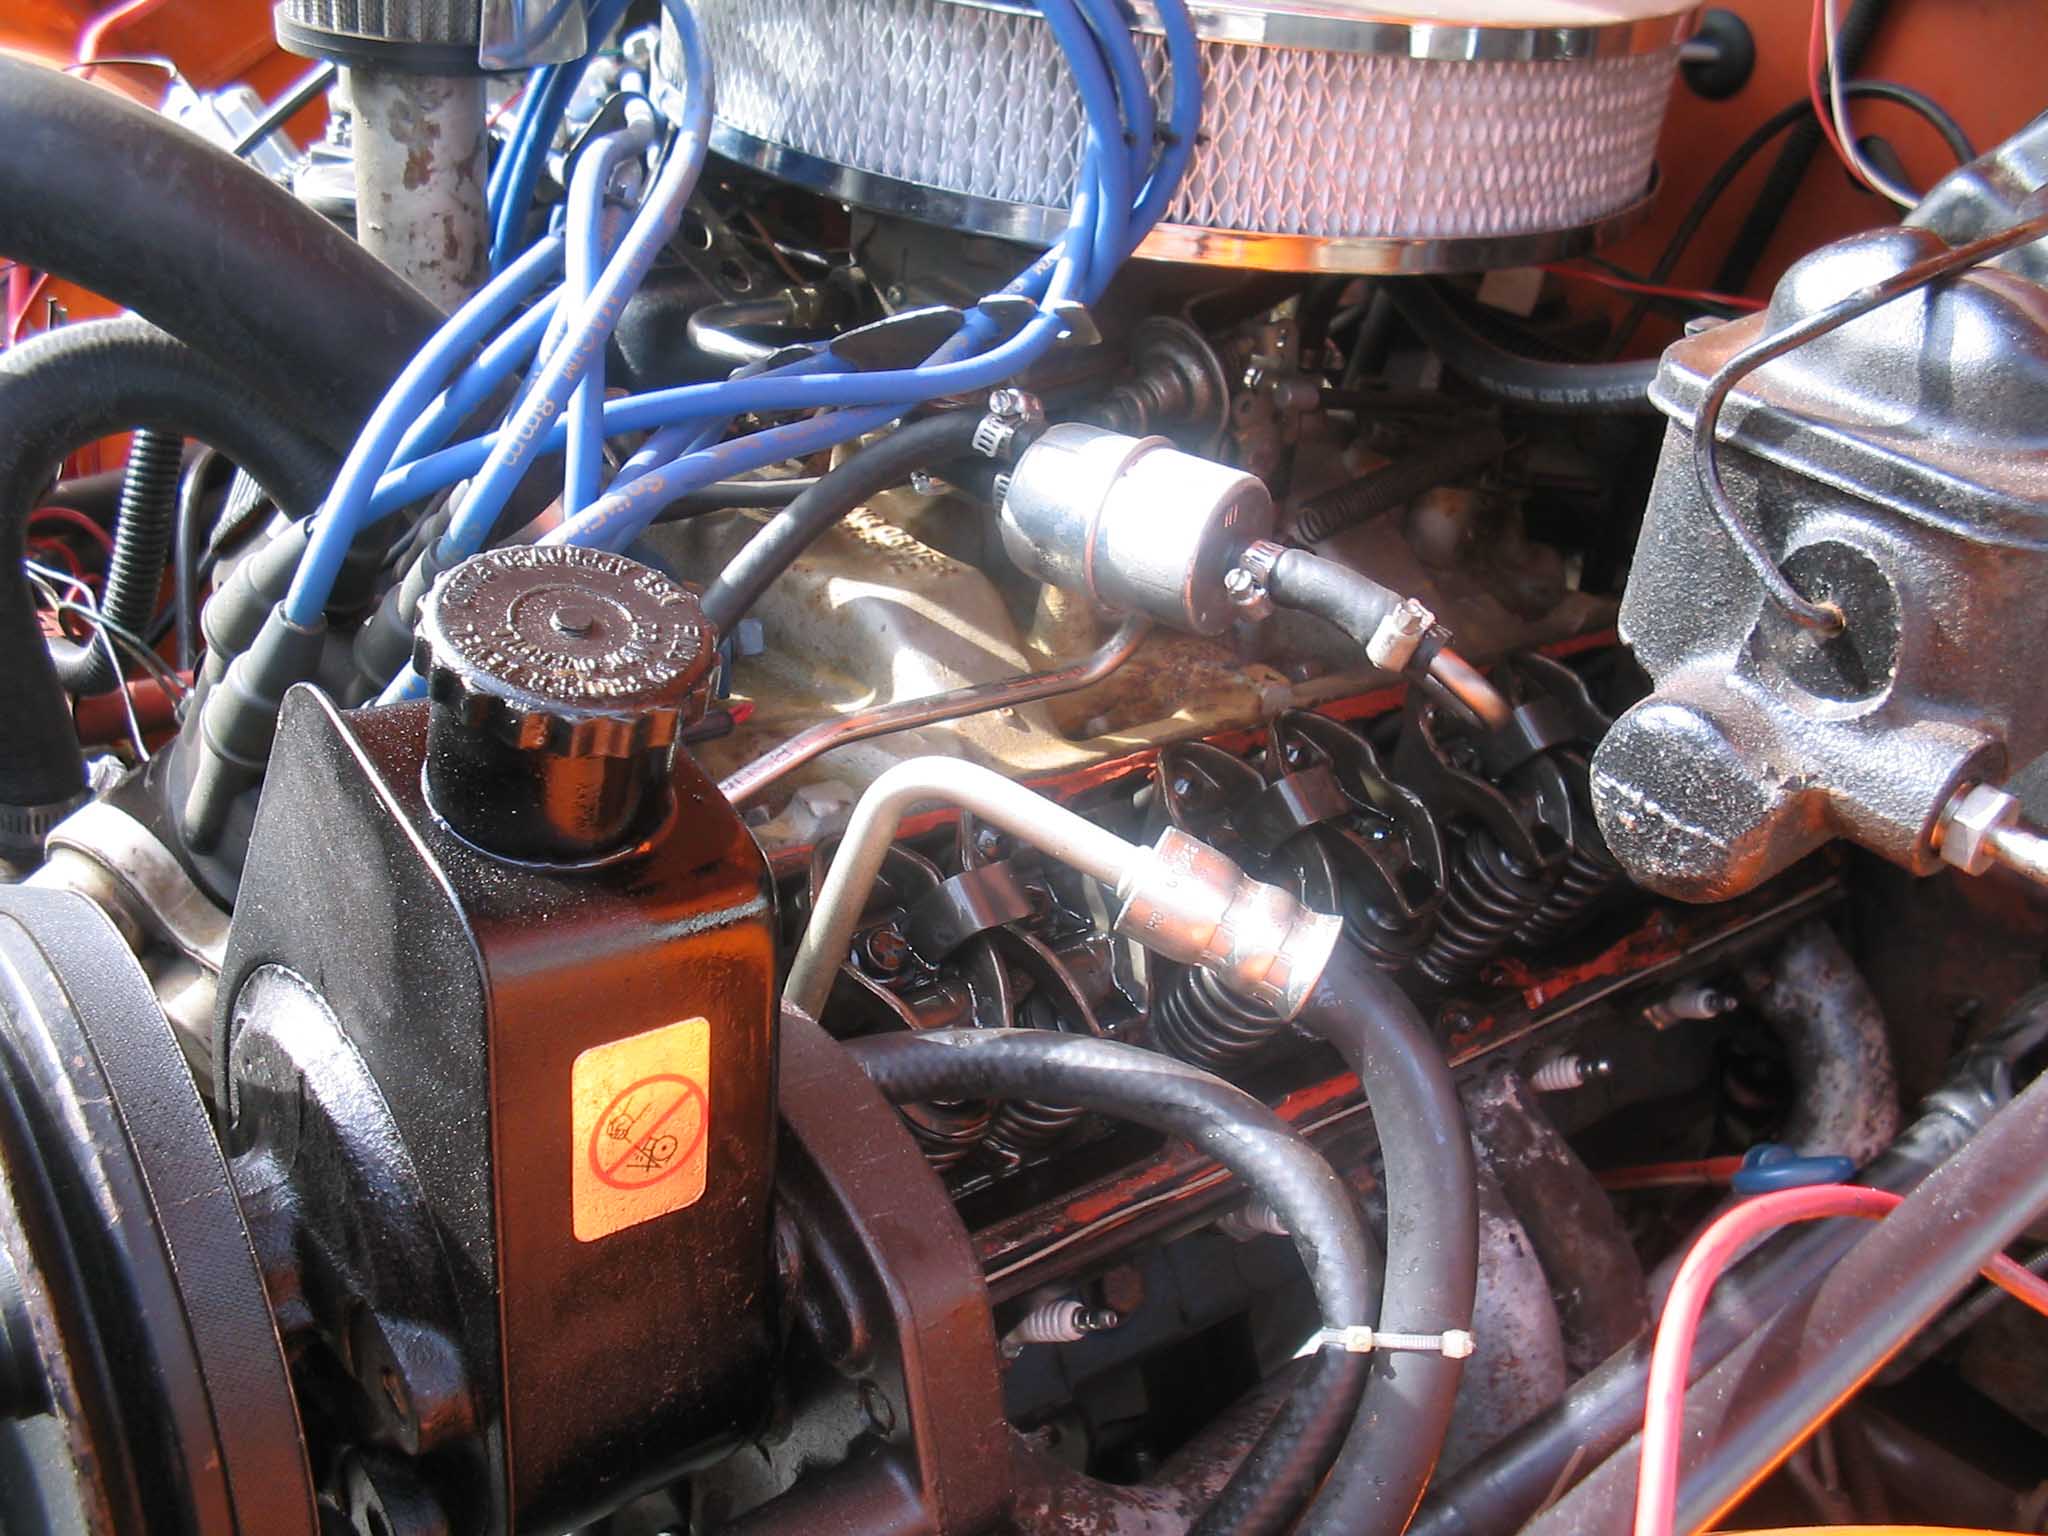
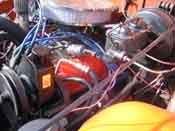
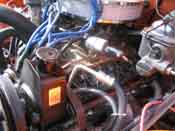
Once you get these off, it gives you a chance to look at your rockers are well to see if there is anything
wrong. Mine looked fine and everything seemed in order so I proceeded on to put the passenger side on then the
driver's side.
|
| |
|
|
|
|
| |
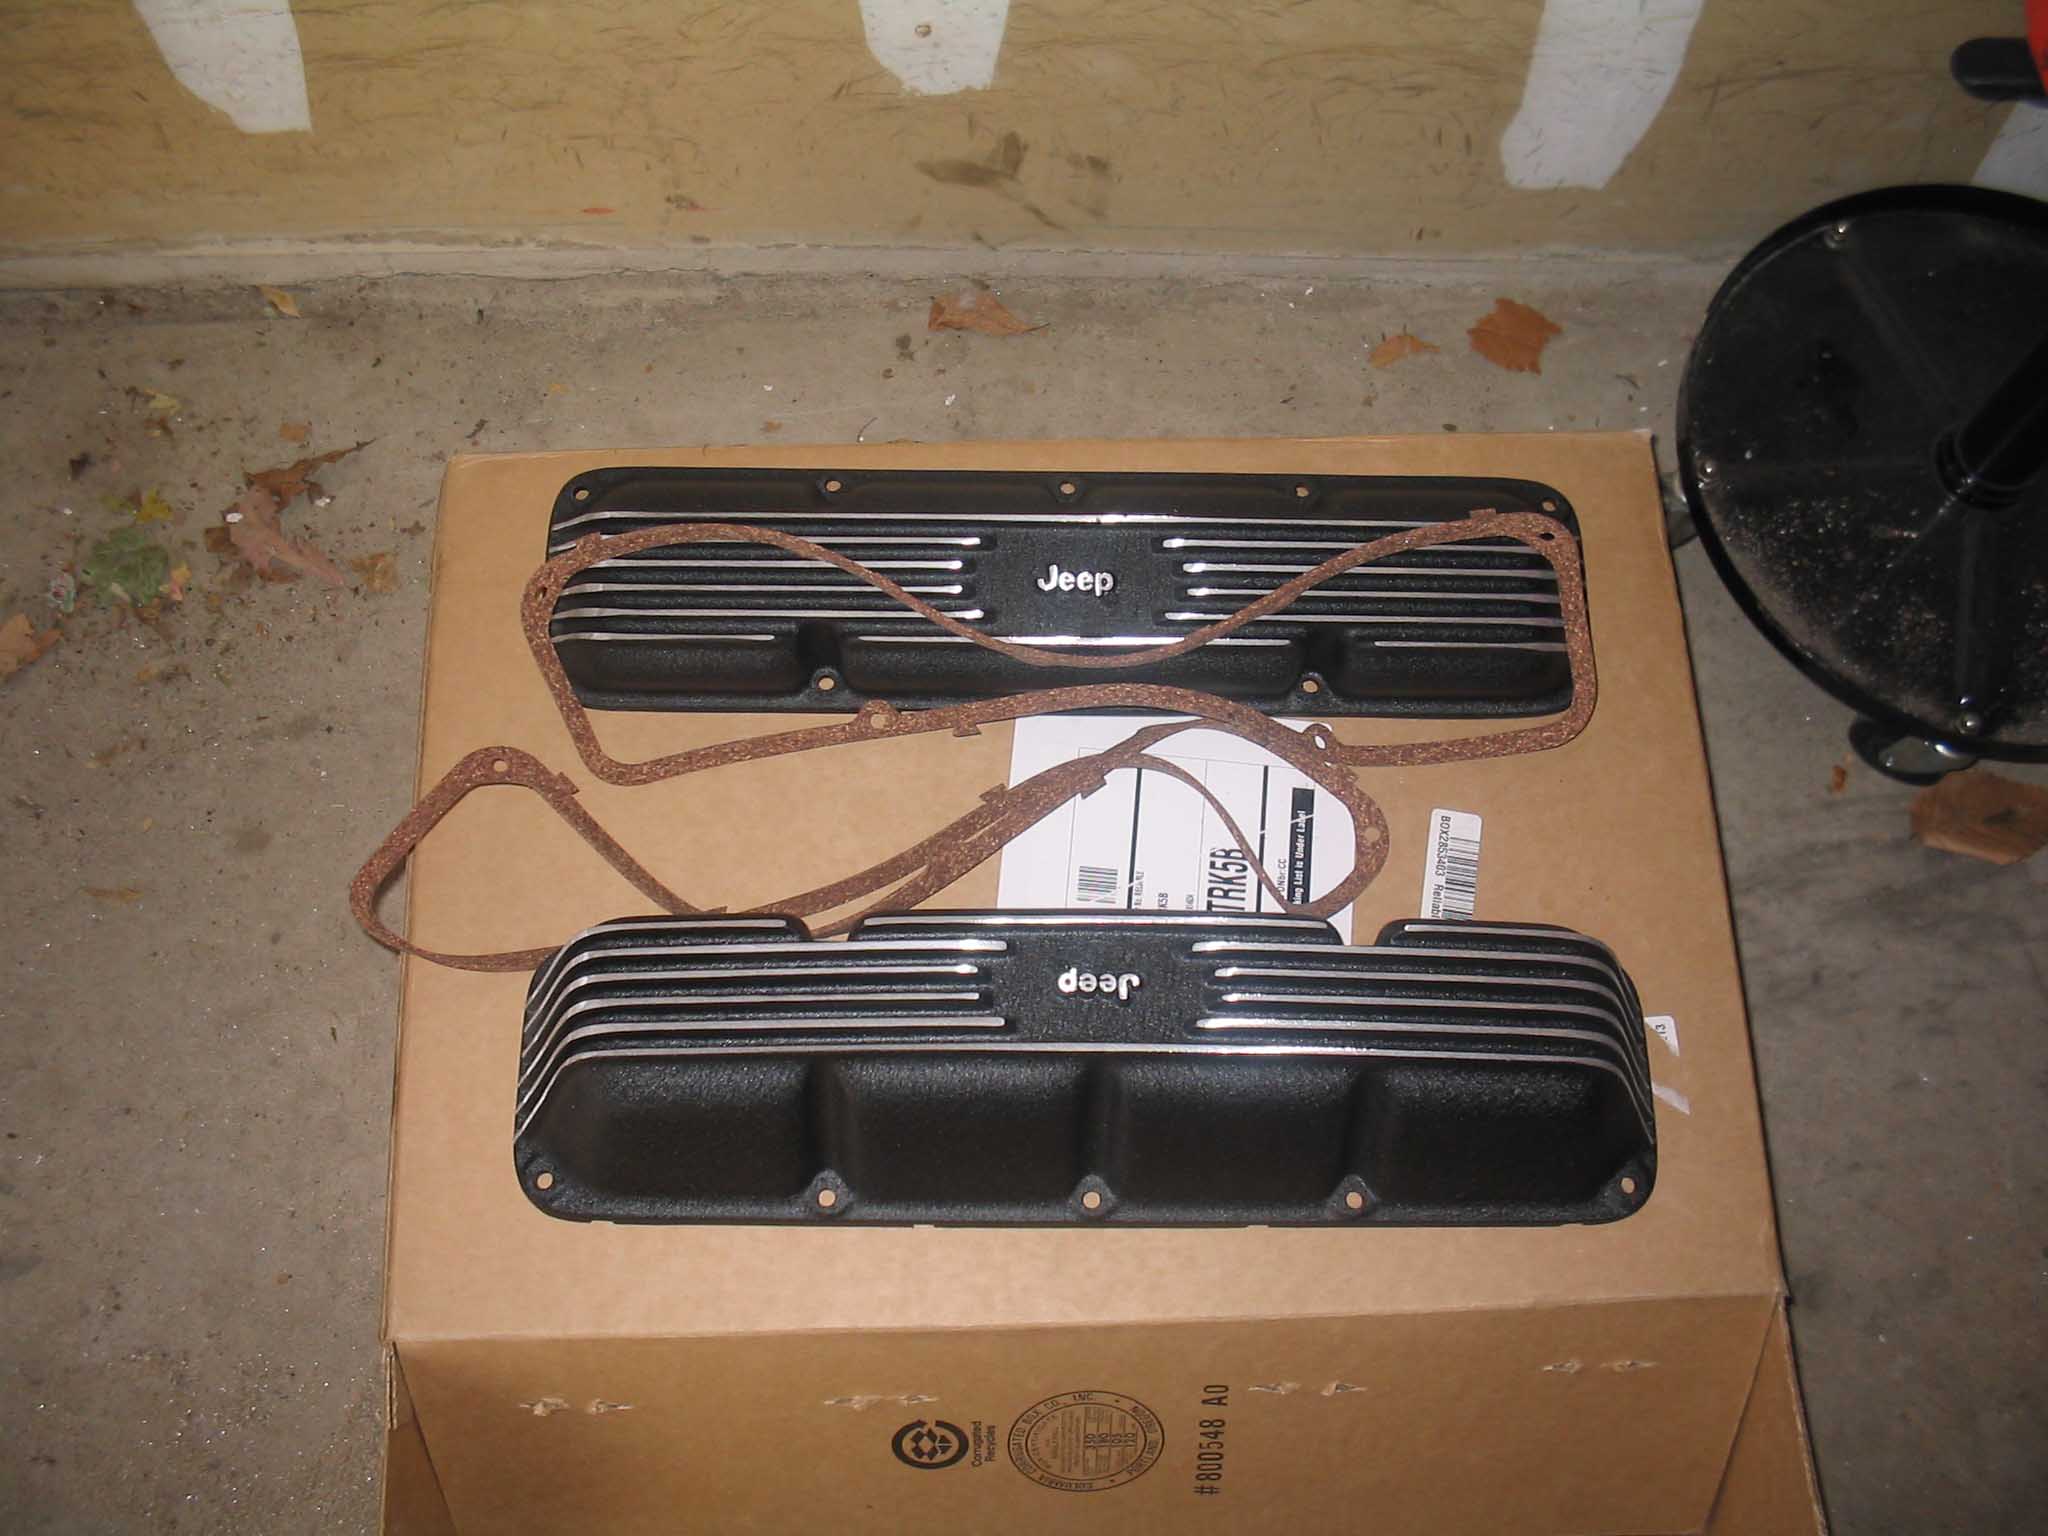
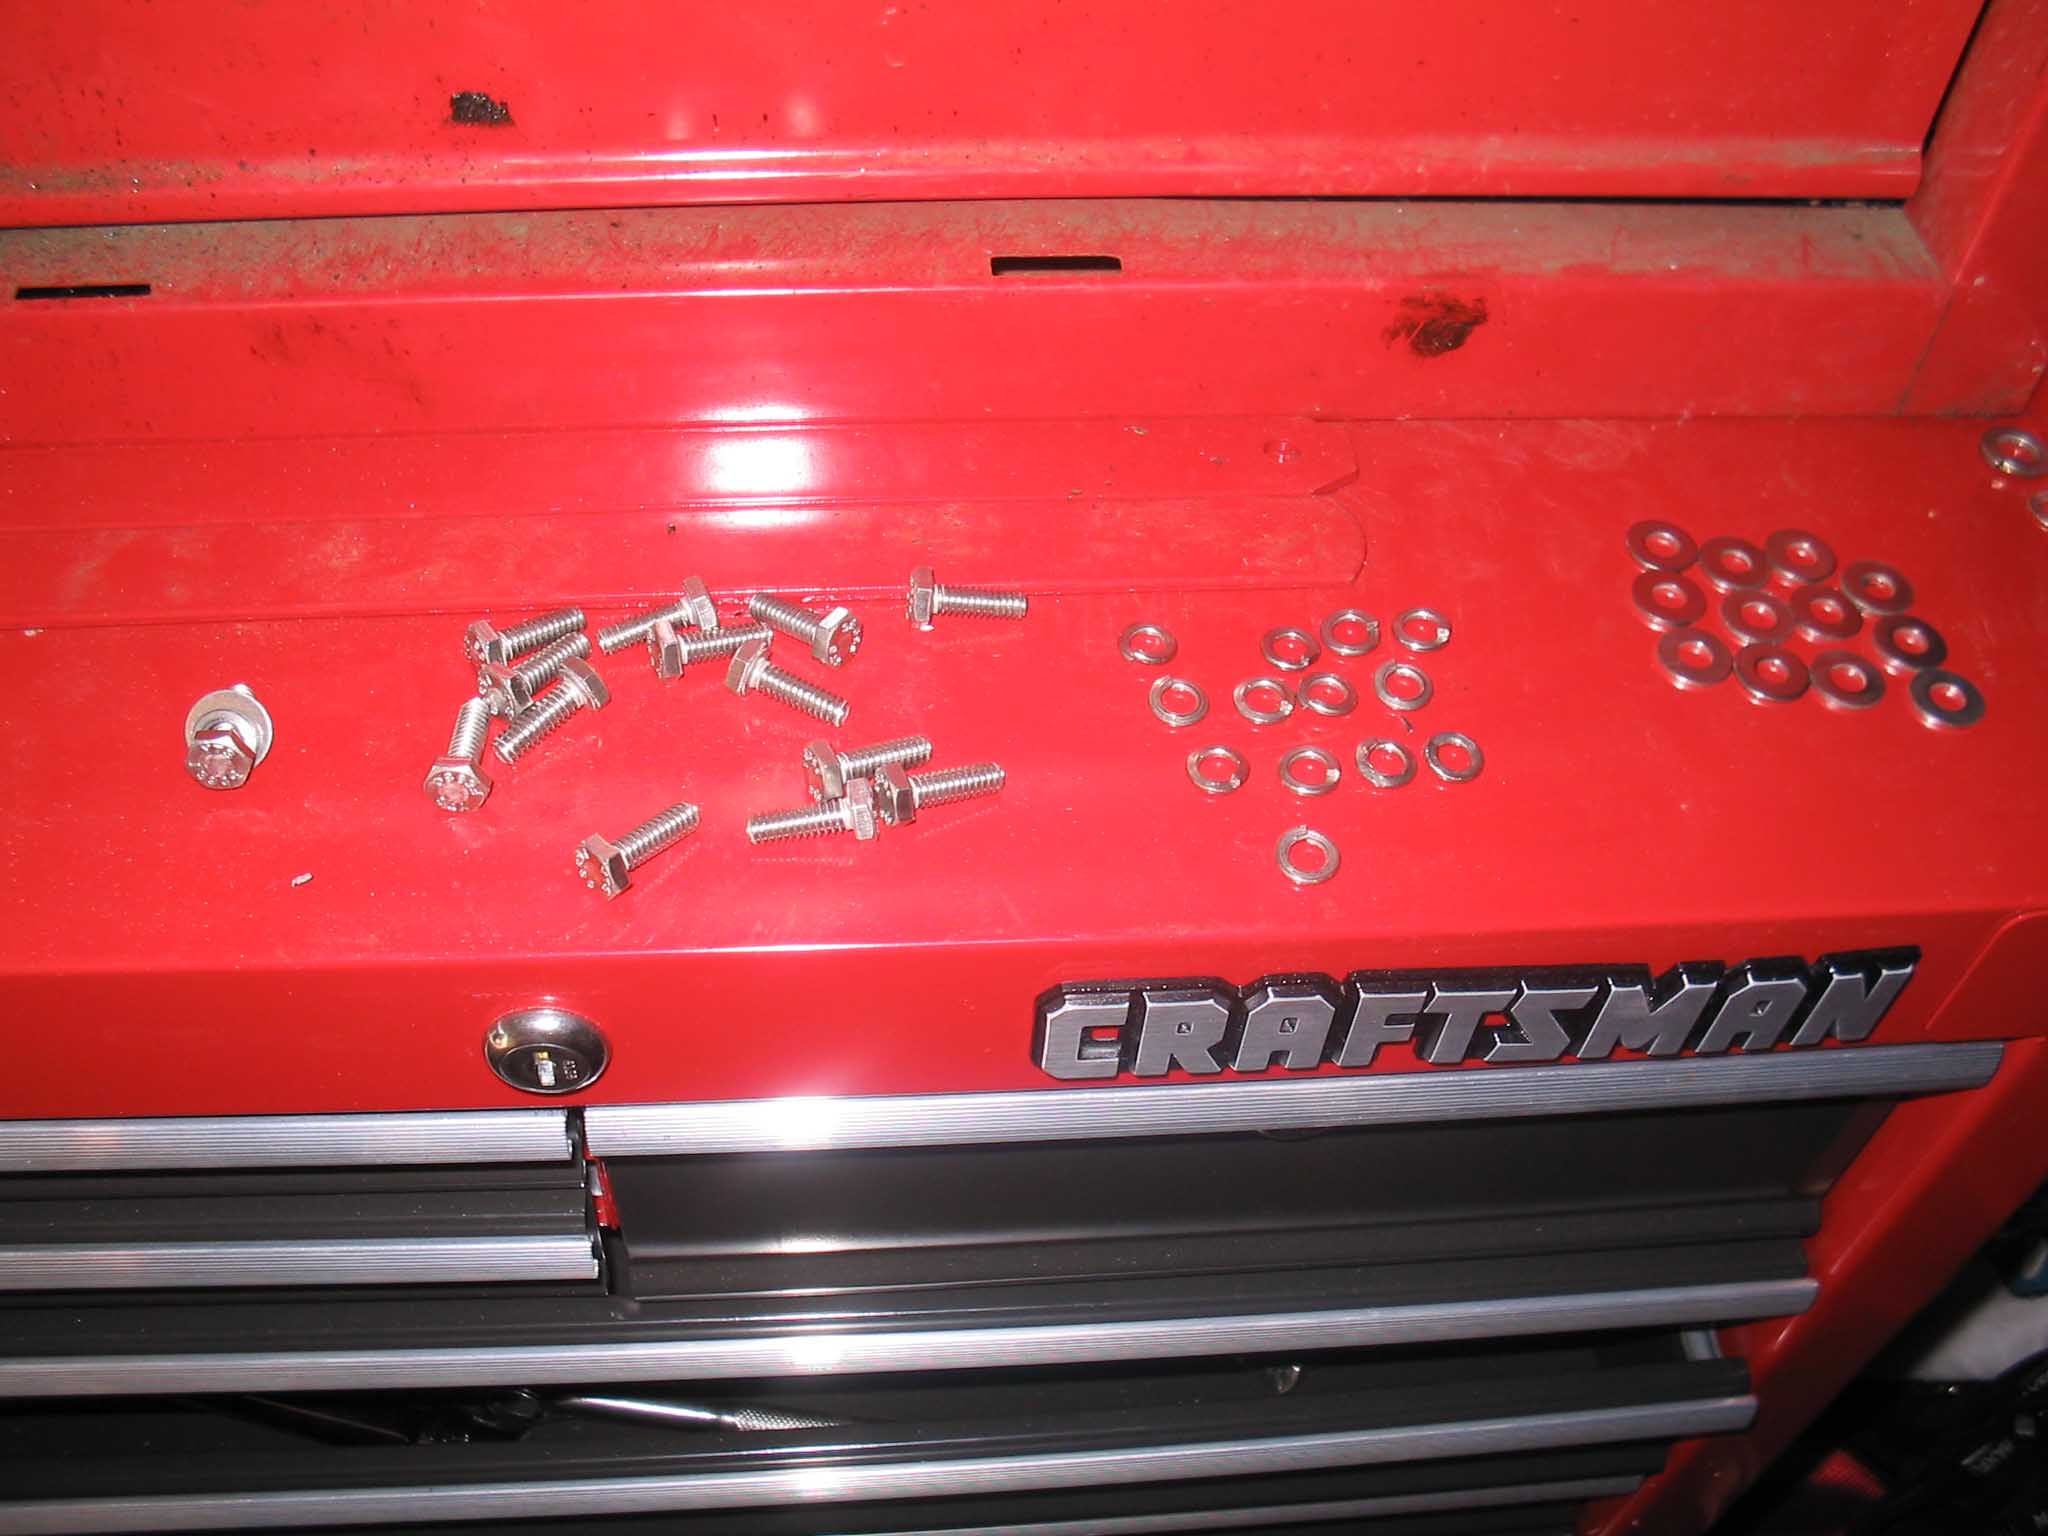
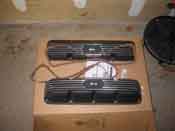
| The kit comes with 2 new valve cover gaskets, the 2 valve covers, and all the new
stainless hardware you will need to assemble them. It was recommended that you put a little anti-seize on the
threads due to the fact that they are stainless steel and they are being put into cast iron holes. This will
prevent "galling" and allow for easy removal the next time.
|
| |
|

|
|
|
| |
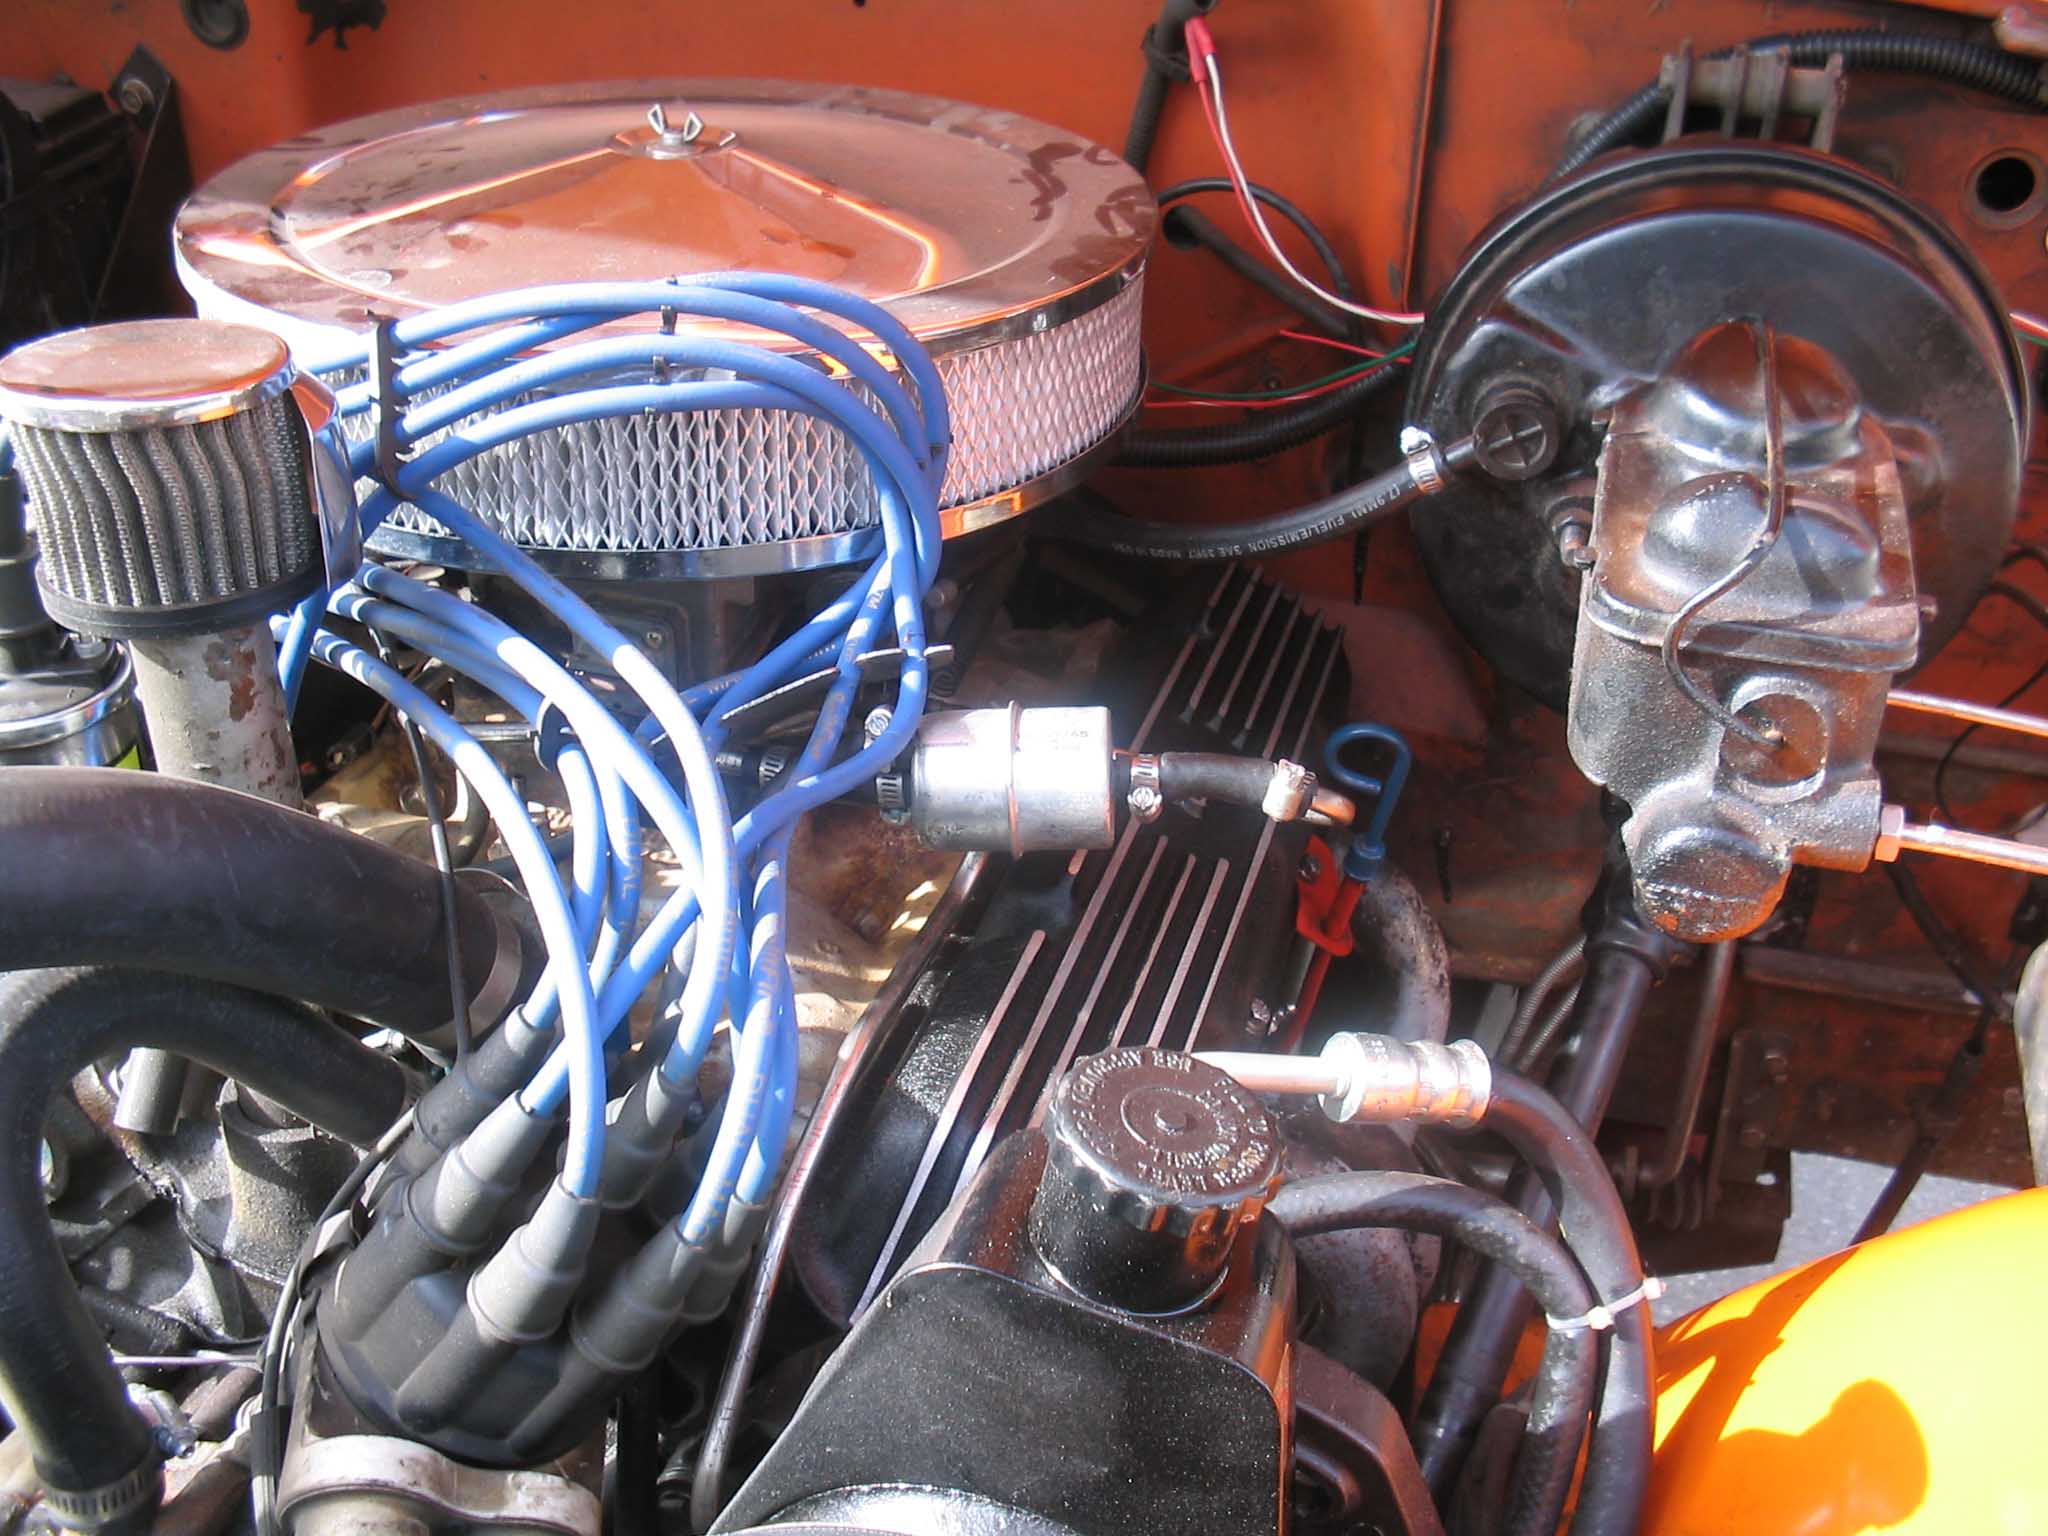
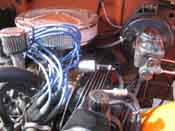
| Putting the new ones one are a breeze as long as you prepare the covers prior to
putting them on. I test fit the valve cover gaskets, cut a little of the cork gasket for fitting them properly.
I then put the seven bolts back in with the anti-seize and then torqued them all down. Be aware that this is
aluminum and you can crack the ears easily if you over tighten them. They don't require a lot of torque to set
them properly, so take your time and be careful. I used some RTV to hold the gasket to the valve cover and then
put a little more on for good measure for a solid seal to the heads.
|
| |
| Lessons Learned the Hard Way |
| |
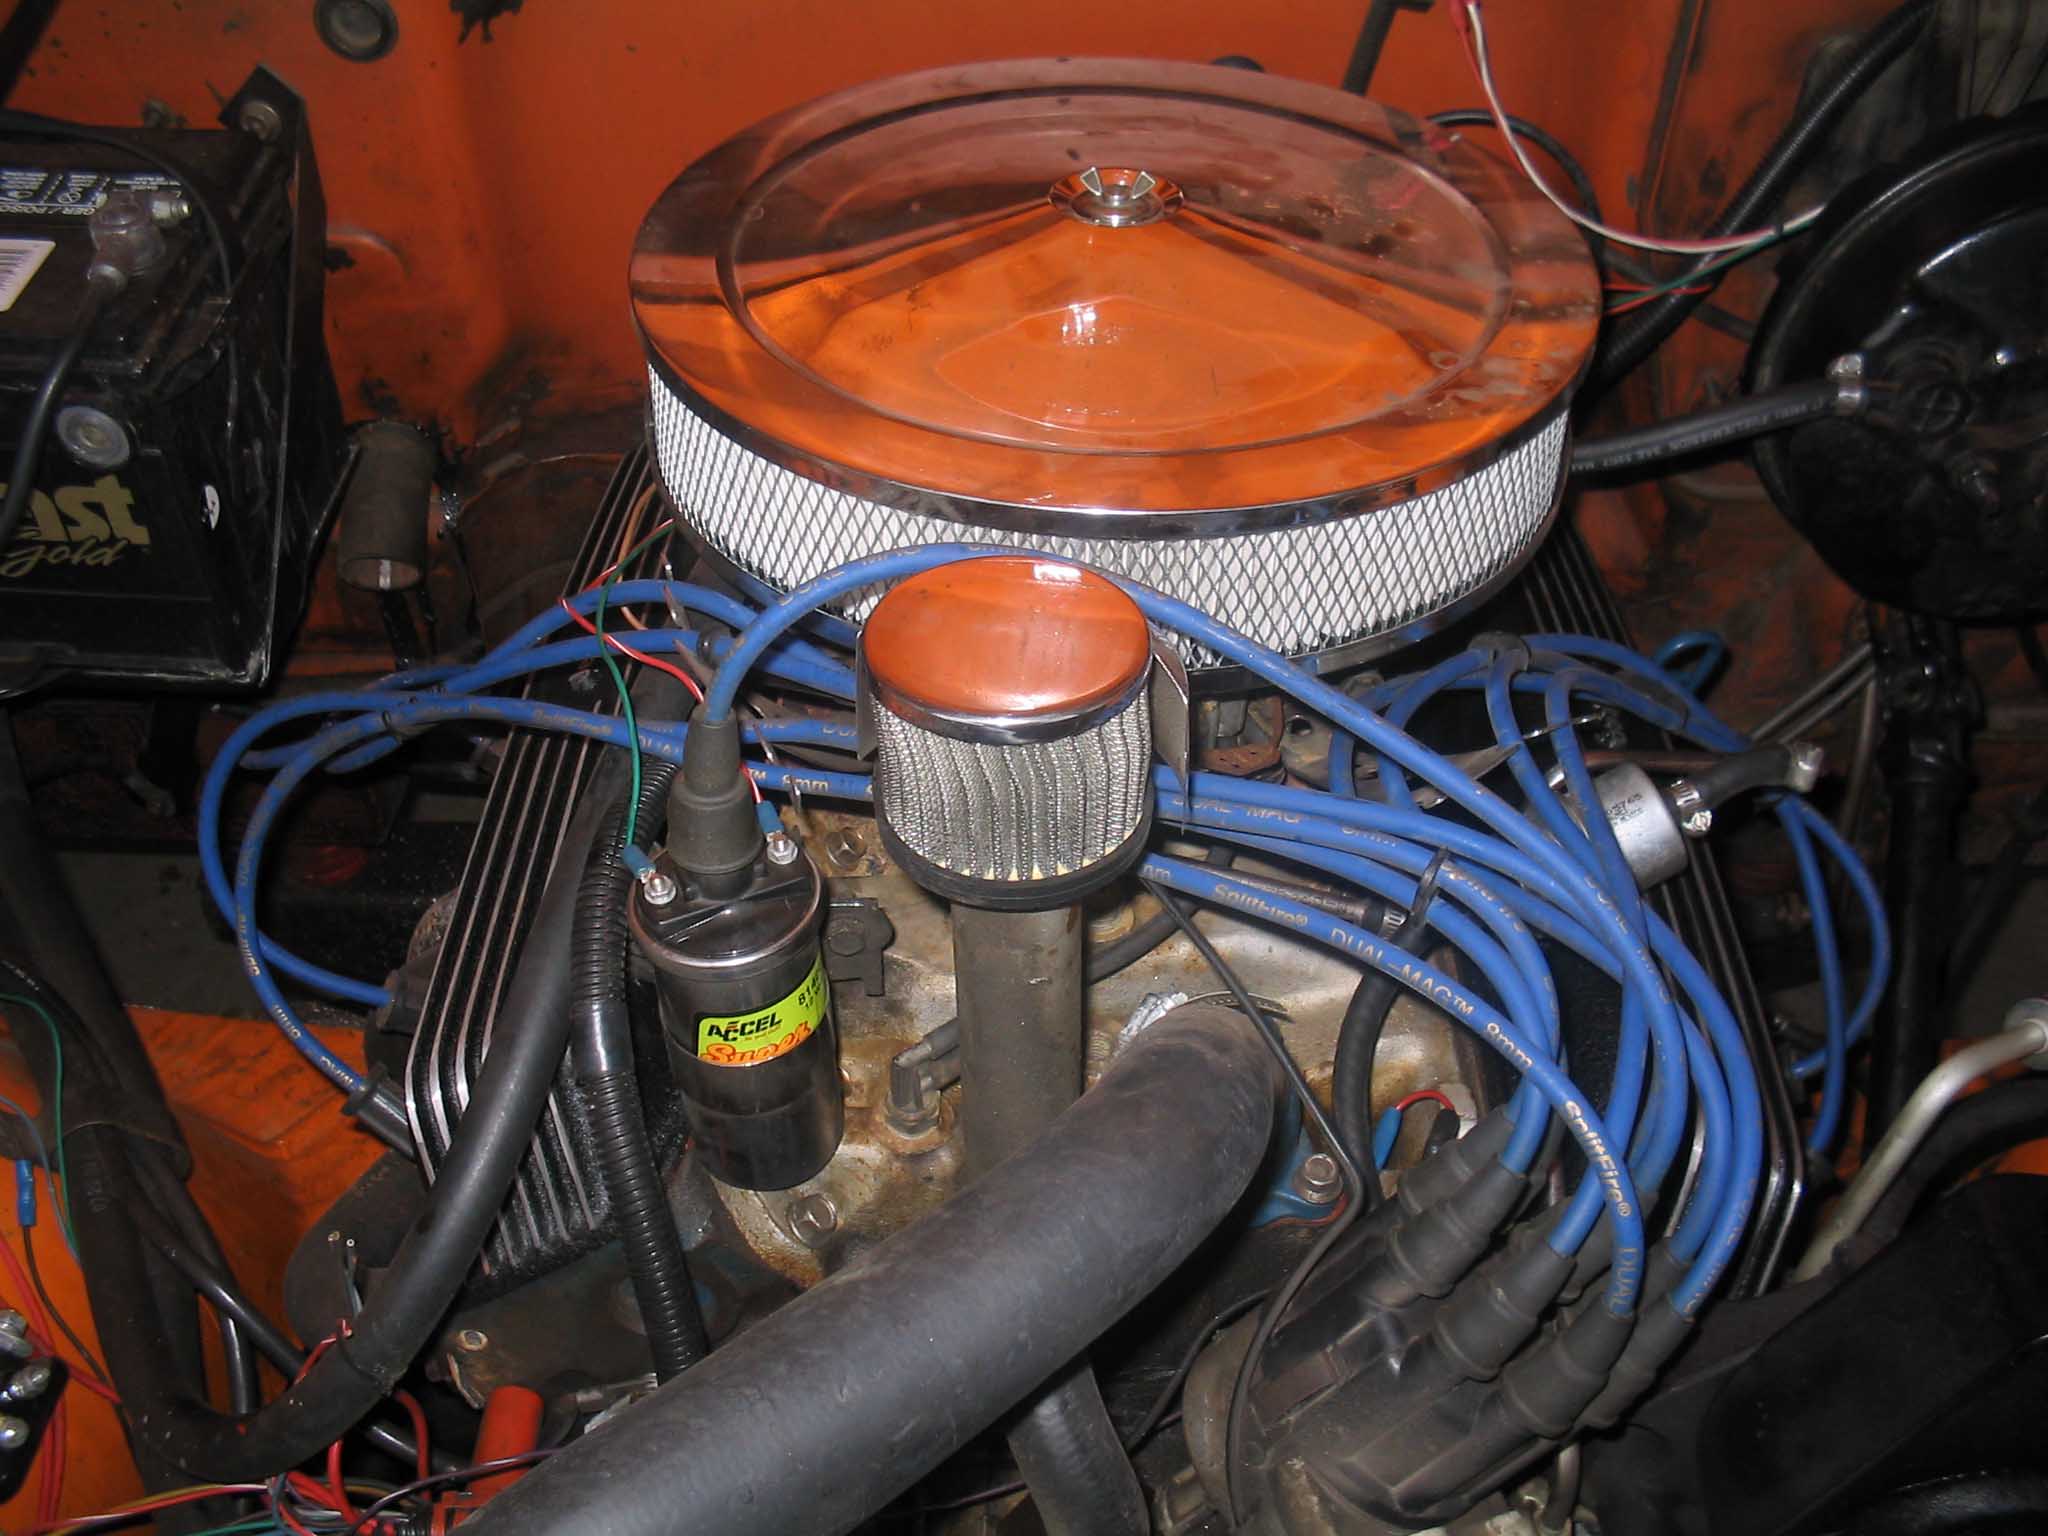
| So, my lessons learned here would have to be that I should have done this
earlier. They look great; they seal a lot better then the old stamped metal ones and will probably not need to
be replaced anytime soon. Take your time and this is an easy upgrade.
|
| |
| Conclusions |
| |
This is a fairly easy upgrade that will give you a better seal on the heads and
allow for less oil leaking around the valve covers and head area. These new valve covers are a bit pricey, but
are constructed a lot better and look a lot better to boot. Take your time, don't over tighten the bolts and
you should be all set.
I plan on selling the old covers so I can recoup some of the cost. I don't think they will see for much, but it
is worth the time and effort to offset the cost. I have a few more things to sell as well, so they will all go
up on eBay.
|