|
|
| Magnum 9000 Winch Installation |
| |
With the project nearing completion and the desire to take it out on the trail
increased, the need for a winch arose. I had tow hooks and such on the rig, which is what most clubs recommend,
but I didn't want to be up a creek without a paddle if the situation presented itself. So I set off to research
winches. This process took some time because I seem to be constantly interrupted with work and family obligations...
imagine that. Anyway, what I came down to was the Magnum 9000 Winch made by Warn. This is not the top of the
line winch that Warn makes, but it doesn't appear to be a slouch either.
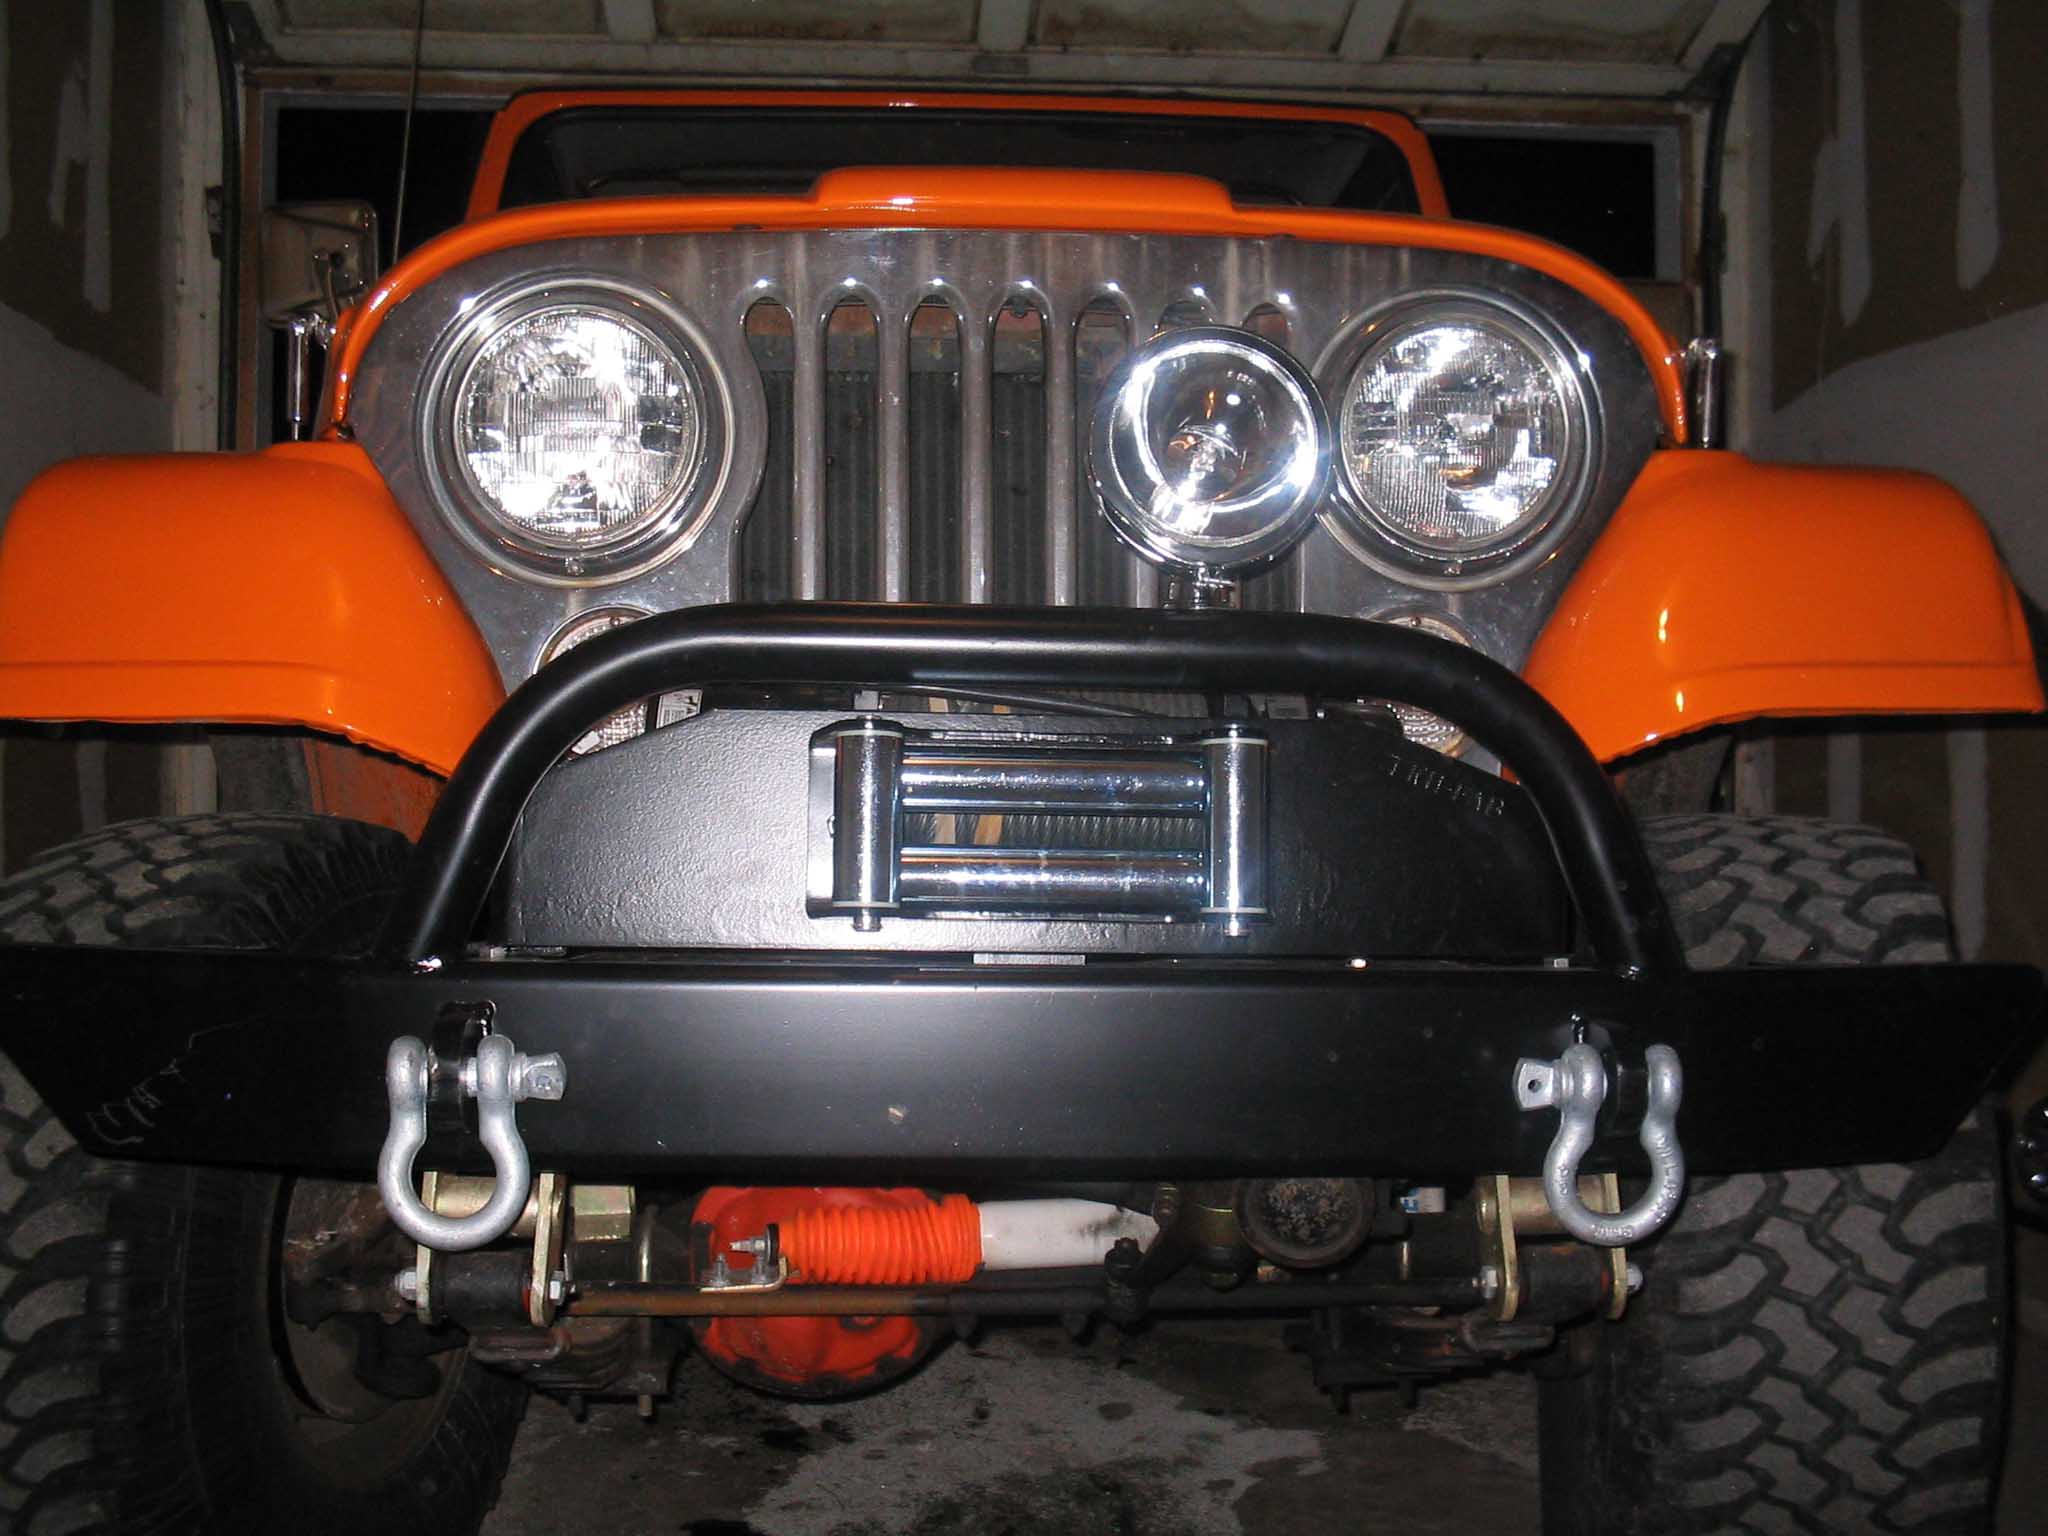
At it's relatively cheap price of $499.00 and $40.00 to ship it, the magnum fit the budget quite nicely. It
showed up 4 days later and the bumper and winch mount plate hadn't even shown up yet so I had to wait to install
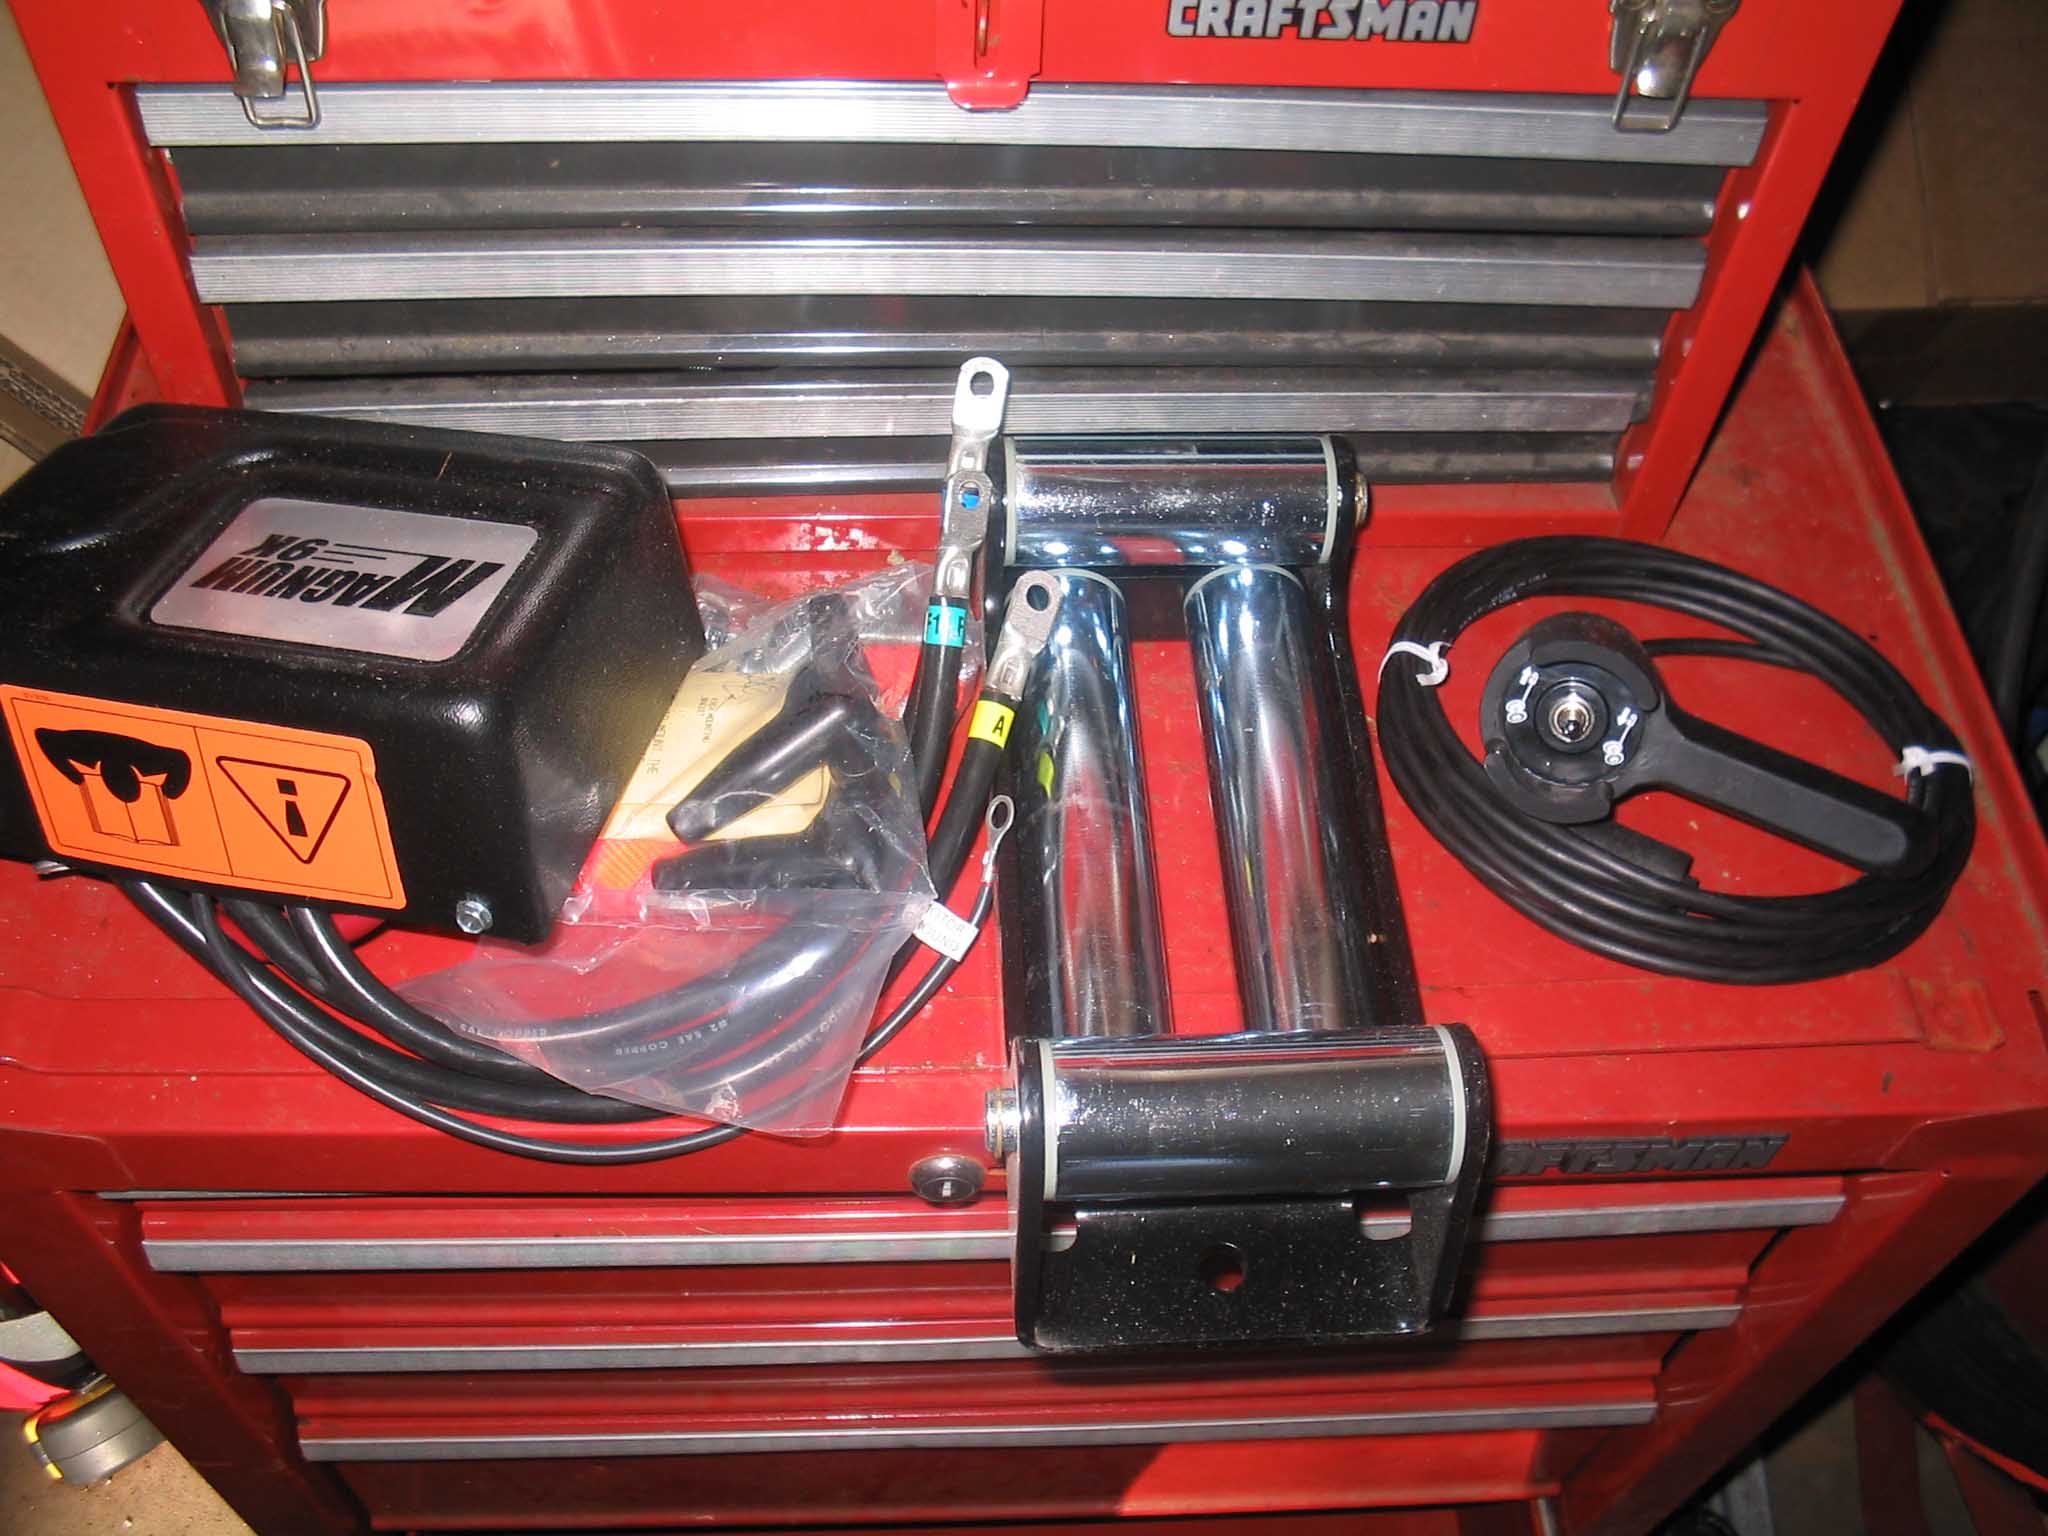
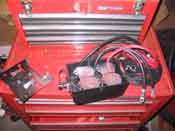
it. In the mean time, I took a few photos of what came with the winch after I had unpacked it.
|
| |
|
|
| |
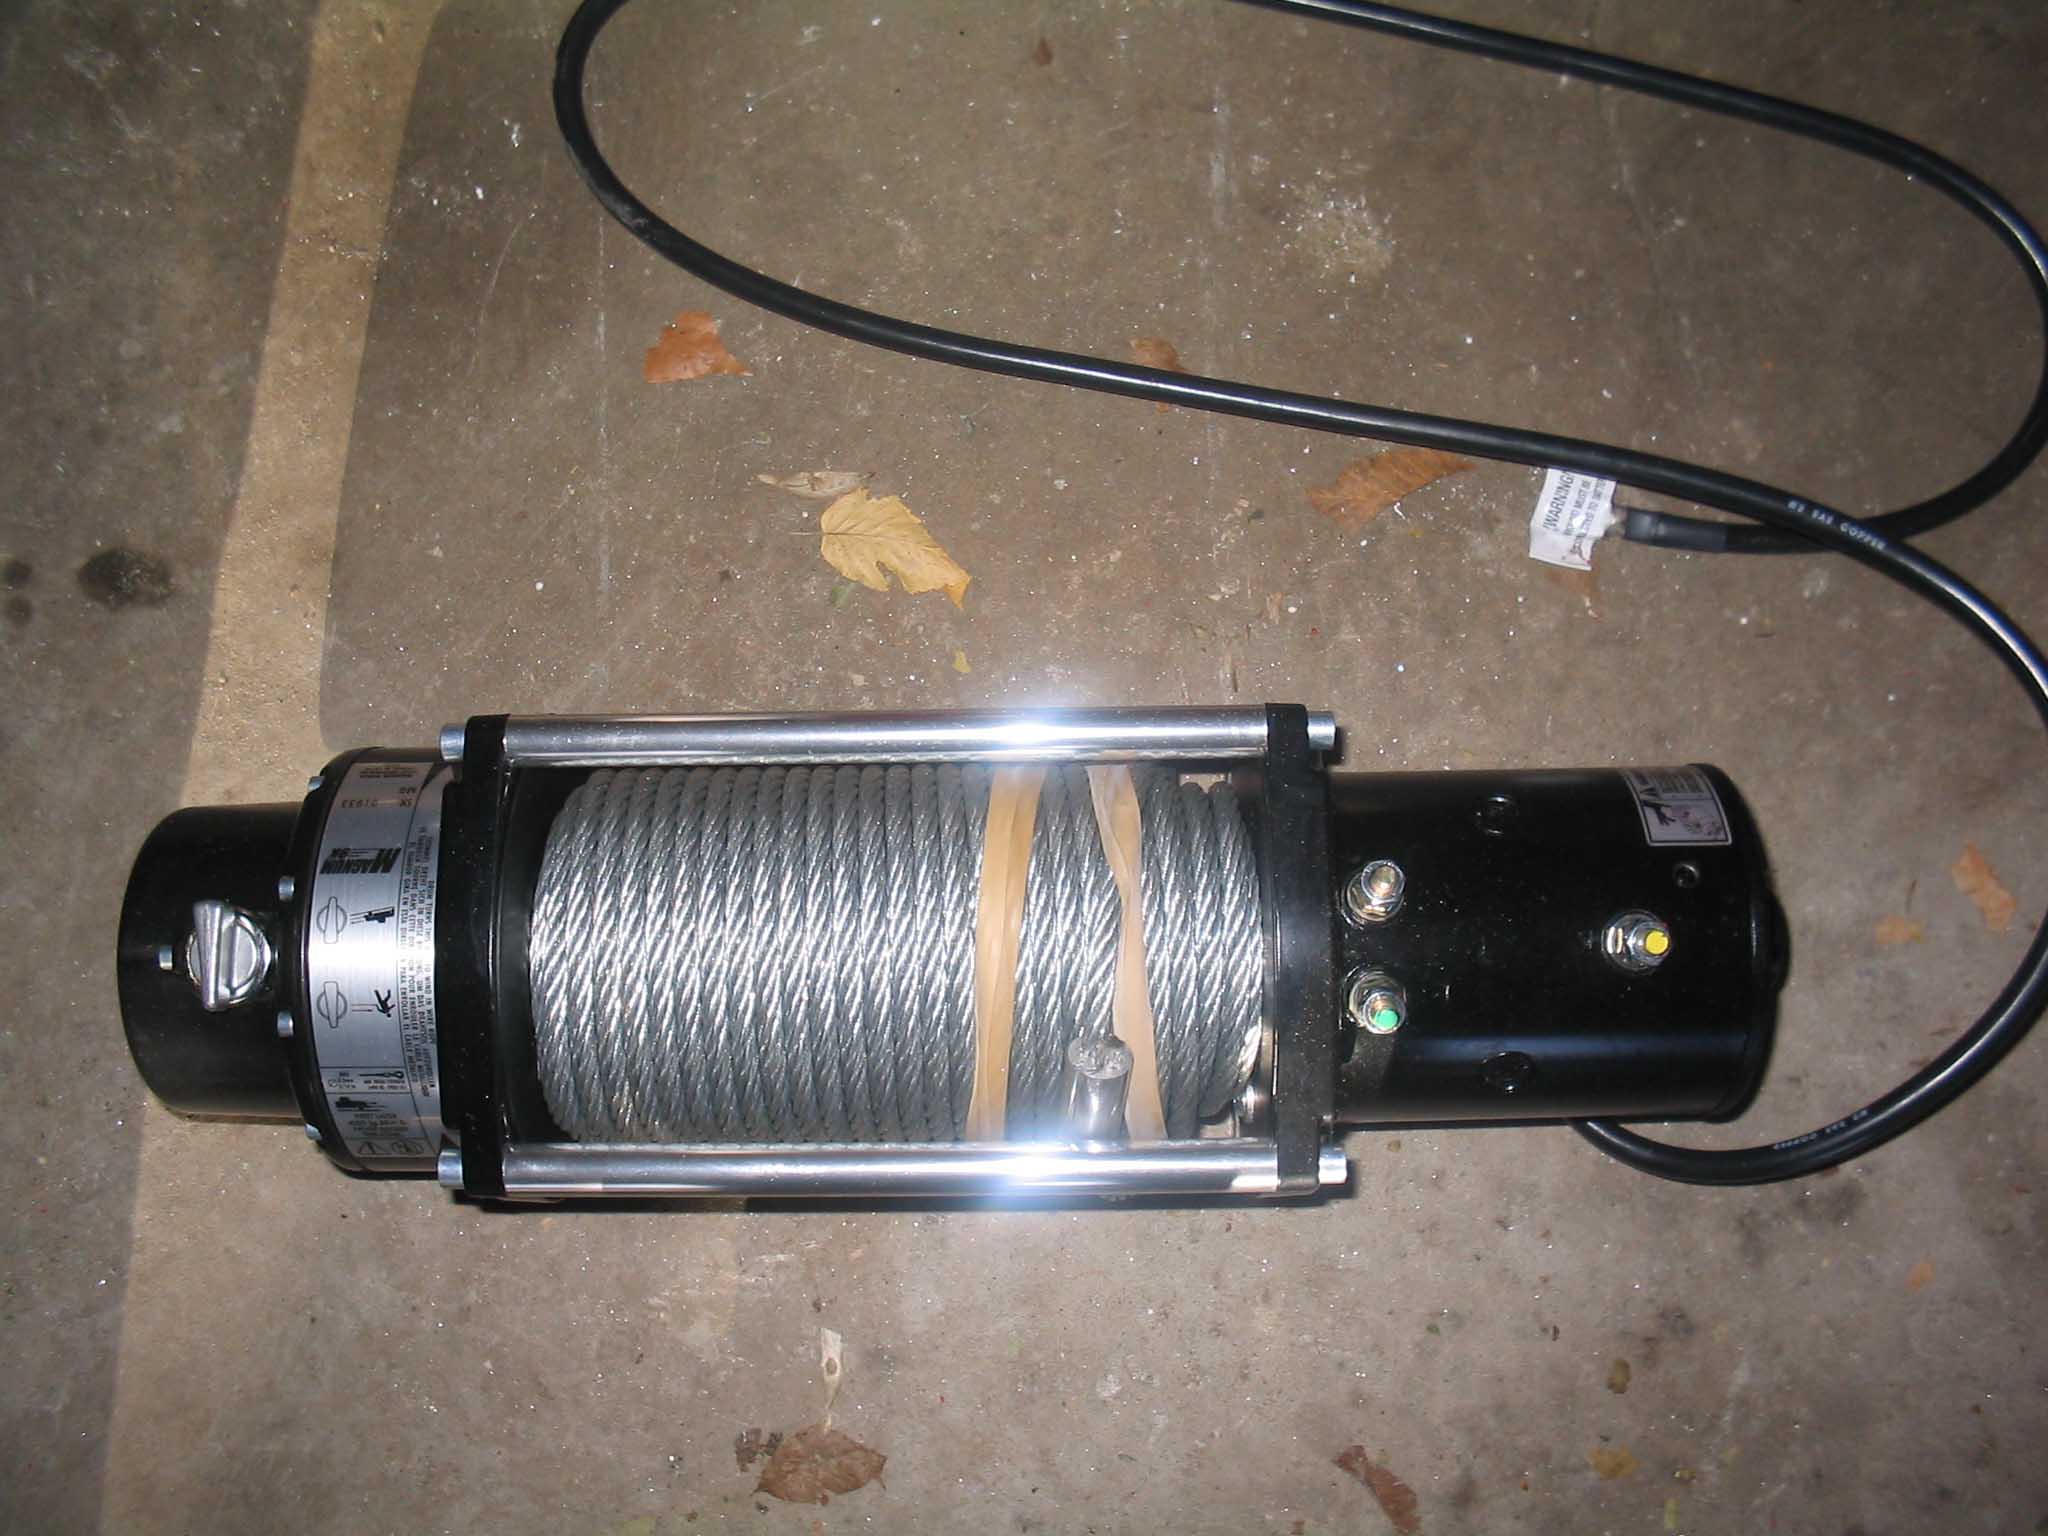
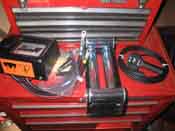
Aside from the Magnum sticker, it appears to be exactly like the Warn 9000. It
has a few feet less of cable, it pulls slower, the motor is slightly smaller, but it still has a 1 year warranty
from time of purchase and from what I can see, it is made with Warn innards, so it should be fairly easy to get
parts if and when it breaks.
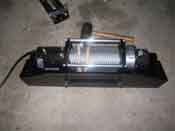
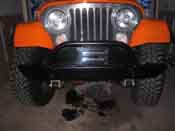
With the parts all in and everything test fitted, I was ready to install the winch finally. The bumper and
winch plate are made by the same person. I got the front bumper, winch plate, and D-rings
here
|
| |
|
|
| |
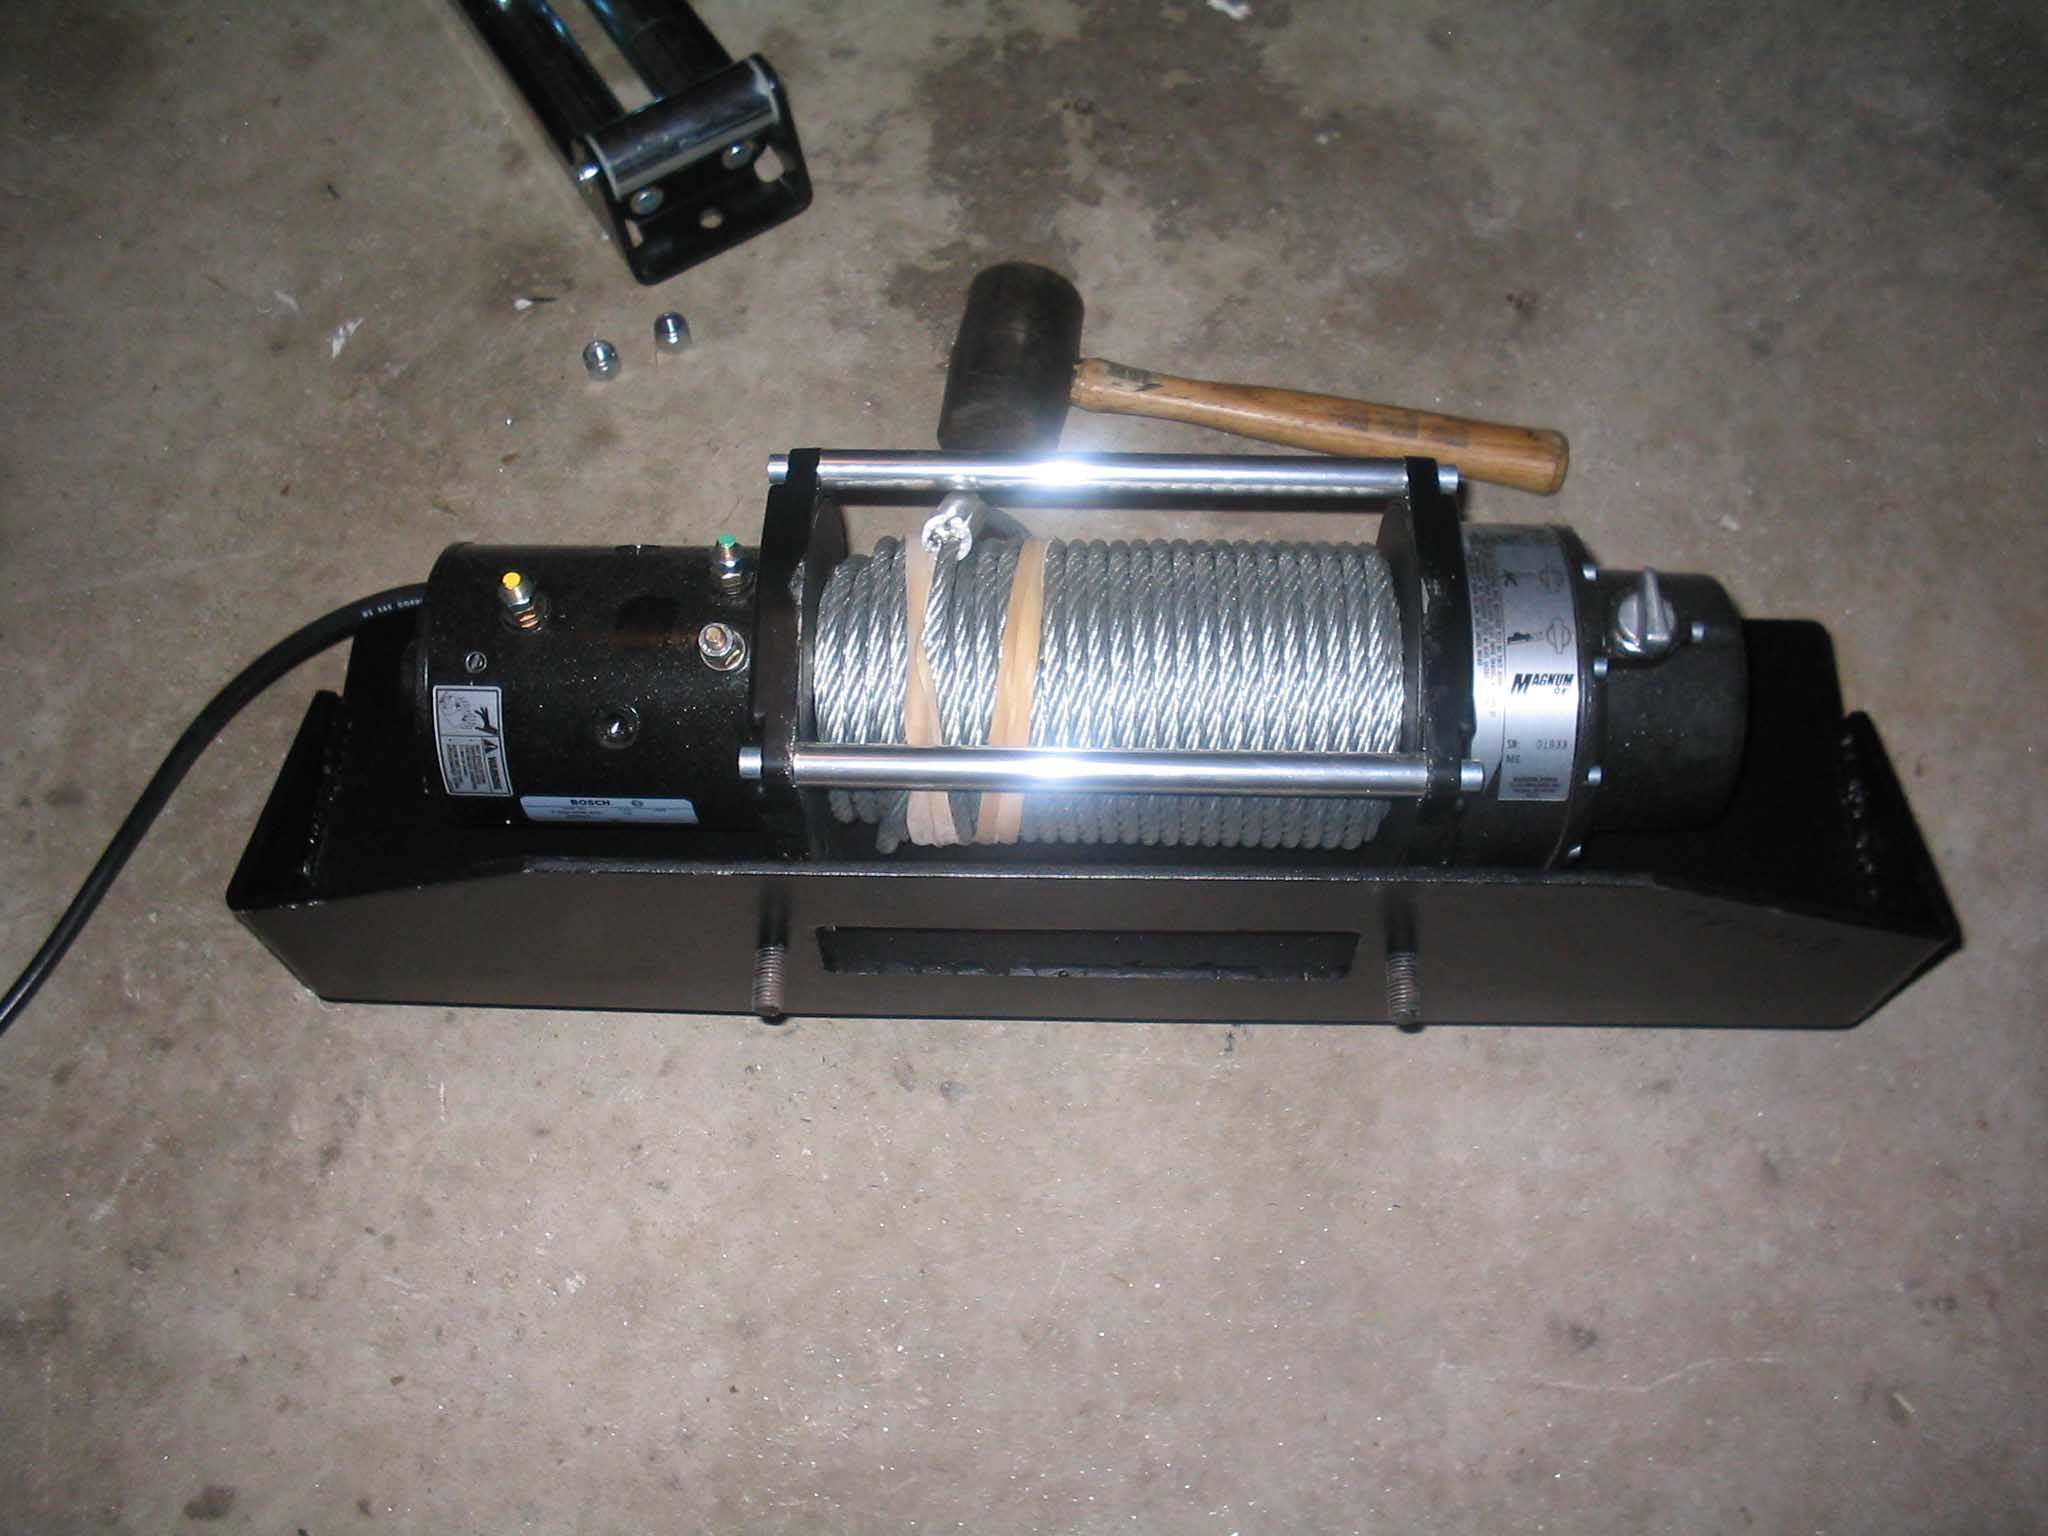
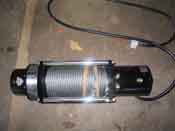
| I started by mounting the winch inside the winch mount plate and tightening down
the four bolts that held the winch to the mount. After that was done, I test fit it once again to make sure that
the bolt heads cleared the front frame cross member. I didn't want to put everything together to find I had to
take it apart to modify anything.
|
| |
|
|
| |
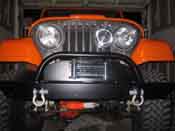
With all the heavy stuff mounted up I proceeded on to mount the auxiliary box that
the hand control connects to make the winch operate. This was a tricky bit of engineering since there were no
instructions as to how to install this. I did some research on the internet to see how others did this.
What I found was that 2 radiator hose clamp type brackets would help secure this to the housing. You have to
make sure that you don't short anything out when you do this, but I figured I could put some weather stripping on
the inside of the rings to make sure there is no metal to metal contact to help in not grounding out the contact
areas.
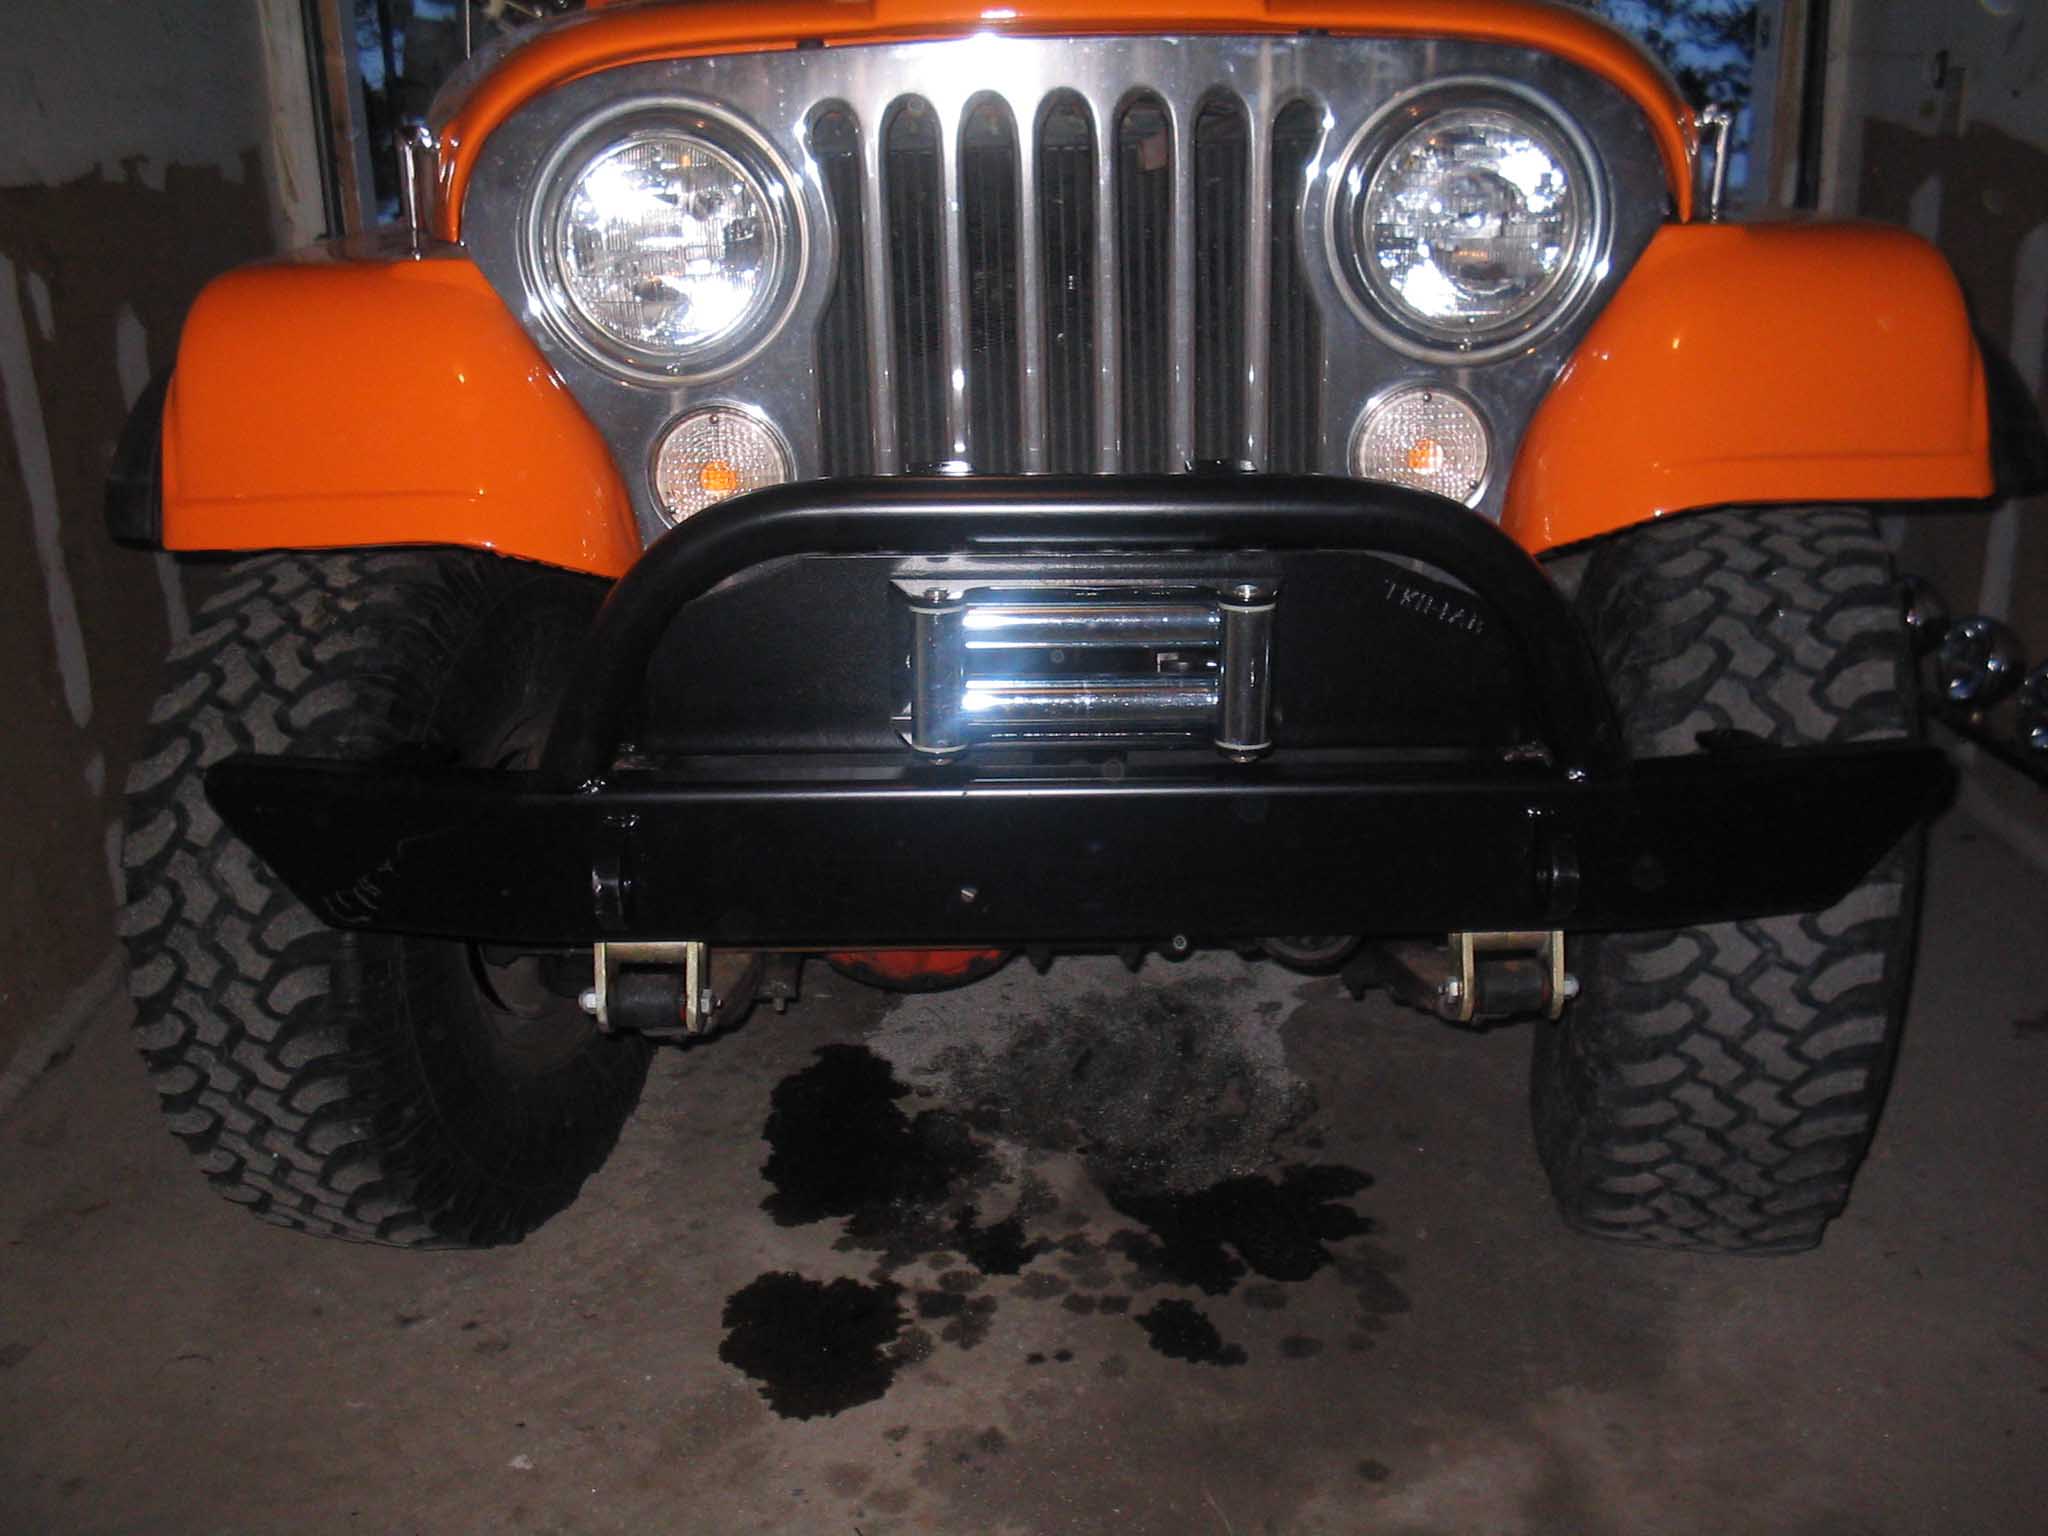
Once the connections were made, yellow to yellow, blue to blue, and green to green, the battery wires were
hooked up to the terminal, red to positive and black to ground and then the installation was complete. I hooked
up the hand control to test it and everything worked as expected. I can't wait to now try this out on the trail
to see how it works.
|
| |
| Lessons Learned the Hard Way |
| |
| So, my lessons learned here would have to be that you want a couple extra hands to
help finagle this into place with the new bumper. These parts are heavy; you just really want to have a couple
sets of hands around to help hold while you tighten everything down.
|
| |
| Conclusions |
| |
This is a fairly straightforward bolt on conversion that results in more
piece of mind going out on the trails. This is not the most Heavy Duty winch that money can buy, but it is a lot
better then having nothing. This was also ordered, paid for, and delivered in a matter of 4 days. You really
can't complain about that.
The bumper and winch mount plate took fabricating to make it, so these items took about 3 weeks to finally arrive
at my door. You have hardware that comes with the winch to mount it to the winch plate, but as for the winch plate
mounting to the frame, you have to supply the 3 bolts to accomplish this. Make sure you get grade 8 bolts so you
don't have to worry about them snapping off in you most dire predicament.
|
|