|
|
| Centerforce Clutch Installation |
| |
When trying to decide on what clutch to get, I did a lot of research trying to see what one
was the "best" and it turned out that everyone had an opinion As the old saying says opinions are like $&#holes, everyone
has one. Anyway, I read and read and went back and forth, but in the end, I went with an "upgrade" of sorts to the stock
clutch that was in the Jeep.
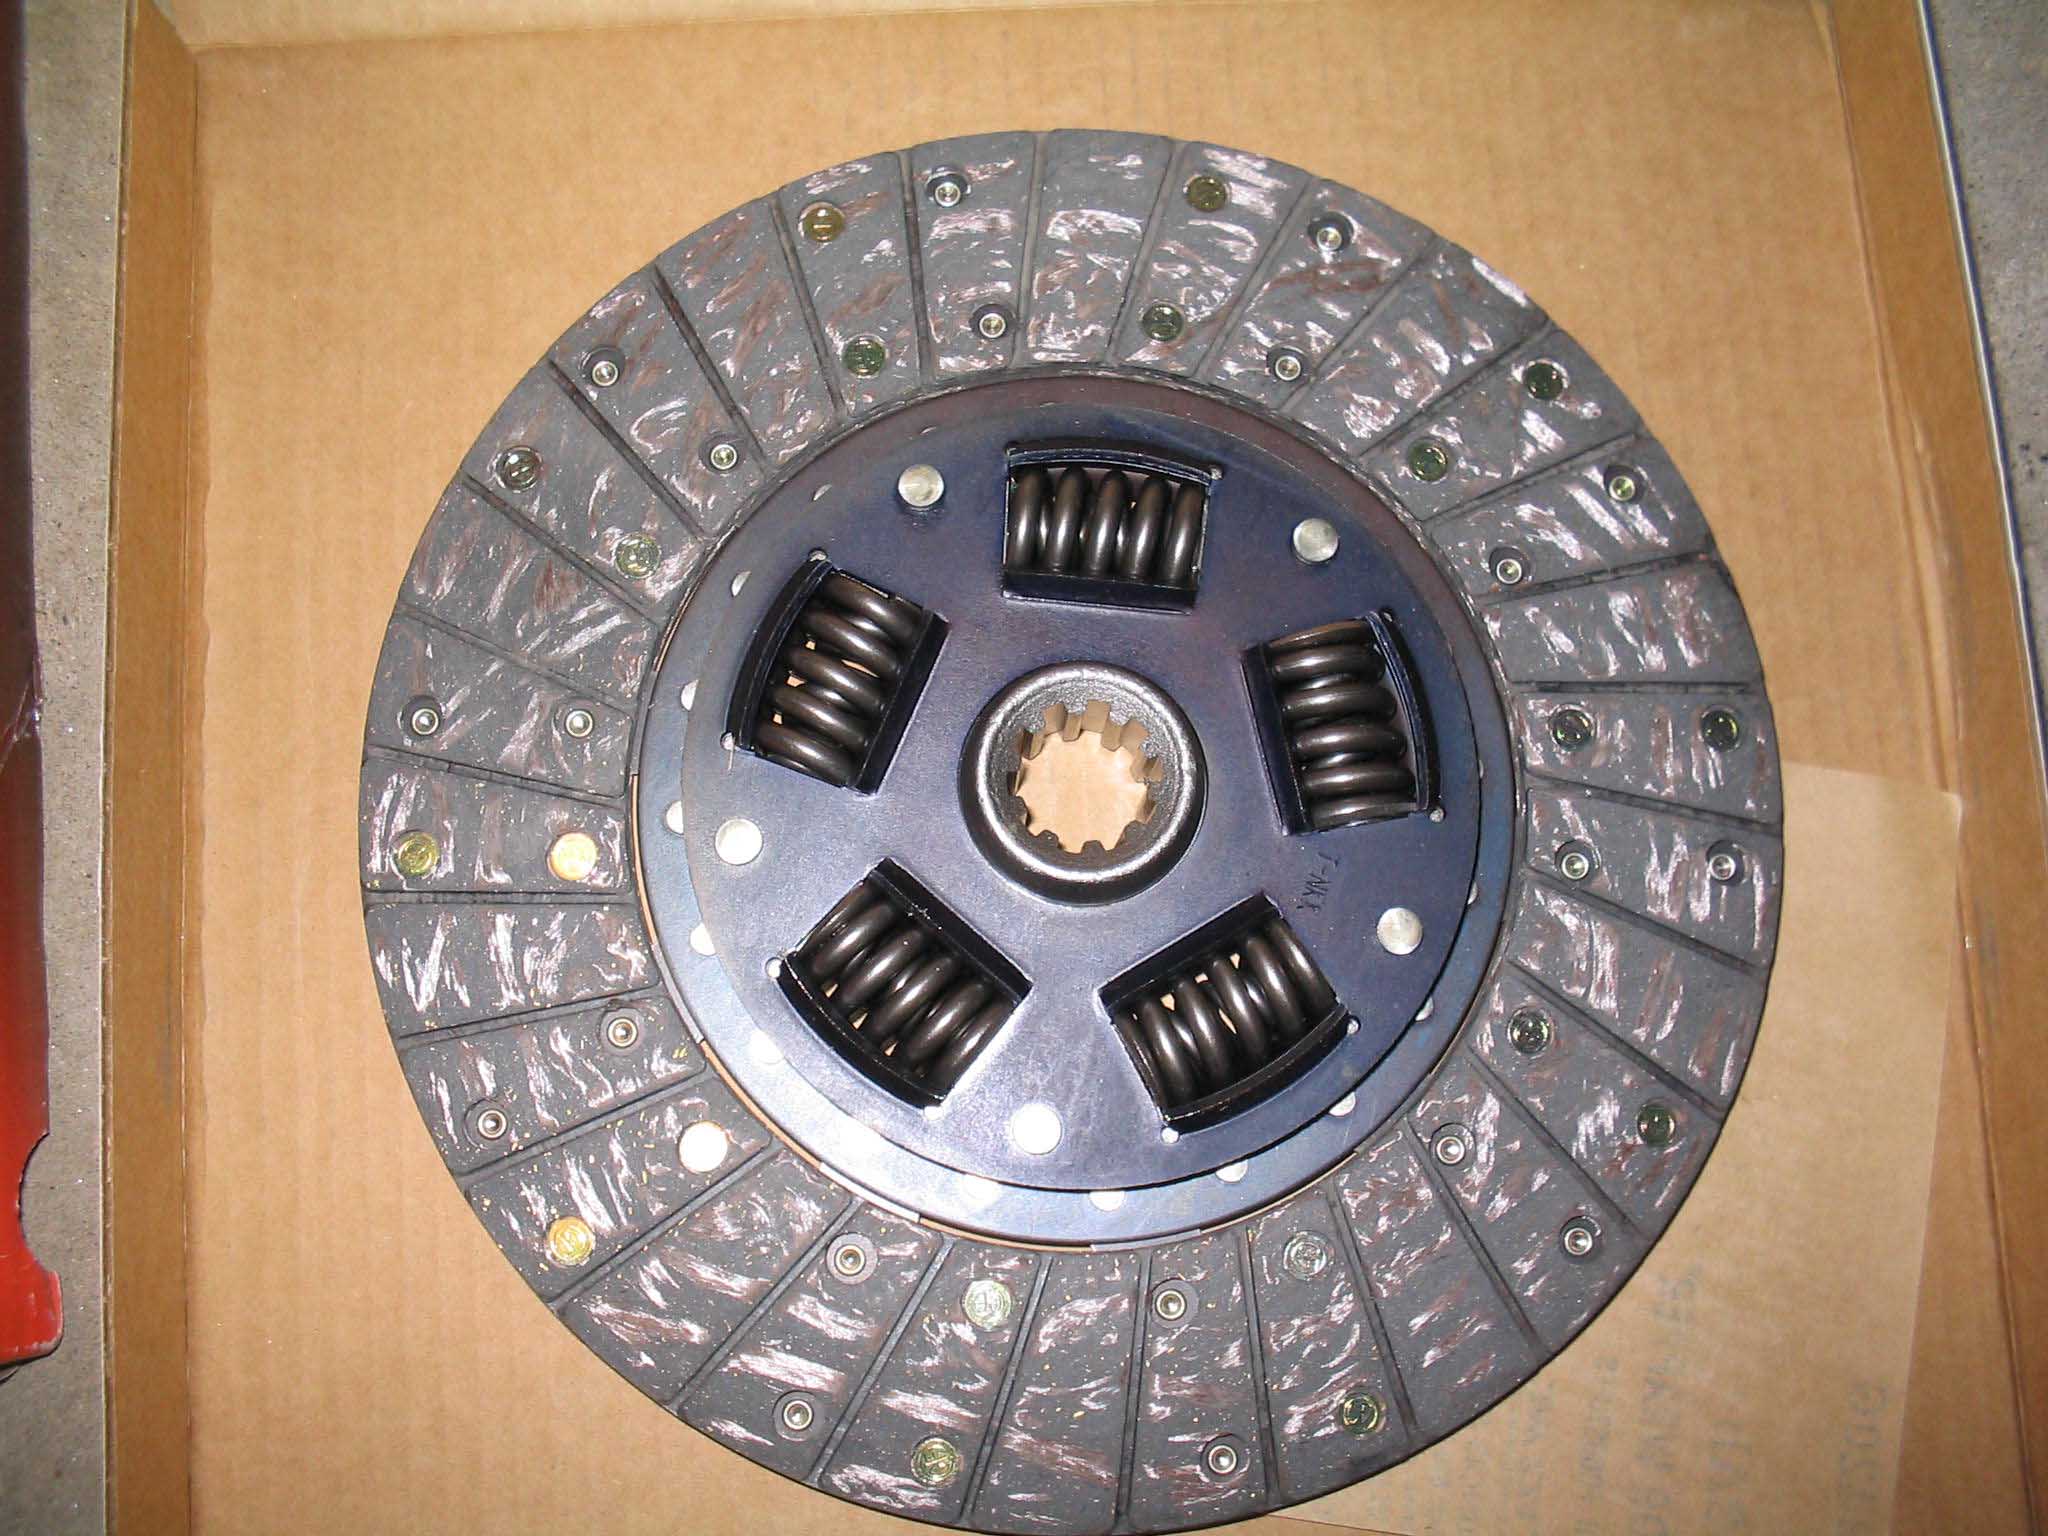
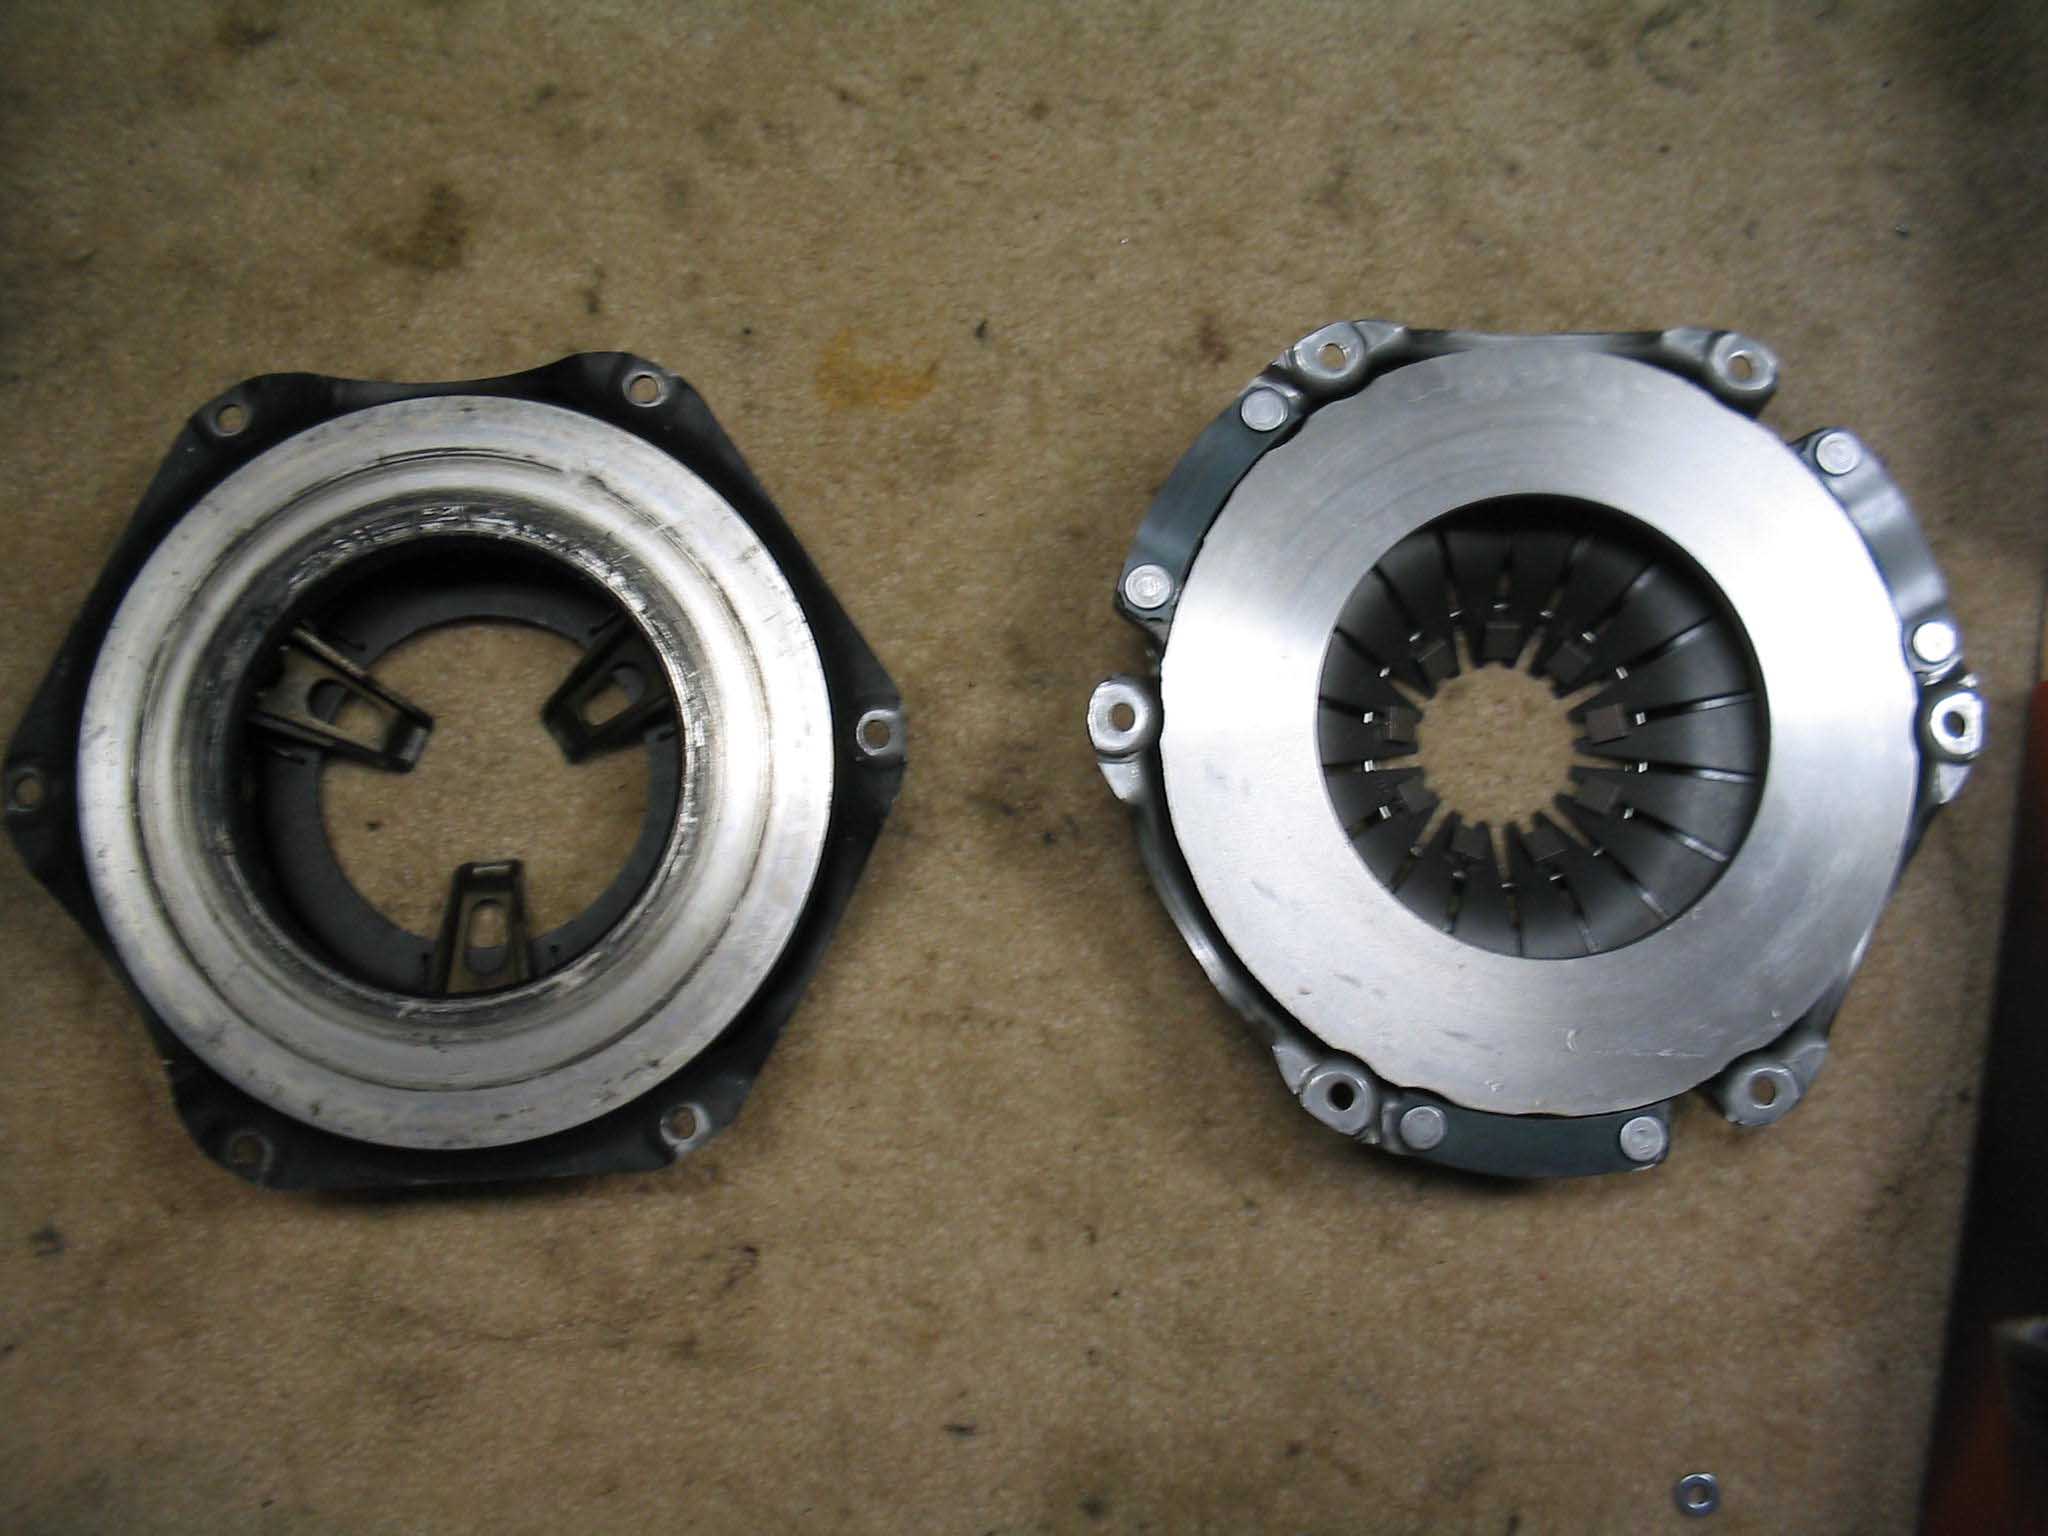
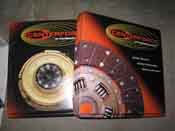
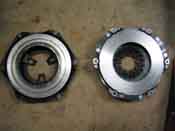
The upgrade is one of clamping force and I suppose construction of design because of the materials and balancing of weights
used. I ordered up a centerforce II clutch (non-dual friction), as everyone that I read had been happy with the performance.
Having had a dual friction in the Yellow Jeep project and the feel of the clutch in that was very tough, I figured I would
see what was between the dual friction and the regular stock setup that was in the Jeep when I took the engine out.
|
| |
|

|

|
|
| |
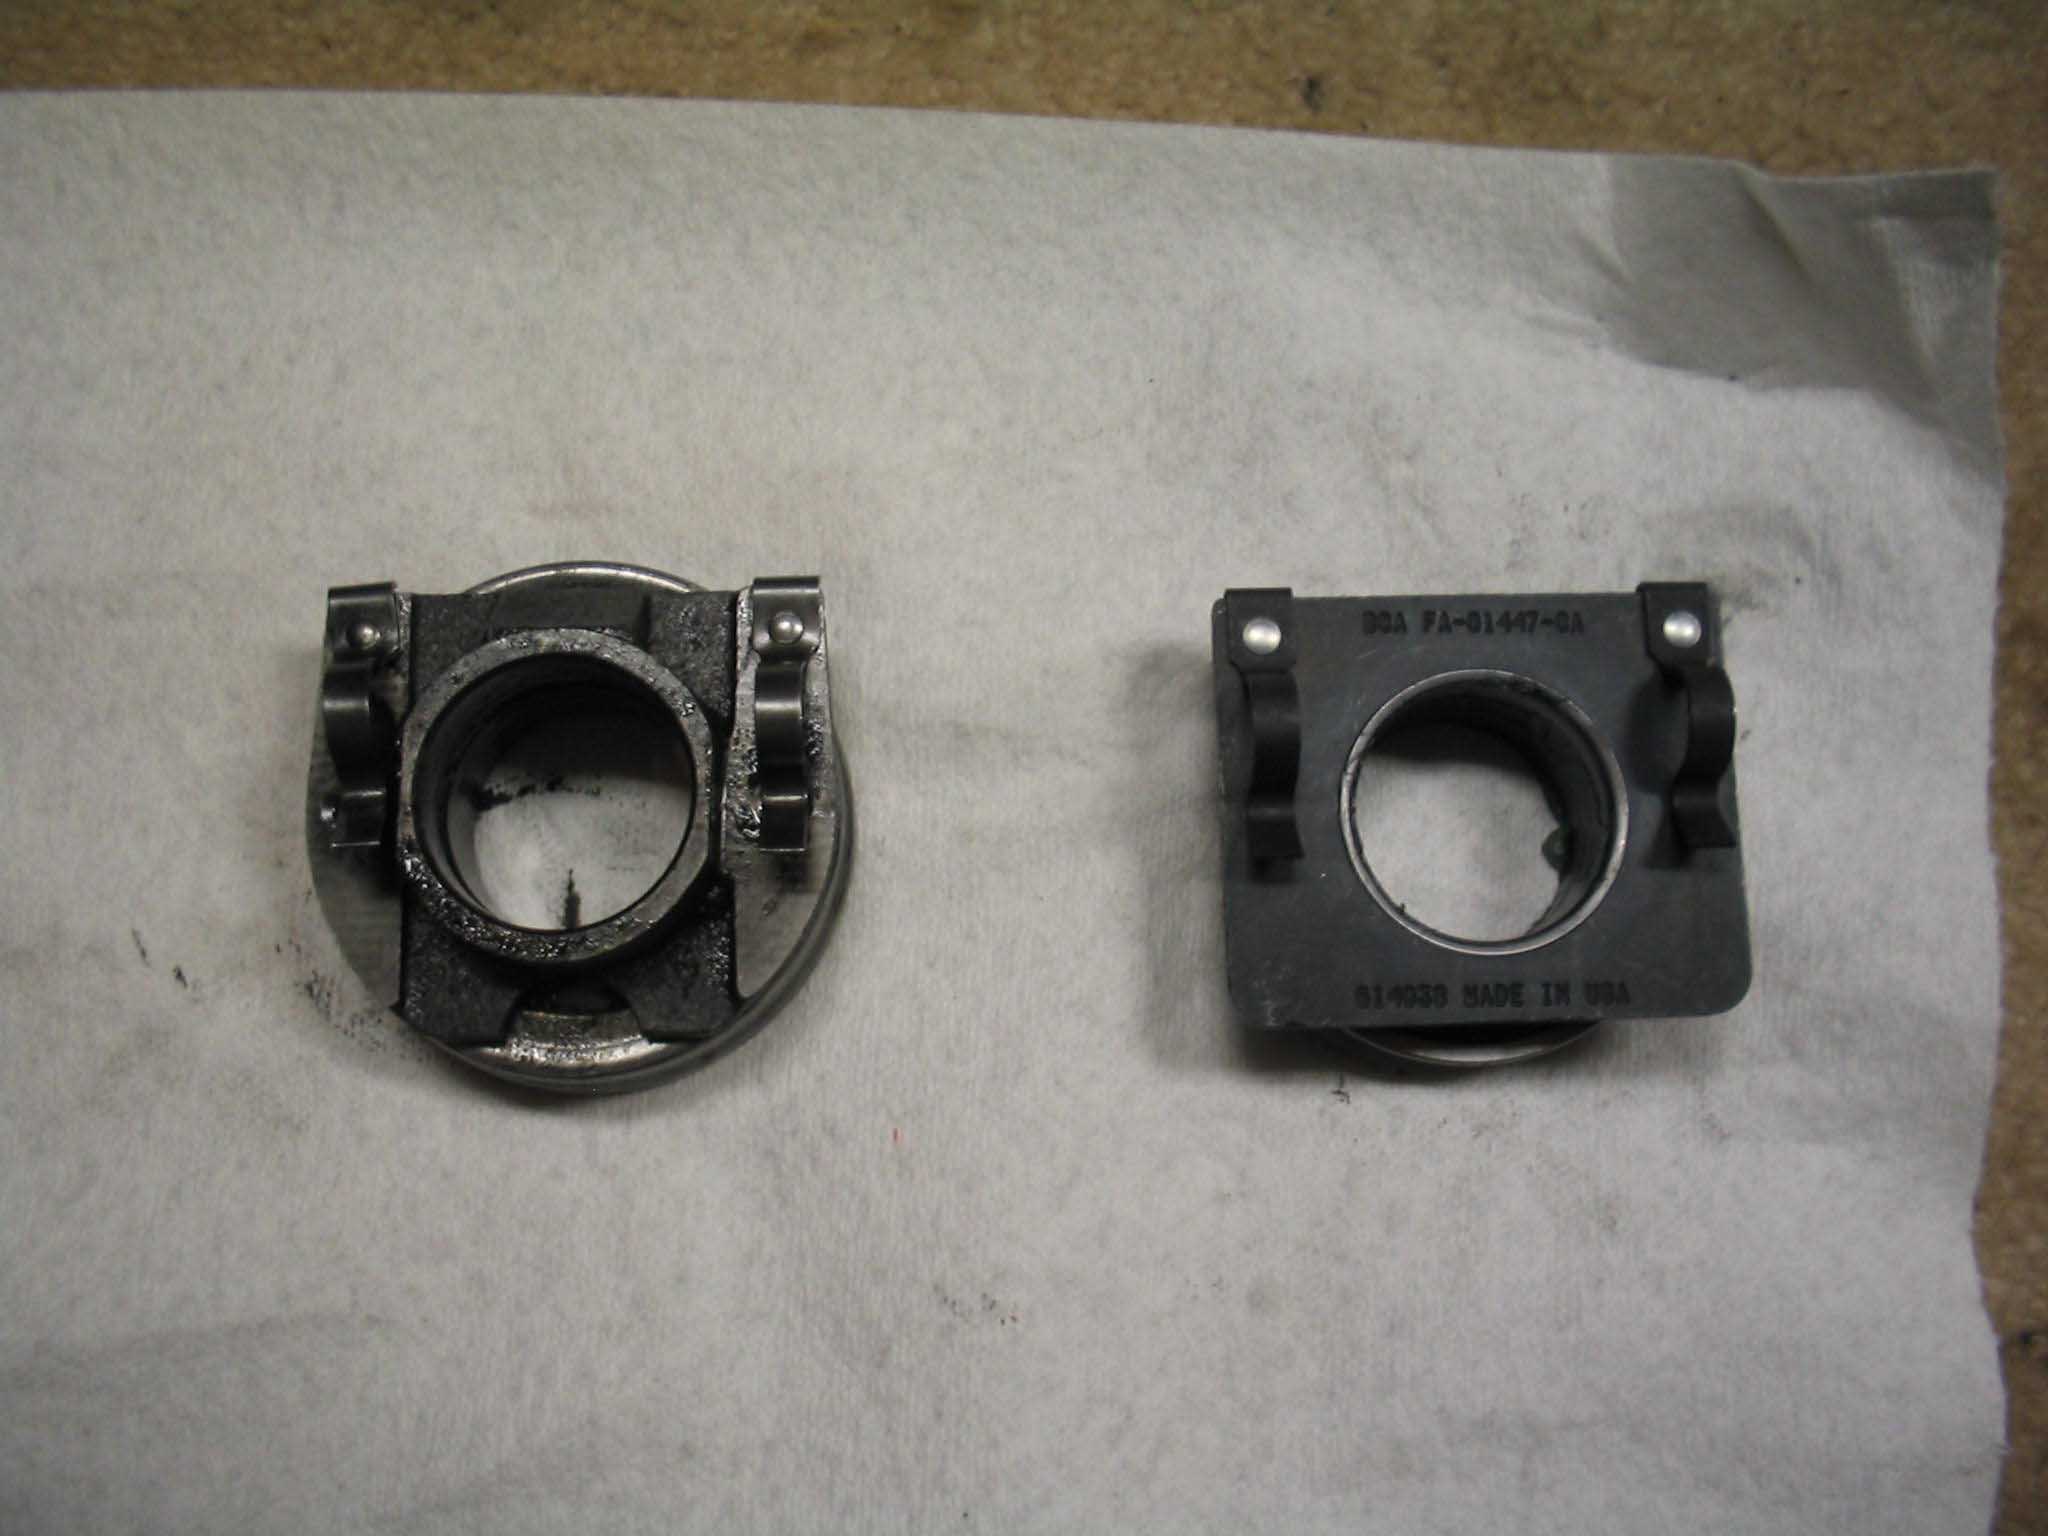
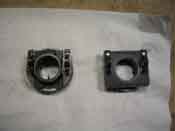
The clutch needed to have a new pilot bushing as well as the throw out bearing. This is just
common sense and if you are going to rip into the transmission, it is a good idea to replace everything. It comes as part
of a kit, so just order it all up and put it all in once you get it. Also, make sure that he transmission housing is clean
after you take everything out. You don't want any foreign materials in there making contact with your new clutch parts.
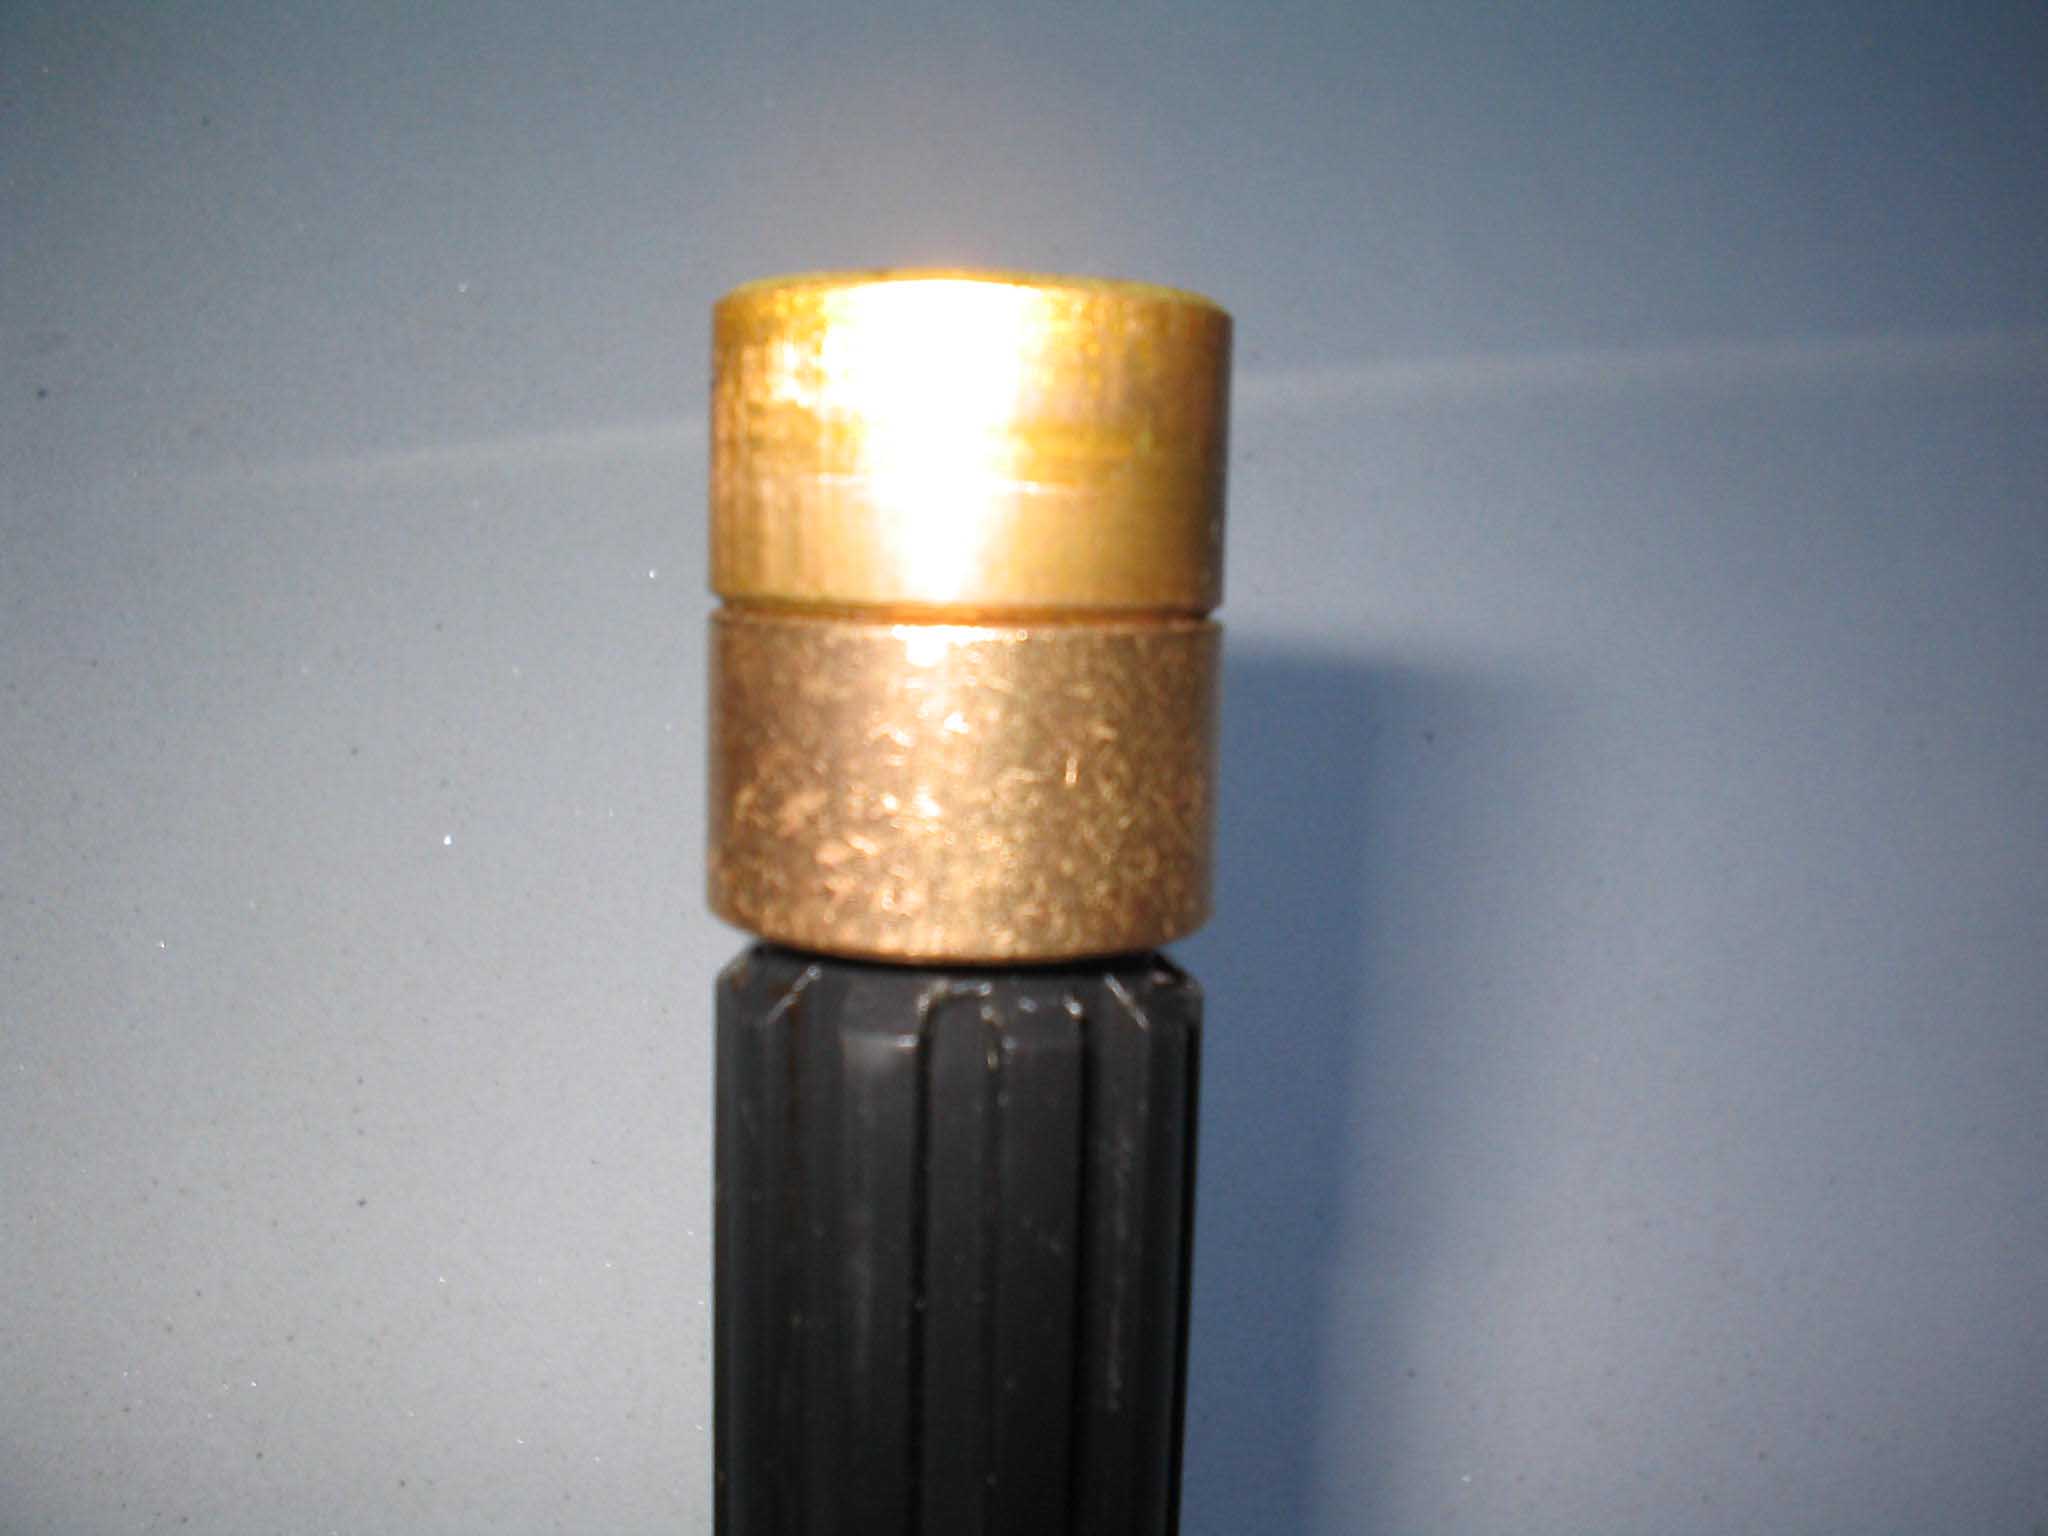
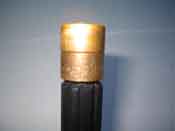
After all the parts arrive and you are sure that you have the right parts, remove the pilot bushing from the crank with the
special tool you need to remove it. I ended up buying this as it was relatively inexpensive. You can rent one if you want,
but either way, you need it to remove it. After that is done, you can clean up and install the new pilot bushing by putting
it in the hole and tapping it in. After that is done, you can take the old throw out bearing off the input shaft and get
the new one situated on the clutch fork and reinstall the whole assembly.
|
| |
|
|
|
|
| |
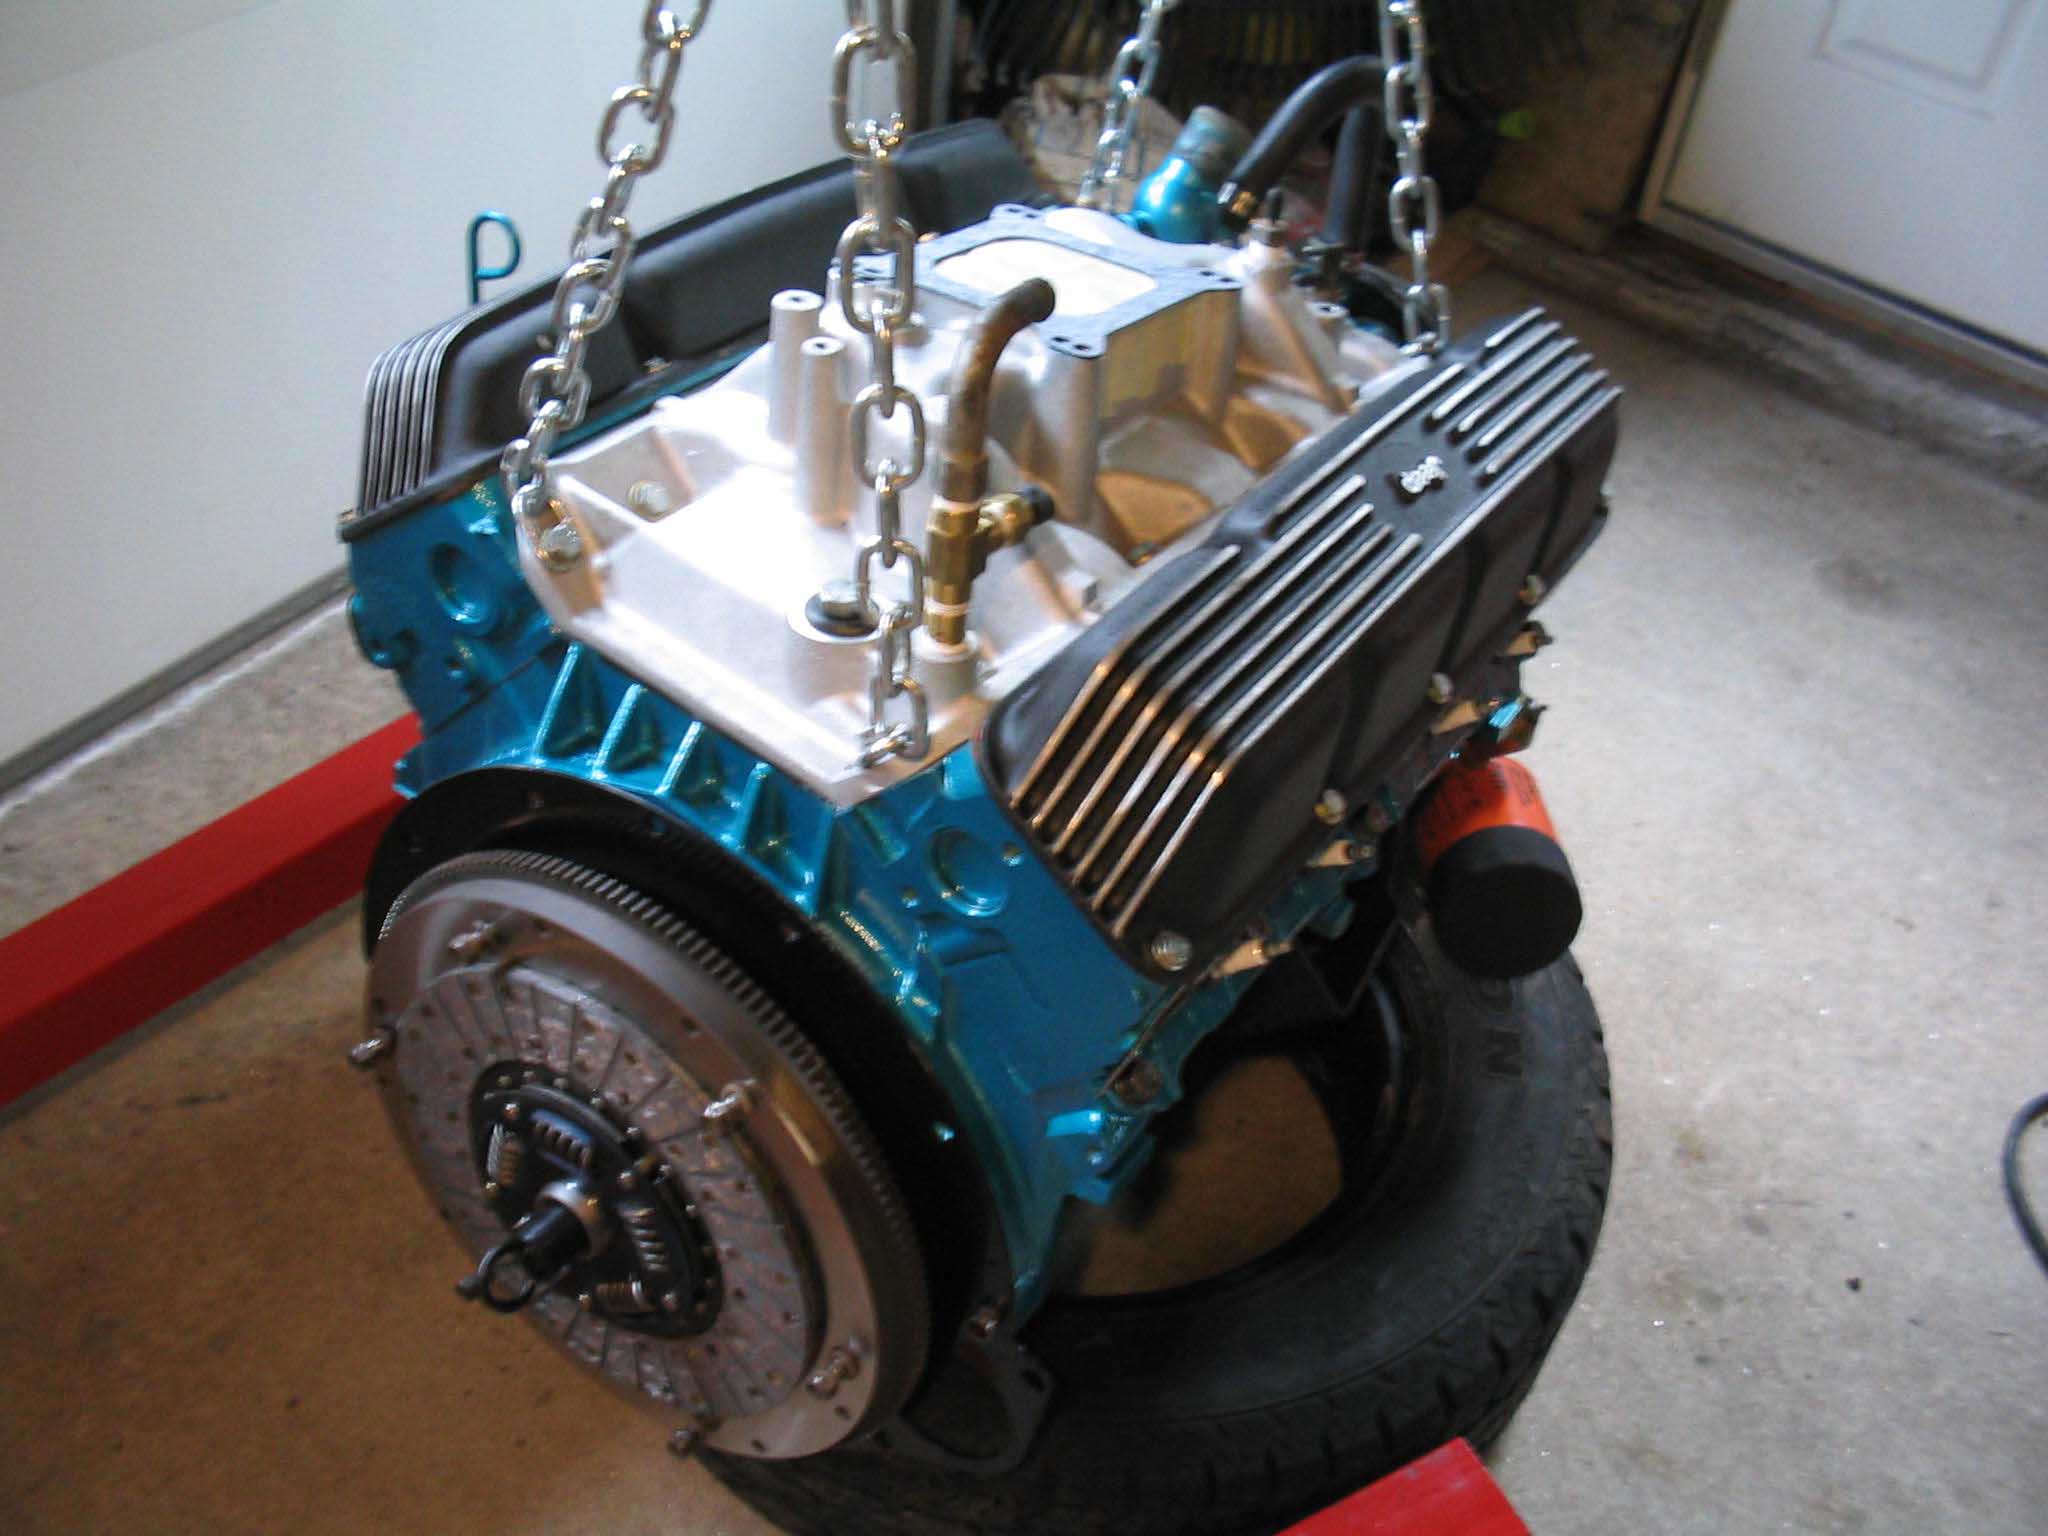
The flywheel needs to be resurfaced as well to do this right. Mine didn't look too bad, but it
was not a bad idea to do that. So, I talked with the guys from the engine shop and they said that they would take care of it.
That was attached to the motor when it came back and all that needed to be done at that point was to attach the clutch disc
and pressure plate.
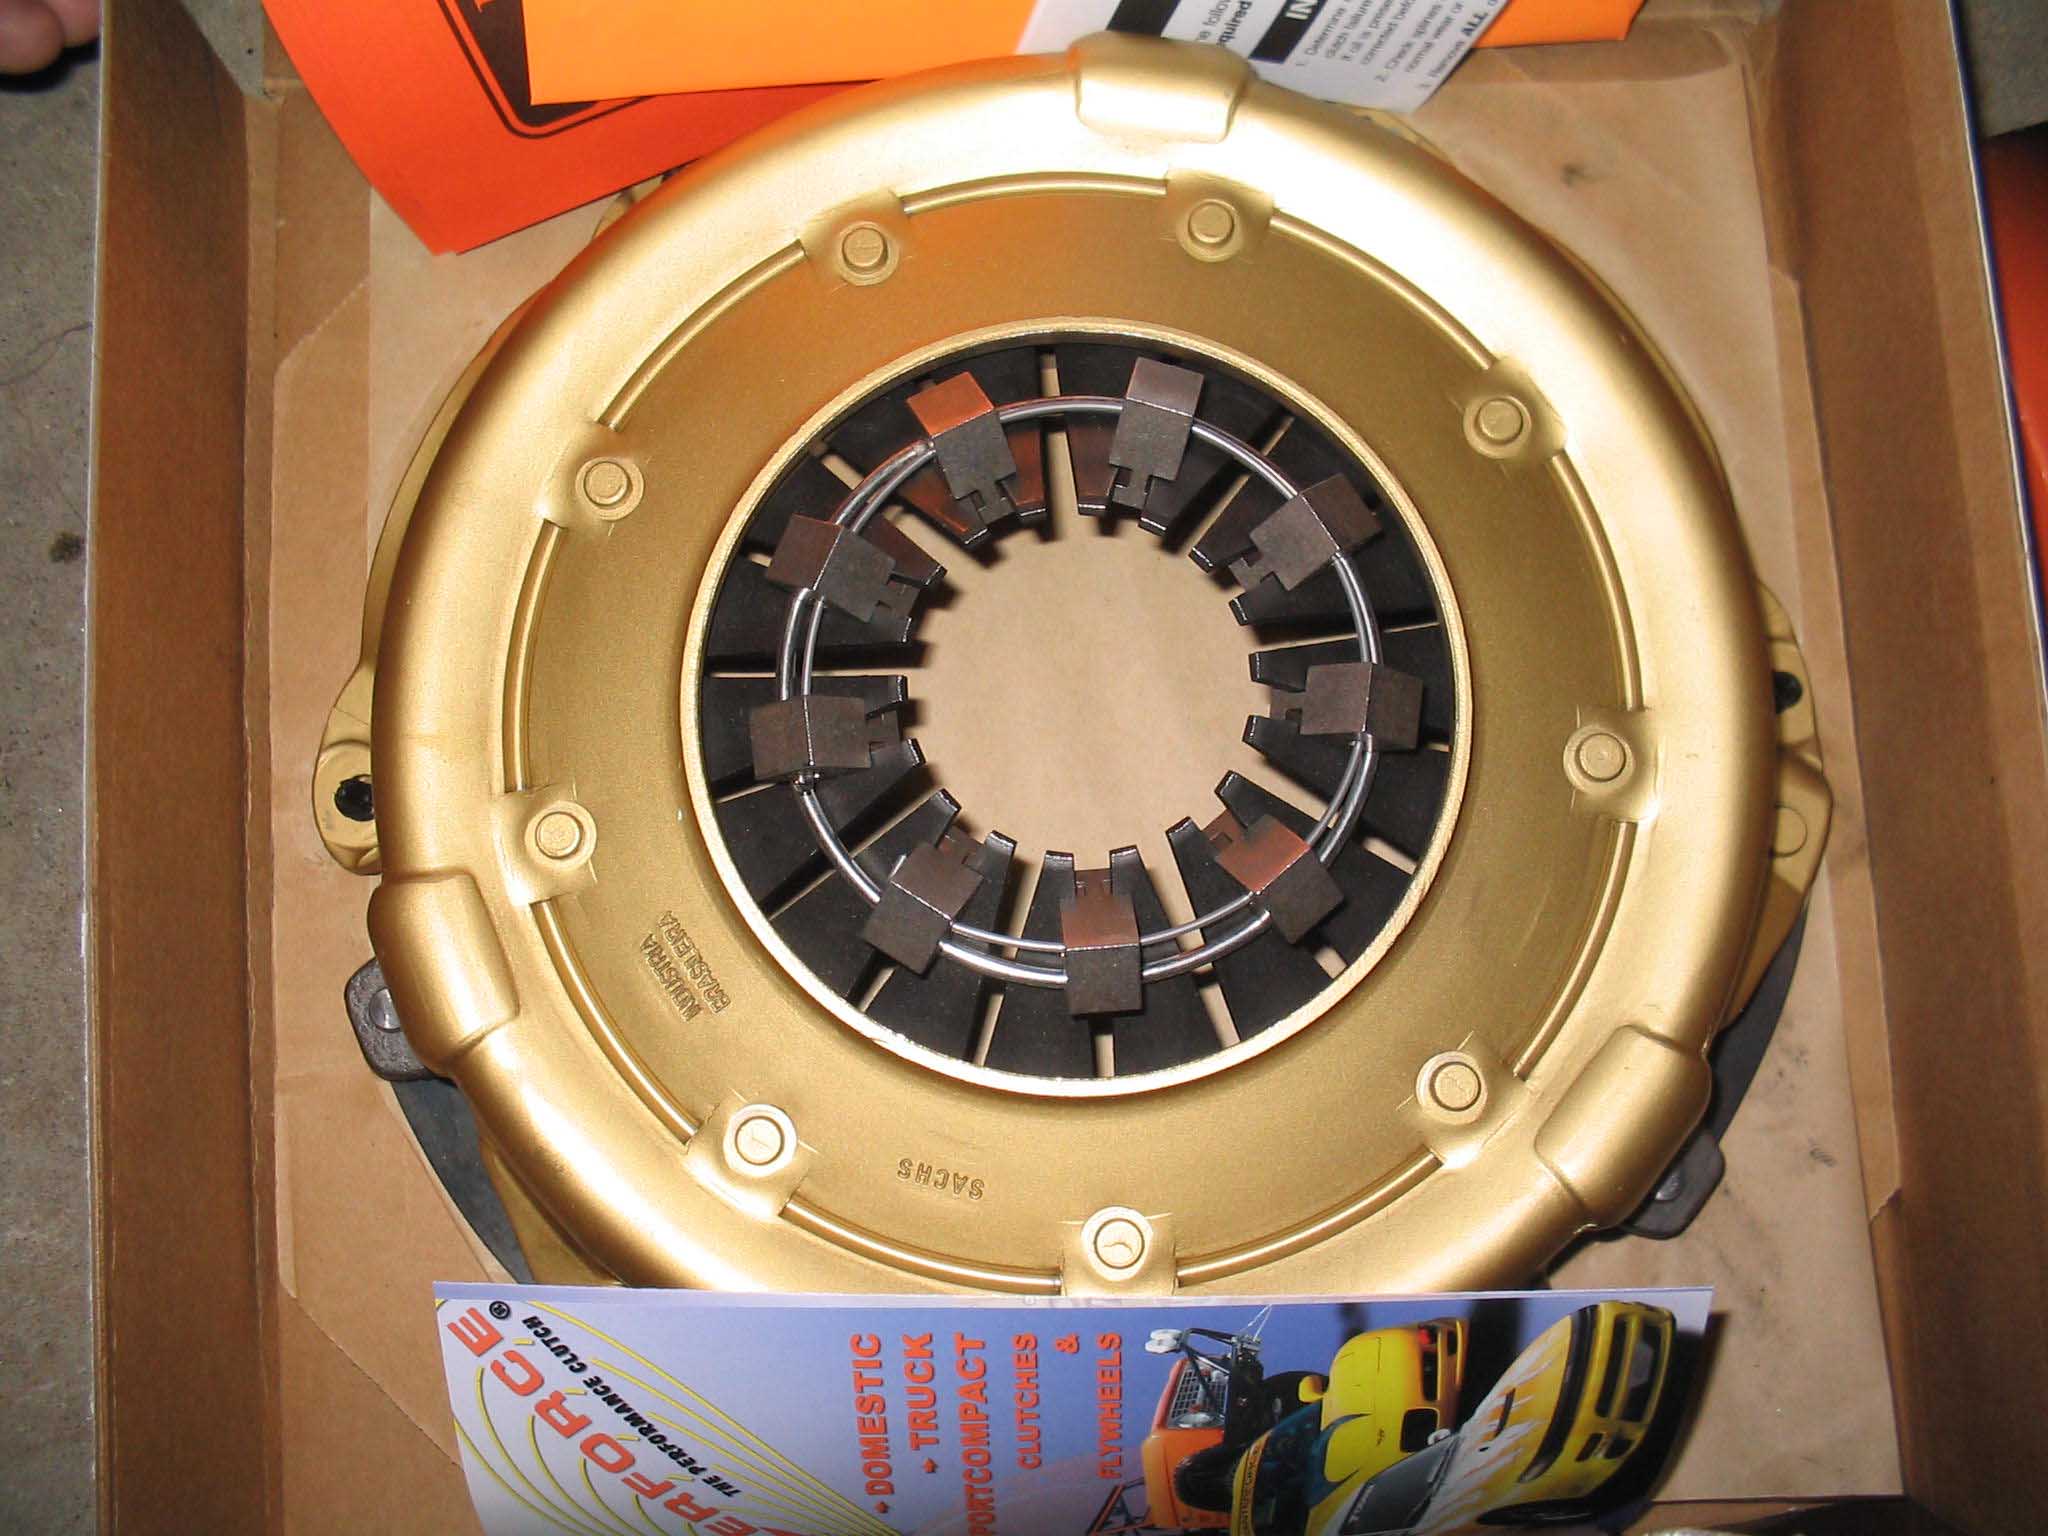
With the flywheel attached, you need to get the clutch alignment tool out and start the process of putting the clutch disc on
the flywheel and getting the pressure plate sized up and ready for the bolts to go back in. The clutch alignment tool is
cheap as well and should be gotten for this part of the installation. You may never use it again, but it is well worth the
money instead of trying to eye ball it. Use some locktite on the bolts and torque them down as the specification instructs.
Since I had to get this in a hurry, I ordered the parts up from
Quadratec as I knew that they would come in after a few days in transit.
The parts arrived quickly and after an issue with the pilot bushing was resolved, I was on my way to installing them.
|
| |
|
|
|

|
| |
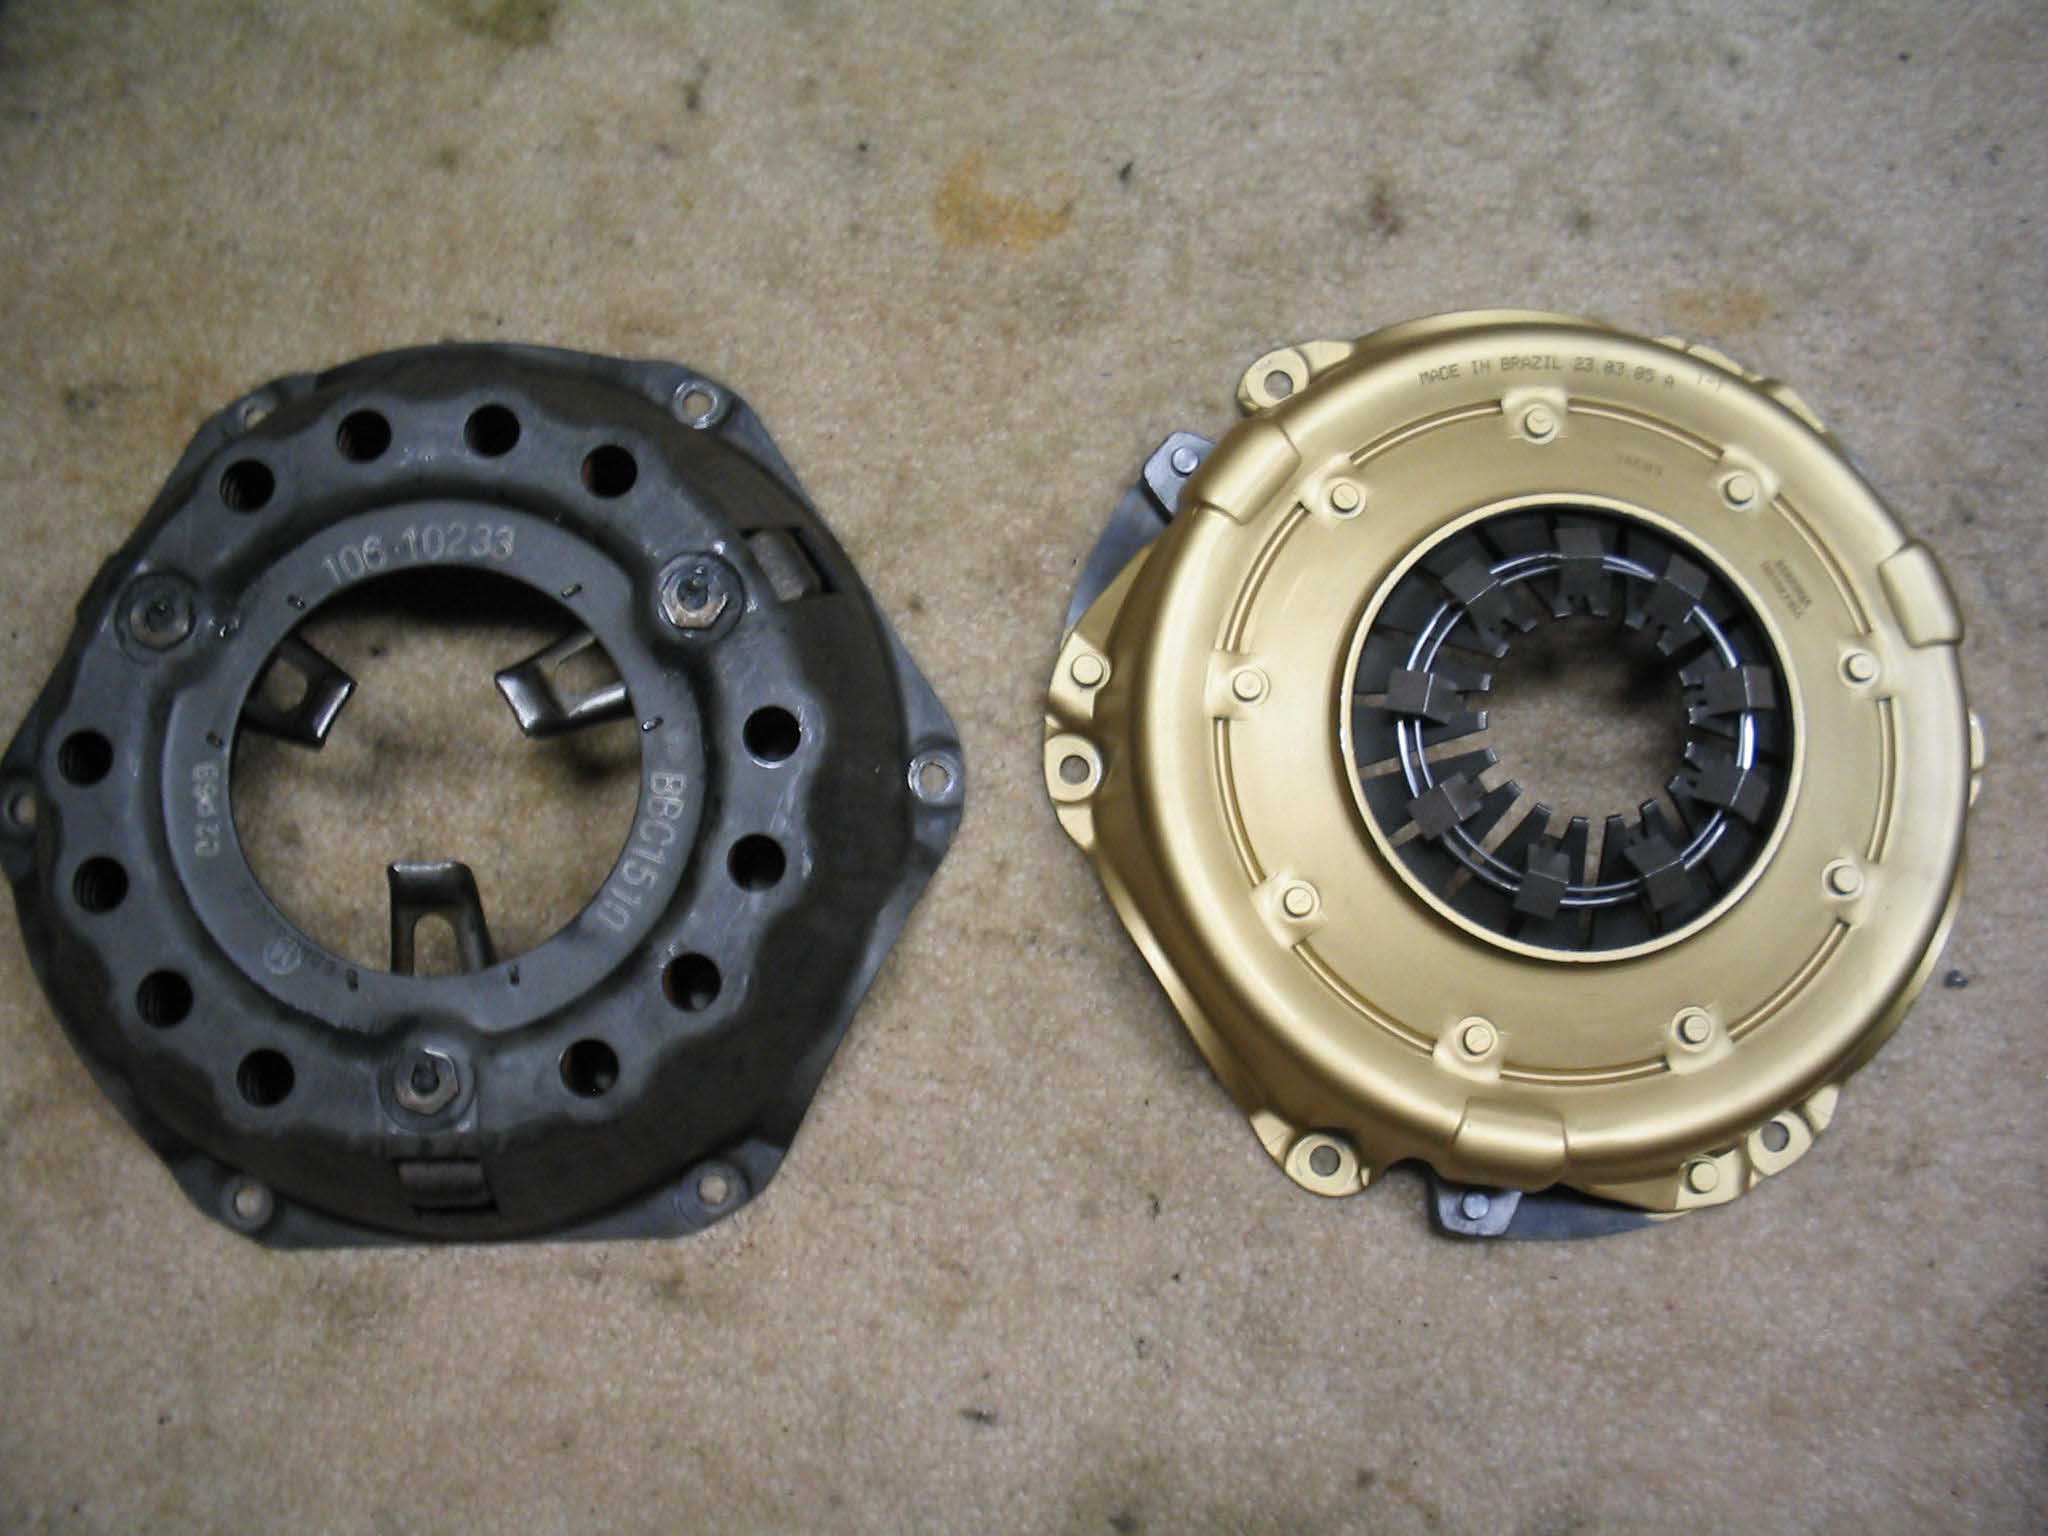
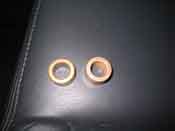
I just wanted to re-iterate that you will need to have a nice clean flywheel to
start with. I cleaned it with brake cleaner and then used the clutch tool to put the clutch disc onto the flywheel
and line it up with the pilot bushing. I tapped the pilot bushing into the crank with a rubber hammer and used the
alignment tool to line it up.
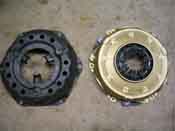
After that was done, the pressure plate was installed and everything was centered
and then torqued down. When tightening up the pressure plate bolts, make sure you use a criss-cross pattern and
go around a few times, don't tighten it all at once, slowly put the clutch down onto the flywheel evenly so you
don't warp anything.
|
| |
| Lessons Learned the Hard Way |
| |
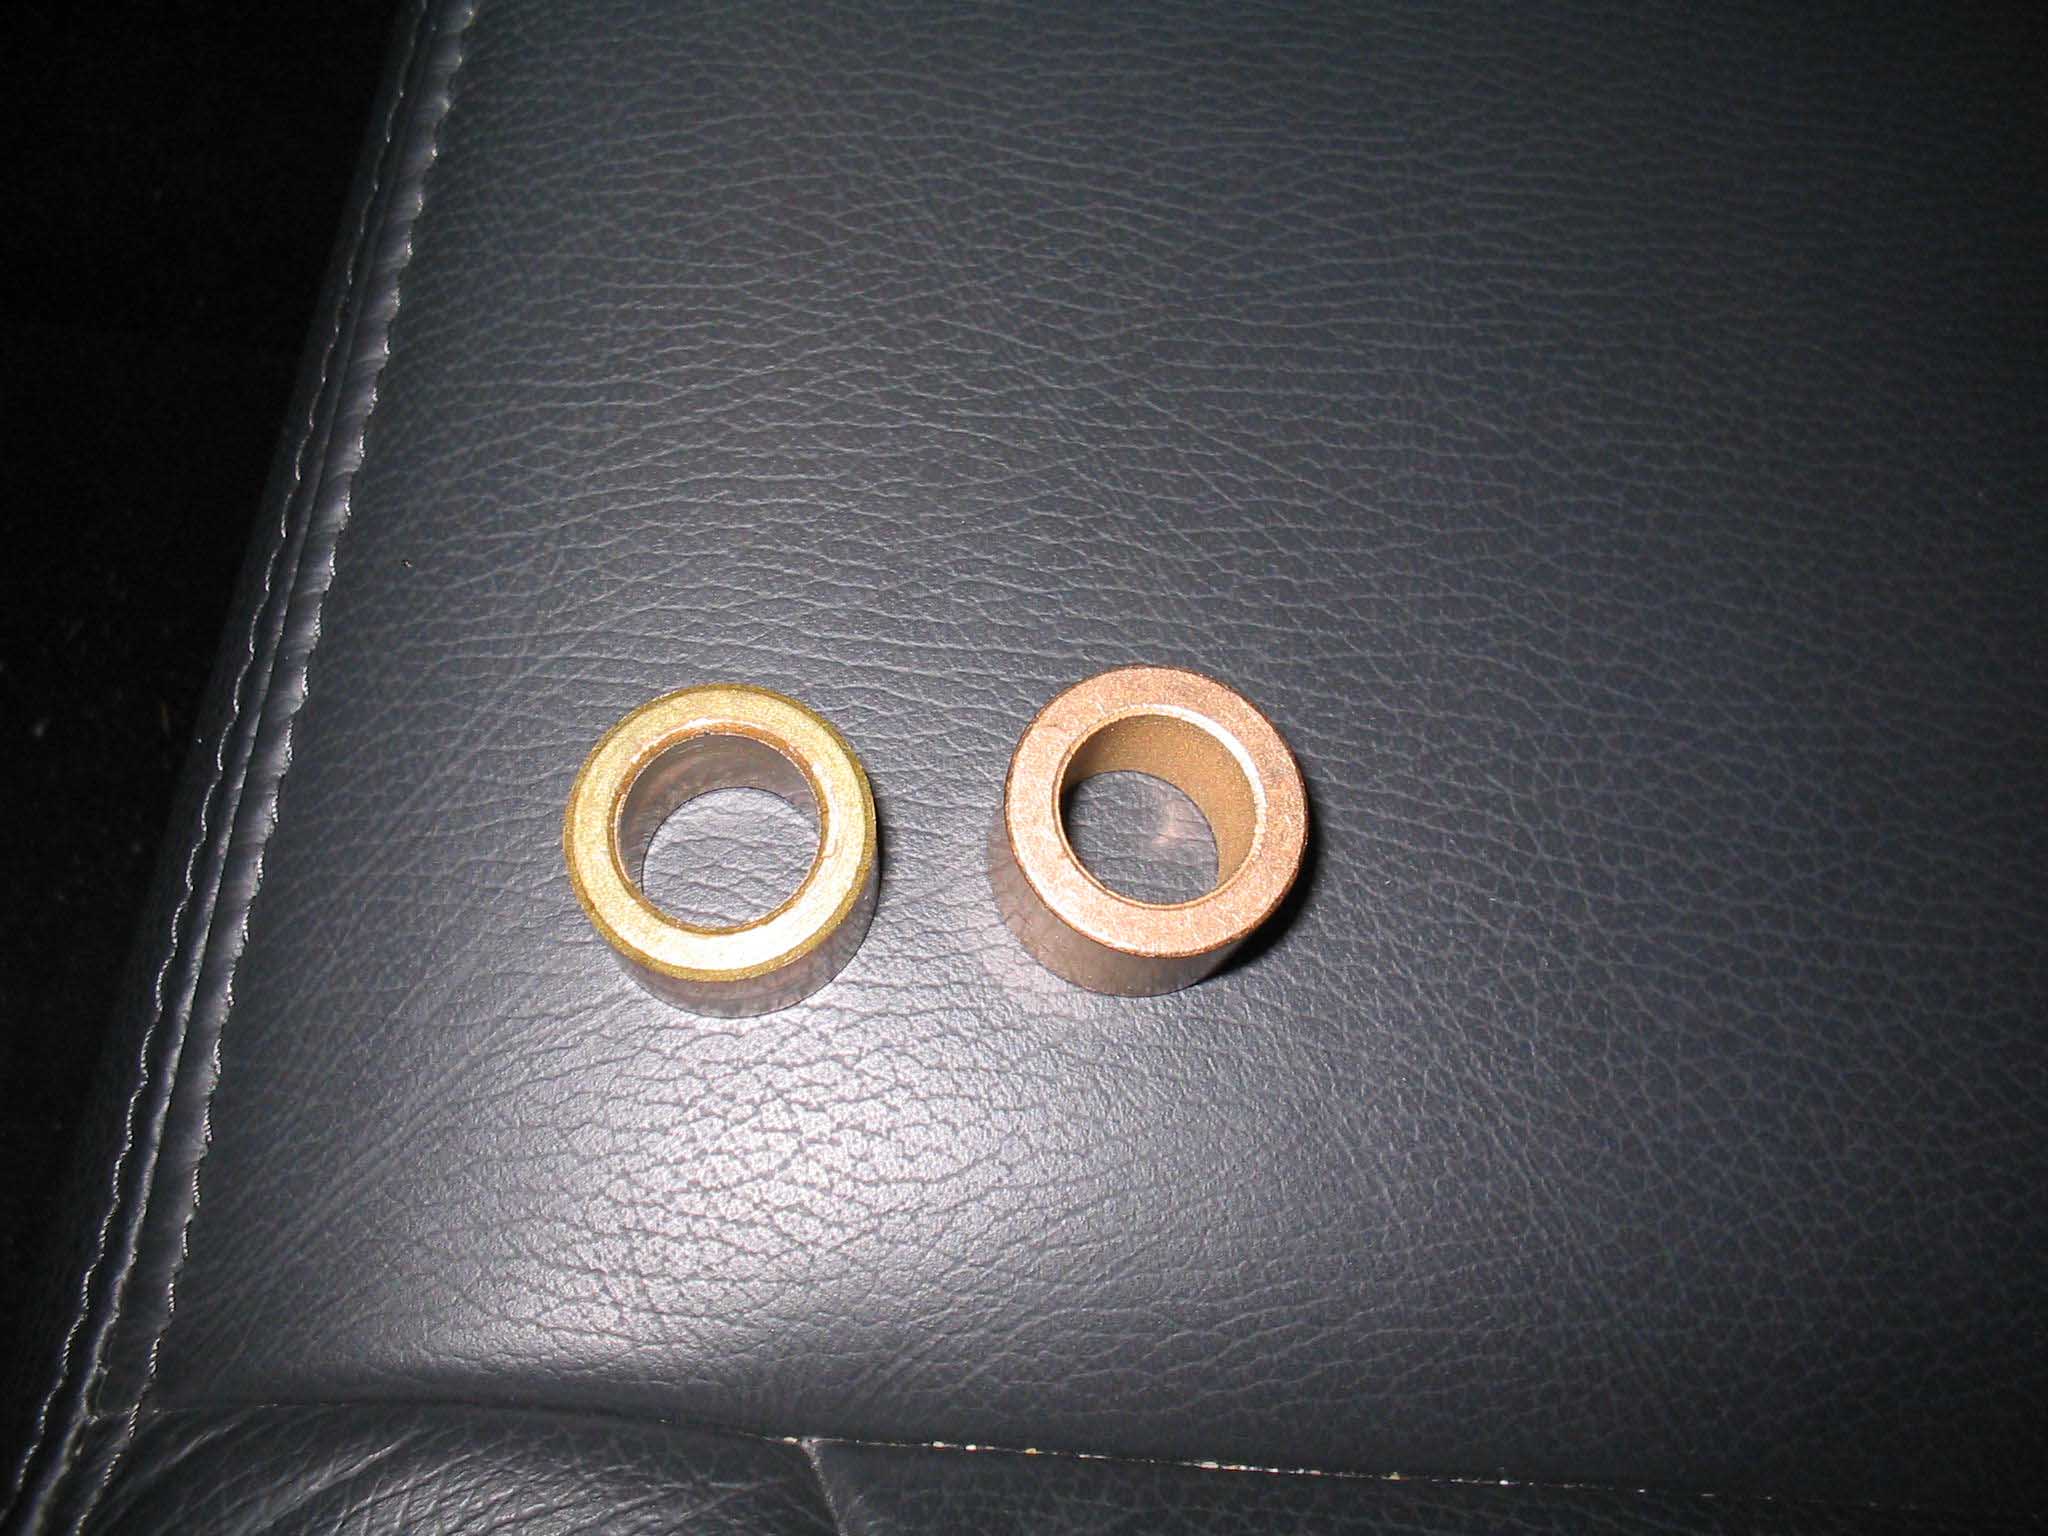
| My lessons learned here would have to be that you need to have another set of hands helping you
when you go to install the clutch. Also, when you have the parts, make sure you check them against the parts that came out of
the Jeep. This is imperative as my parts weren't all the right ones. This was the case for the pilot bushing and it would have
been a shame if I got to the point of install only to have to wait a few days until a new one could come in.
|
| |
| Conclusions |
| |
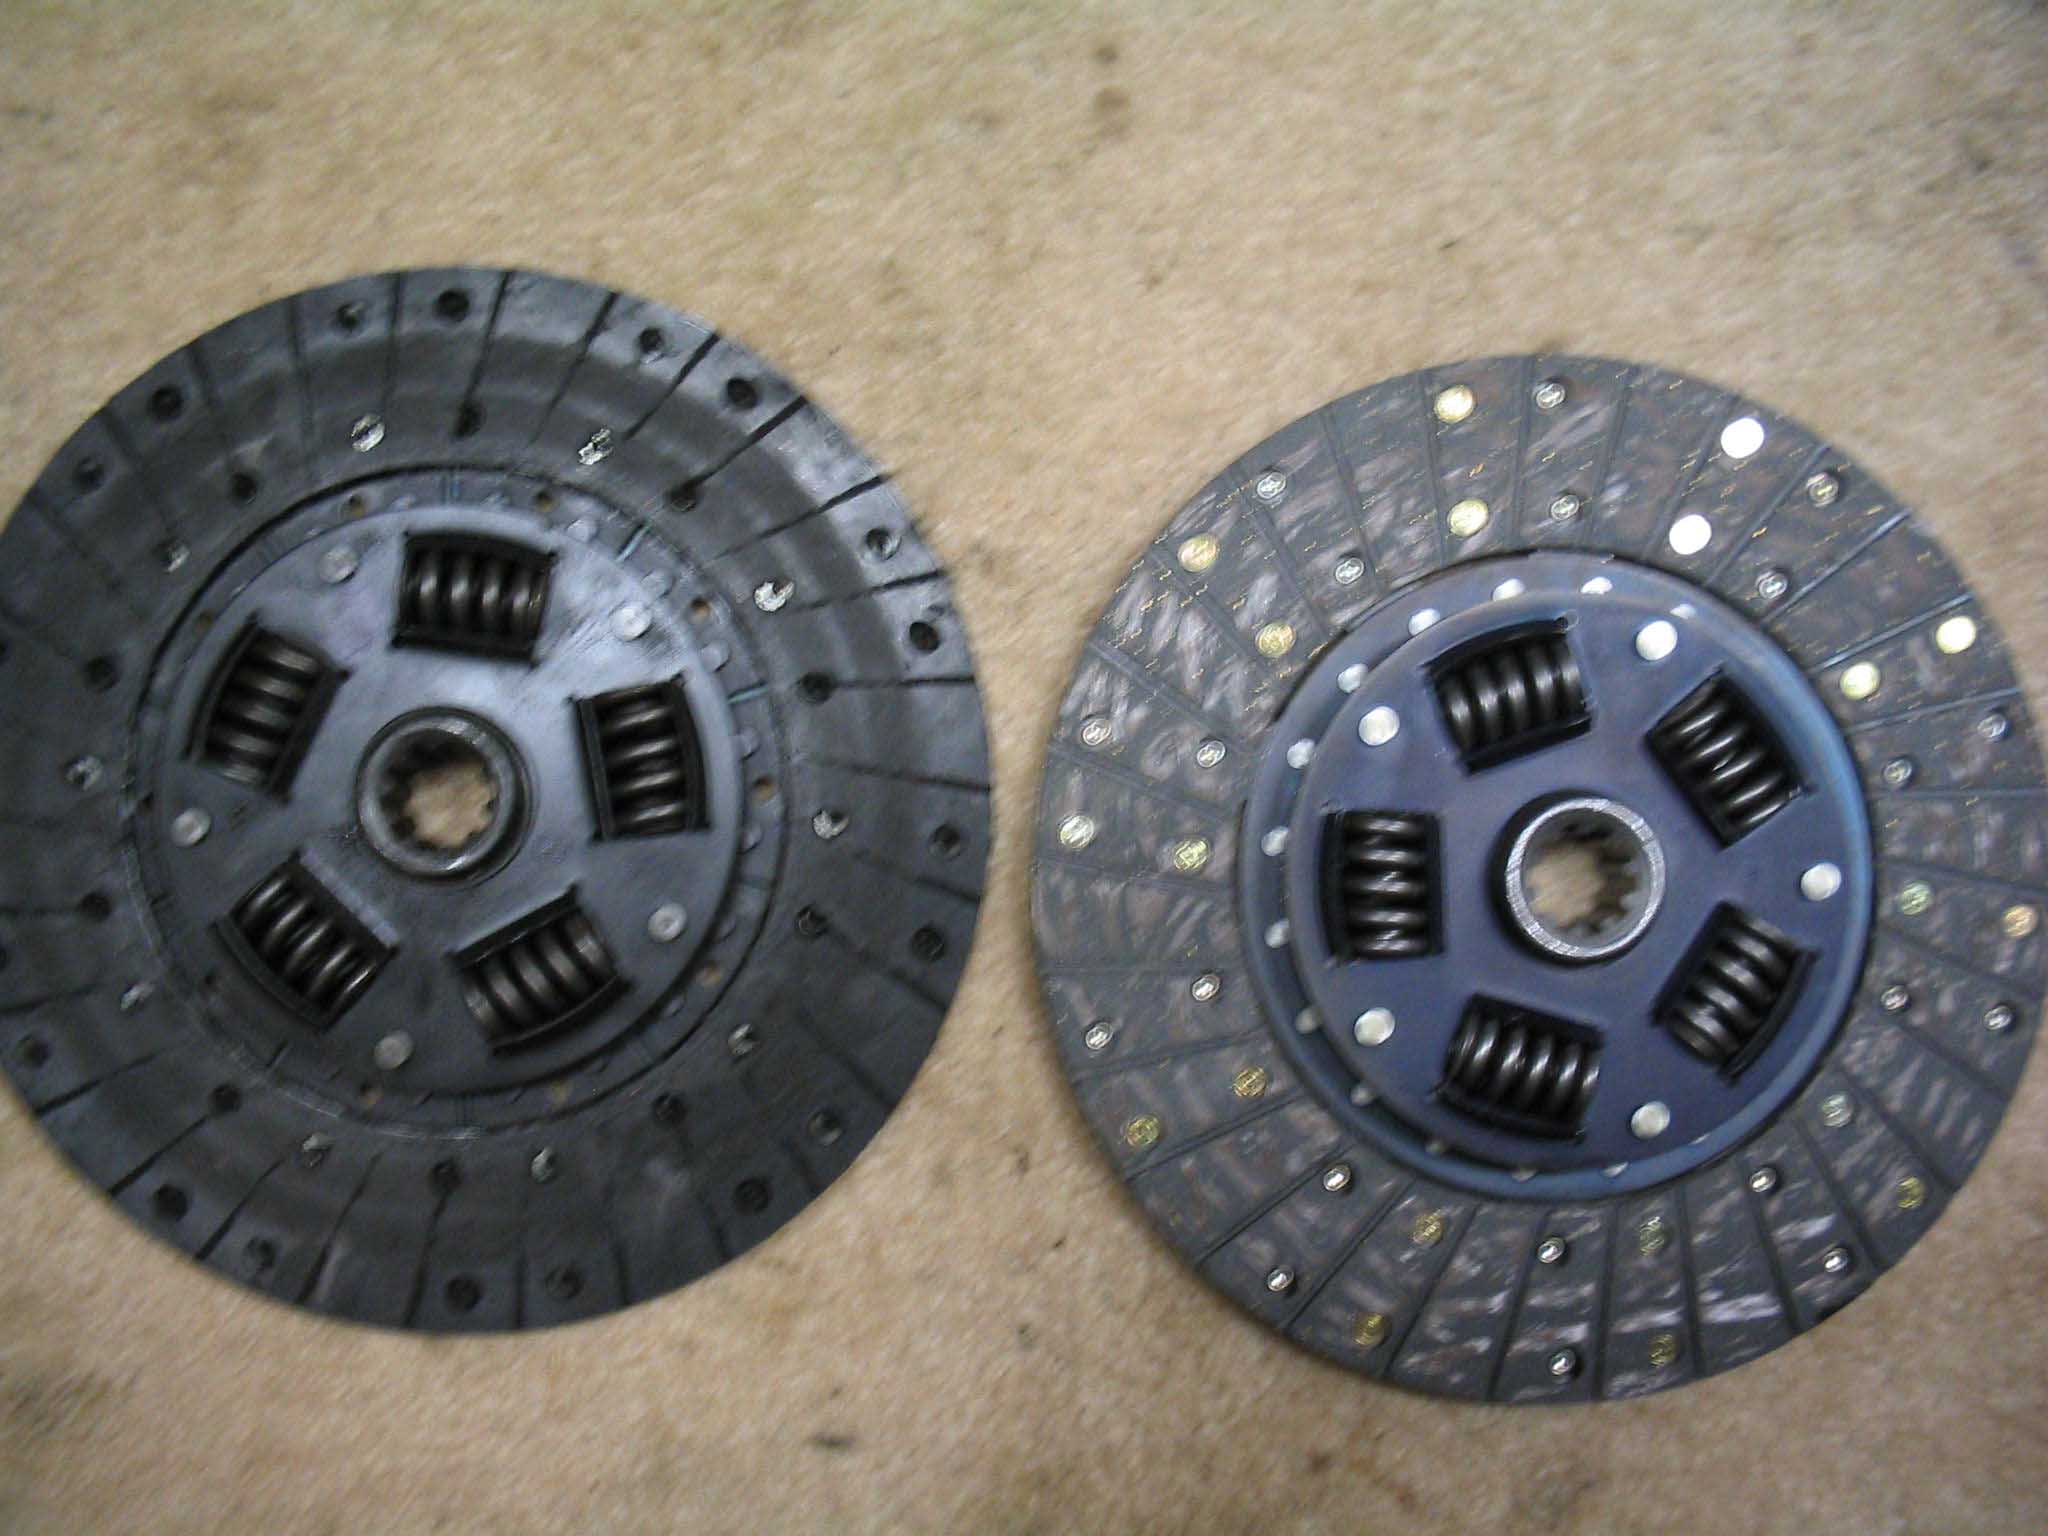
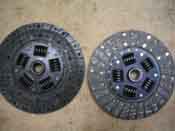
Overall I would say that this project is pretty involved and should be done if you are ever
removing the engine or transmission. Since the engine was being redone, this was the perfect opportunity for me to replace the
clutch. I was having a little bit of issue with the old one, so this was a great time to replace it. As you can see from
the pictures, it was evident that the old one was starting to wear.
The approximate build-up costs and installation time can be seen
here.
|
|