|
|
| Original Dash Tear Down |
| |
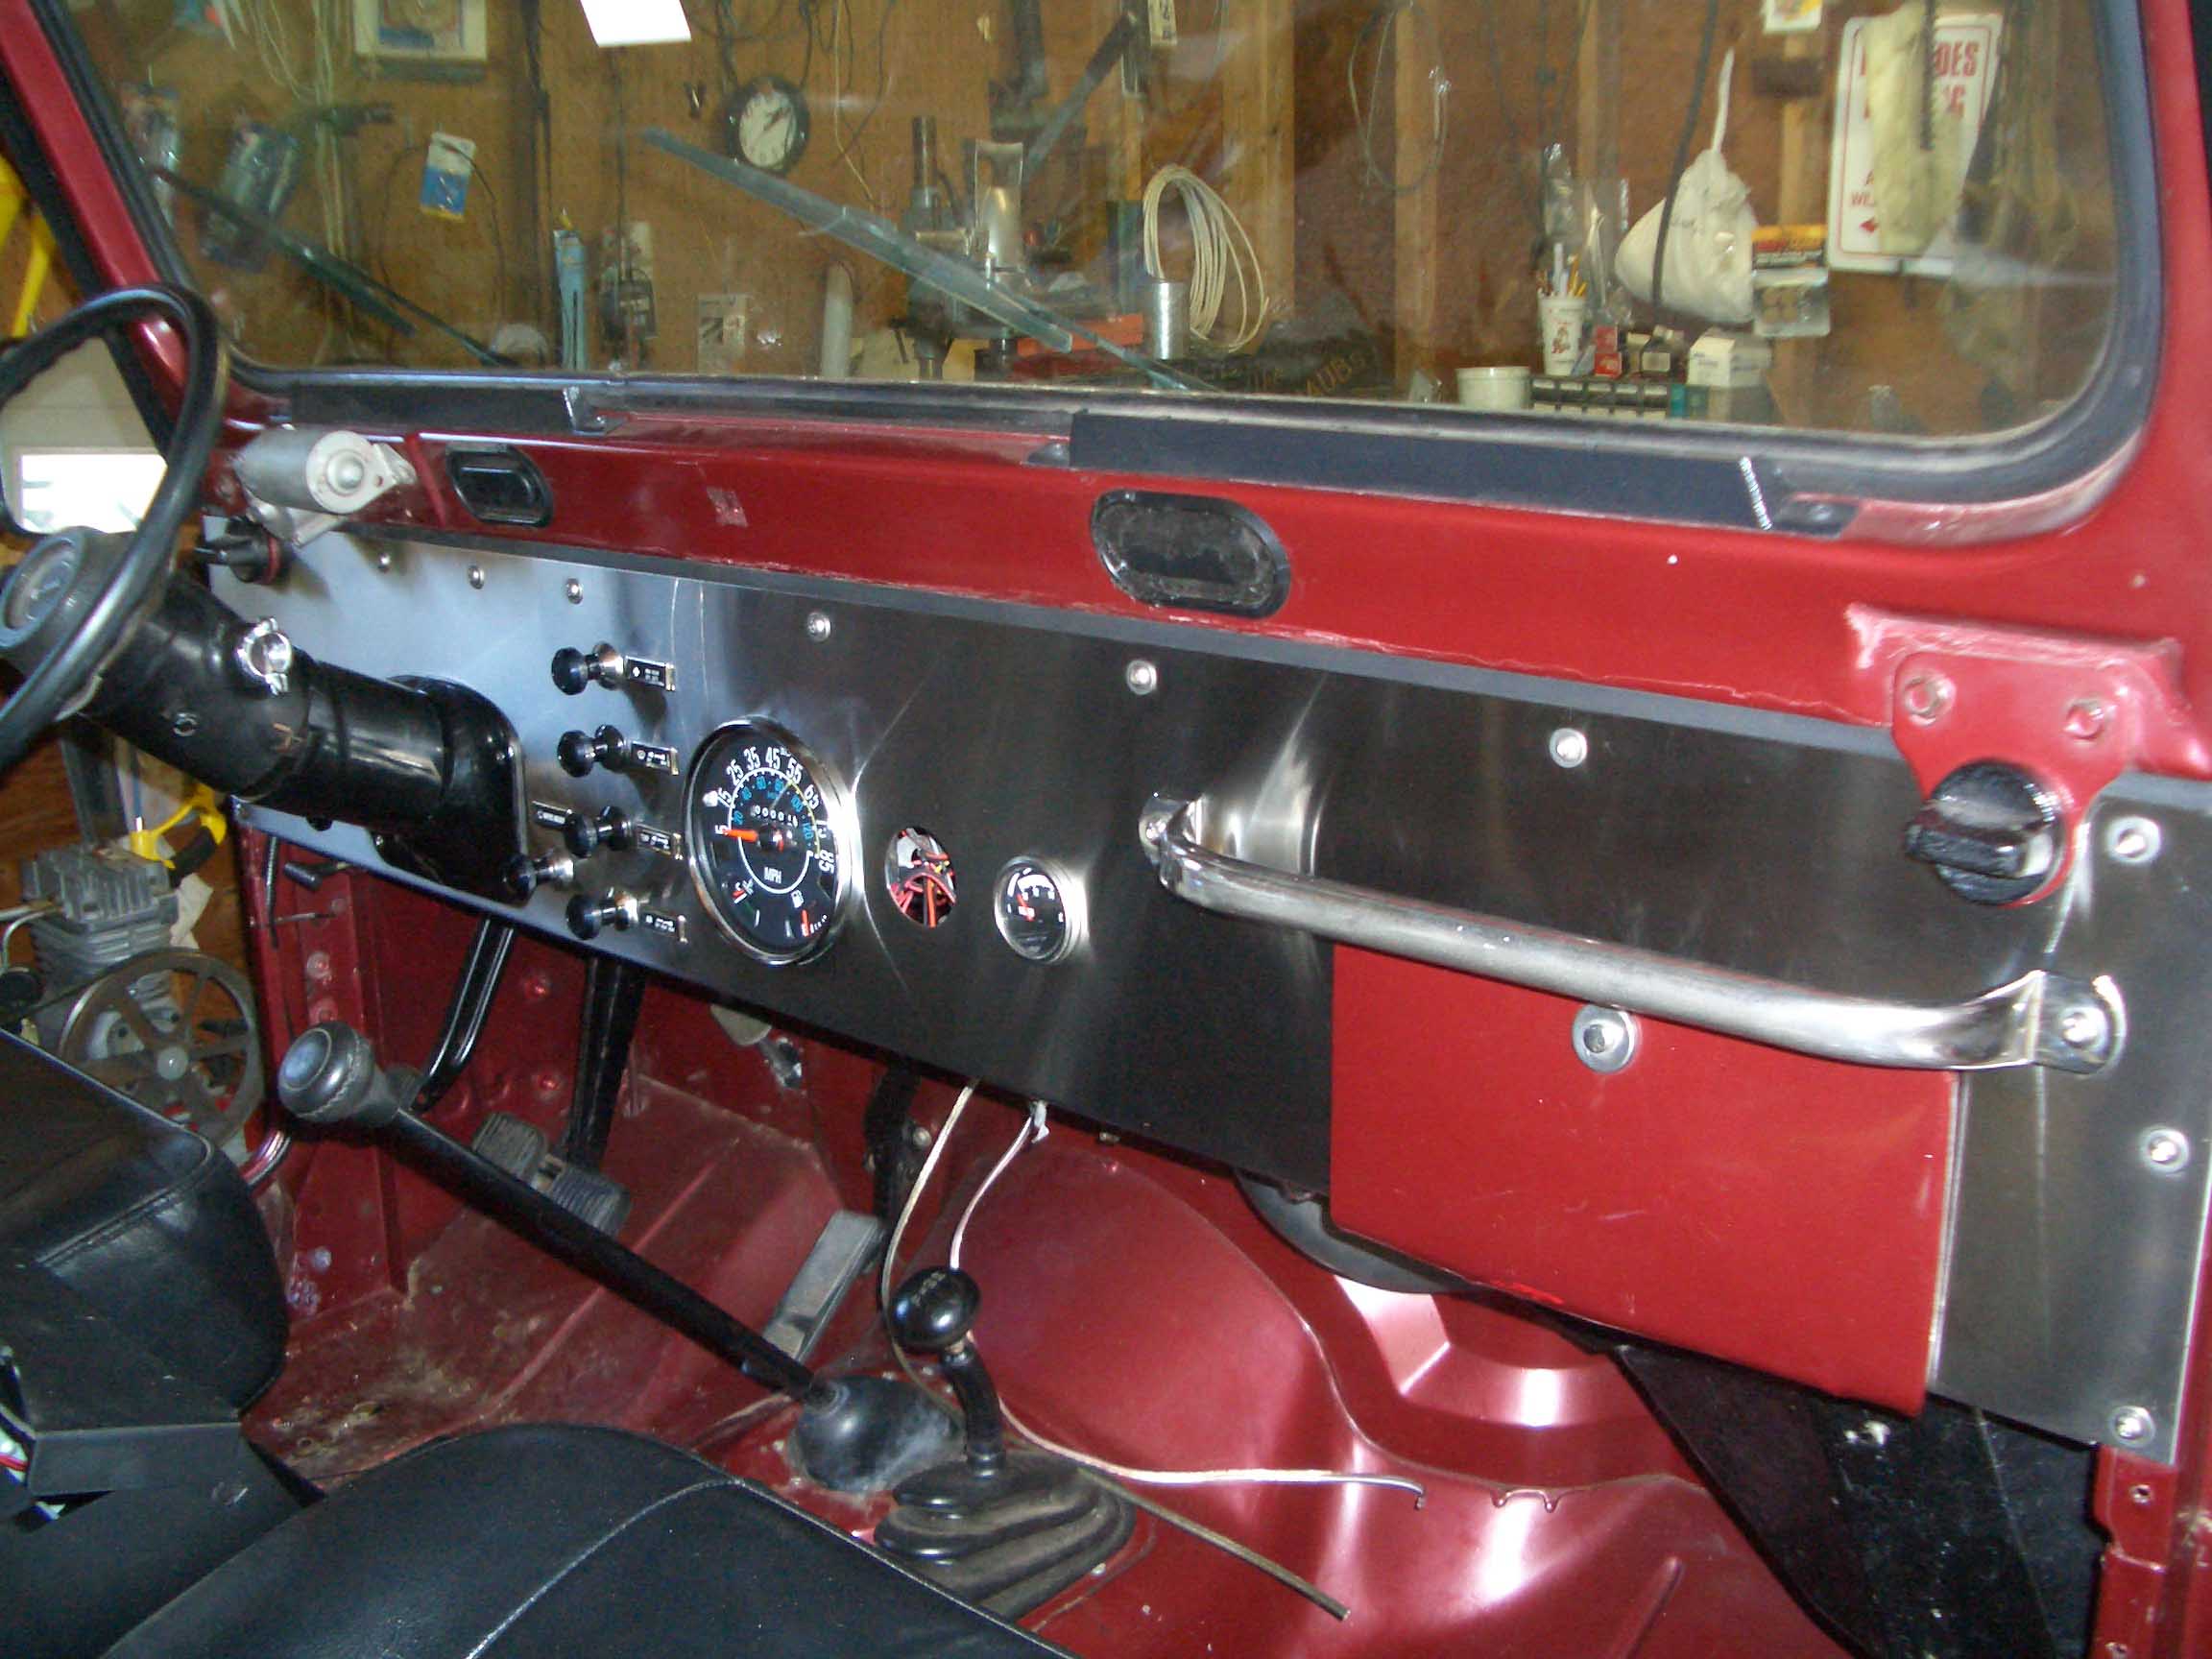
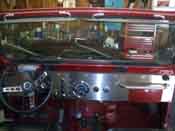
| In order to update the look to the interior of the Jeep and to add a little
bling bling, and contrast to the all maroon body, it was decided to add a stainless steel dash. The look of the
stainless steel dash with new gauges and the original glove box door was the look that was desired and it was
figured to be a straightforward and relatively easy installation. Good thing I think well, it was.
|
| |
|

|
| |
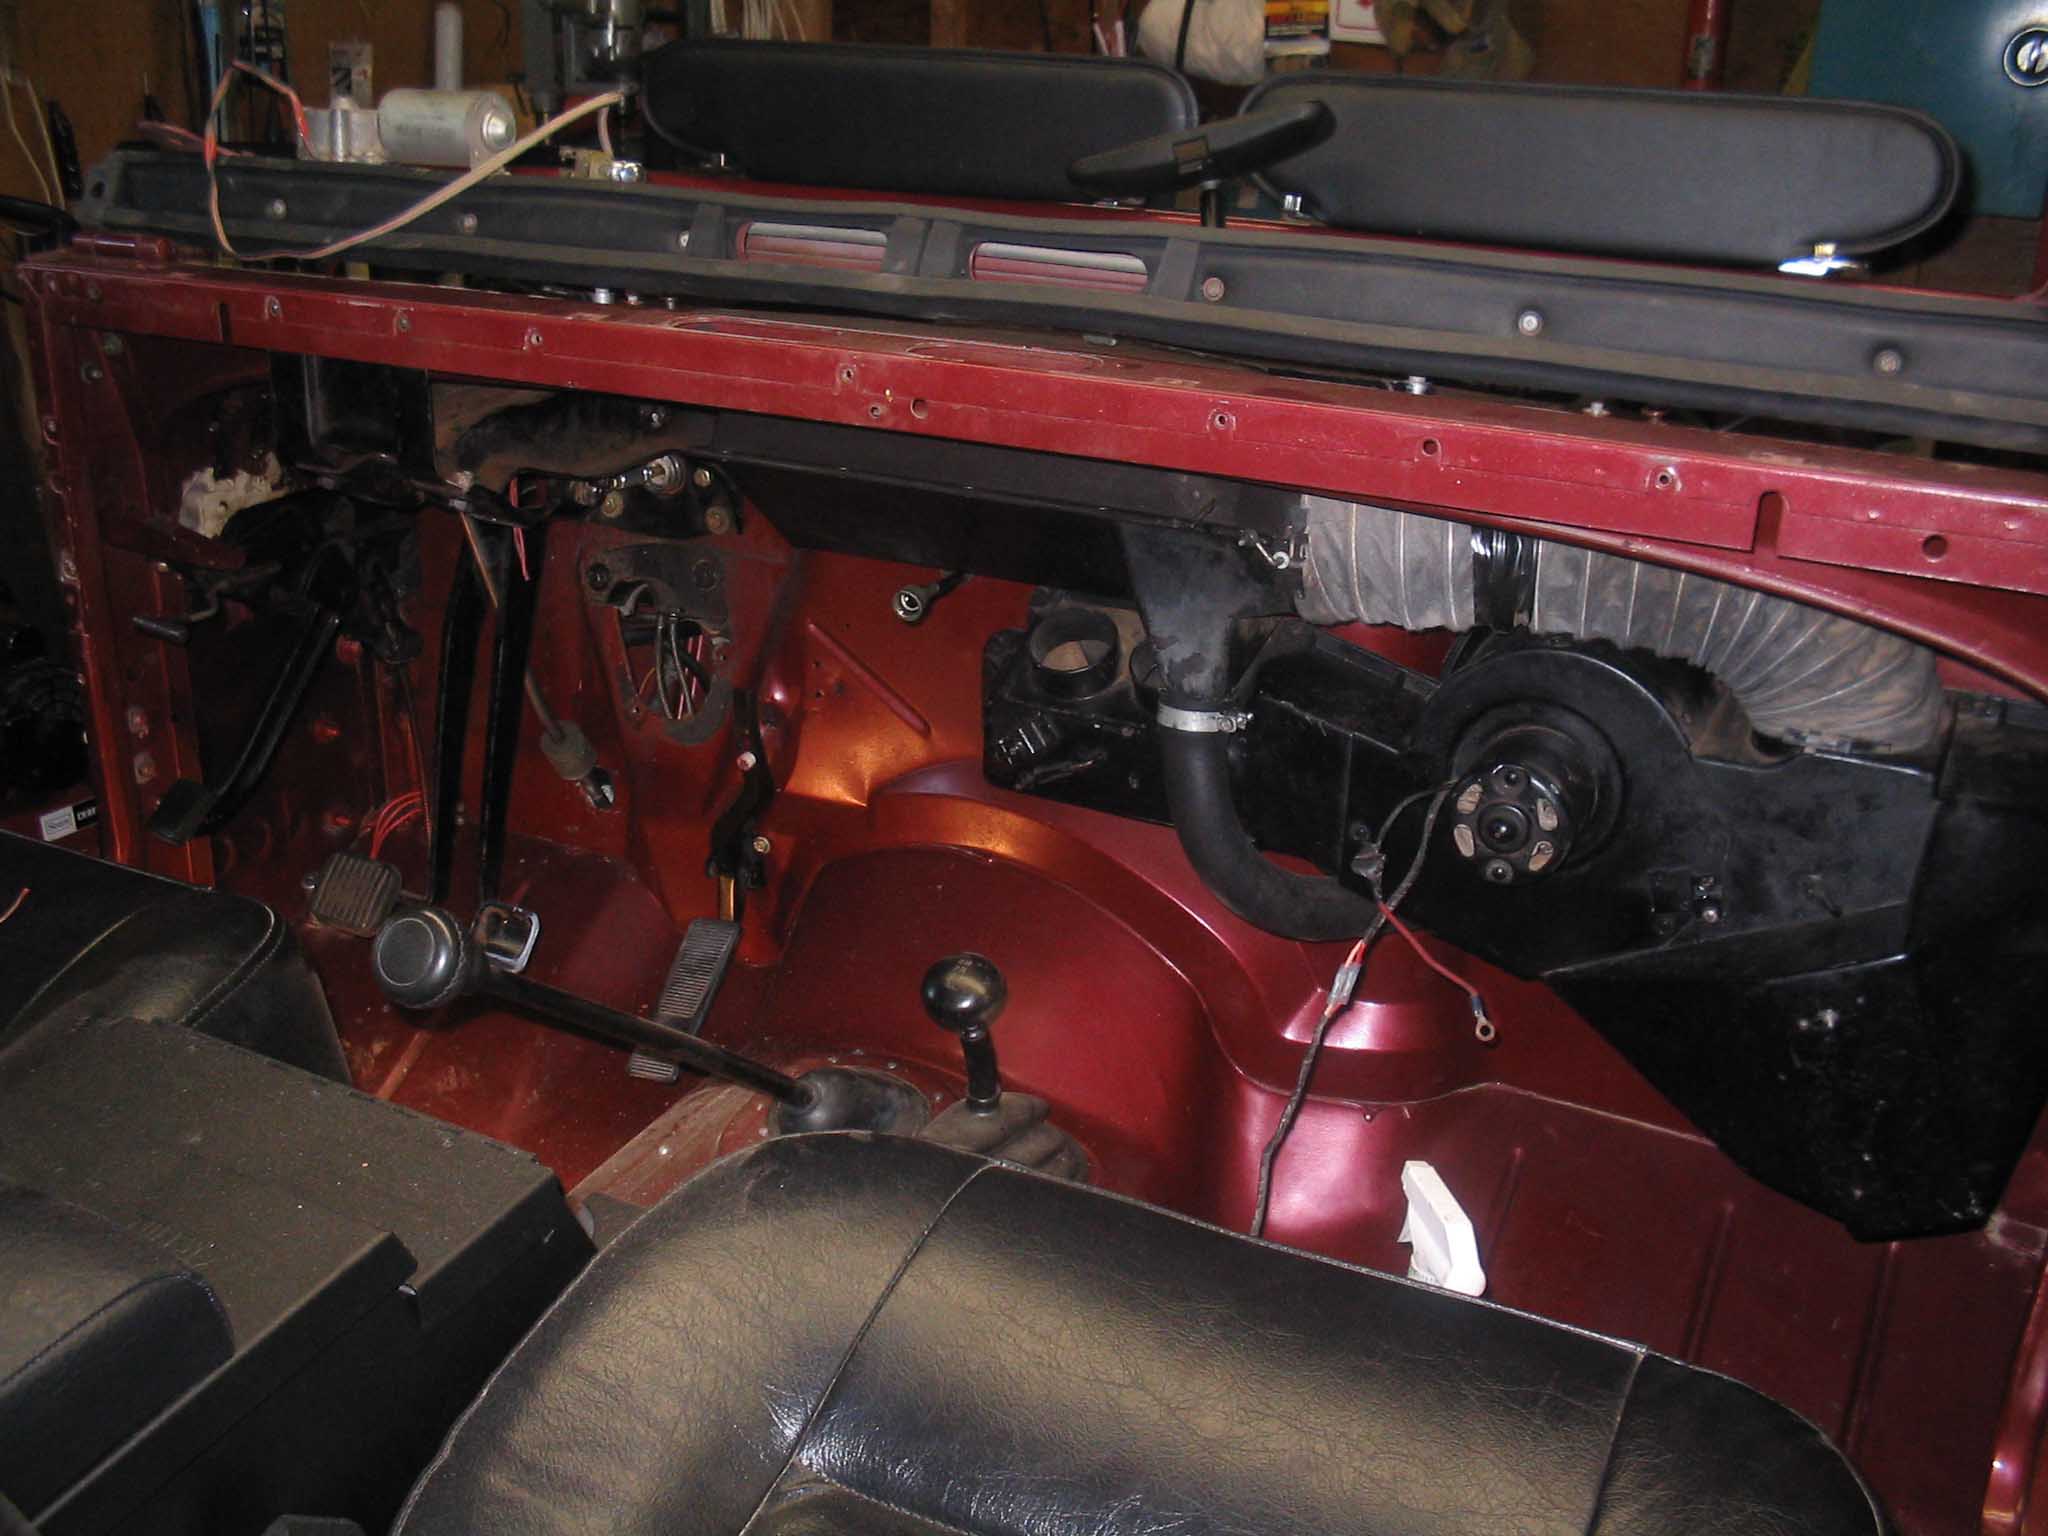
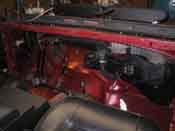
I know this sounds crazy, but when removing the dash, everything needs to come out.
First and foremost is the steering column. This is easily accomplished by removing 4 bolts that hold the column
to the tub. The steering shaft is then next and finally before you start everything, the shroud around the steering
column that covers up the dash. If there is a full roll cage in there, this needs to be removed as well.
I know this sounds like a lot of work, but when it is all out, it makes it a lot easier to work on. The seats are
optional, but will provide a larger area to work in.
|
| |

|
|
| |
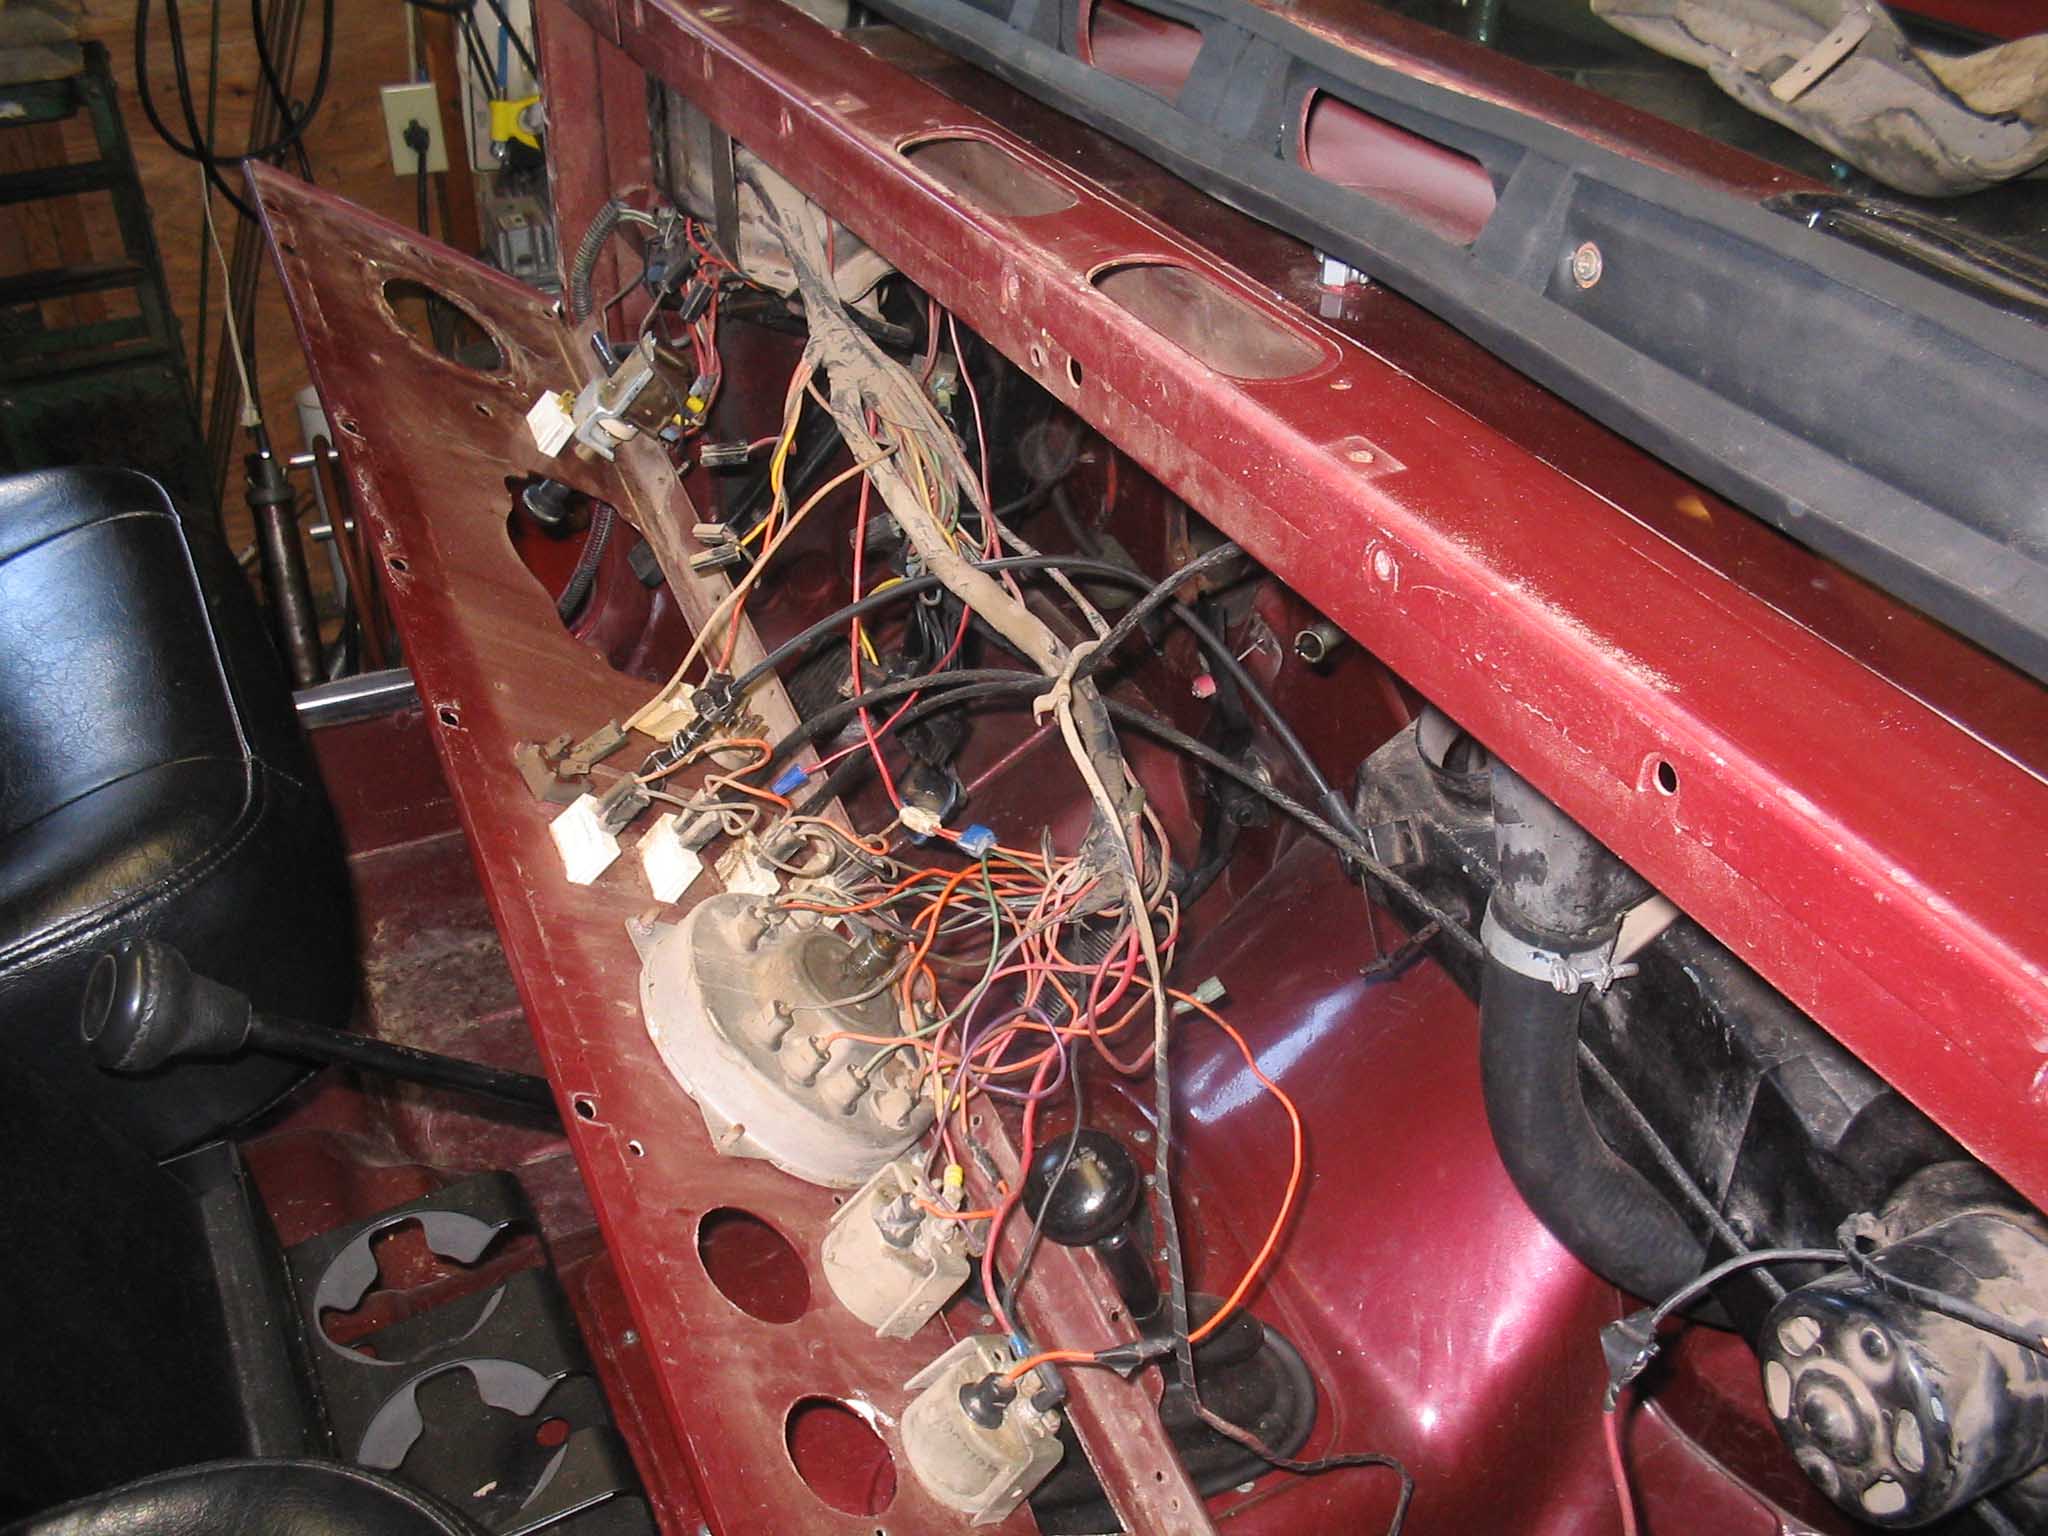
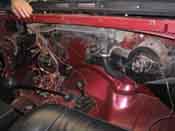
| With everything removed, the disassembly can begin. The 12 or so bolts that hold
the dash in place need to come out. This is preceded with removal of the windshield hold downs and the windshield
lying flat on the hood, or in this case, lack there of. Removal of the hood will allow for better access to the
engine compartment to allow for better ease of the fuse block removal and installation. If there is a dash pad,
this will need to be removed as well. This is a good time to do a
windshield cowl replacement.
|
| |
|

|
| |
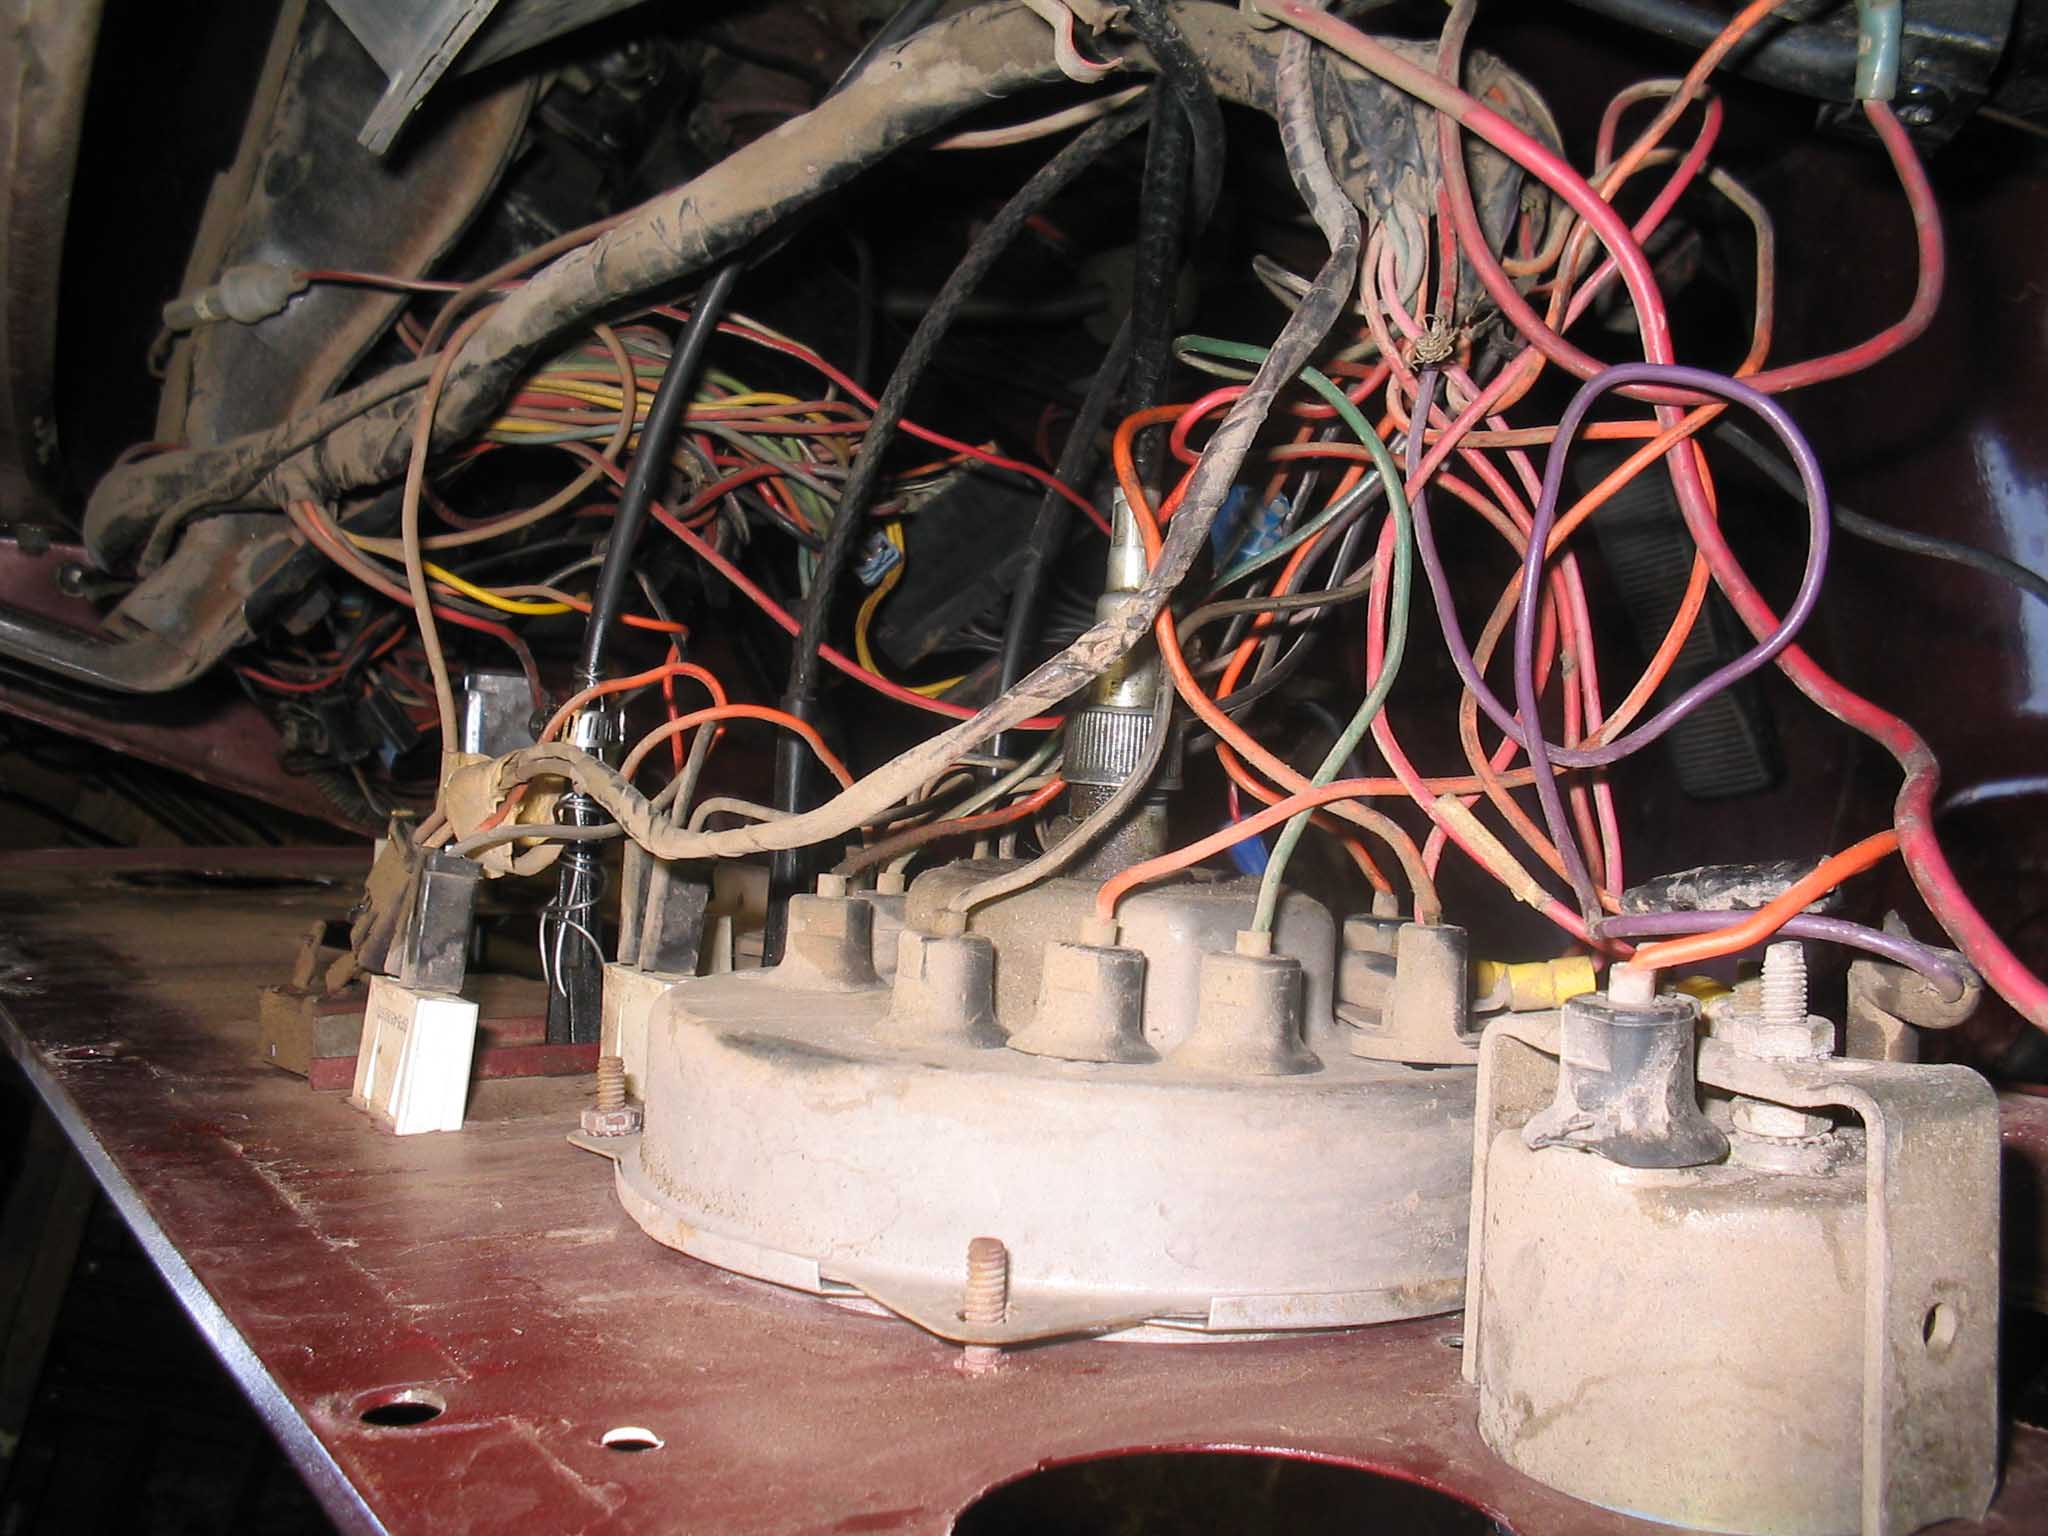
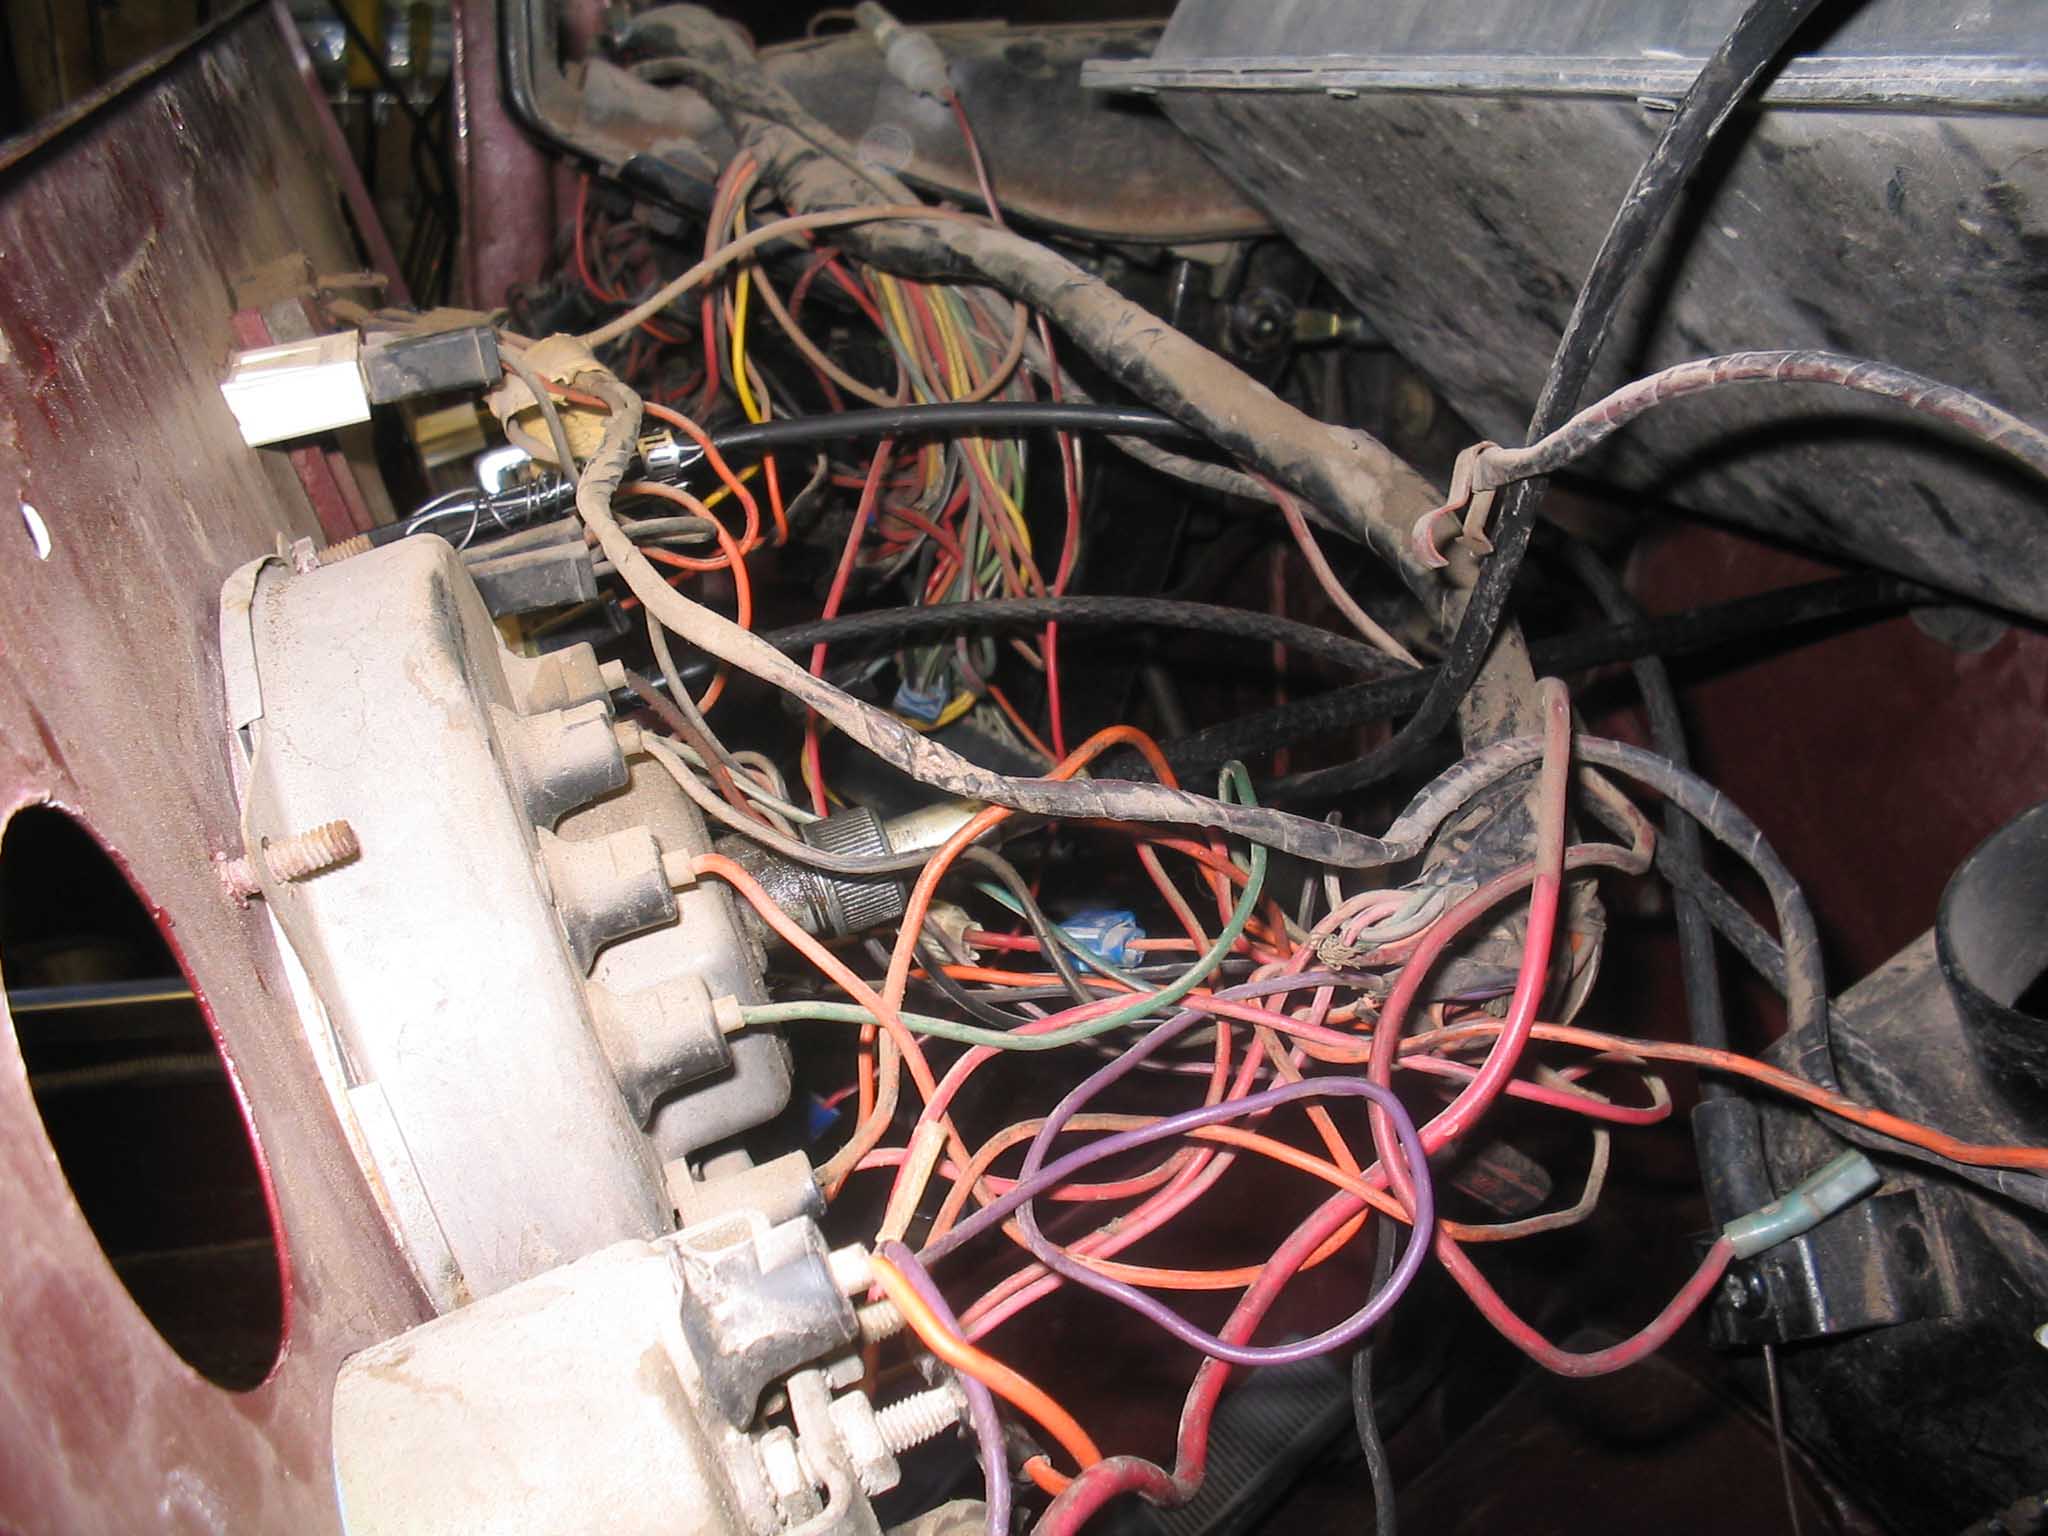
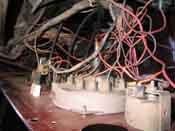
Now that the dash is free, you can disconnect everything that is connected with wires. This includes all the
electrical components, the speedometer cable, and finally the paper glove compartment. This is really funny. I
guess to save on cost, cardboard was used. This is a really good time to update the glove box as well as the fresh
air duct that is also made of cardboard.
If there is a fear that you need to remember what goes where, forget it. The first time I did this I labeled the
entire wiring harness only to find that when you install the
Painless Wiring Harness that
everything is labeled for you and it really makes everything much easier. You will need to keep the original
harness until you are done because you might require some of the connectors, but afterwards, you can discarded it, or
sell it as I did on eBay.
|
| |
|
|
|
|
| |
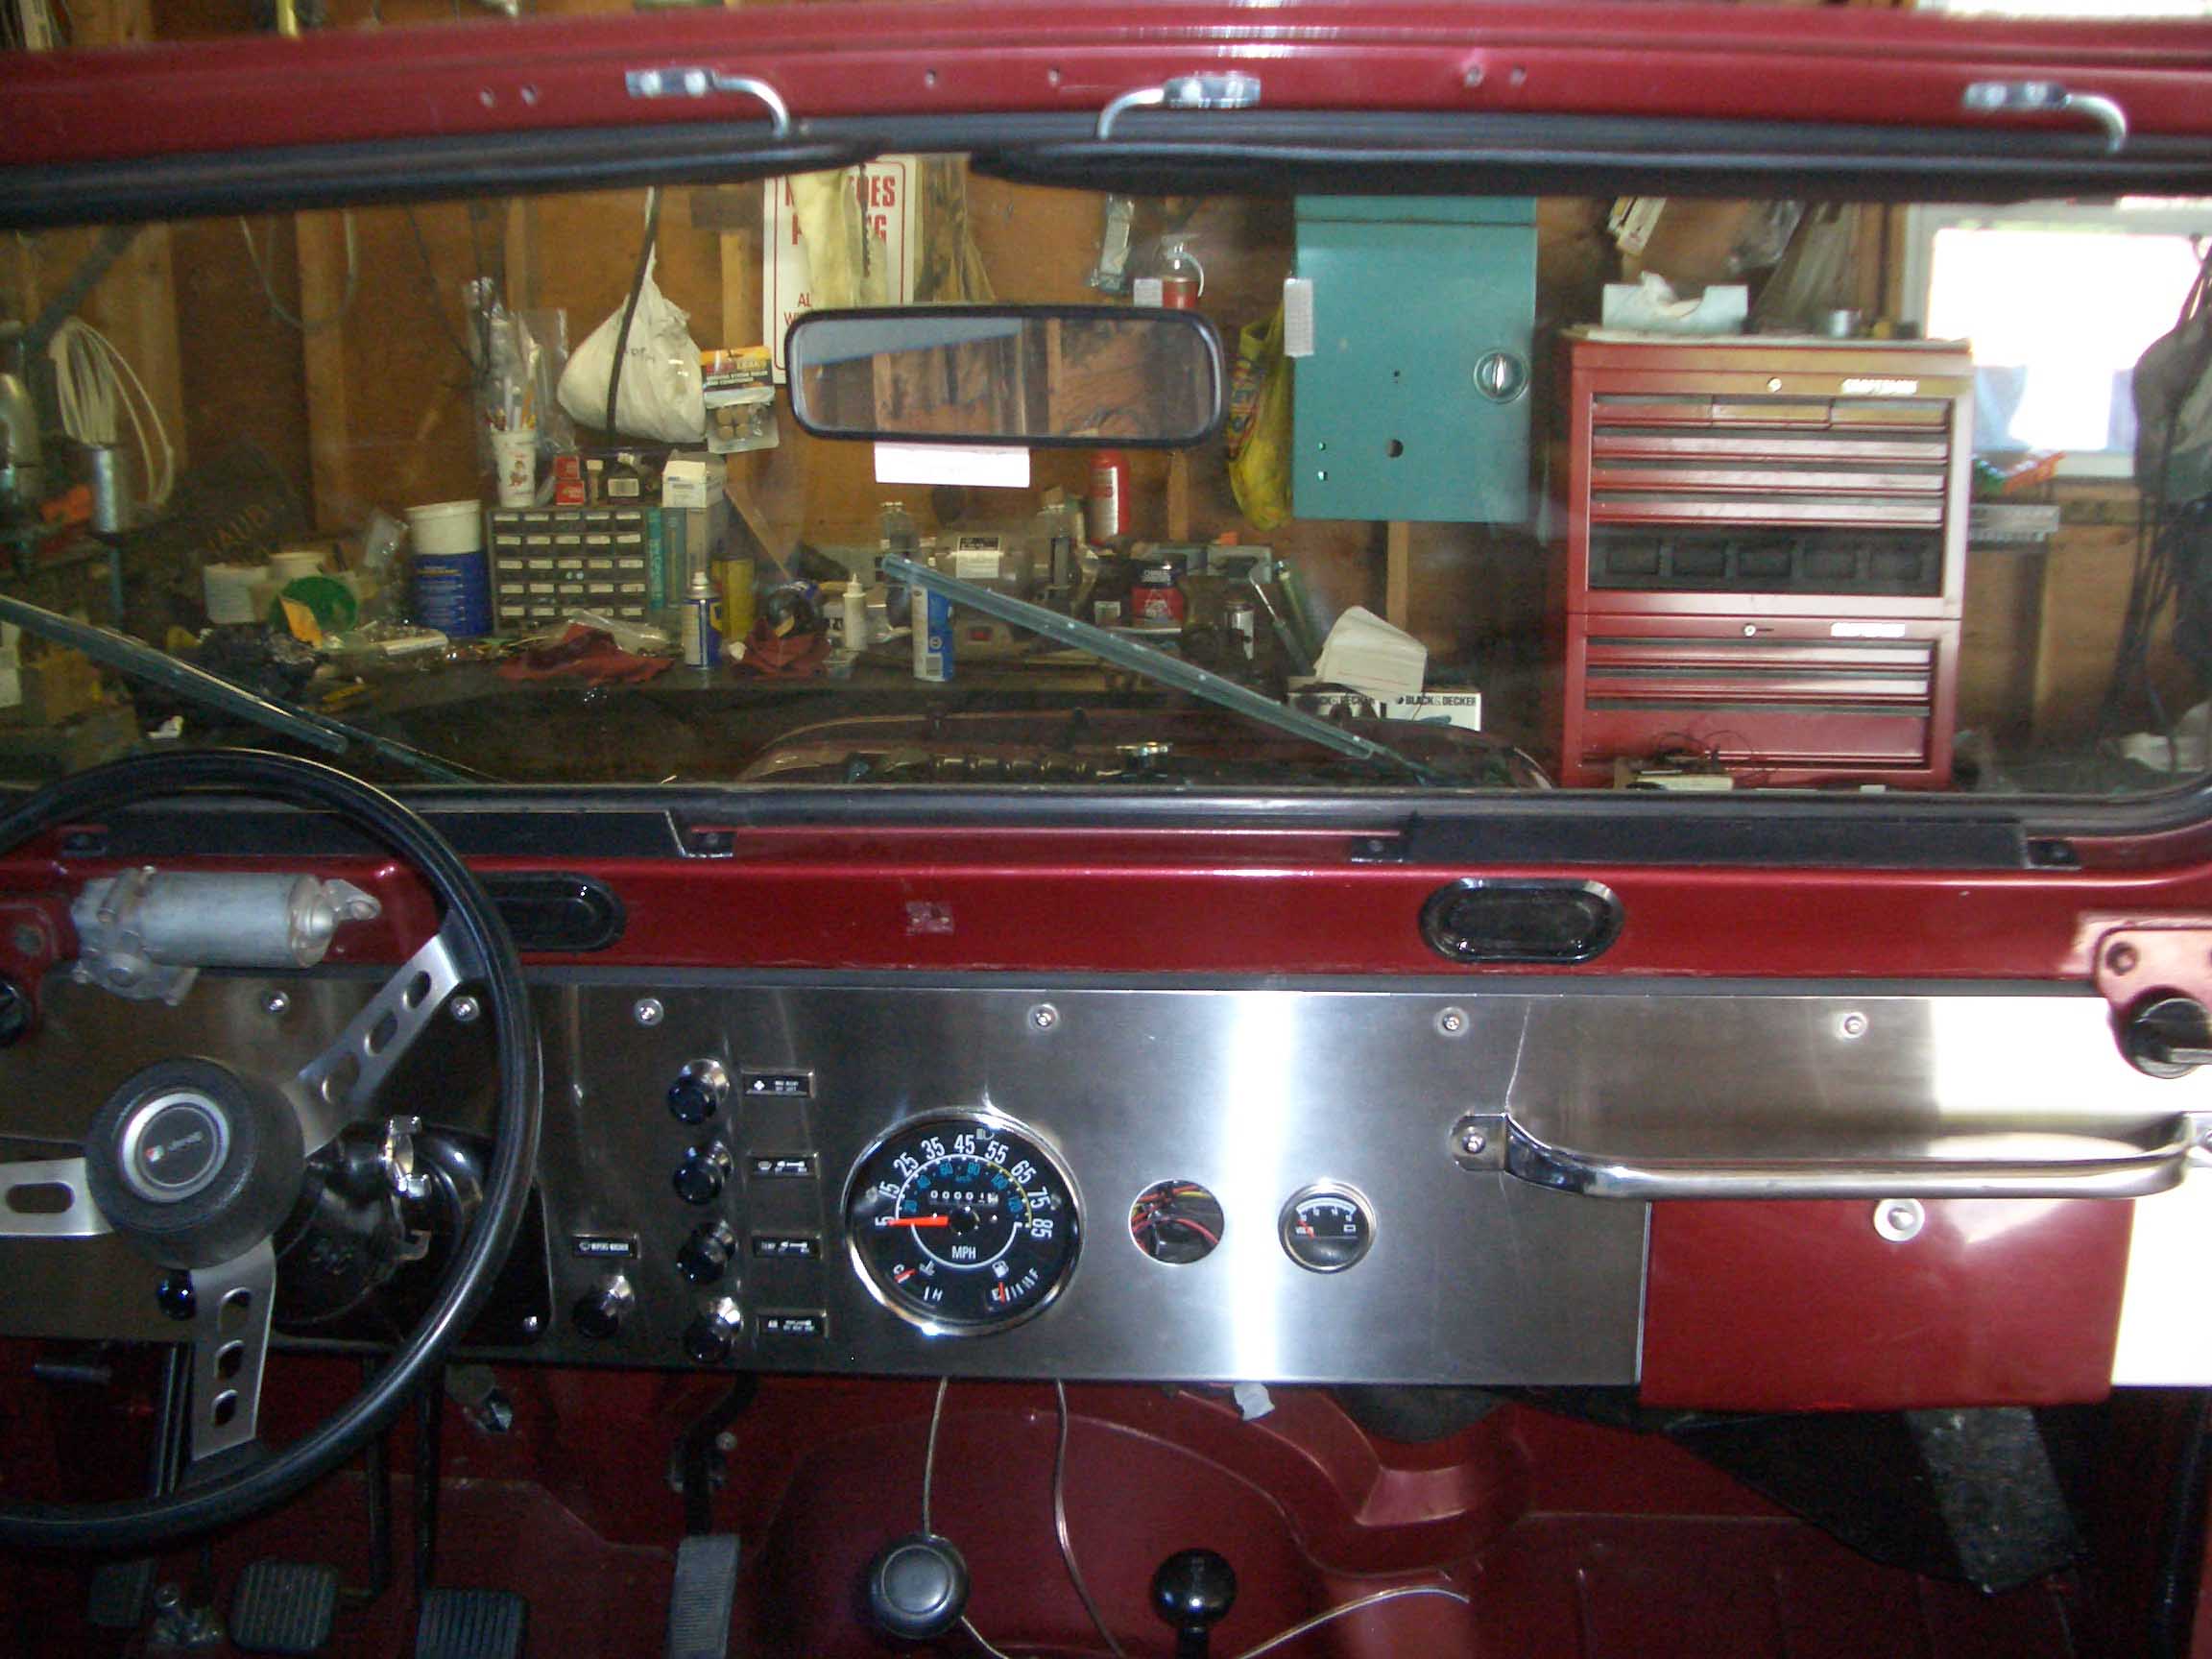
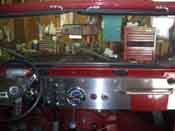
| With the old dash removed and the new stainless dash recently arrived on the front
door step, the old gauges, levers, and lights that were on the old dash were transferred. Unfortunately, 30 years
of weathering took their toll on the indicator lights, these crumbled when they were taken out. Also to
hit the garbage can were some of the gauges. These were shot, so it was figured that it was worth the money to
replace them since they are relatively cheap. The switches that worked were retained and finally the inside of the
dash was hit with WD40 and cleaner to remove about 30 years of Arizona dust. With everything transferred, the
installation of the dash was next along with the wiring harness upgrade.
|
| |
| Lessons Learned the Hard Way |
| |
So, my lessons learned here would have to be that even with the best intentions,
not everything is going to go as you planned. First is that you might not be able to get everything out of the
old dash that you want to, it is a fact of life. These pieces have been in there for 30 years and then are
quite stubborn when it comes to being taken out.
Secondly, the stainless steel dash was ordered without a DIN stereo cutout since the stereo was going to reside in
the Tuffy Security Center Console.
|
| |
| Conclusions |
| |
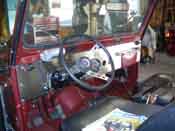
This is a pretty easy thing to do for a nice clean look to the Jeep, but keep in
mind if you are looking to rearrange your gauges or want updated aftermarket gauges in there, this won't work
for you. You will have to buy one that you can cut your own gauges in.
This is a relatively straightforward install. You will need some simple hand tools and in the case of one
replaced gauge, you will need to do some filing. The opening on the oil gauge was just a little too small for
the width of the new gauge. These things happen, just make sure you test fit everything first.
|
|