|
|
| Painless Wiring Harness - part #1 |
| |
| After getting the Jeep and realizing that a lot of the wiring didn't work as
it was expected to, a search of the forums ensued for the best wiring harness. Painless was the one that was
selected for this project. Centech also makes one, but I didn't go with them. The
Painless Wiring was searched on
Froogle to find the best priced option and
after that was found, it was purchased. The
Centech website has more information on their
setup. BTW, they also offer up rebuilt tilt columns for your rig as well.
|
| |
|

|
| |
| So, the box came in with the wiring kit and I went to town. The directions
are fairly straightforward even if you don't understand wiring. I ordered up the Part #10110 - 12 Circuit Universal
CJ Jeep Harness (1975-86) for this project. It comes with everything you will need to complete the install. The
instructions are
also available from the site. I familiarized myself with these prior to them coming in so I knew what to expect.
|
| |

|
|
| |
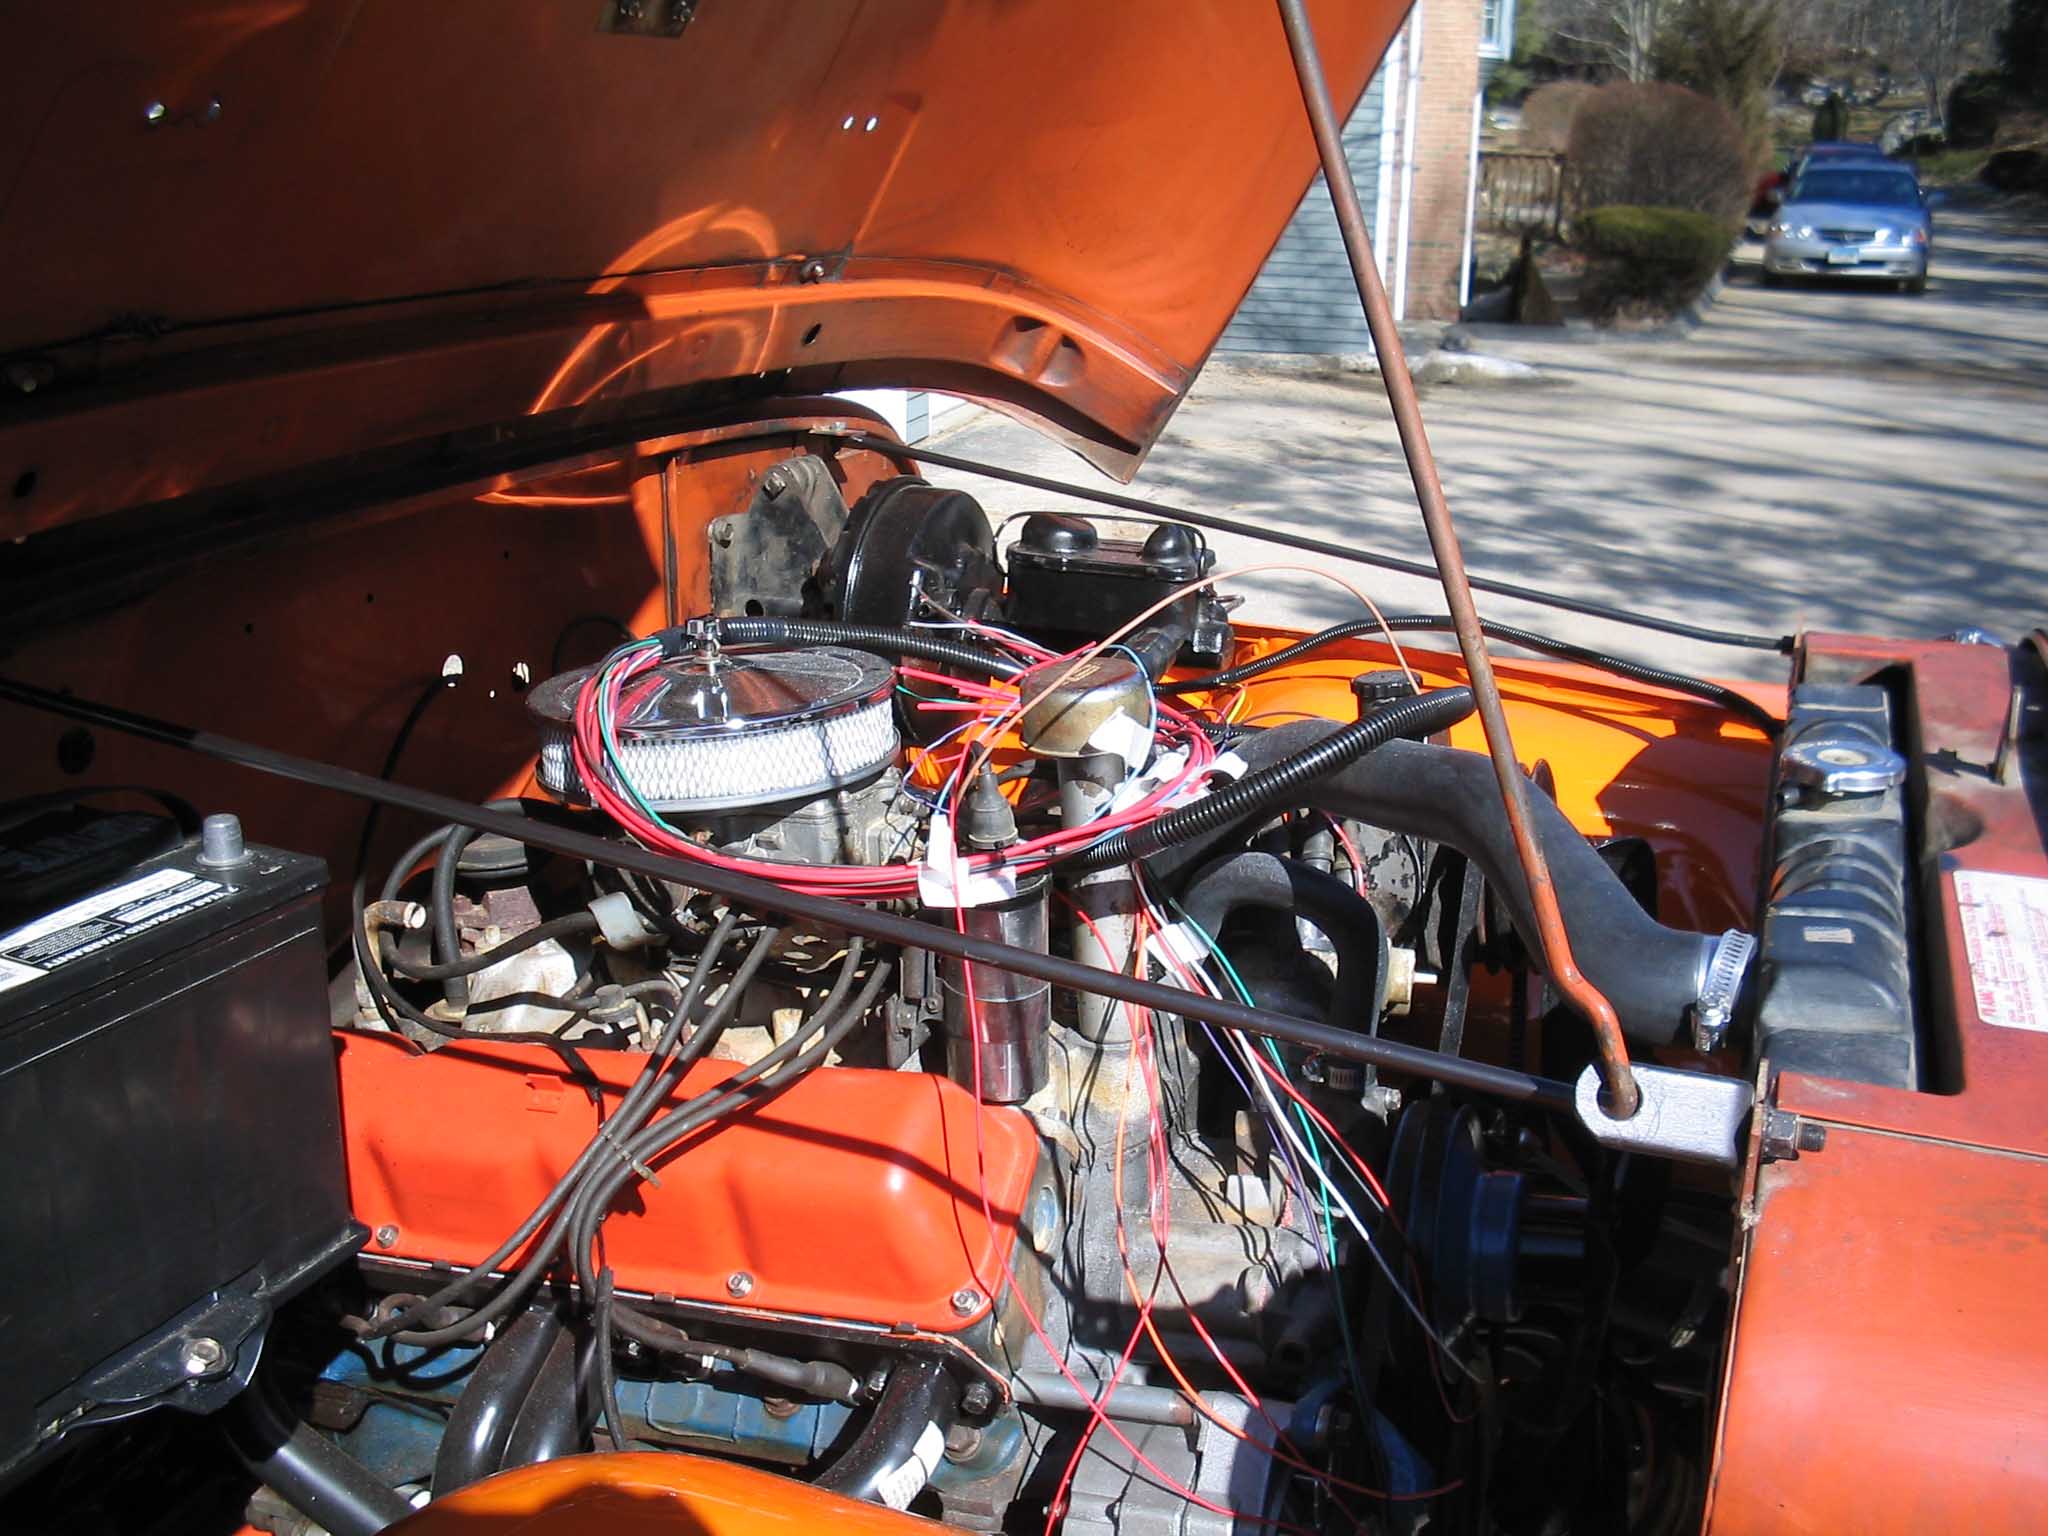
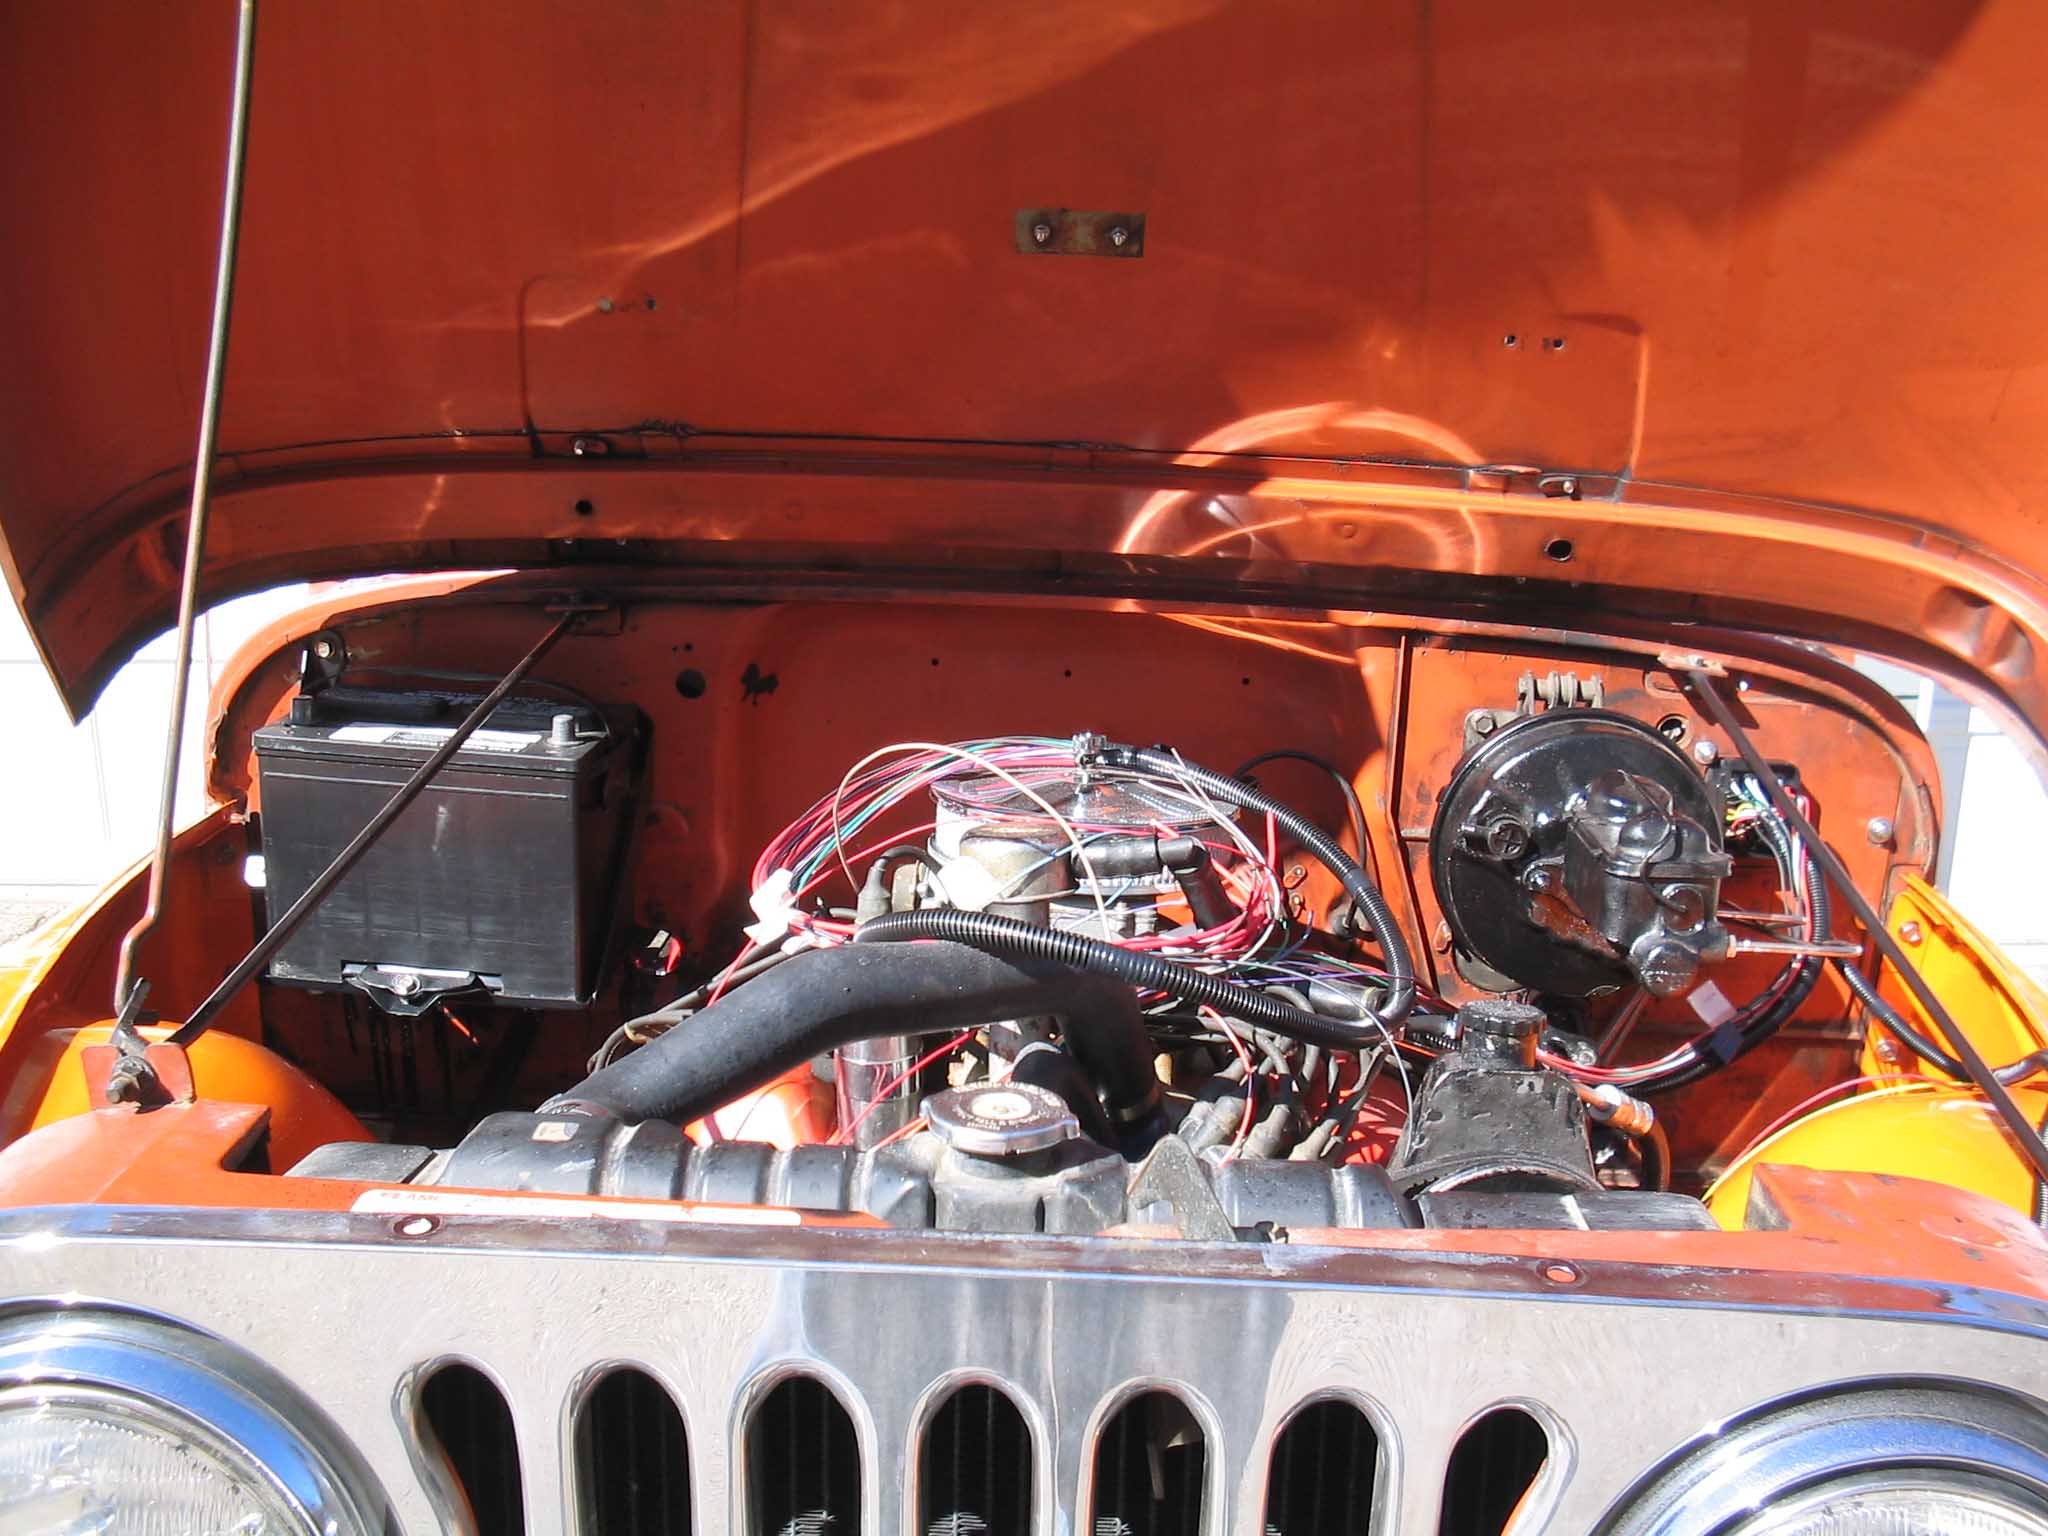
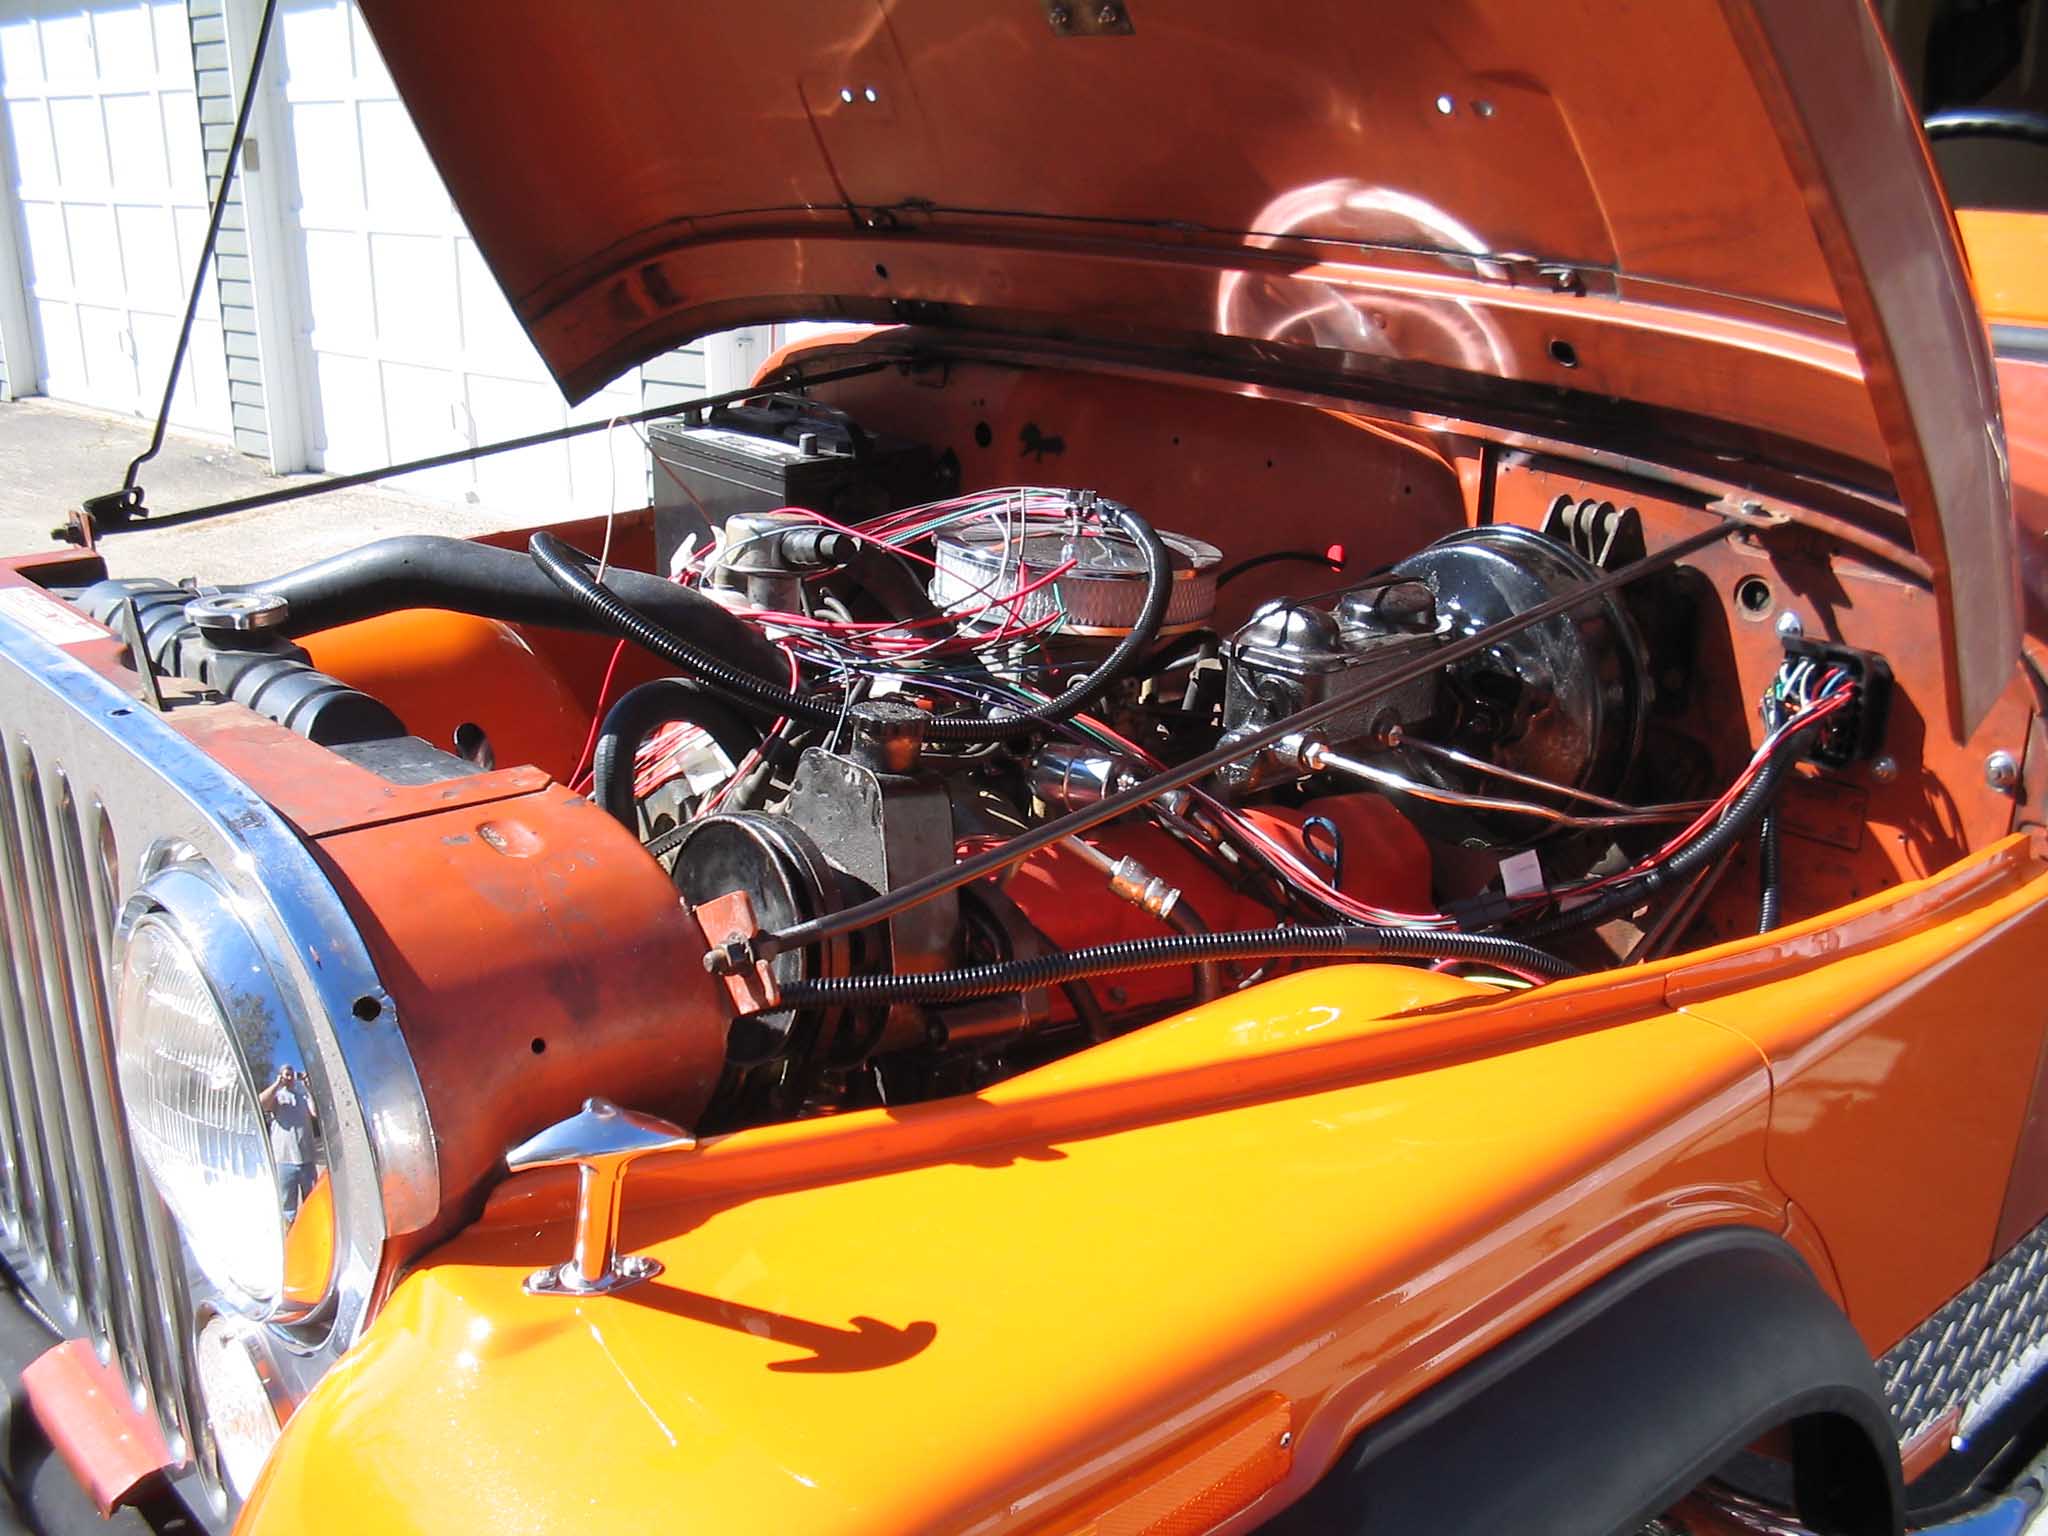
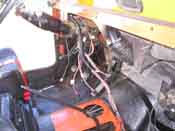
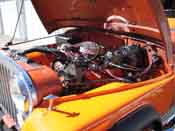
The kit comes in three main pieces. The first piece is for the engine
compartment, the second piece is for the main wiring in the dash, and the third piece is for the tail section
of the Jeep and includes all the lighting as well as the fuel tank hookups. The fuse block is attached to the
dash section and once this is installed the engine and tail sections will connect up to it.
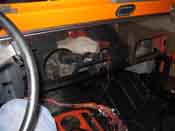
Start out by laying the harness out either along side the Jeep or lay it in the Jeep as I did. The fuse block
is the first thing to be mounted and this goes up into the square hole in the driver's side of the Jeep on the top
of the firewall.
NOTE: This project was a frame-off restoration which meant that the entire wiring harness was
removed when the Jeep was torn down and body separated from the frame. The original wiring harness was
kept for reference and lots of pictures were taken to see what wires went where and how they were run over the
top of the steering column and down the sides of the Jeep. If you are doing a replacement, you will have to
remove the old harness first. Better yet, you can probably even lay the new one and the old one side by side
and do a one for one replacement as you go along. The original wiring harness was scavenged for some
specialty connectors here and there, so it was a good idea to keep it.
A good thing that painless did was in keeping with pretty much the original wiring colors as close as possible.
This helps in using the pictures and comparing the old harness pictures to the new wiring diagram and harness
to determine where everything goes. So, the fuse block didn't want to mount up exactly because the old style
harness I had in my 1976 Jeep was a 1975 harness for some reason and the holes were tapped in the firewall.
I had to drill out the mounting holes to mount mine; you may or may not have to do this.
|
| |
|
|
| |
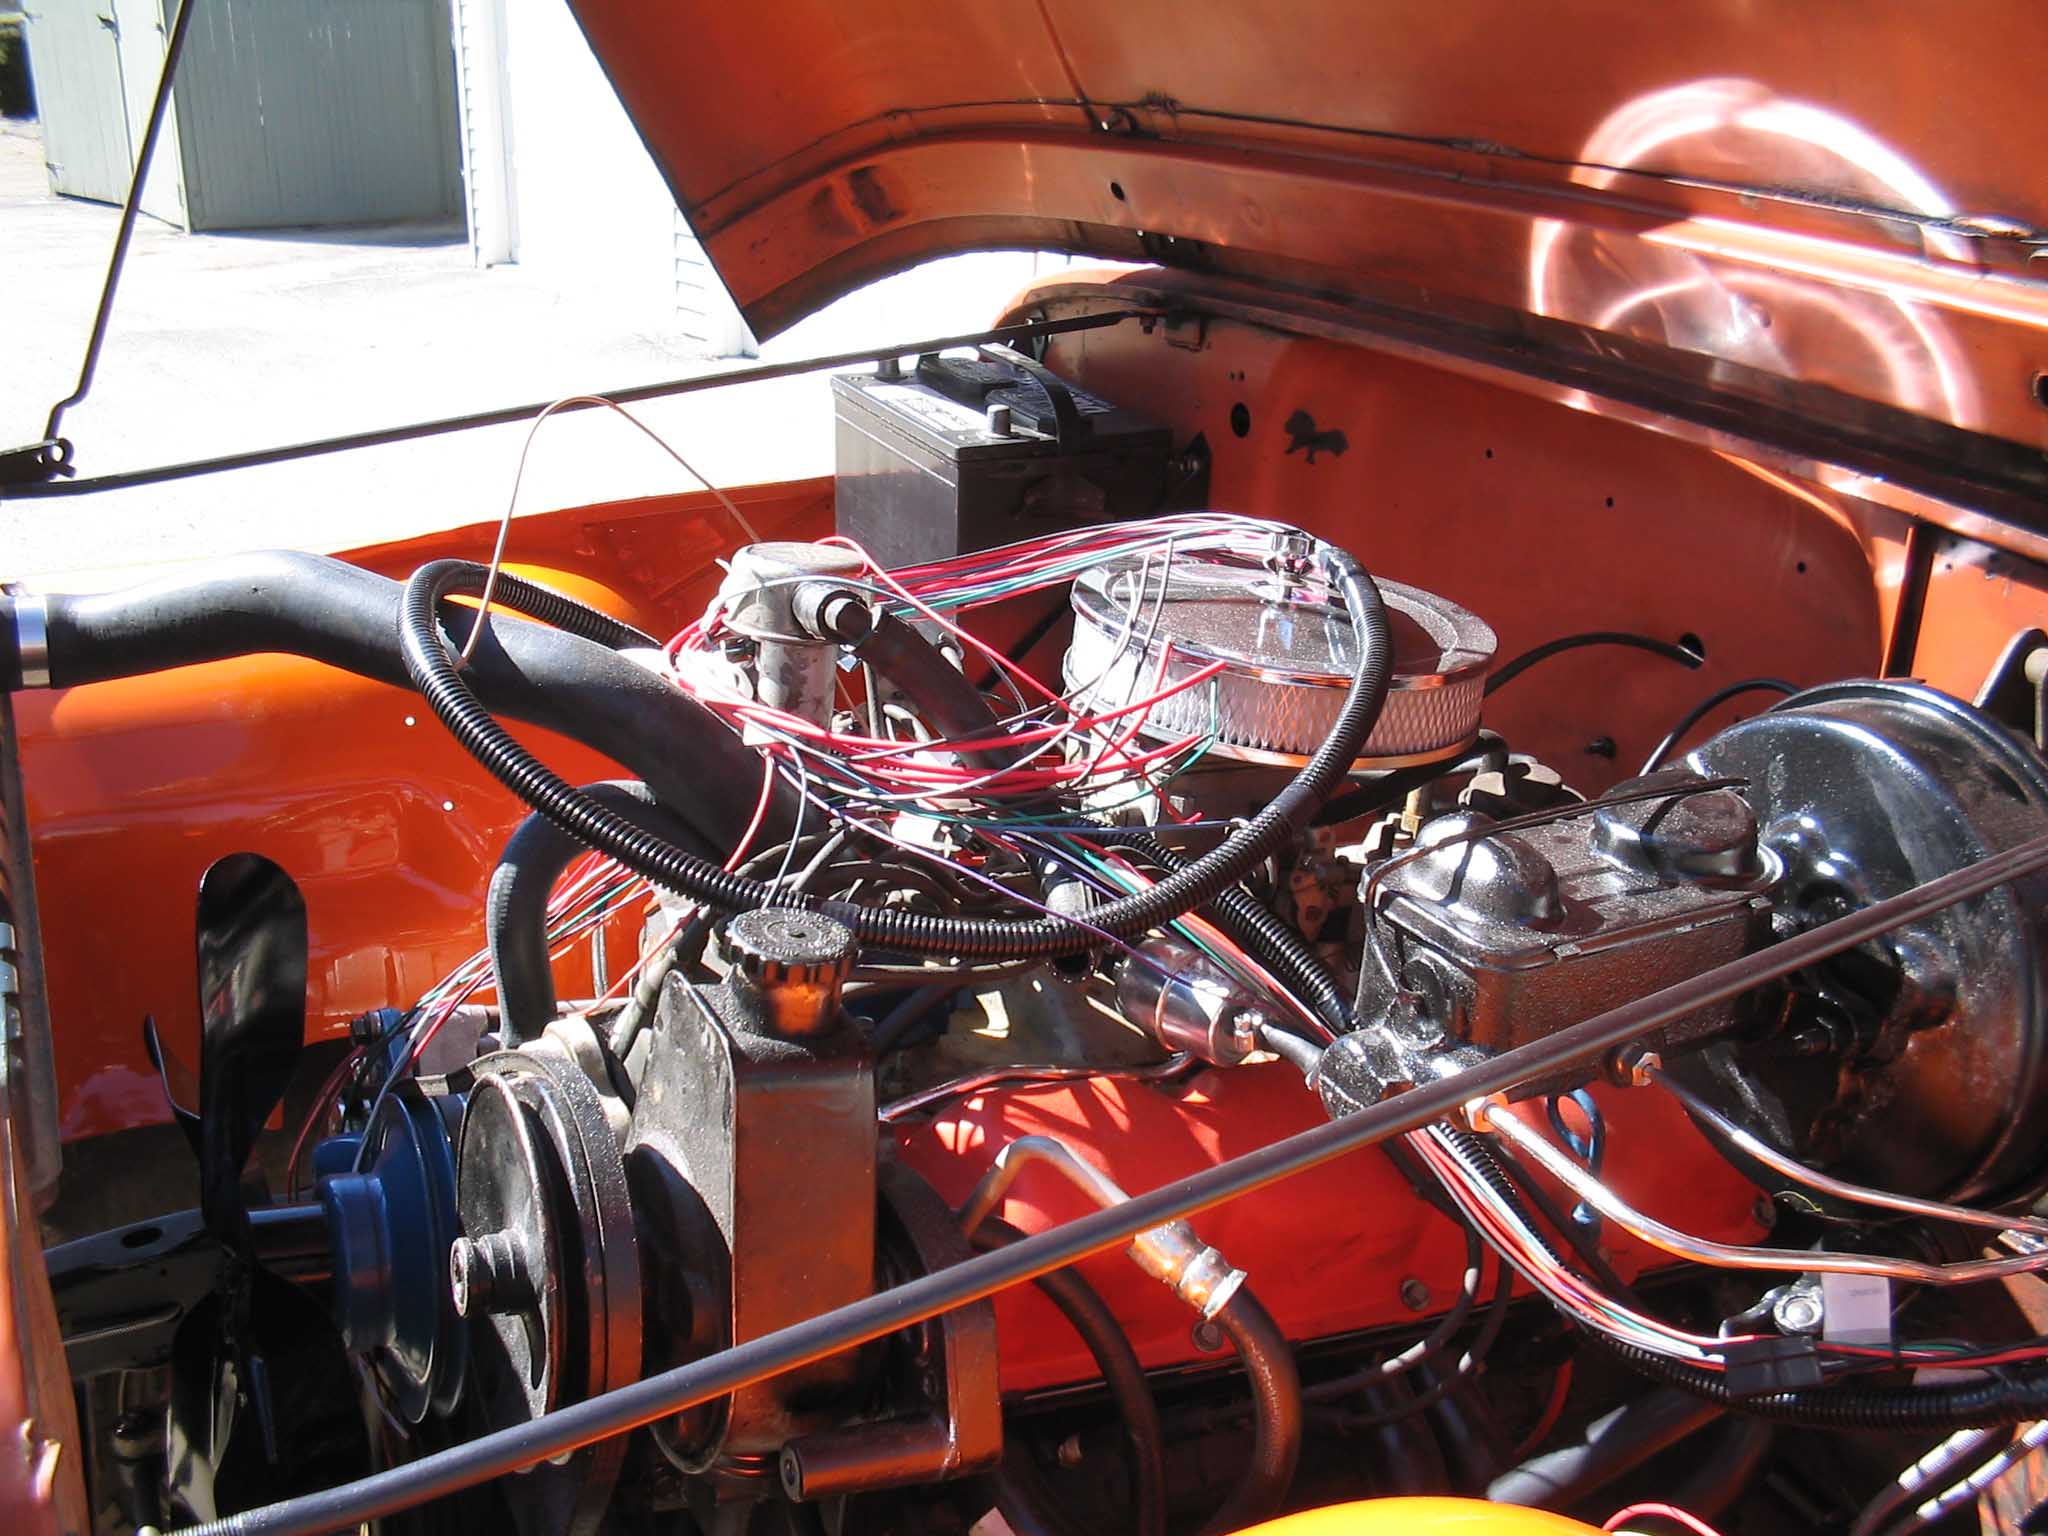
With the fuse block mounted to the firewall, connections then took place
to connect up all the dash lights, switches, and signal wires. This process is time consuming and very
tedious. Make sure that all the connections are tight and crimped down correctly where applicable.
NOTE: This #10110 kit was already pre-terminated in a lot of areas and didn't require a lot of
crimpling of connectors, a lot of it was just plug and play. This is not the case for all kits. You can get ones
that are not pre-terminated at all and you can terminate all the ends yourself. It is up to you. The more
complete kits cost more money, simply put. Also, you will need a good set of crimpling pliers to complete
the task as well as a pair of strippers, and some butt connectors. You can use quick disconnect connectors
as well if you want to make this removable for any reason. I went with butt connectors and in some cases
solder and heat shrink tubing to ensure the connection and to allow for this not to corrode in the future.
|
| |
| Last |
Next >> |
|