|
|
| Gas Tank Replacement |
| |
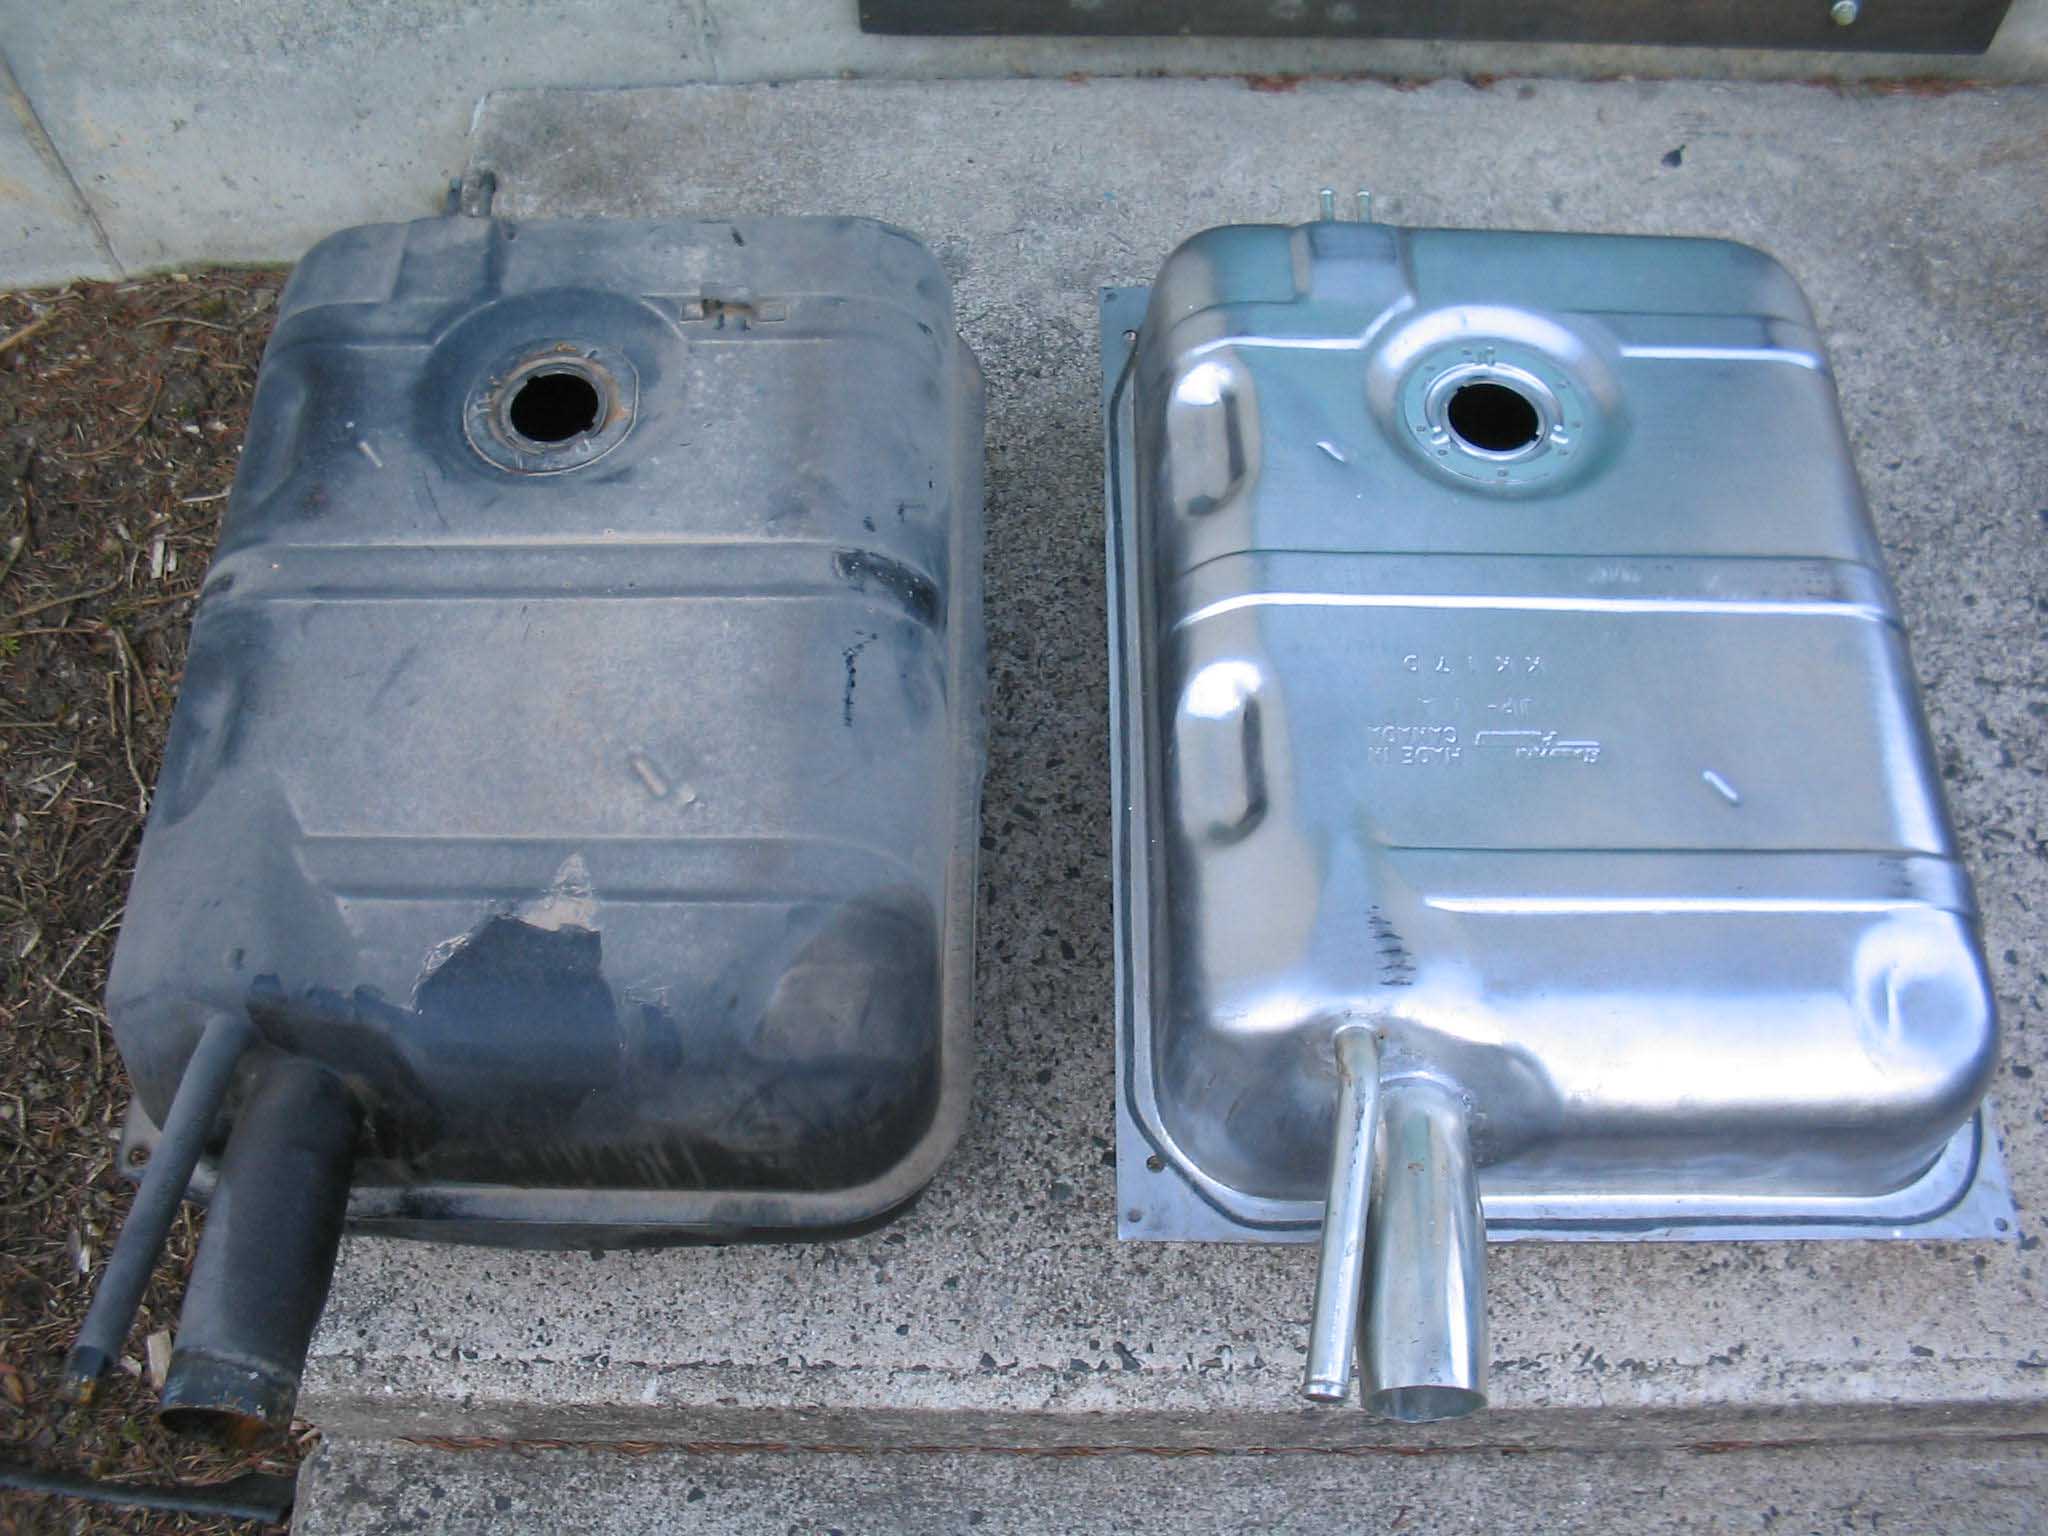
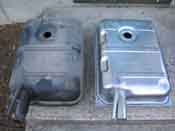
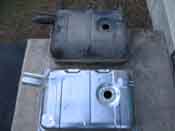
When replacing a gas tank, usually it means that the gas tank has started to leak
due to age, rust, or a puncture hole. In the case of the Red Jeep, our over anxious nature during the installation
of the 1" Daystar Body lift during the winter months doing various projects to it caused the filler neck to start
leaking. In short, we lifted up the body without removing the filler hose and the filler neck bent upwards causing
a leak at the base of the filler tube on the gas tank. The tank looked to be original and repaired previously, so
it was time to get a new gas tank. We decided to go with a stock replacement metal tank, you can go with poly, it
is up to you and your preference.
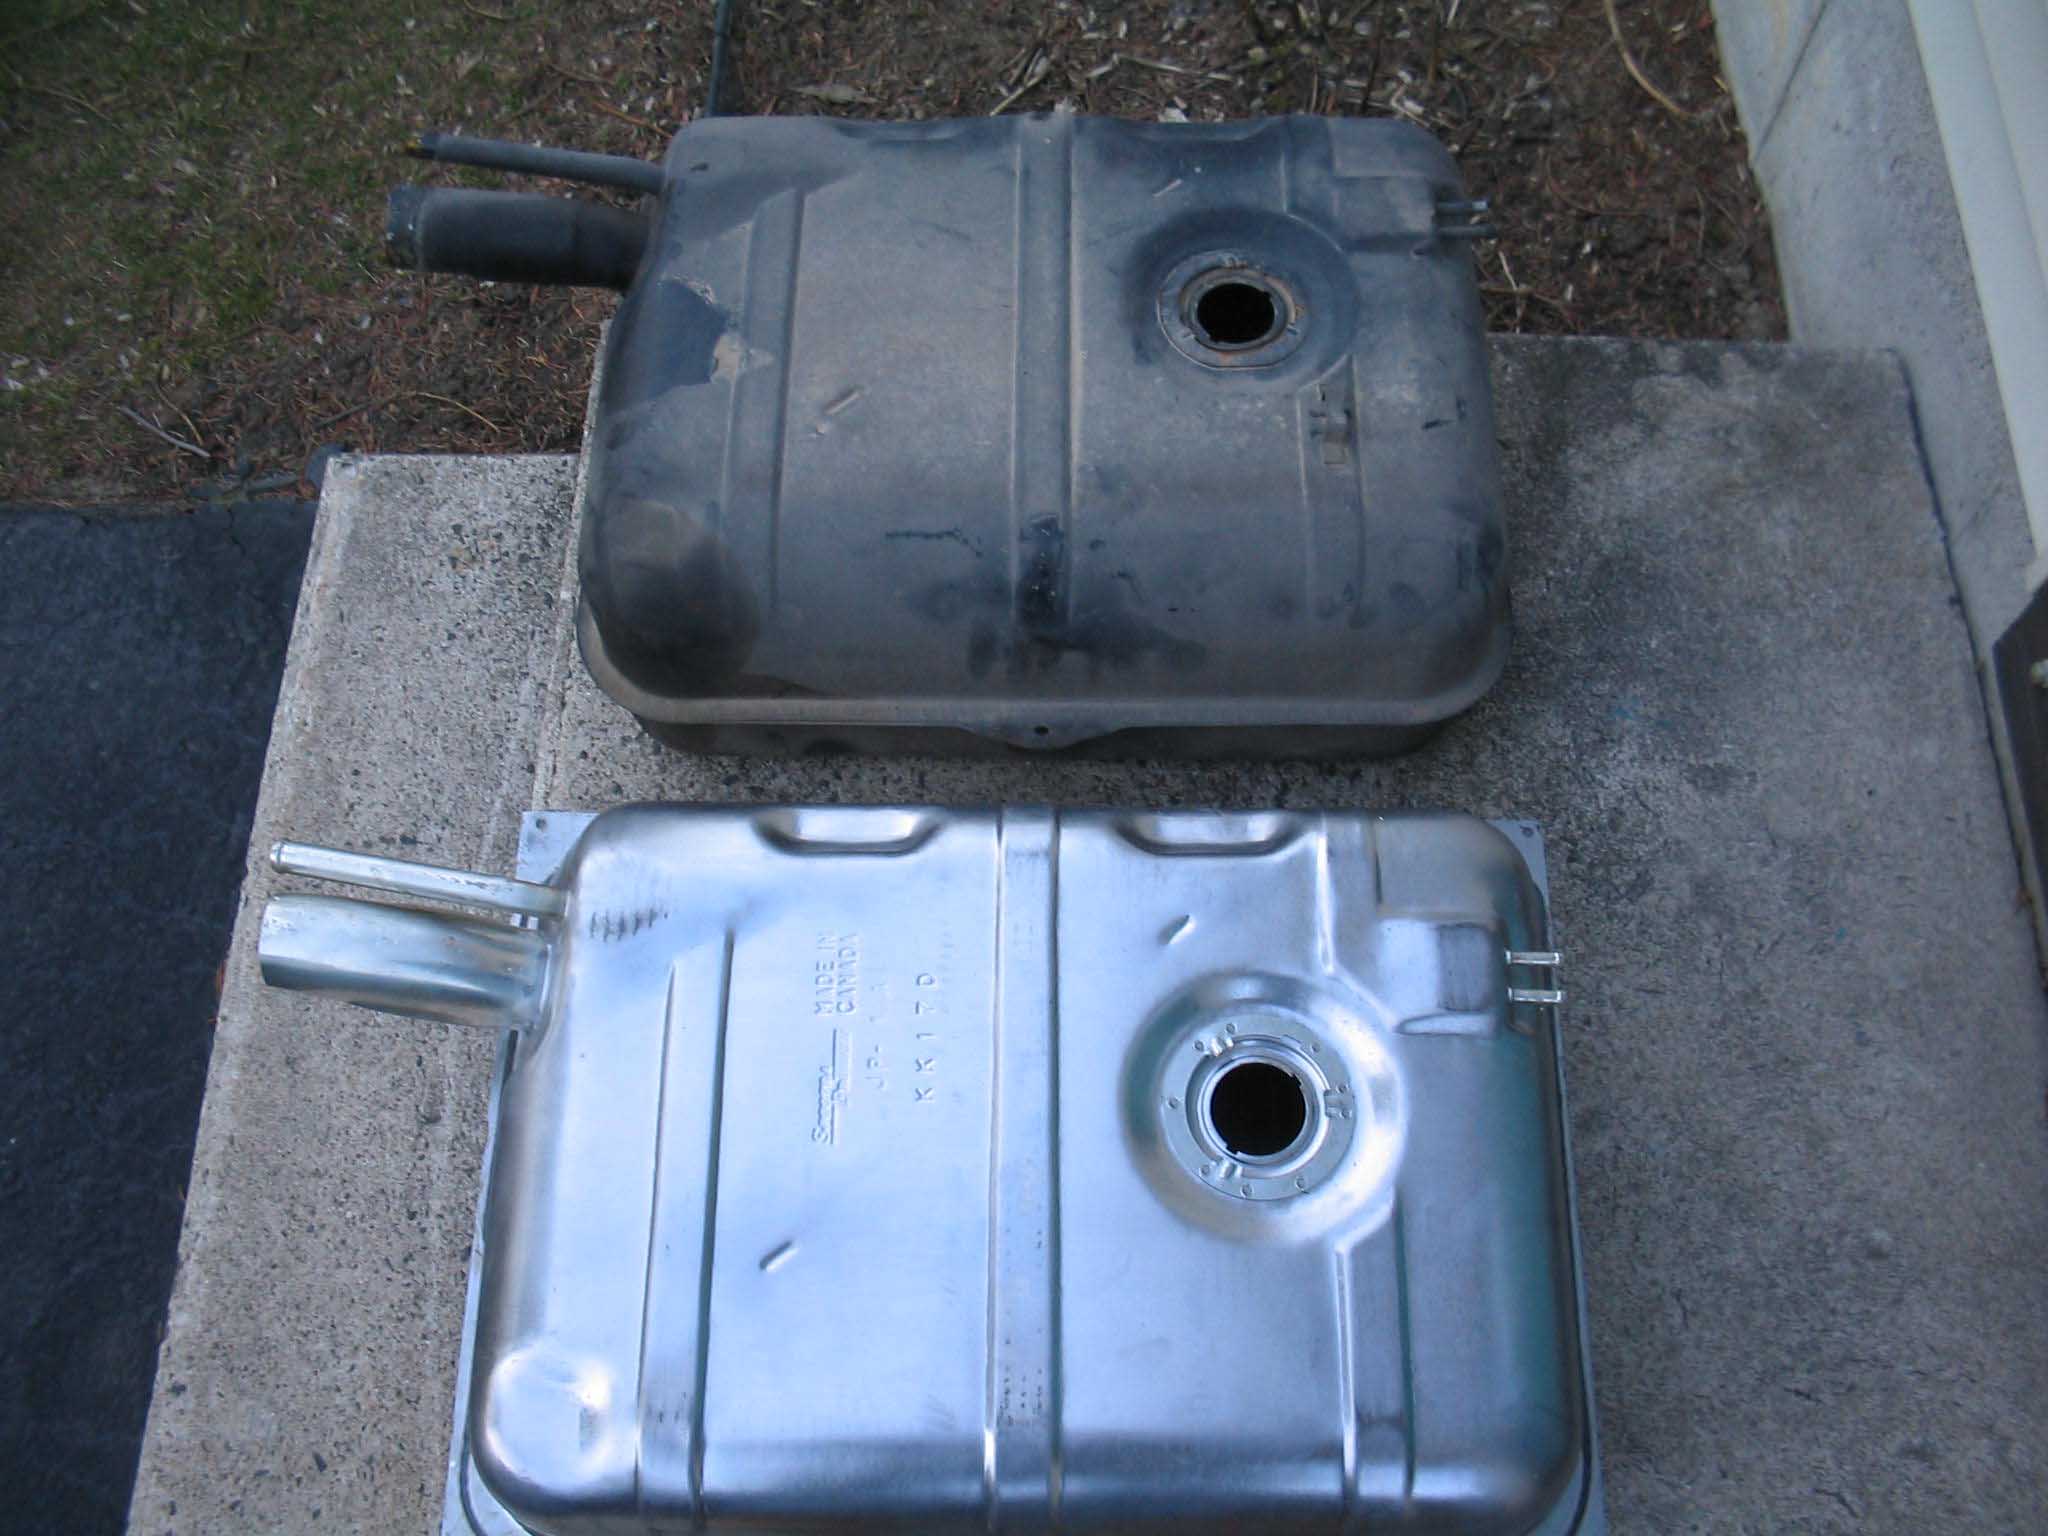
We ordered the Gas Tank and Sending Unit kit from
4wd.com and it arrived a few days later. Everything we needed
arrived at once and we were ready to start installation of the gas tank.
|
| |
|
|
| |
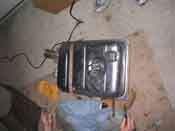
| In order to remove the gas tank, the 4 bolts on the rear cross member were removed
as well as the front 3 bolts on the frame support and a jack was used to lower the gas tank down. We were able
to remove all but 1 or so gallon of gas from the gas tank prior to lowering it down. This makes for a lot easier
handling of the gas tank. There are 2 hoses connected to the top of the tank that need to be disconnected, one
for the main fuel line and one for the return line. Finally, the sending unit gas gauge wire and a ground wire
that is connected to the frame rail also must be disconnected.
|
| |
|

|
| |
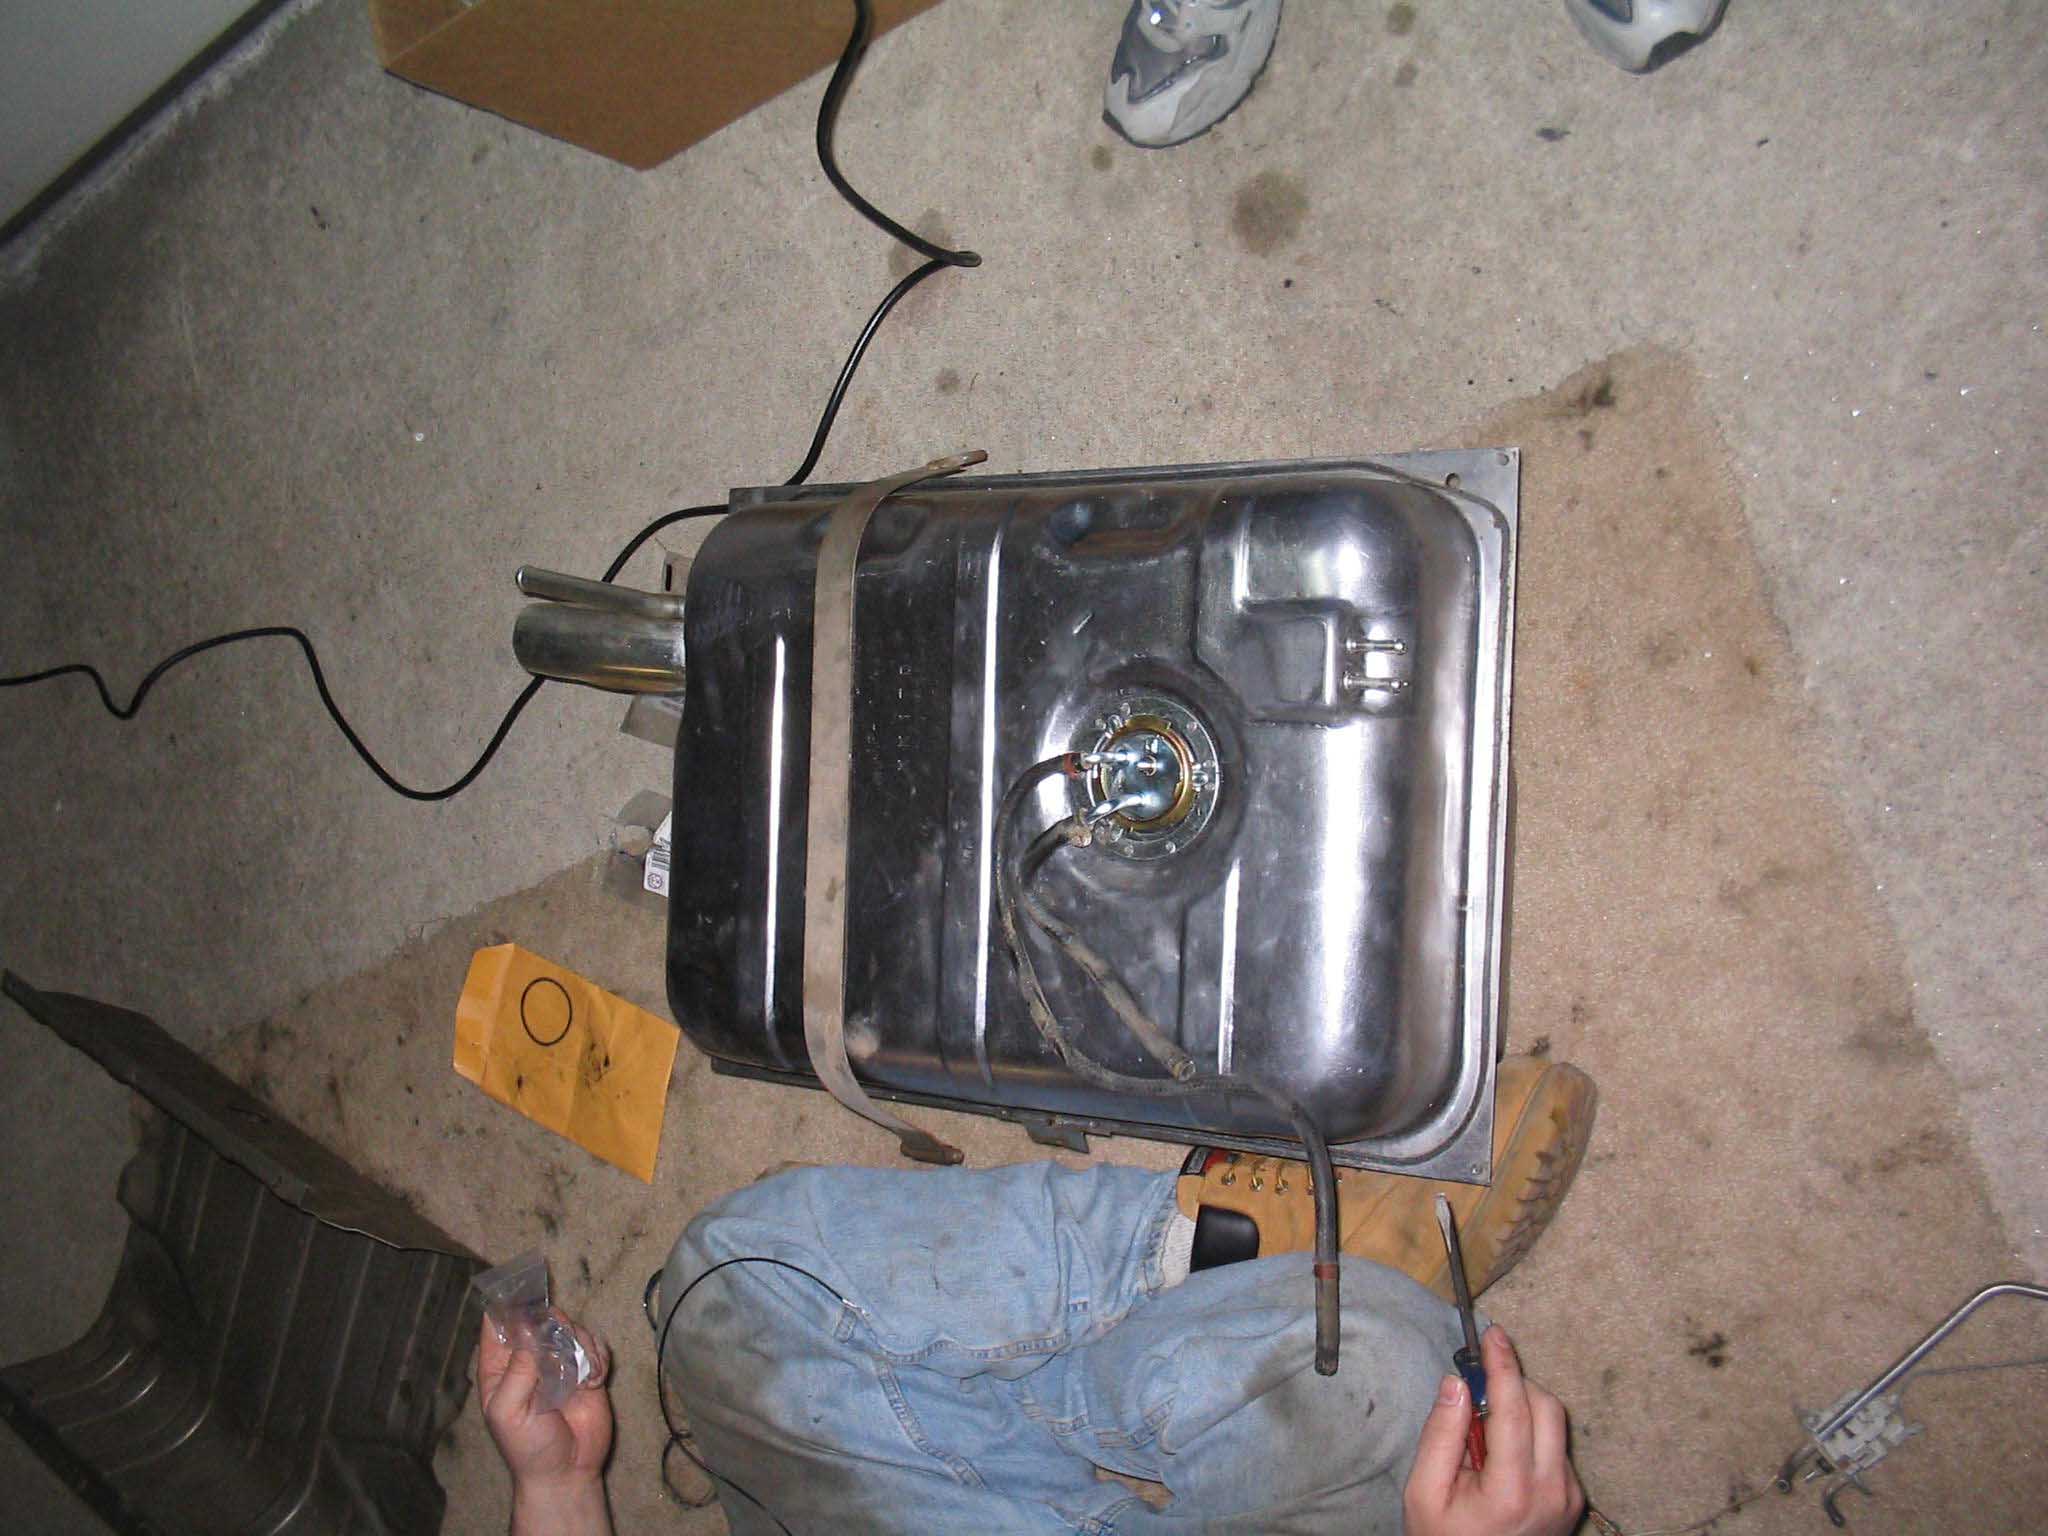
The sending unit is next. I removed the old one and although it seemed to be
in good shape, the fuel filter sock on the base looked to be dirty, so a new one was ordered up. The kit came
with a new O-ring, as well as a hold down ring, so with a little Vaseline, we lubed up the O-ring, installed the
sender into the tank and secured it with the hold down ring.
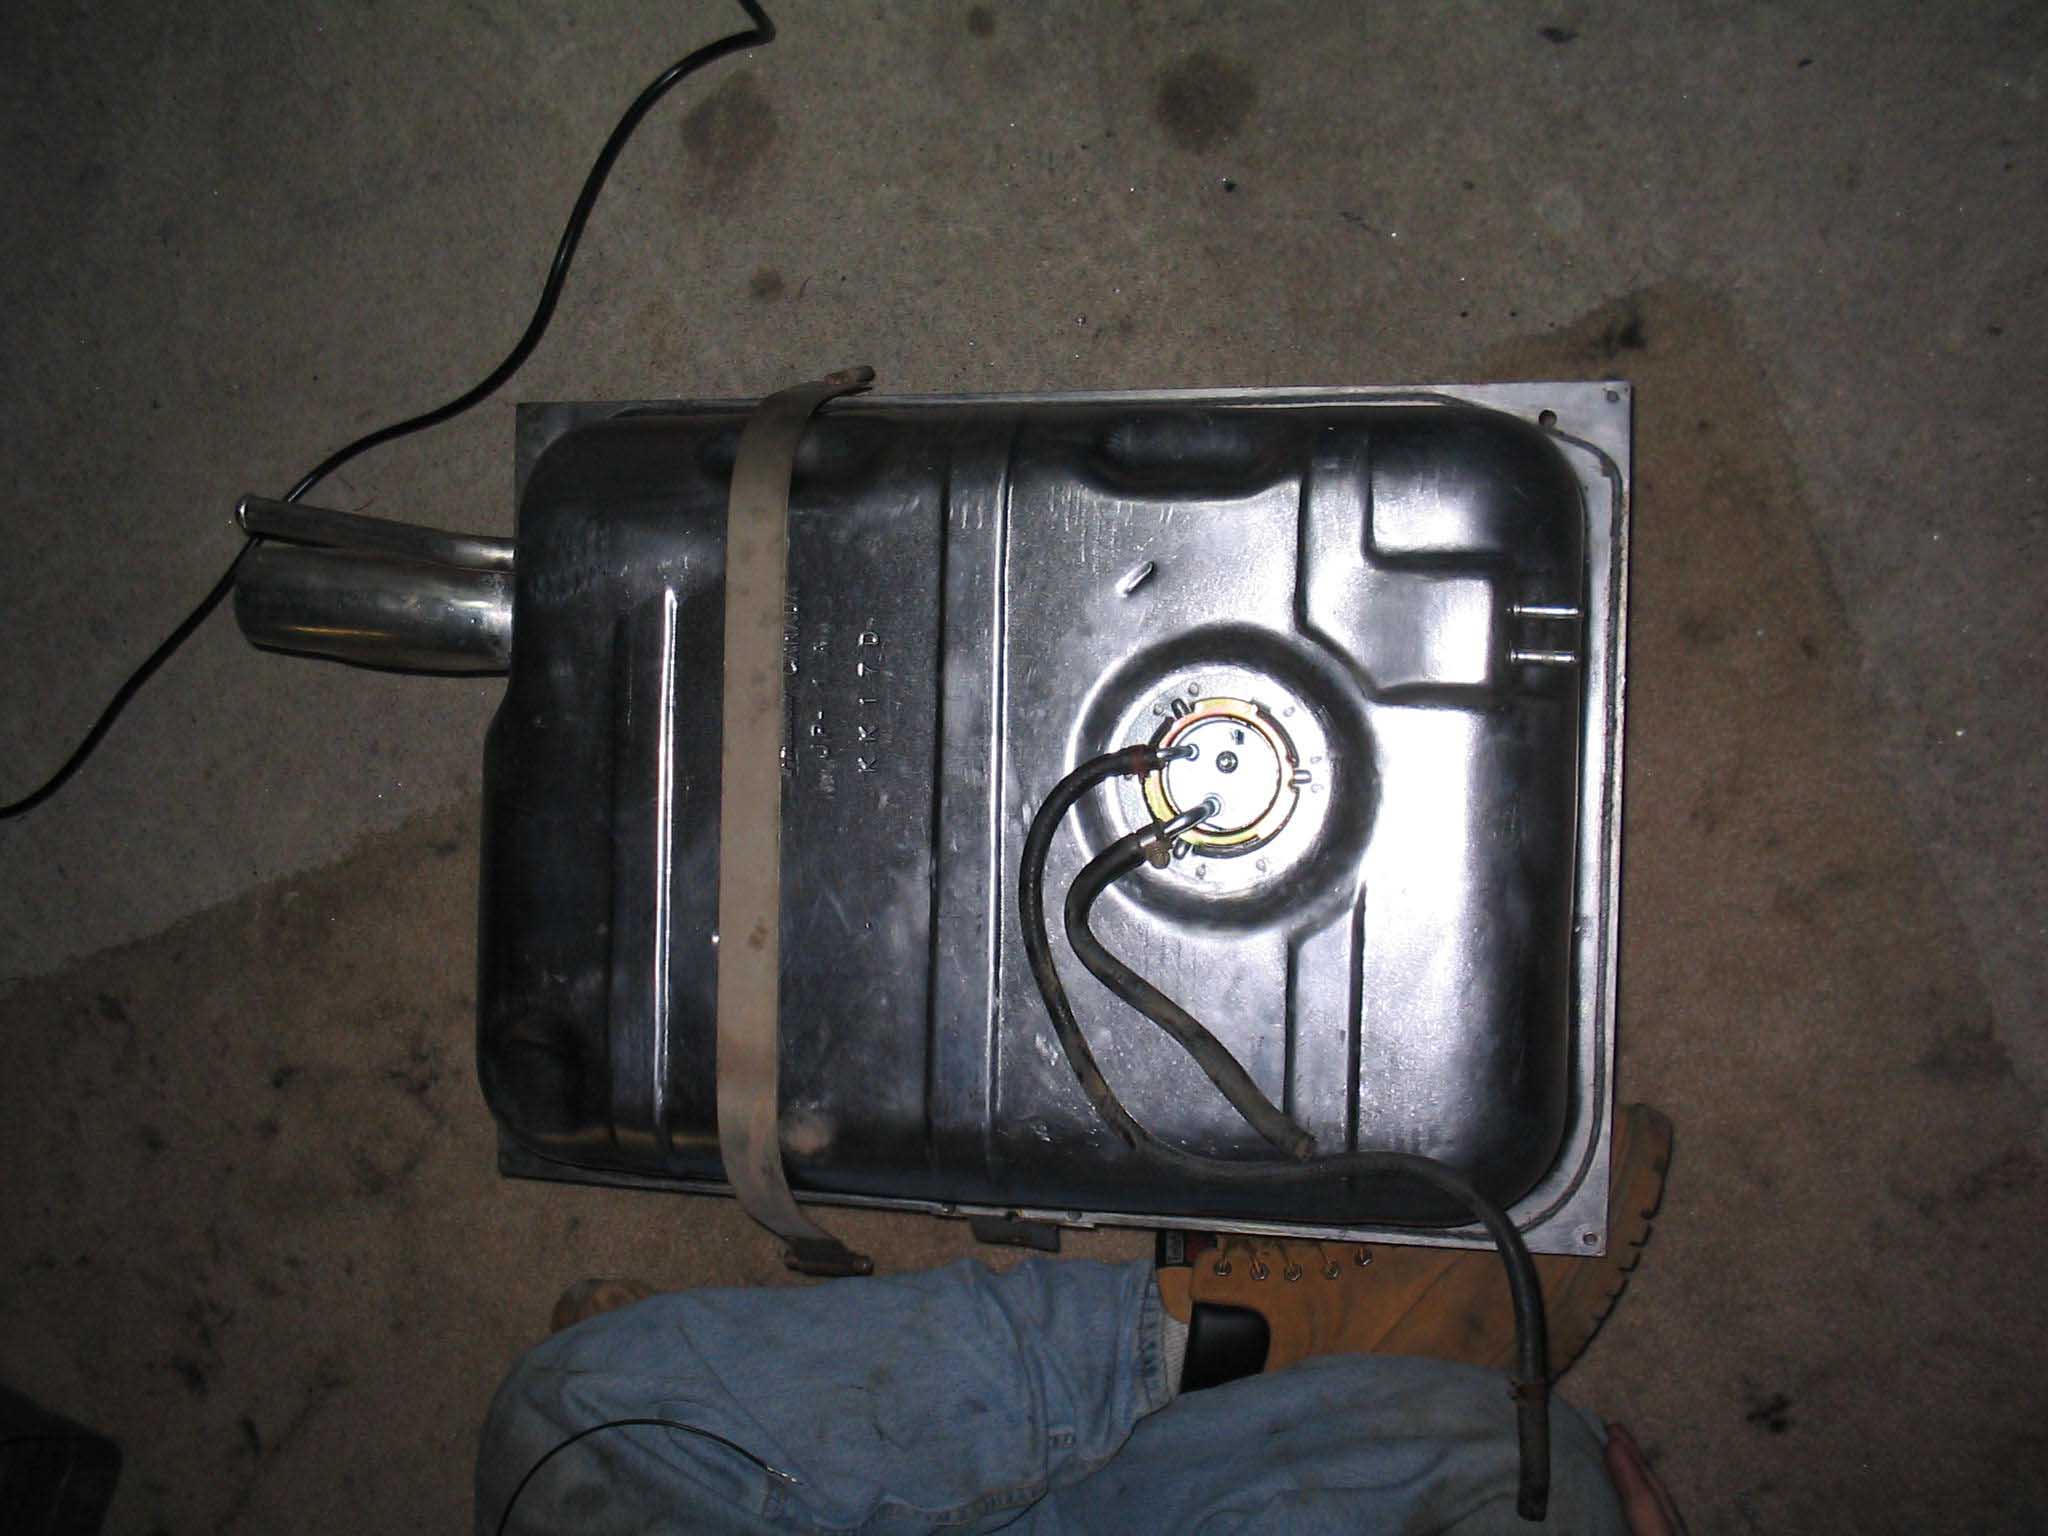
2 things to keep in mind here. If you want your gas gauge to read correctly, you need to test the unit. We
hooked up the gas gauge sending unit wire and then ground and turned the key. We bent the tabs on the sending
unit to read correctly for "Empty" and "Full". After that was done, it was installed. When you install the
sending unit, you need to make sure that they float is in the middle of the tank for optimum reading. You don't
want to install it so it hits the sides and gets stuck, this will give you false results.
|
| |
| Lessons Learned the Hard Way |
| |
So, my lessons learned here would have to be that you should really be aware of
all possibilities of damage when doing other projects that might affect other areas of the Jeep. If you do this,
you won't incur other damage to the Jeep.
If you are replacing this, a second set of hands never hurts and having very little gas in the tank makes for
ease of removal of the old tank. Keep in mind that you are doing work around gas fumes, so keep the area
vented and make sure there are no sparks.
|
| |
| Conclusions |
| |
This is a pretty easy installation to do, it takes a couple of hours and you
will be back up and running. We cleaned the skid plate out and reused it. There was a lot of debris as well
as some nuts and bolts in there.
You will also want to use some old inner tube rubber that you have lying around to put between the skid plate and
the gas tank as this will help to avoid squeaking and rubbing of the new tank and the old skid plate. Take your
time and this should be an easy installation/replacement.
The approximate build-up costs and installation time can be seen
here.
Take your time and good luck!
|
|