|
|
| Head Light Conversion |
| |
After driving the Orange Jeep and the Red Jeep around for over a year now, it dawned on me
that when I was driving the Jeeps at night and had the high beams on, the light that the bulbs produced was equal to that
of my Rams when the Rams had the headlights on LOW.
I searched around on the Jeep Forums and found that many people had upgraded their lights to the newer style H4 and
European blue light designs. This upgrade allows for the same look and feel with the CJ style round bulbs; however, it offers
a considerable more amount of light to be shone down the road when you are driving with the lights on the low beam setting.
|
| |
|

|
|

|
| |
I searched around for a place to buy the bulbs for the Orange project Jeep since it has
become the Jeep that we try the most products out on and I settled on
4wd.com and placed the order. I got an email
almost immediately saying that the package had shipped and that it should be here in a few days to a week. I waited for it to
come in.
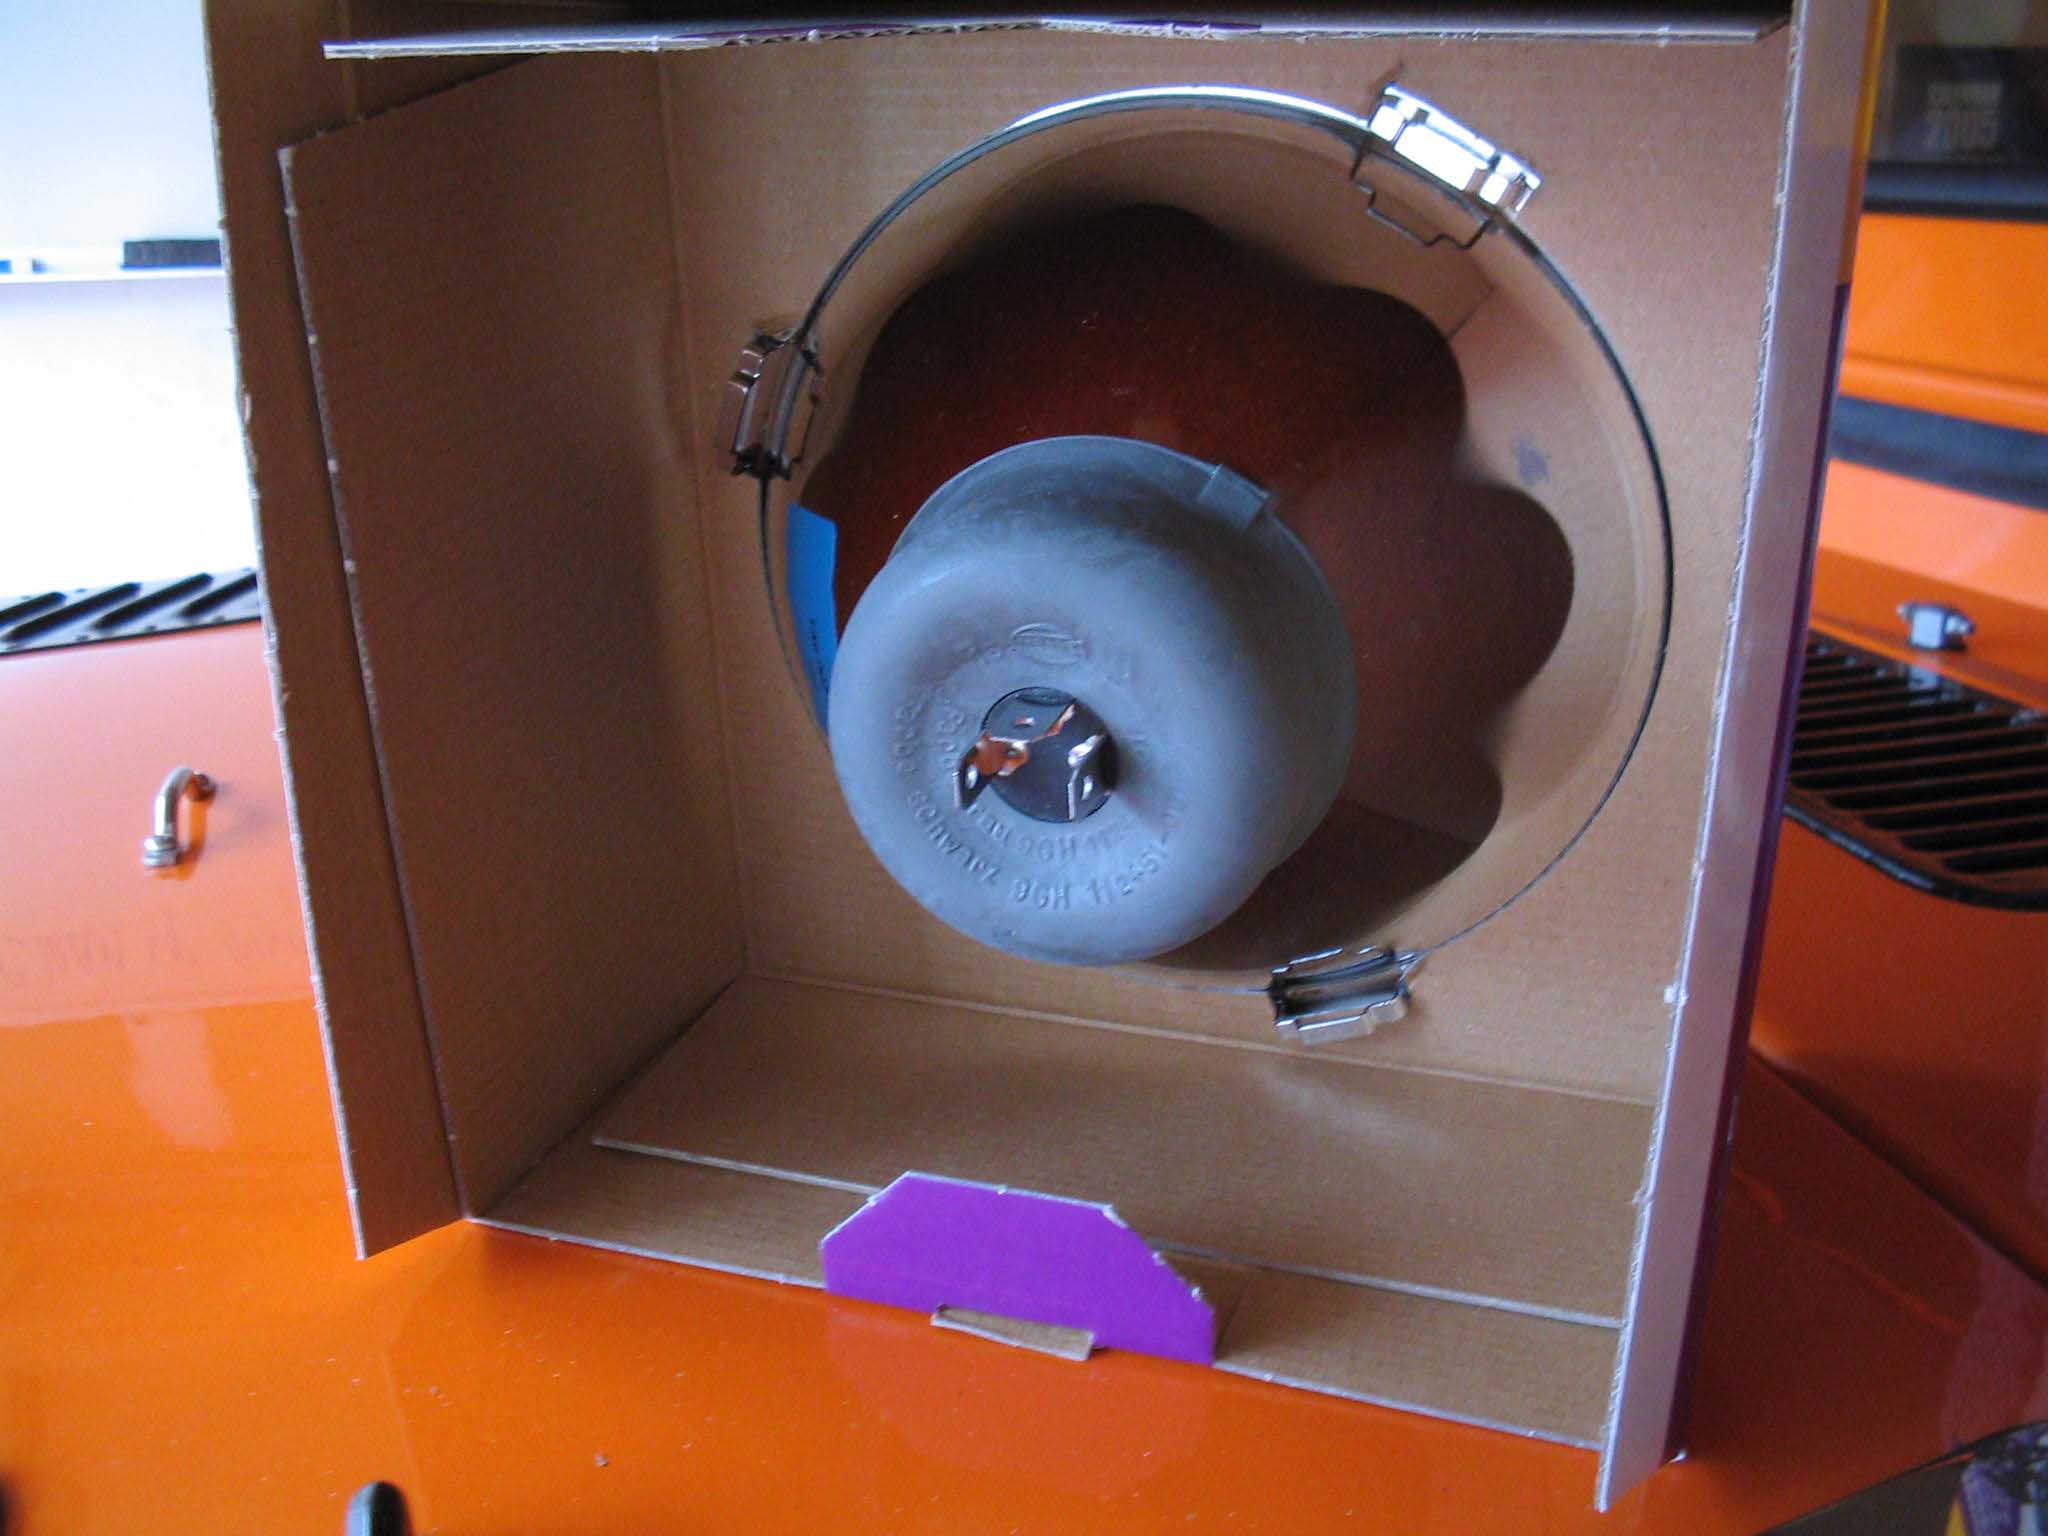
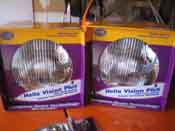
I received the packages about a week after I ordered them up and it came wrapped up nicely in a box and when I opened the
package, it seemed that all the parts were there and I was ready to start assembling the pieces. It dawned on me at this point
that I never had painted the grille shell to match the bright orange color that the Jeep was currently sitting in. The original
color was Orange, but it was more of a dull orange. After looking at the grille shell it was clear that this shell had seen
better days and I ordered up a new one that was made my Omix-ada and was an authentic Mopar restoration piece. I ordered it
up from
Krage Motor Sports and waited for it to come in.
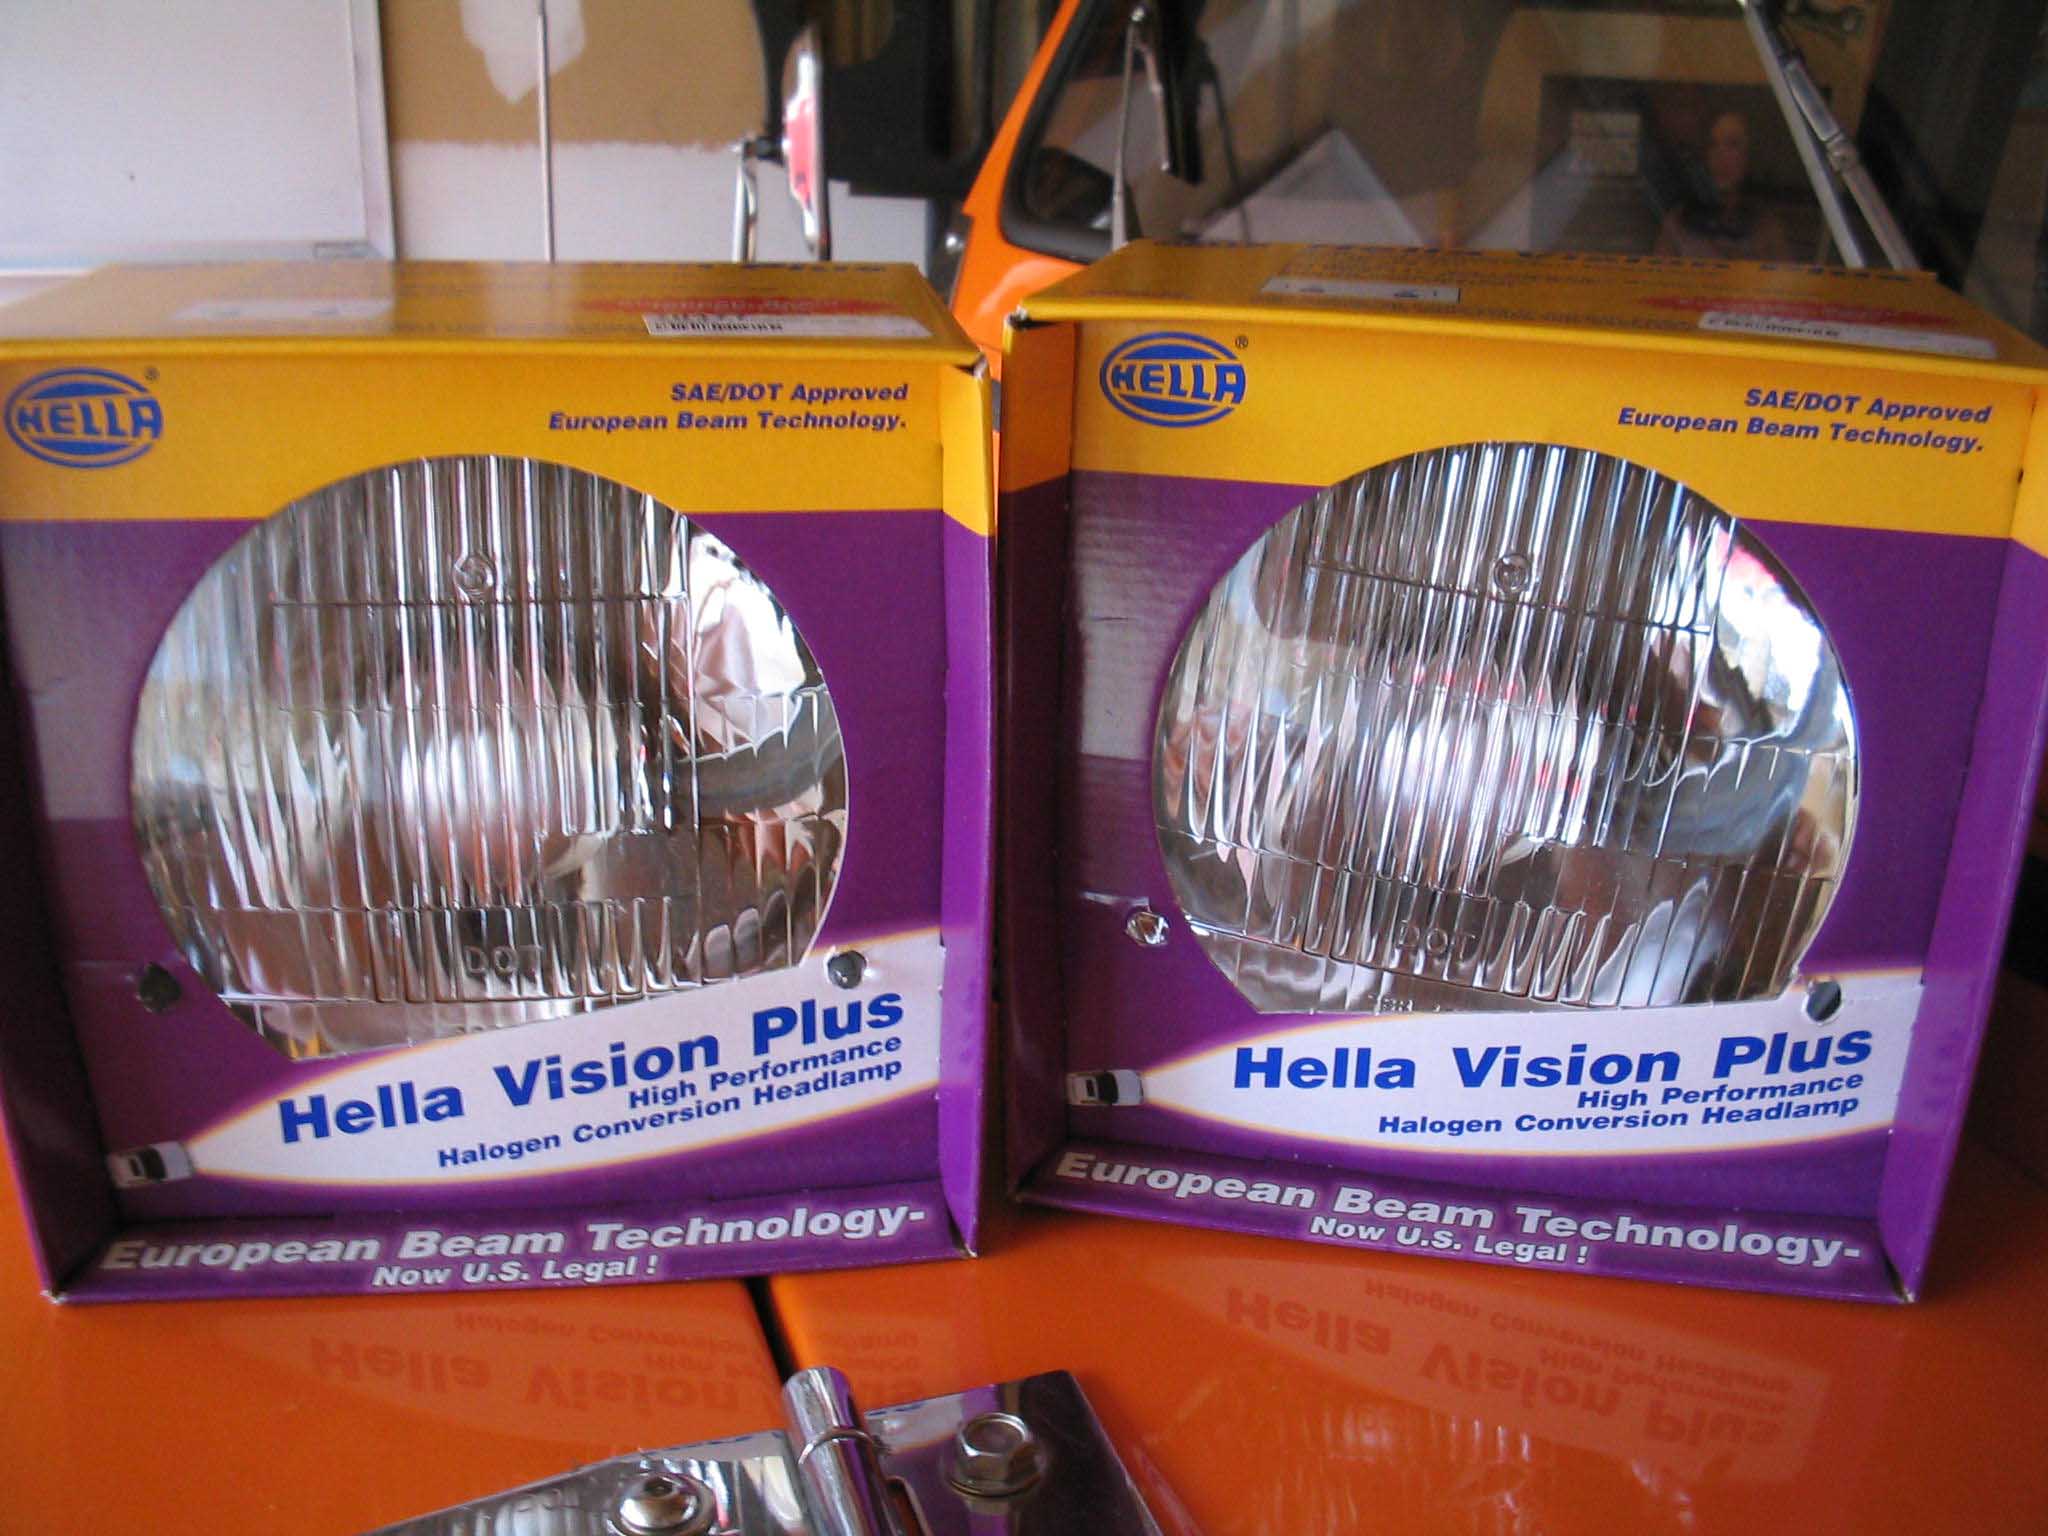
Here is an excerpt of what the item description says at
4wd.com.
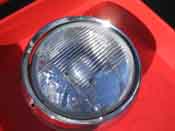
Replace your dim 7 round sealed beam headlamps with these super bright European code headlamp Conversion Kits. Kits provide
superb photometrics generated by lead crystal lenses and 4-coating finish parabolic reflectors. Simple 10-minute installation
that requires only screwdriver. No modifications required and the results are incredible. Kits come complete with two 7-inch
housings and choice of either Xenon or Halogen bulbs rated at 60/55 watts. Use part 97009 110 for light kit with Xenon bulb.
These lights have a profile that does not allow bezel mounted light guards to be fitted.
|
| |
|

|
|

|
| |
So, with the new grille shell needing paint, I decided to get the tailgate painted at the same
time. I located the can of paint I had from getting the hood painted and then I proceeded to call up the body shop that had
painted the previous parts. We agreed on a price and I waited for the finished parts to come in.
Once the parts were back from paint, they were put into place and the rest of the installation proceeded without interruption.
During this time, I also had put a newly worked motor into the Jeep and that write-up is in another build-up section. It never
fails, you start off doing a small project and it turns into a big one and an expensive one, very quickly.
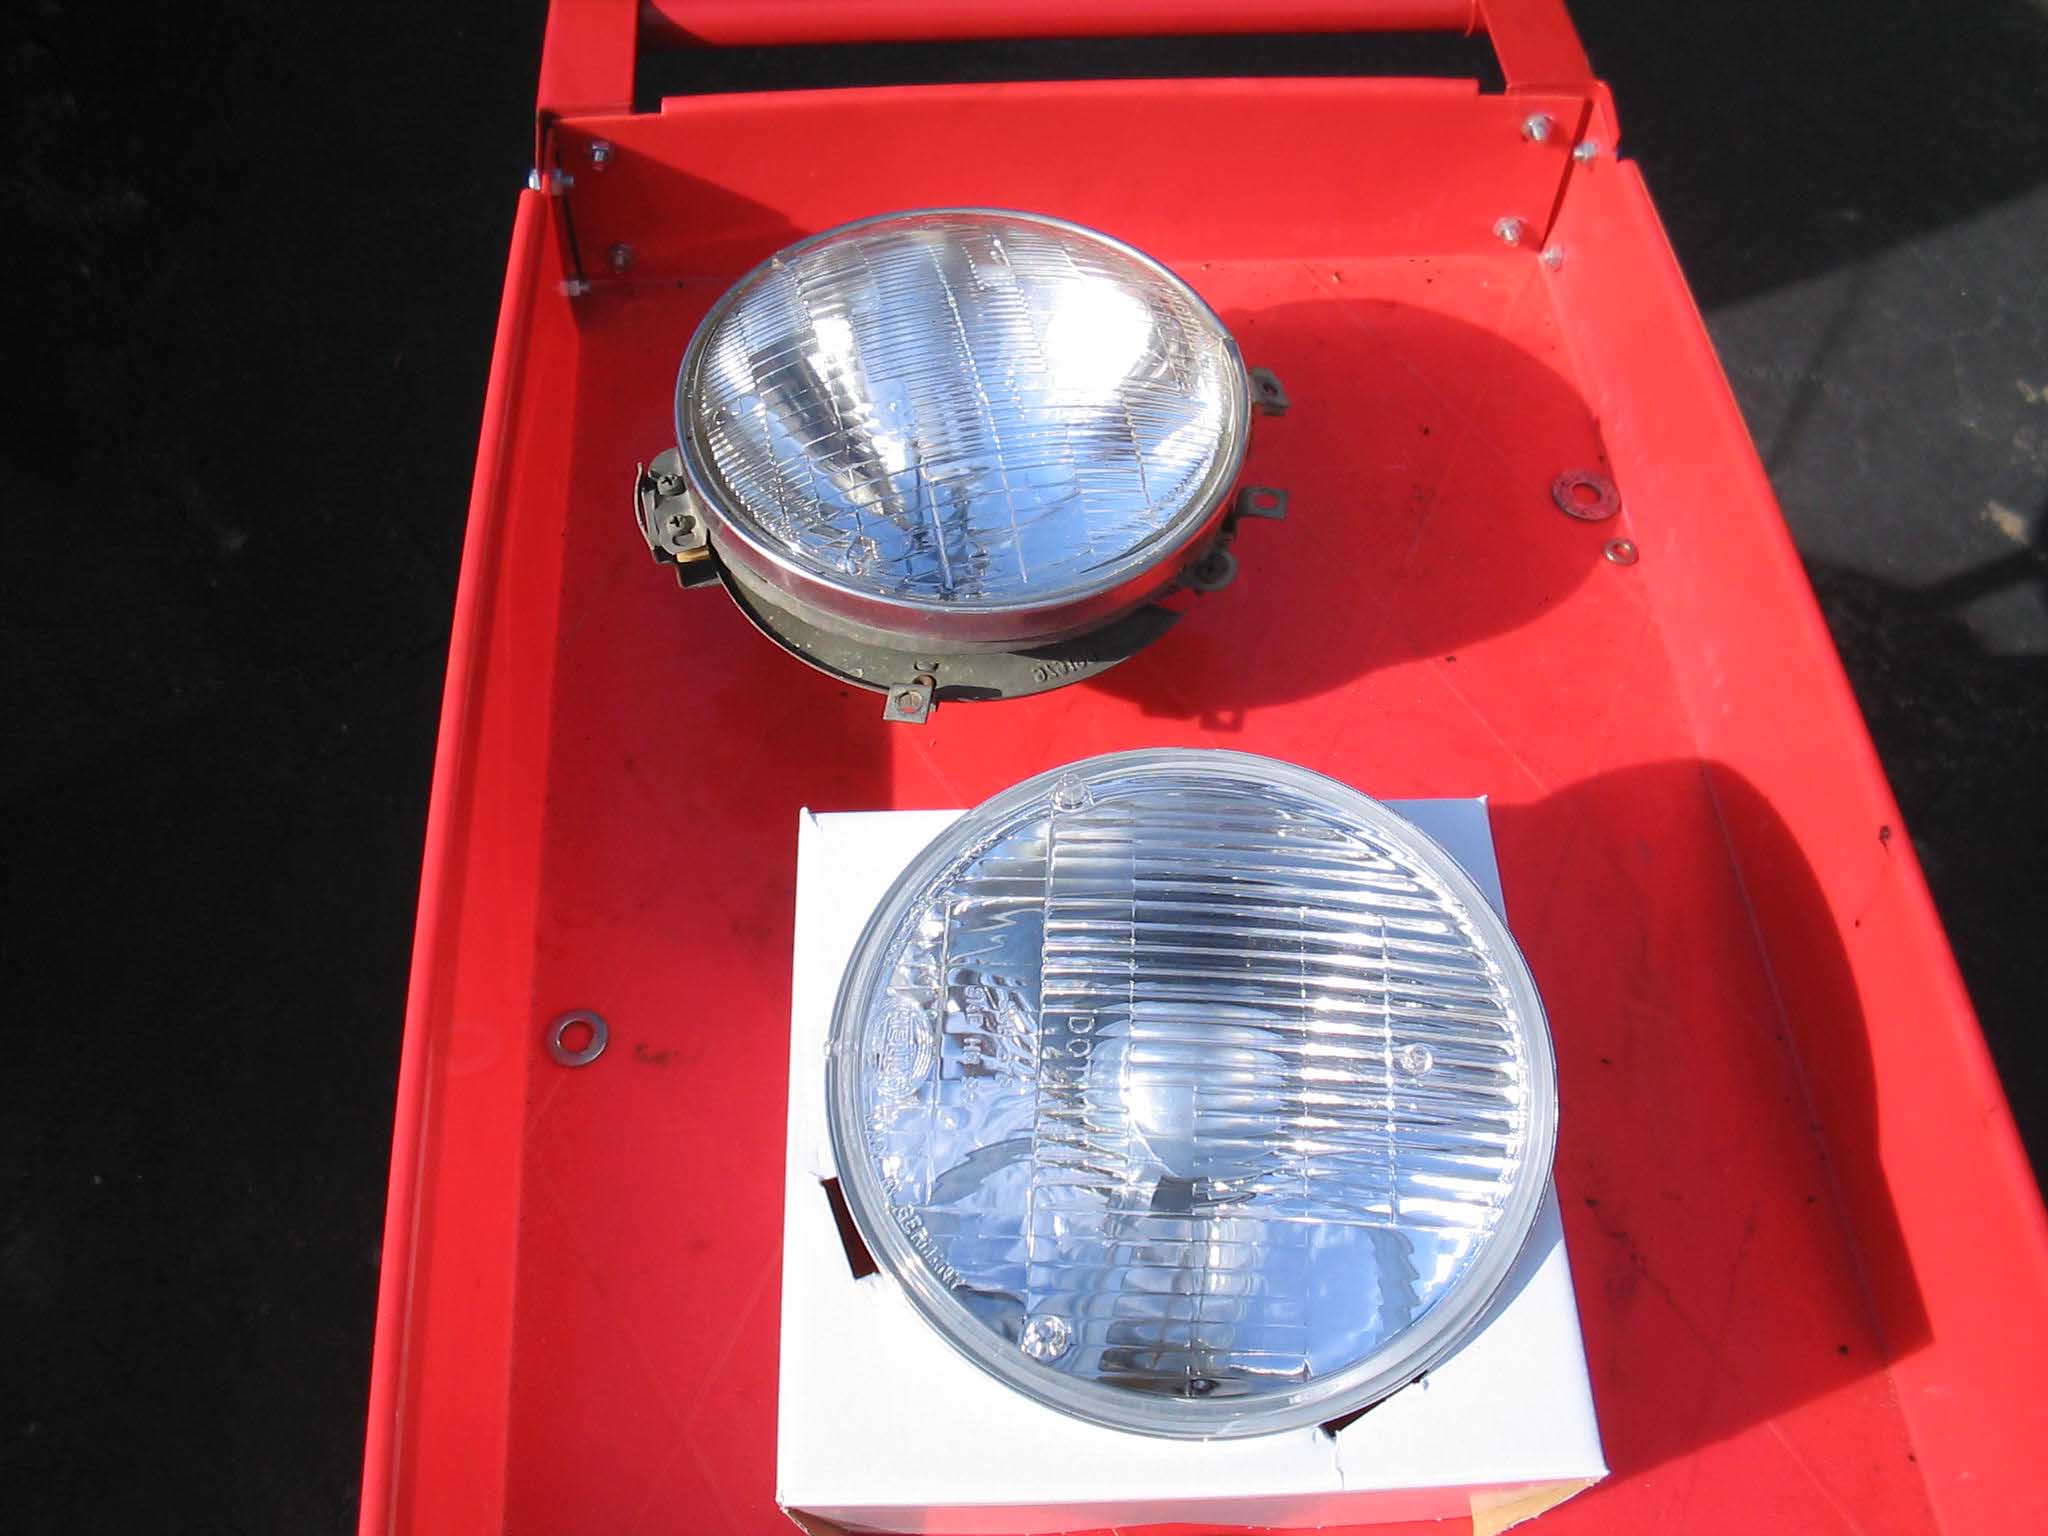
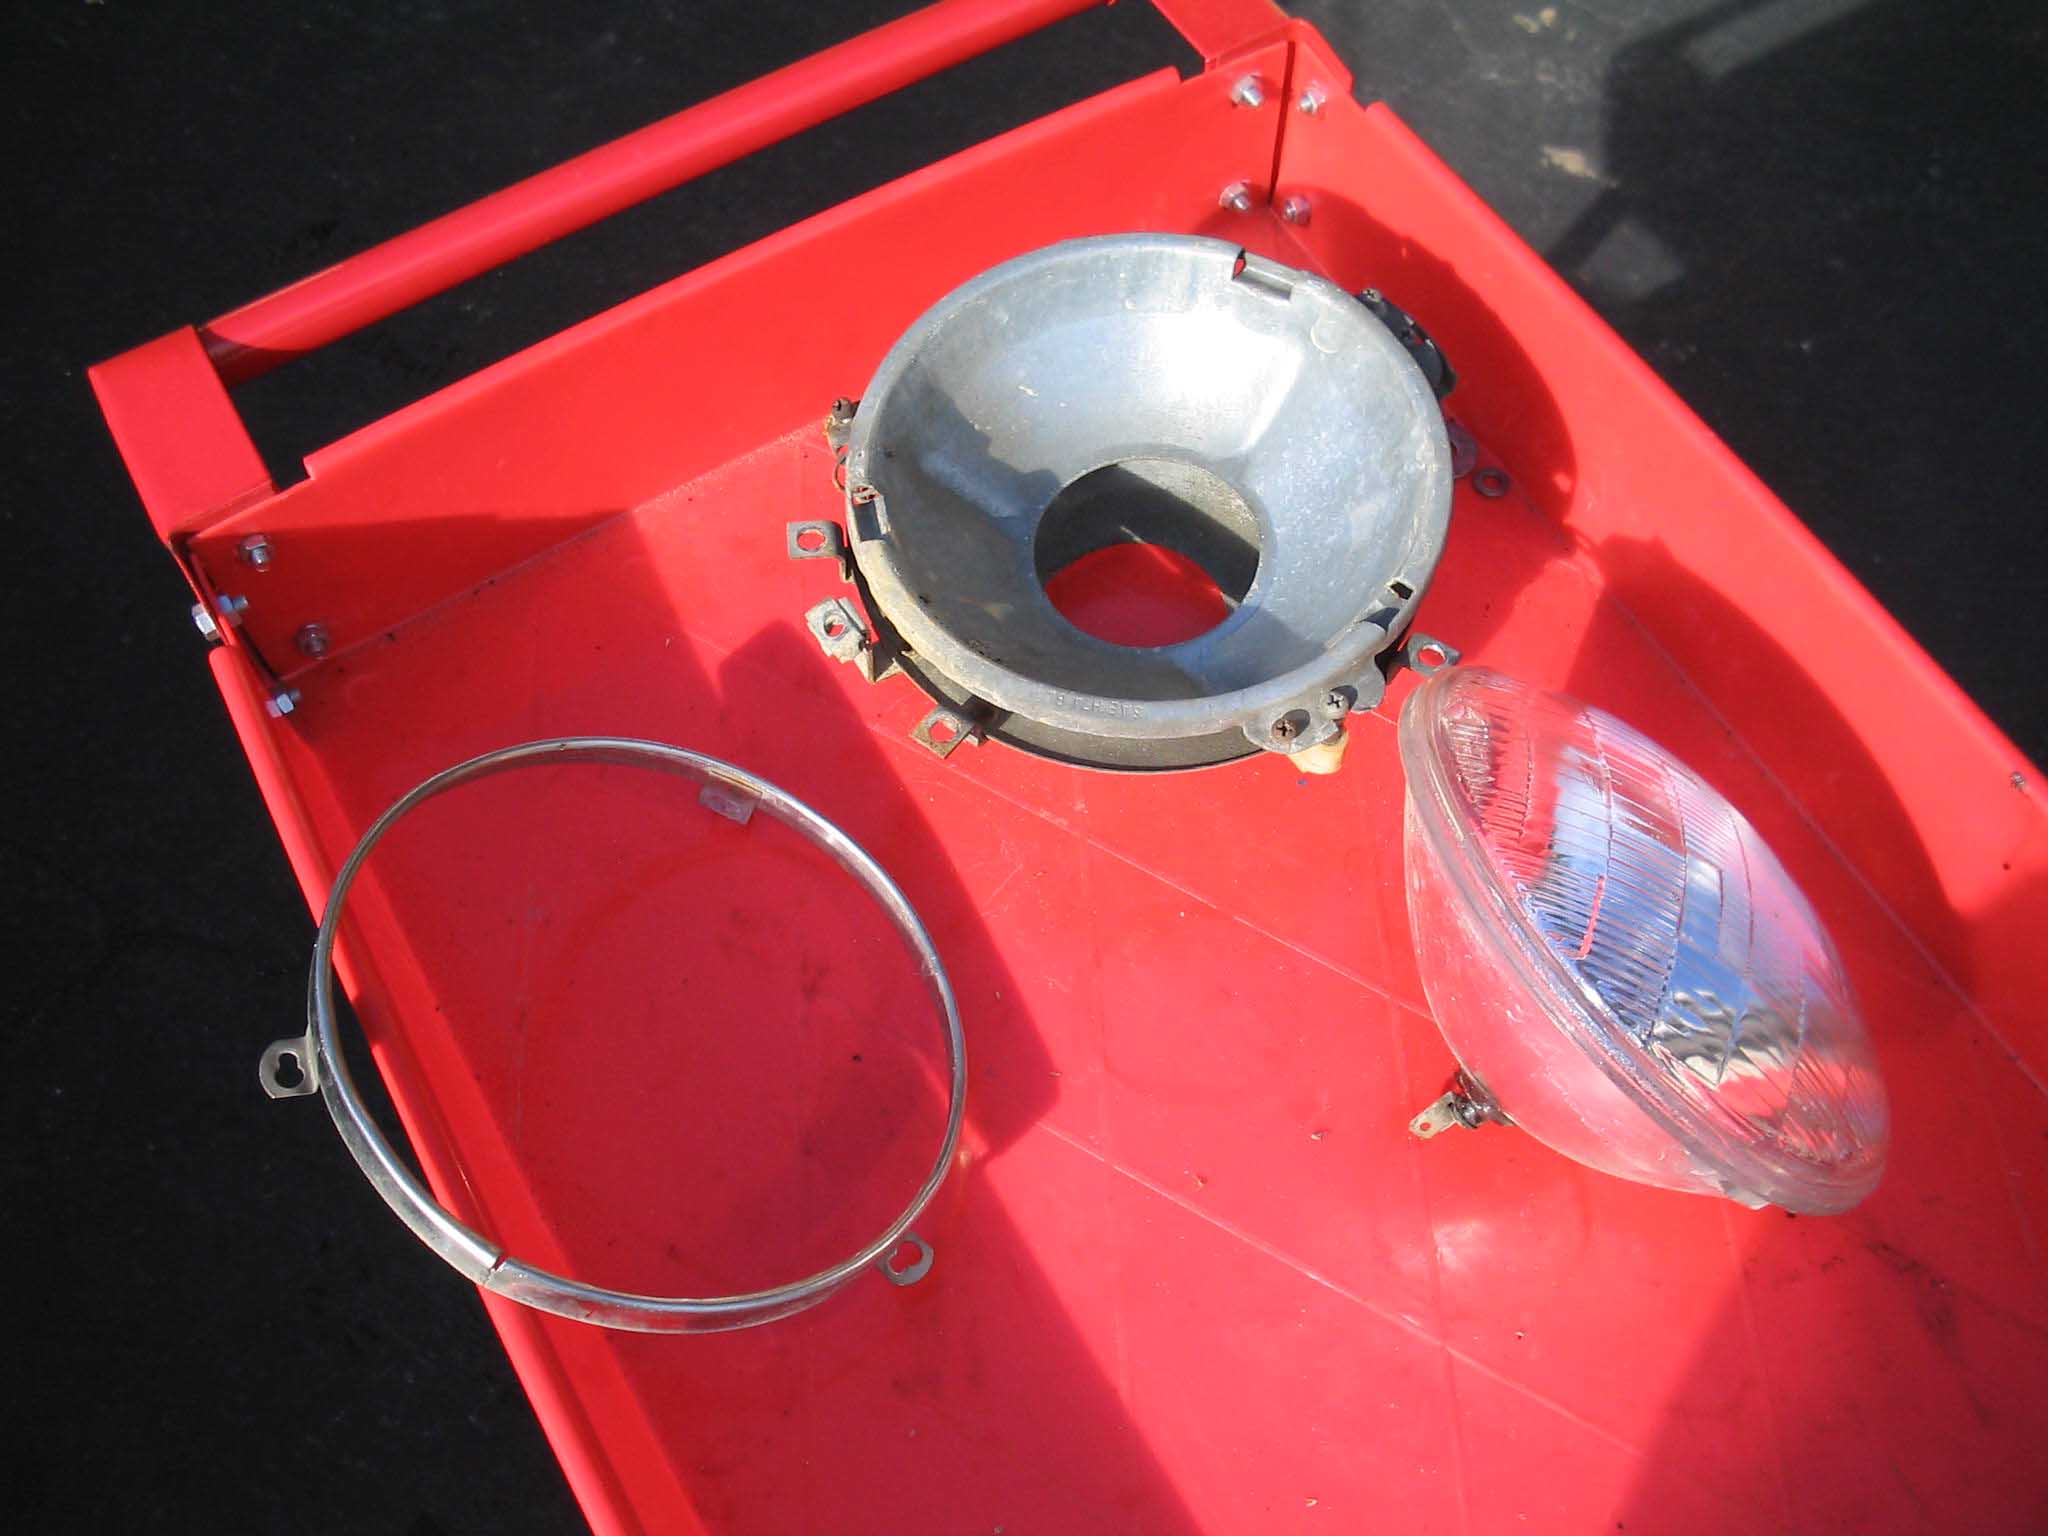
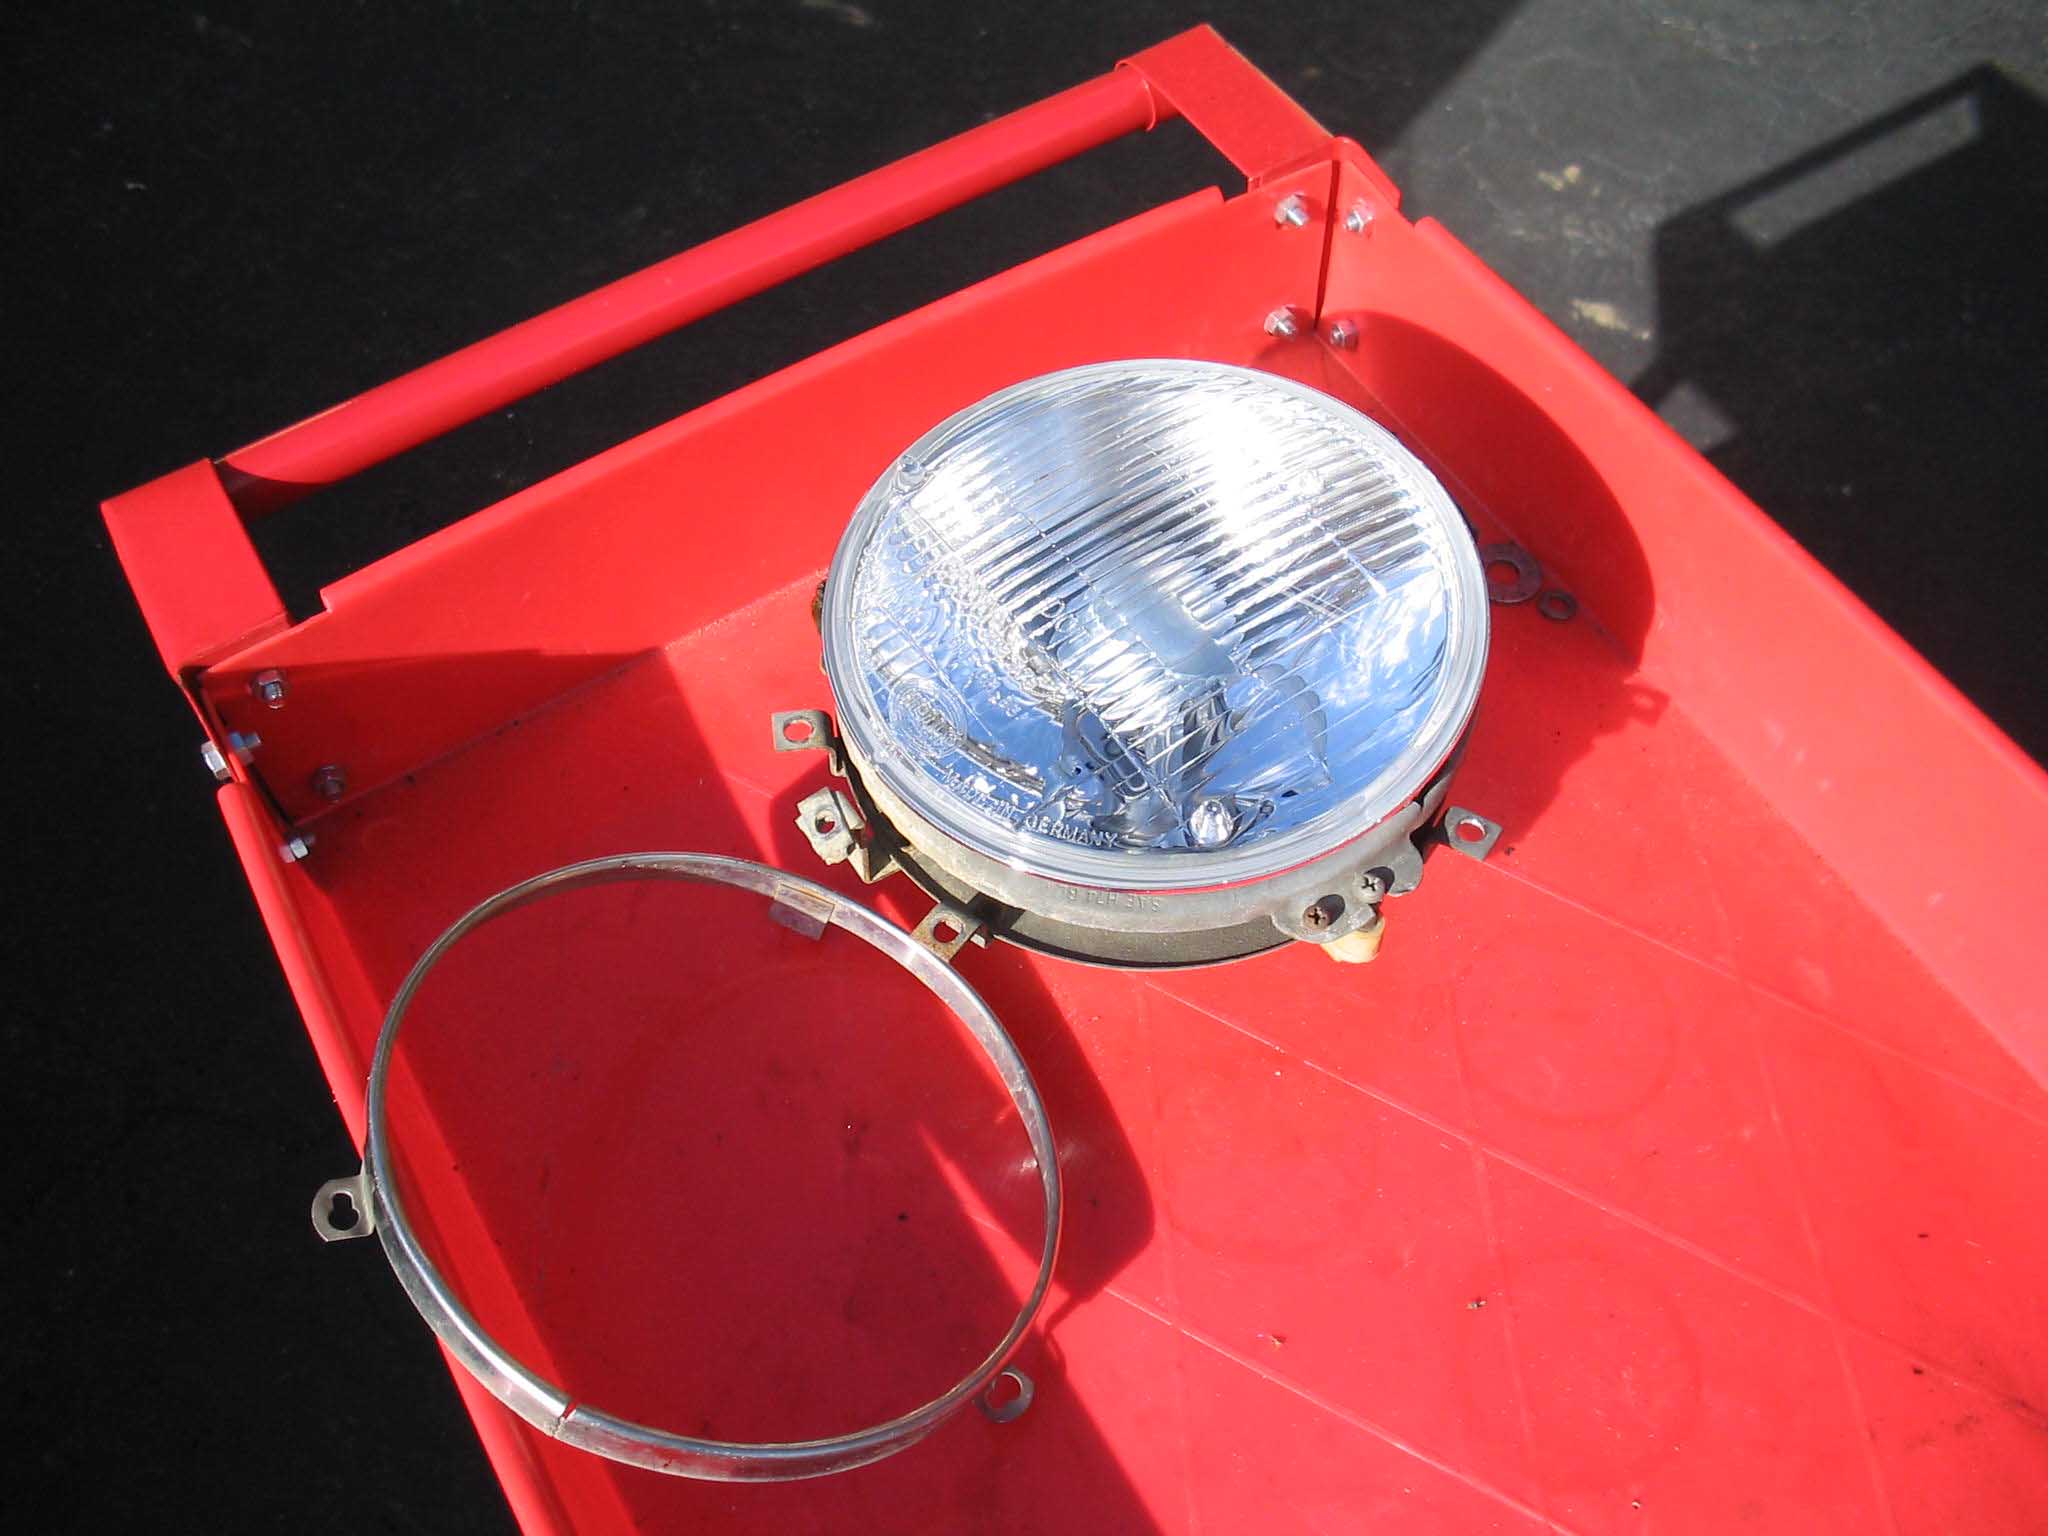
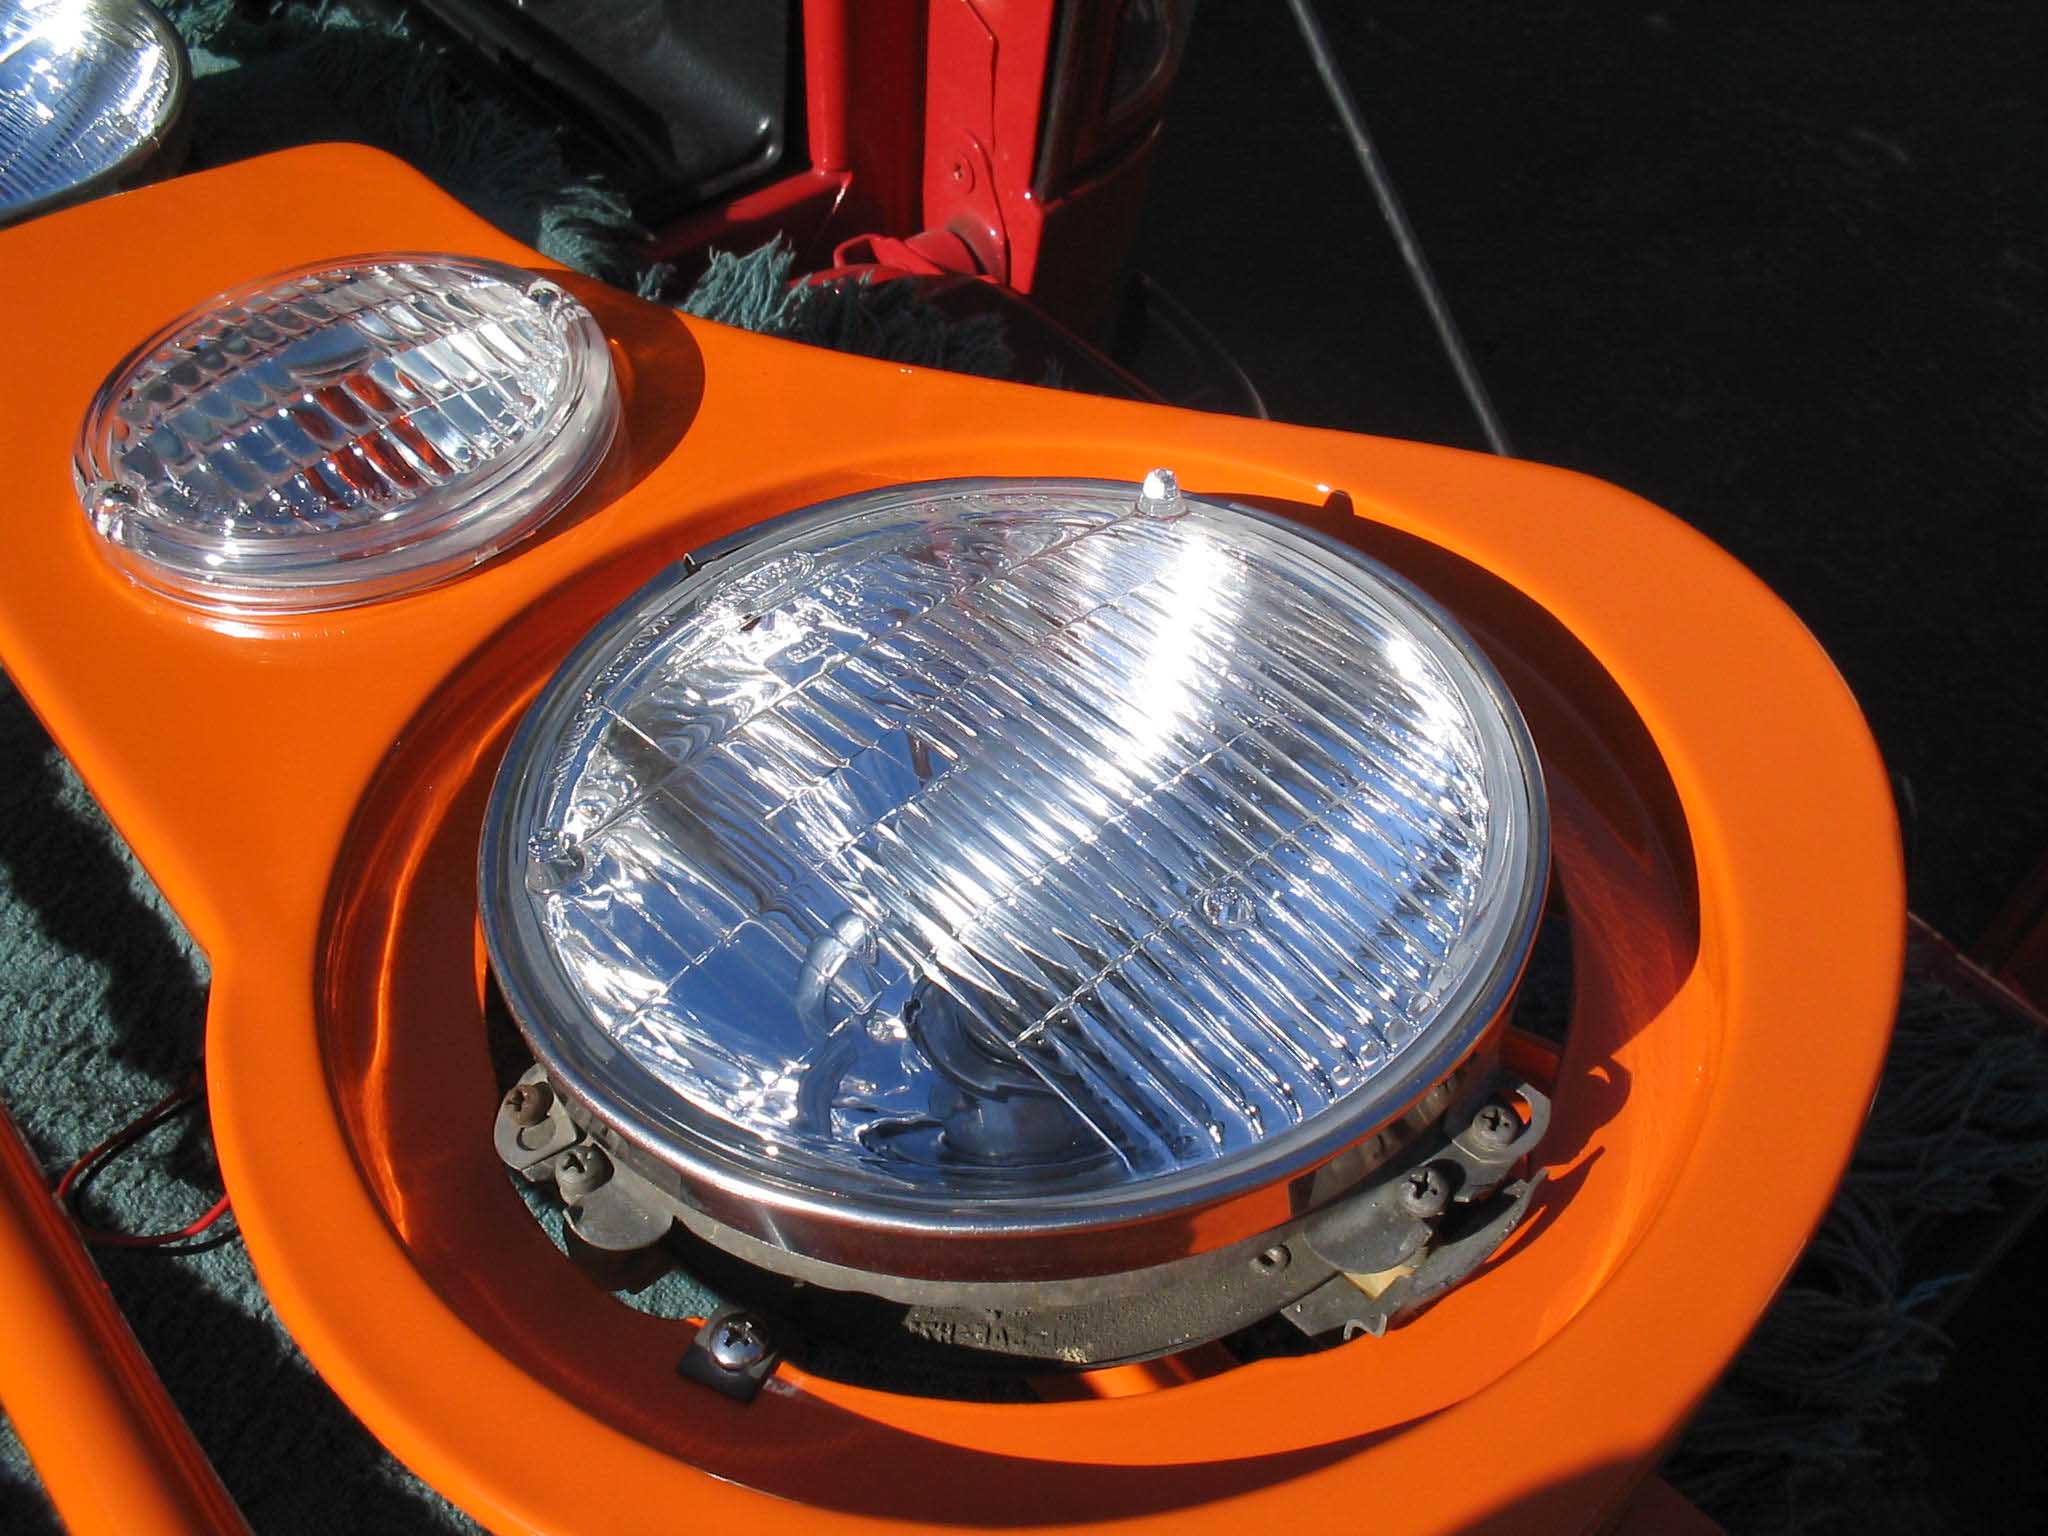
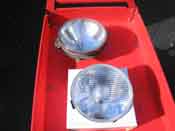
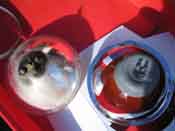
With all the parts back from paint and the headlight assemblies out of the old grille, it was just a matter of taking the
retaining ring off the headlight assemblies and removing the old bulb. With the old bulb out of the way, the buckets were
cleaned up a bit and then the new light was put into the bucket and the retaining ring was put back on and the 3 screws that
held it on were tightened down and then the whole assembly was put into the grille. All in all this took a few minutes to do.
|
| |
| Lessons Learned the Hard Way |
| |
| So, my lessons learned here would have to be that you need to have the grille
shell ready before ordering these. I had gotten a new grille shell and it was unfinished, so that had to be done
first. Once it was all done and ready to go, I was able to proceed with the installation.
|
| |
| Conclusions |
| |
This is a pretty easy installation to do. It only took a small amount of hand
tools and a little bit of effort. Once the new assemblies were transferred into the buckets it was a straight
install into the headlights and we were on our way.
This is a very easy installation and the increased visibility is well worth the small amount of effort. It is a little
pricey at more then 3 times the cost of a normal bulb setup, but well worth it in my opinion.
The approximate build-up costs and installation time can be seen
here.
Take your time and good luck!
|
|