|
|
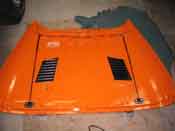
| Hood Lift |
| |
| After working on the Yellow Jeep and having trouble trying to keep the hood up with the little
hood support that is provided on these old CJ's, I decided to try to adjust it so it would stay up correctly. Well, that
didn't work and the hood came crashing down on my face and now I have a nice 1-inch scar on the bridge of my nose. So, with
that little reminder, I figured it would be a good idea to put a system in place that I won't have to worry about the hood
crashing down on my face when I go to work on the engine of any of the Jeeps.
|
| |
|
|
|
|
| |
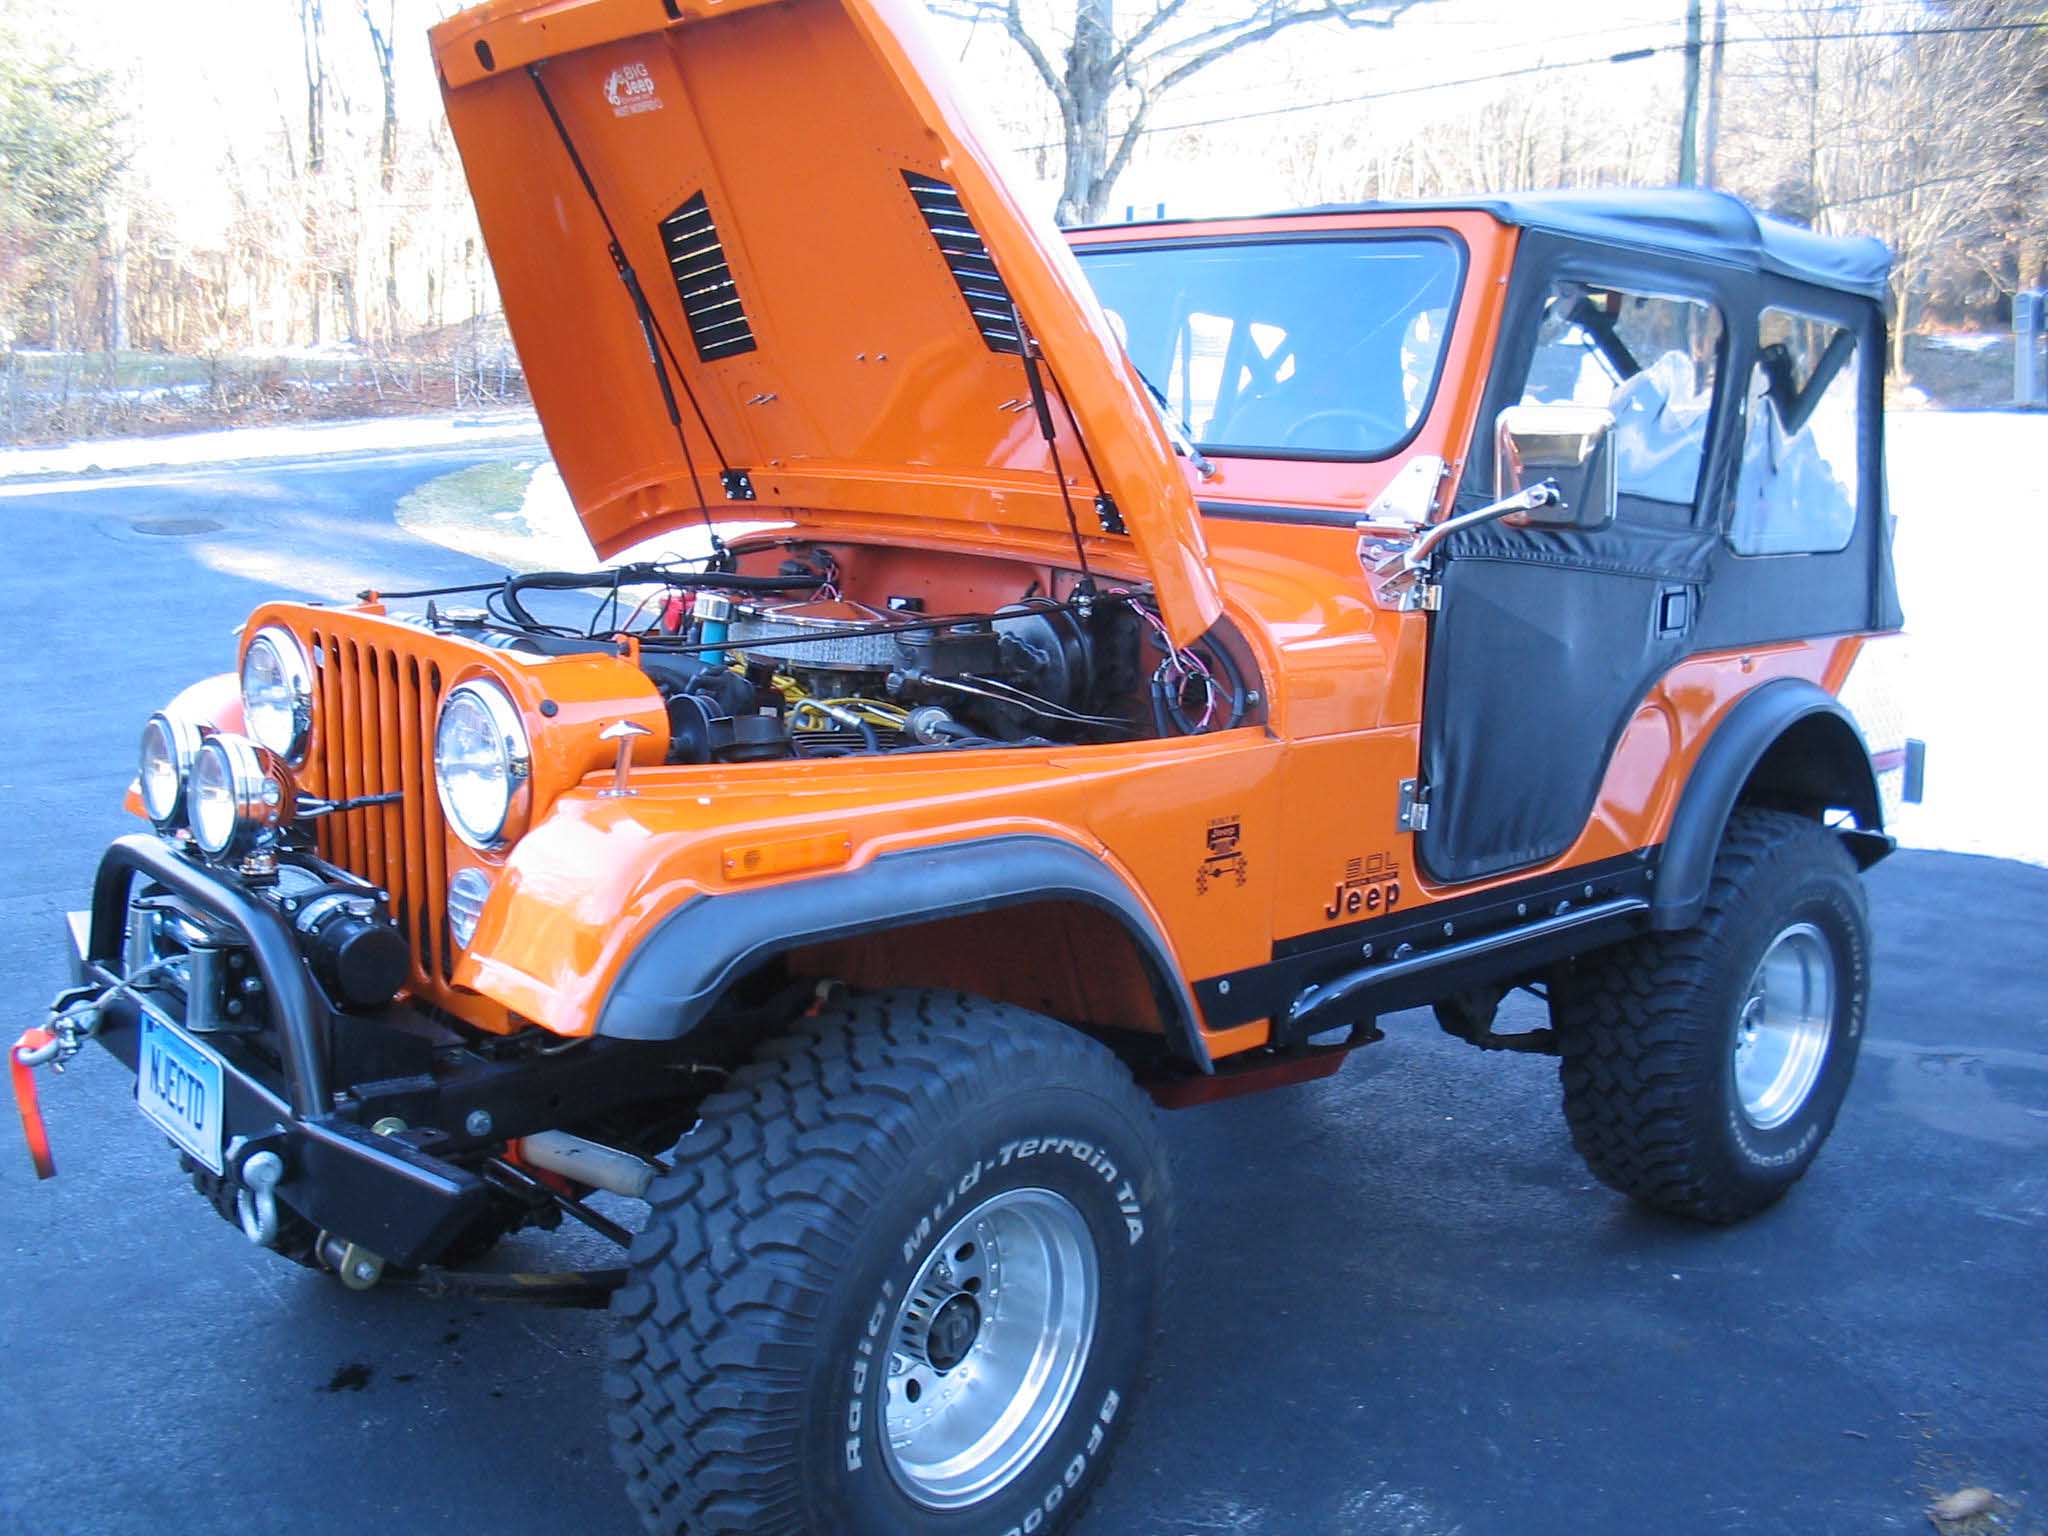
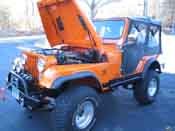
We decided on doing this on the Orange project Jeep since it is the one that I drive the most
often and I started looking around for a place to buy the hood lift. I settled on
4wd.com and placed the order. I got an email
almost immediately saying that the package had shipped and that it should be here in a few days to a week. I waited for it to
come in.
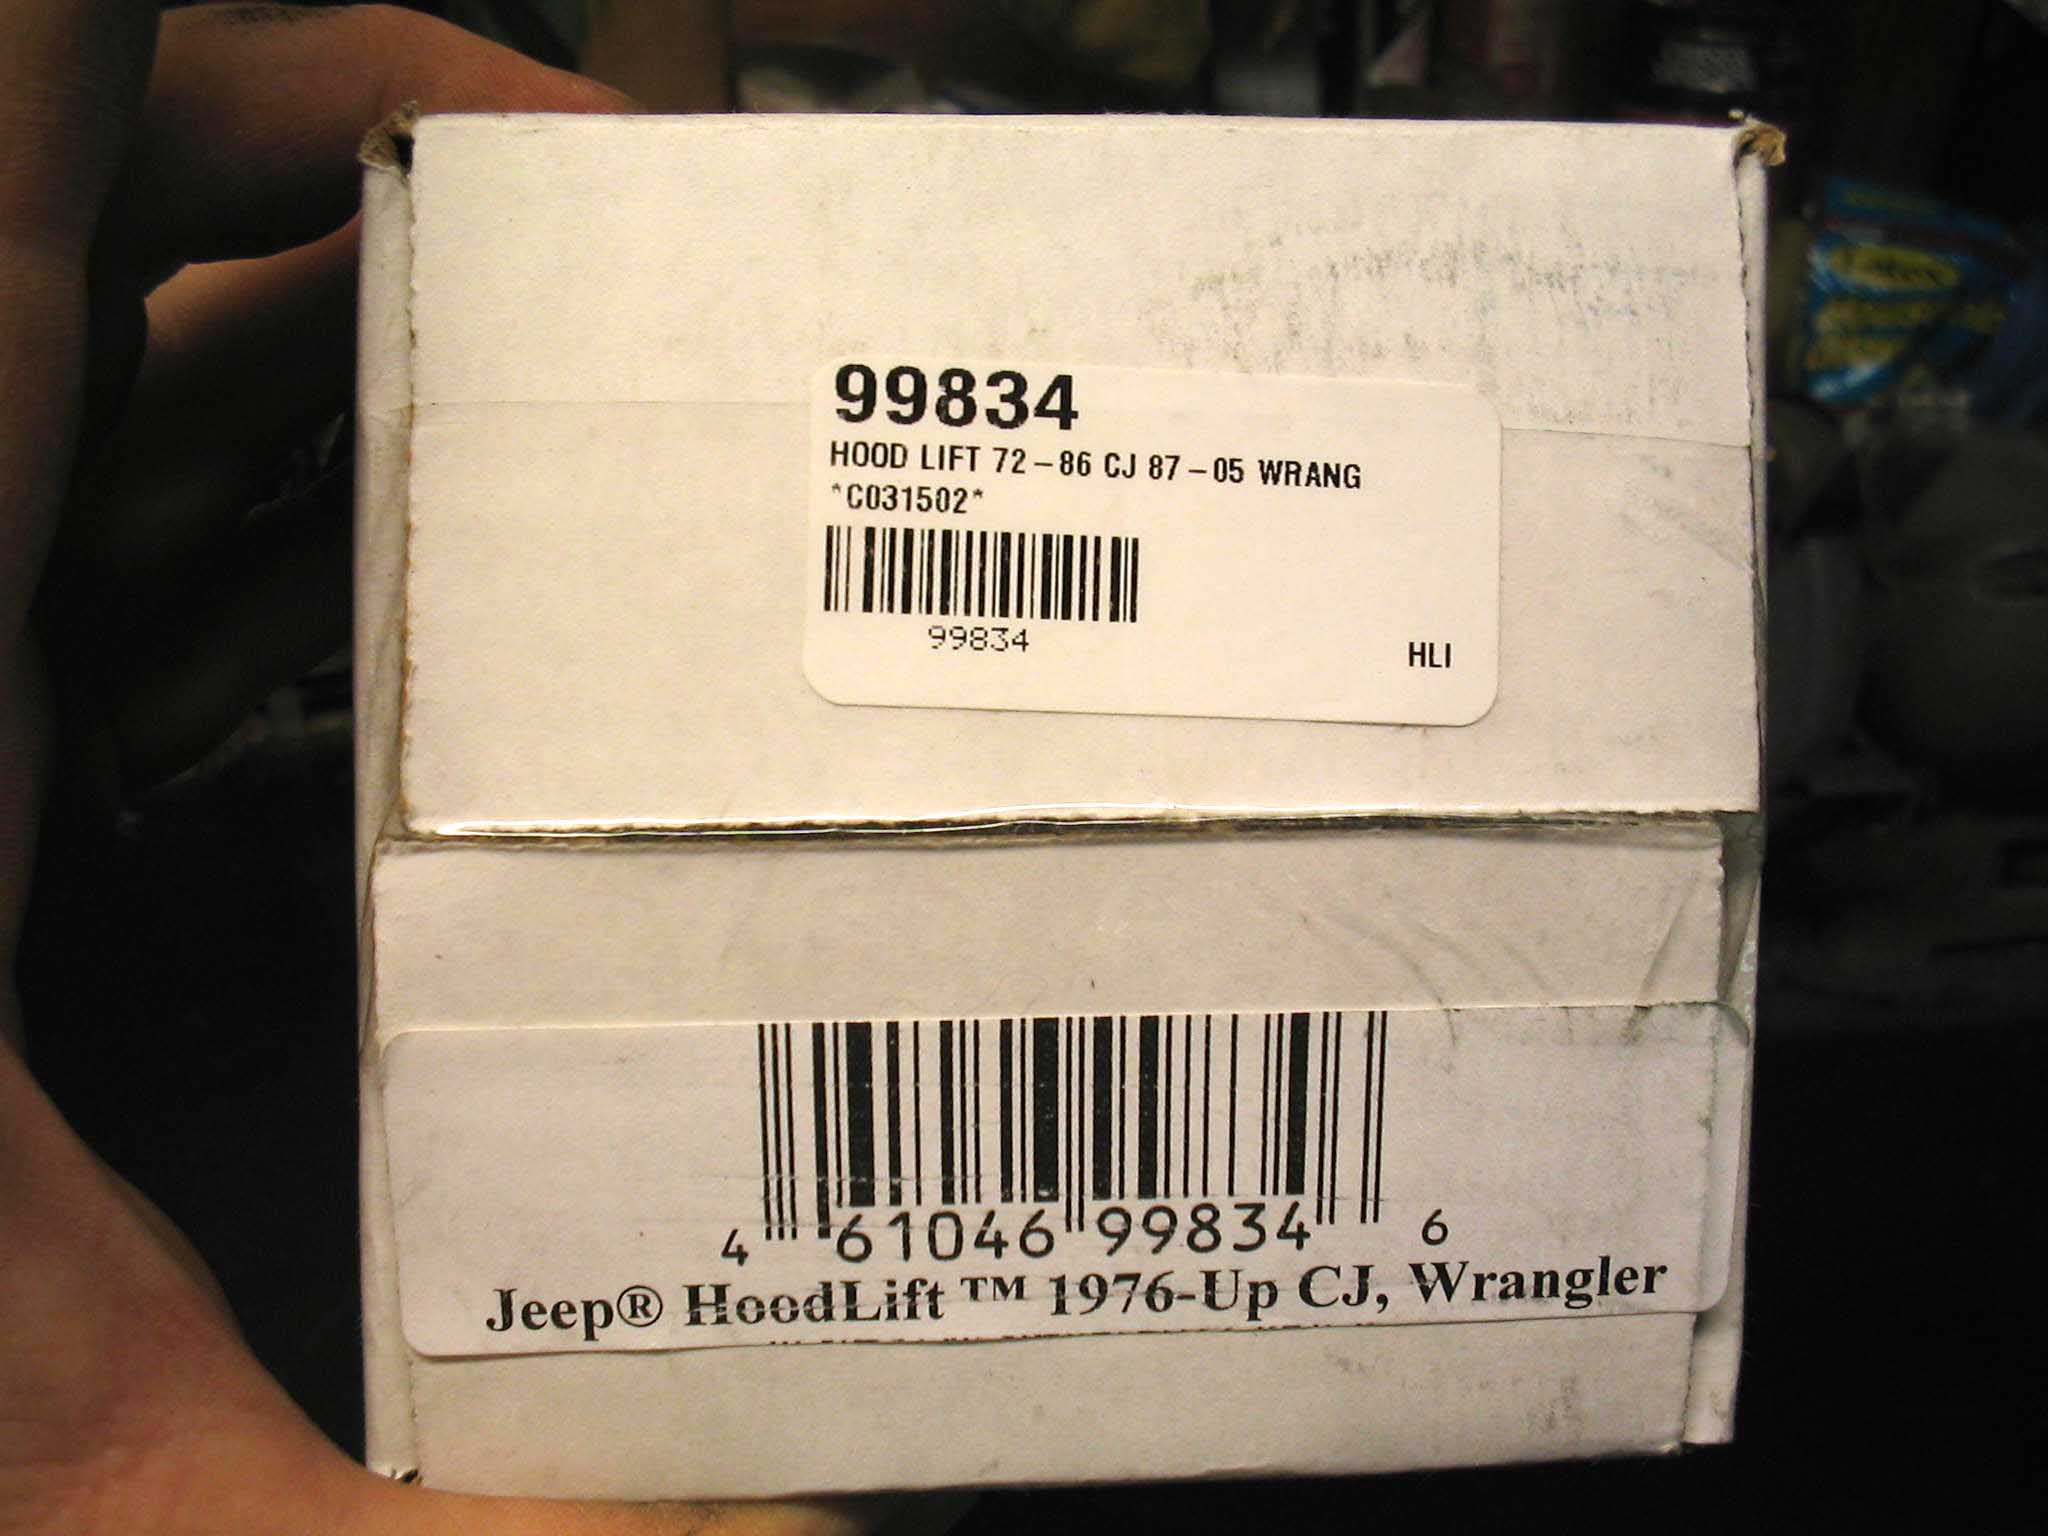
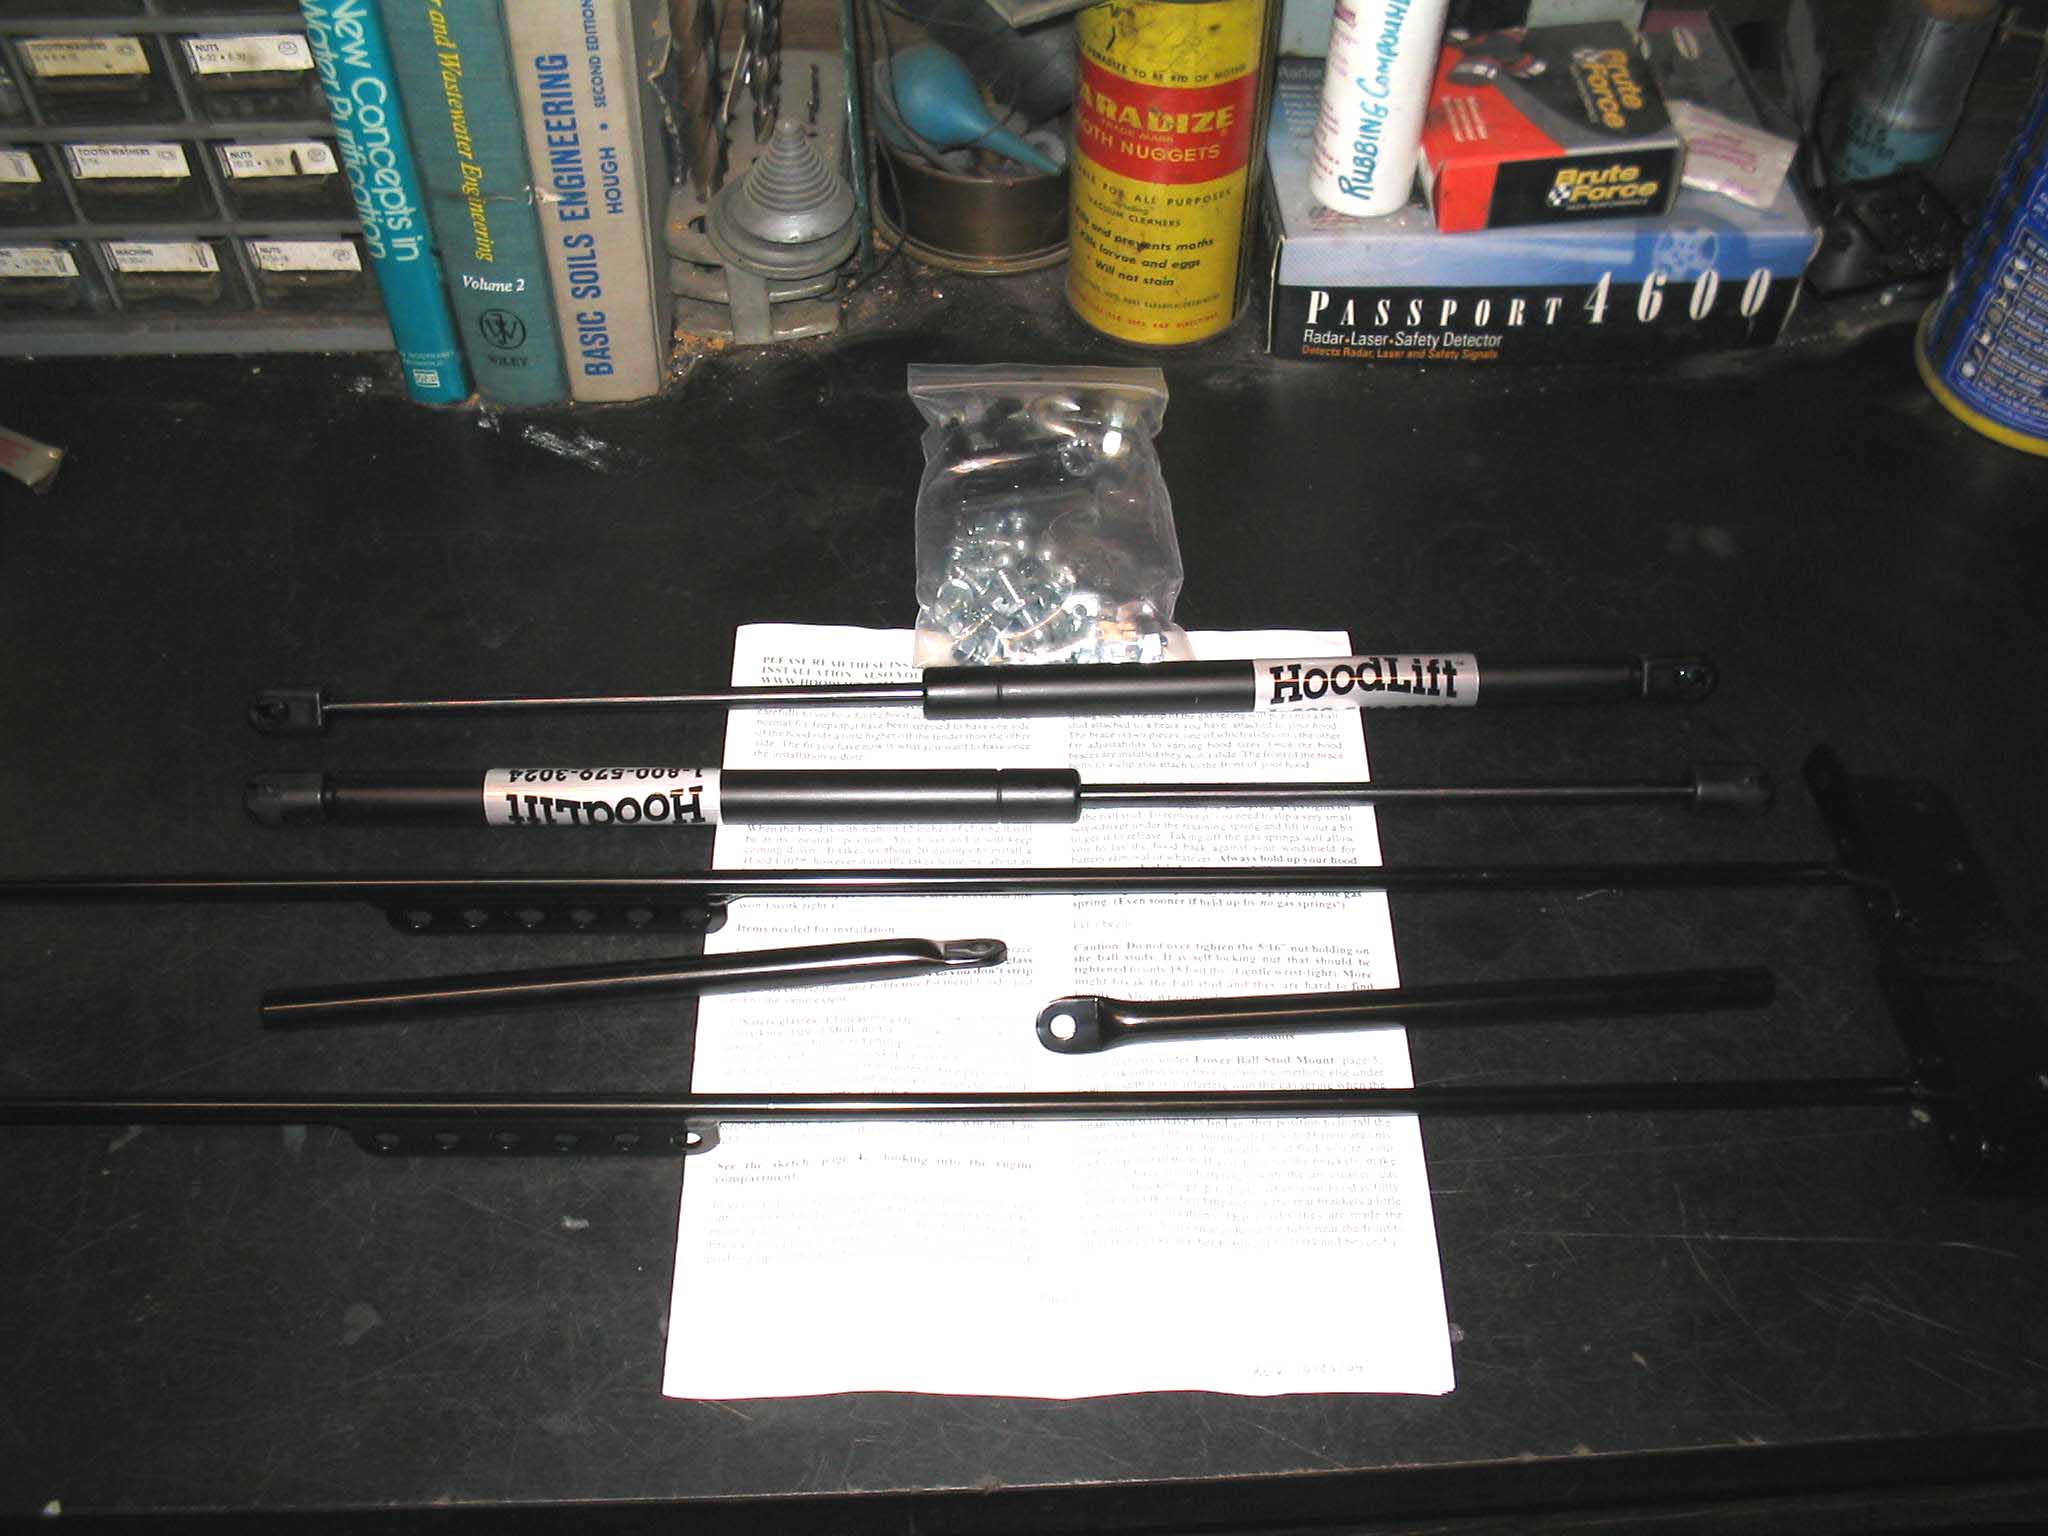
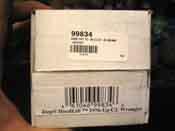
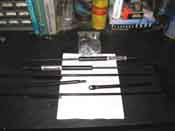
I received the packages about a week after I ordered them up and it came wrapped up nicely in a box and when I opened the
package, it seemed that all the parts were there and I was ready to start assembling the hood lift kit. The instructions
stated that it should be a fairly easy thing to do with one person with a little drilling required.
Here is an excerpt of what the item description says at
4wd.com.
Show off your Jeep's engine with ease! The Hood Lift allows you to open and close your Jeep's hood with just one hand. No
more fumbling with the hood brace while also holding the hood. Simply lift the hood a couple of inches and the specially
designed gas springs take over and lift the hood to its upright position. The hood will close just as easily by applying
only a slight downward pressure. The hood lift installs easily, too (some drilling required). Not recommended for fiberglass
bodies.
|
| |
|
|
|
|
| |
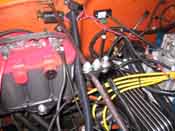
I was delayed in putting the hood lift onto the Jeep as I was waiting for
the engine to come back from the engine rebuilding place and I couldn't very well attempt to put this in place
without all the necessary supports in place to help the pistons do their jobs.
The engine came back and it was installed into the Jeep and finally we were ready to put the hood lift on/in.
The directions say you should be able to do this in a matter of 20 minutes, I would say an hour is more like it.
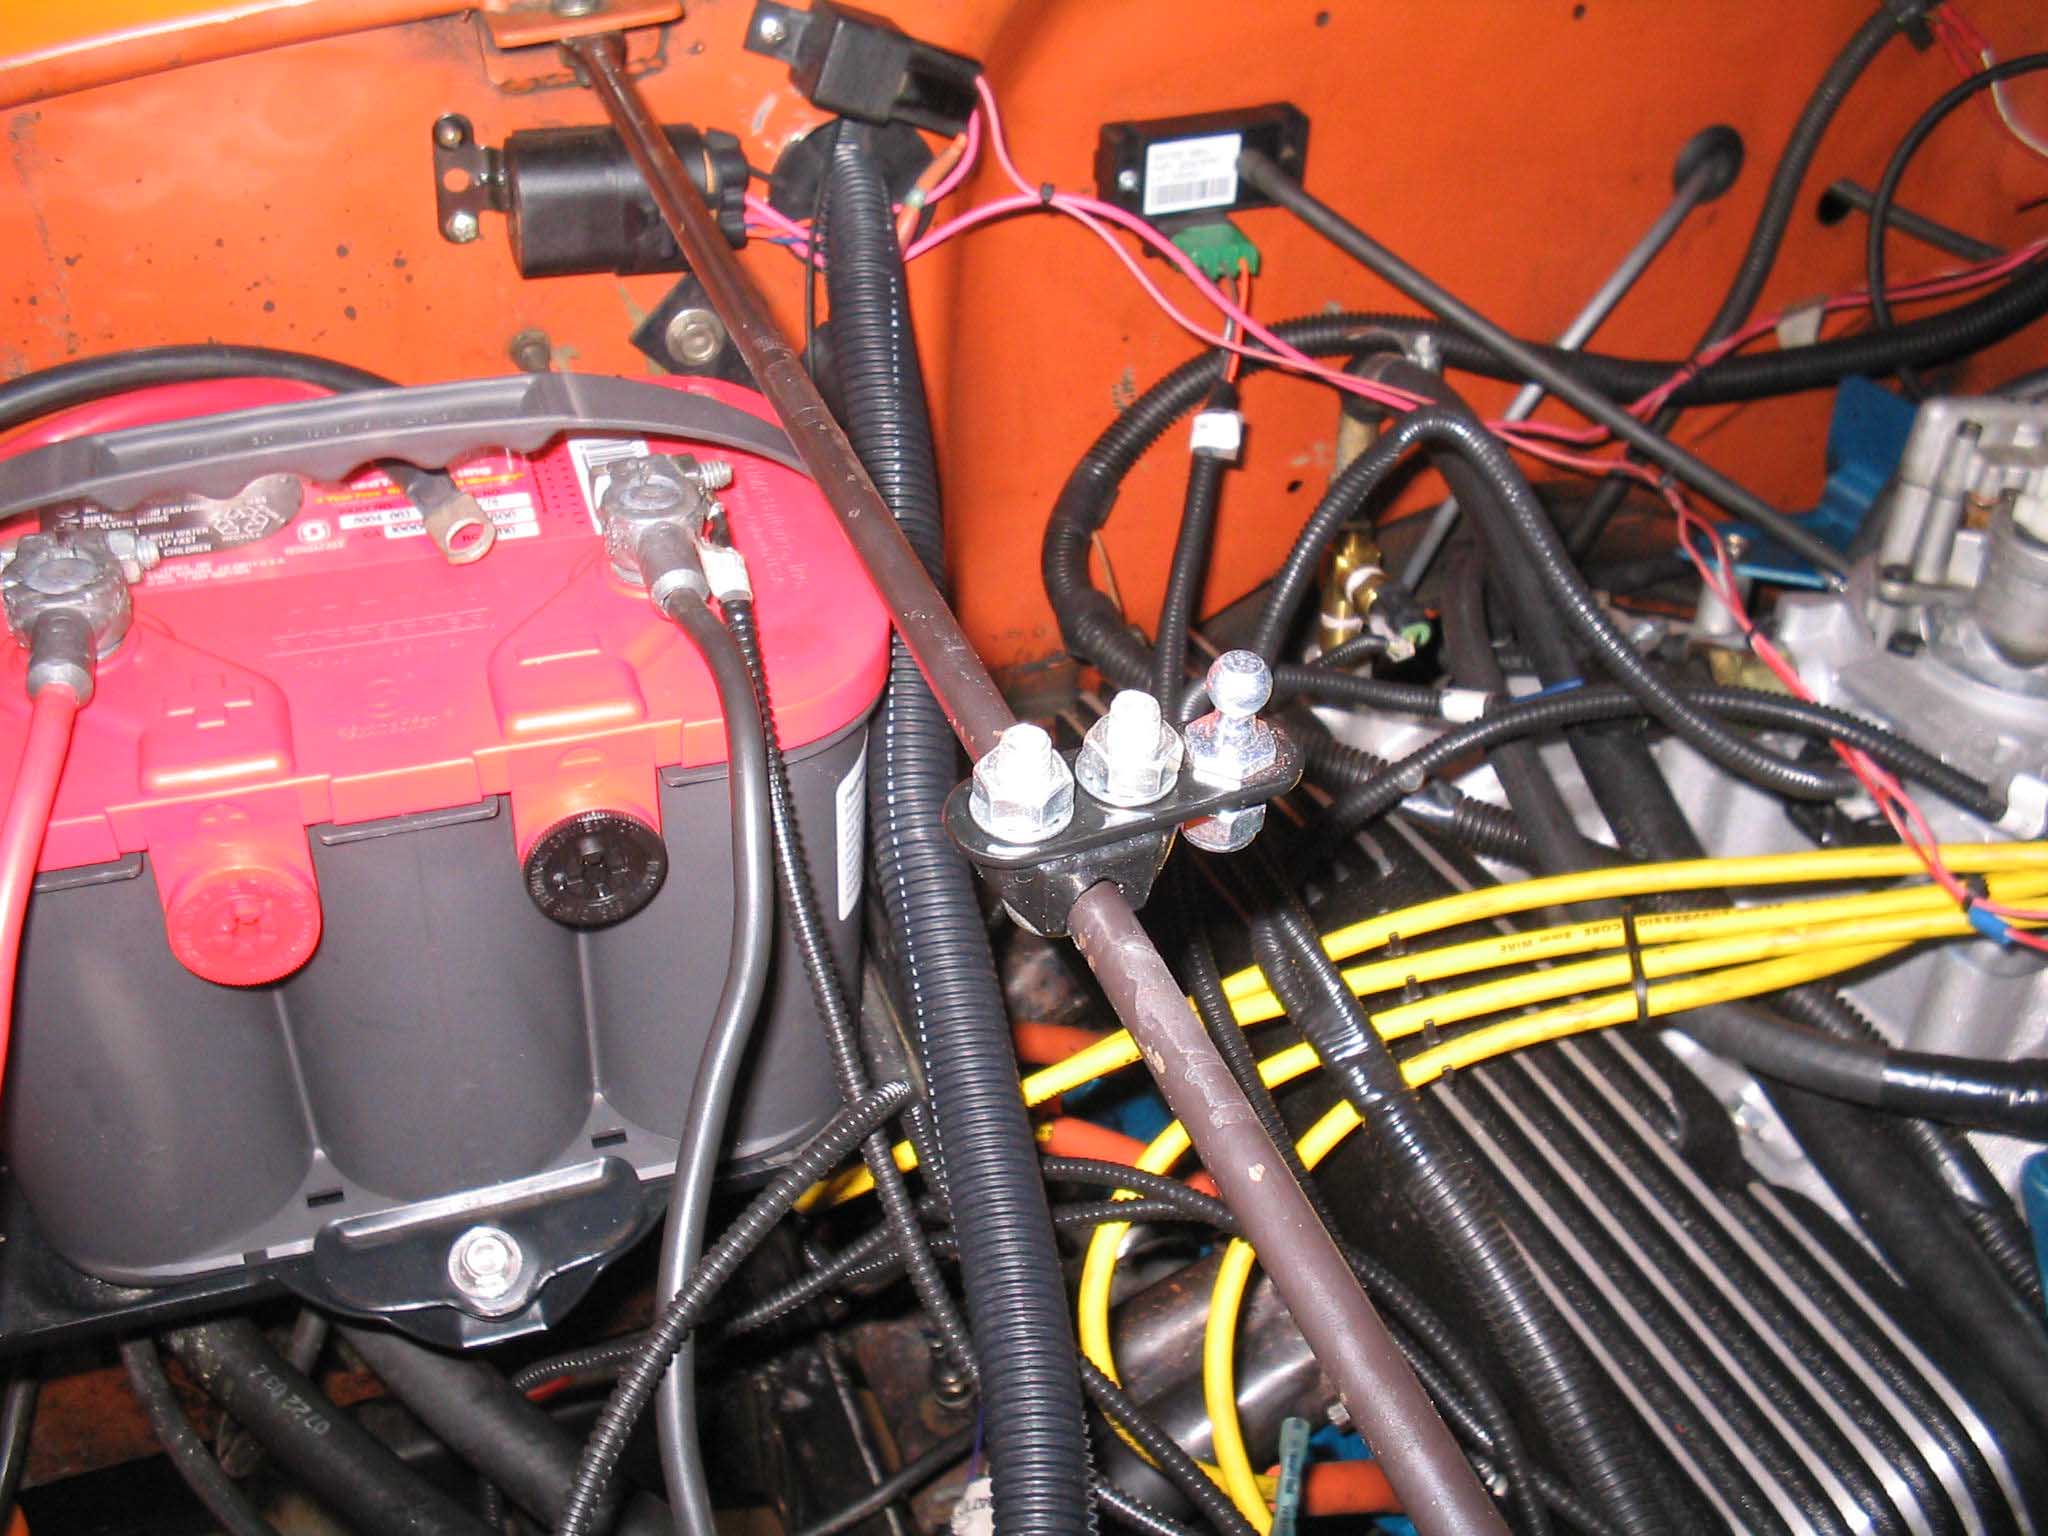
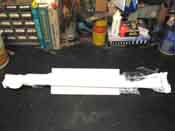
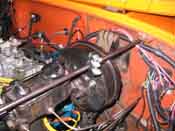
You start by assembling the pieces that go on the grille supports that stretch from the firewall to the grille
shell. These supports will hold the pistons in place on the hood supports and will allow the whole apparatus to
go up and down with ease.
|
| |
|
|
|
|
| |
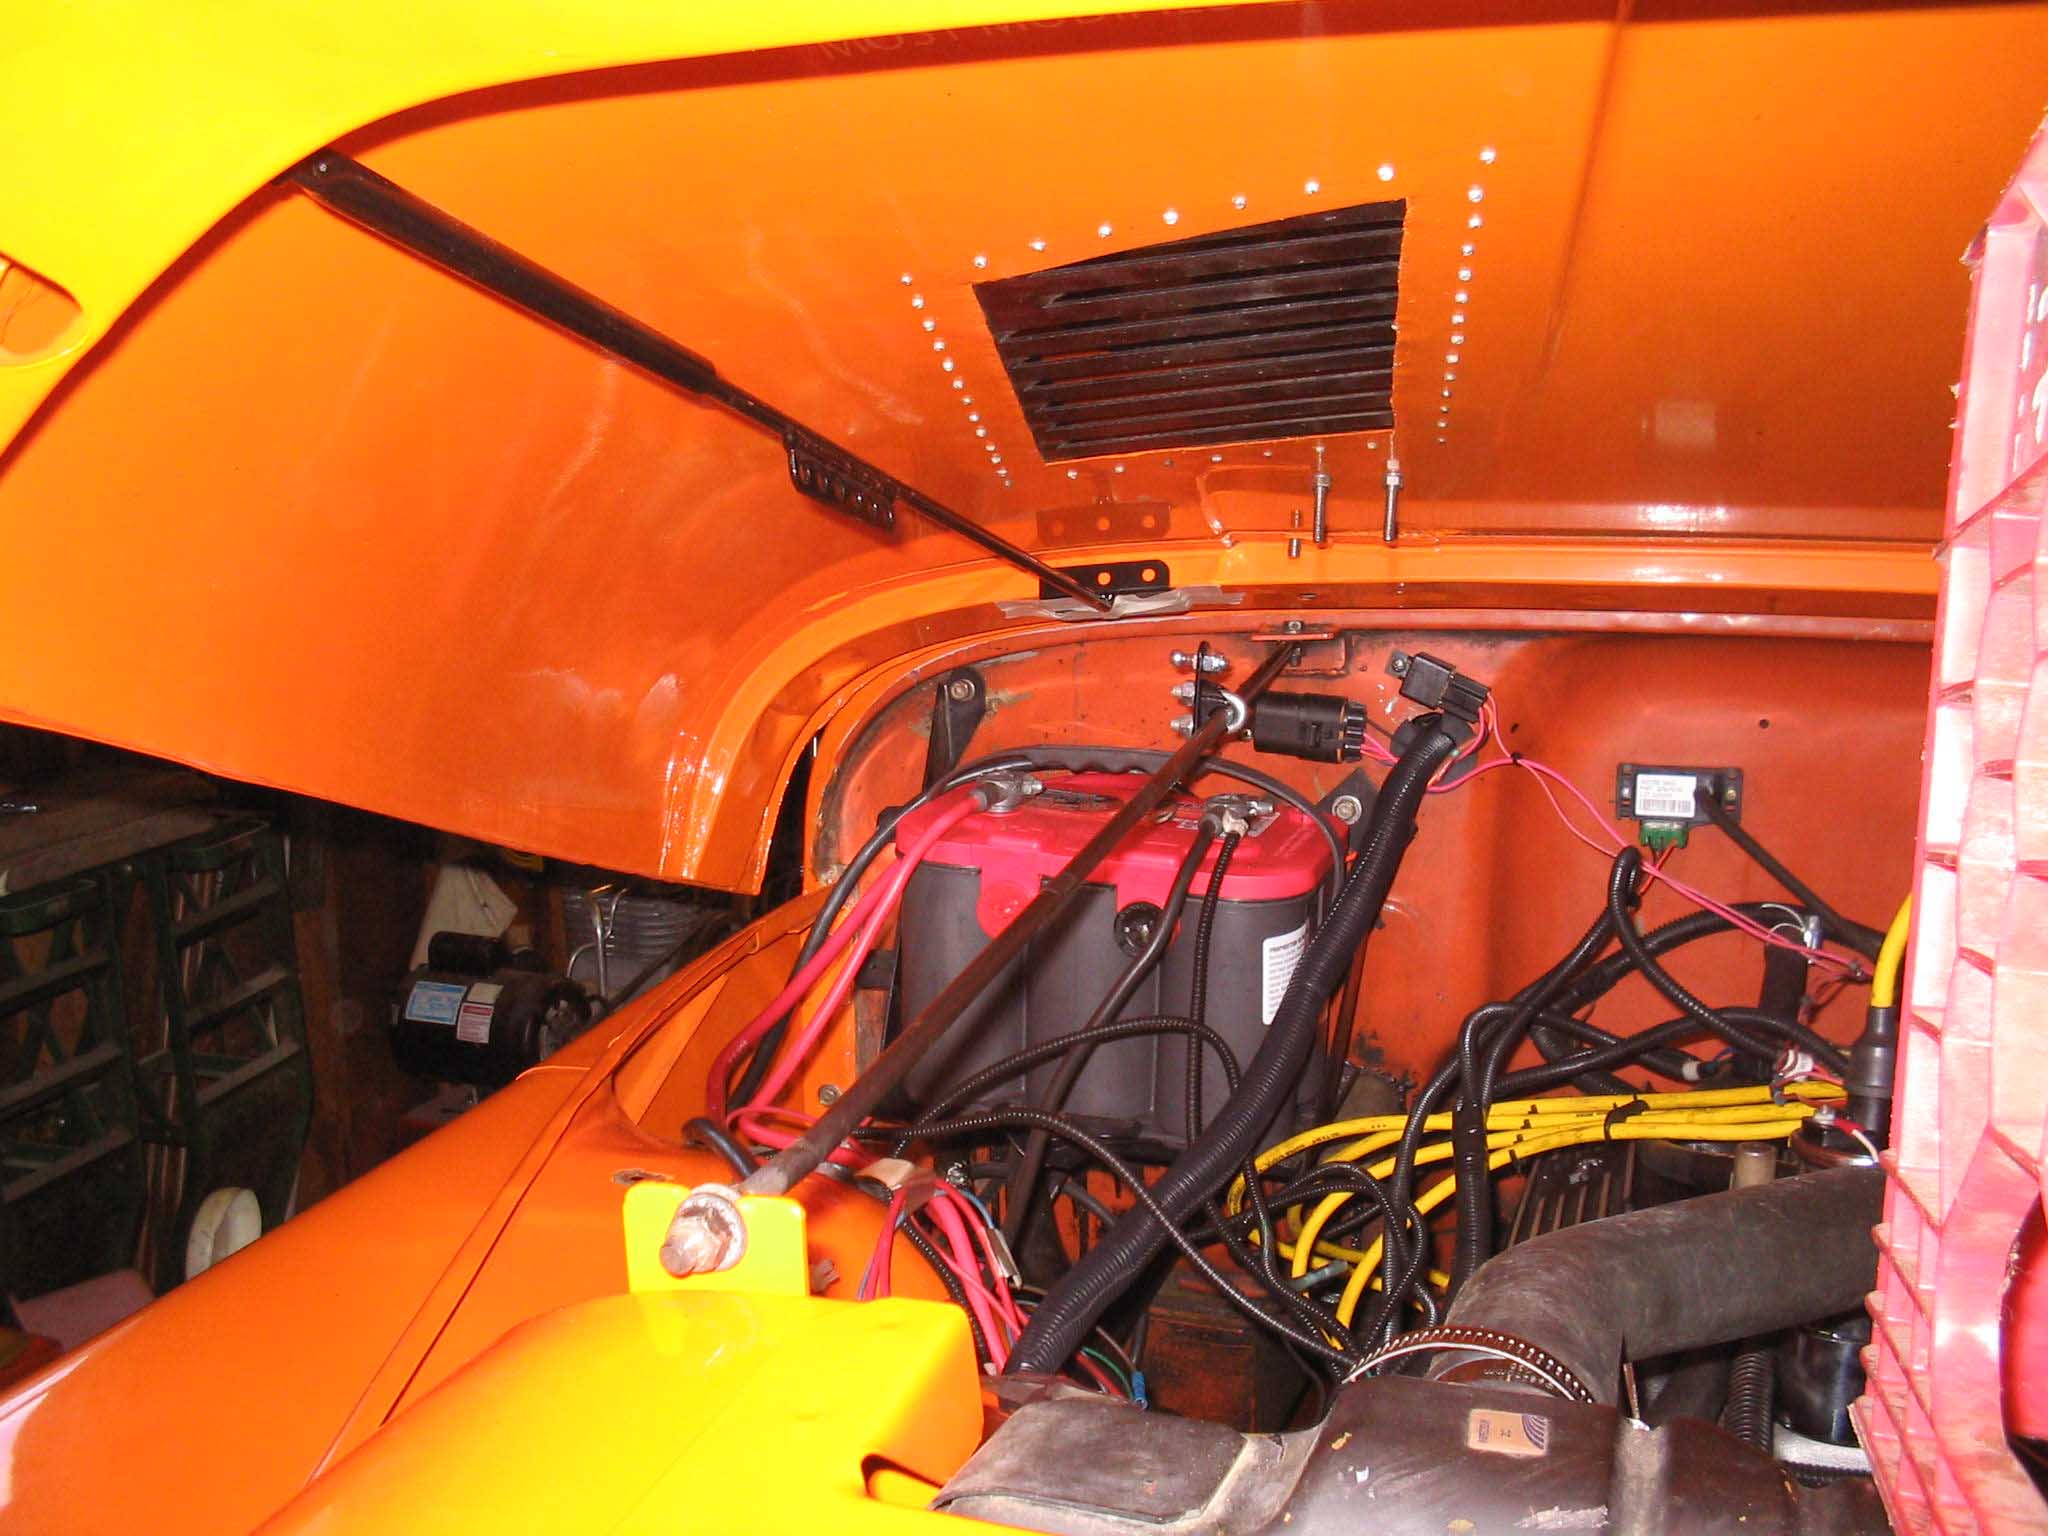
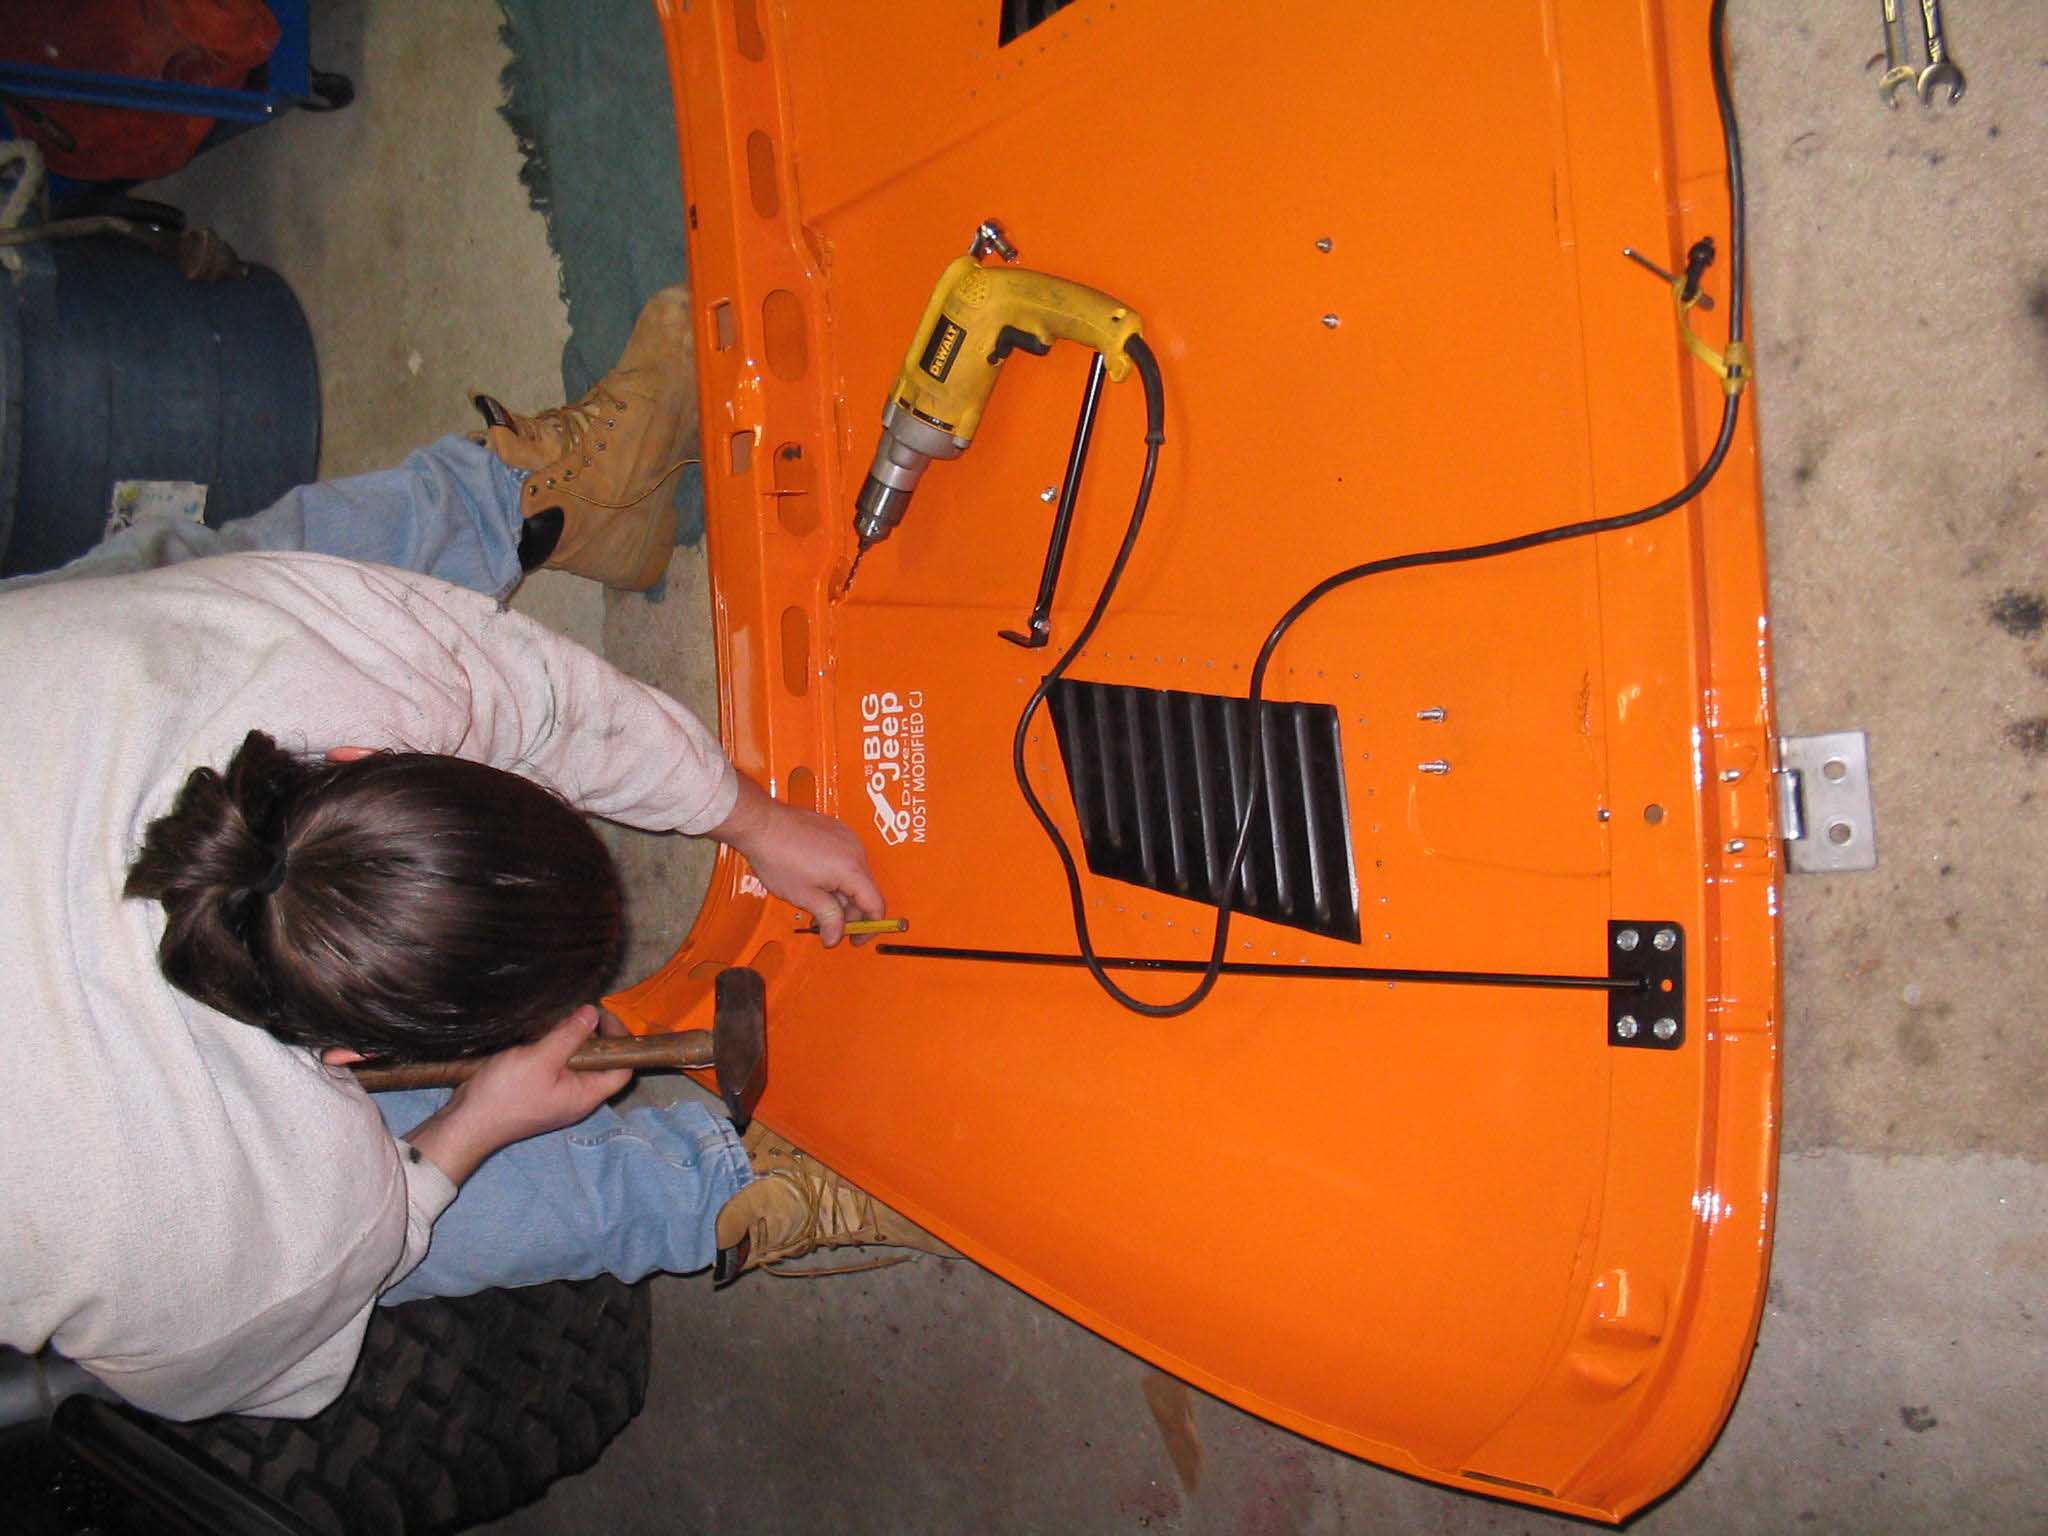
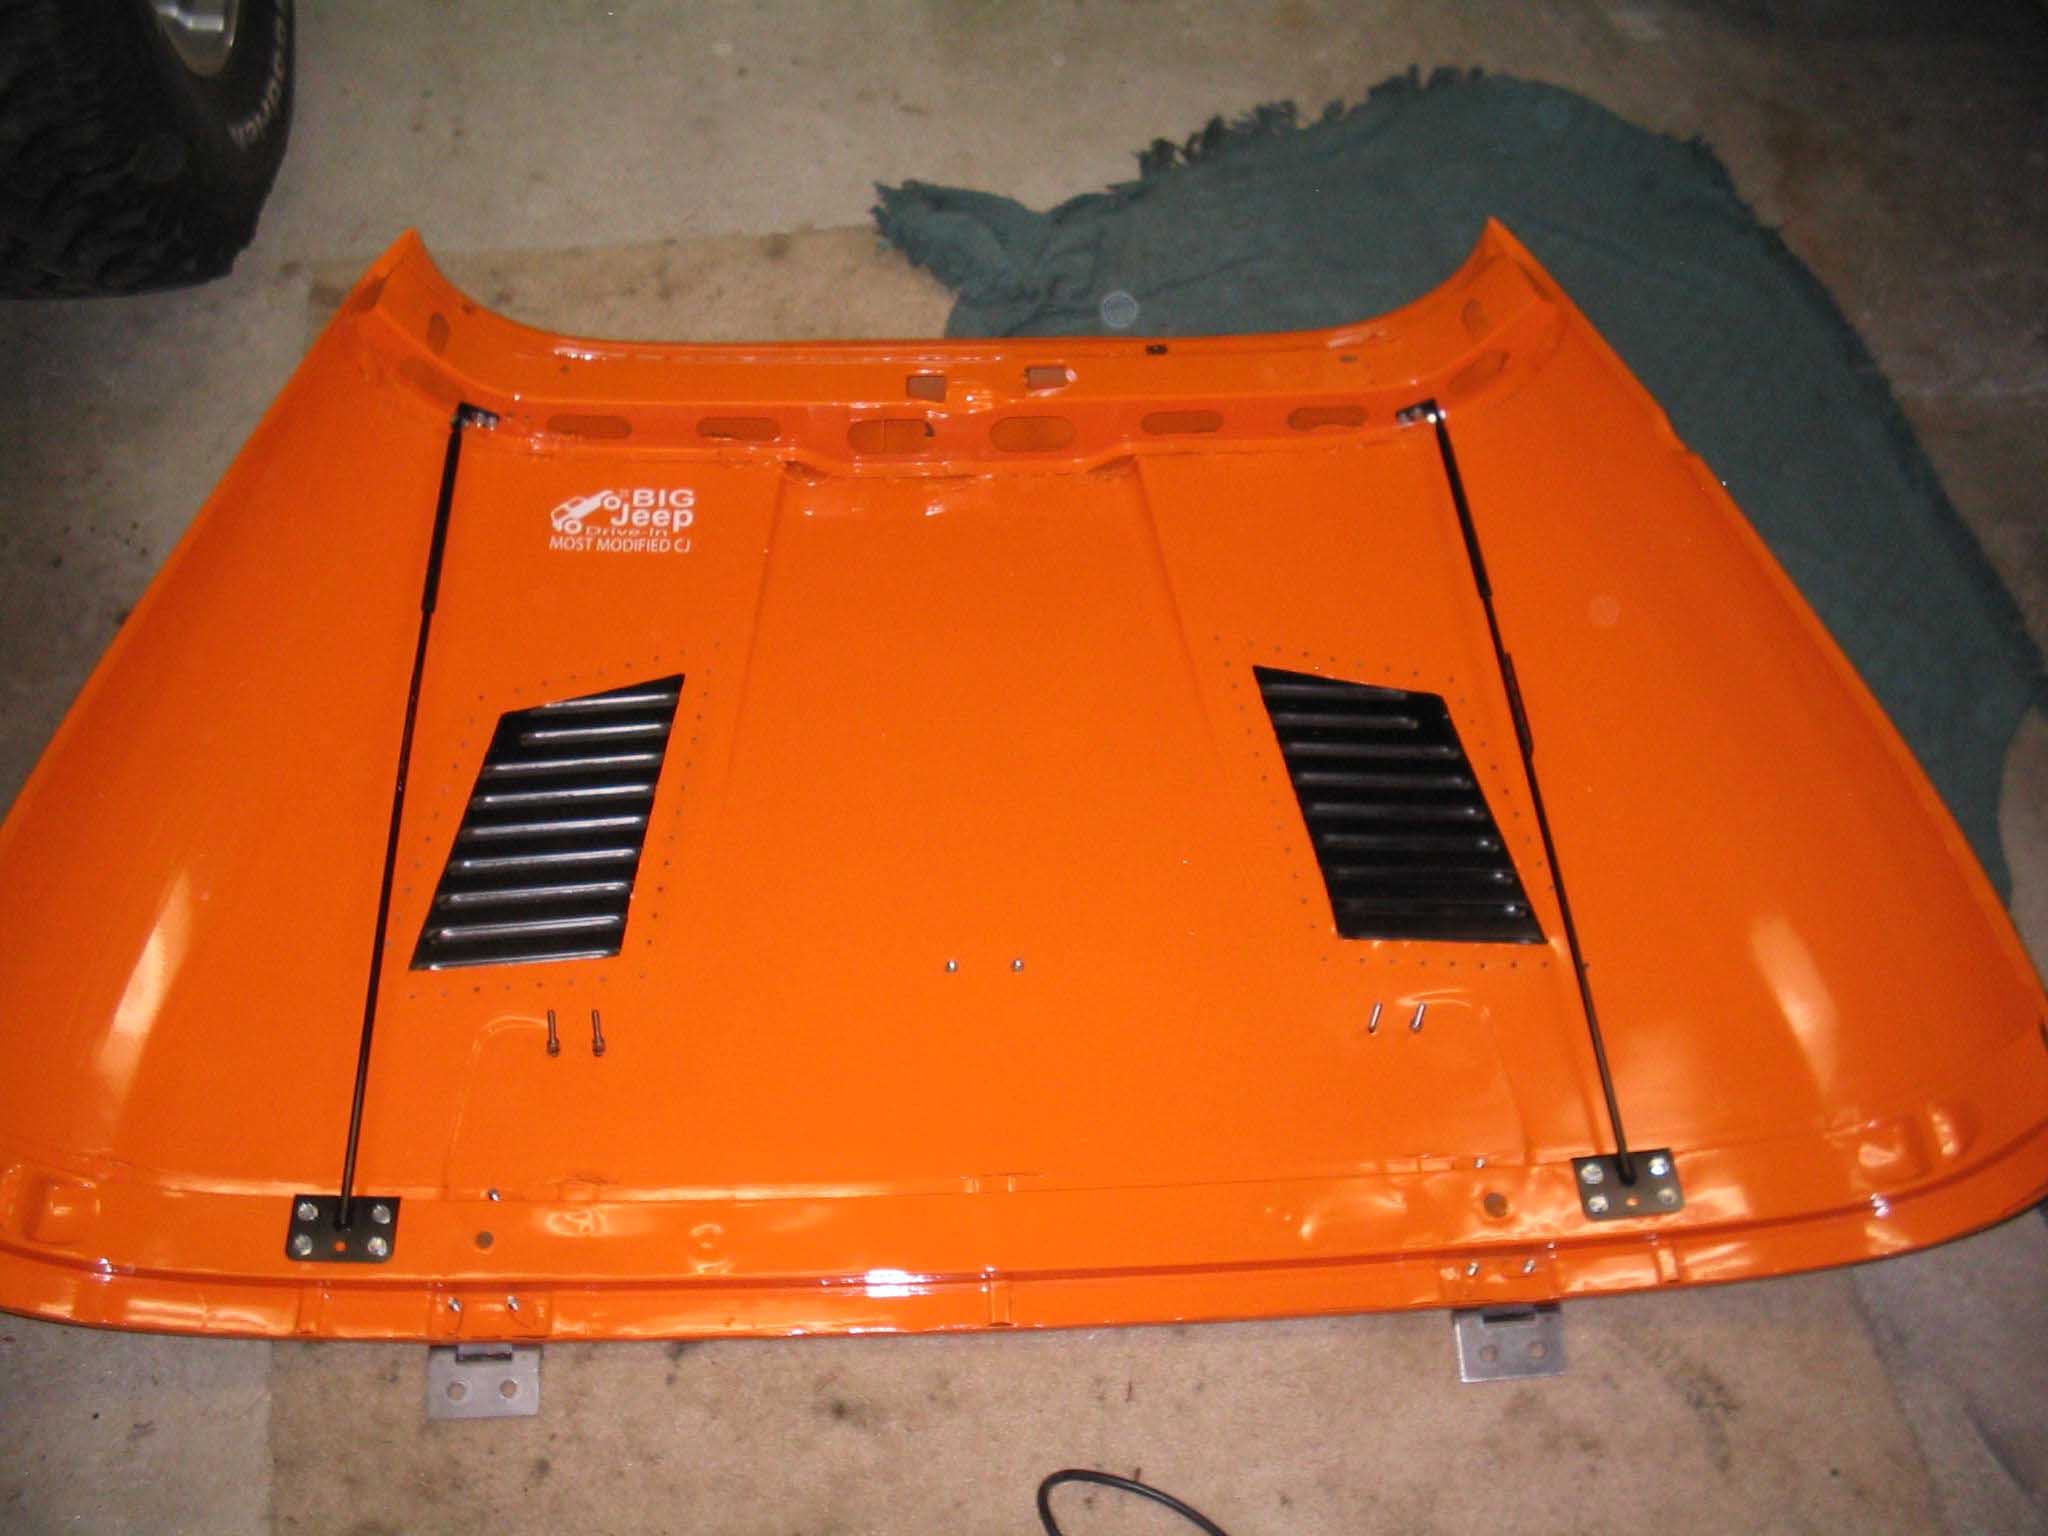
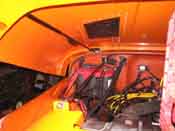
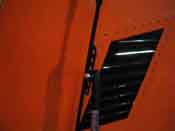
After that is all assembled in place, I put one of the hood supports in place with
tape at the base and used one of the existing holes from the previous hood support prop rod and took a picture to
see how it would all line up under the hood. I used a milk crate to hold the hood up about a foot to see how it
would look as the hood is closing down. They tell you to offset the grille support rods and the hood support
rods by about a 1/2" and that makes sense so everything doesn't overlap on one another.
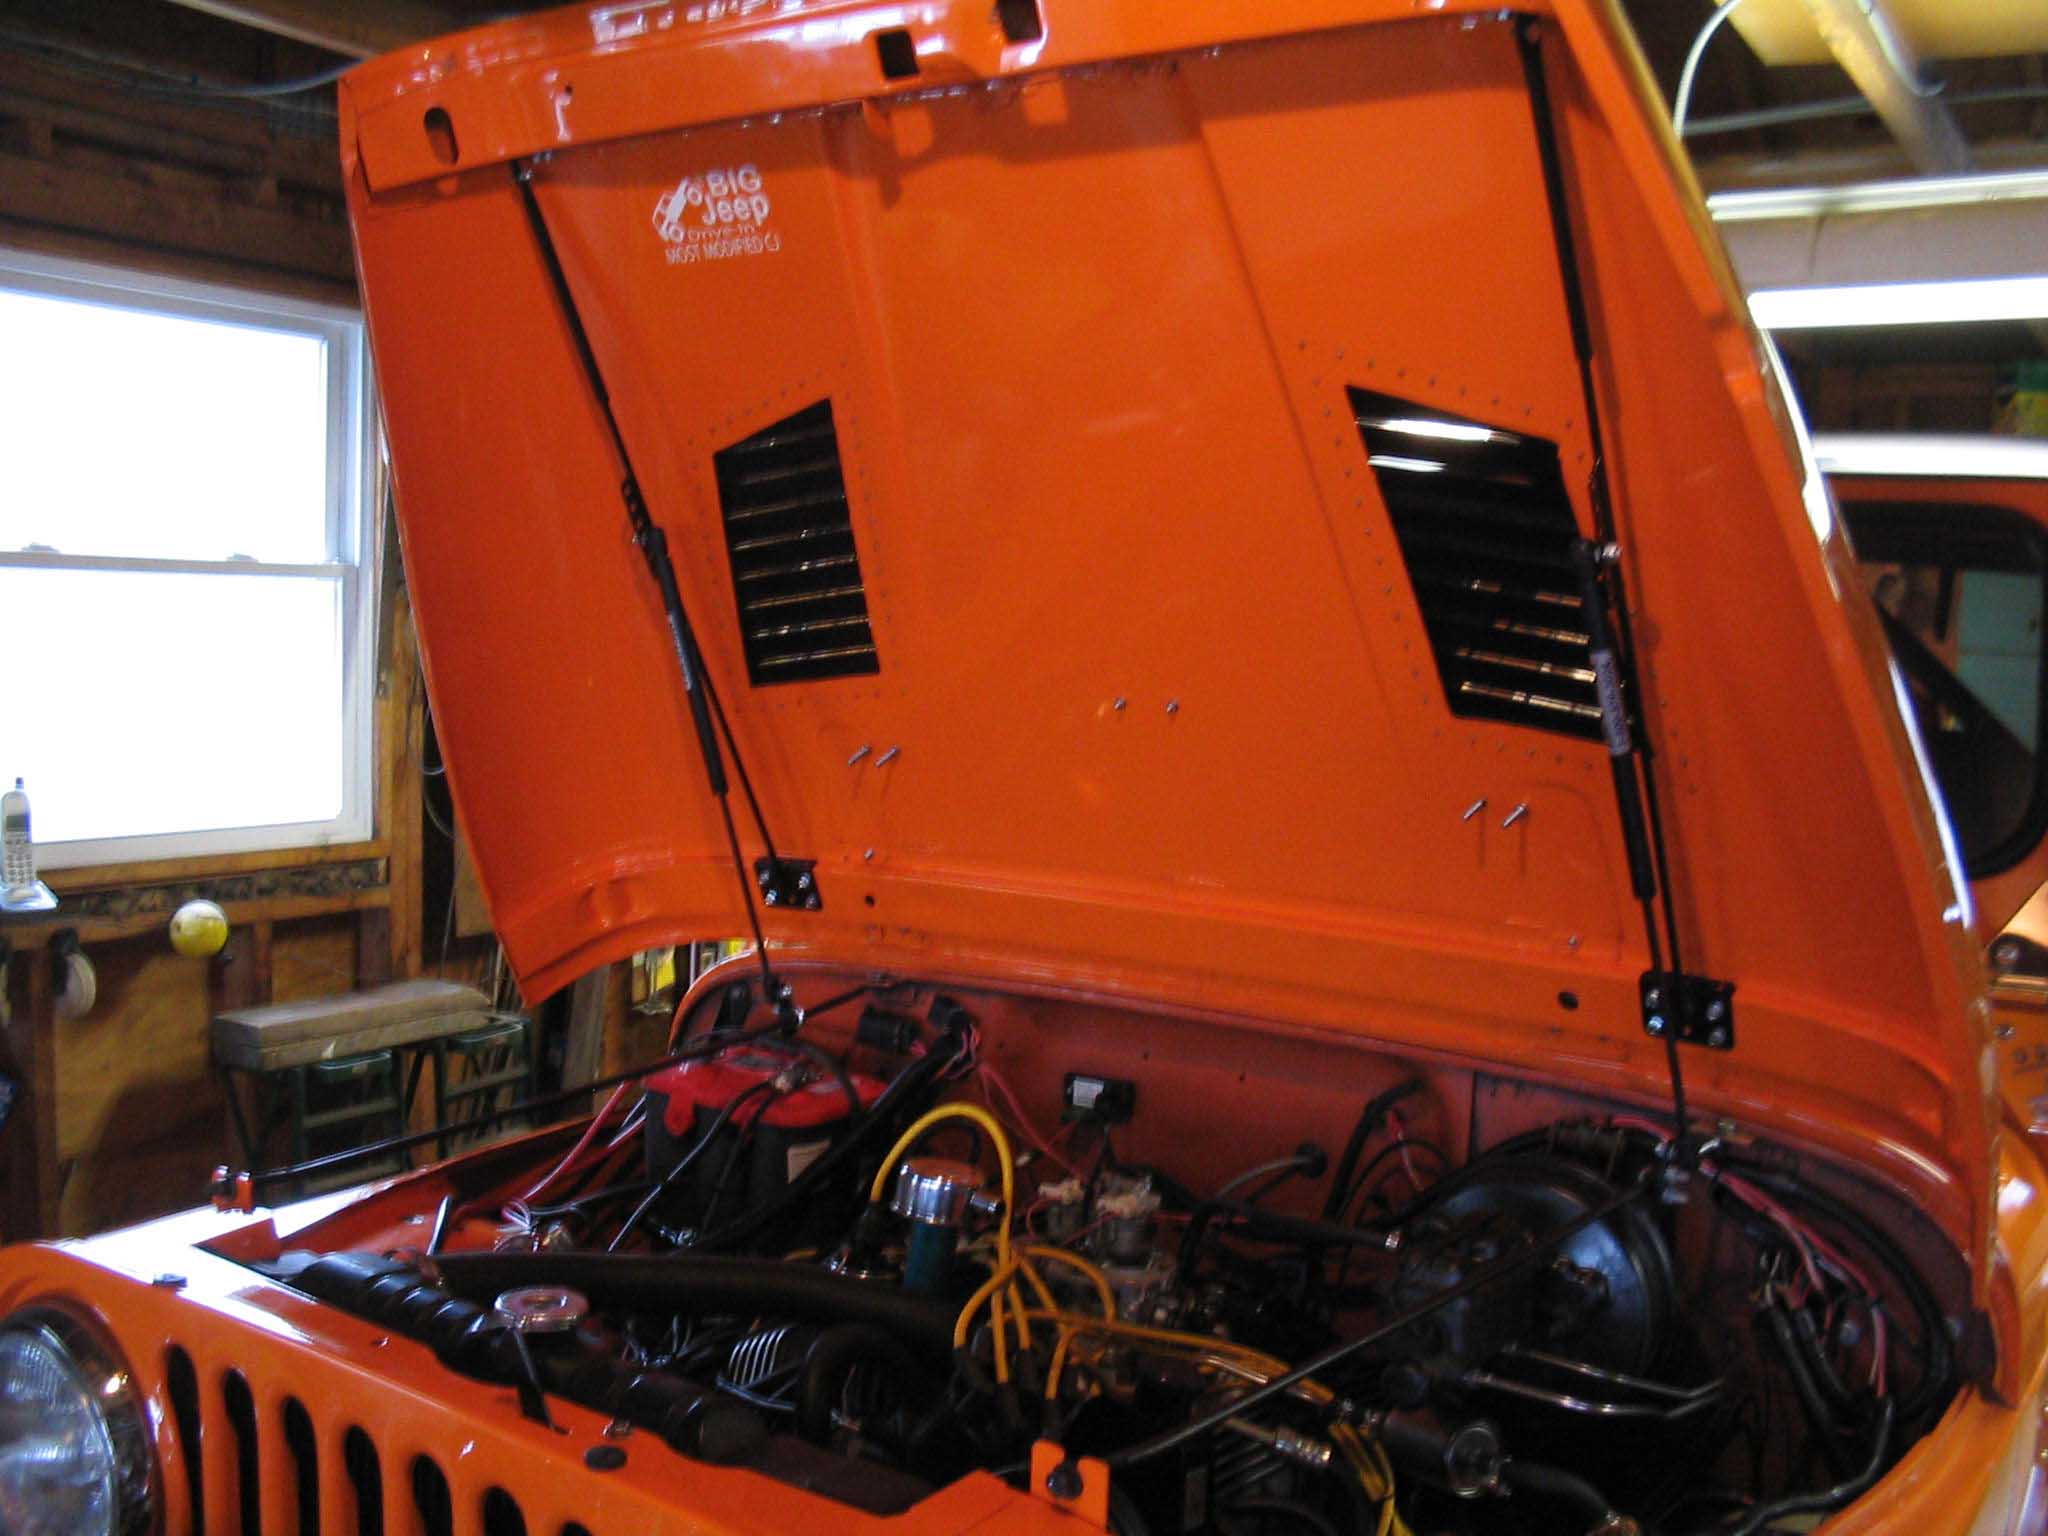
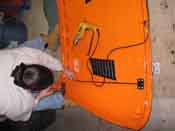
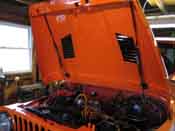
After the passenger side was mocked up, the hood was removed, as it seemed easier to drill when the hood was on
the ground. Once everything was measure and lined up, the parts were drilled and installed and finally the hood
was put back onto the Jeep and finally the pistons were put into place, tightened down and tried out. It worked
great and with very little ease. I followed the directions to a "T", and I might adjust them a bit to allow for
the hood to not go as high in the air as it does now, but aside from that, it works exactly as it should.
|
| |
| Lessons Learned the Hard Way |
| |
So, my lessons learned here would have to be that you should never user your nose to
support the hood of a Jeep, as the Jeep will win that battle each and every time.
Also, you will need the assistance of someone to help you remove the hood if you choose to go that route to get
this installation done, if you don't, you will have to get something to stand on in order to drill into the hood
to attach the supports. As with everything, take your time and measure twice before drilling.
|
| |
| Conclusions |
| |
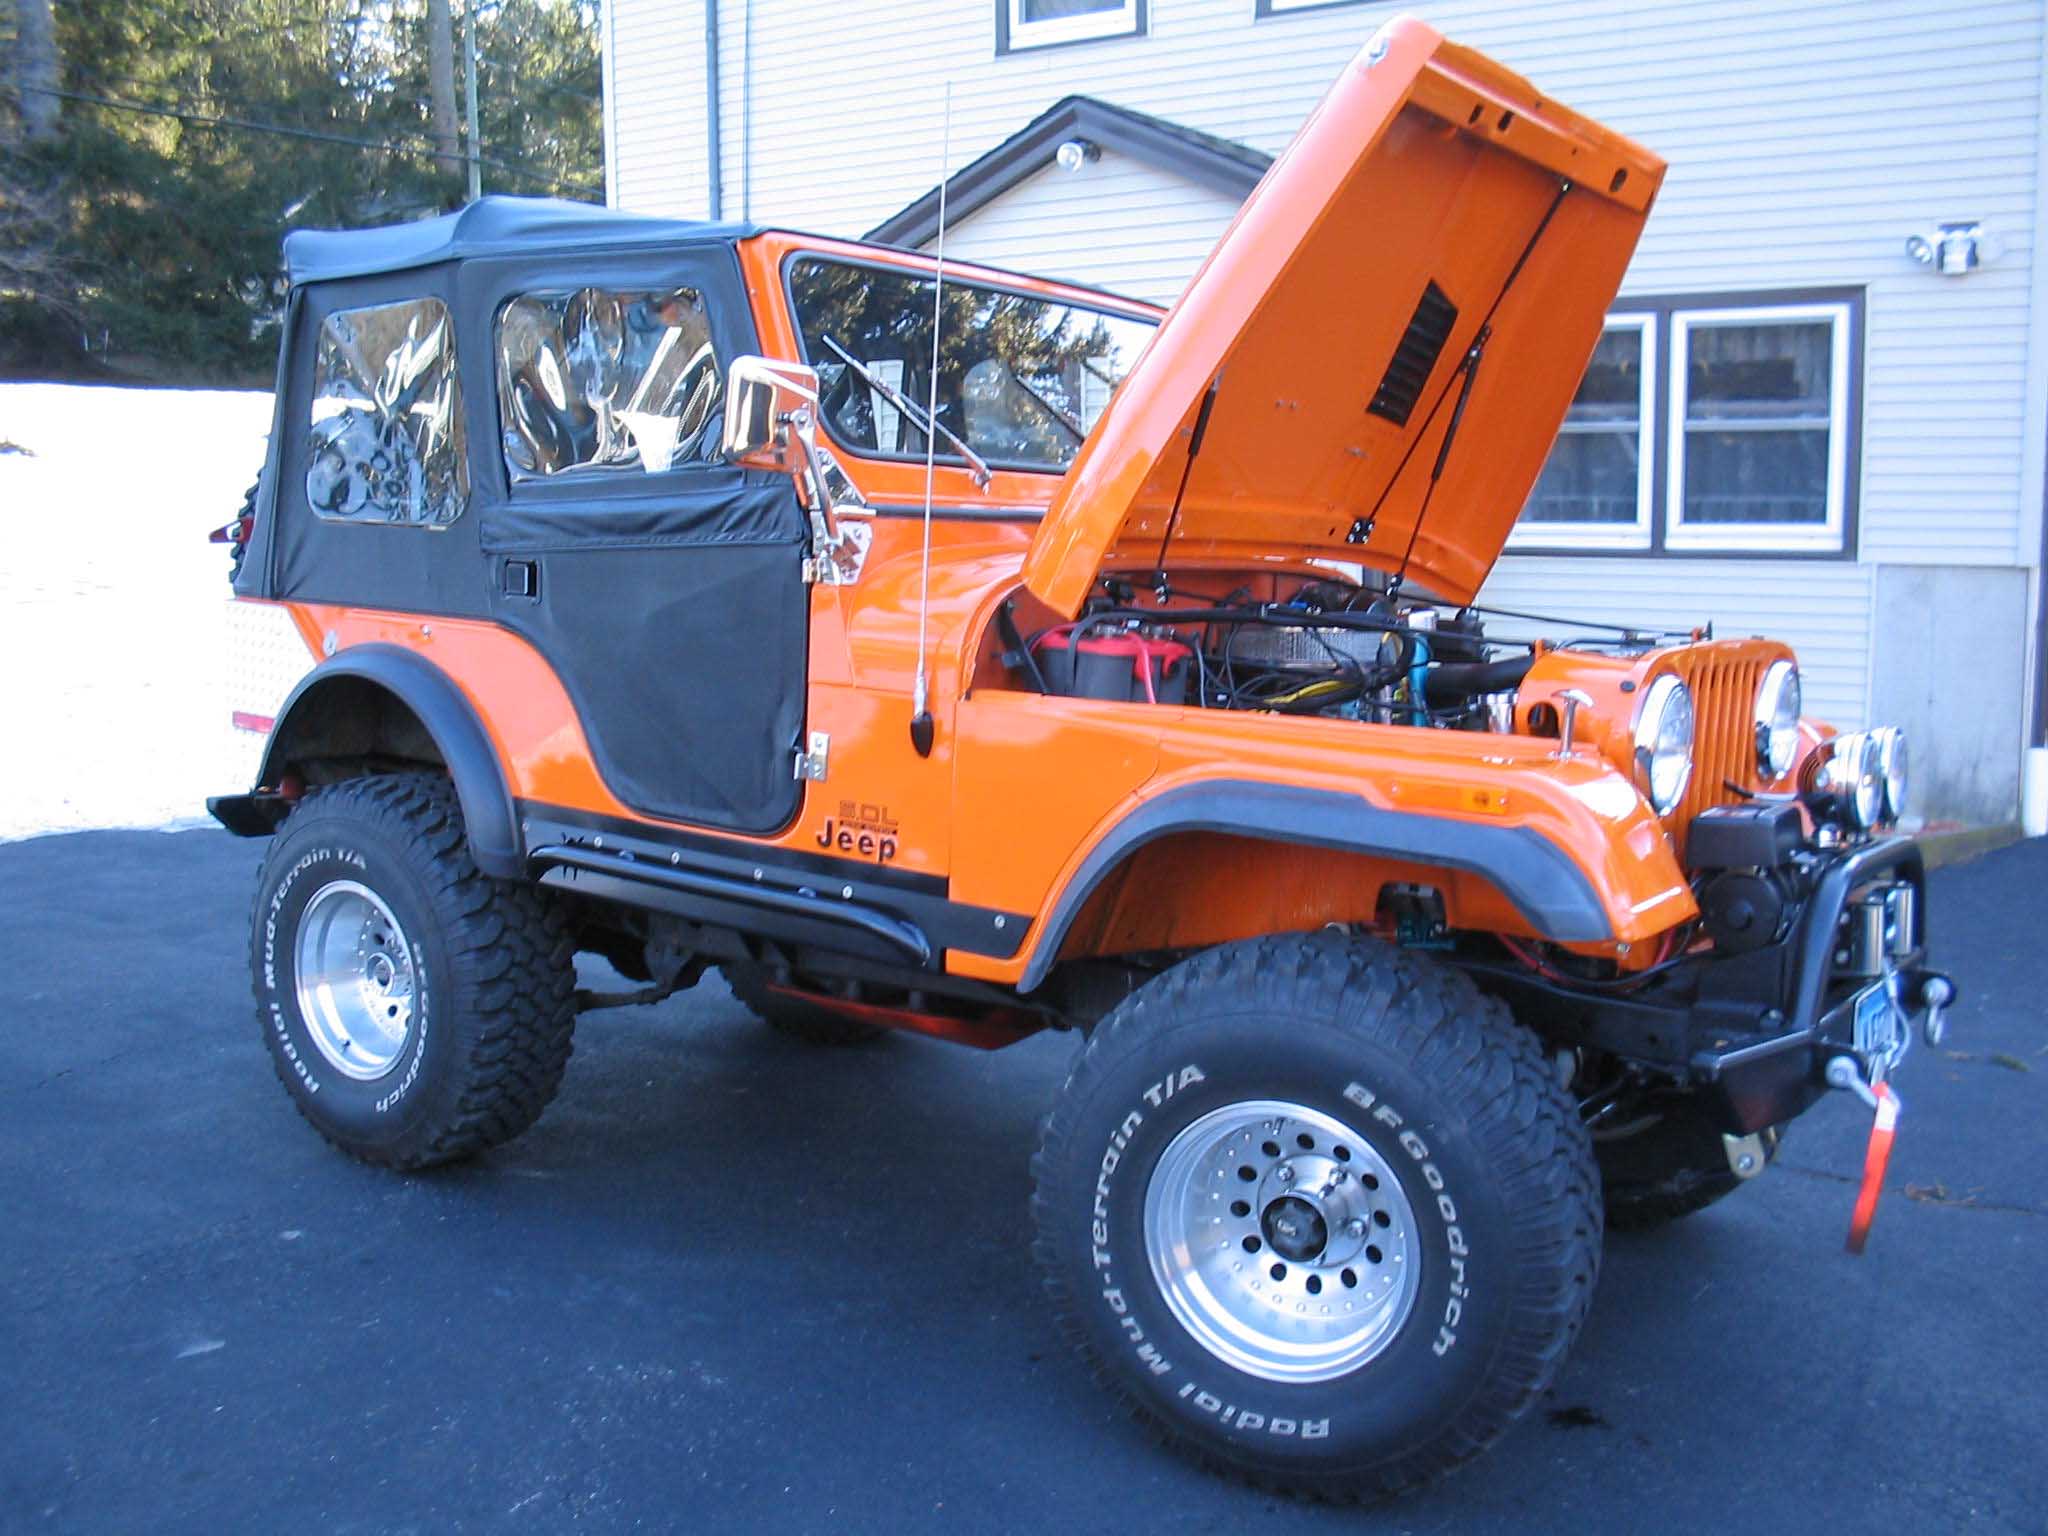
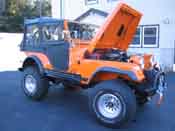
This is a pretty easy installation to do. It took about an hour to complete and it
works exactly as advertised. I was surprised how easy it was to install and now the hood goes up and down with
ease and there is no more fumbling around with the hood support prop rod and no more damage being done to my nose!
The approximate build-up costs and installation time can be seen
here.
Take your time and good luck!
|
|