|
|
| Poison Spyder Customs - Rocker Knockers |
| |
After driving the Jeep around for a year, it was decided that a little more protection was
needed in the area of the rockers on the Orange Project Jeep. I had put nerf bars on with the aluminum side plates in the
beginning of the project because the rockers were a little beat up and the chrome nerf bars were going to add a little
protection as well as a place to step for the vertically challenged among us (Not me as I am 6'1", however, there
are those of us that travel in the Jeep that need some help in getting in there). The problem was however; they didn't
offer the protection that I was going to need when traversing rocks in the backcountry.
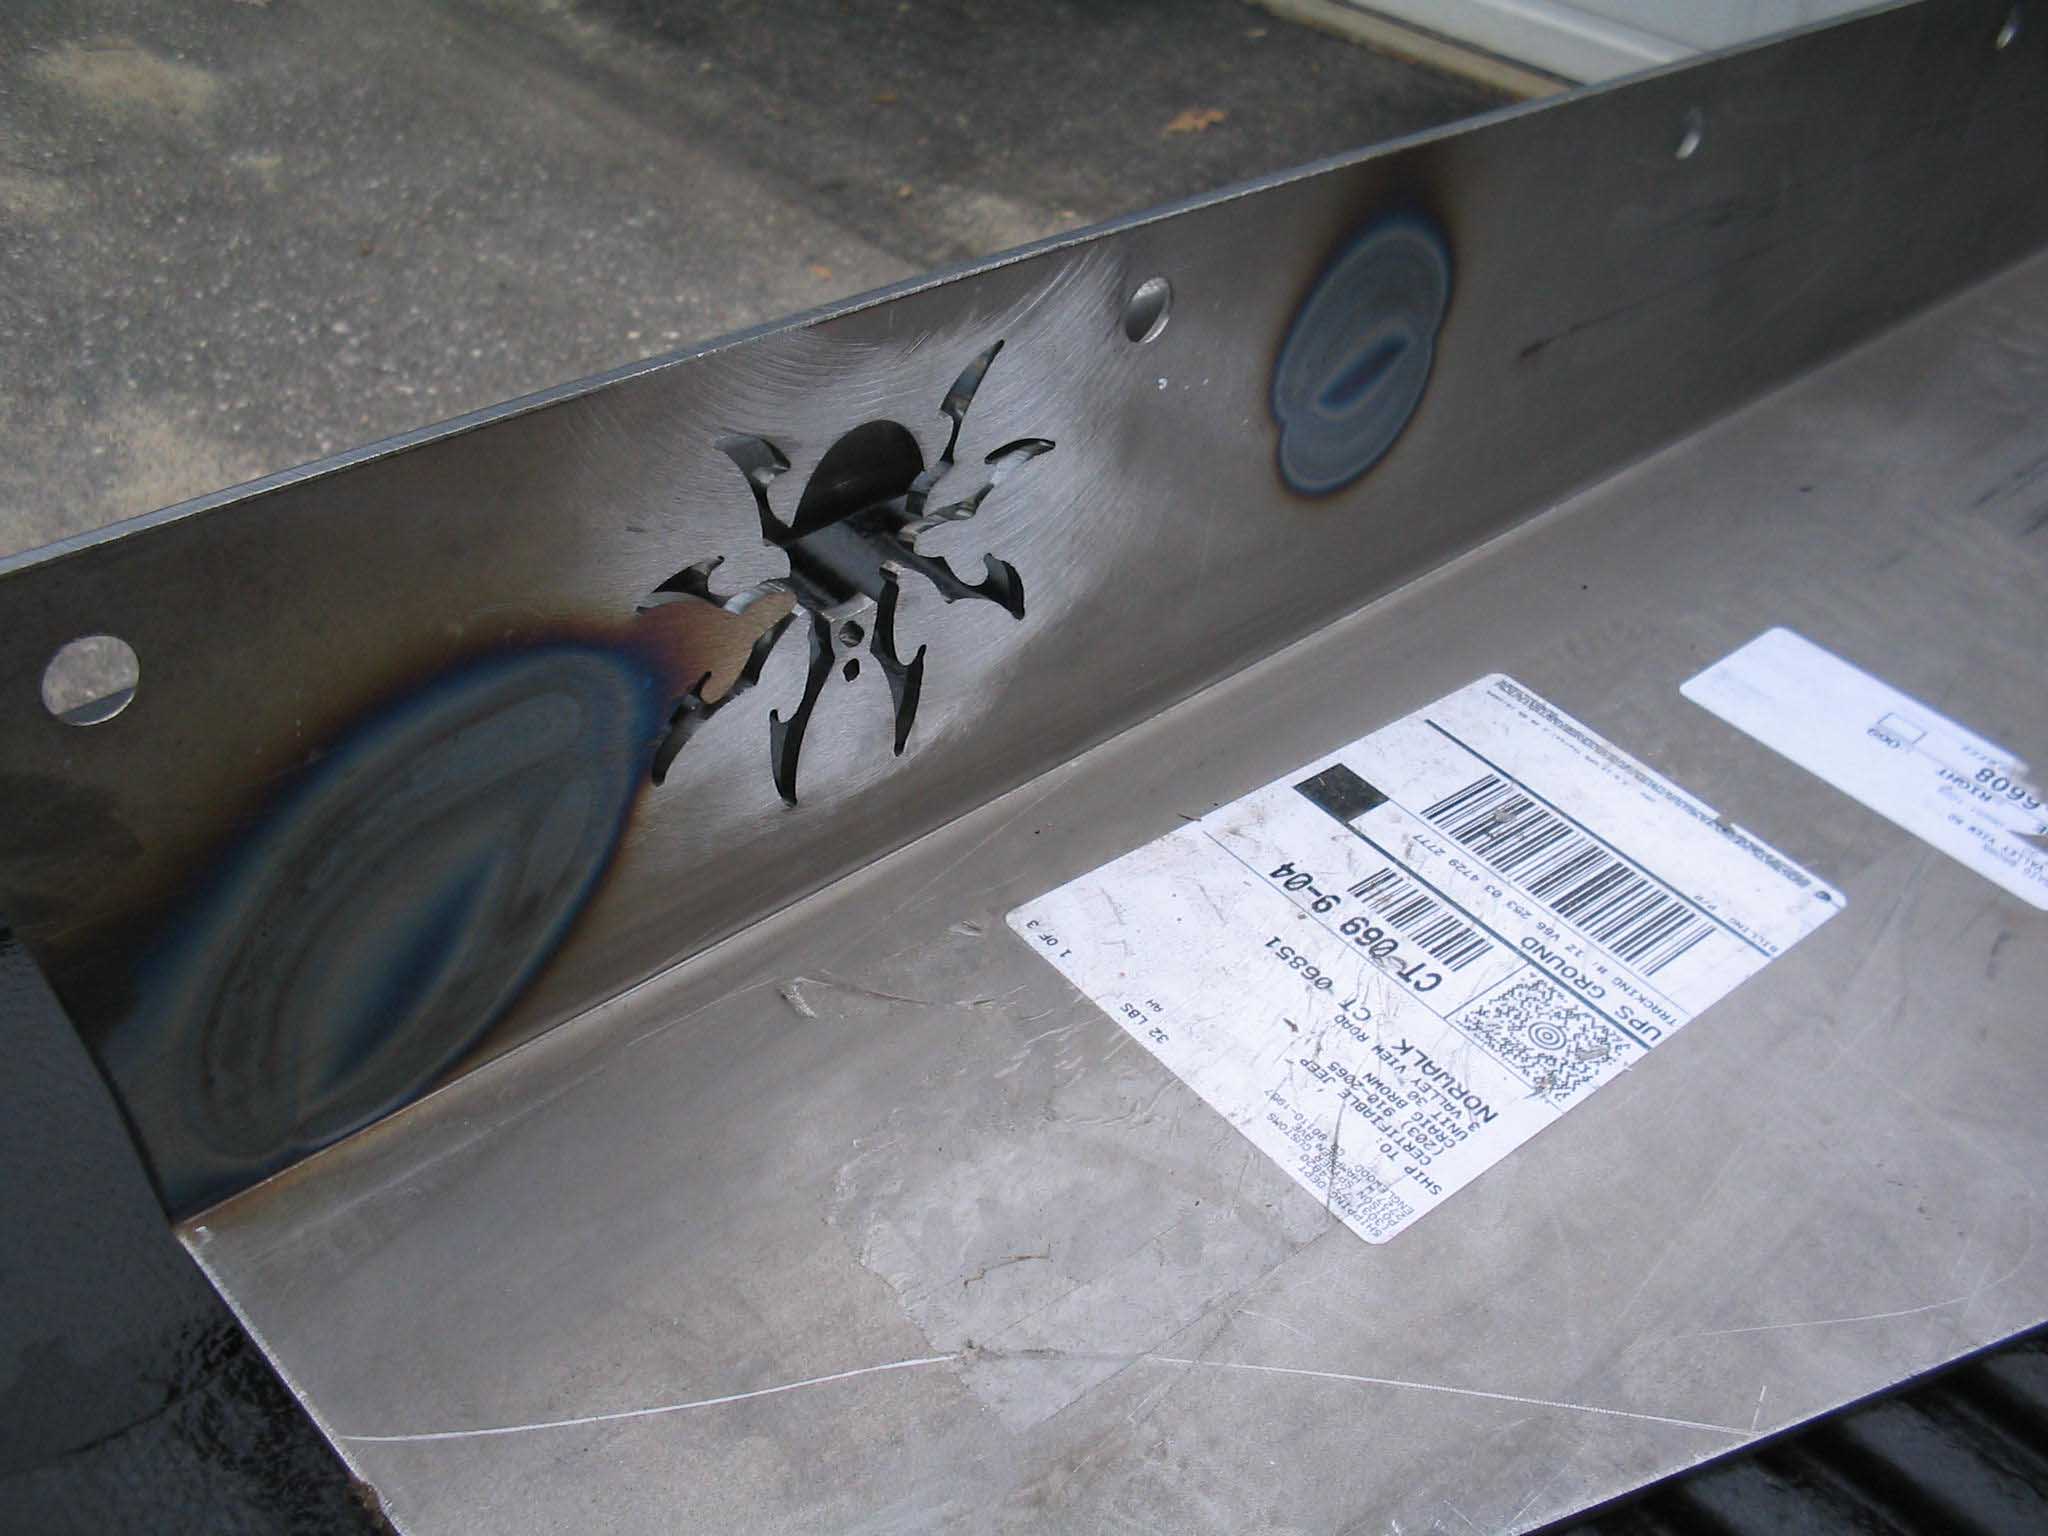
So, after reading the forums and noticing that Christmas was coming up, I settled on a set of "Rocker Knockers" from
Poison Spyder Customs. These came highly recommended
from the guys on the
JeepForum as well as the other forum I visit
JeepsUnlimited. I took their advice
and had Jen order me up a set for my XMAS present. The total cost was about $350.00 with the shipping. I know it is a bit
steep, but the construction and quality of the welds were said to be superior to anything out there, plus there was a little
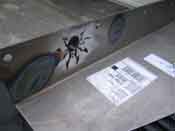
spider on each side, how can you go wrong?
|
| |
|

|
|
|
| |
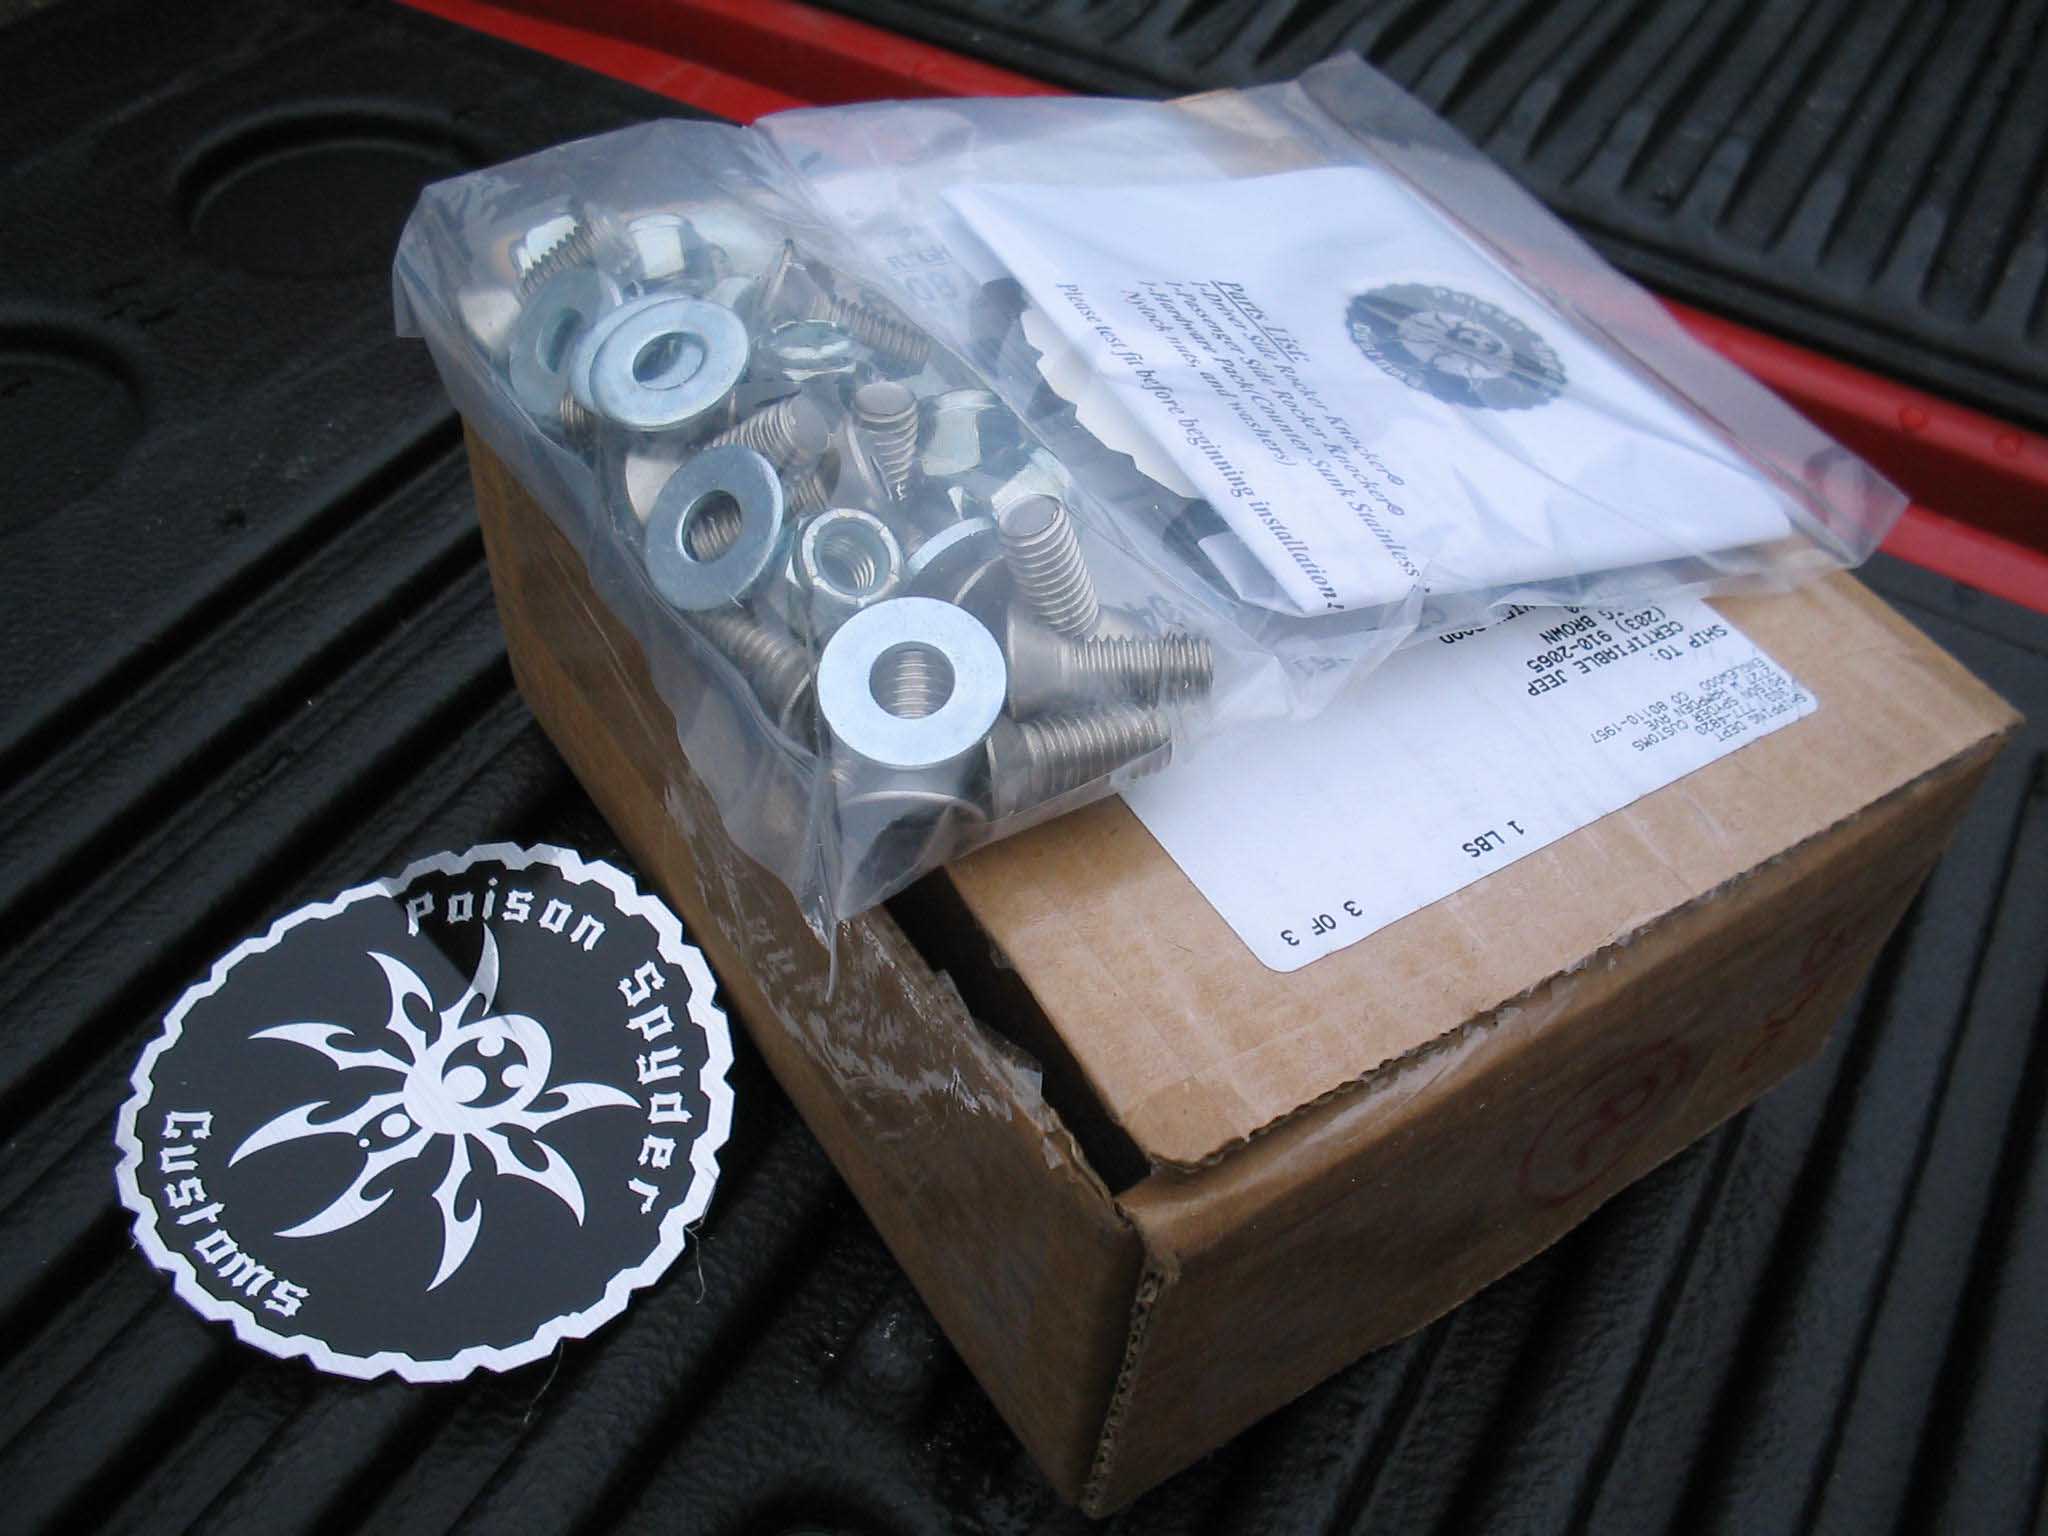
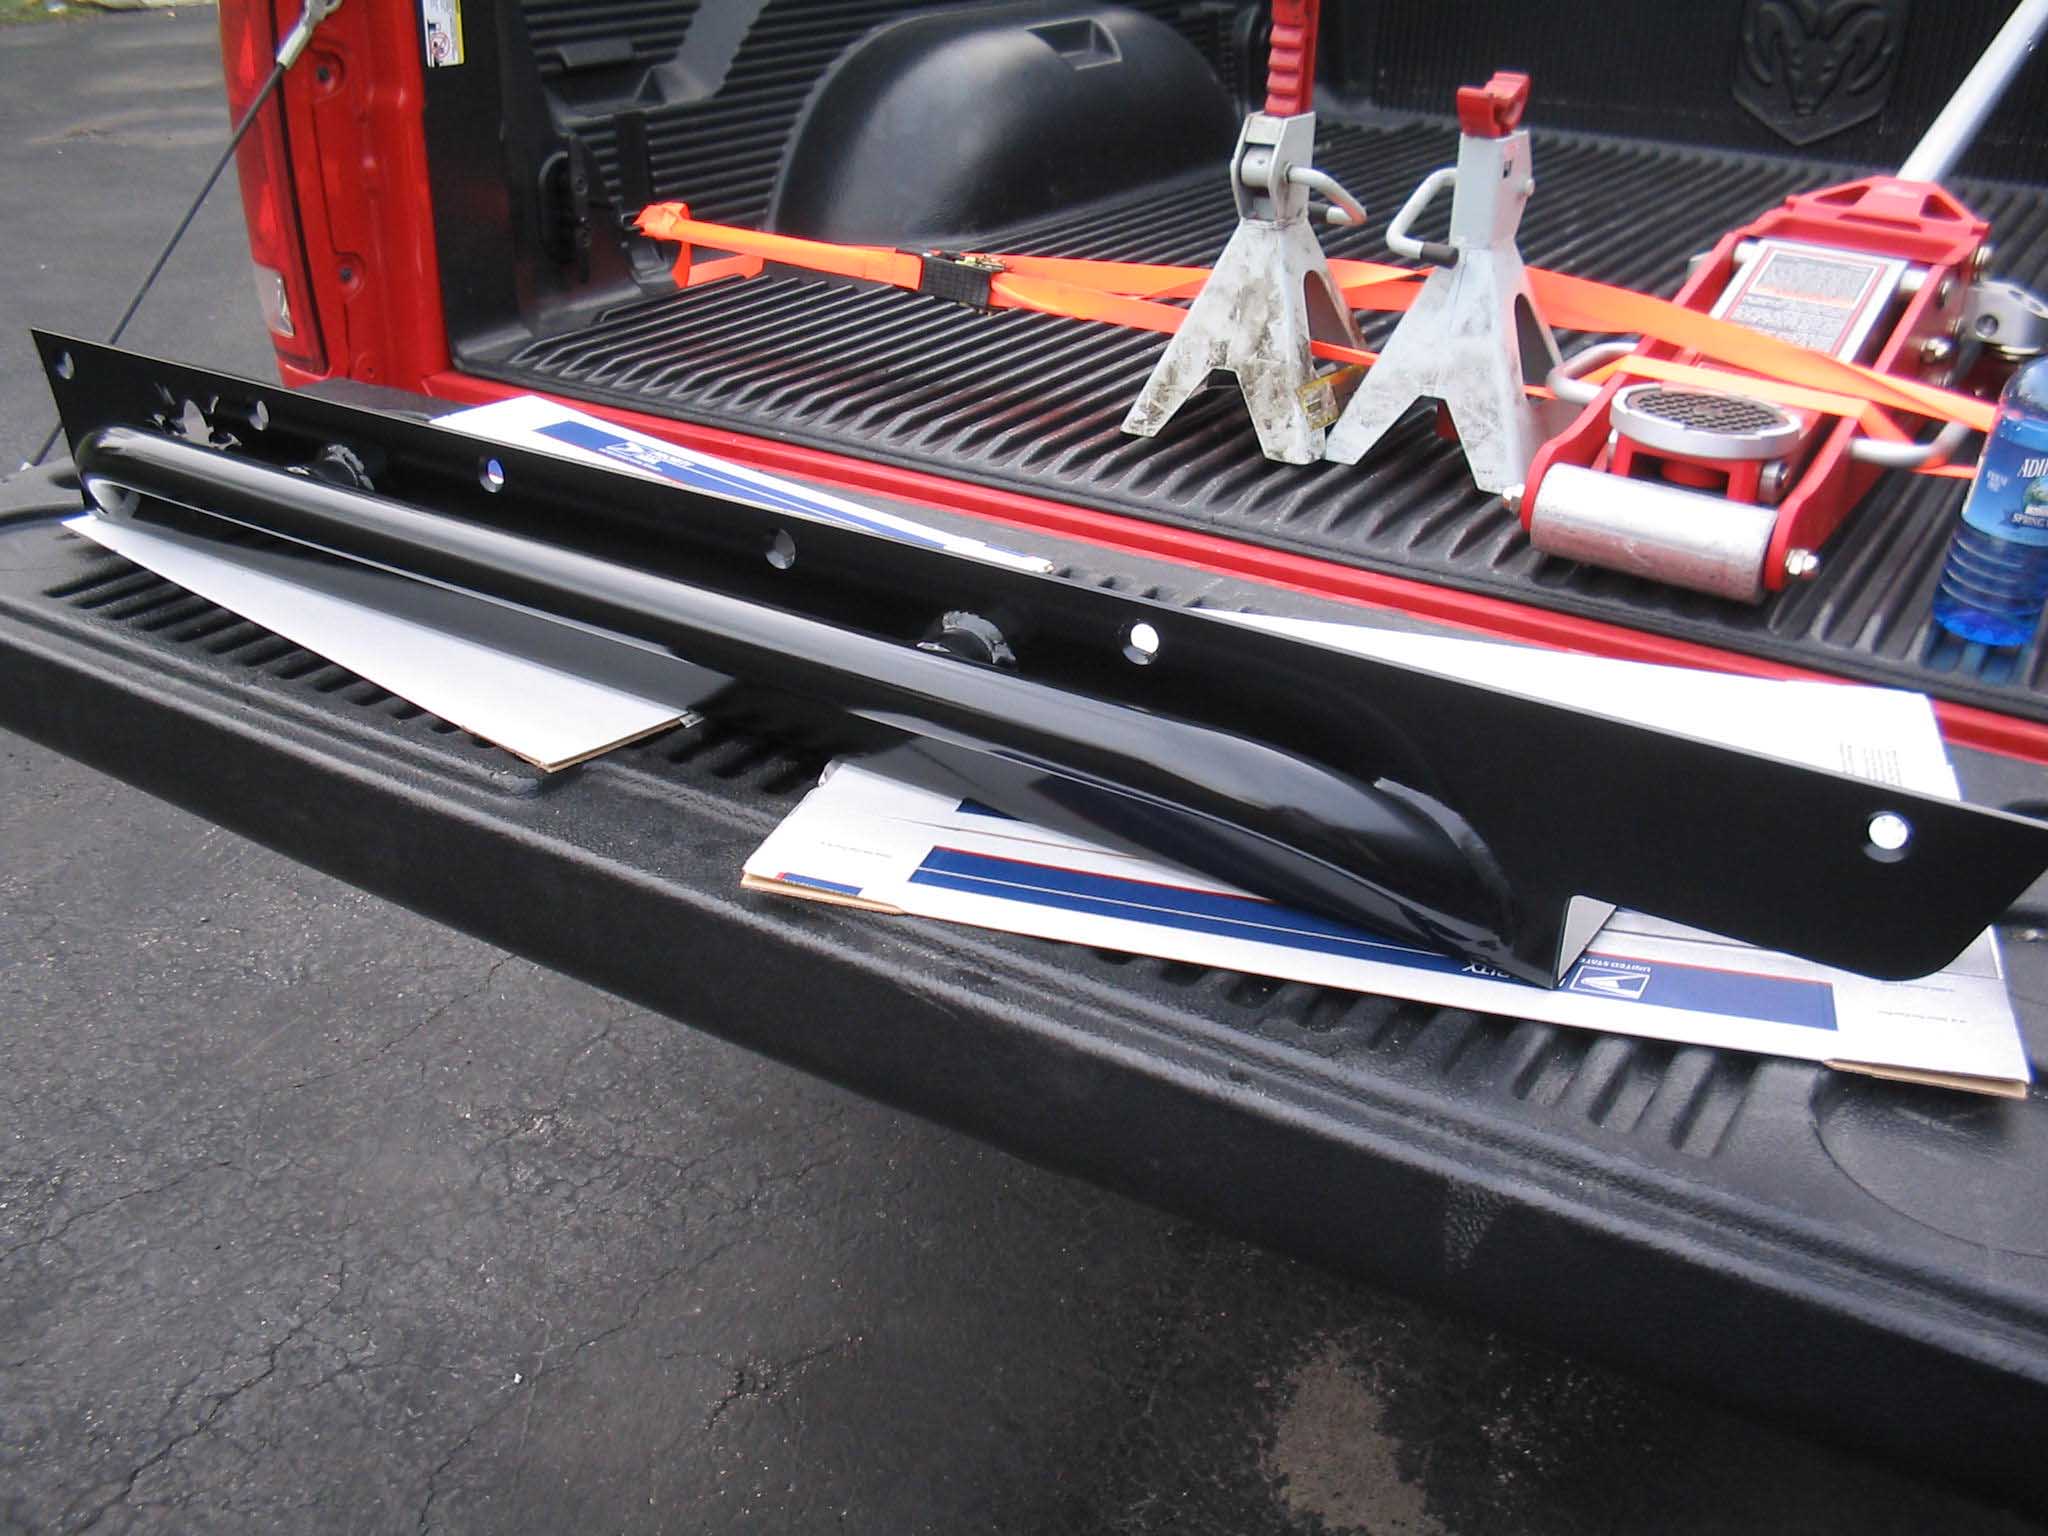
After the order, I got an email saying that the package had shipped and that it should be
here in a few days to a week. I checked UPS with the tracking number they provided and it said that the order was shipped in
3 different packaged, with 2 of them at 35 lbs. and the other at 1 lb. They are located in Colorado, so a week was a good
amount of time to ship the items to the east coast.
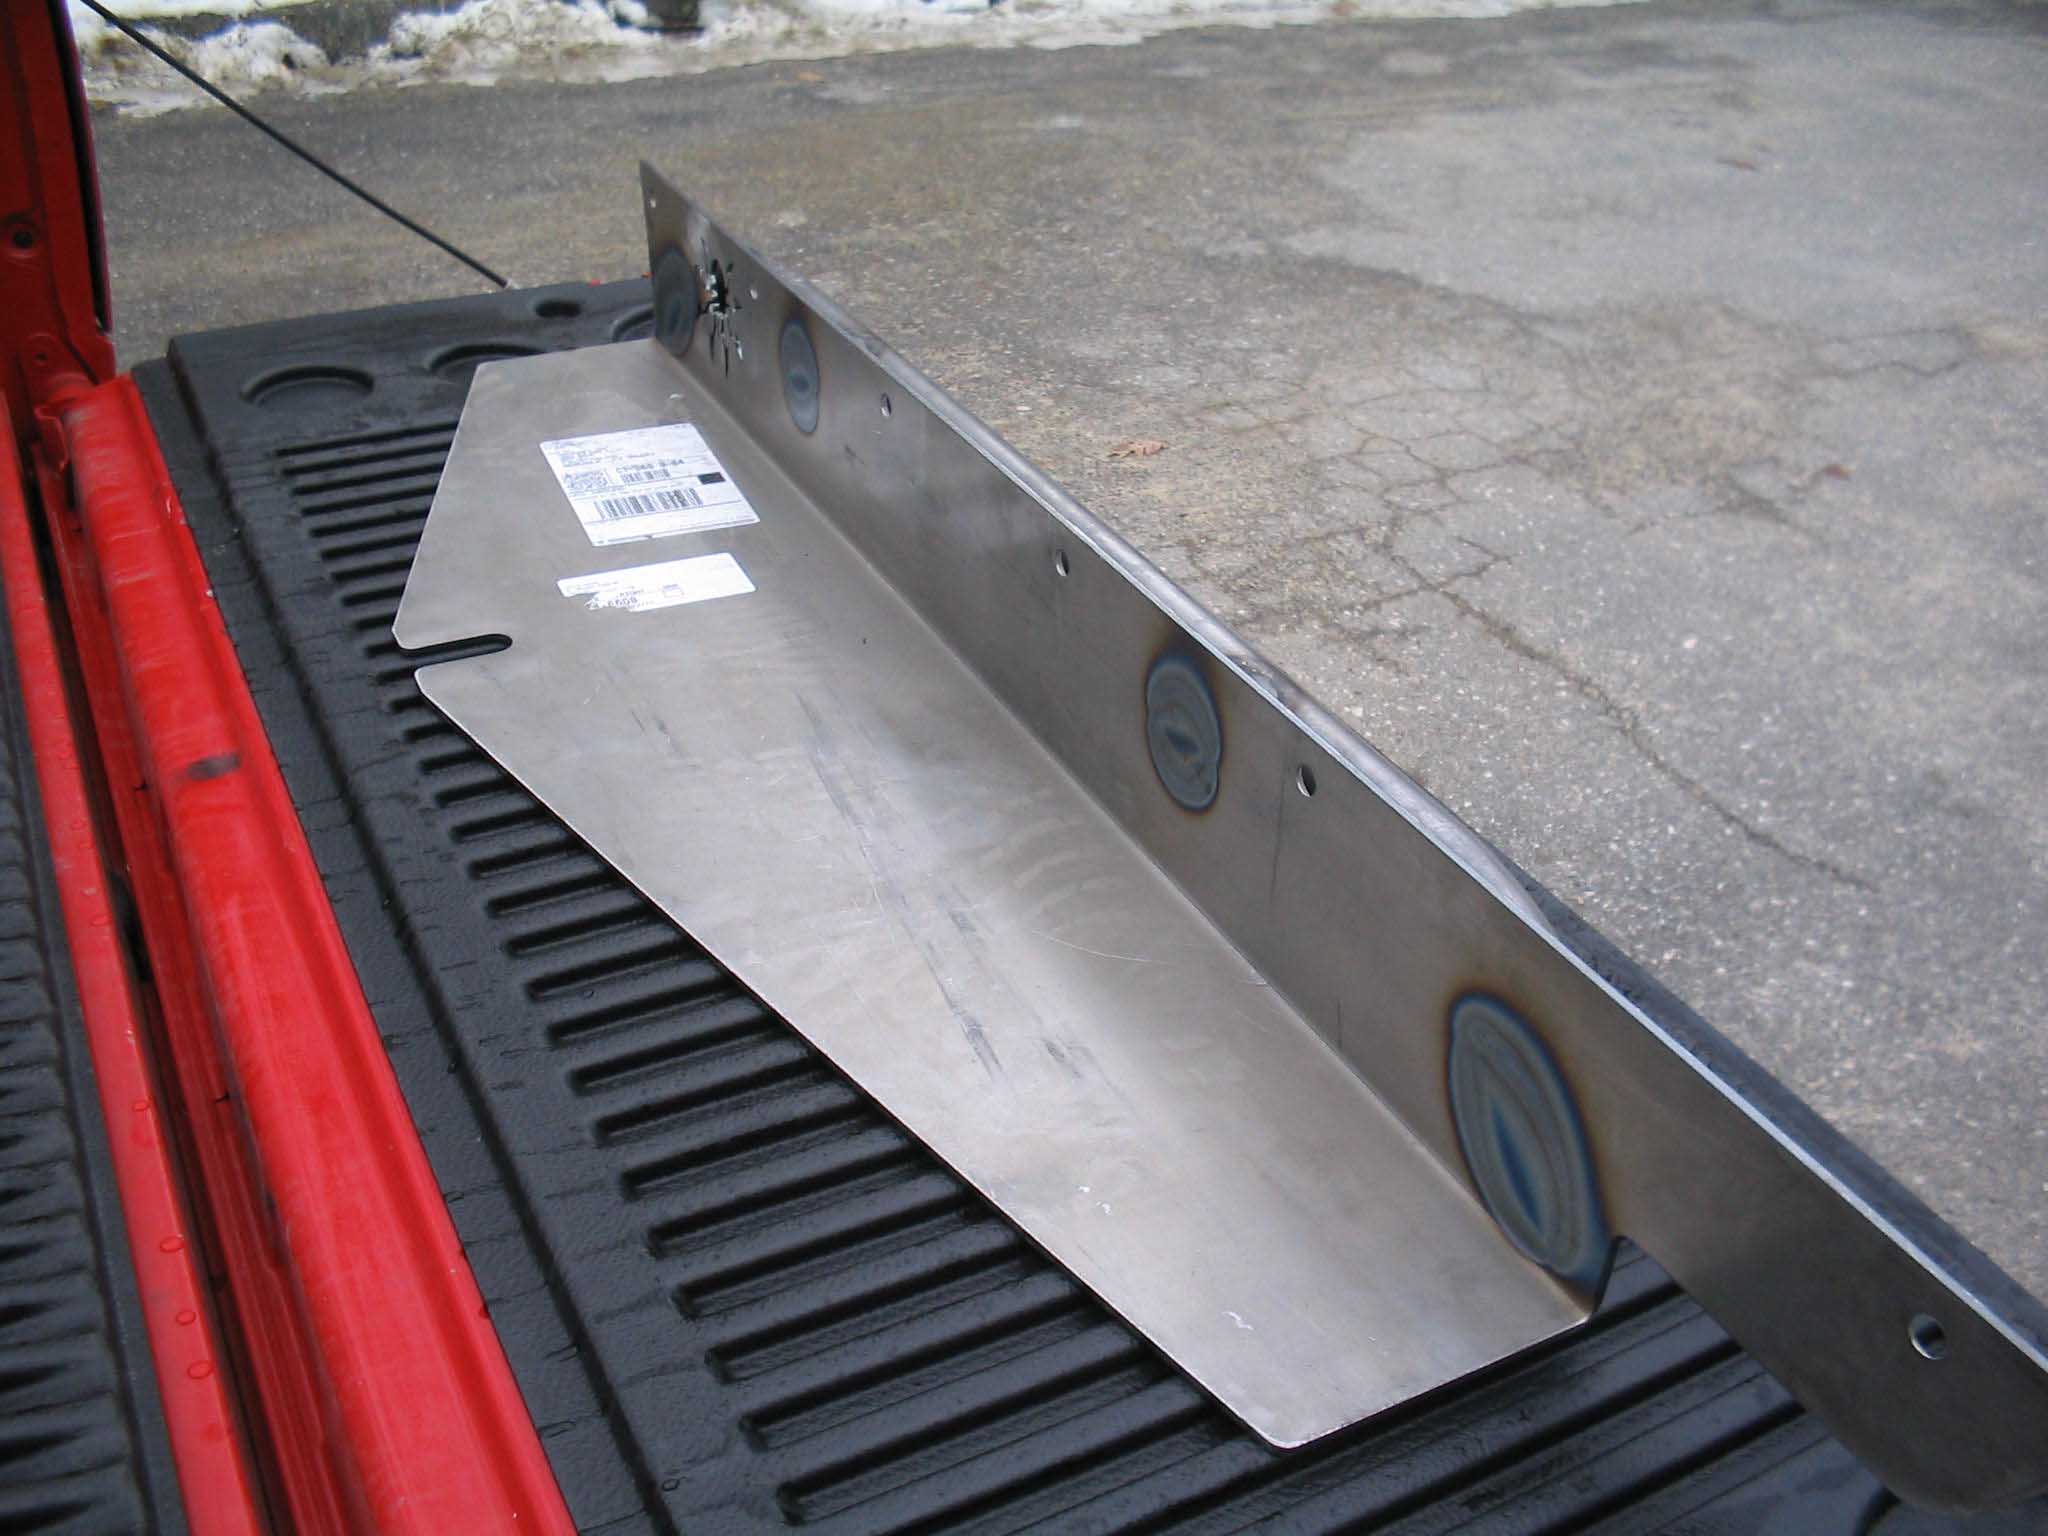
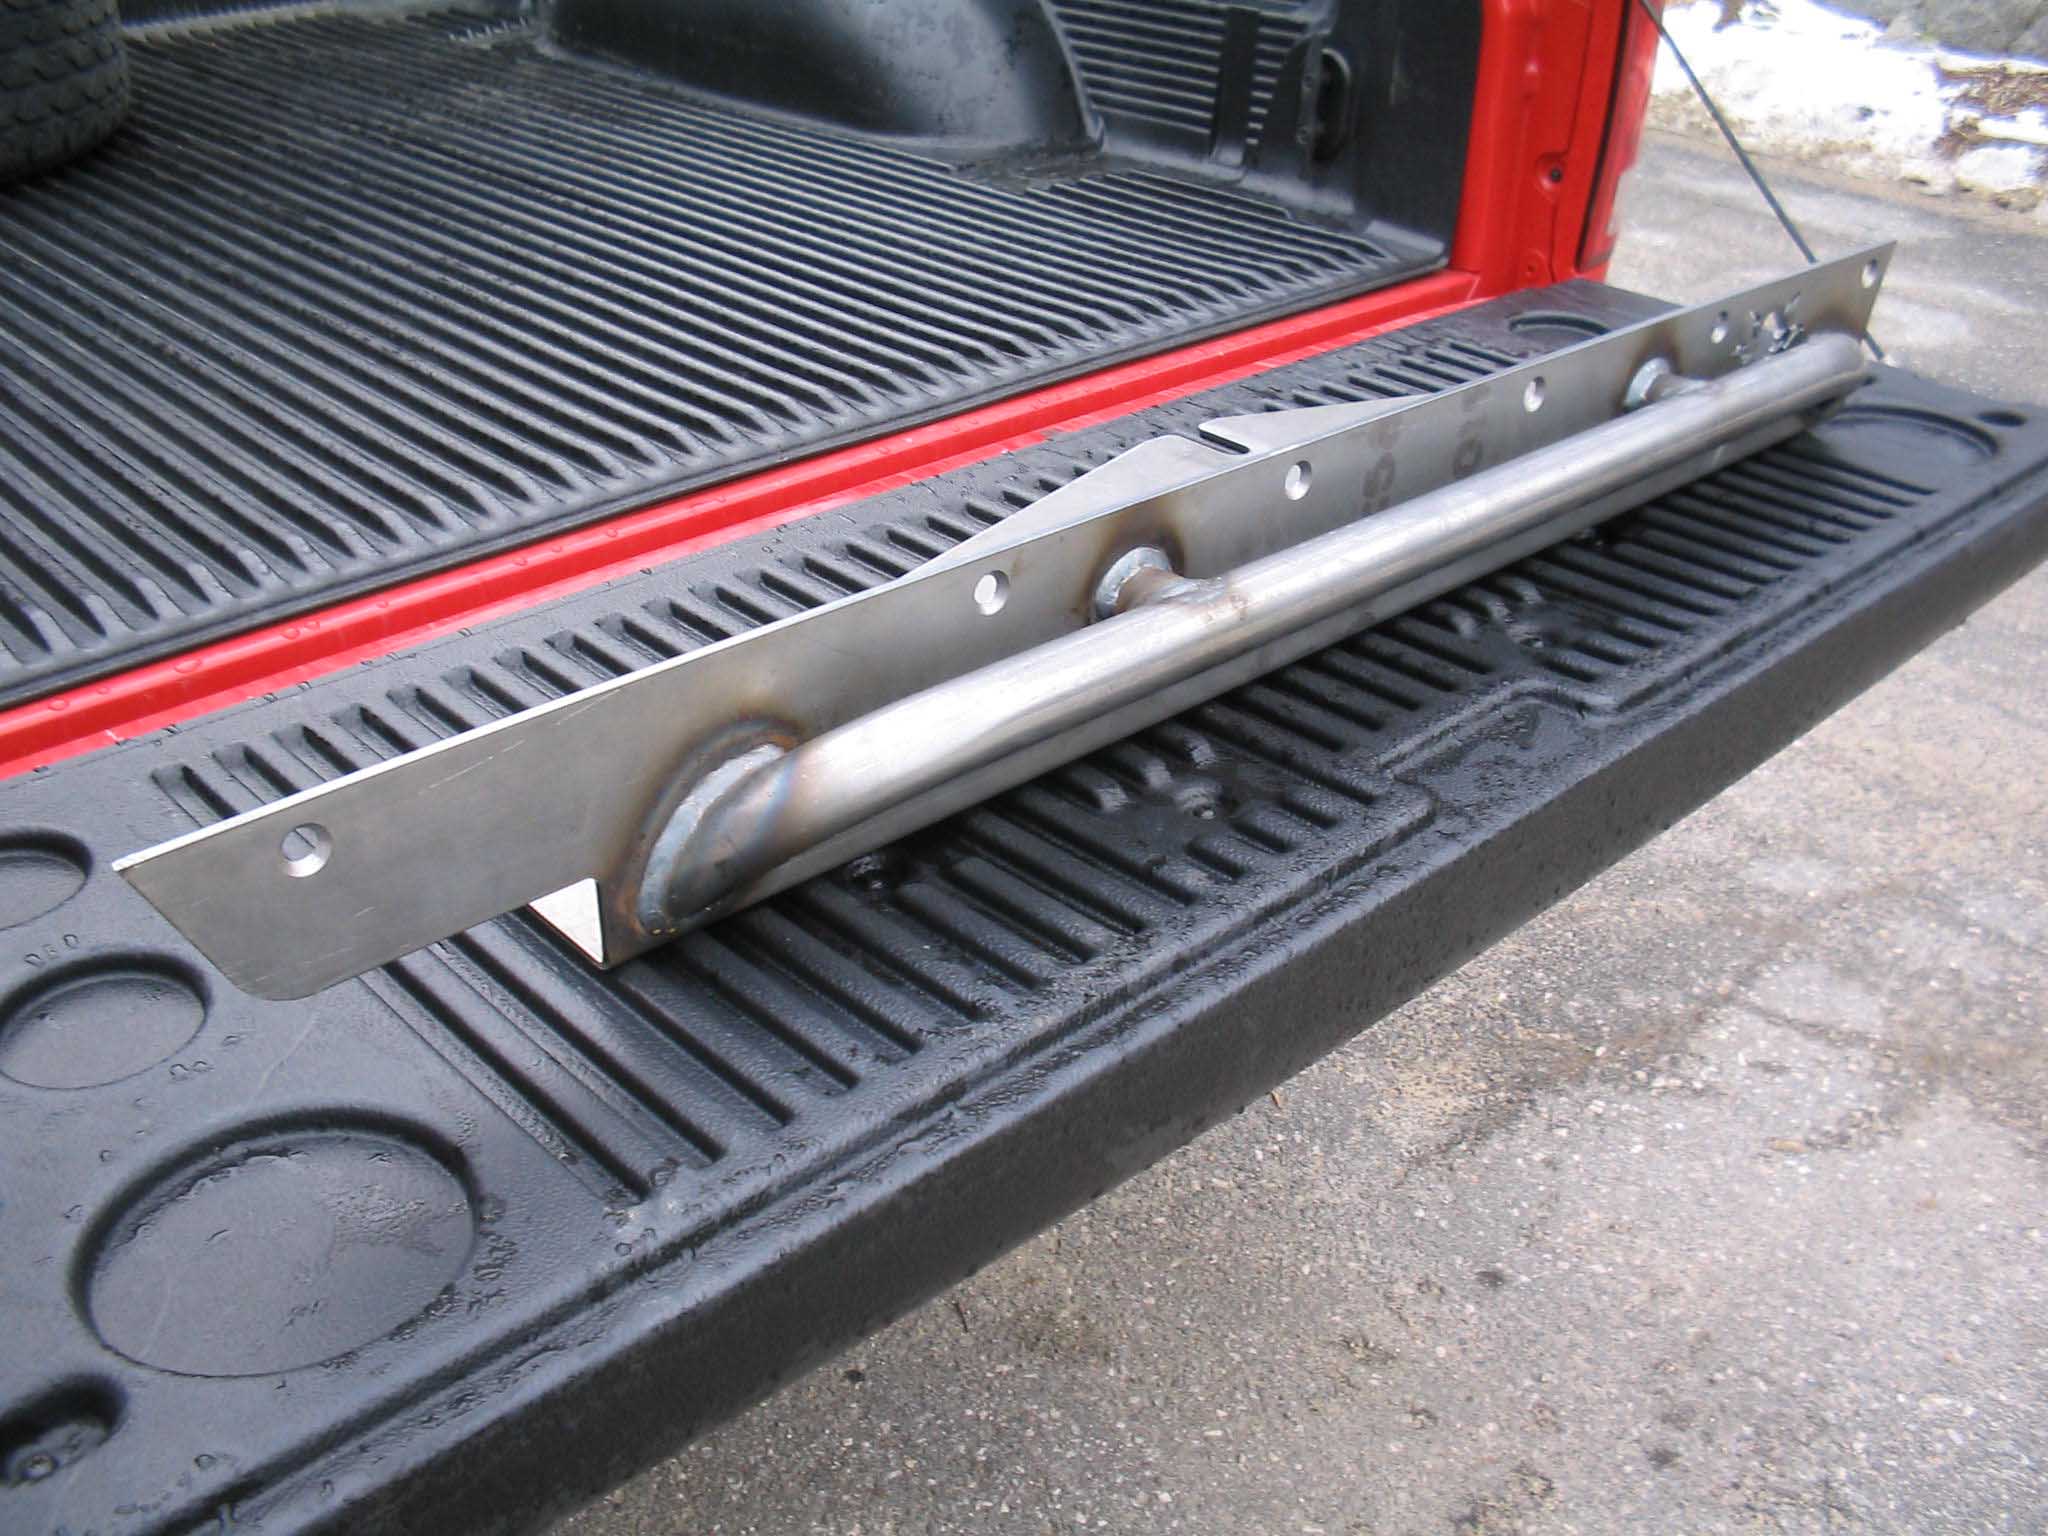
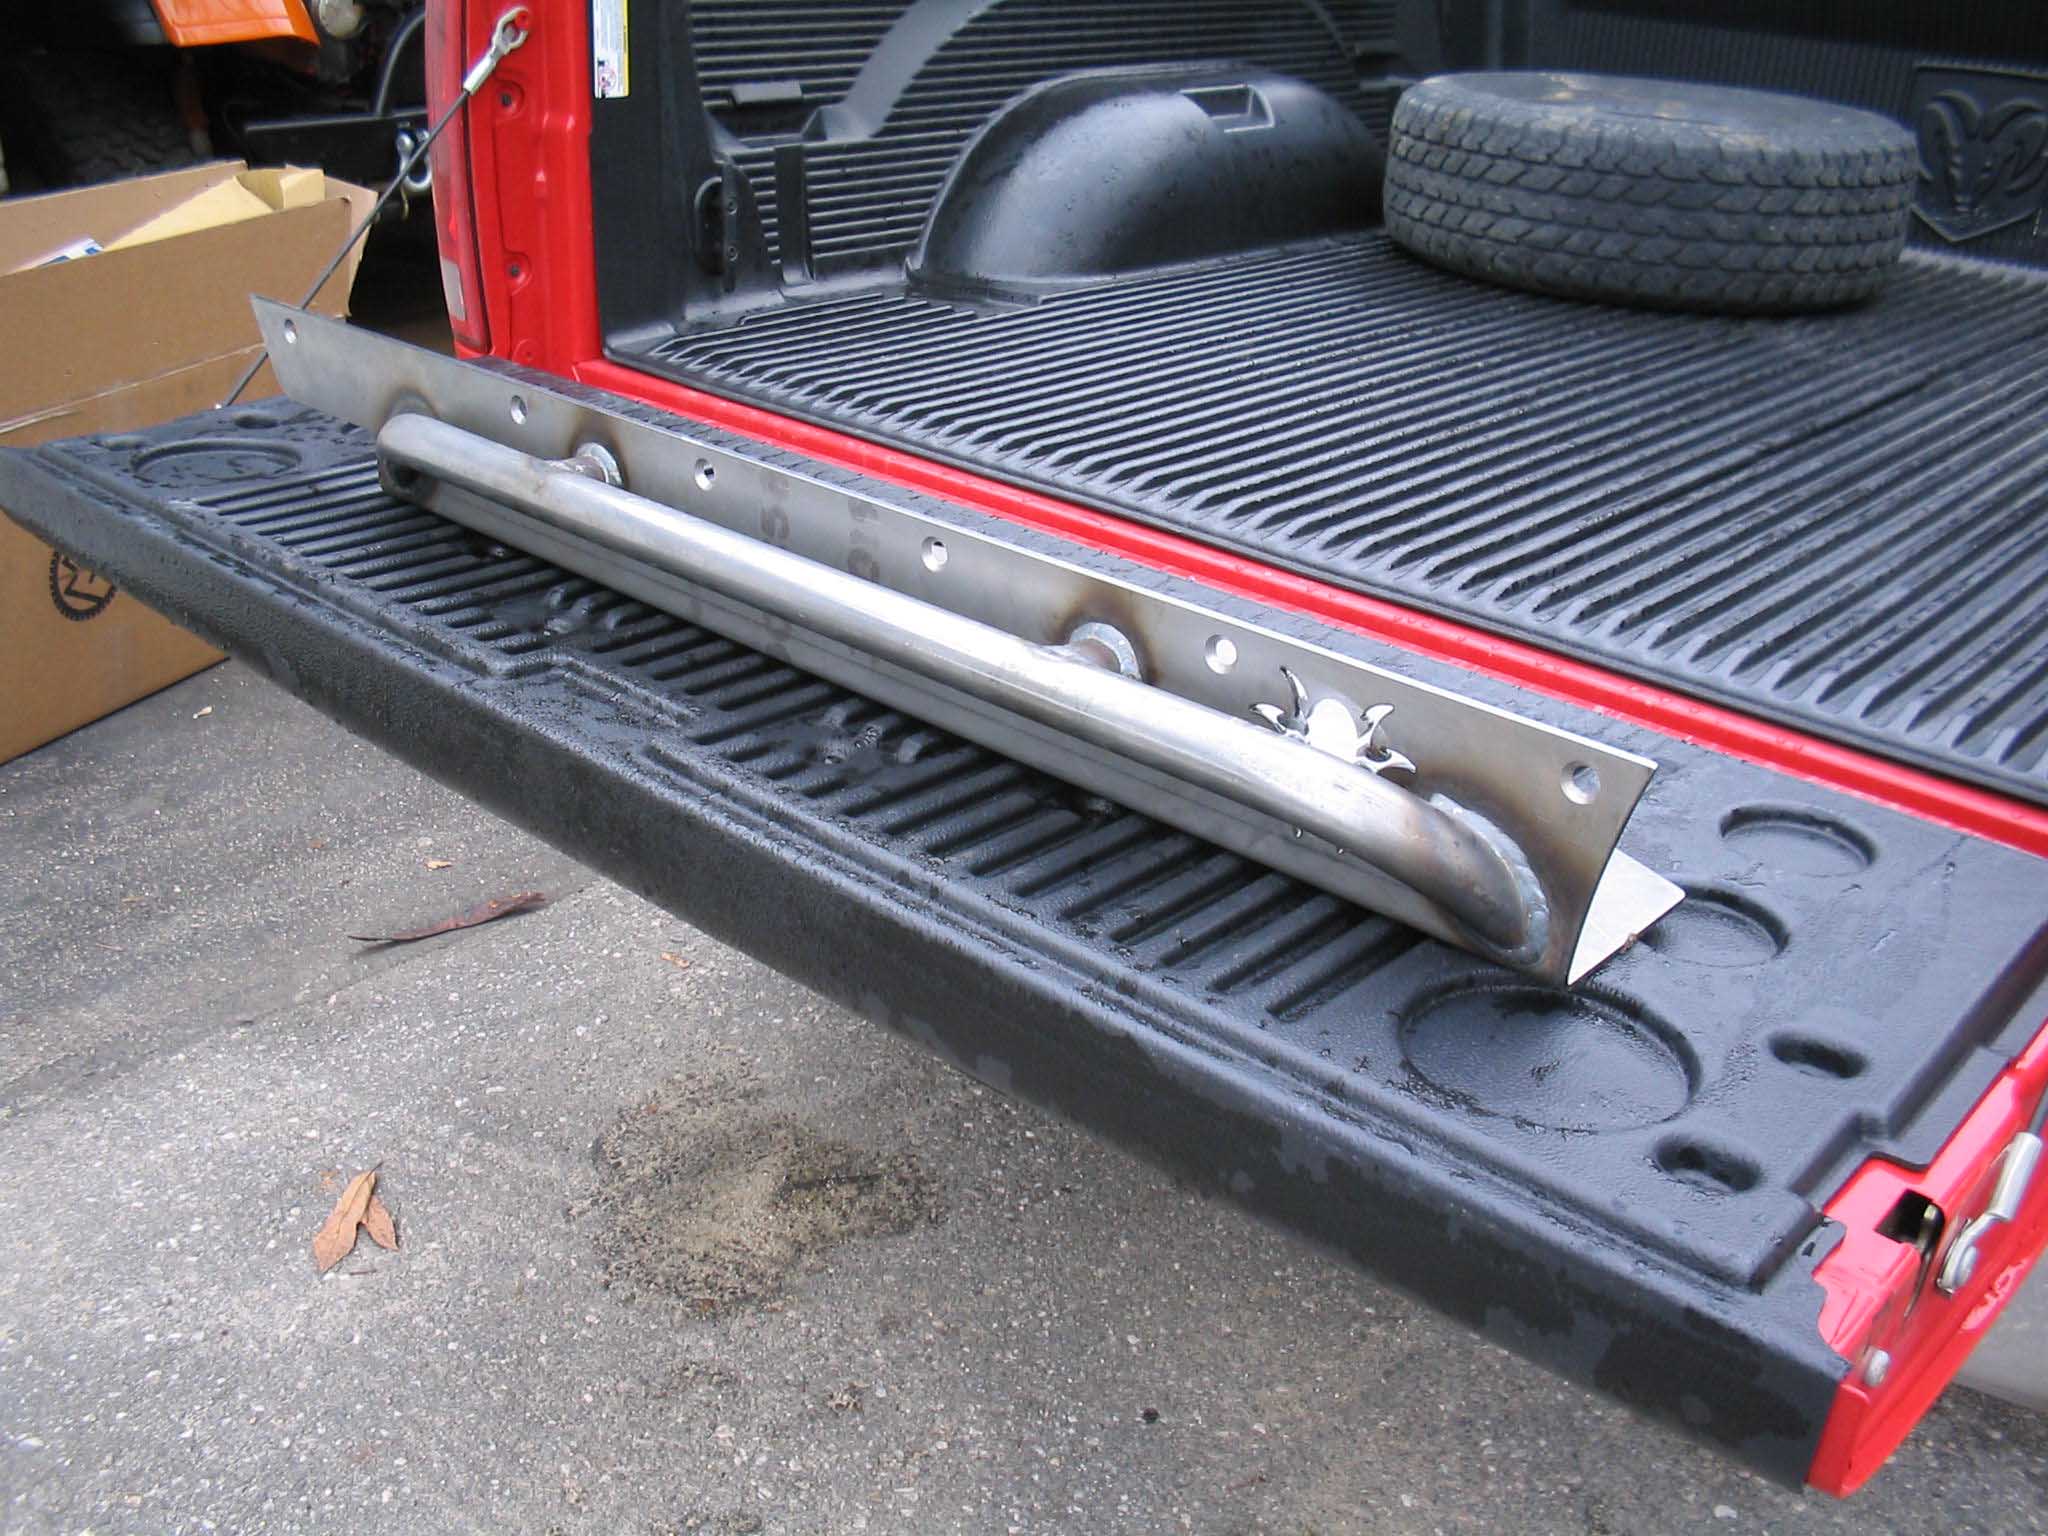
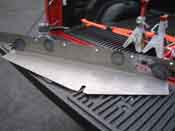
I received the packages about a week after I ordered them up with a weekend falling in between the time I ordered them and when
I got them. I got them and looked at them right away I noticed that the quality of the pieces were far superior to some of the
other items I have seen out on the Internet. They came unfinished and they had all the hardware you would need to bolt them on.
They arrived unpackaged for the 2 sliders and the hardware came in a separate box, thus the 3 boxes. Since they were unfinished
it was OK to ship them without packaging since this reduces the overall cost to the company. With everything in, I was excited
to start putting them on.
|
| |

|
|
|
|
| |
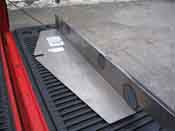
| Installation of these Rocker Knockers is really a two-person job.
I measured and marked the hole location and noticed that the design allows for the underside of the rockers to bolt up to the
body mount bolts, a really trick and smart design. You will have to loosen the body mount bolts to install them. I had
recently put on a body lift kit and I had used anti-seize, so this wasn't a problem, you did use anti-seize, didn't you? If
you haven't removed your body mount bolts, this might be a little tricky as for when I removed the body of the Orange project
Jeep, it was a heck of a time getting all the bolts off, some I had to cut out. Hopefully this won't be the case with you.
|
| |

|

|
|
|
| |
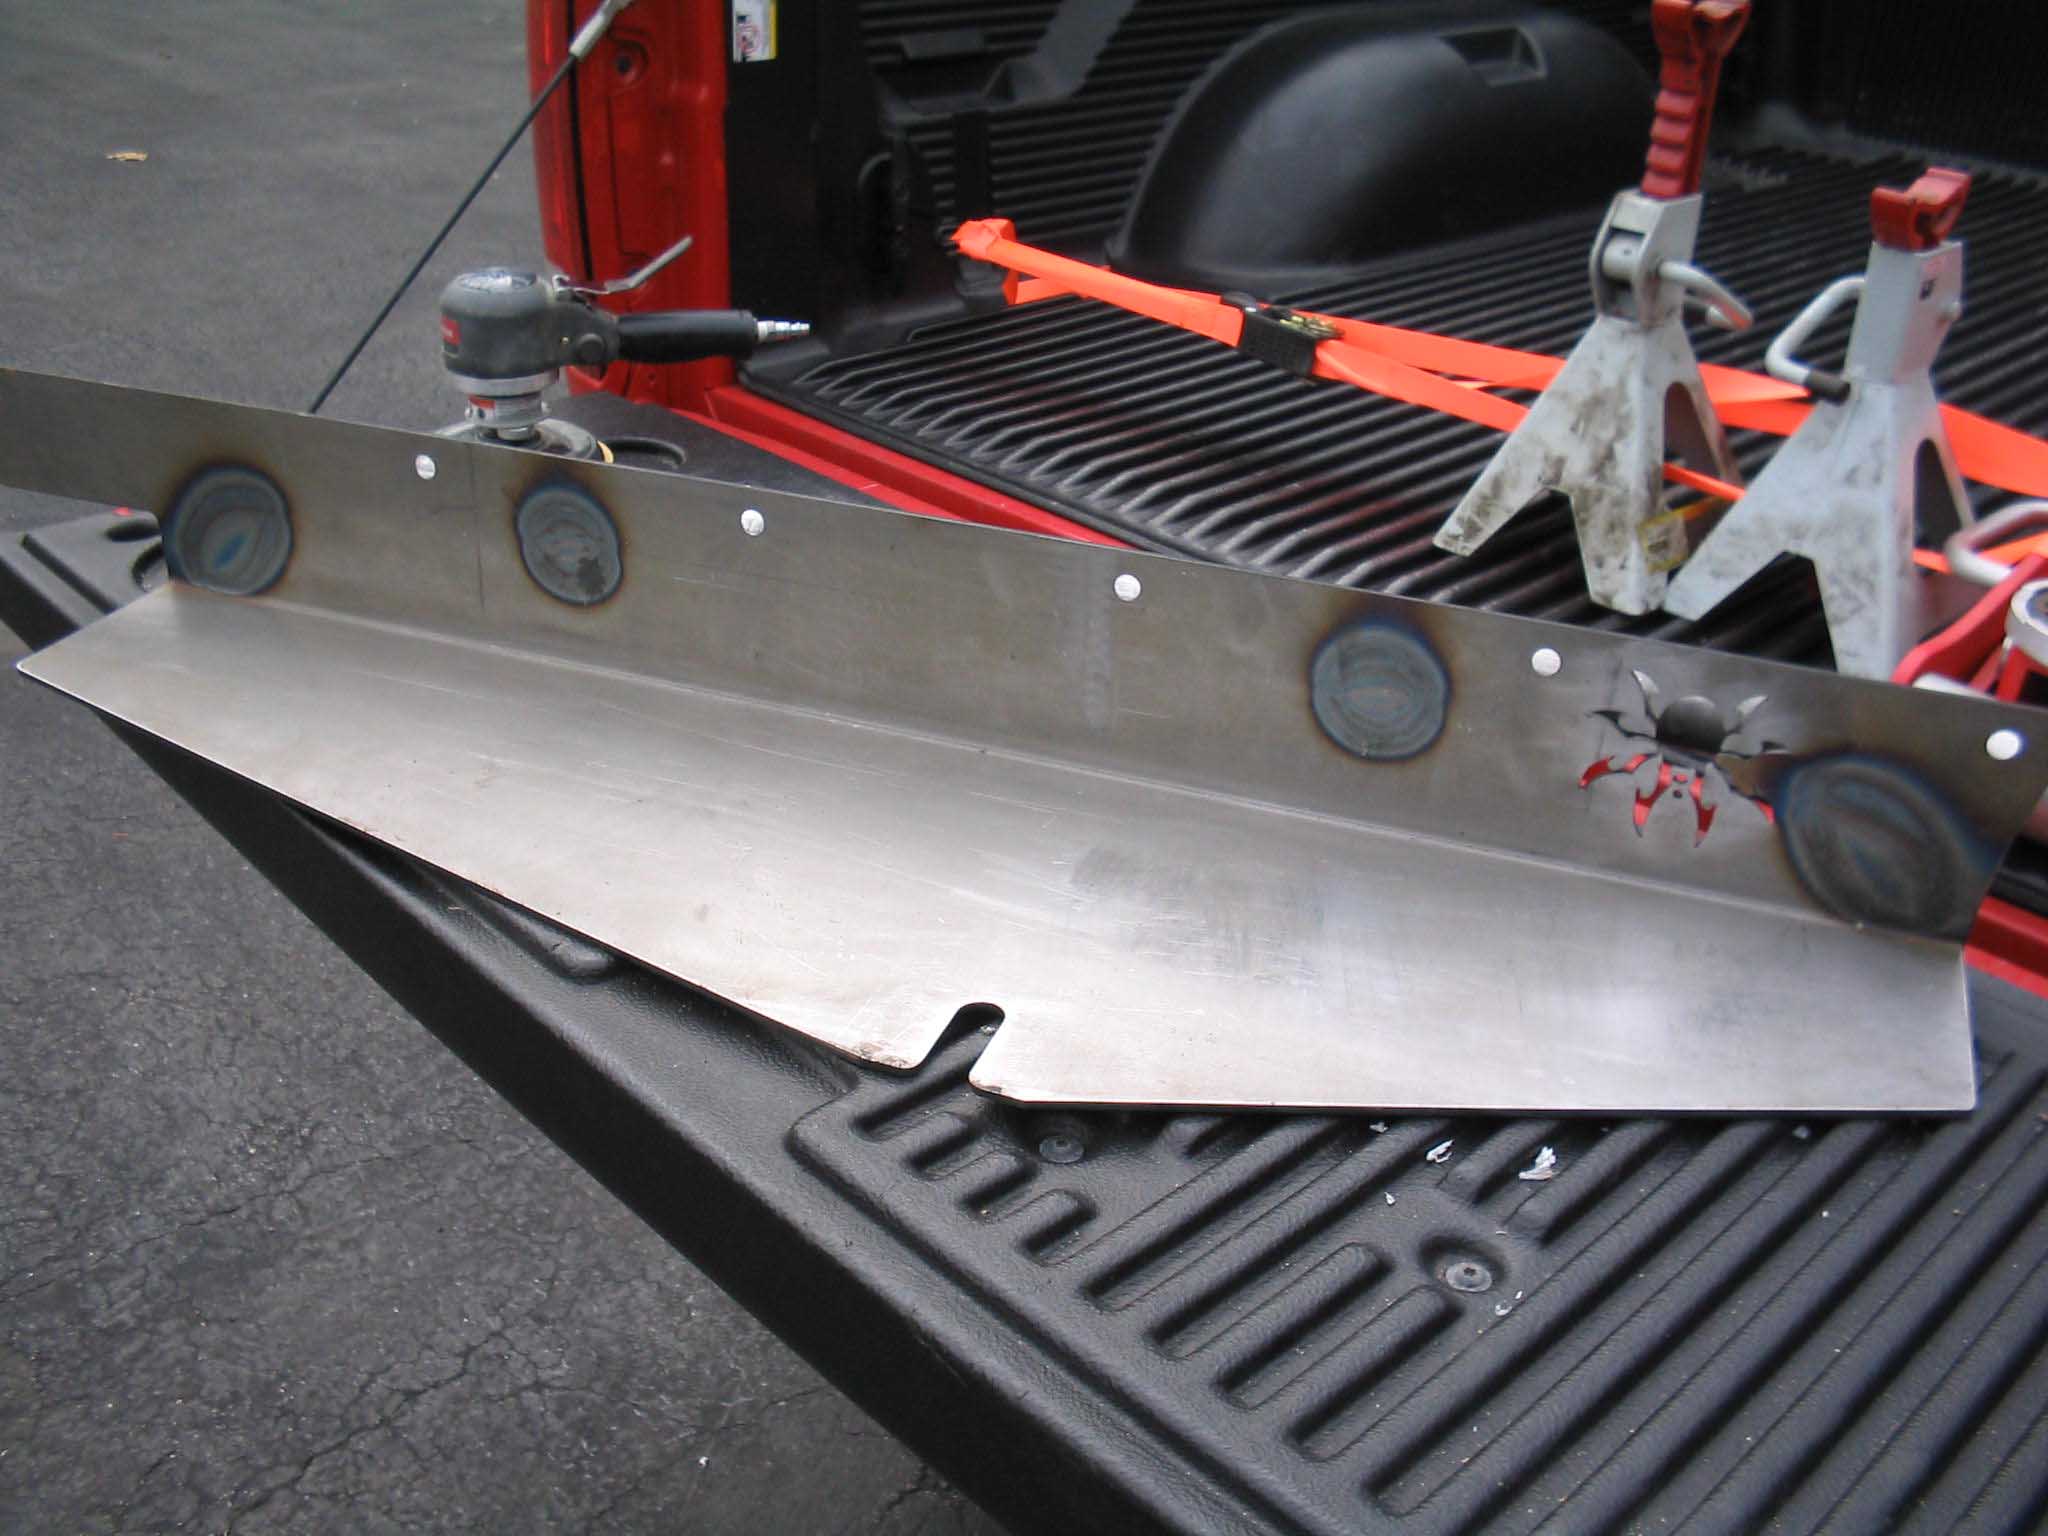
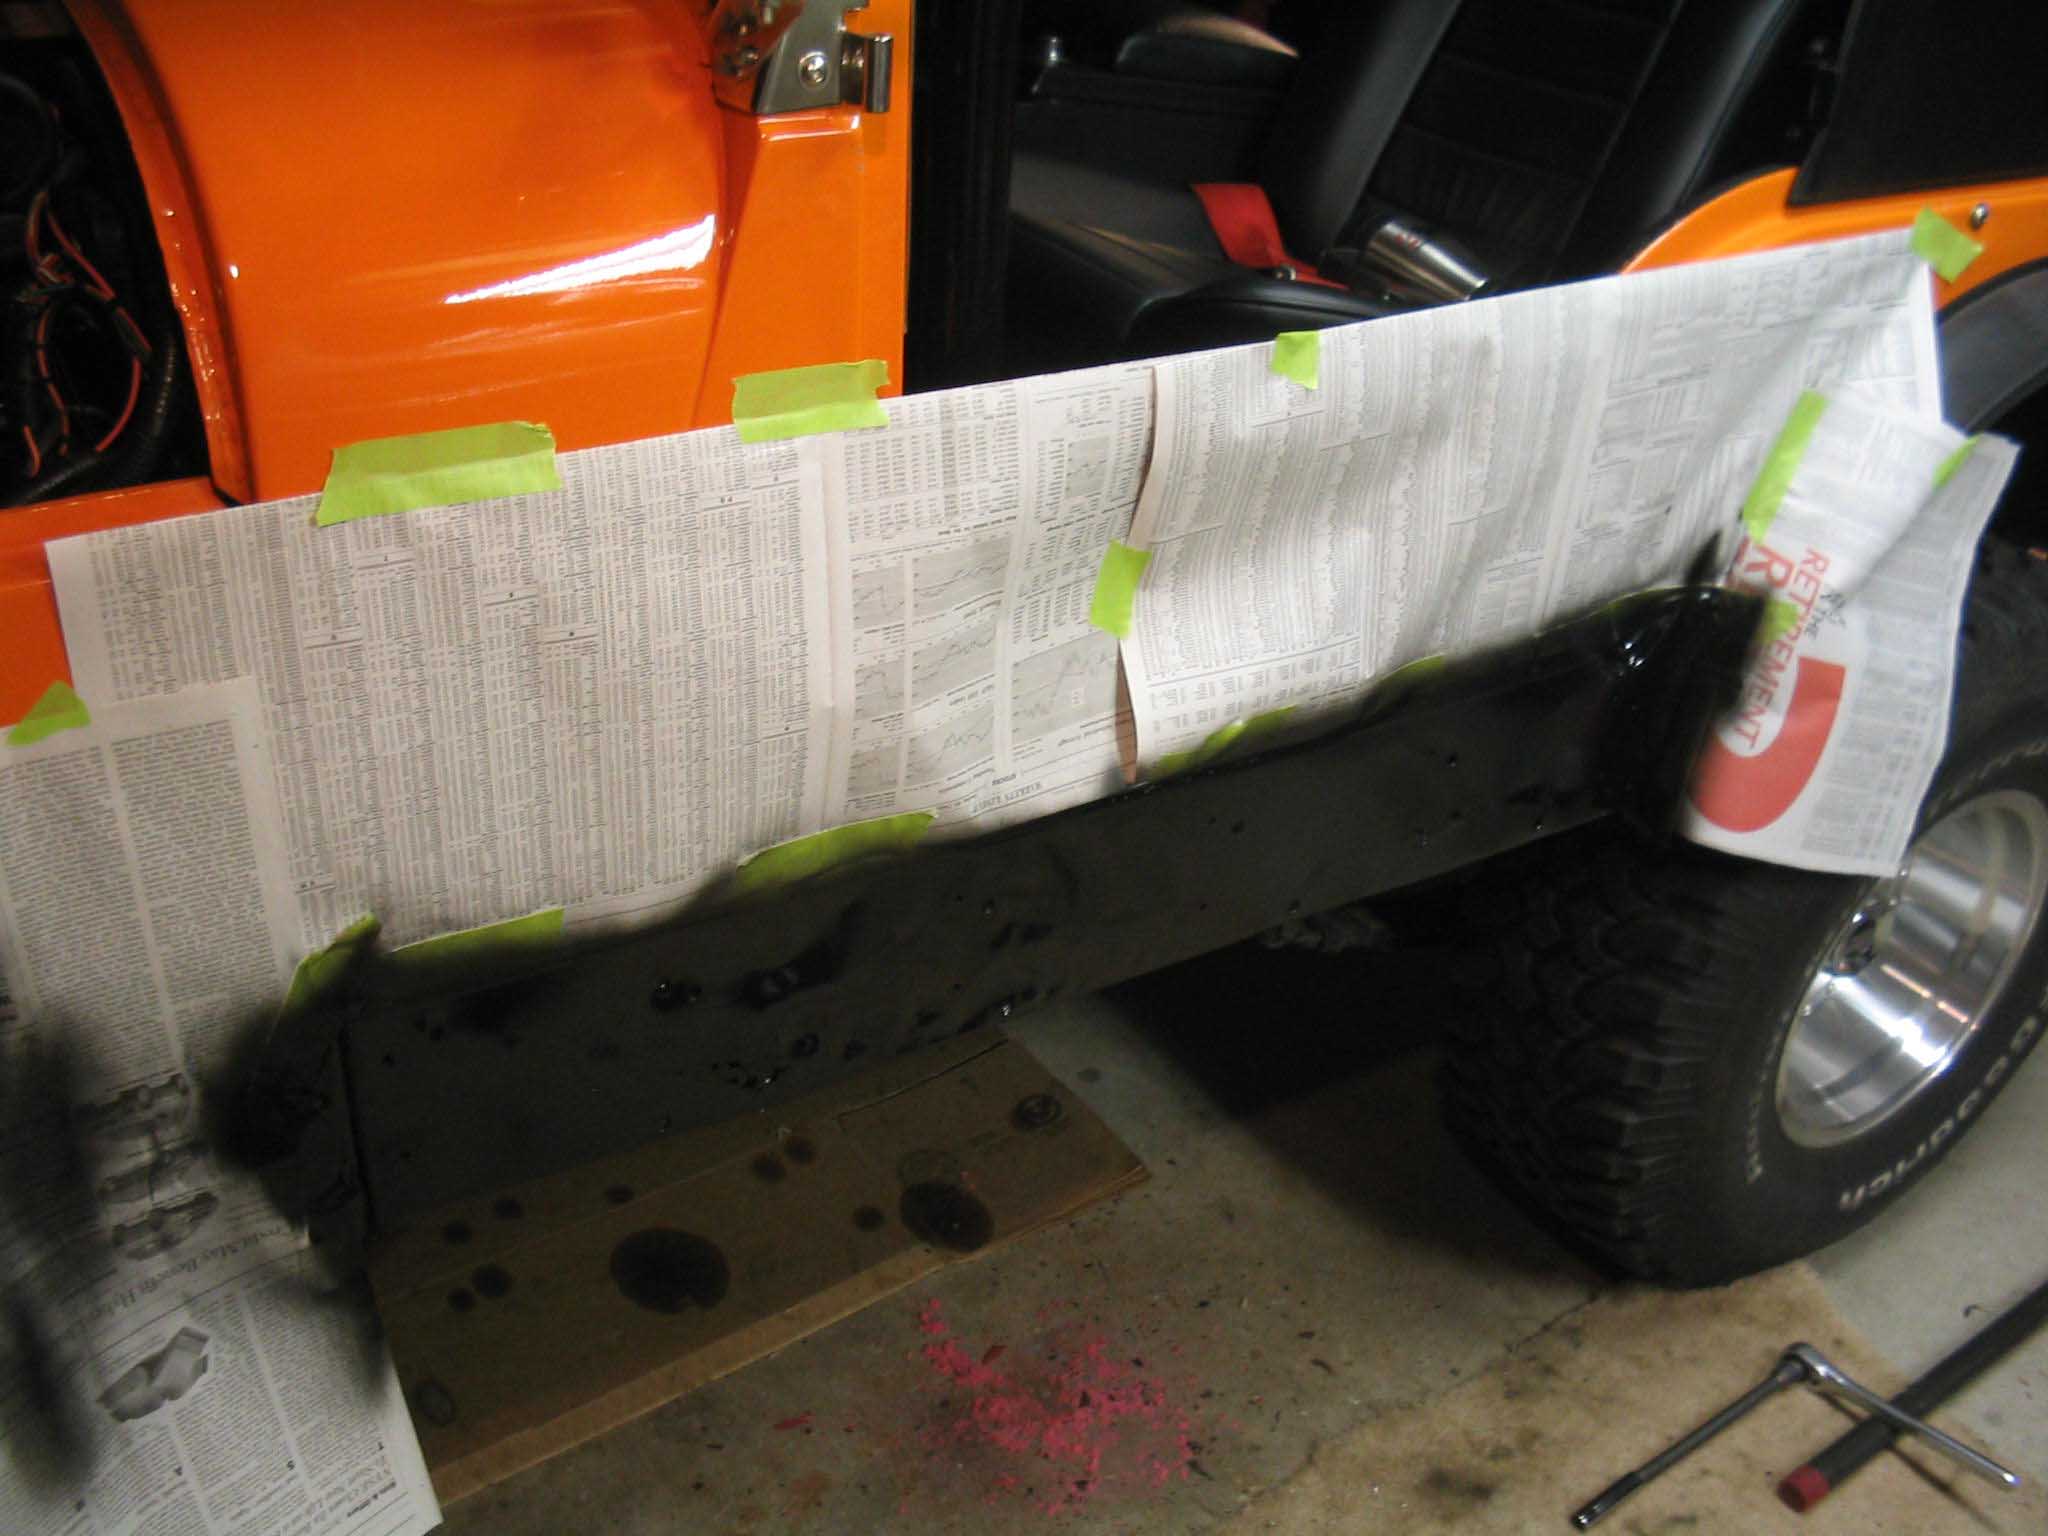
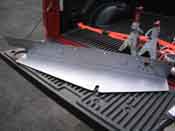
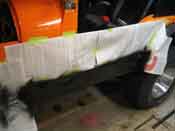
With the steel having been exposed to the elements for a few weeks, a hand sander with 100-grit
sandpaper was used to remove all the crap that had collected on the parts and when they were sanded smooth, some alcohol and water
mixture was used to clean off all the rest of the oils and such. With them clean, I strung them up from a tree and painted them
black. The instructions say to paint both sides and all the areas in between, so I followed them to the letter and soon I had
the parts ready to go onto the Jeep.
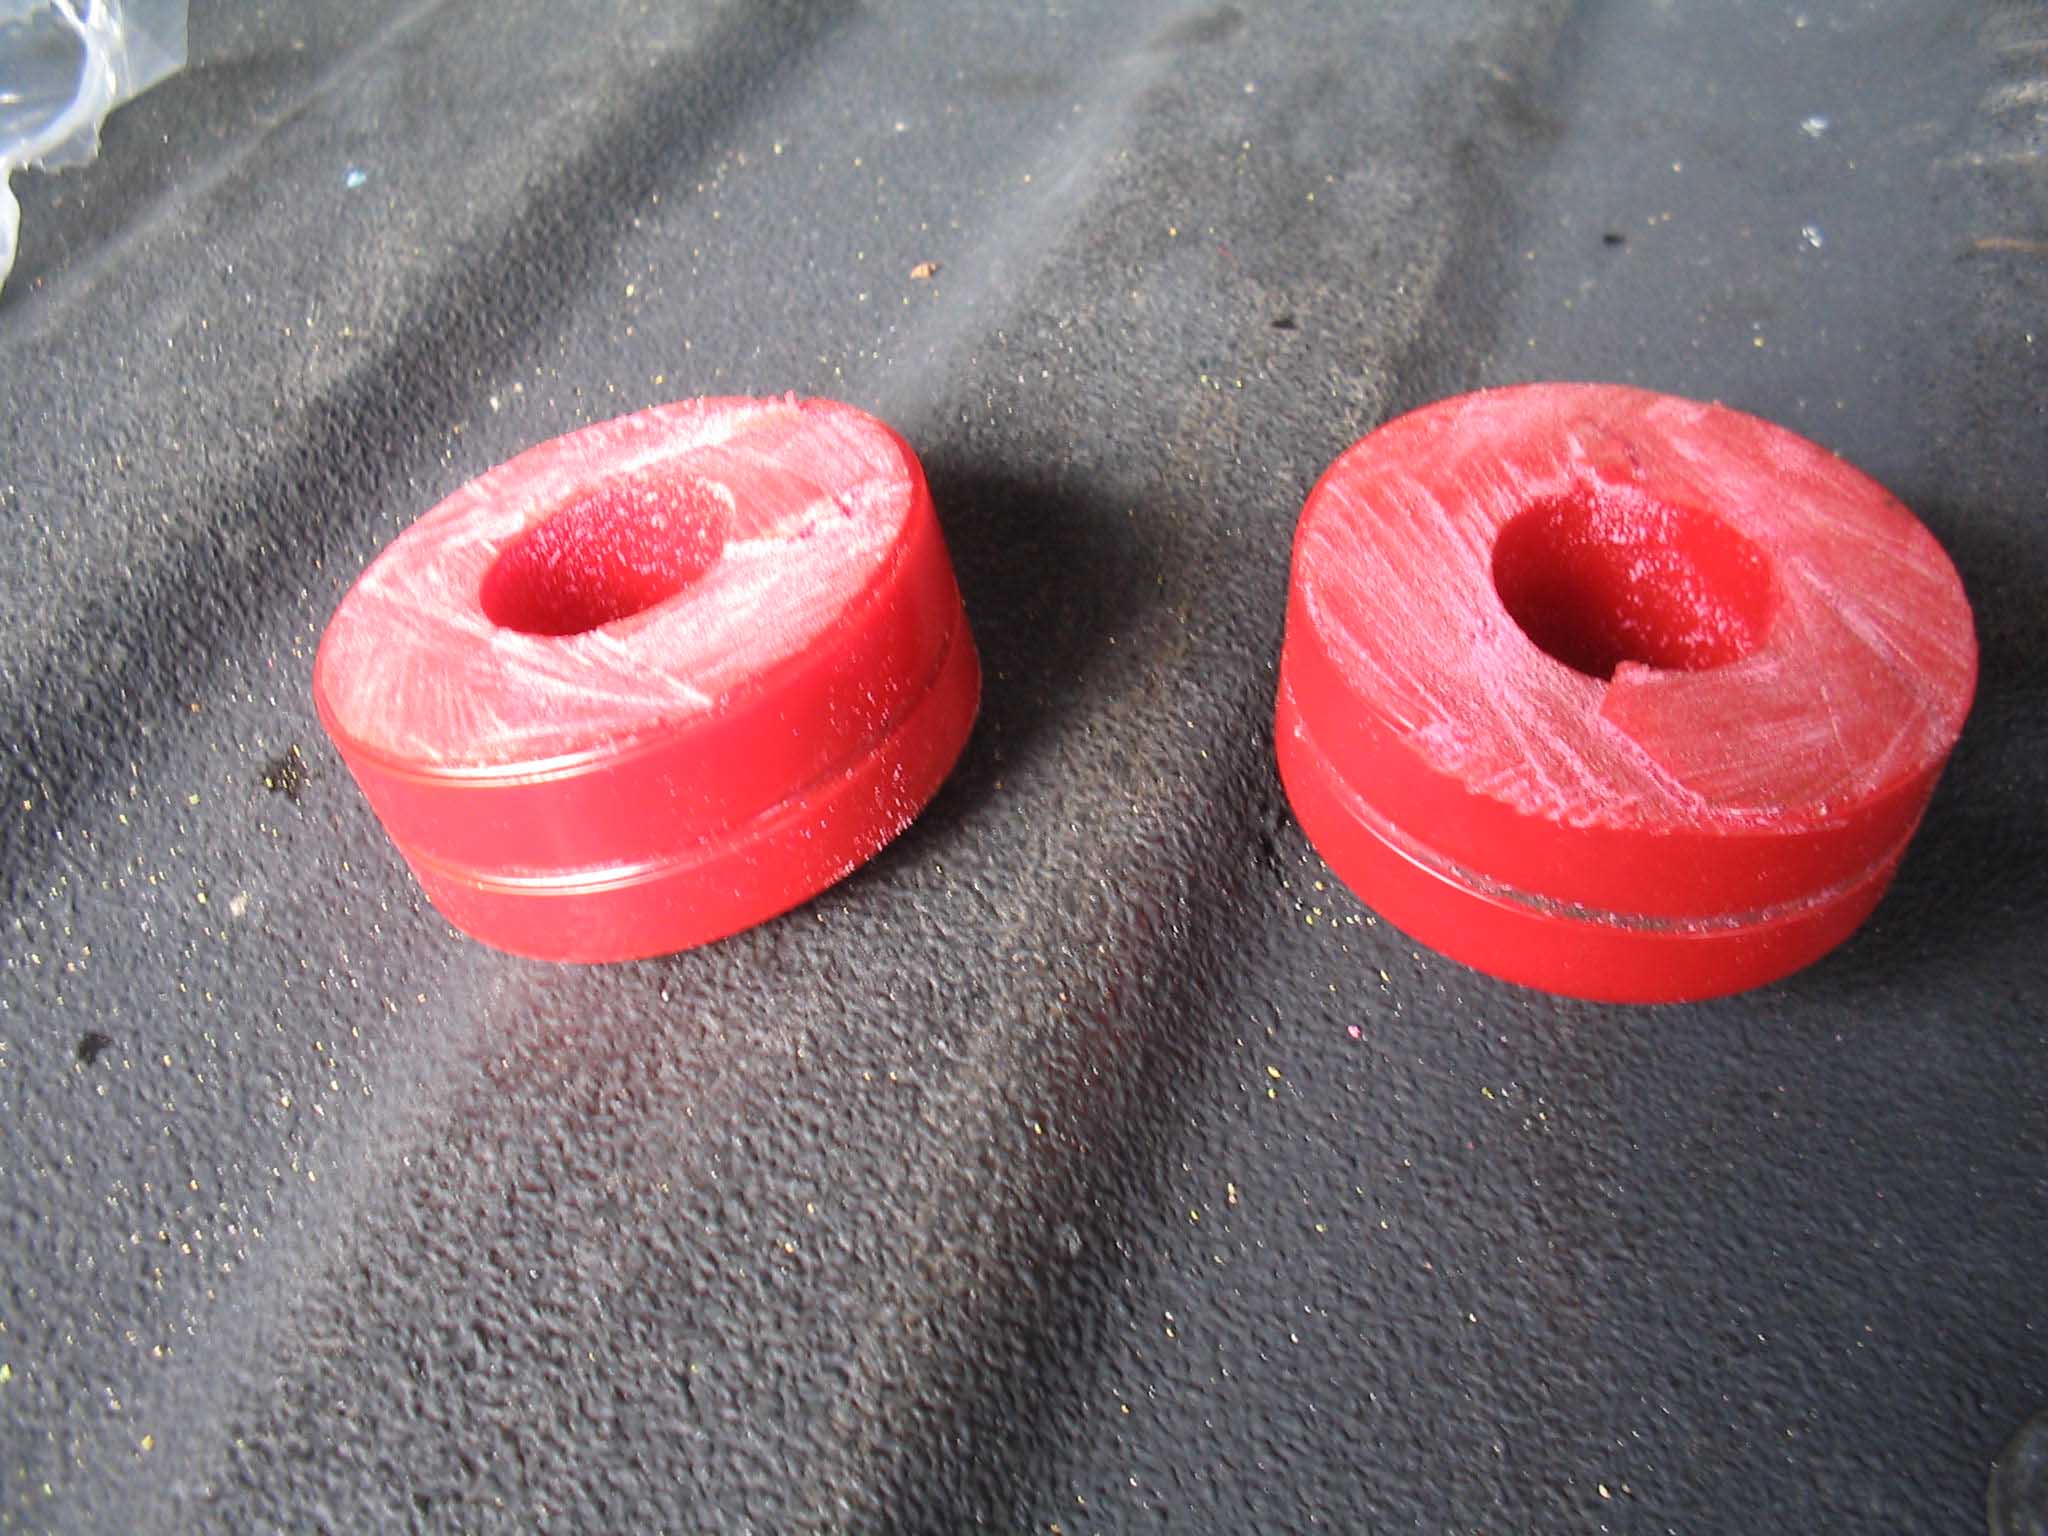
When we were sizing them up with the body mount bolts out, I noticed that the body of the Jeep was a bit off and the body mount
bushing was going to be in the way by about a 1/2 an inch. So, with that in mind, I cut the body mount bolt in half to allow for
the distortion of the body and this allowed for the plate that wraps up underneath the body to sit where I wanted it. After this
was done, the 6 bolts were installed and the body mount bolts were tightened down. You will need to loosen all the body mount bolts
in order to get the body to move enough for the extra space the steel takes up.
|
| |
|
|
|
|
| |
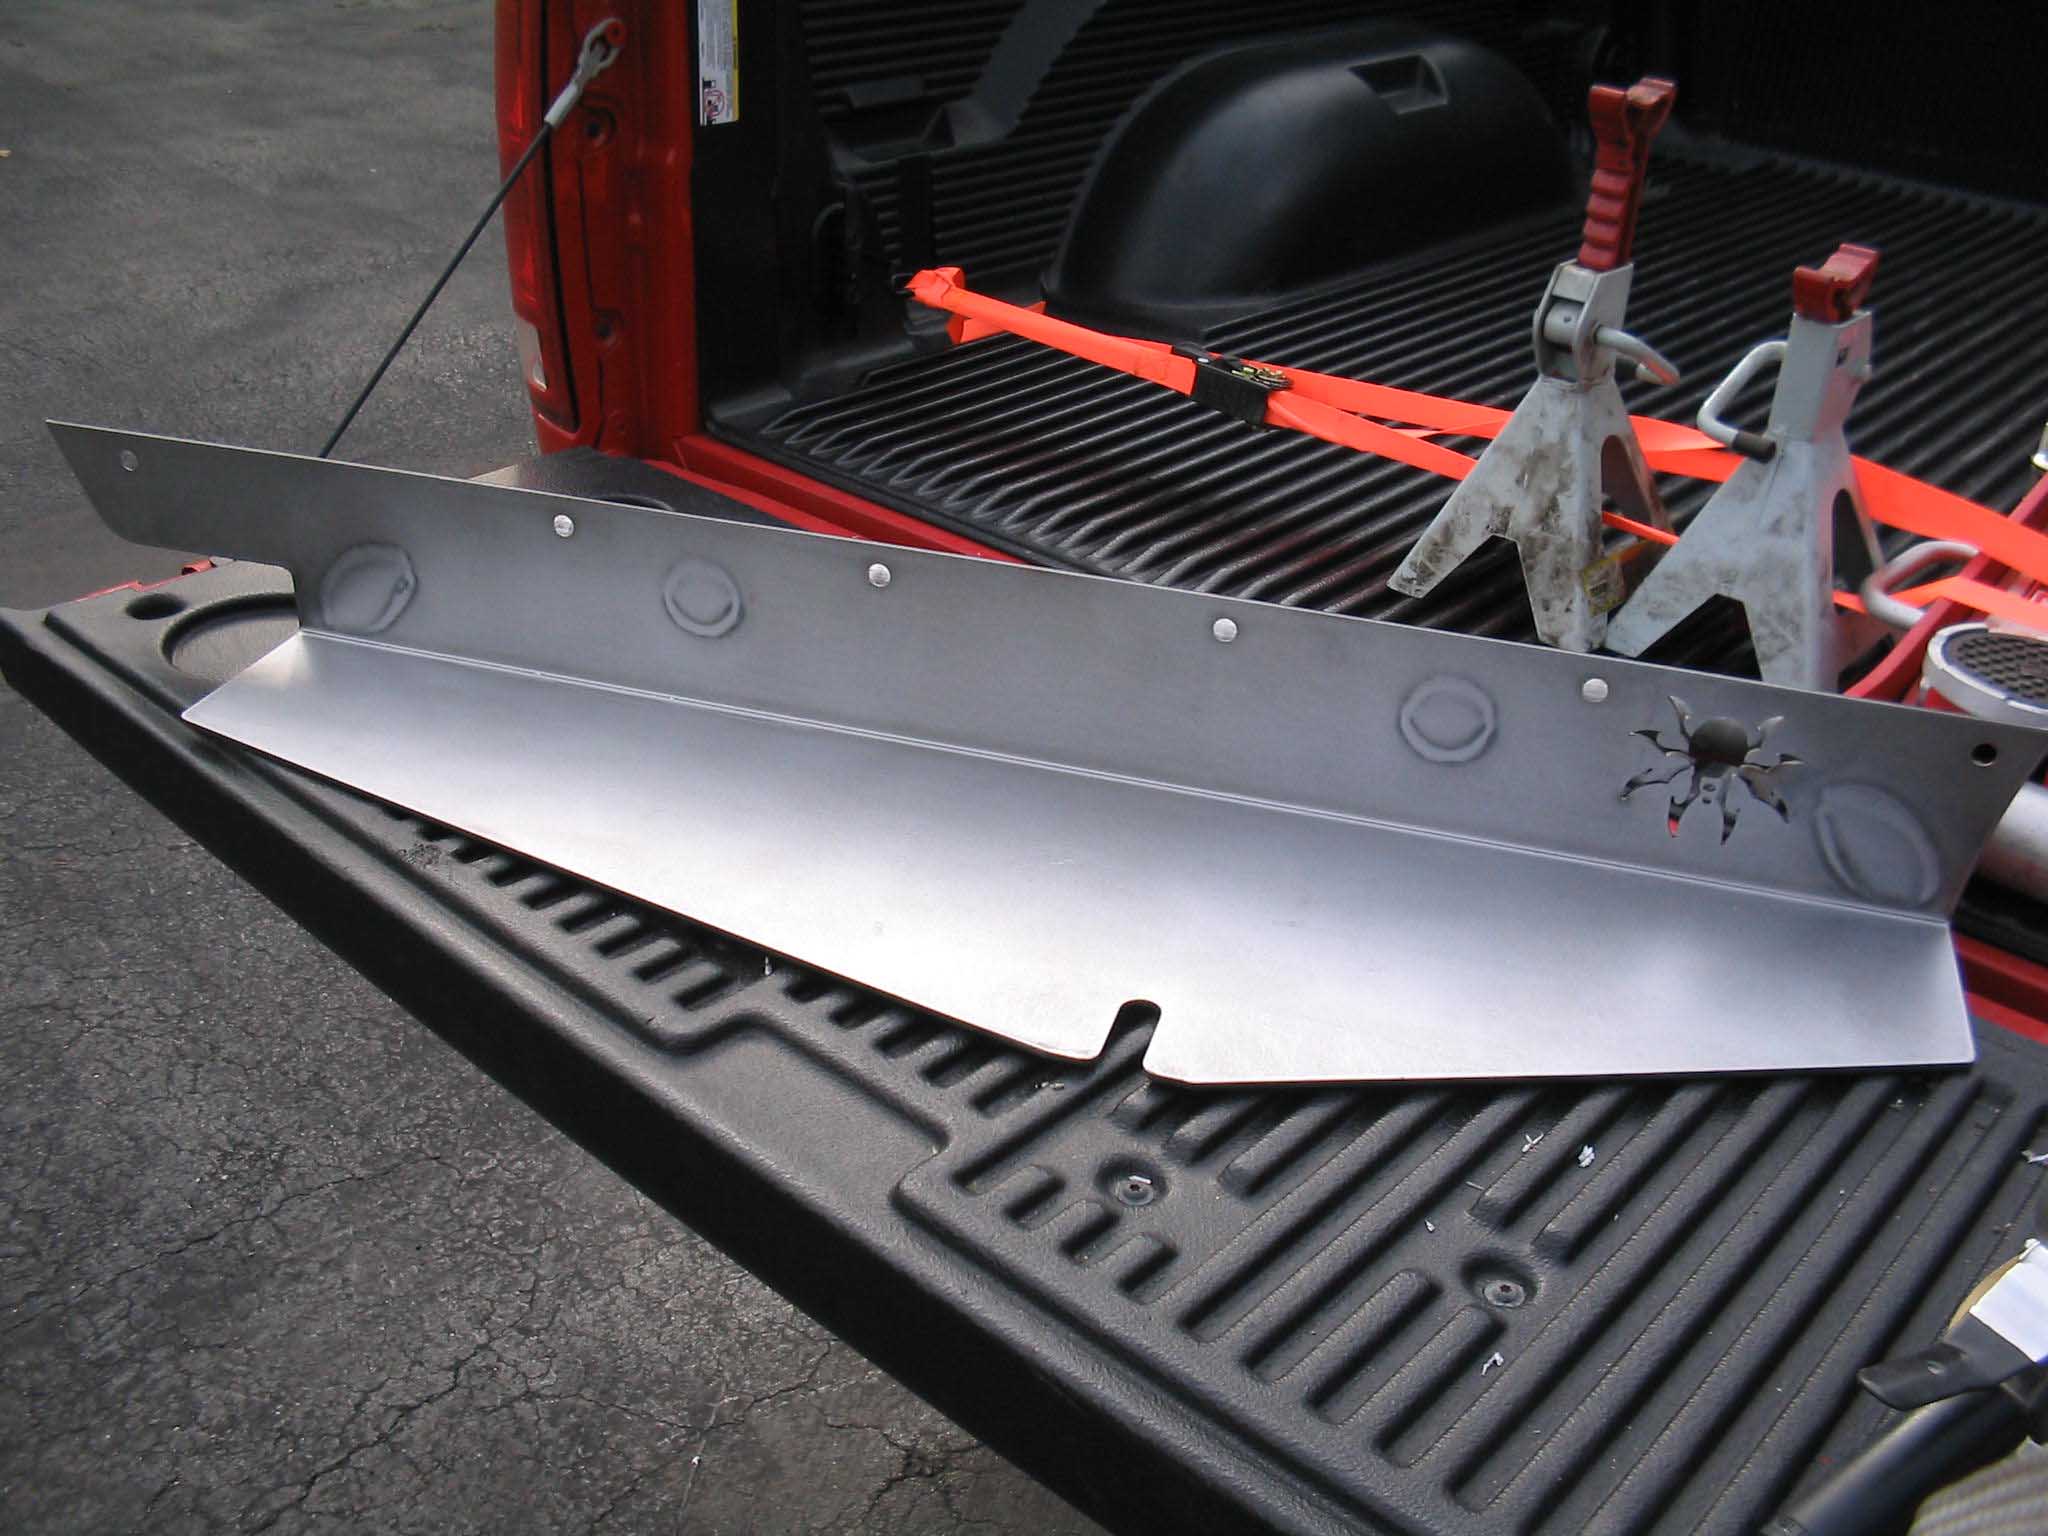
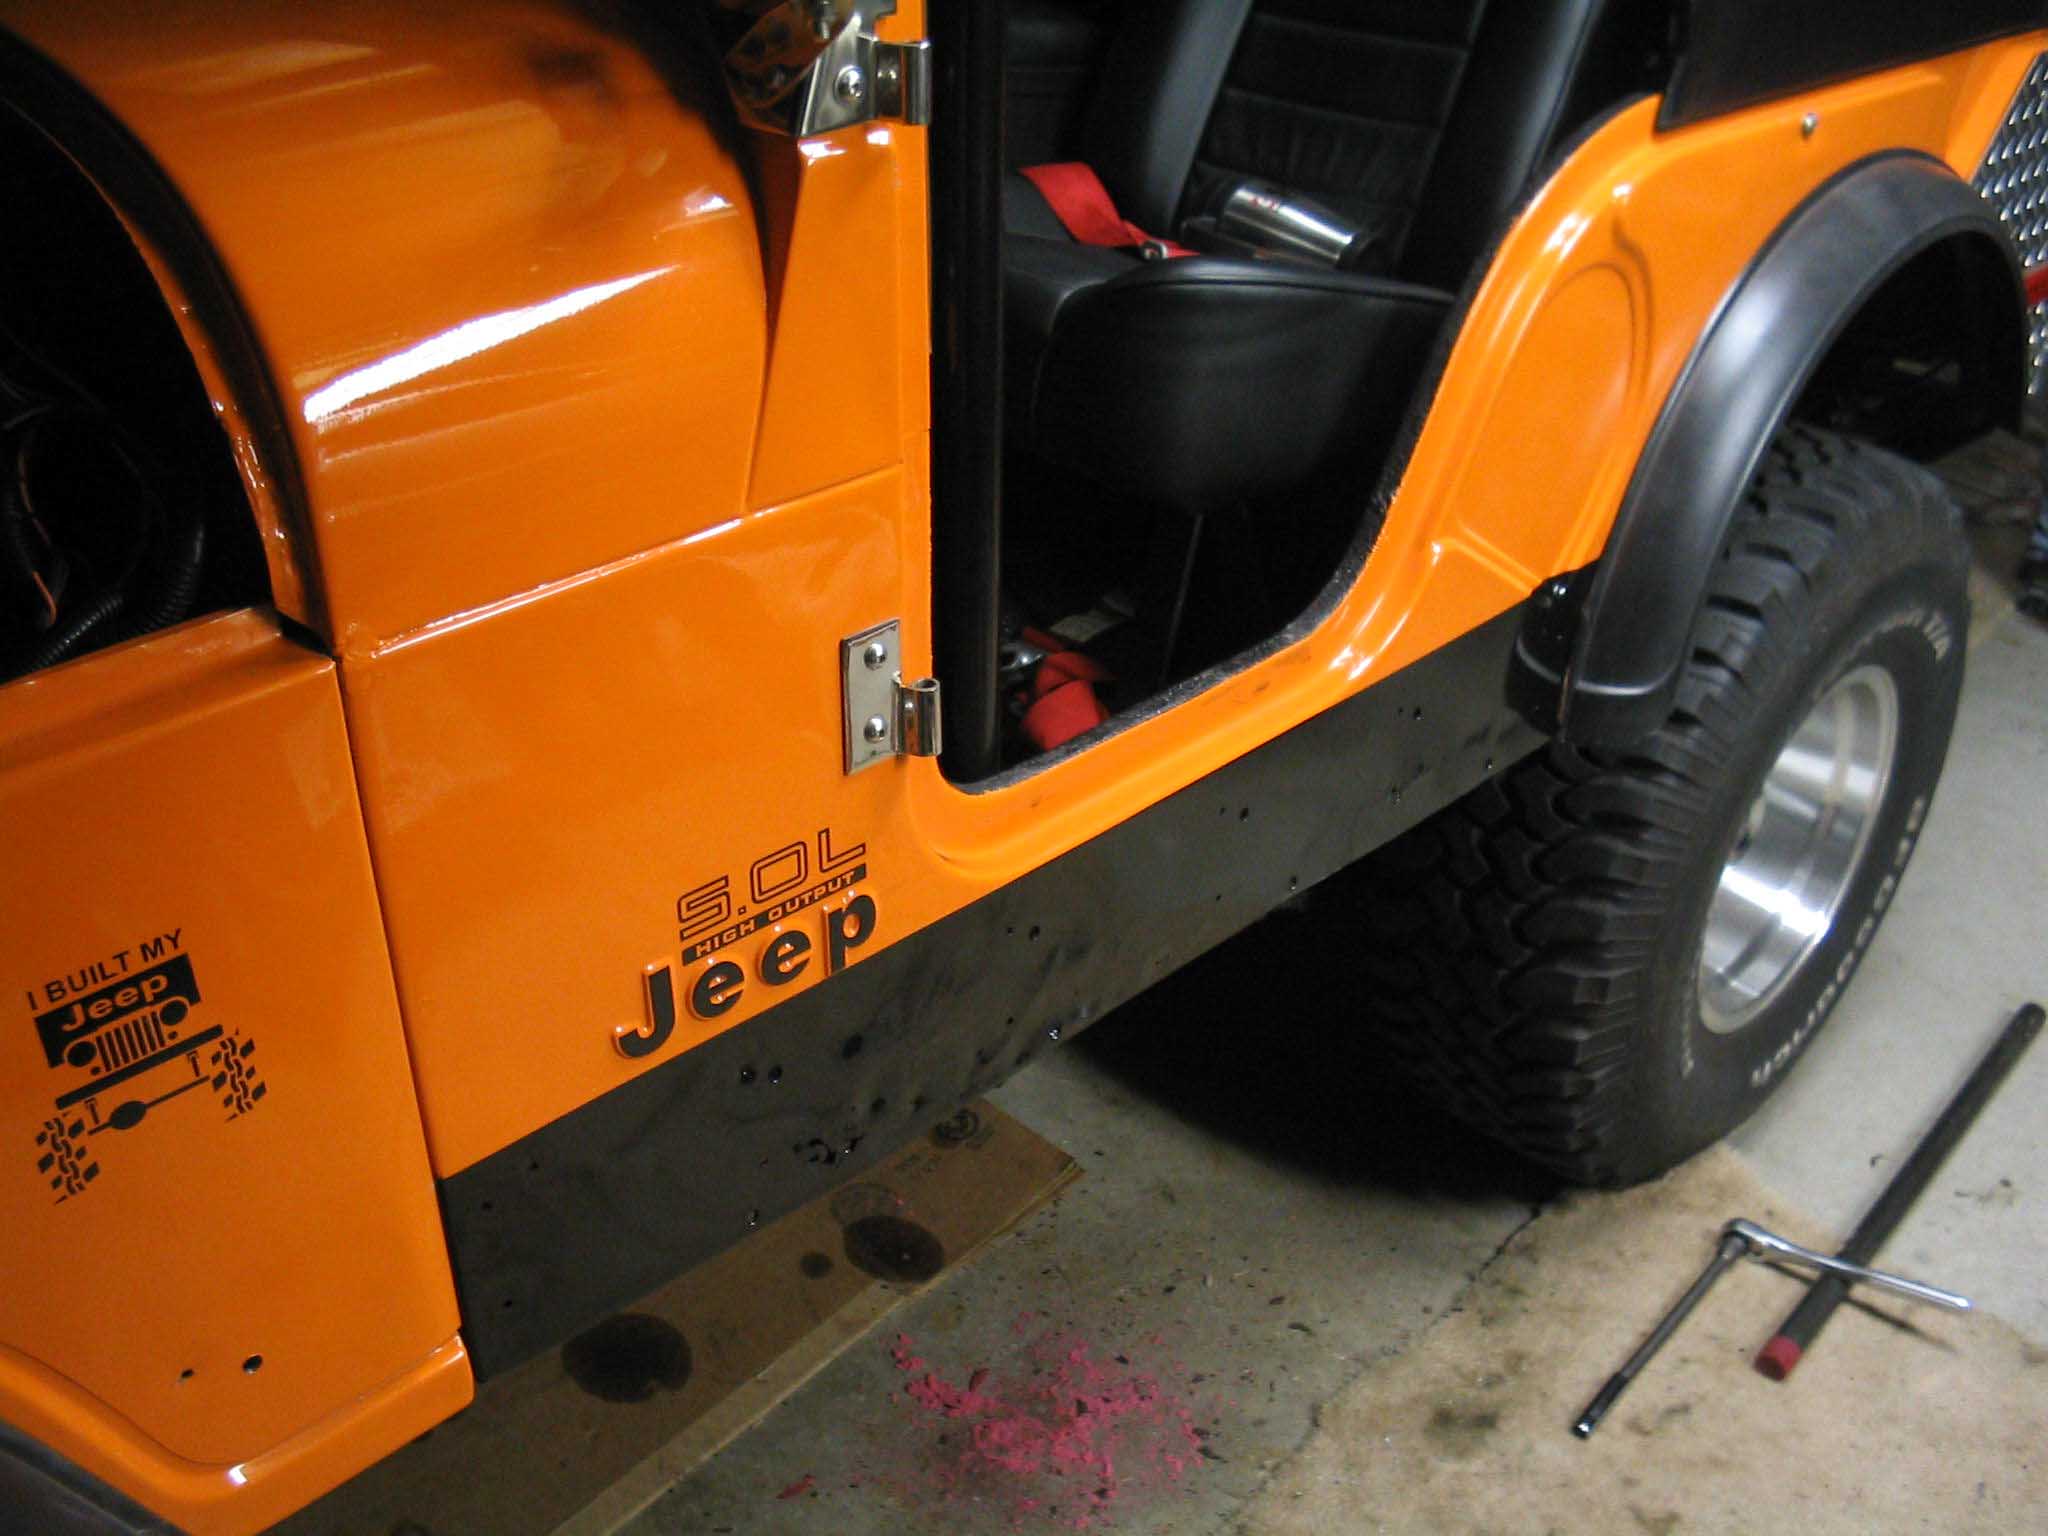
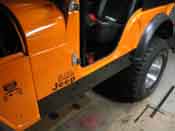
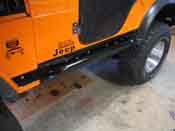
I had originally had aluminum diamond plate on the Jeep and the holes that were used to rivet that
on were exposed as well as the rockers themselves had some crap that had collected and made some surface rust, so I sanded down
the area that the rocker knockers would cover and I painted it black to match the rockers. With that done, the rocker knockers
were overlaid and everything looked really good.
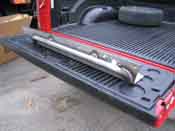
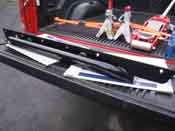
The welds are amazing and the quality is far superior to anything else I have seen. The 100-grit sandpaper was able to leave a
smooth finish for the paint and the results speak for themselves.
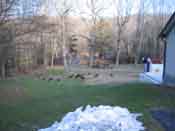
It was unusually warm for (01/21/06) so I was able to paint these outside. I had quite the following of turkeys for this endeavor
as you can see in the pictures. With all the work done, I was able to snap a few photos and I think they came out really well. They
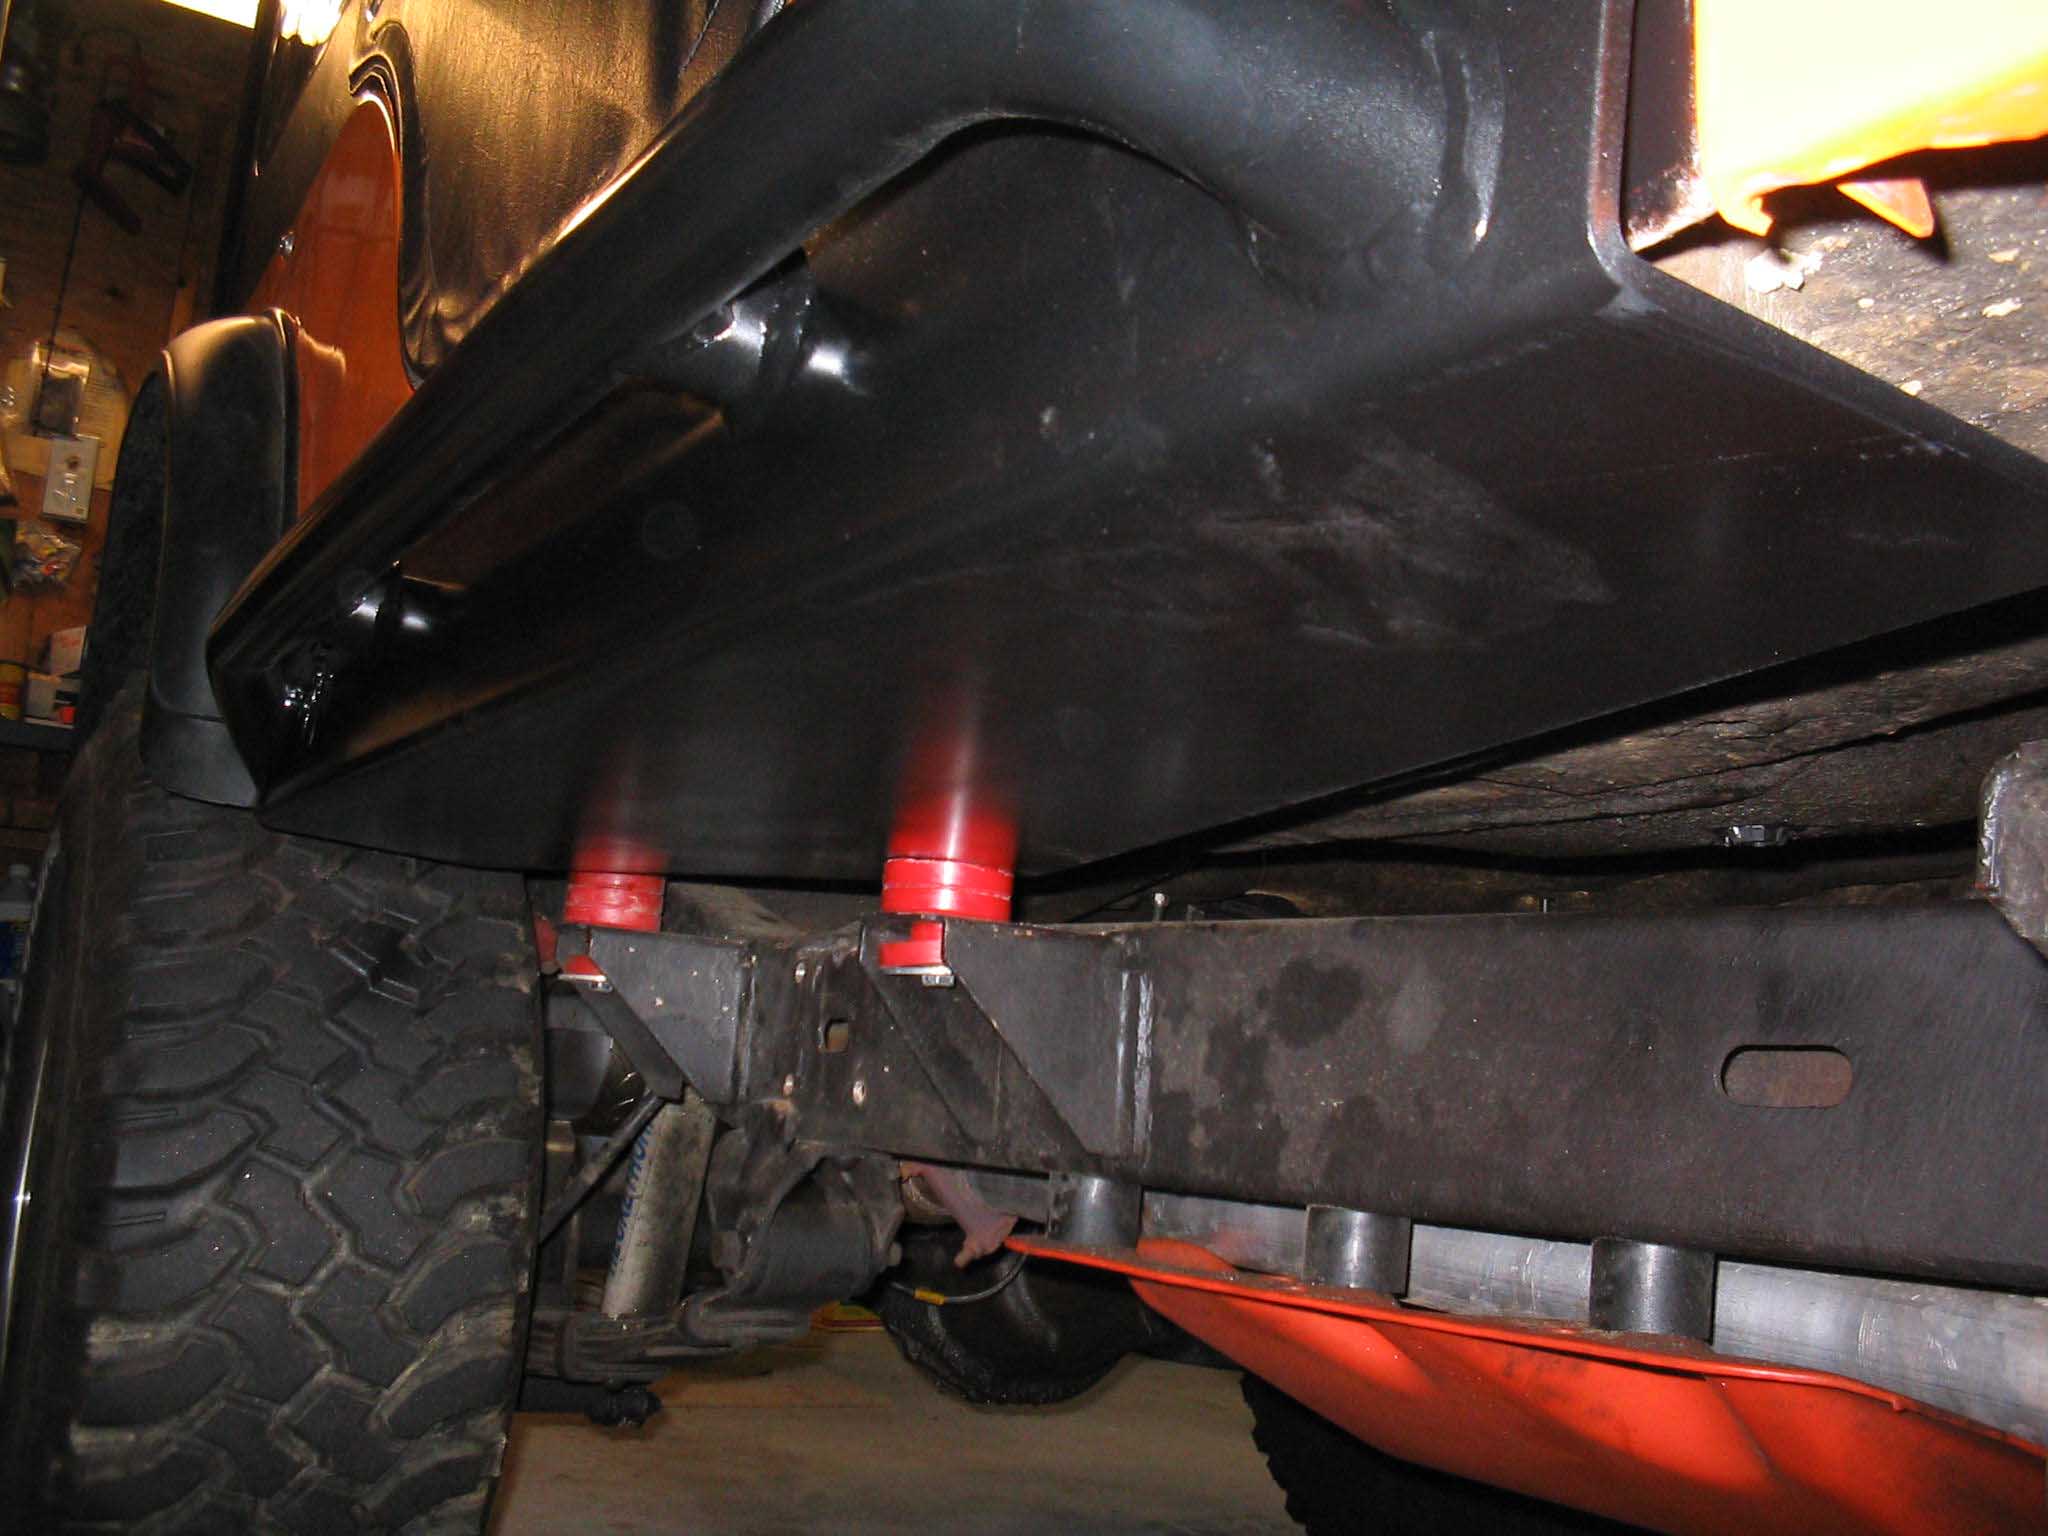
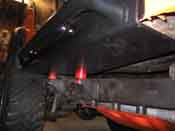
look great and I am looking forward to seeing how they work on the trail. As you can see from the underside photo, the construction
wraps around to the underside and the plate rests on the body mount bushing. It is a really good design and I definitely recommend
using these parts if you are looking for protection as well as a place to step up when getting into the Jeep.
|
| |
| Lessons Learned the Hard Way |
| |
So, my lessons learned here would have to be that you will definitely need 2 people to
install these properly. These are heavy at about 35 lbs. a piece and you really need to support them when trying to mark them
for the holes you need to drill prior to installing them. You could use a template, but having the actual part up there is the
way to go when mocking these into place.
Once you have the holes marked, drill them and make sure you treat the holes with some sort of paint to prevent any future rust.
In retrospect, I think that some sort of single sided tape could be used to buffer between the rocker panel and the guards to
prevent any moisture from building up. I will see how this works and maybe in the future I will take these off and put that in, but
for right now, they look great and we will monitor this going forward.
|
| |
| Conclusions |
| |
This is a pretty easy installation to do, you just have to prep the area and
make sure that you have the parts fitted and ready to go prior to finishing the parts. In this case, we
chose to do a rattle can job with a gloss black finish.
I also chose to go a step further and prep the parts with the sandpaper and the wash to make sure the parts were clean and smooth
prior to applying the paint. If you do this, the parts will come out looking as good as the protection it is sure to offer.
The approximate build-up costs and installation time can be seen
here.
Take your time and good luck!
|
|