|
|
| 4" Superlift Suspension Installation - part #2 |
| |
|
|
| |
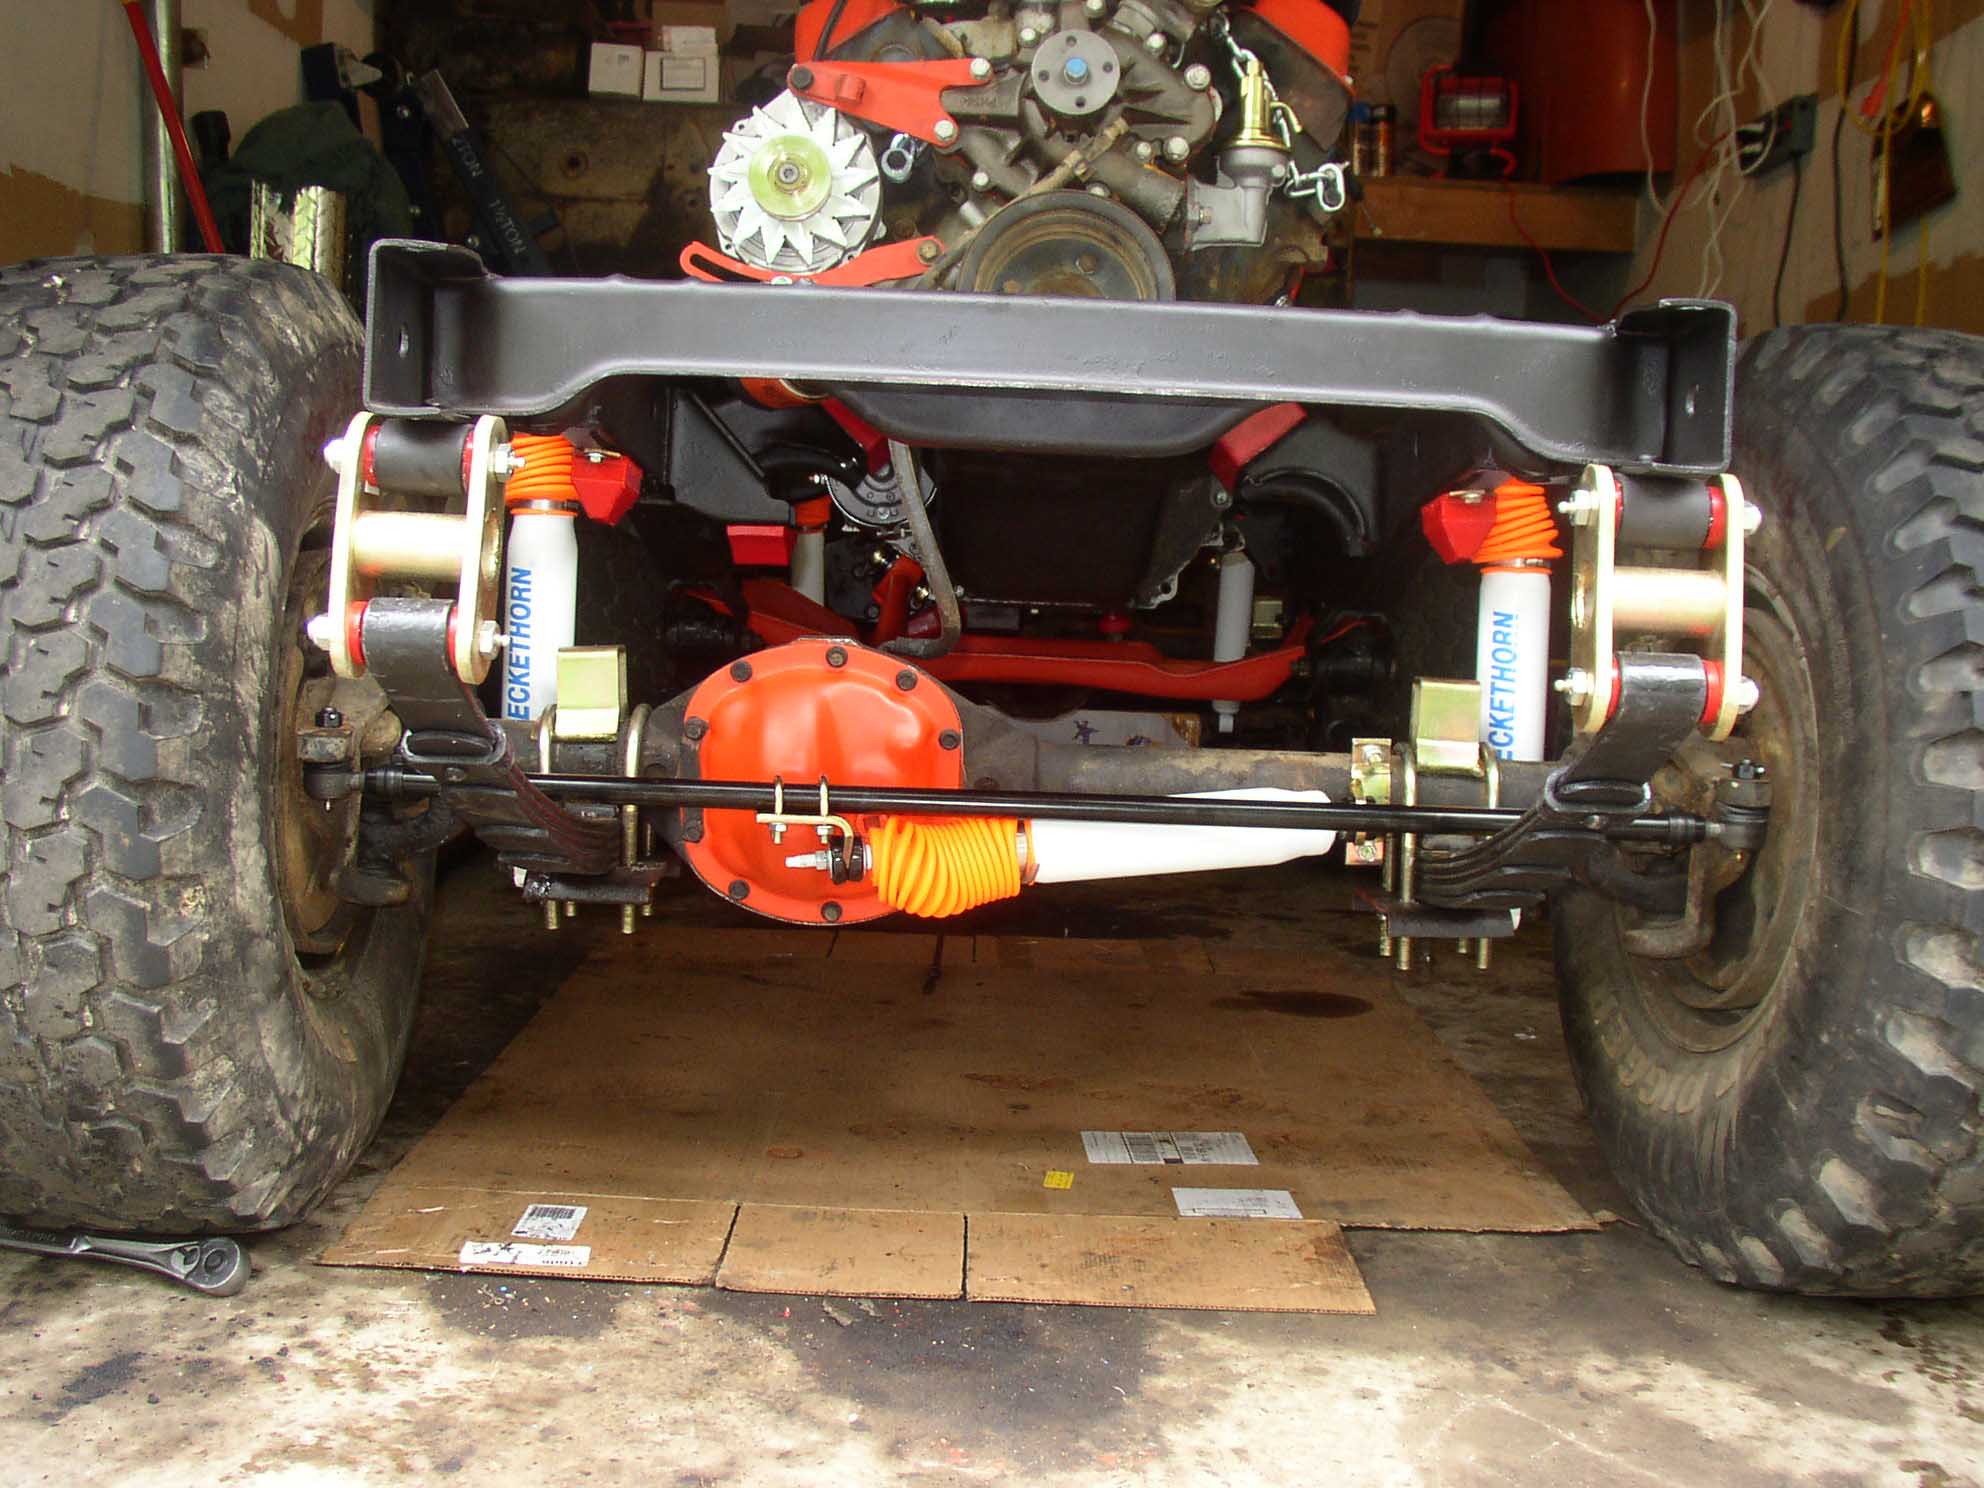
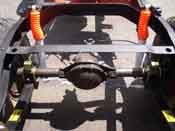
| A steering stabilizer was also added at this point to help in the steering of
the rig as it traveeled down the road. The orange bootie also matched the 4 shocks booties.
|
| |
|
|
| |
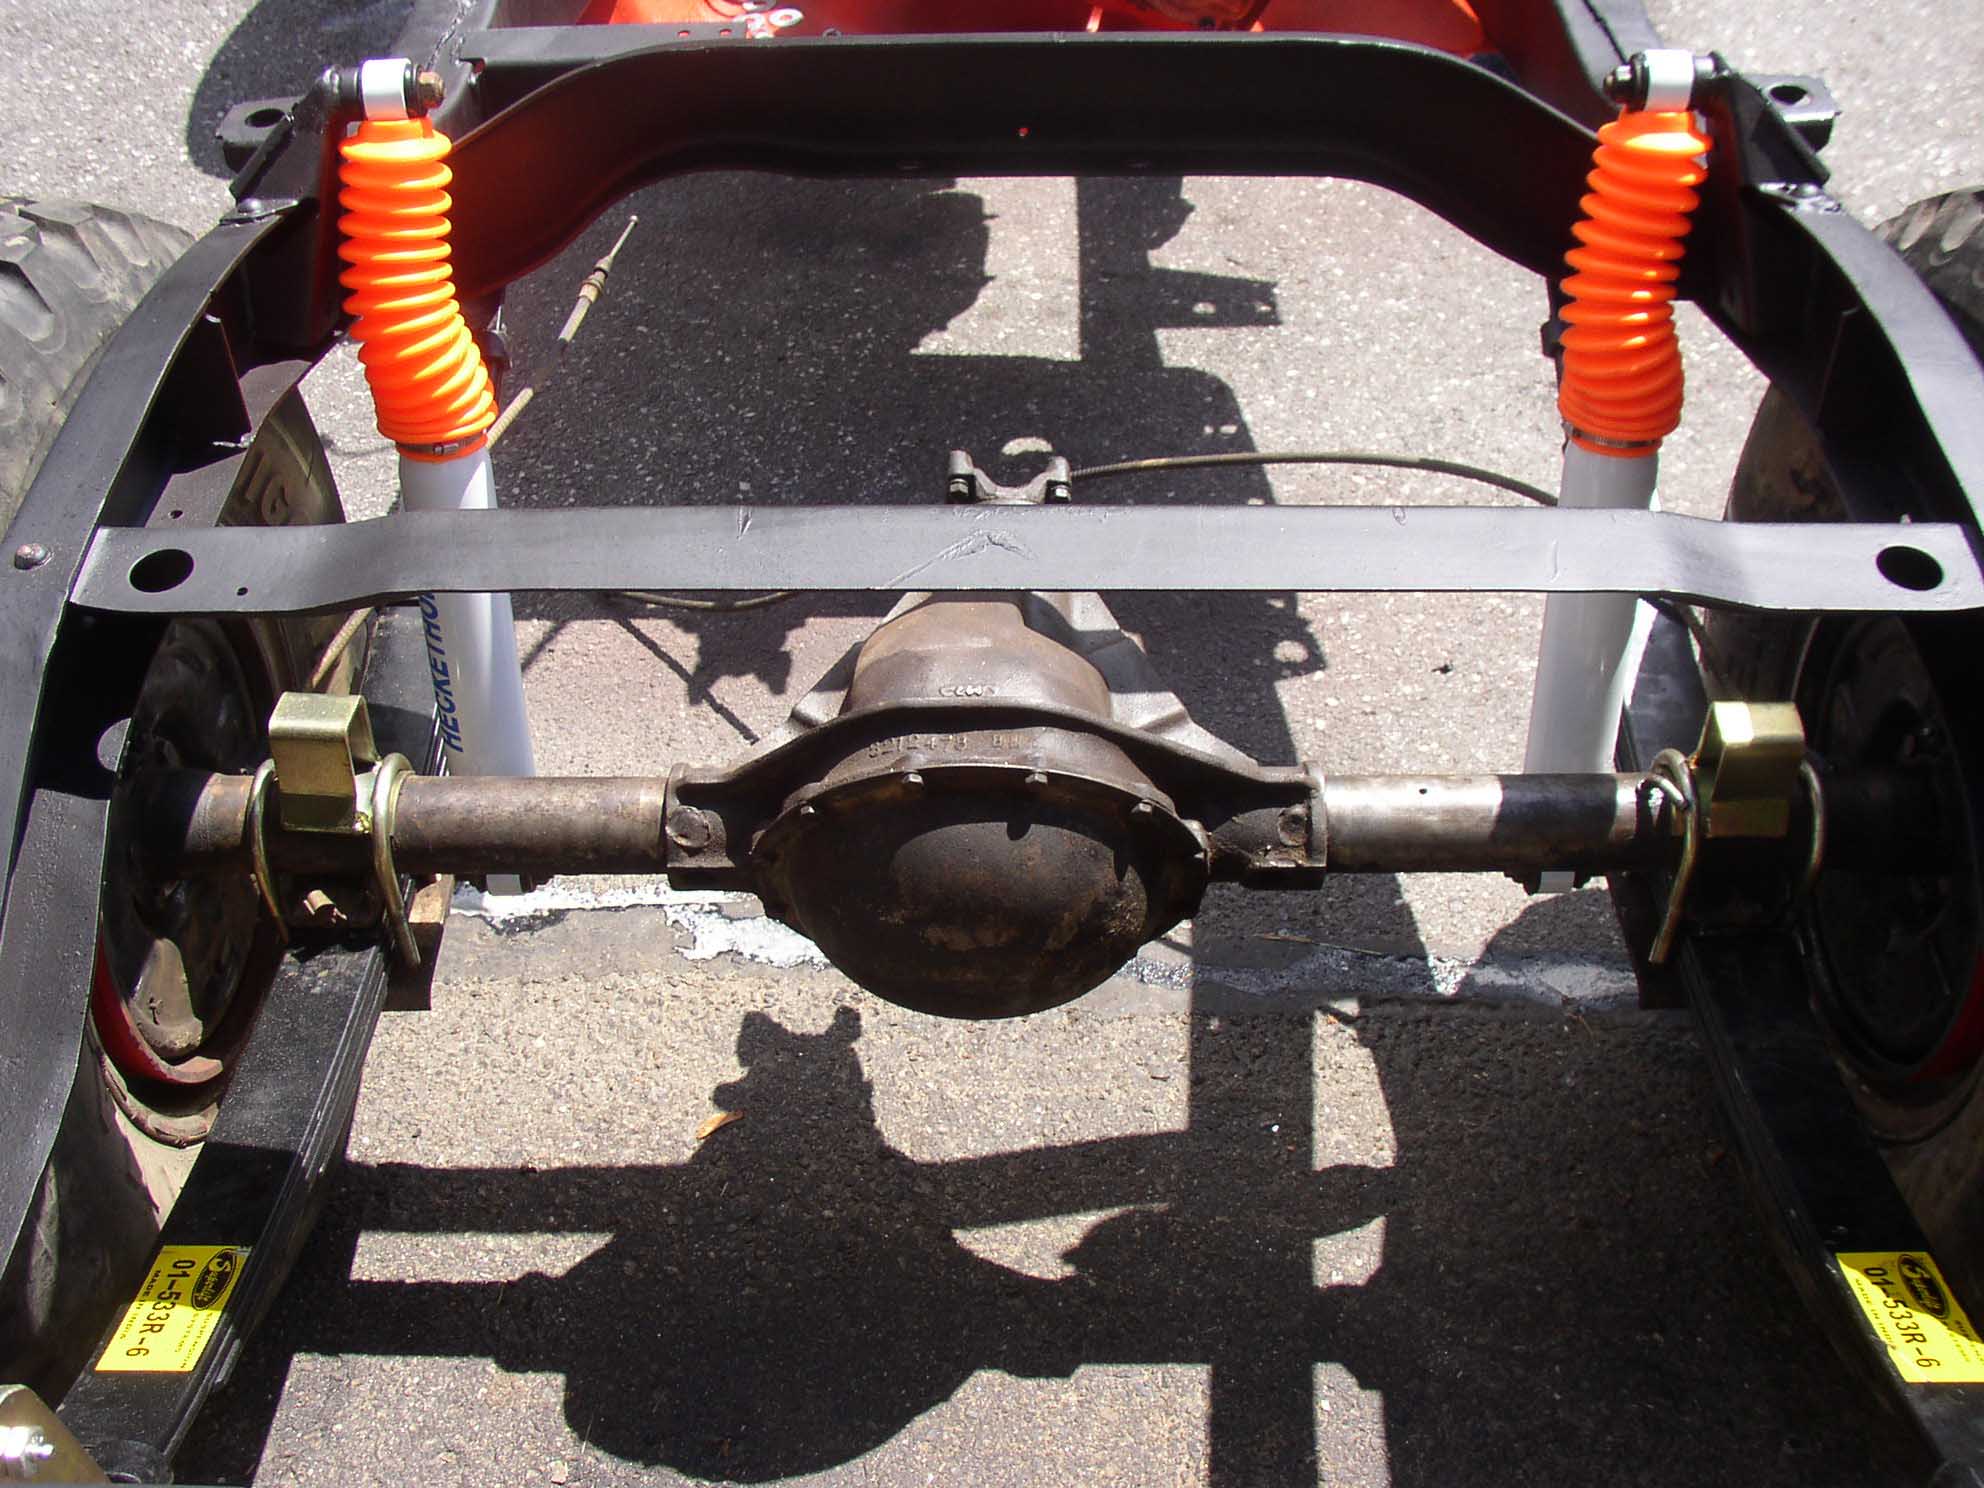
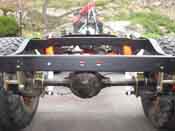
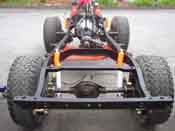
| Finally everything was completed. As mentioned before the transmission drop
bracketry (spacers) that came with the suspension lift kit was put into place when the engine was dropped
into the frame, as it was easier to do this then. If this step wasn't performed then, the transmission must
be supported and the transmission cross member must be unbolted from the frame and the spacers added. With it
all done, I took a step back and admired my work.
|
| |
| Lessons Learned the Hard Way |
| |
So, my lessons learned here would have to be that nothing ever fits the way it
is supposed to. I say this because the polyethylene bushings for the rear springs were too wide and had to be
cut down to fit in my frame mounts. This wasn't a big deal, but some finagling must be done to get everything
to fit nicely.
A second lesson learned would be to grease up the shackles before mounting them to the frame. The nipples were
faced inwards to help with the greasing process, but a couple of the upper ones were hard to get the grease gun
on so having them full when they went together would have been better. NOTE: Don't use regular grease
with the polyethylene bushings; it will deteriorate the bushings, use only poly grease here.
|
| |
| Conclusions |
| |
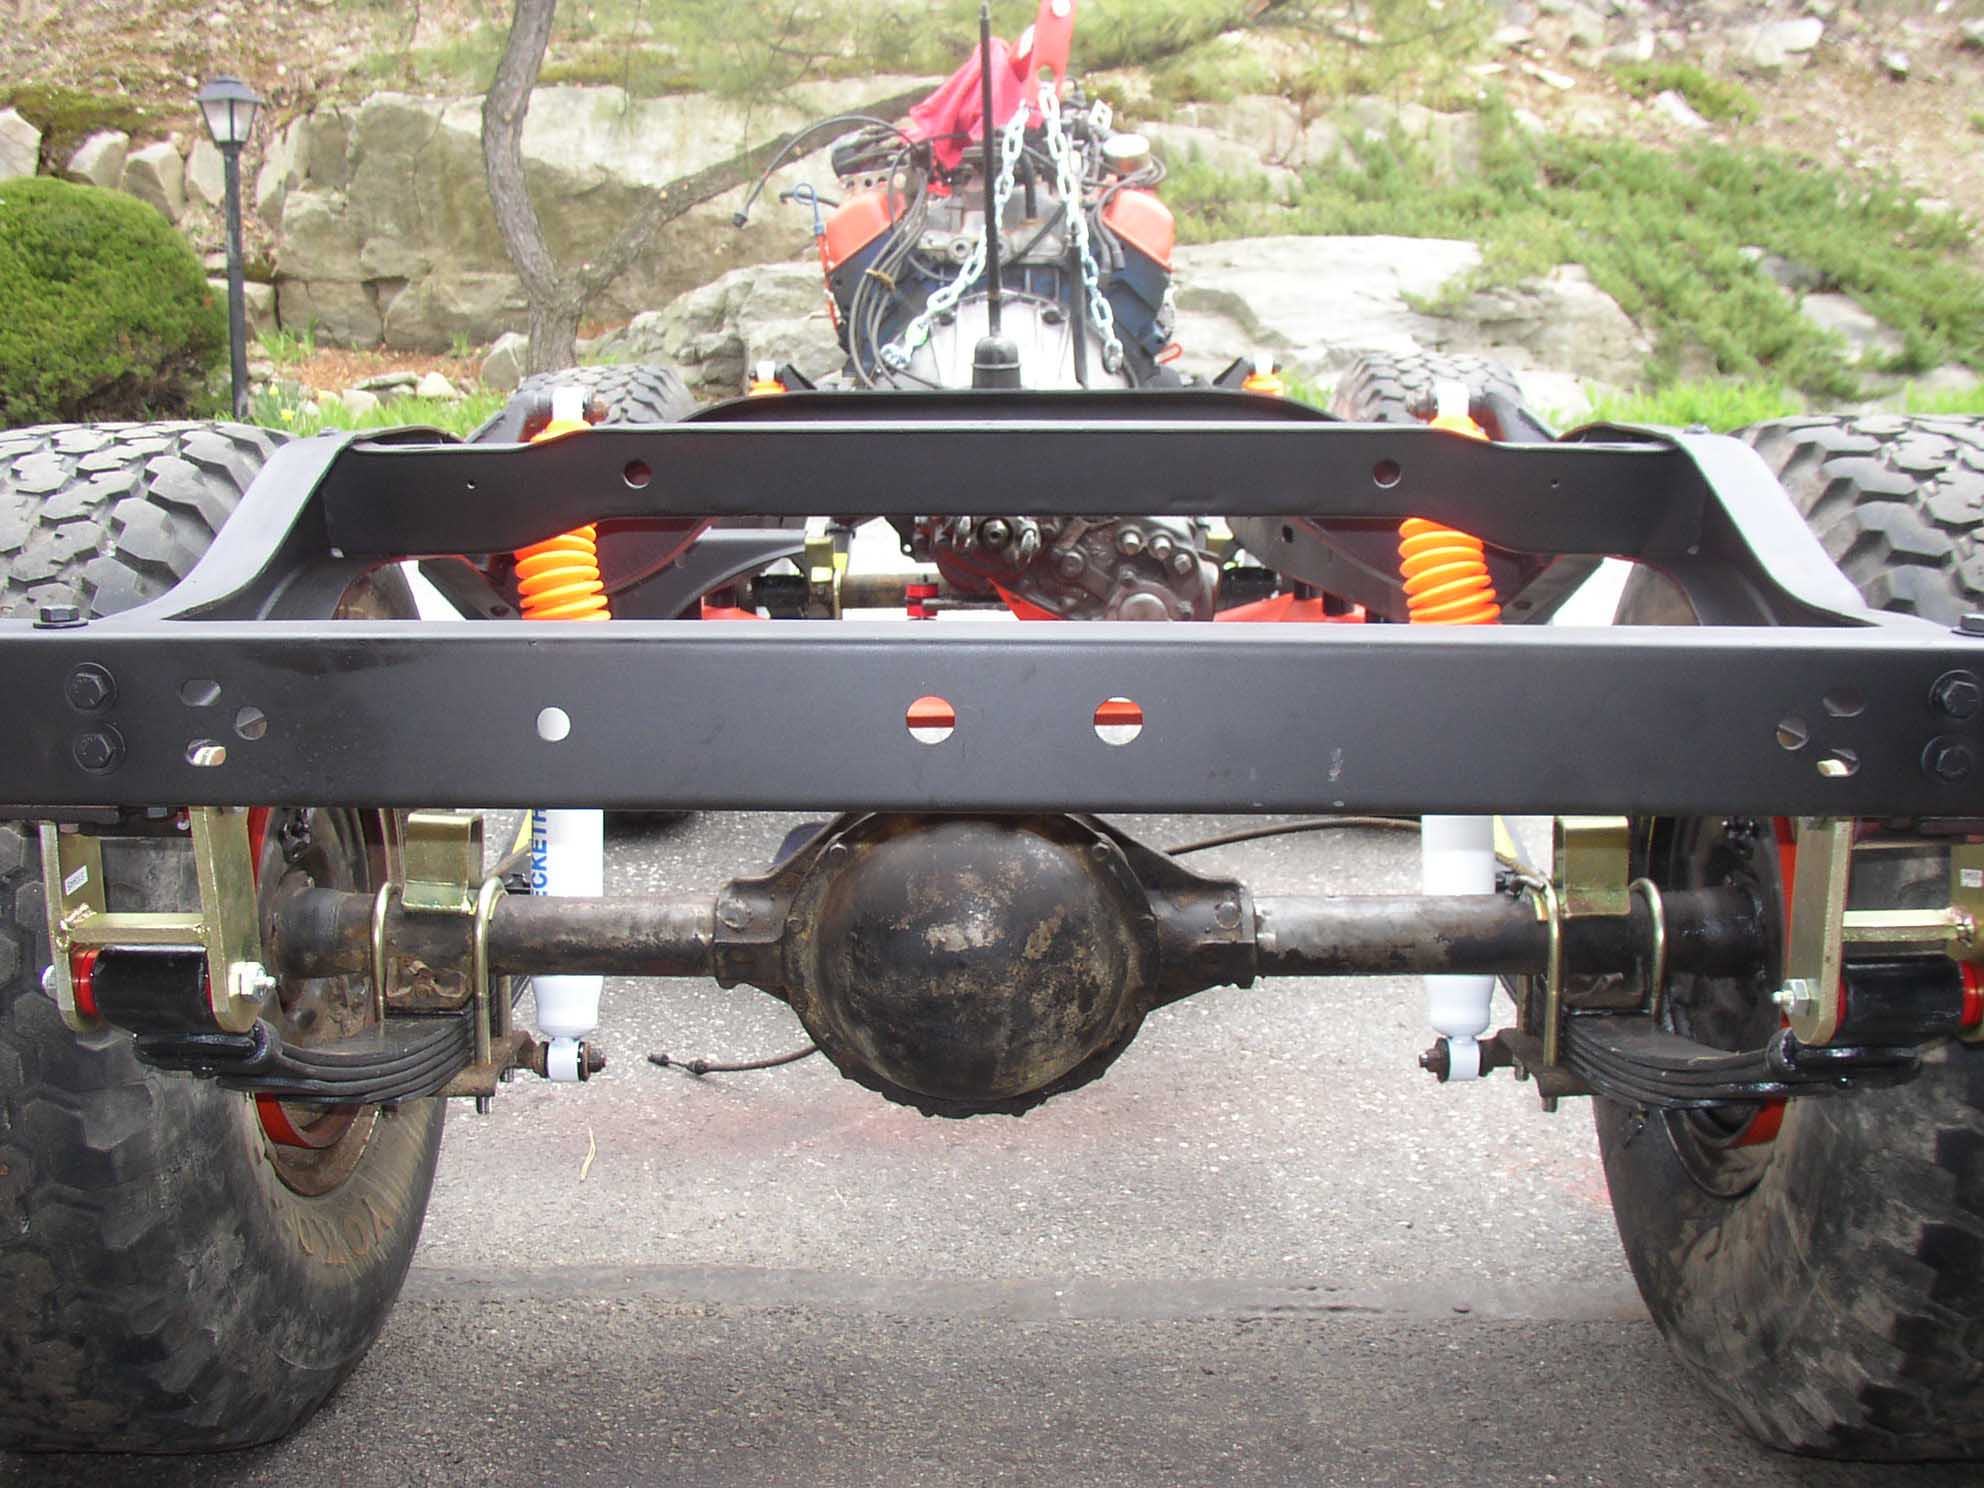
This is a straightforward bolt on with the way I did it. The frame didn't have
anything on it and therefore bolting up the springs to the axles and then that assembly to the frame. Make sure
to snug the bolts down, but don't torque them down until it is all assembled. Tightening and loosening the
bolts can cause U-bolt failure. These are designed to be tightened once and that is it. If you must loosen
them, it is best to replace them.
If you don't have the frame free and you are performing this lift on a Jeep that has a body on it and engine in
it, the steps are similar, except you have to jack one end of the Jeep up, remove the old shocks and axle
assembly, put on the new springs and shackles to the axles and put it back into place. You have to replace
the shocks and then repeat for the other end of the Jeep. If you plan on running the transmission drop
bracketry, you have to follow the above directions and support the transmission and put the spacers in after
loosening the bolts holding it to the frame. Granted the way I did it was easier, but not everyone does a
frame off restoration.
The transmission drop bracketry is not necessary in all cases, it help to align the drive shaft angles with the
new lift to that of the old geometry to help reduce driveline vibration. Also, if you have manual steering,
the pitman arm drop bracket is not used, it is only used in power steering from what all I have read. The
pitman arm drop bracket is used to help with binding and stress of the power steering components and only fits
the input shaft of the power steering gearbox. This is from what I have read but I have never compared the
spline count.
My drive shaft came up short and I had to have it extended. This does not happen in all cases, but on mine it
did. I think it was due to the shackles increase and the overall short length of the CJ-5 drive shaft. Keep
this in mind, as it is an added expense that I didn't account for.
|
| |
| << Previous |
<< First |
|