| Amplifier Installation |
| |
| So, with the efforts of the second project Jeep turned to stereo concerns, it
was undergoing a music upgrade. In previous write-ups, it was noted that a Tuffy Security Console
(part# 14028 01 07) from Quadratec
as was some Tuffy Fender Well Security Boxes (part# 14032 01 07) from
Quadratec. These were installed in
the second project Jeep and now it was time to upgrade the stereo components.
|
| |

|
|
| |
| The Woofer Box Installation
allowed for more bass to be brought into the Jeep and the marine grade 5.25" speakers in the
Speaker Pod as well as the 6x9"
speakers in the Tuffy Fender Well Security Boxes allowed for the midrange and high's to come through.
|
| |

|
|
| |
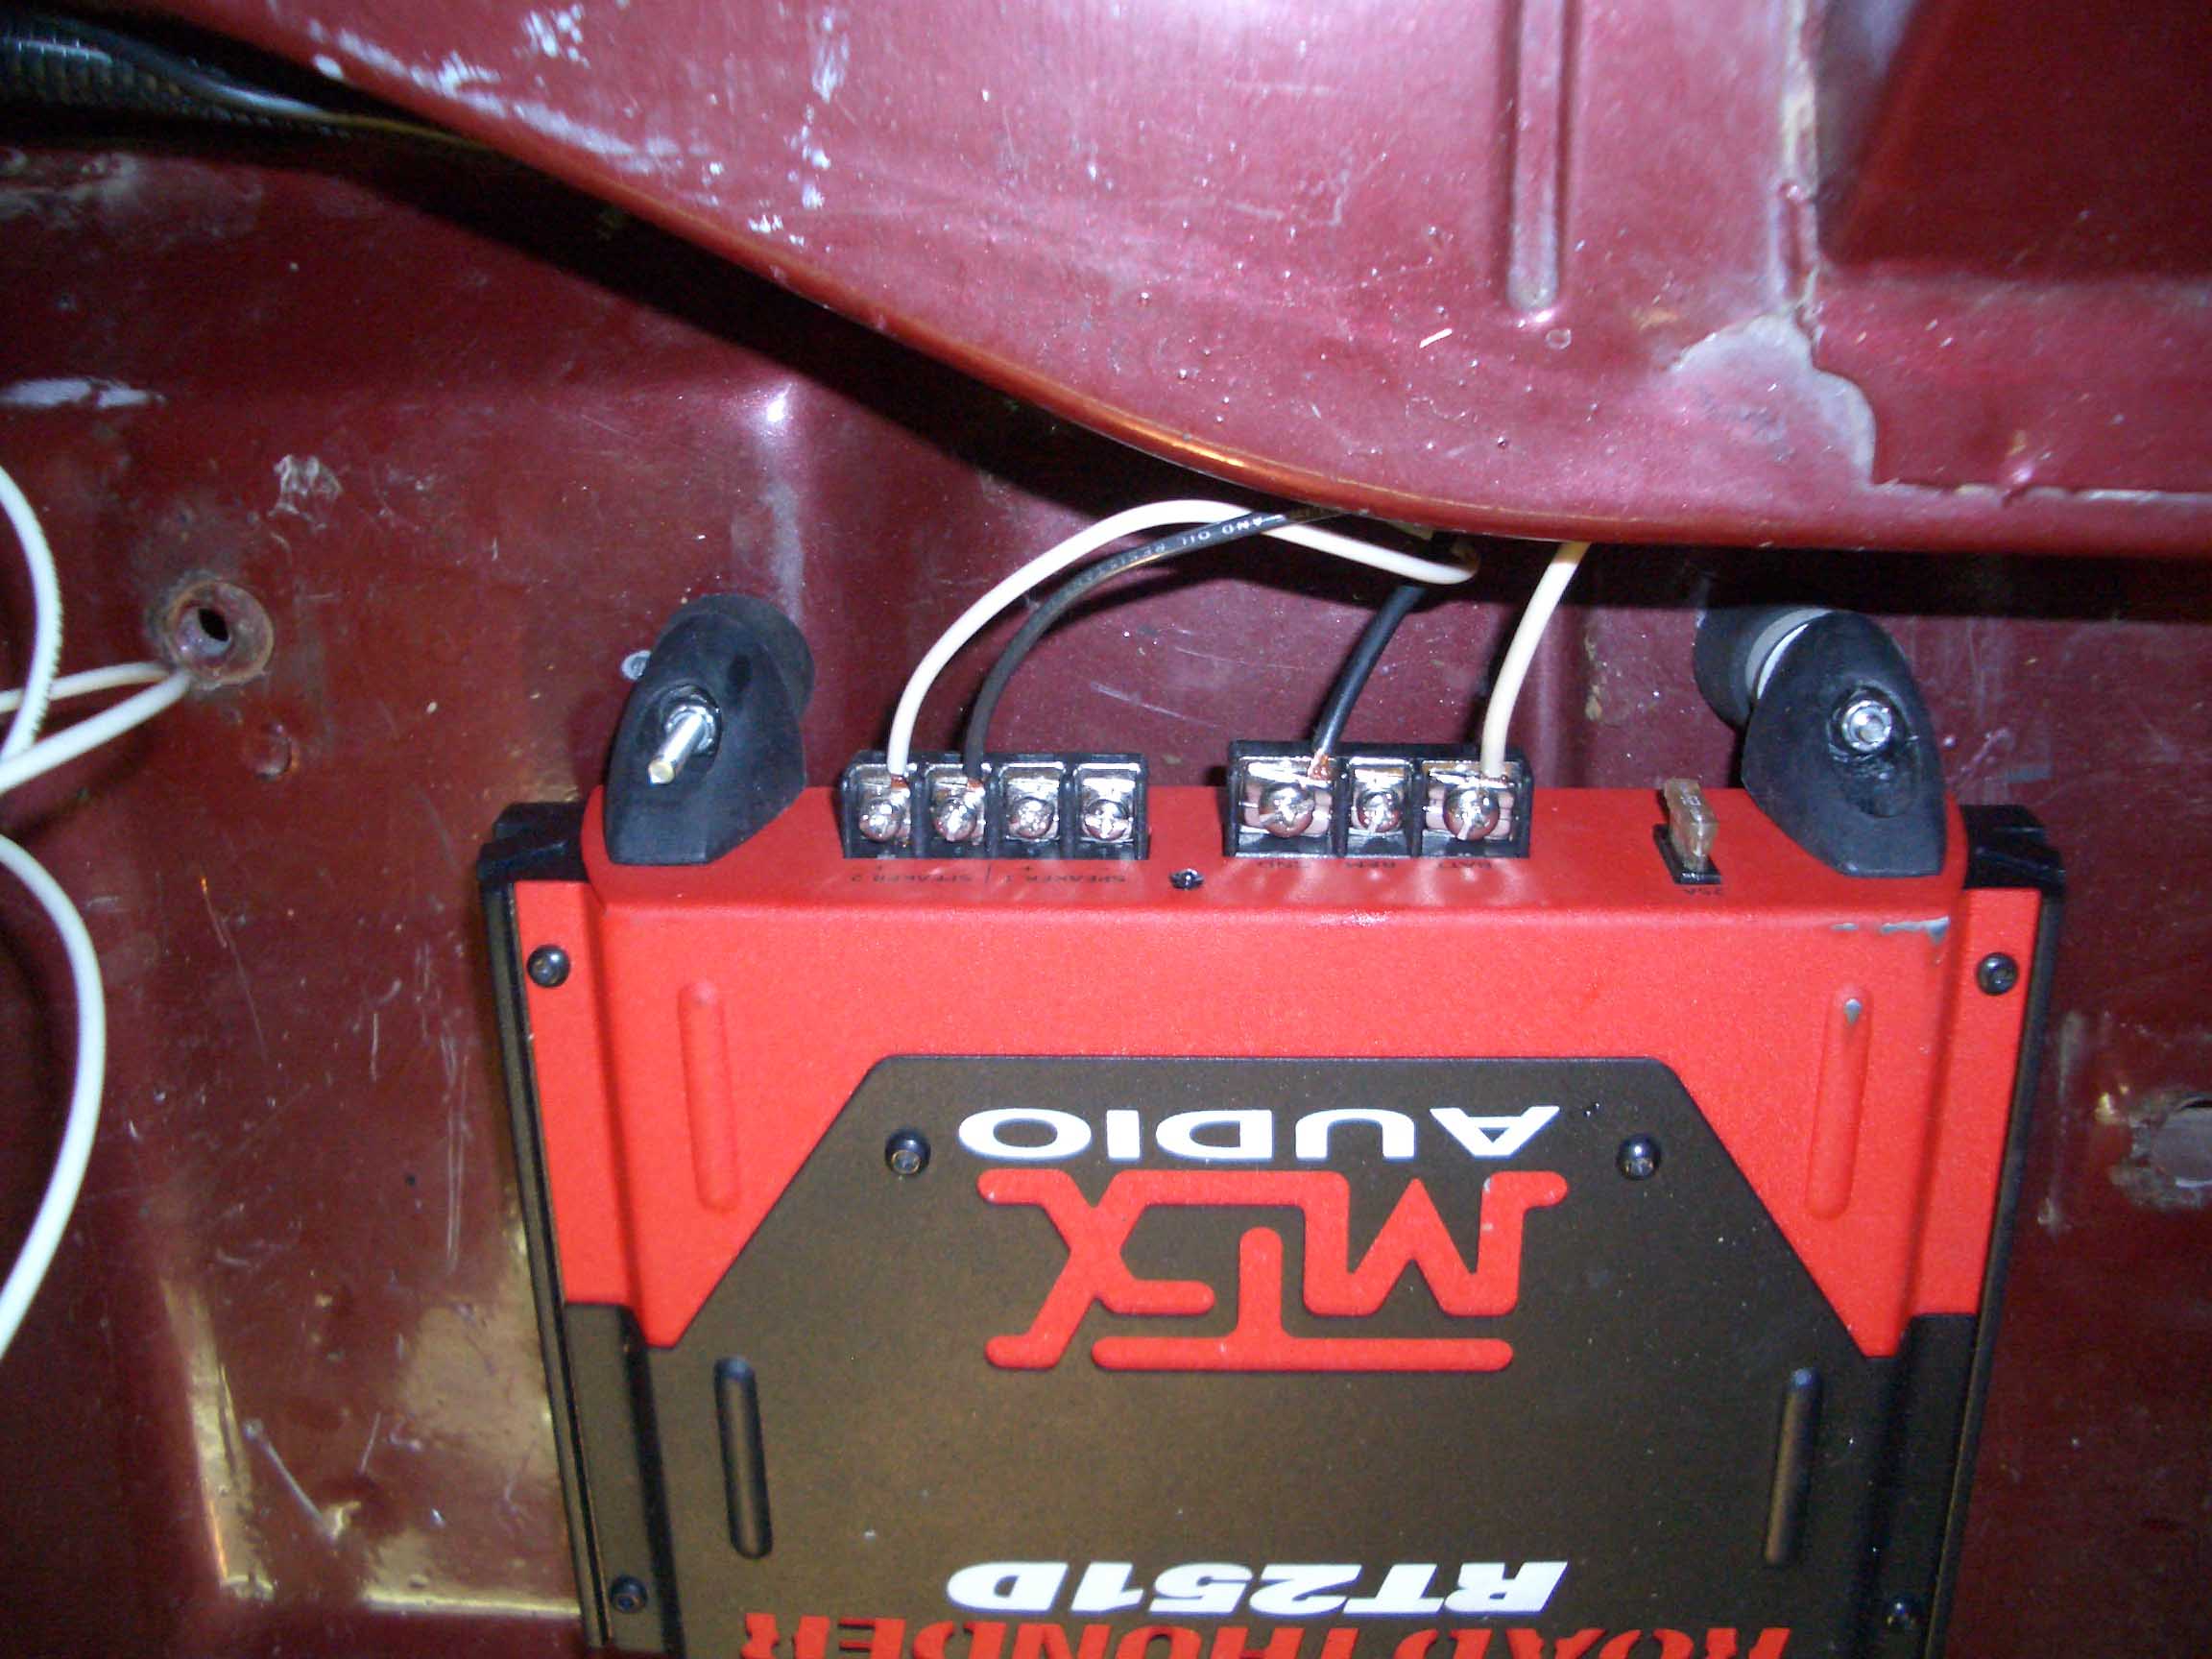
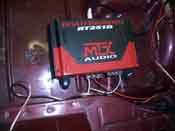
| The woofer box needed to have some more juice to run it however, and that is the
purpose of this write-up. The amplifier that was purchased for this part of the build-up came with the woofer
box and had the capability of running 1x200 watts or 2x100 watts. Since there were 2 speakers, the 2x100 watts
was chosen to be the setup and the gain would be set once everything was put into place. NOTE: Gain
levels are set once everything is setup and is adjusted on the amp to the level you deem necessary. This is a
very loud setup and will have to be set with the top on and the driver in the drivers seat to their specifications.
|
| |
|
|
| |
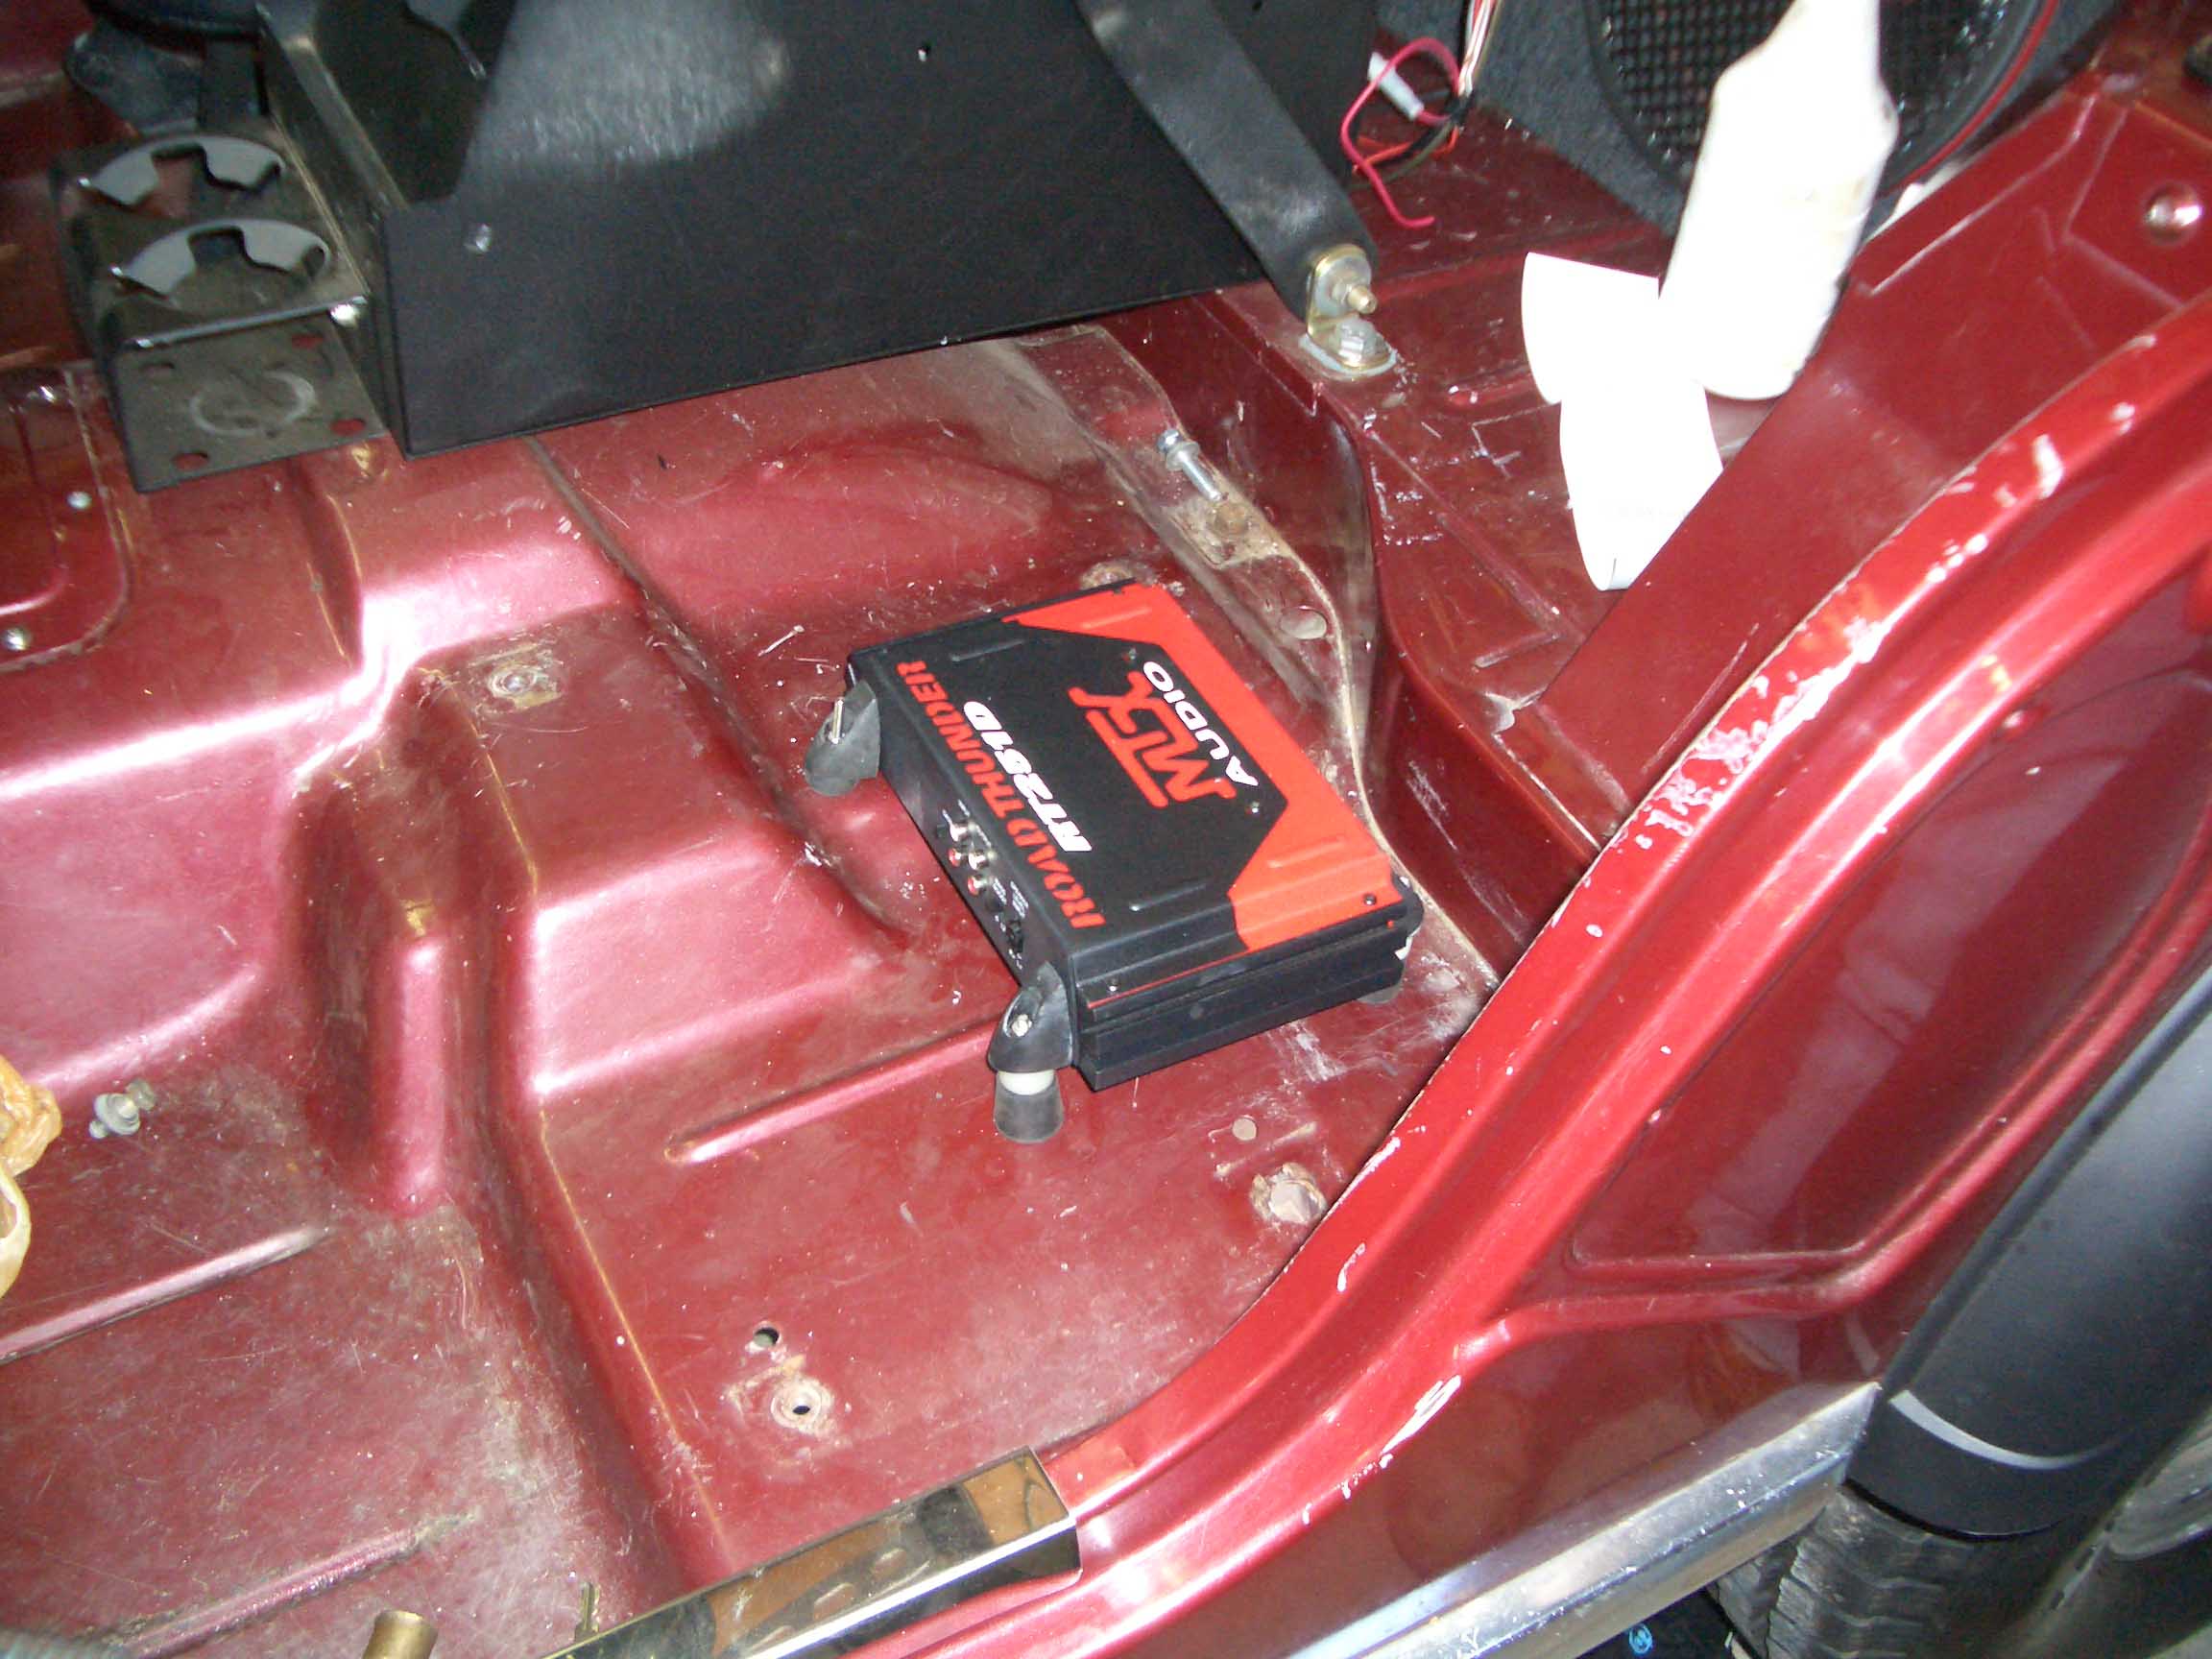
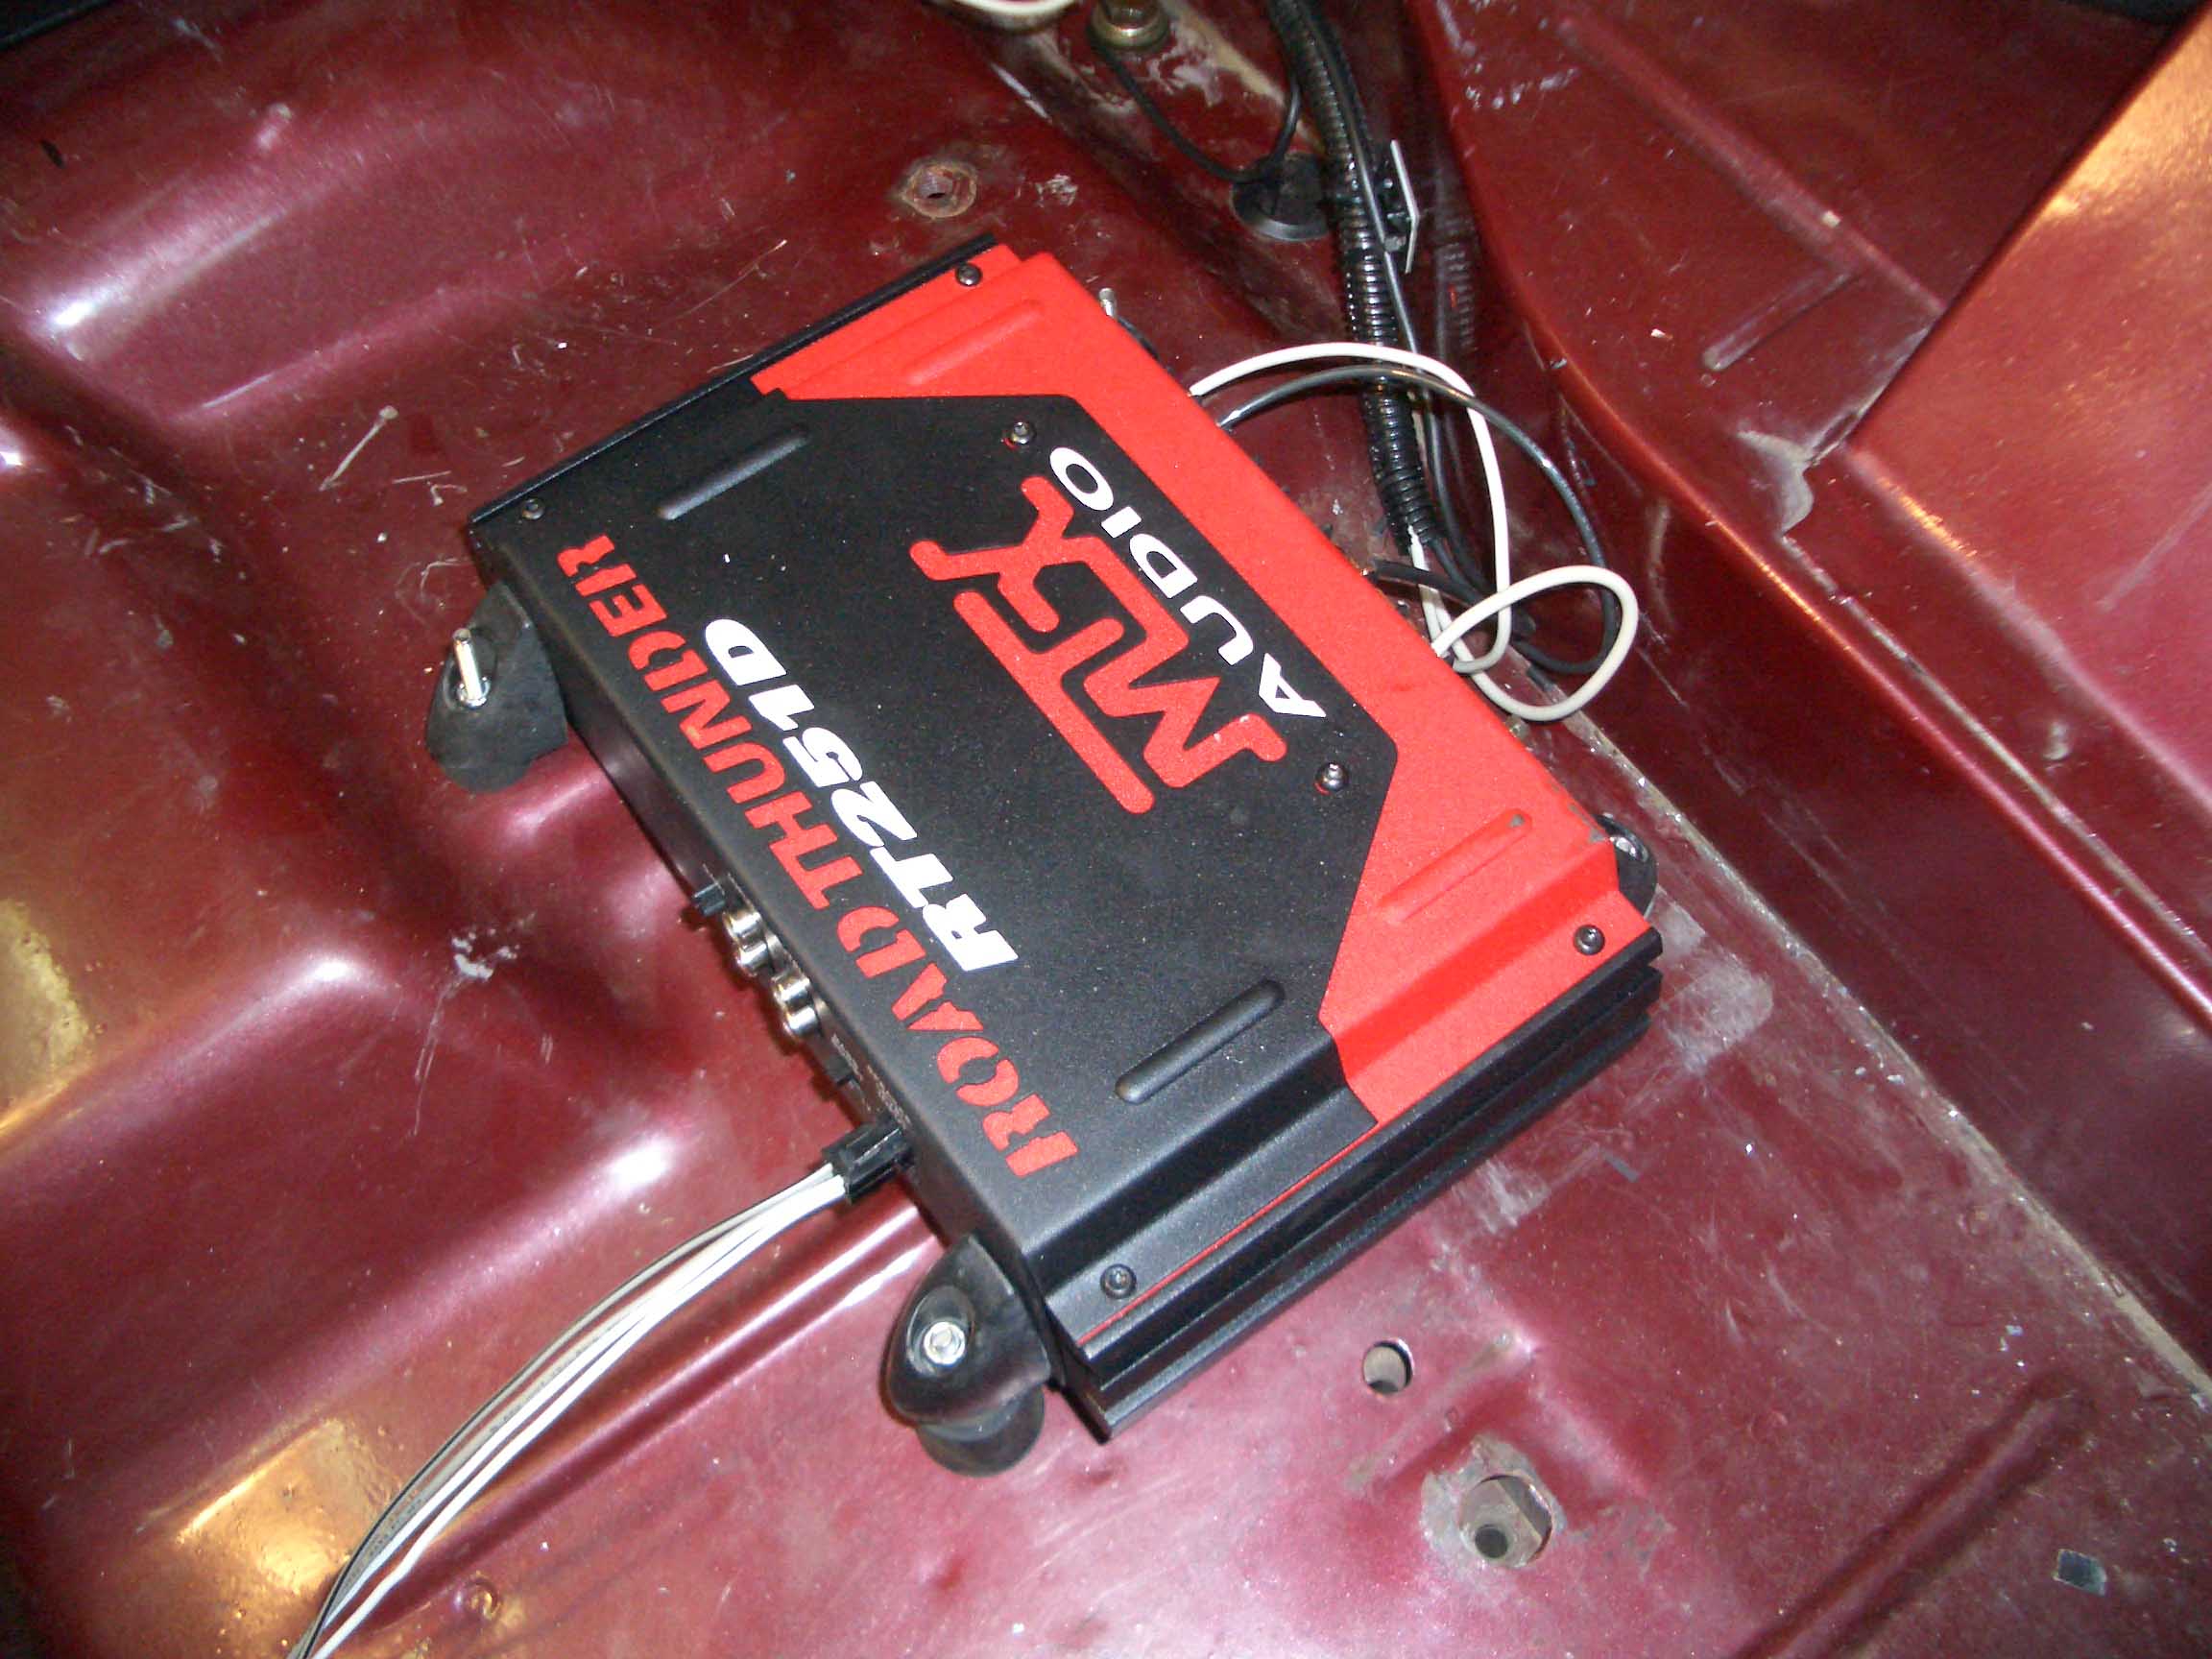
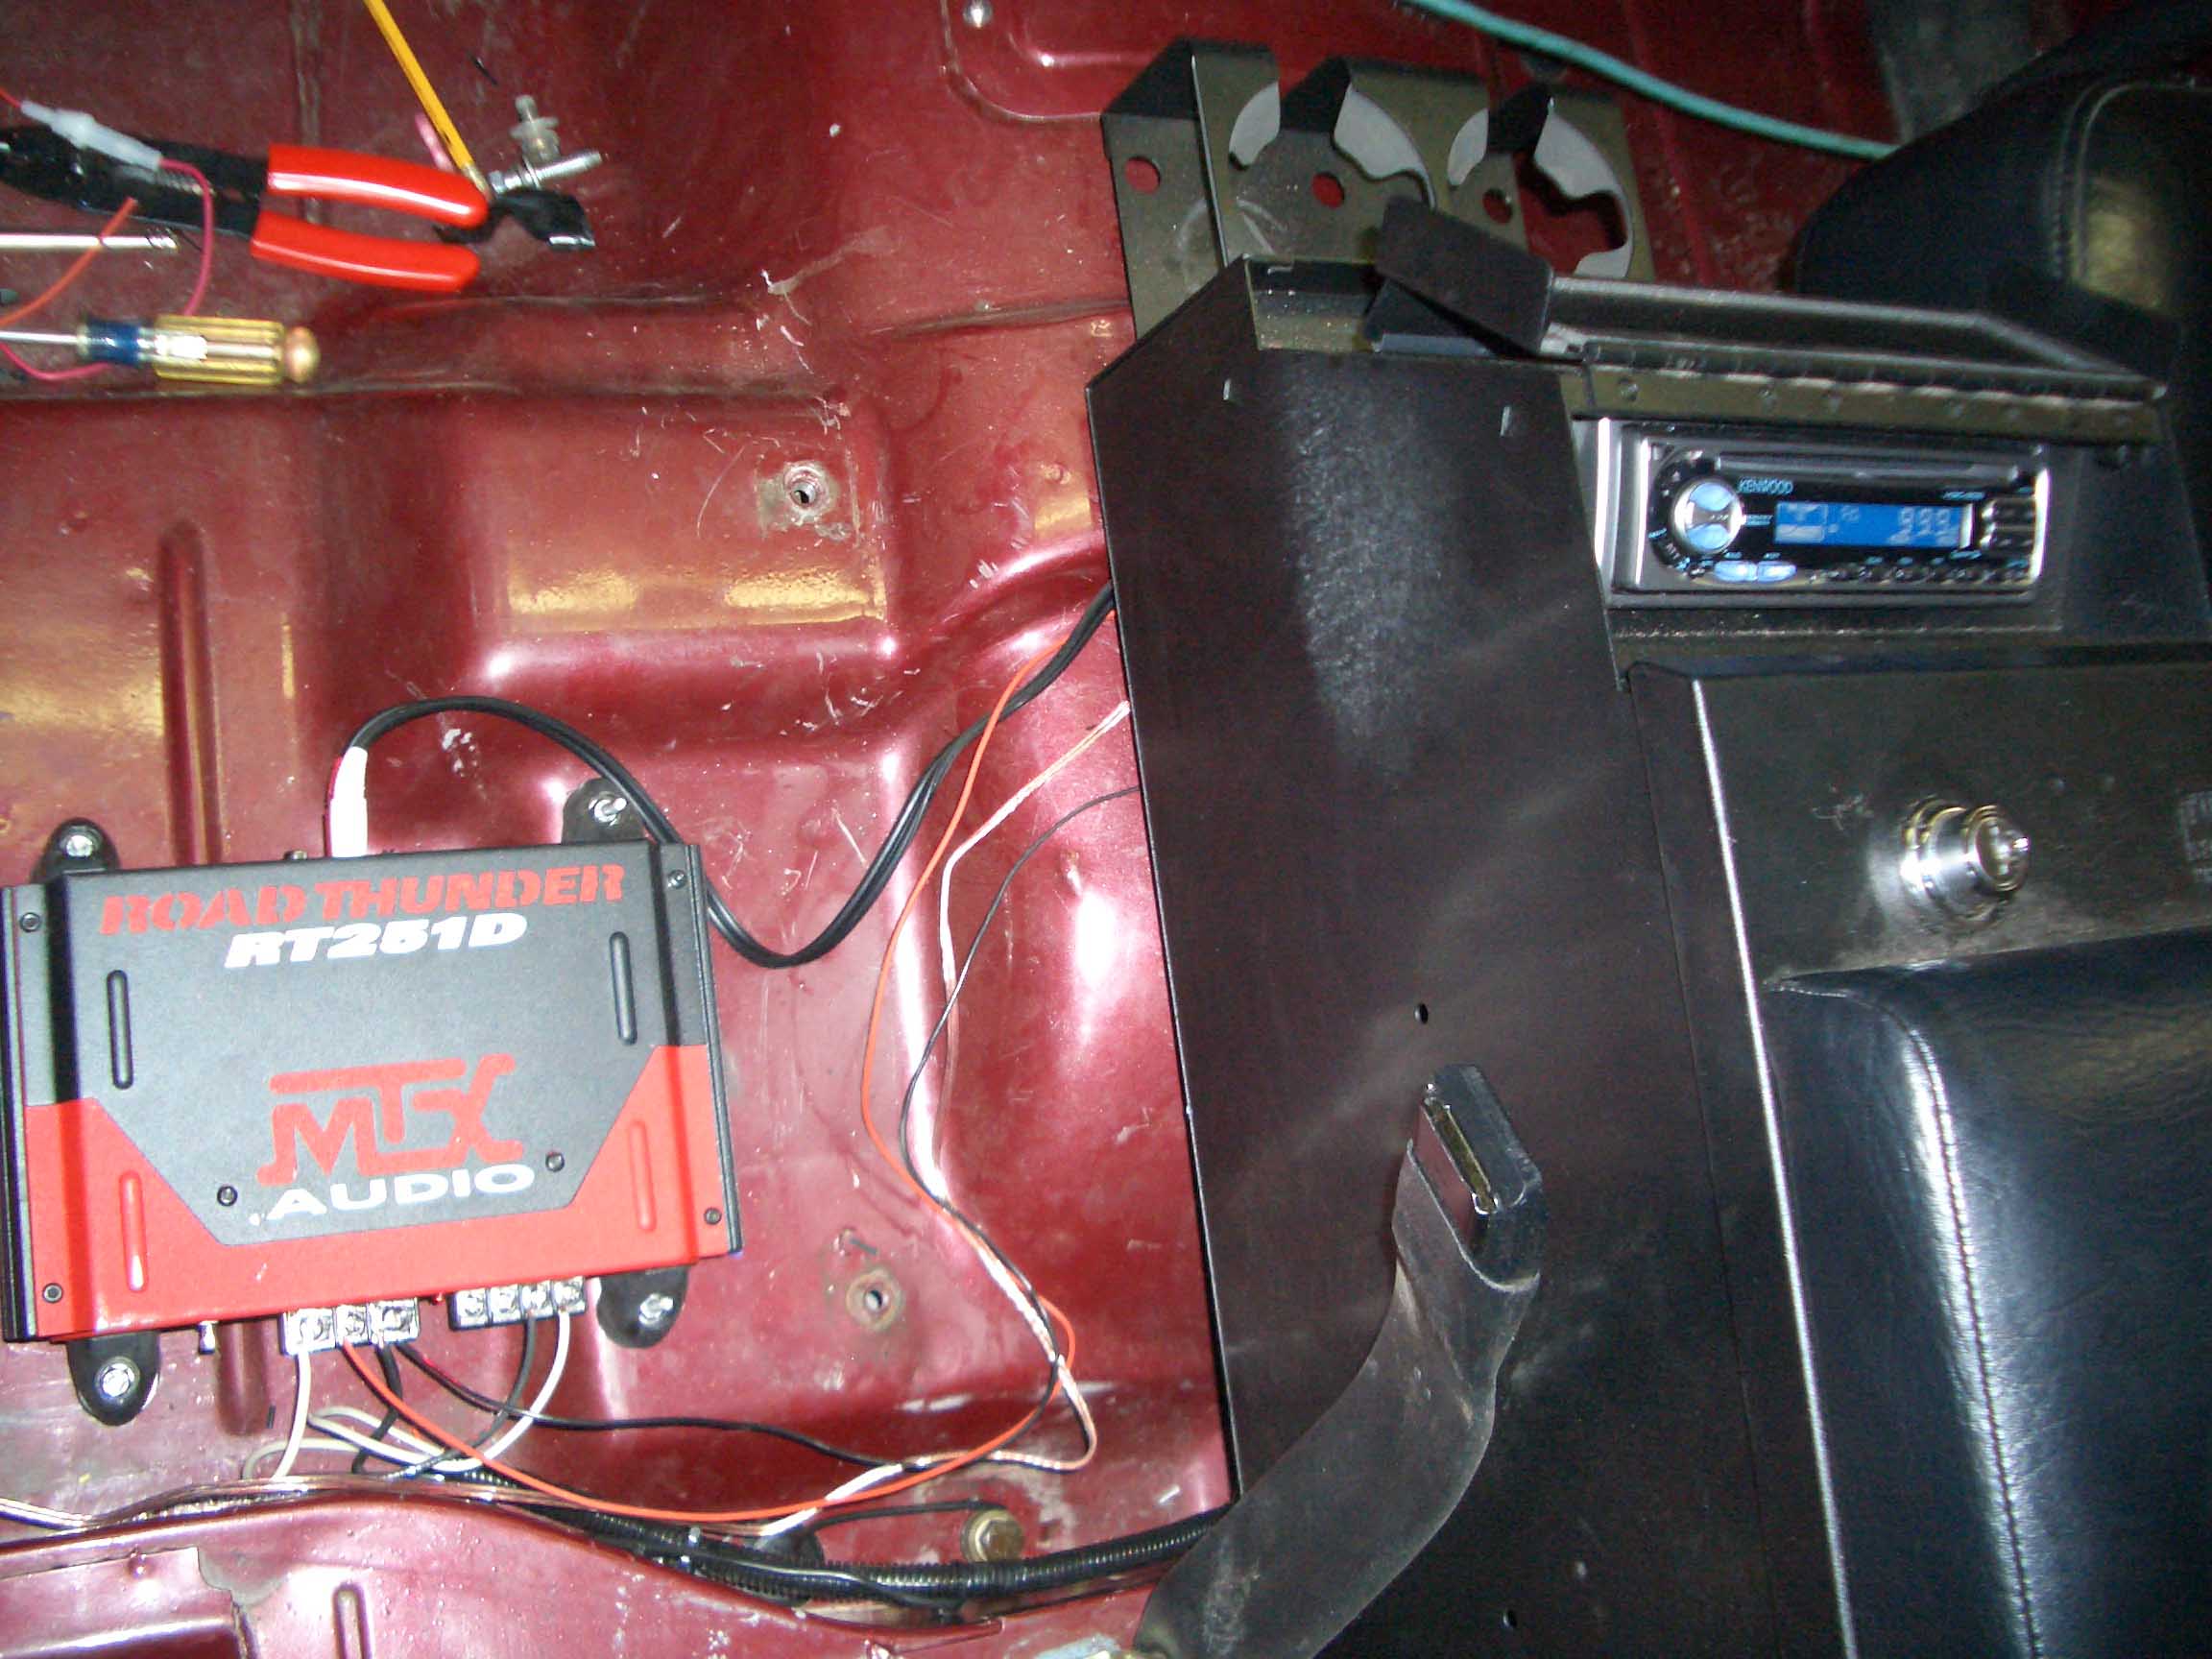
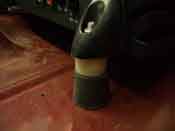
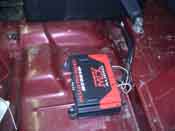
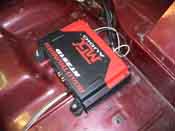
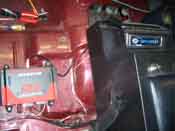
| Under the front driver's seat was chosen as the place to mount the amp and when
the Jeep is put through it's paces, water and debris can get up under there. So, to take precautions, the amplifier
was mounted on rubber stoppers to get it off the floor and allow for moisture to gather underneath it without
affecting the performance of the amplifier itself. This makes for a nice clean installation and allows for
the elements to get under the seat without shorting out the amplifier.
|
| |
|
|
| |
| Four holes were drilled to mount the amplifier and the rubber mounting boots
were drilled out to allow for the bolts to pass through them. With the seat out, this makes for a lot easier
mounting. The amplifier was mounted and then the wiring situation was attacked next.
|
| |
|
|
| |
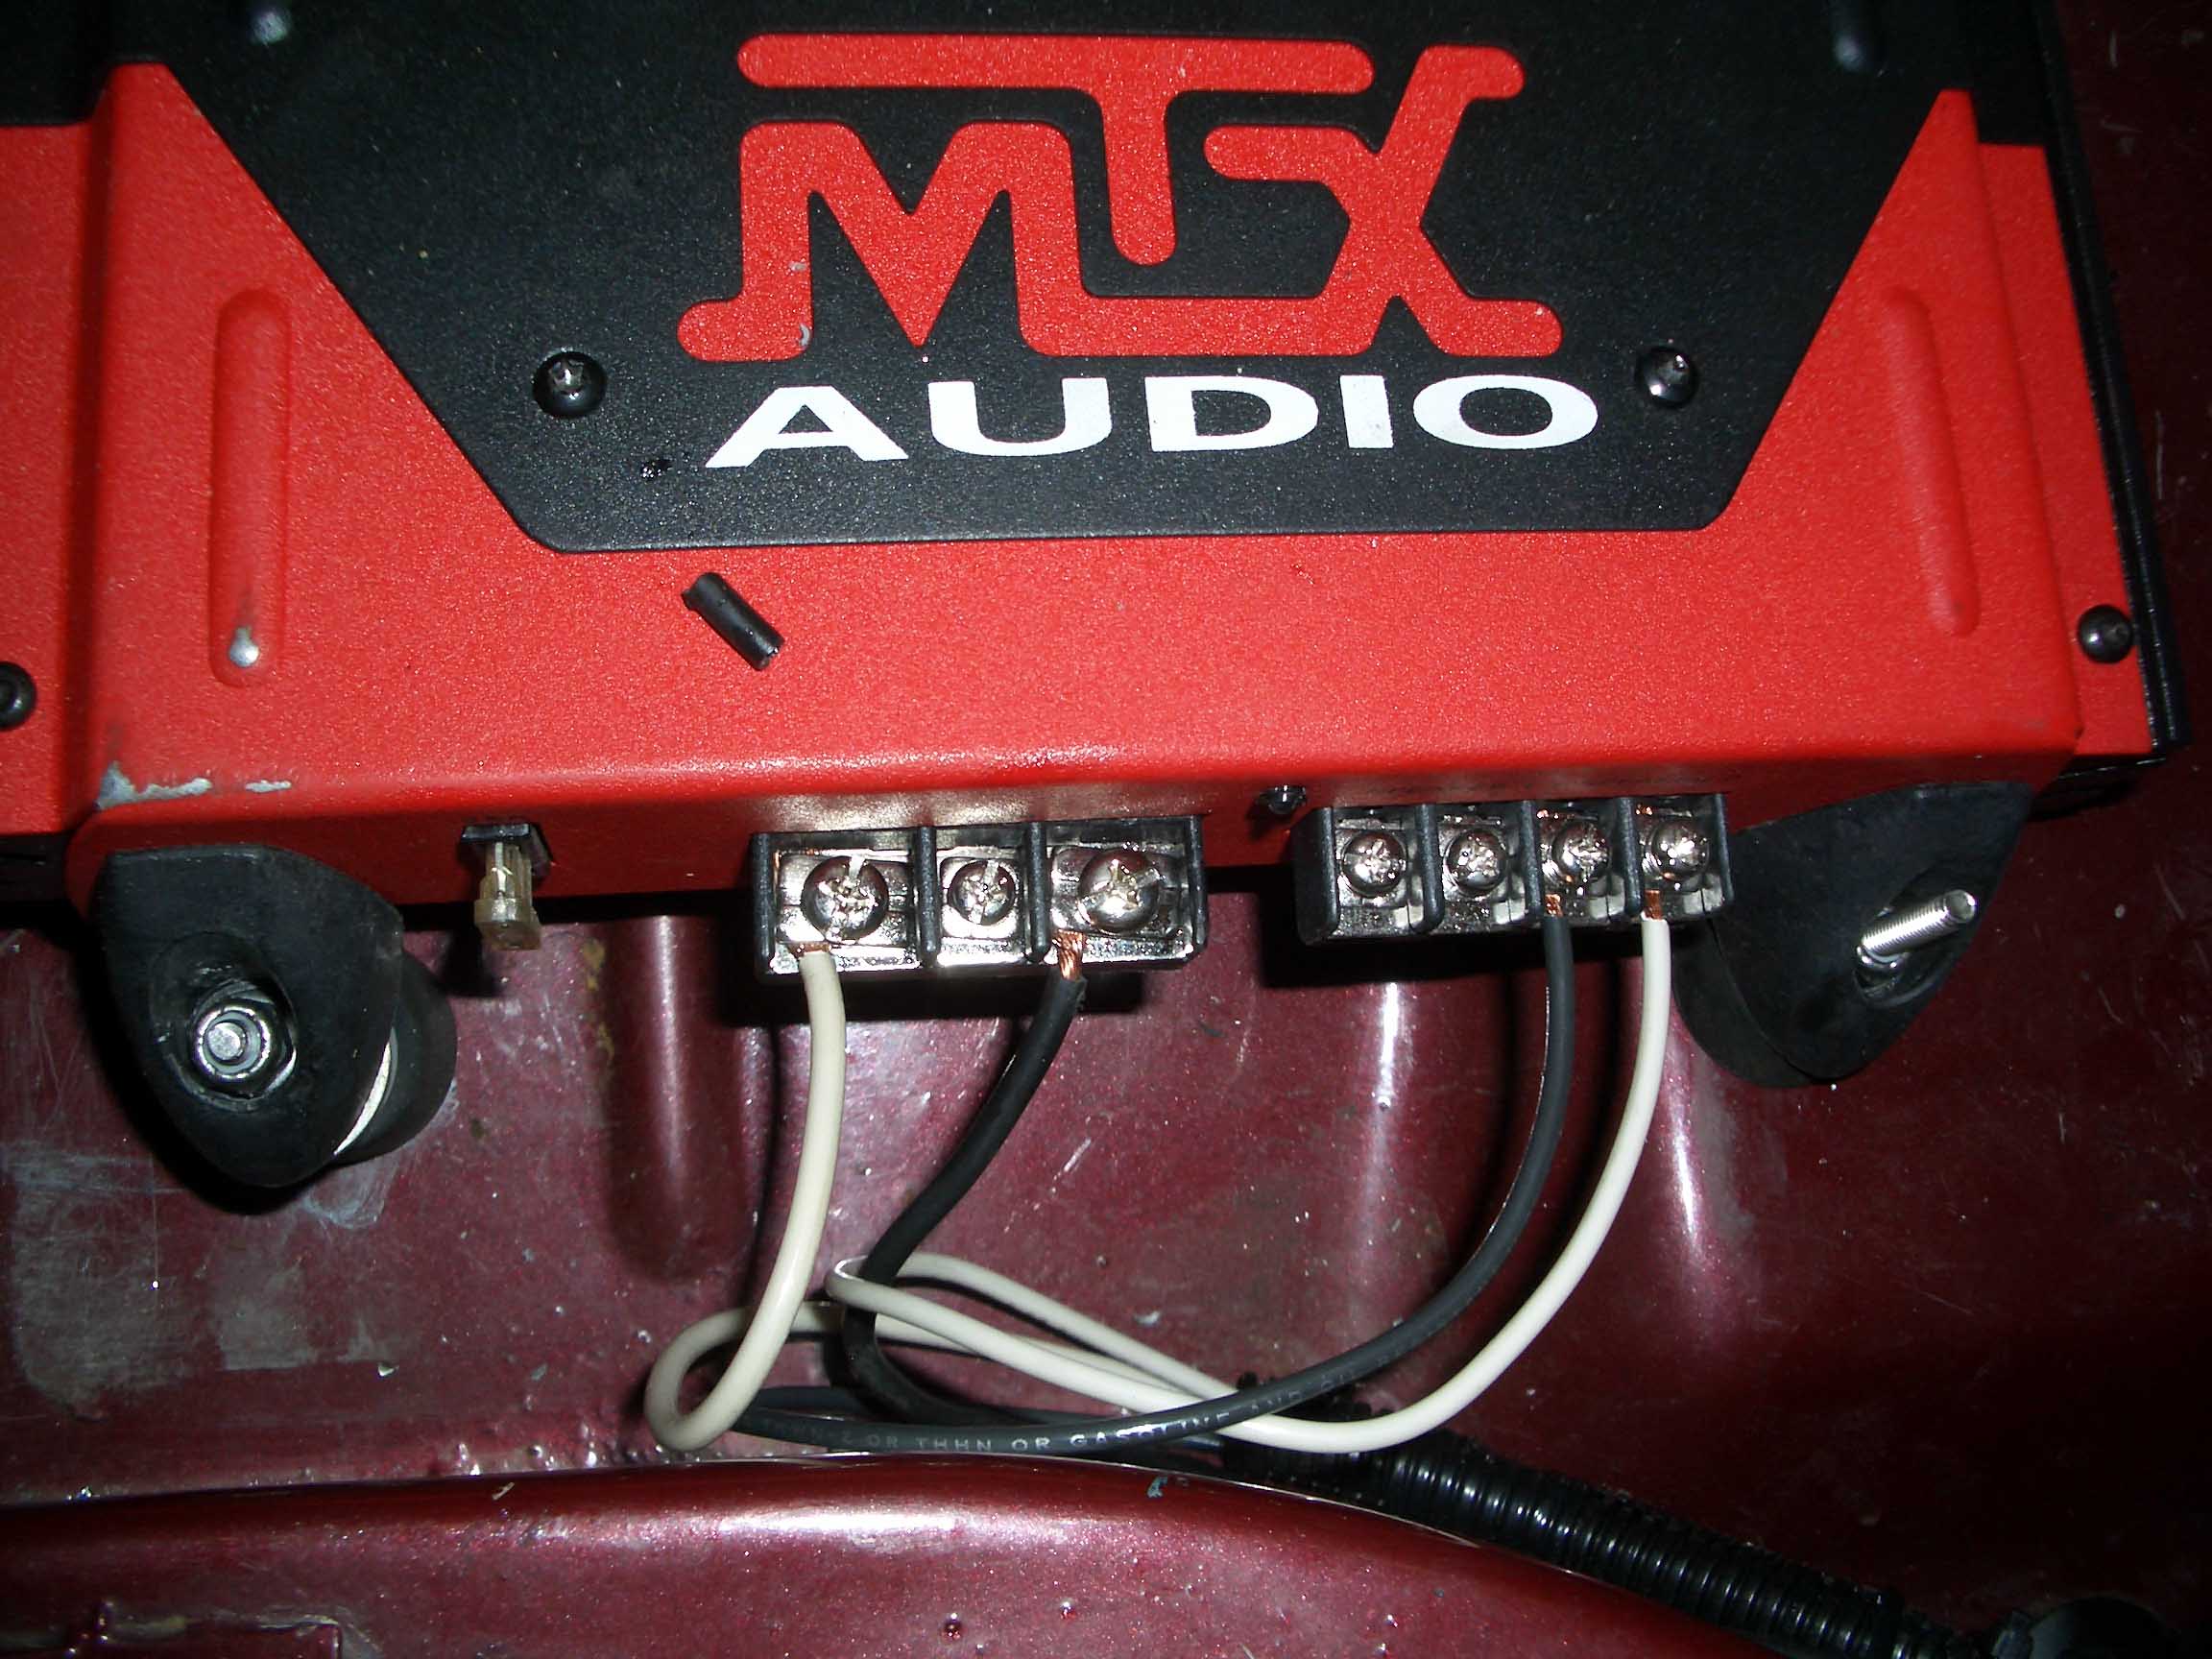
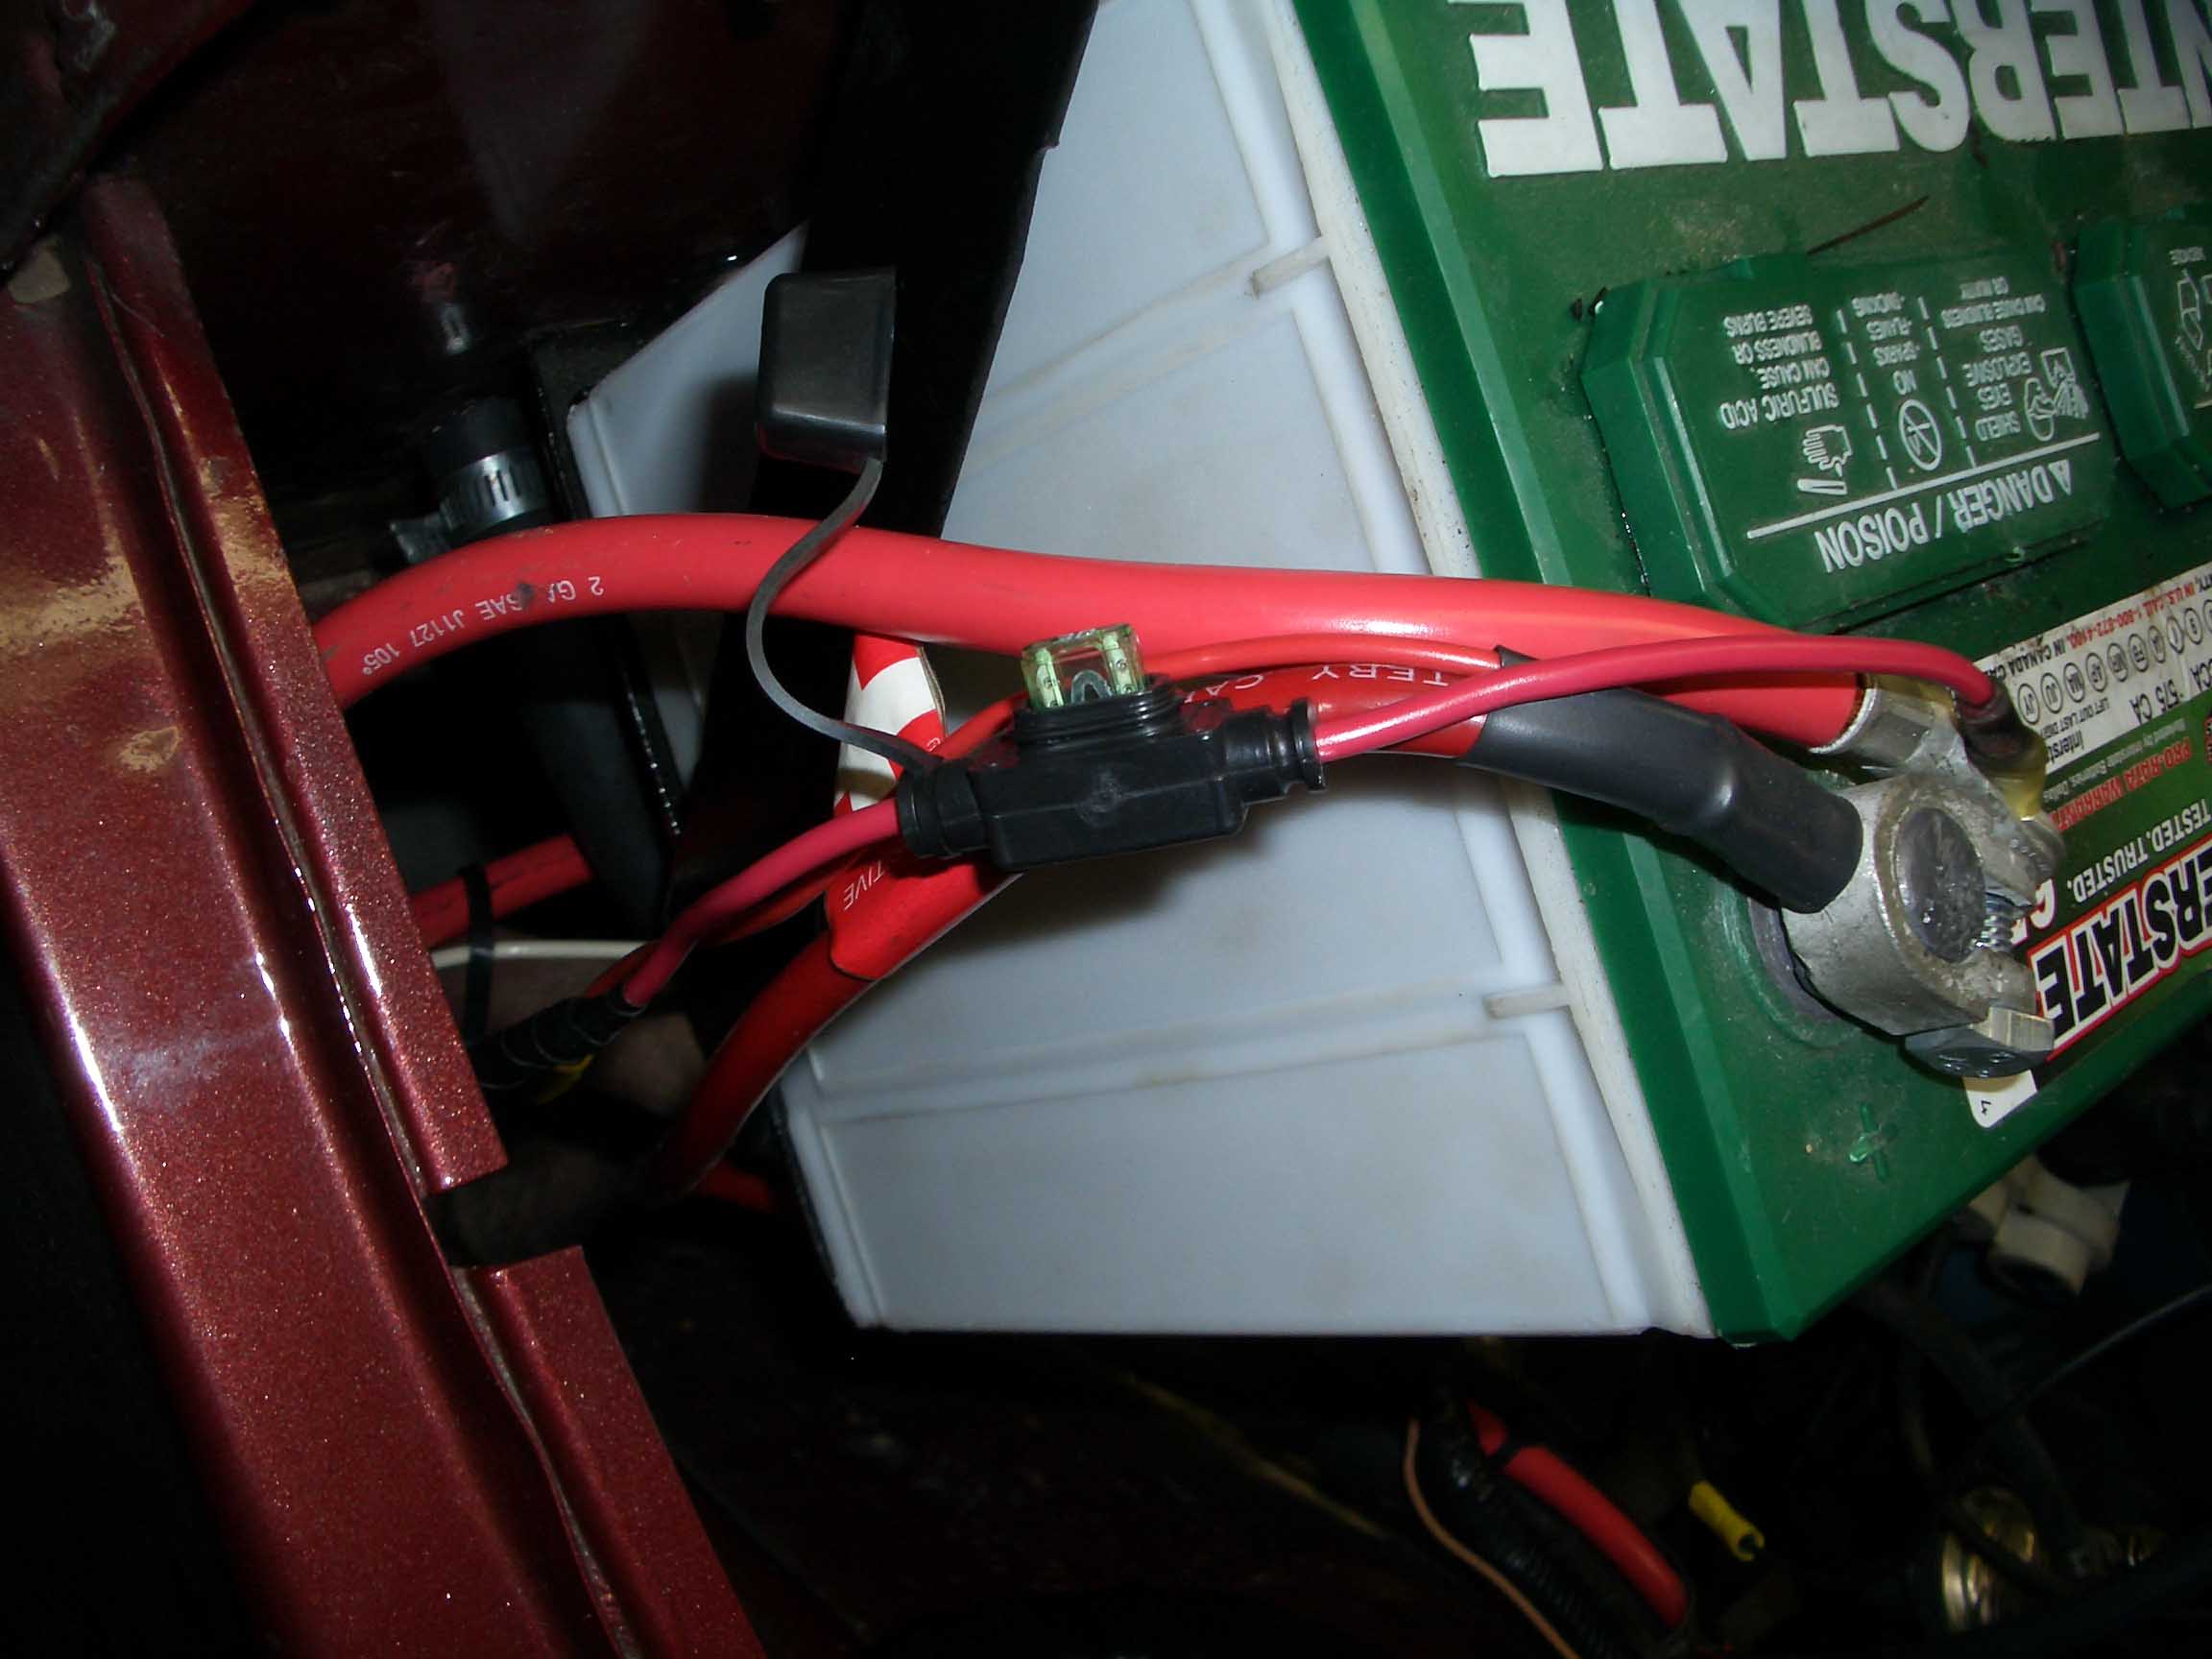
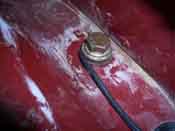
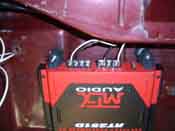
| To run an amplifier, you need 3 things. First is constant power, ground, and
finally a remote turn on that allows the amplifier to be turned on when the Jeep is started. Kenwood had a wire
in the harness from the radio to activate the internal solinoid in the amplifier, thus turning the constant
supplied power on. The rest of the wires were taken from the battery for constant power, a switched source that
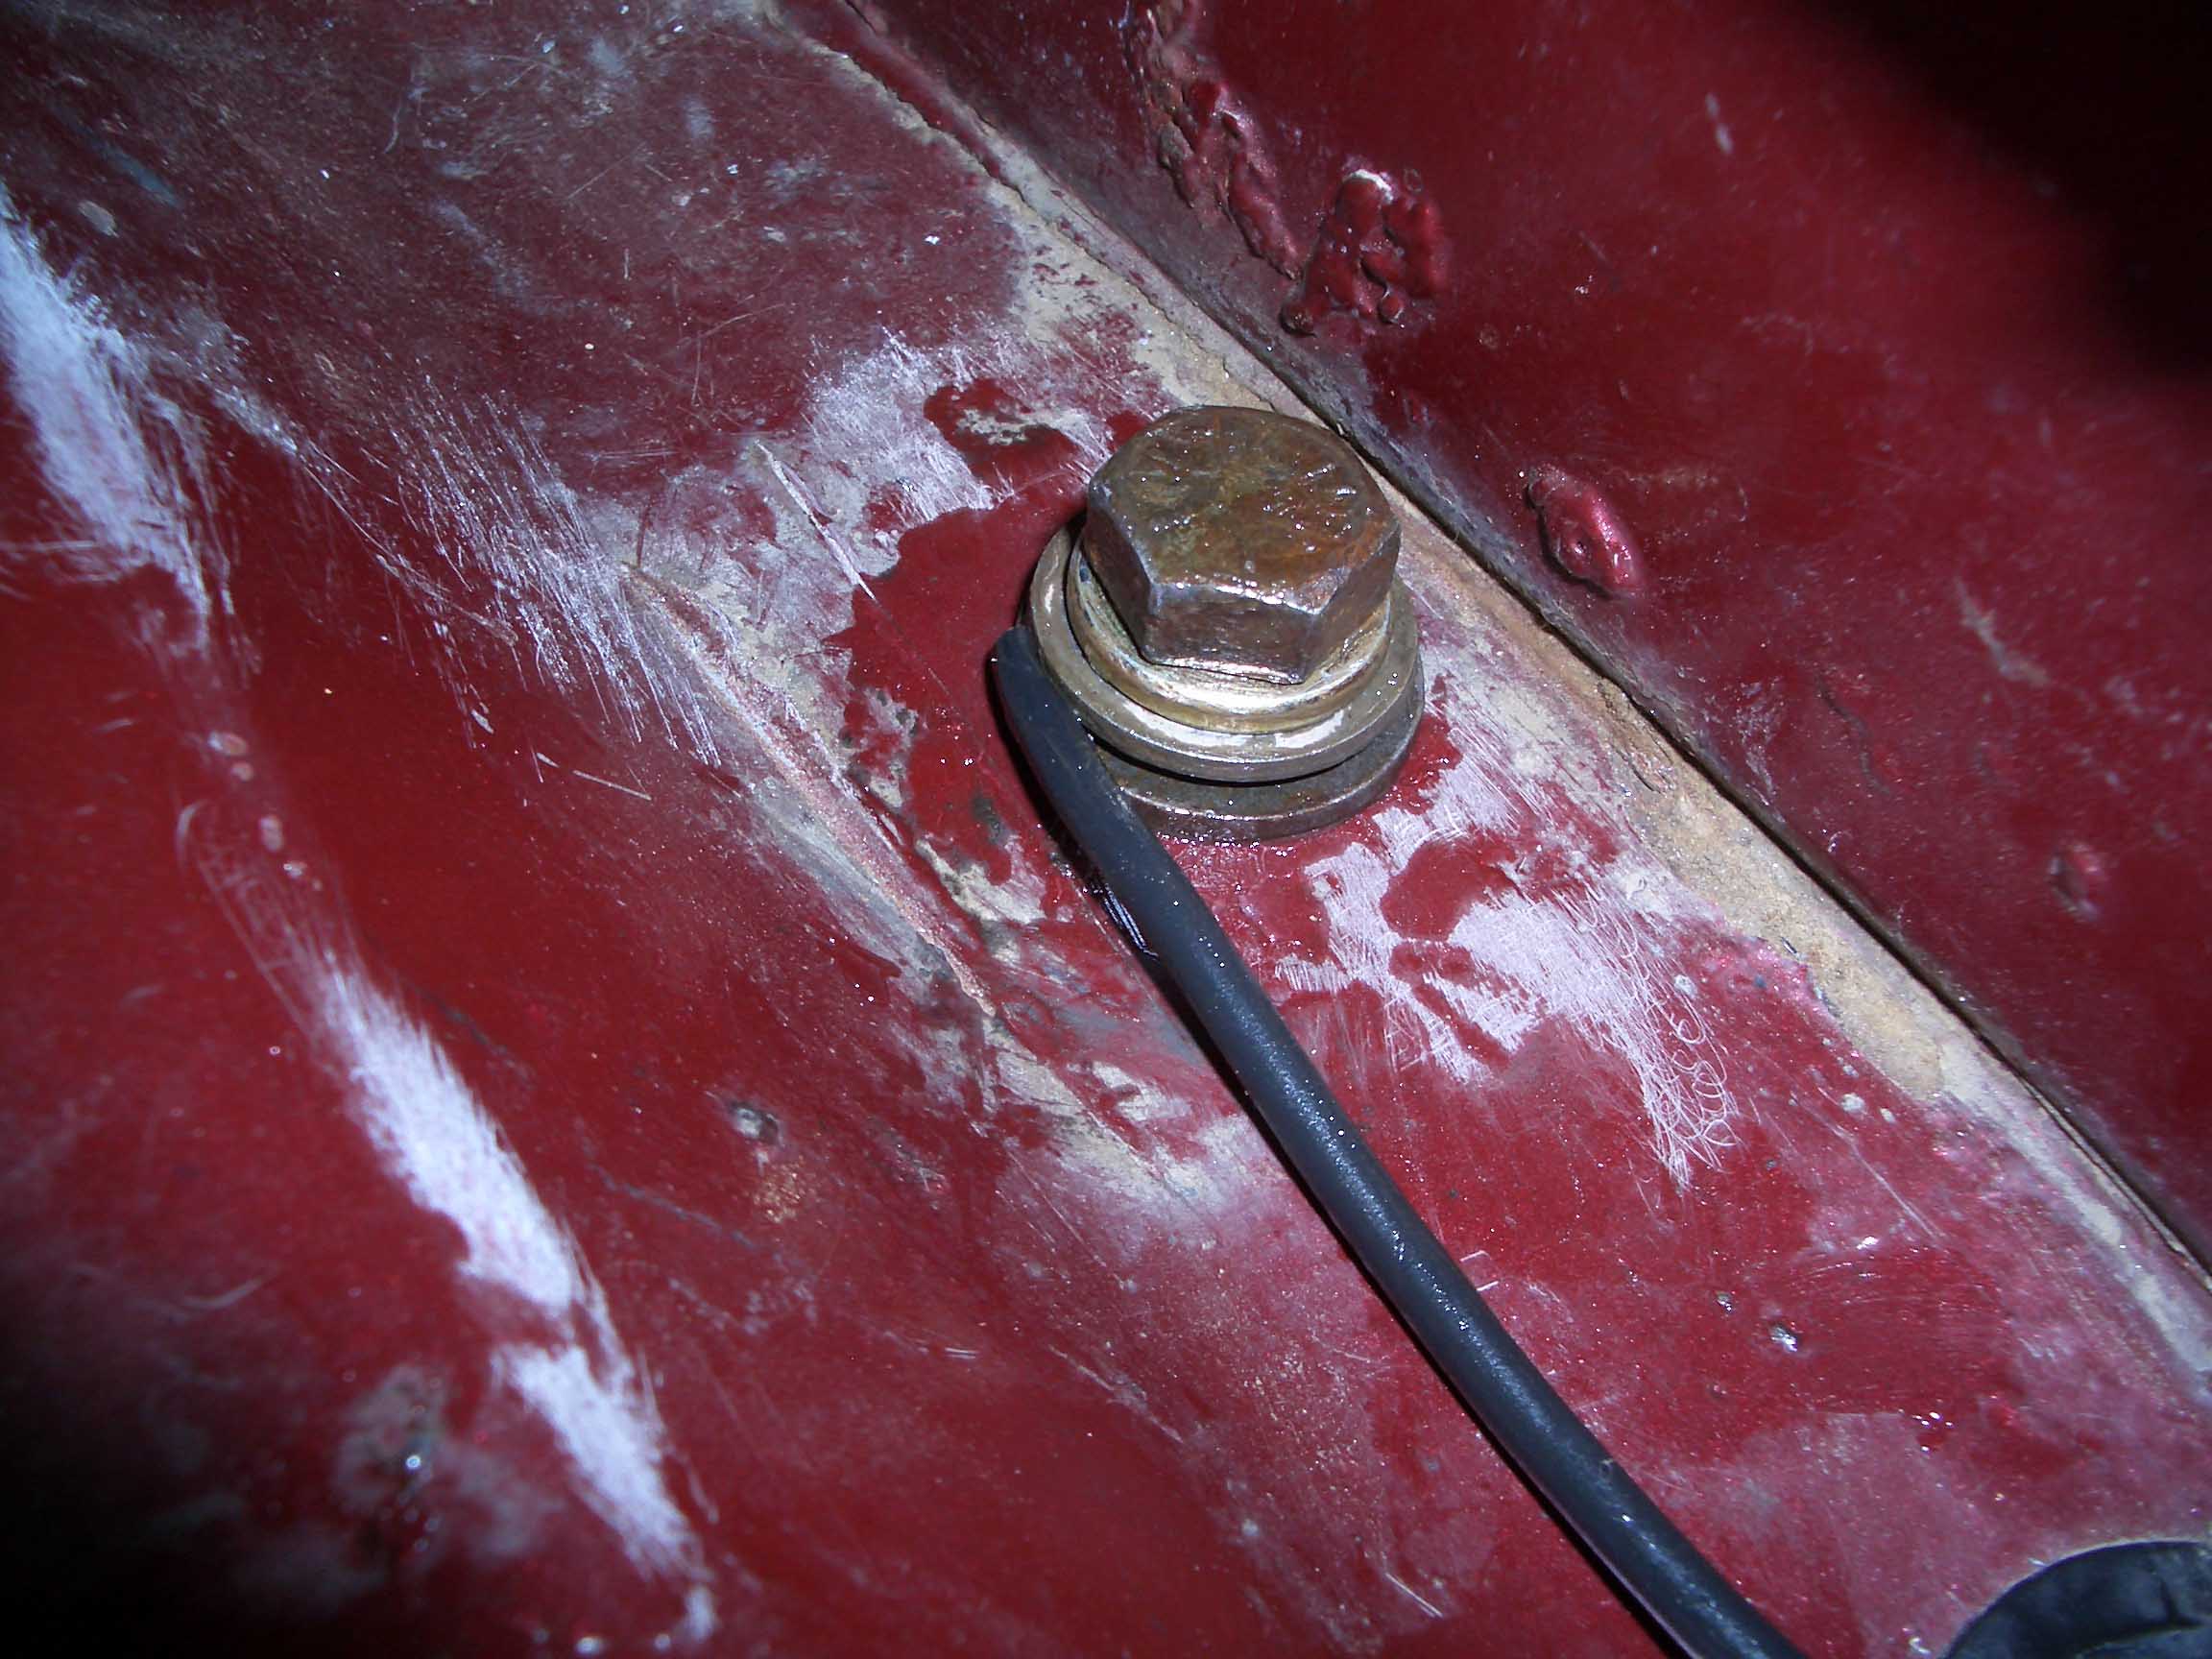
comes from the painless wiring harness for the stereo, and finally the ground was run to an area close to the
amplifier and went through the body to use as the ground.
|
| |
|

|
| |
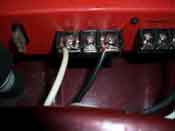
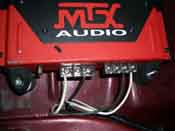
| Finally, the last two items are on the other side of the amplifier. The output
is hooked up to run the speakers and the input is hooked up with RCA cables from the stereo to run the amplifier
to power the subwoofer(s). The output of the stereo goes to the input of the amplifier for the RCA hookups.
|
| |

|
|
| |
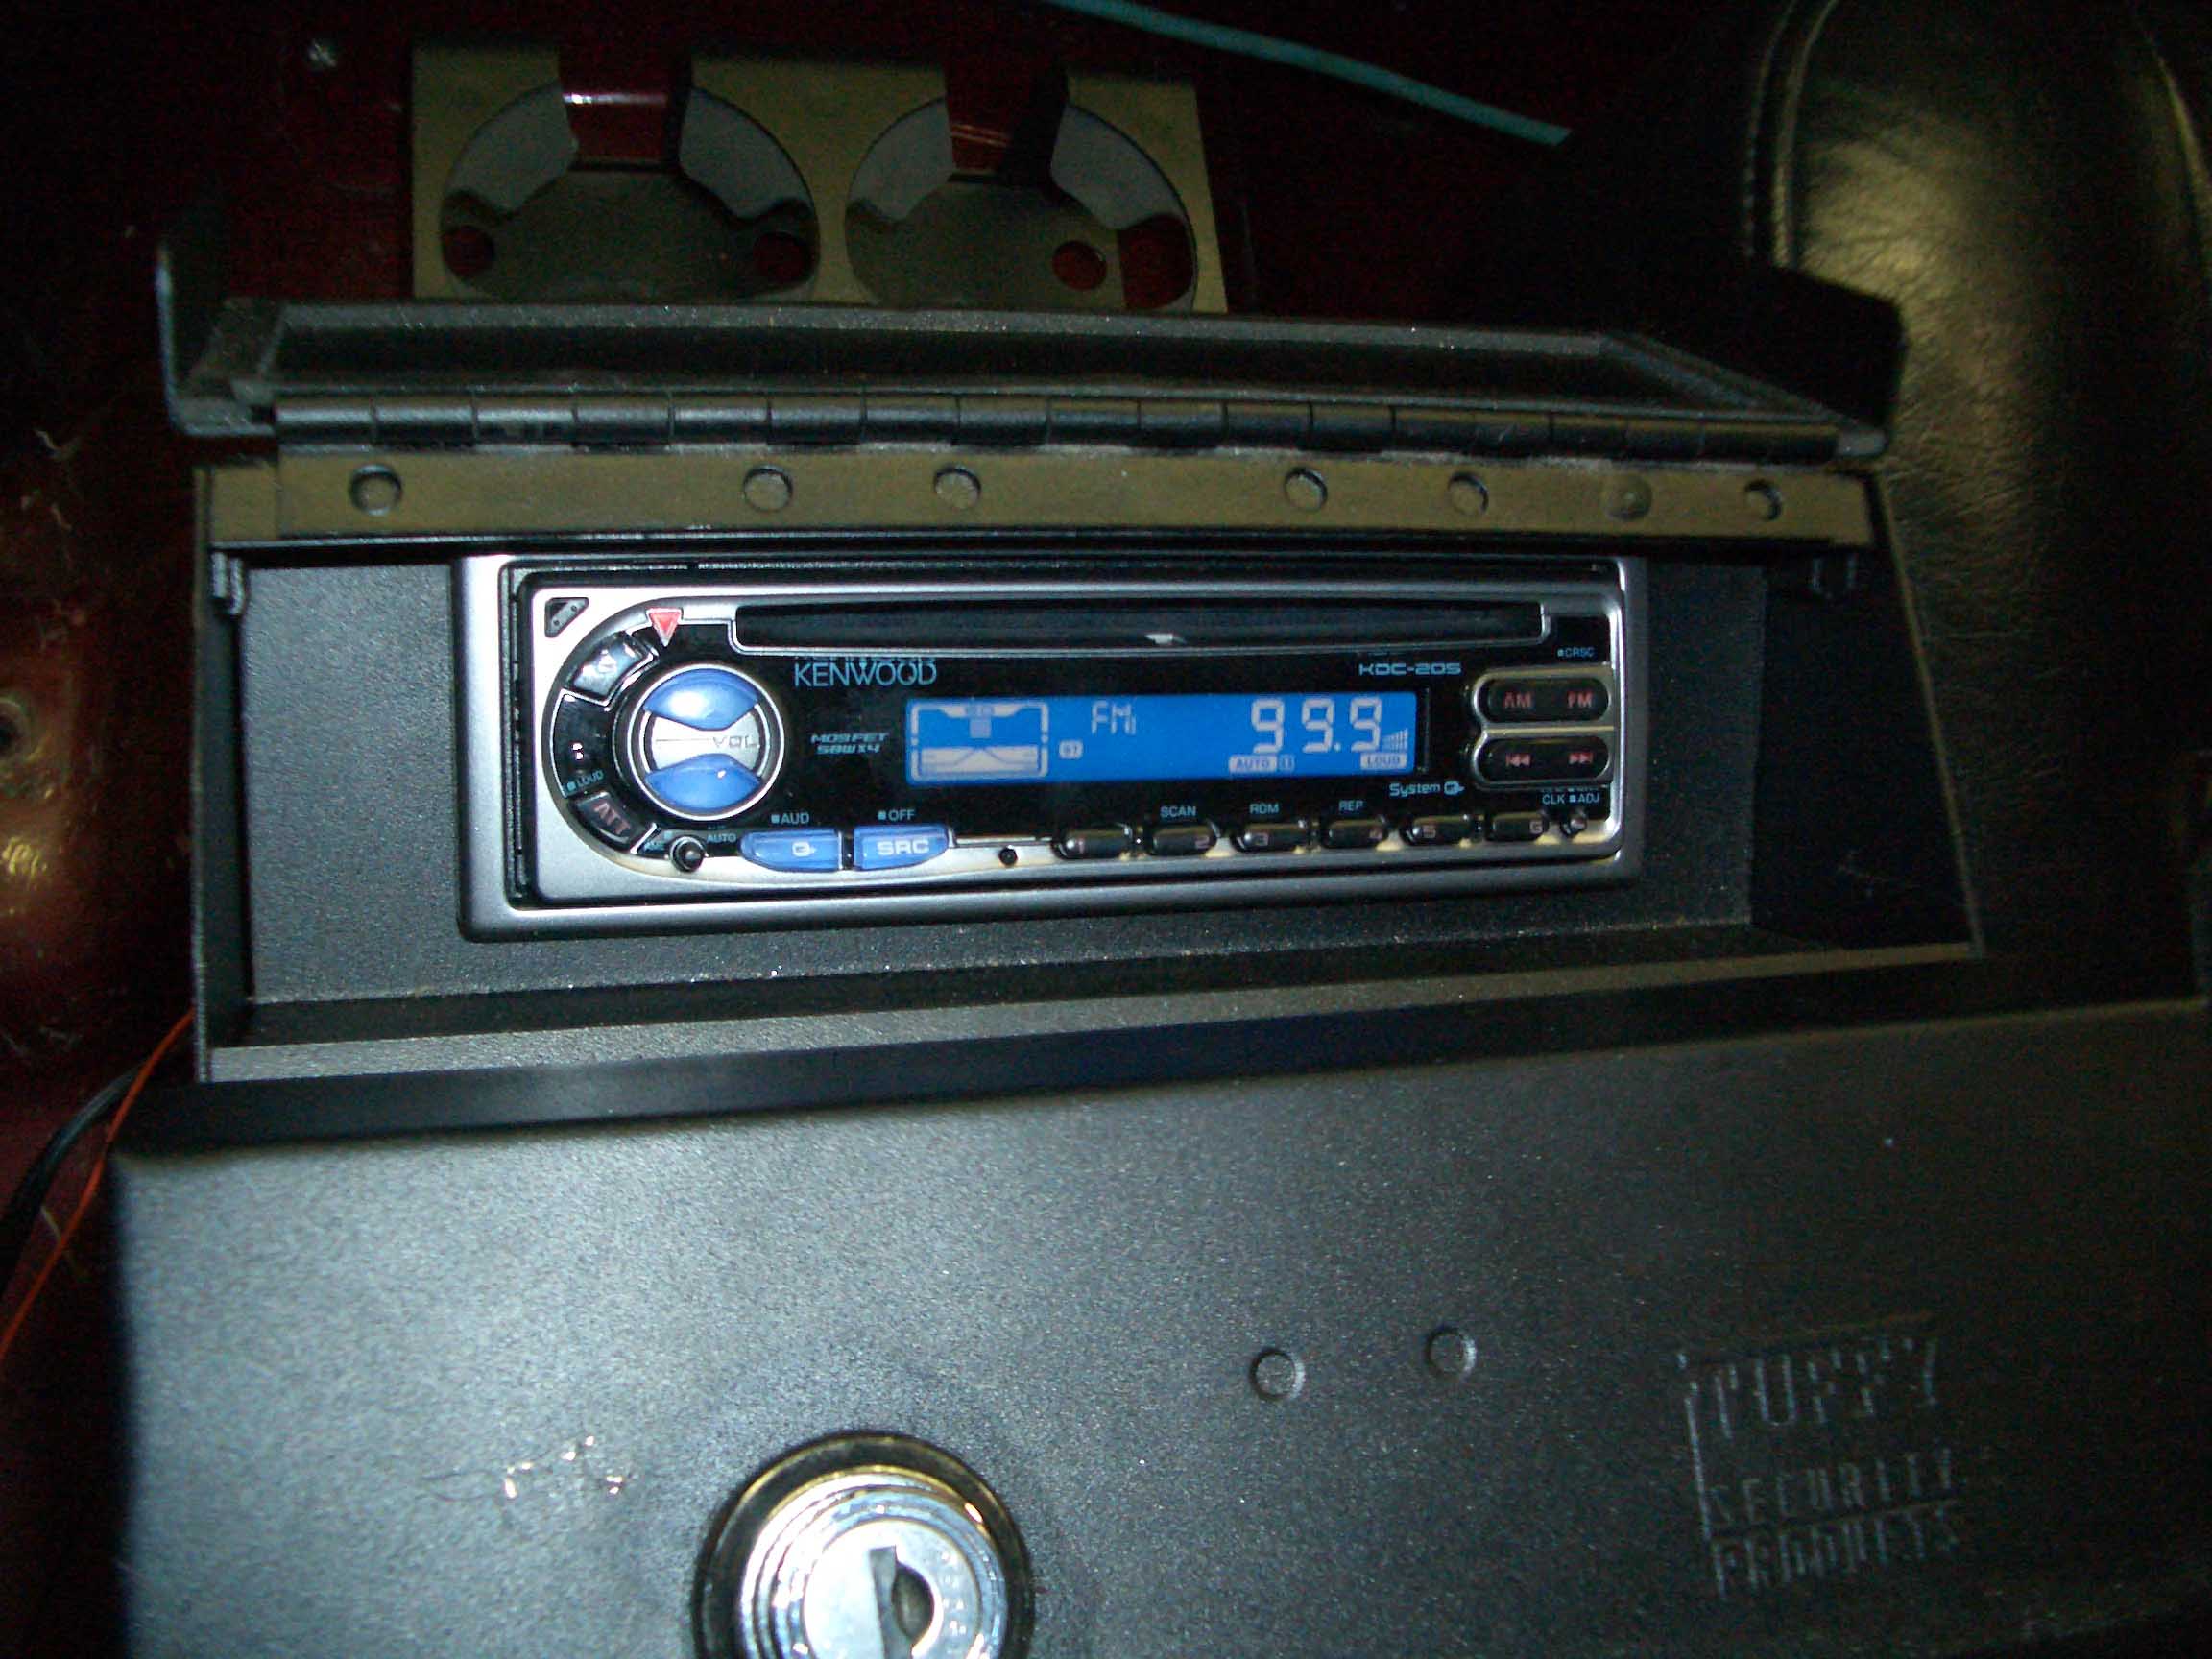
| With that all hooked up, the amplifier section was done and the audio upgrade turned
to the head unit. This was inside the Tuffy Security Center Console and all the wiring hookups will be shown in
another write-up when there is time and some pictures are added.
|
| |
| Lessons Learned the Hard Way |
| |
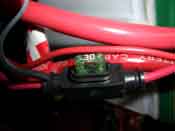
| So, my lessons learned here would have to be that you want to make sure there is
adequate clearance under the amplifier, but you don't mount it too high that you won't be able to put the seat
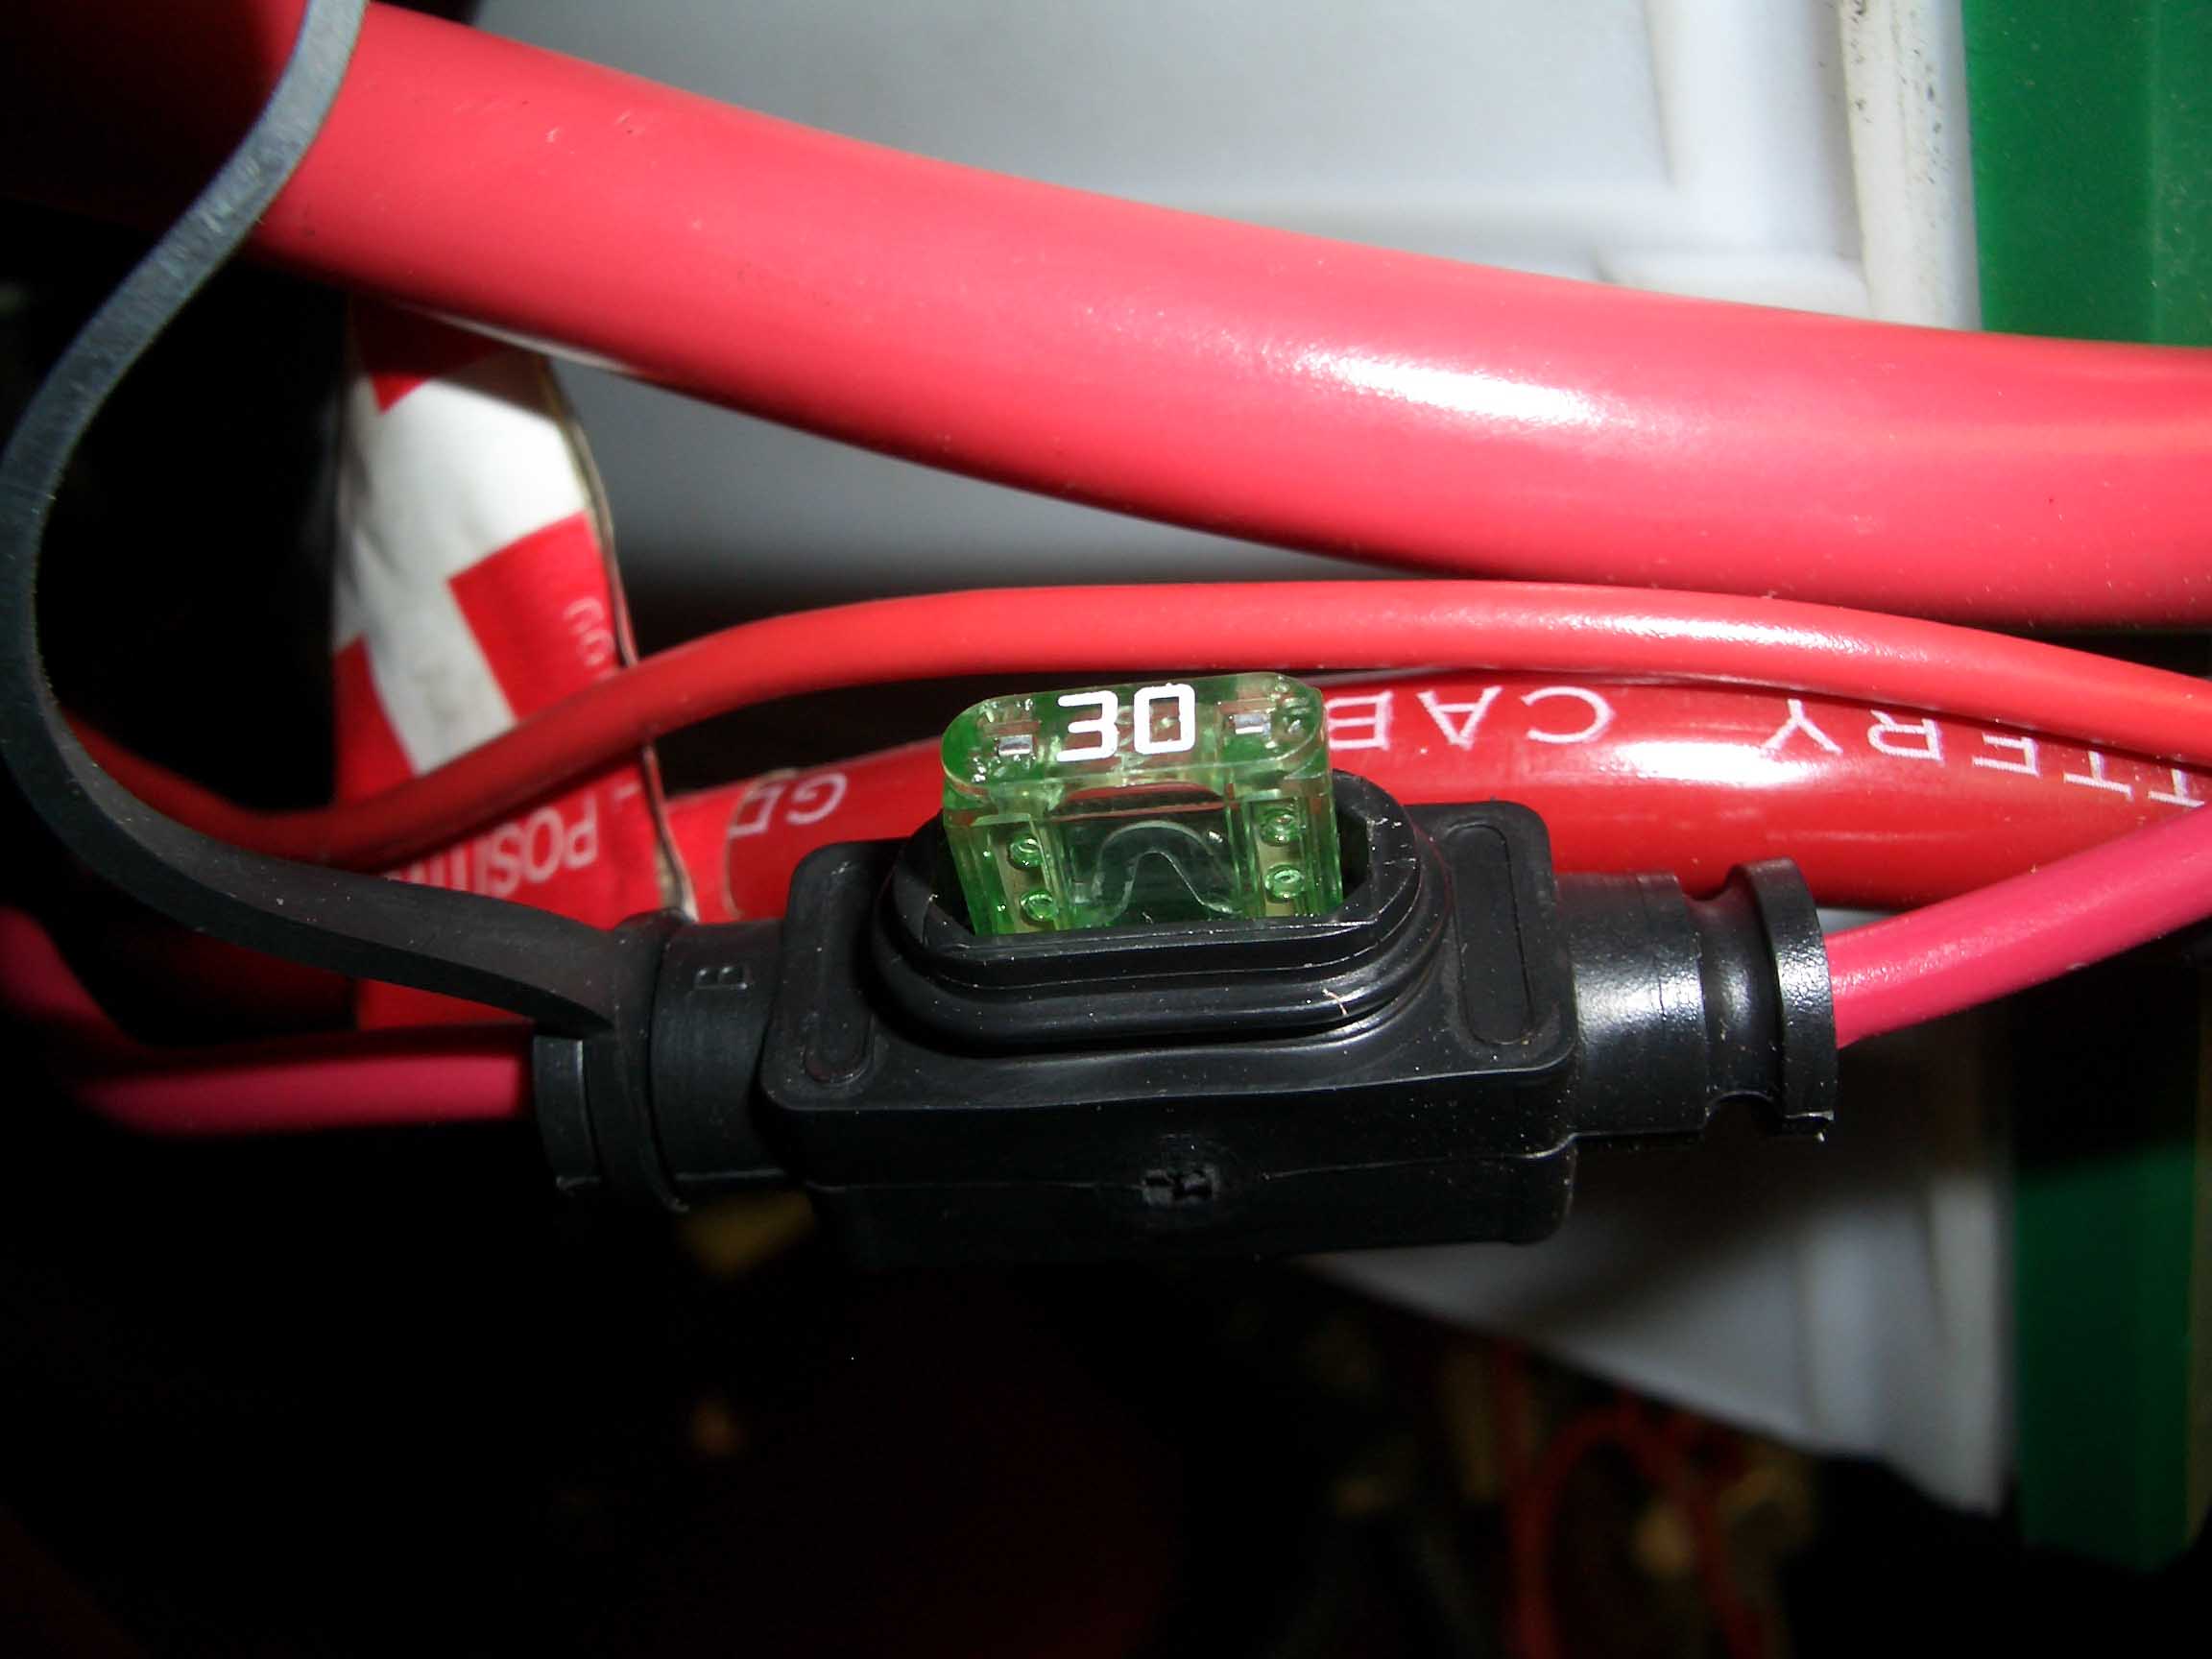
back in. Aside from this, make sure that you have a fuse in-line with the amplifier so it blows out instead of
blowing up the amplifier. This can be obtained in an amplifier wiring kit at any stereo store.
|
| |
| Conclusions |
| |
This is a fairly involved process that takes a lot of preparation work as well as
money and time to put all the pieces in together. If you have all the pieces upfront, it will make the installation
go a lot smoother. If you plan on doing everything here, it will be costly, but the end rewards will allow you to
go deaf a lot sooner then aging would normally allow.
NOTE: Thanks to Frank Schaub for the write-up notes and pictures on this. It made making the page all
that much easier.
|