|
|
| New Authentic Mopar Tailgate Installation |
| |
After driving the Jeep around for about a year, it was decided to go in a new direction.
As with all projects, you see things you like and others that you don't. The one thing that I didn't care for too much
was the fact that the CJ-5 project Jeep had the spare tire in the rear of the Jeep on an angled
Bed Mounted Spare Tire Carrier.
Although this looked pretty trick and cool, it left a lot to be desired in the way of storage, so we decided to get
a spare tire carrier that would swing away from the Jeep and allow for the back of the Jeep to have a cooler or tools
in it. With the addition of the tailgate, the hi-lift jack was going to have to be relocated. I saw a pretty trick
Swing-Out Bumper on eBay and that is
the way we are going to round out this upgrade.
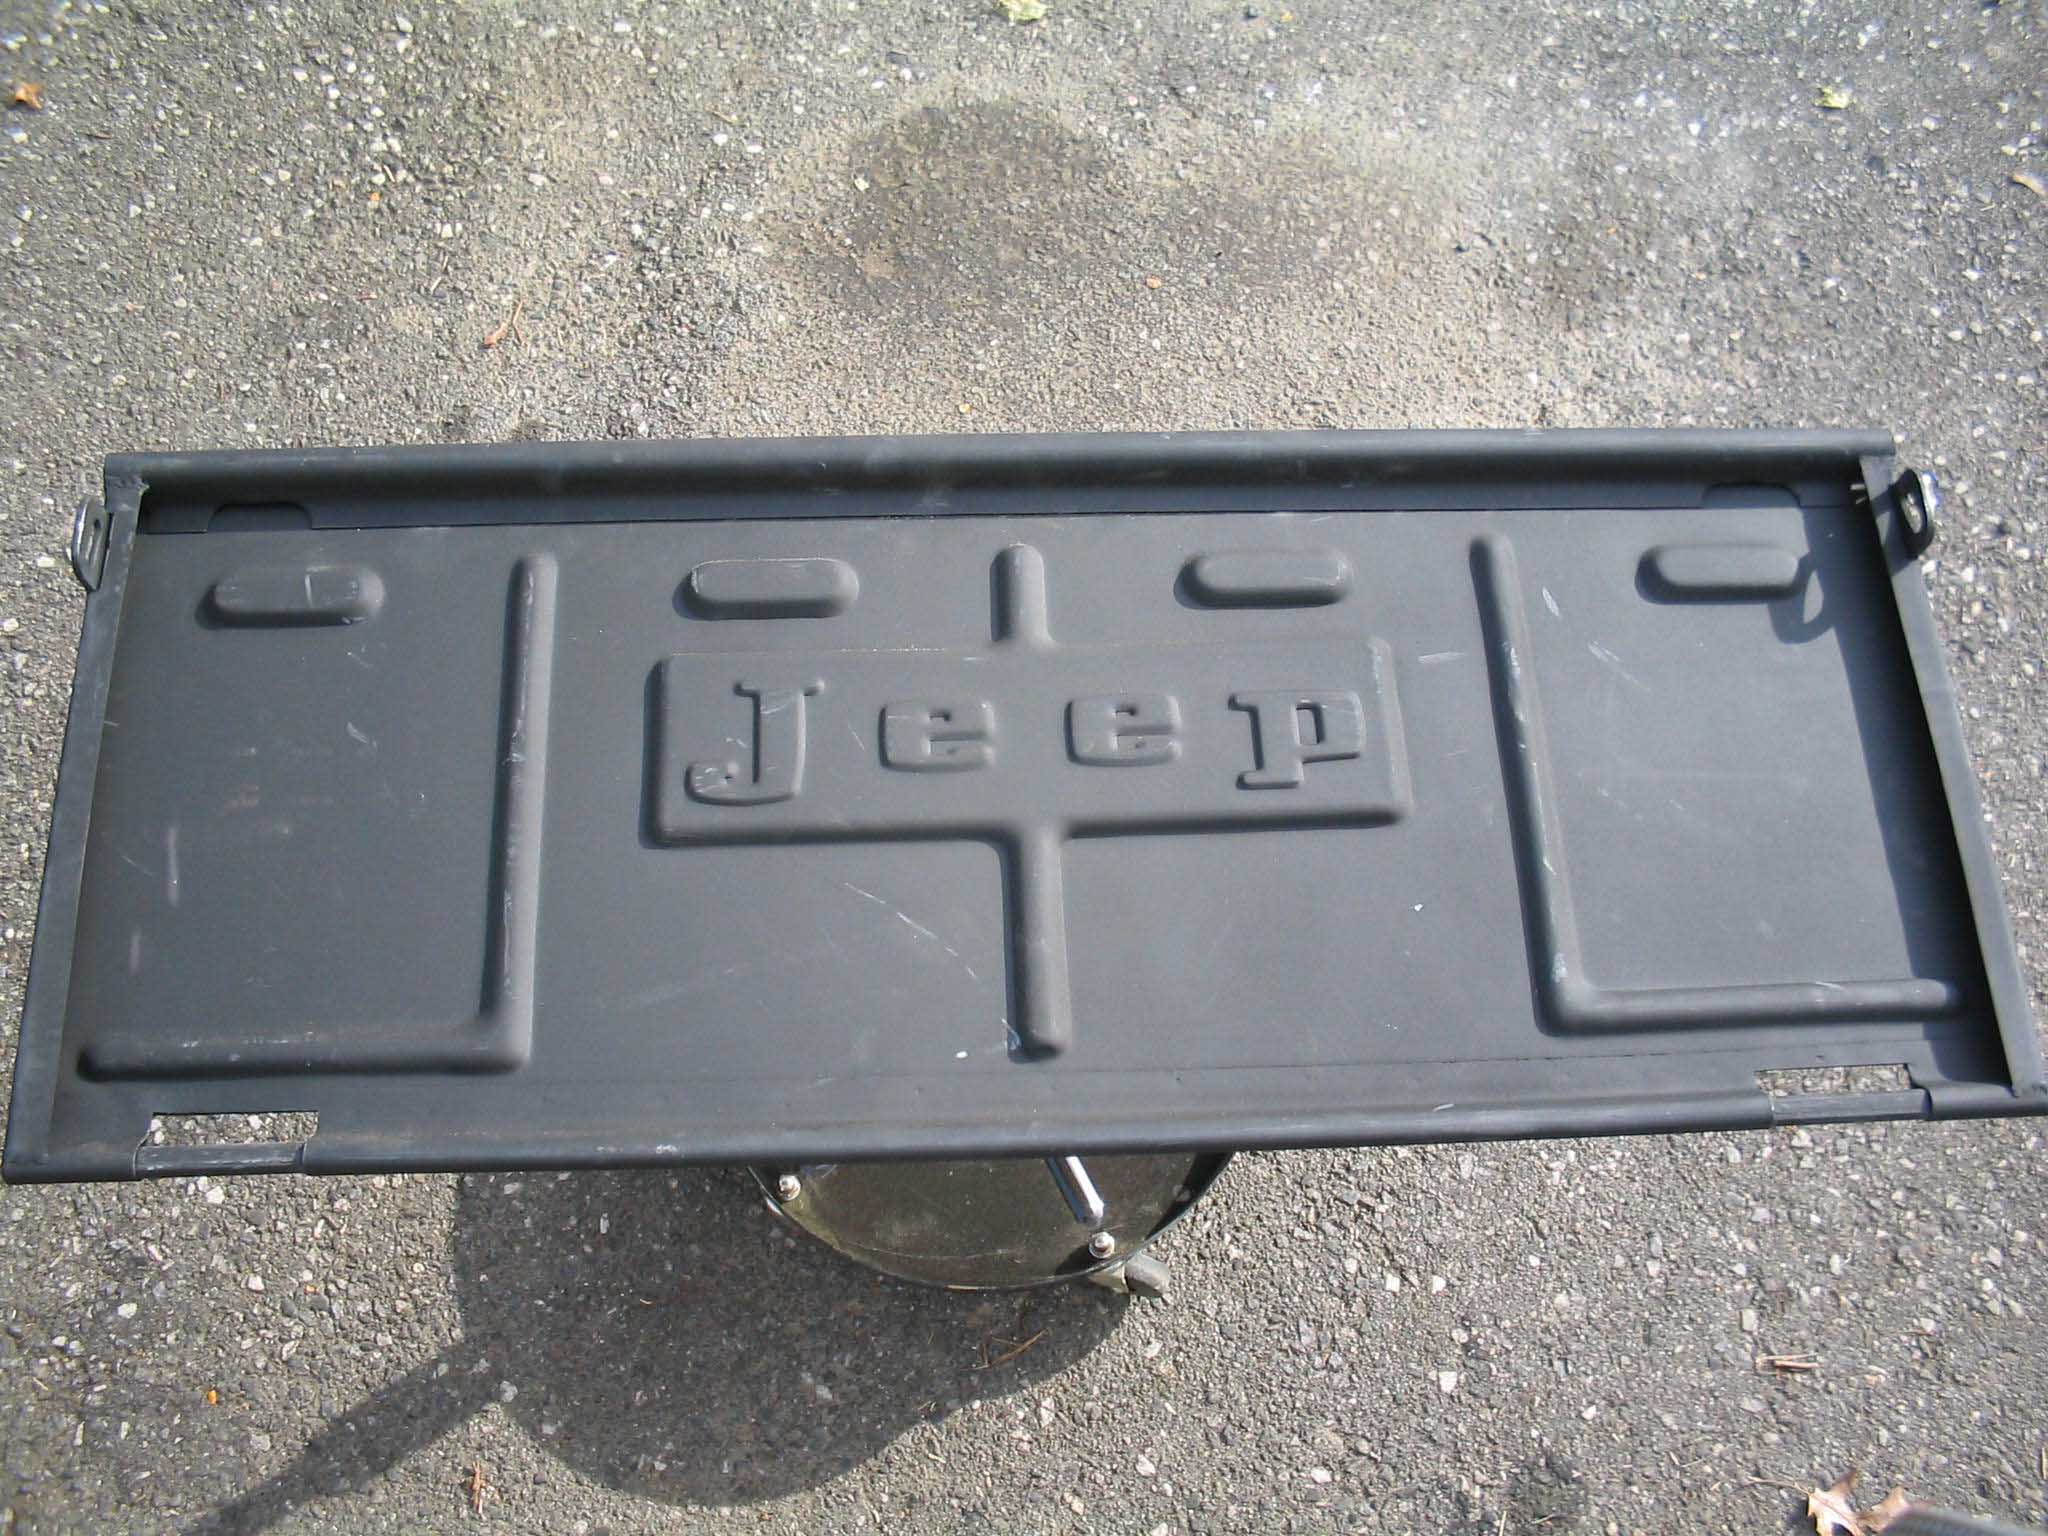
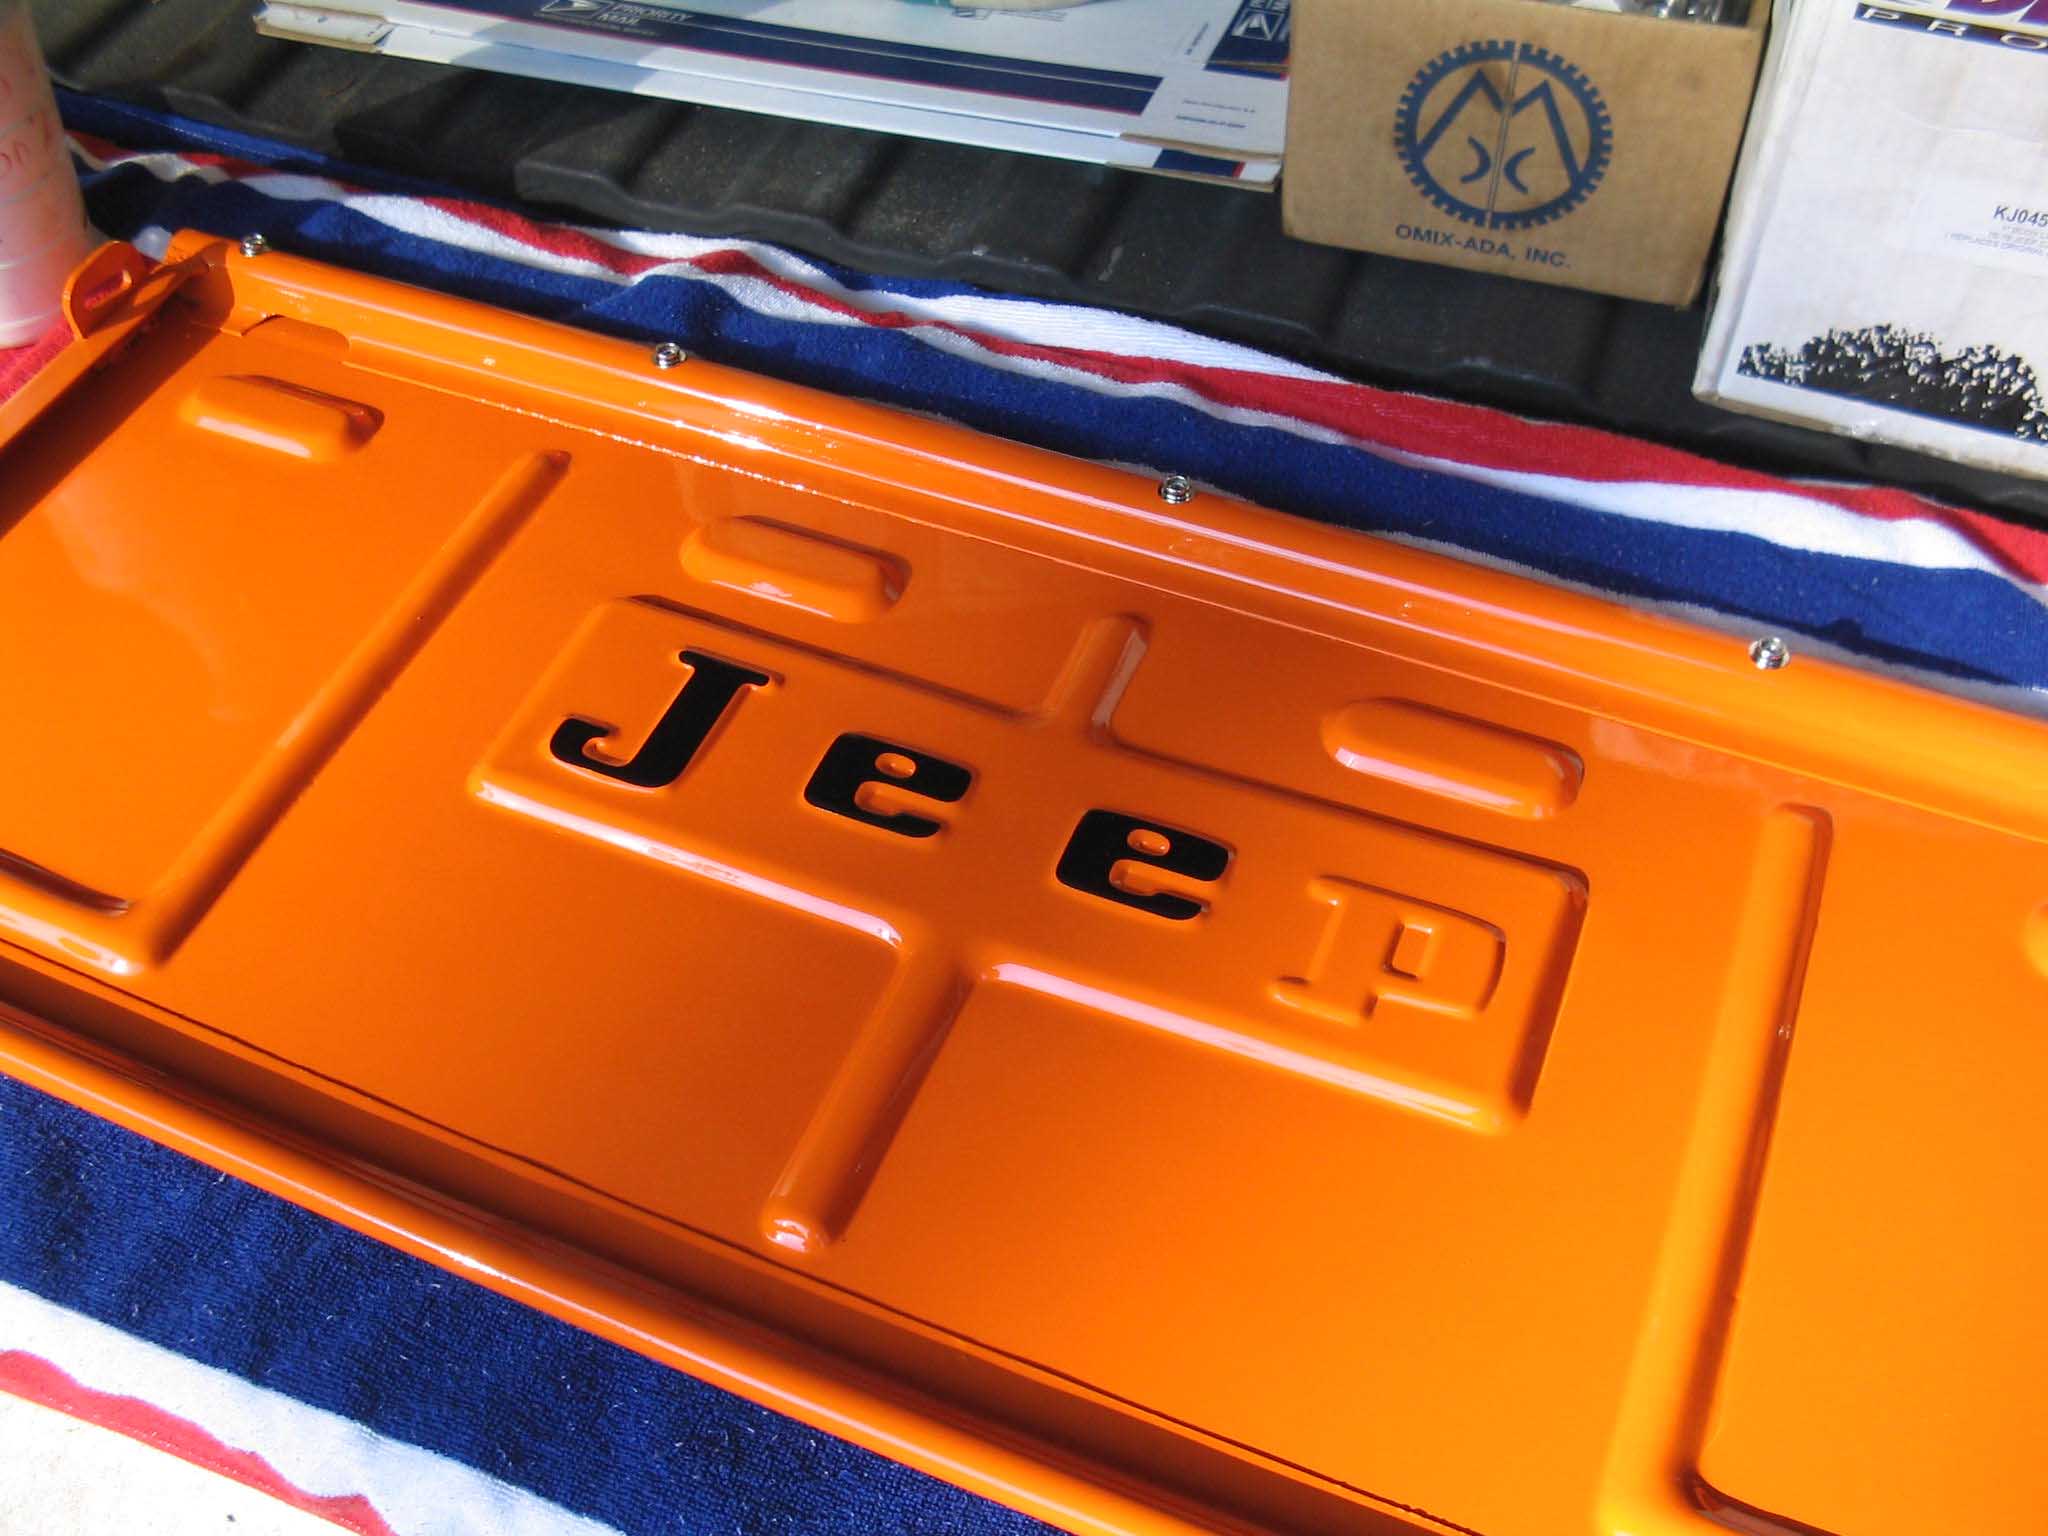
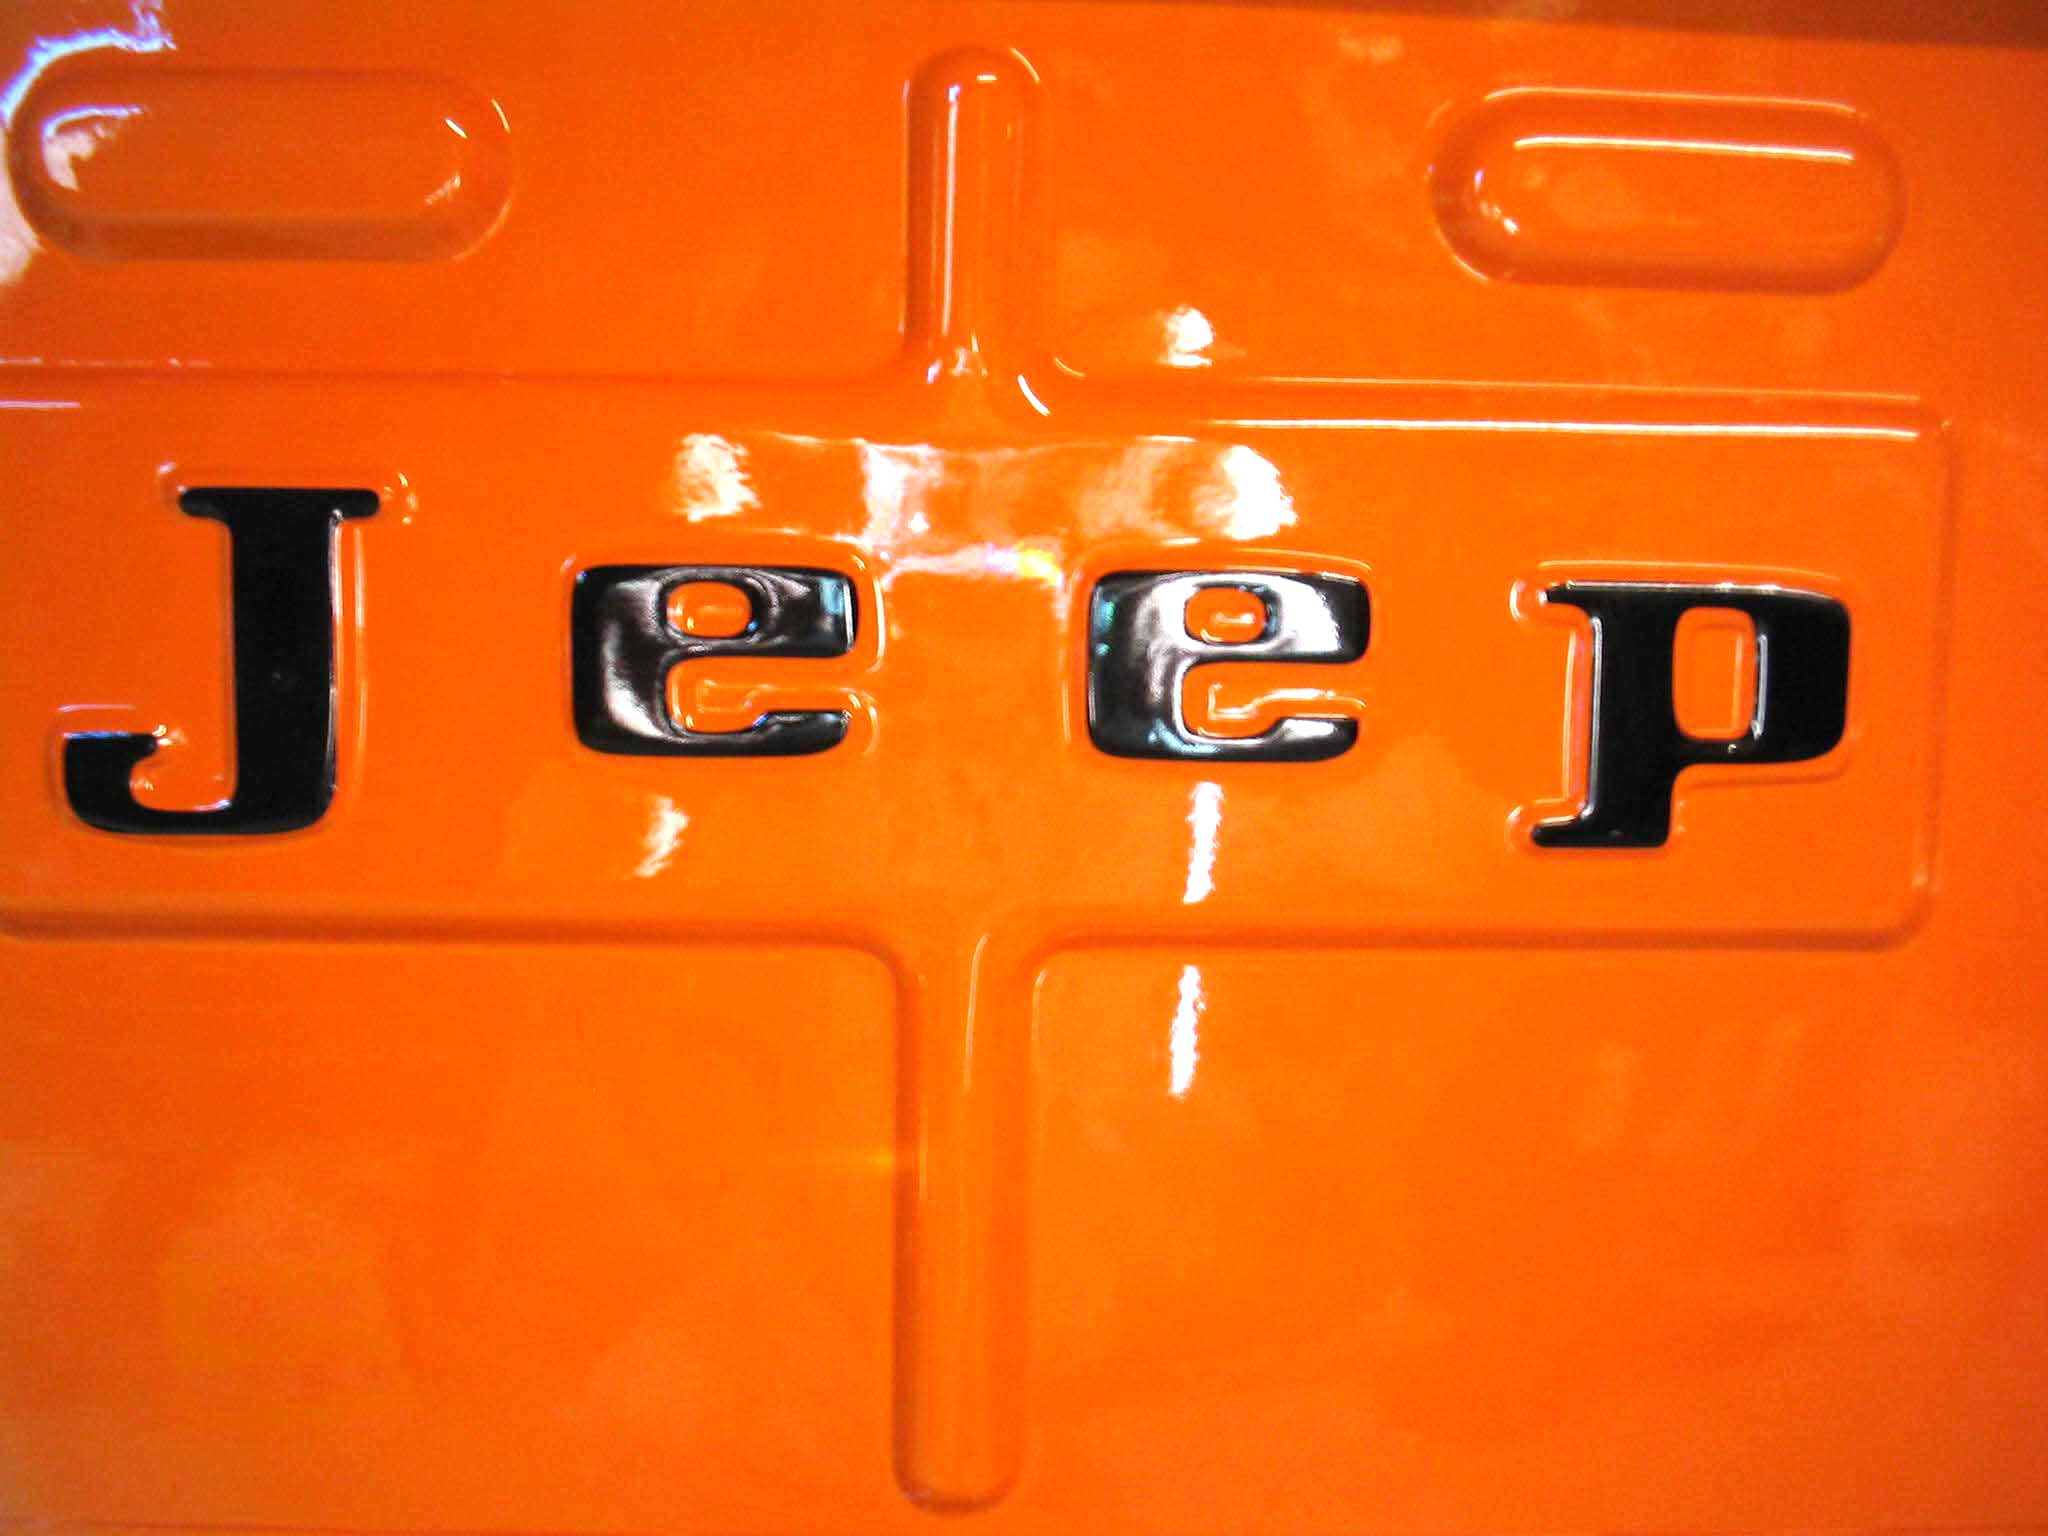
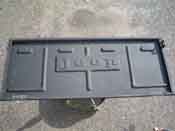
After reading about the certified Mopar reproduction tailgates, it was decided to get one and try it out. Since the
Jeep is a 1976 Jeep CJ-5 with a tailgate opening, the older style tailgate was the way to go. It was ordered up and
it was received a few days later.
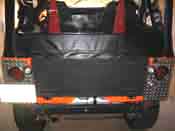
NOTE: I had a custom tailgate cover made out of the same material as the soft top a while back as the spare
tire extended further out the opening then a tailgate would allow. This is going to be sold off to help offset the
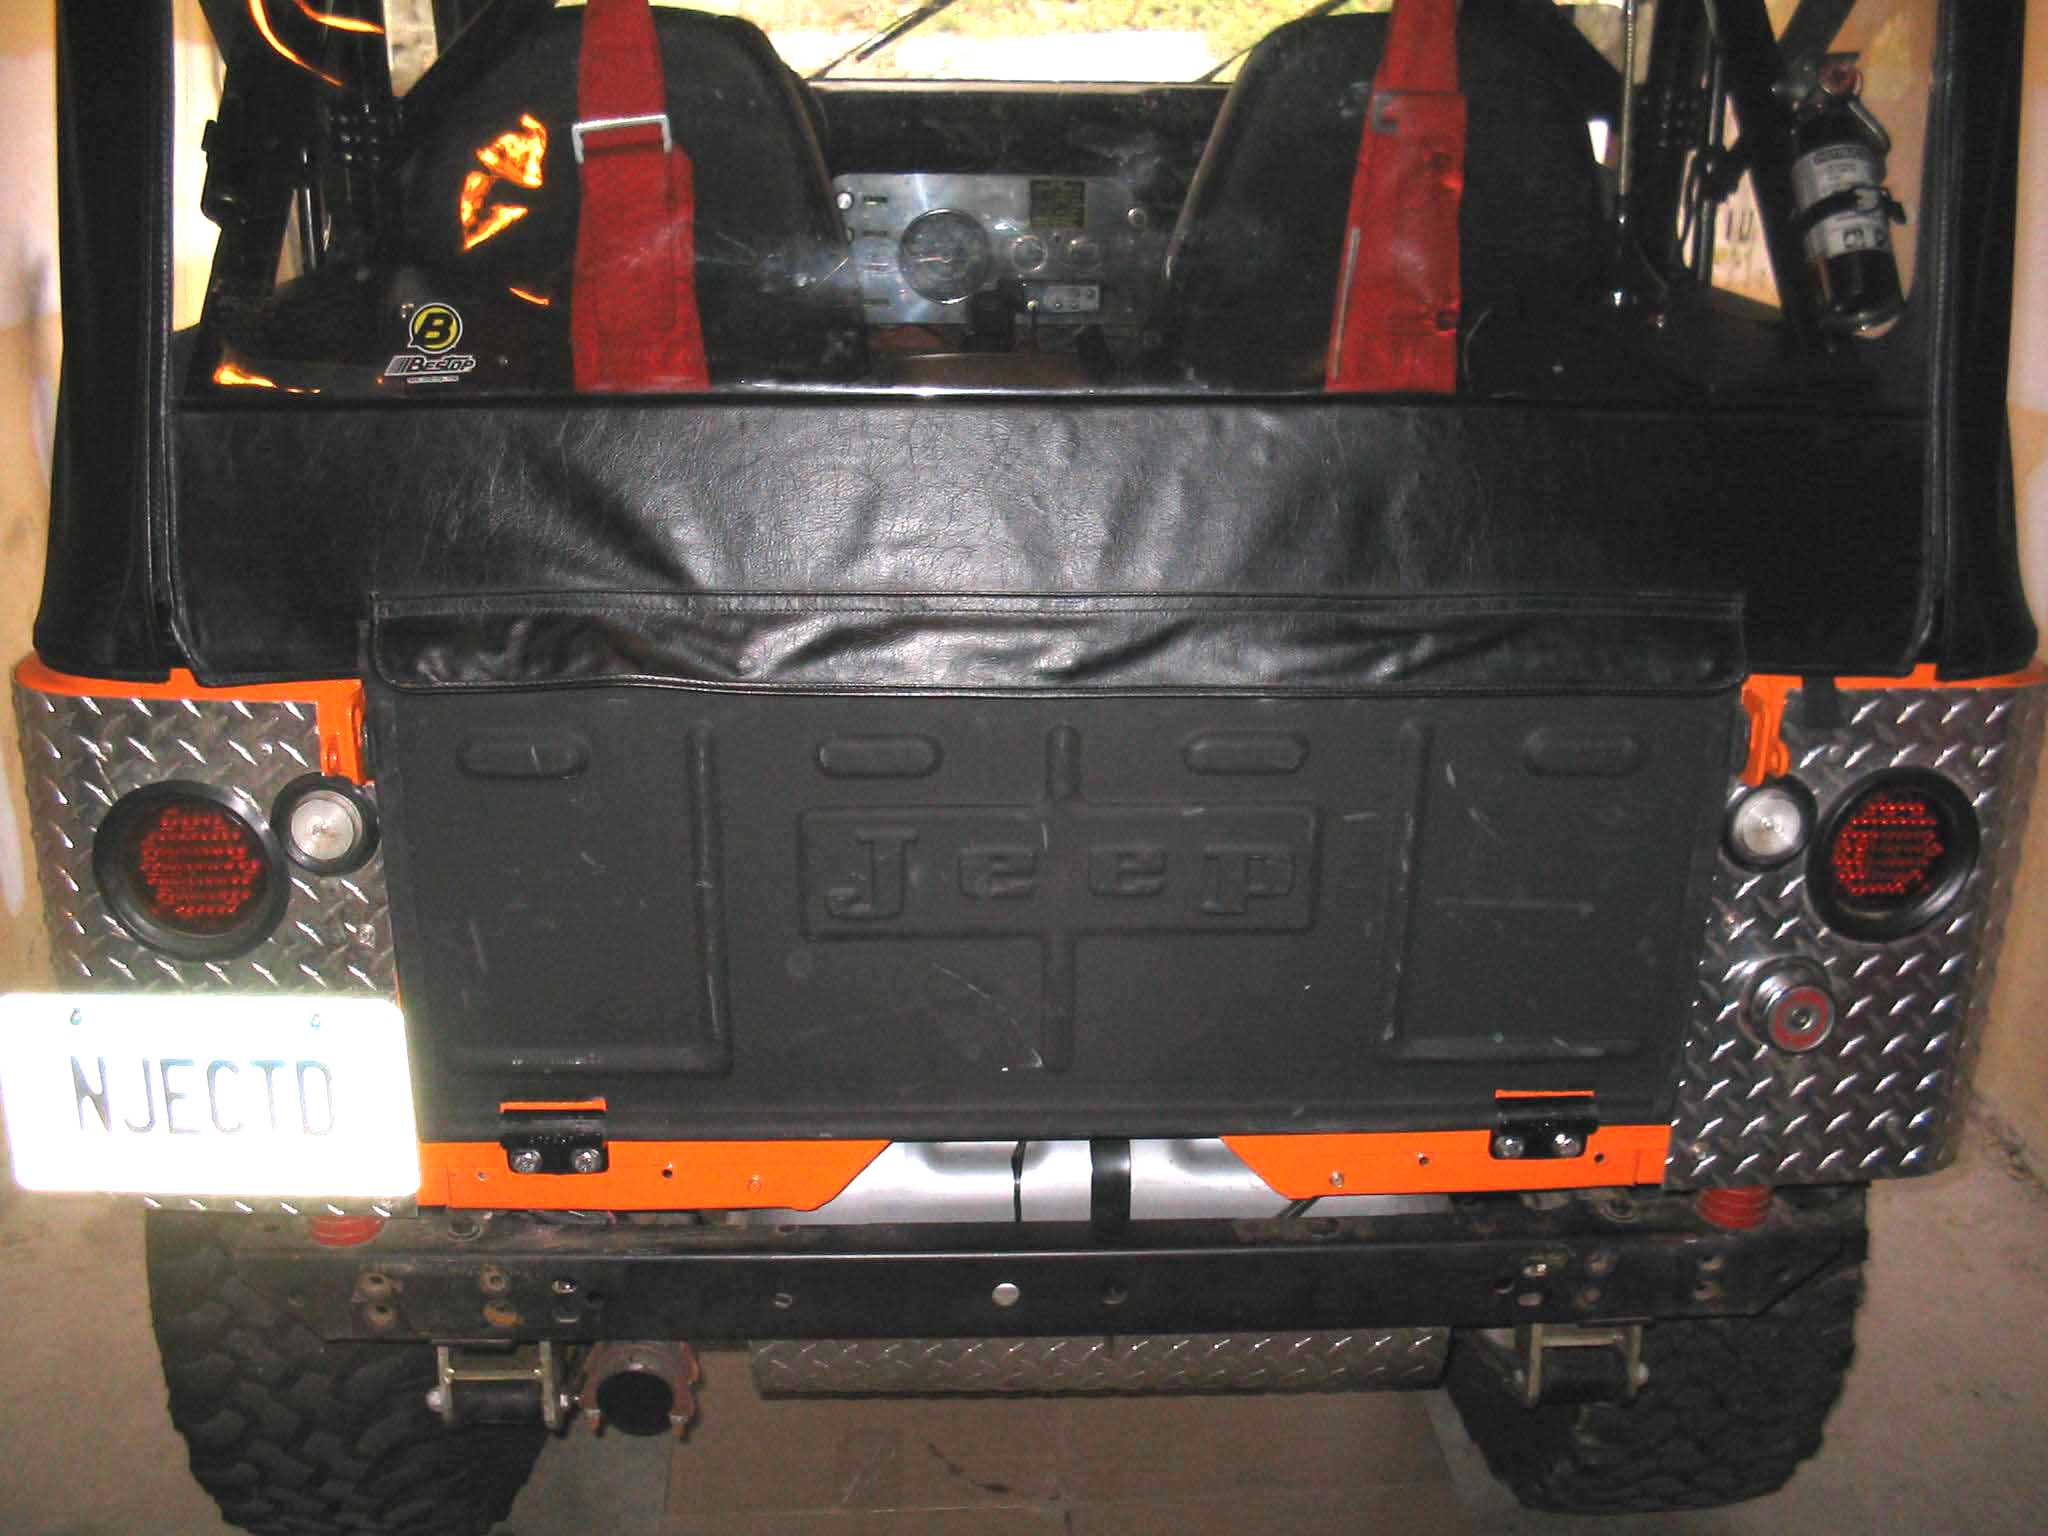
cost of the project. The first picture shows what it looked like when I started this upgrade and the last picture
shows how it sits now.
|
| |

|
|
|

|
| |
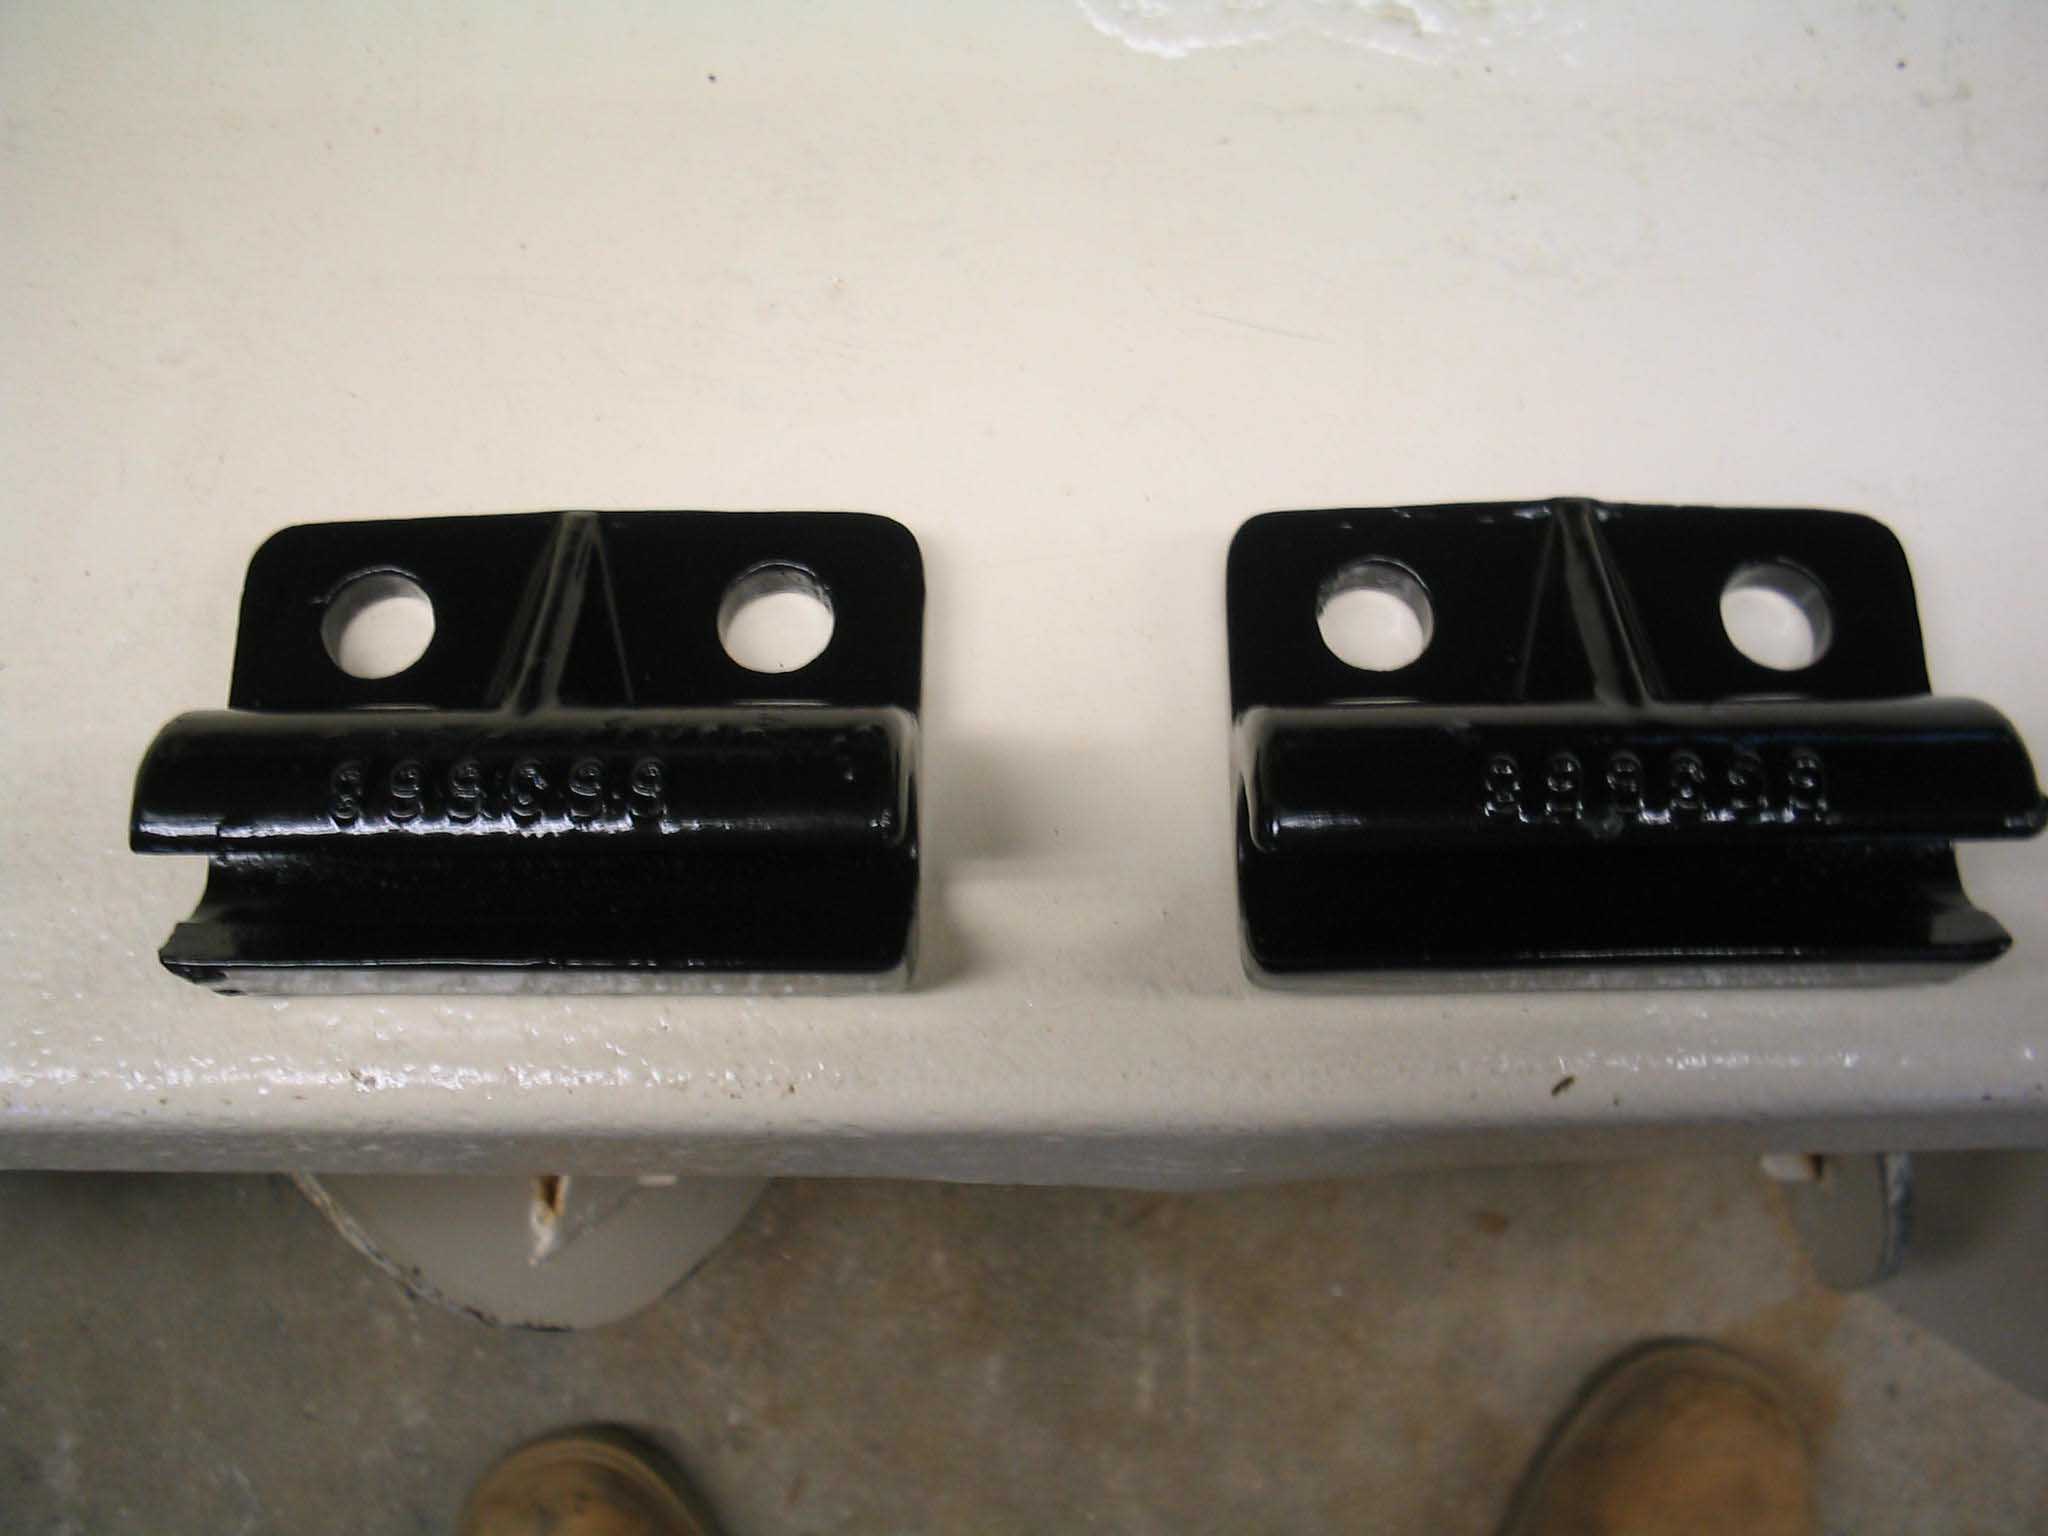
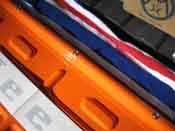
In order to get the tailgate to work with the Jeep, new tailgate hinges (old style) had
to be ordered up as well. These were a lot more expensive then I realized, but well worth it. Once they all came in,
I set out to test fit the tailgate and have it work with the
Bestop Super Top that I had previously
installed with it.
The parts were ordered up from Krage Motor Sports as
they were found to have the best prices on the parts and shipping.
|
| |
|
|

|
|

|
|
| |
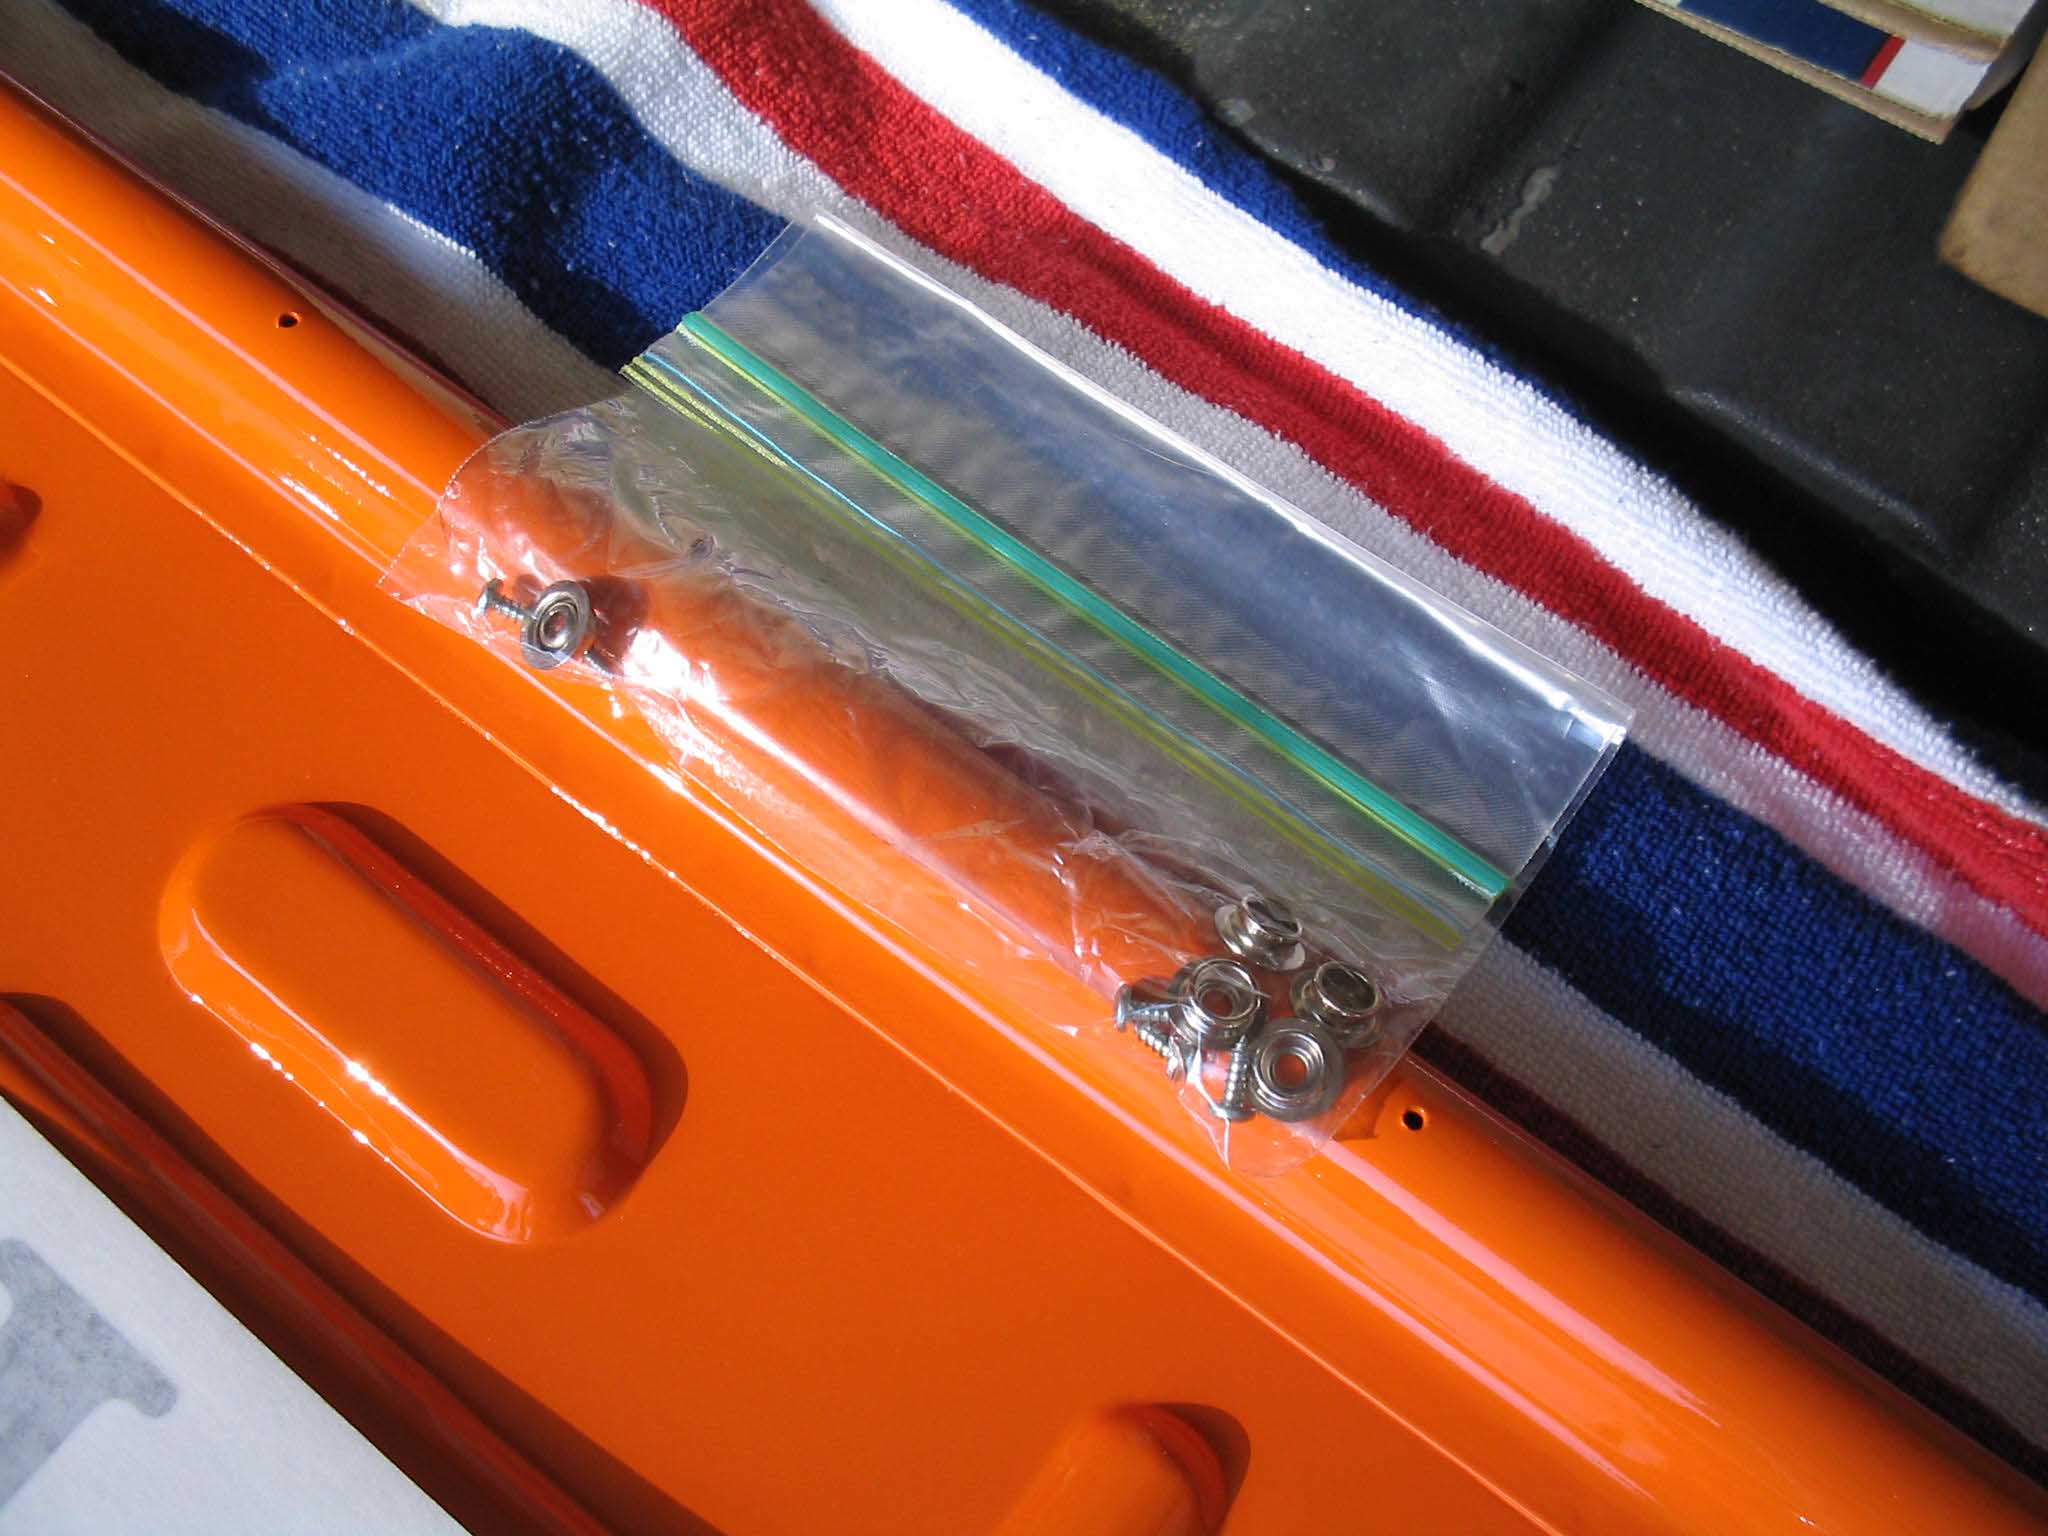
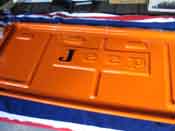
Once everything was in house, the stainless bolts that were left over from the bumper
package were used and the hinges were loosely bolted on. This of course came after the fact that the hinges were
sanded down and shot with a coat of black spray paint from the rattle can. After that was done, the tailgate was fit
into place and then holes were drilled into the tailgate and the 5 snap buttons were fitted into place (you still have
these left over... right?)
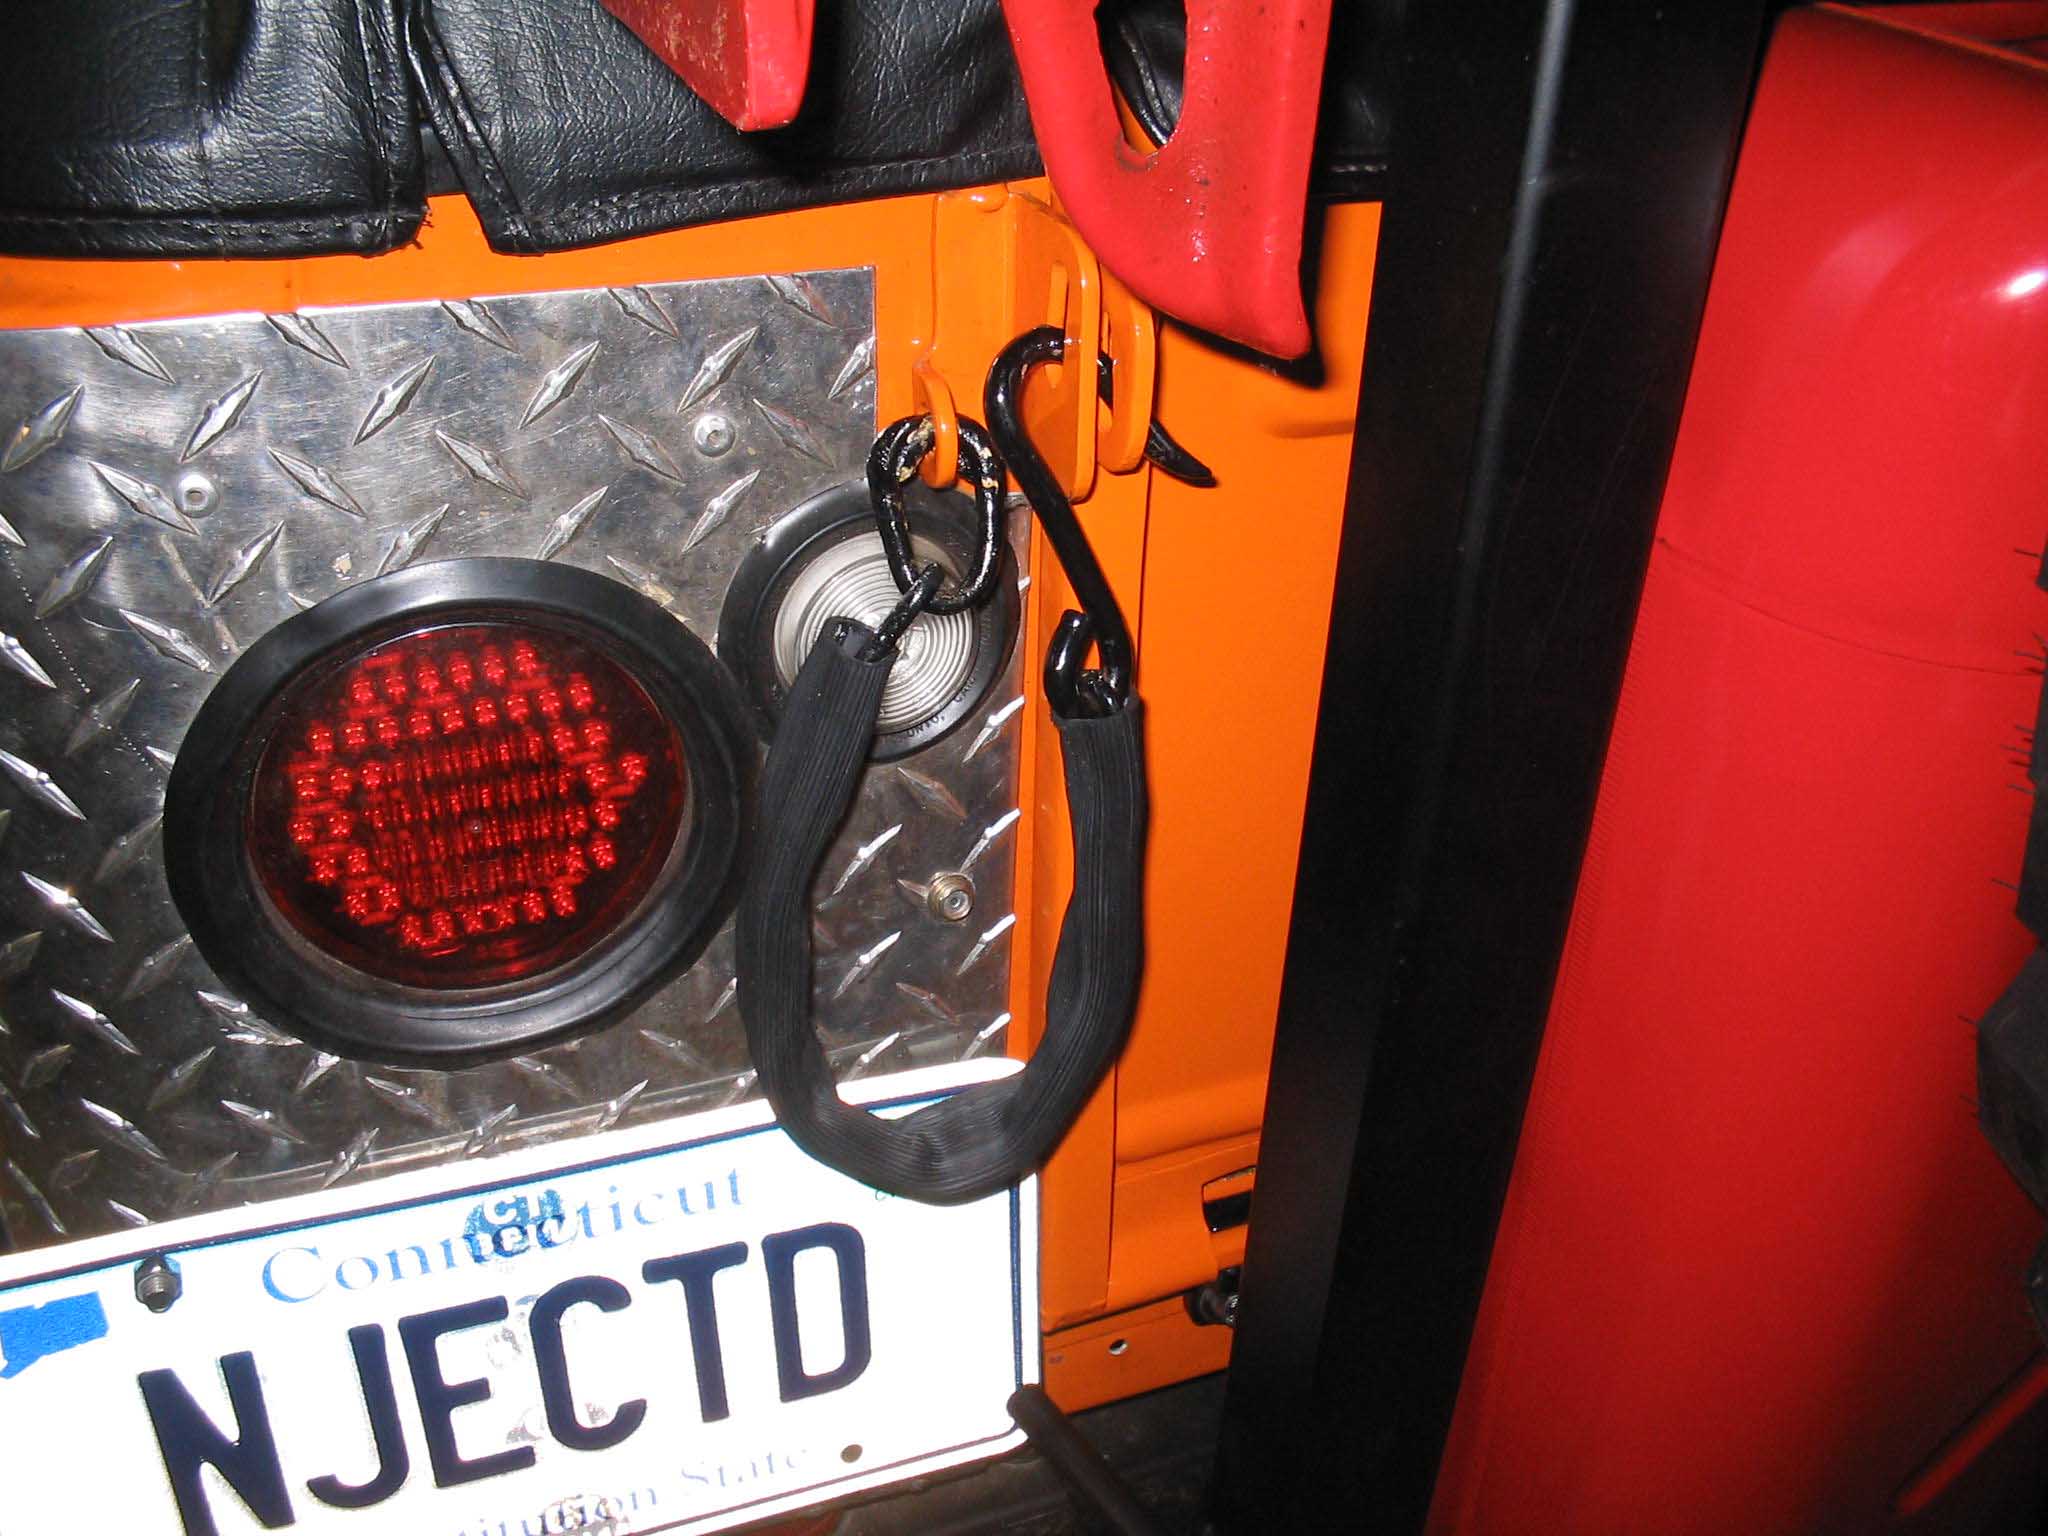
With the tailgate fitting snug, it was determined to hold off in painting the tailgate until the engine rebuild and
the radiator grille shell can be painted at the same time. Also needed for the tailgate project is a set of tailgate
chains. These are different then the tailgate cables that come on all the Jeep CJ-7's that you see out there. I have
been thus far unable to find a set of chains, however, I will keep looking and update the page when I find them and when
I have a finished painted product to show off.
|
| |
| Lessons Learned the Hard Way |
| |
| My lessons learned here would have to be that you should have all the pieces ahead of
time and that if you plan on painting this, make sure you pre-fit any and all parts first, that includes drilling the
holes in the tailgate to make room for the snaps for the softtop. Also, make sure that you use some locktite on the
bolts as the rattling that will occur with this style tailgate will surely rattle the bolts loose.
|
| |
| Conclusions |
| |
Overall I would say that this project is pretty easy to do in an afternoon. The total
cost of the project just for the materials is about $185.00. This is a pretty hefty price tag, however, the original
tailgates are becoming harder to come by and this is a relatively cheap alternative. Once it is painted and the tailgate
chains are located, I am sure we will be close to the $300.00 price tag for this project.
The approximate build-up costs and installation time can be seen
here.
Everything has been updated and installed and to see finished pictures of the installation, you can go to the rear bumper
install and see it
here.
|
|