|
|
| Painless Wiring Harness - part #3 |
| |
|
|
| |
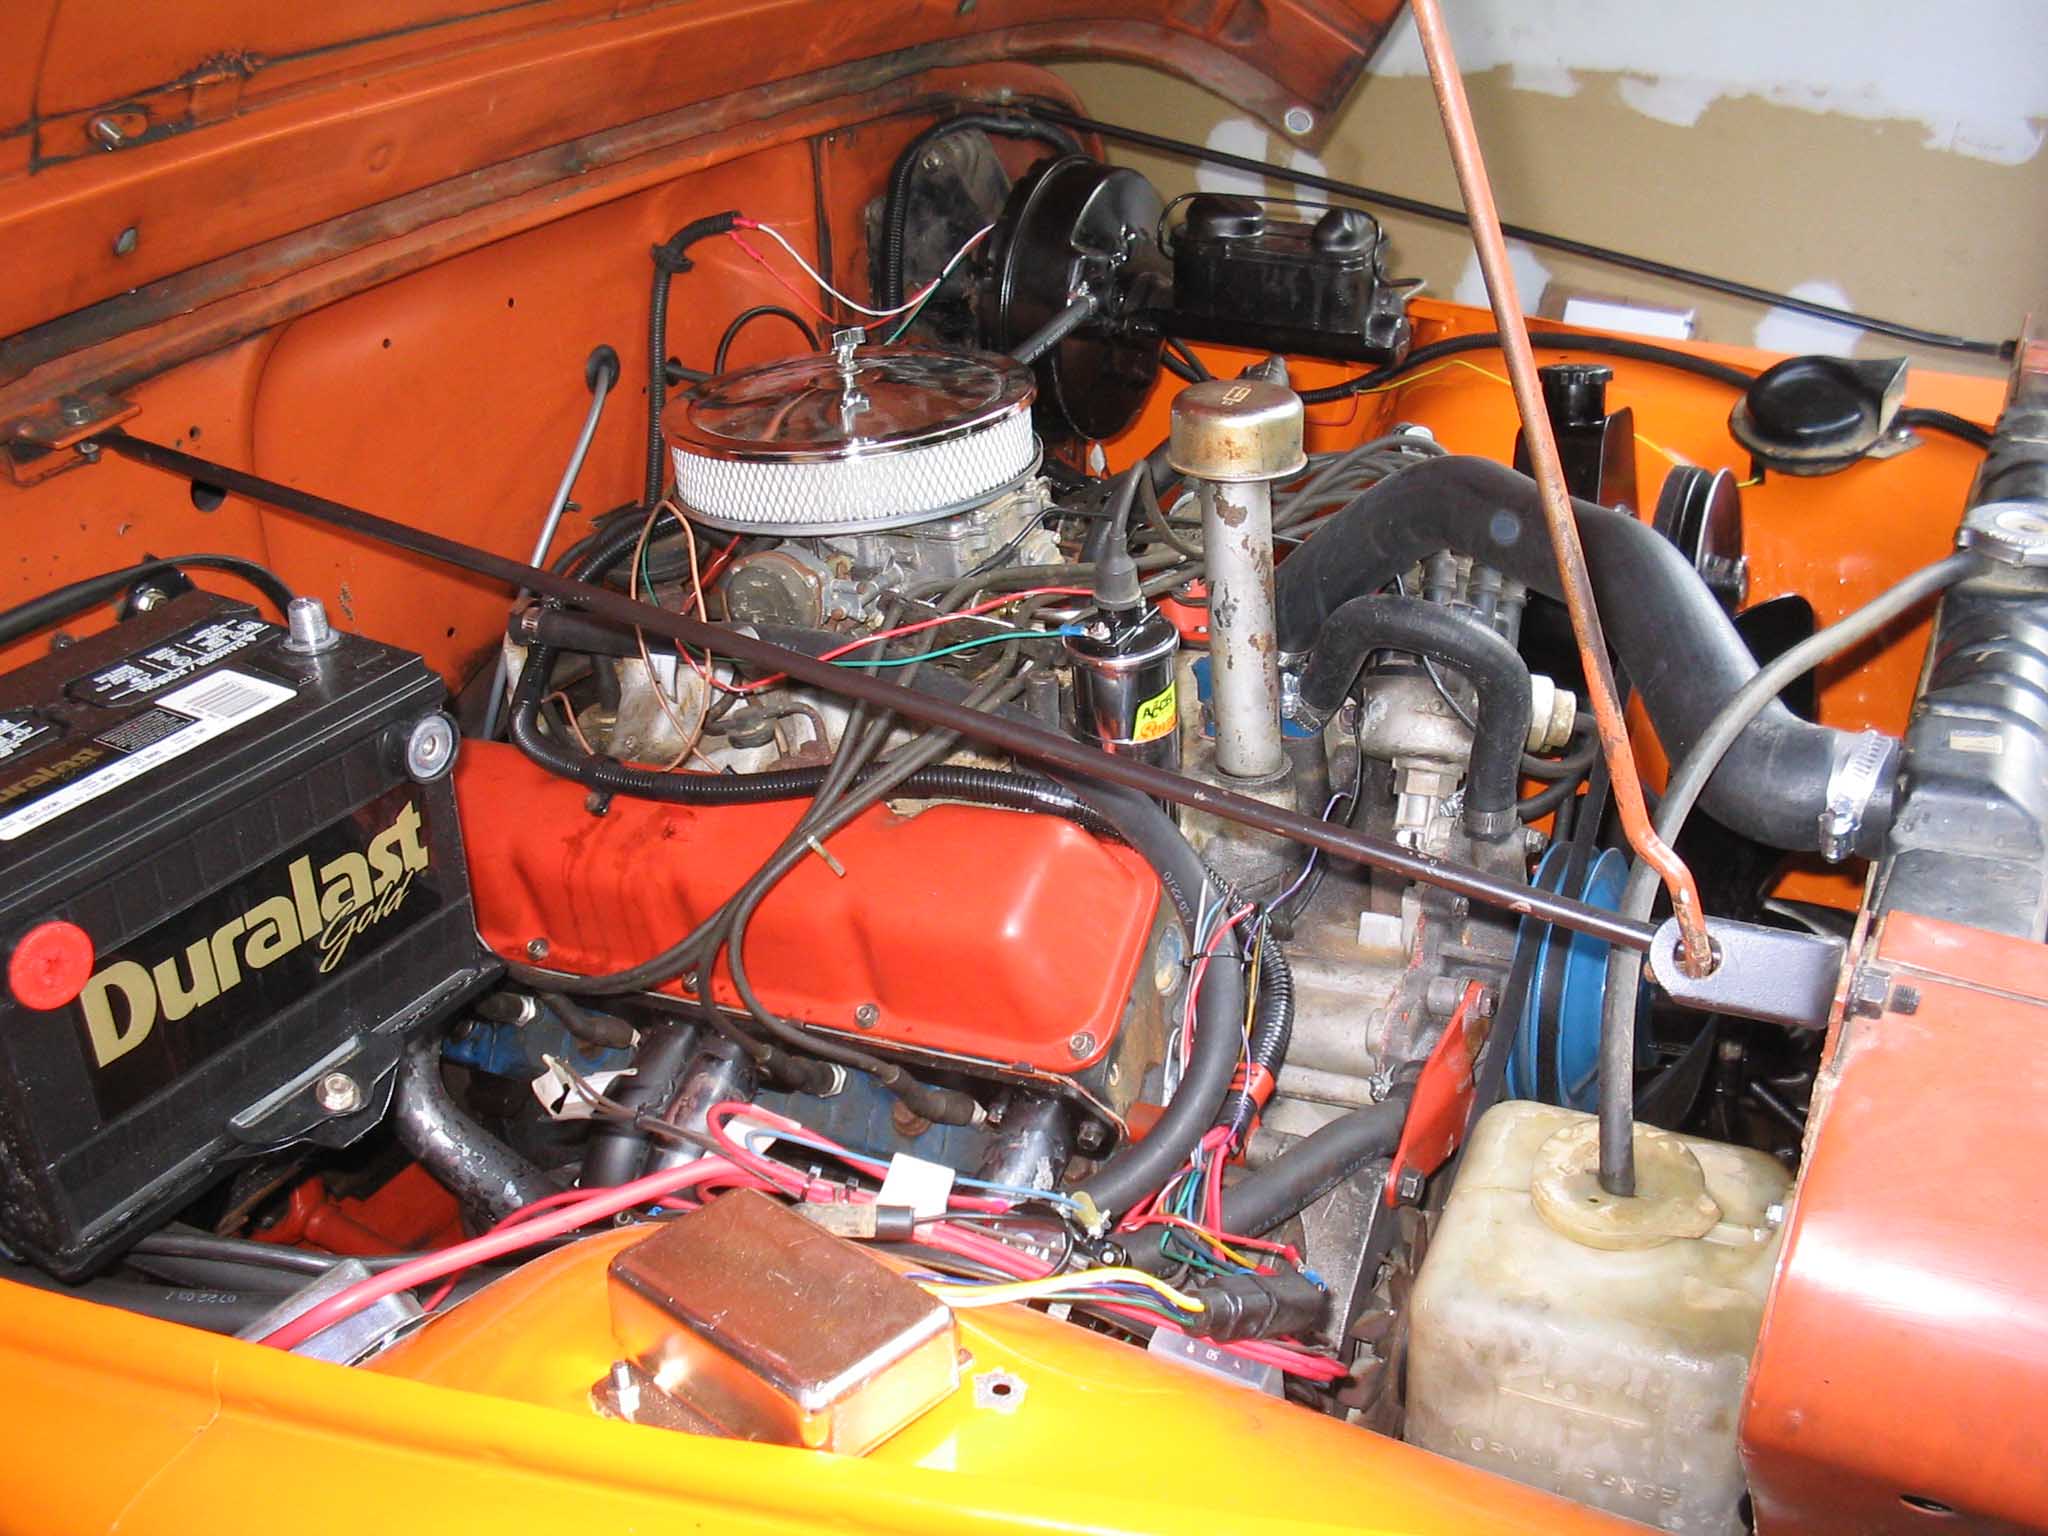
The whole rig should be done now and wired up completely. The painless guys
recommend a smaller 10 amp or less battery charger to test the system. It is a good idea to follow the directions
as they say, they have done this more then you have.
Double check all the connections and make sure that everything is tucked down and out of the way and wired so
it doesn't show under the dash, etc. This is a brand new wiring harness and you took all the that time to wire it
up correctly, so finish the job and make sure it looks the way it should by having it tucked up out of the way under
the dash and routed cleanly under the hood.
|
| |
| Lessons Learned the Hard Way |
| |
My lessons learned here would have to be that you should not test the entire system until you are
actually done wiring up the entire rig. I did this and it ended up shorting out a wire and I didn't see this. This
little event led to the fuse blowing out and I didn't realize this either, so when I went to test the system, part of
it wasn't working and it didn't make any sense. It wasn't until I realized some couple hours later of what I had
done that I checked the fuse and fixed my mistake. Make sure that everything is connected and unused wires
cut off and moved out of the way prior to testing and you will end up being a lot better off.
As for other lessons learned, just make sure that you have the right wiring diagram for the right ignition. I
mistakenly used the wrong one and I used a printed version of the instructions that were from an inkjet and I
improperly hooked up the coil and ended up frying it and the control module. This was a setback in that I had
to run to the store to get these 2 new parts and it ended up taking a lot more time then it should have, not to
mention more money. Take your time, use clear instructions, and make sure you know what type of stuff you
have in your engine prior to starting the engine compartment and you will end up being a lot better off.
|
| |
| Conclusions |
| |
Overall I would say that this project is pretty easy for someone that understands
electrical wiring and can manage to route wires according to a wiring diagram. It took about 20 hours or so to run
all the wires, connect them up, and finally test everything and make sure it was all working. There were a few
mislabeled wires that customer service helped me out with, but I could have figured it out if I just made sure the
"number" and "color" matched instead of going solely by the "label" that was on the wire. This feature is great in
helping determine what goes where, but in reality it hurt me in two instances because I assumed the wire was
labeled correctly when it was not.
I ran into a few snags here and there, but the painless customer service is excellent, it
just is that they are only around during the week and I was working on the rig on the weekends, so whatever issues I
ran into I either had to figure out myself or had to wait until Monday.
Lastly, don't get in a rush to finish the job. This will take some time, you are wiring up and entire vehicle, and this
includes everything from soup to nuts. Rome wasn't built in a day and neither was the wiring of your vehicle when
it was put together back in the day, take your time and don't get in a rush to test anything until you are completely
done wiring it and have marked off every step in the instruction manual. If you attempt to test it prior to it all being
hooked up, it might not work properly and you can possibly burn something out. Trust me, I know!
I can't speak for any other wiring product, but painless definitely put together a very nice package with great
instructions as well as great wiring diagrams and schematics. That combined with great customer service
allowed for a fairly quick and easy installation on the rig. Getting someone to help you with this would decrease
the time considerably, but if there is beer involved, it may take longer...
NOTE: See the Hints section on this here
|
| << Previous |
First |
|