|
|
| Project "Free Jeep" a.k.a Project "FJ" - part #11 |
| |
|
1
2
3
4
5
6
7
8
9
10
11
12
13
14
15
16
17
18
19
20
21
22
23
24
25
26
27
28
29
30
31
32
33
34
35
36
37
38
39
40
41
42
43
44
45
46
47
48
49
50
51
52
53
54
55
56
57
58
59
60
61
62
63
64
65
66
67
68
69
70
71
72
73
|
| |
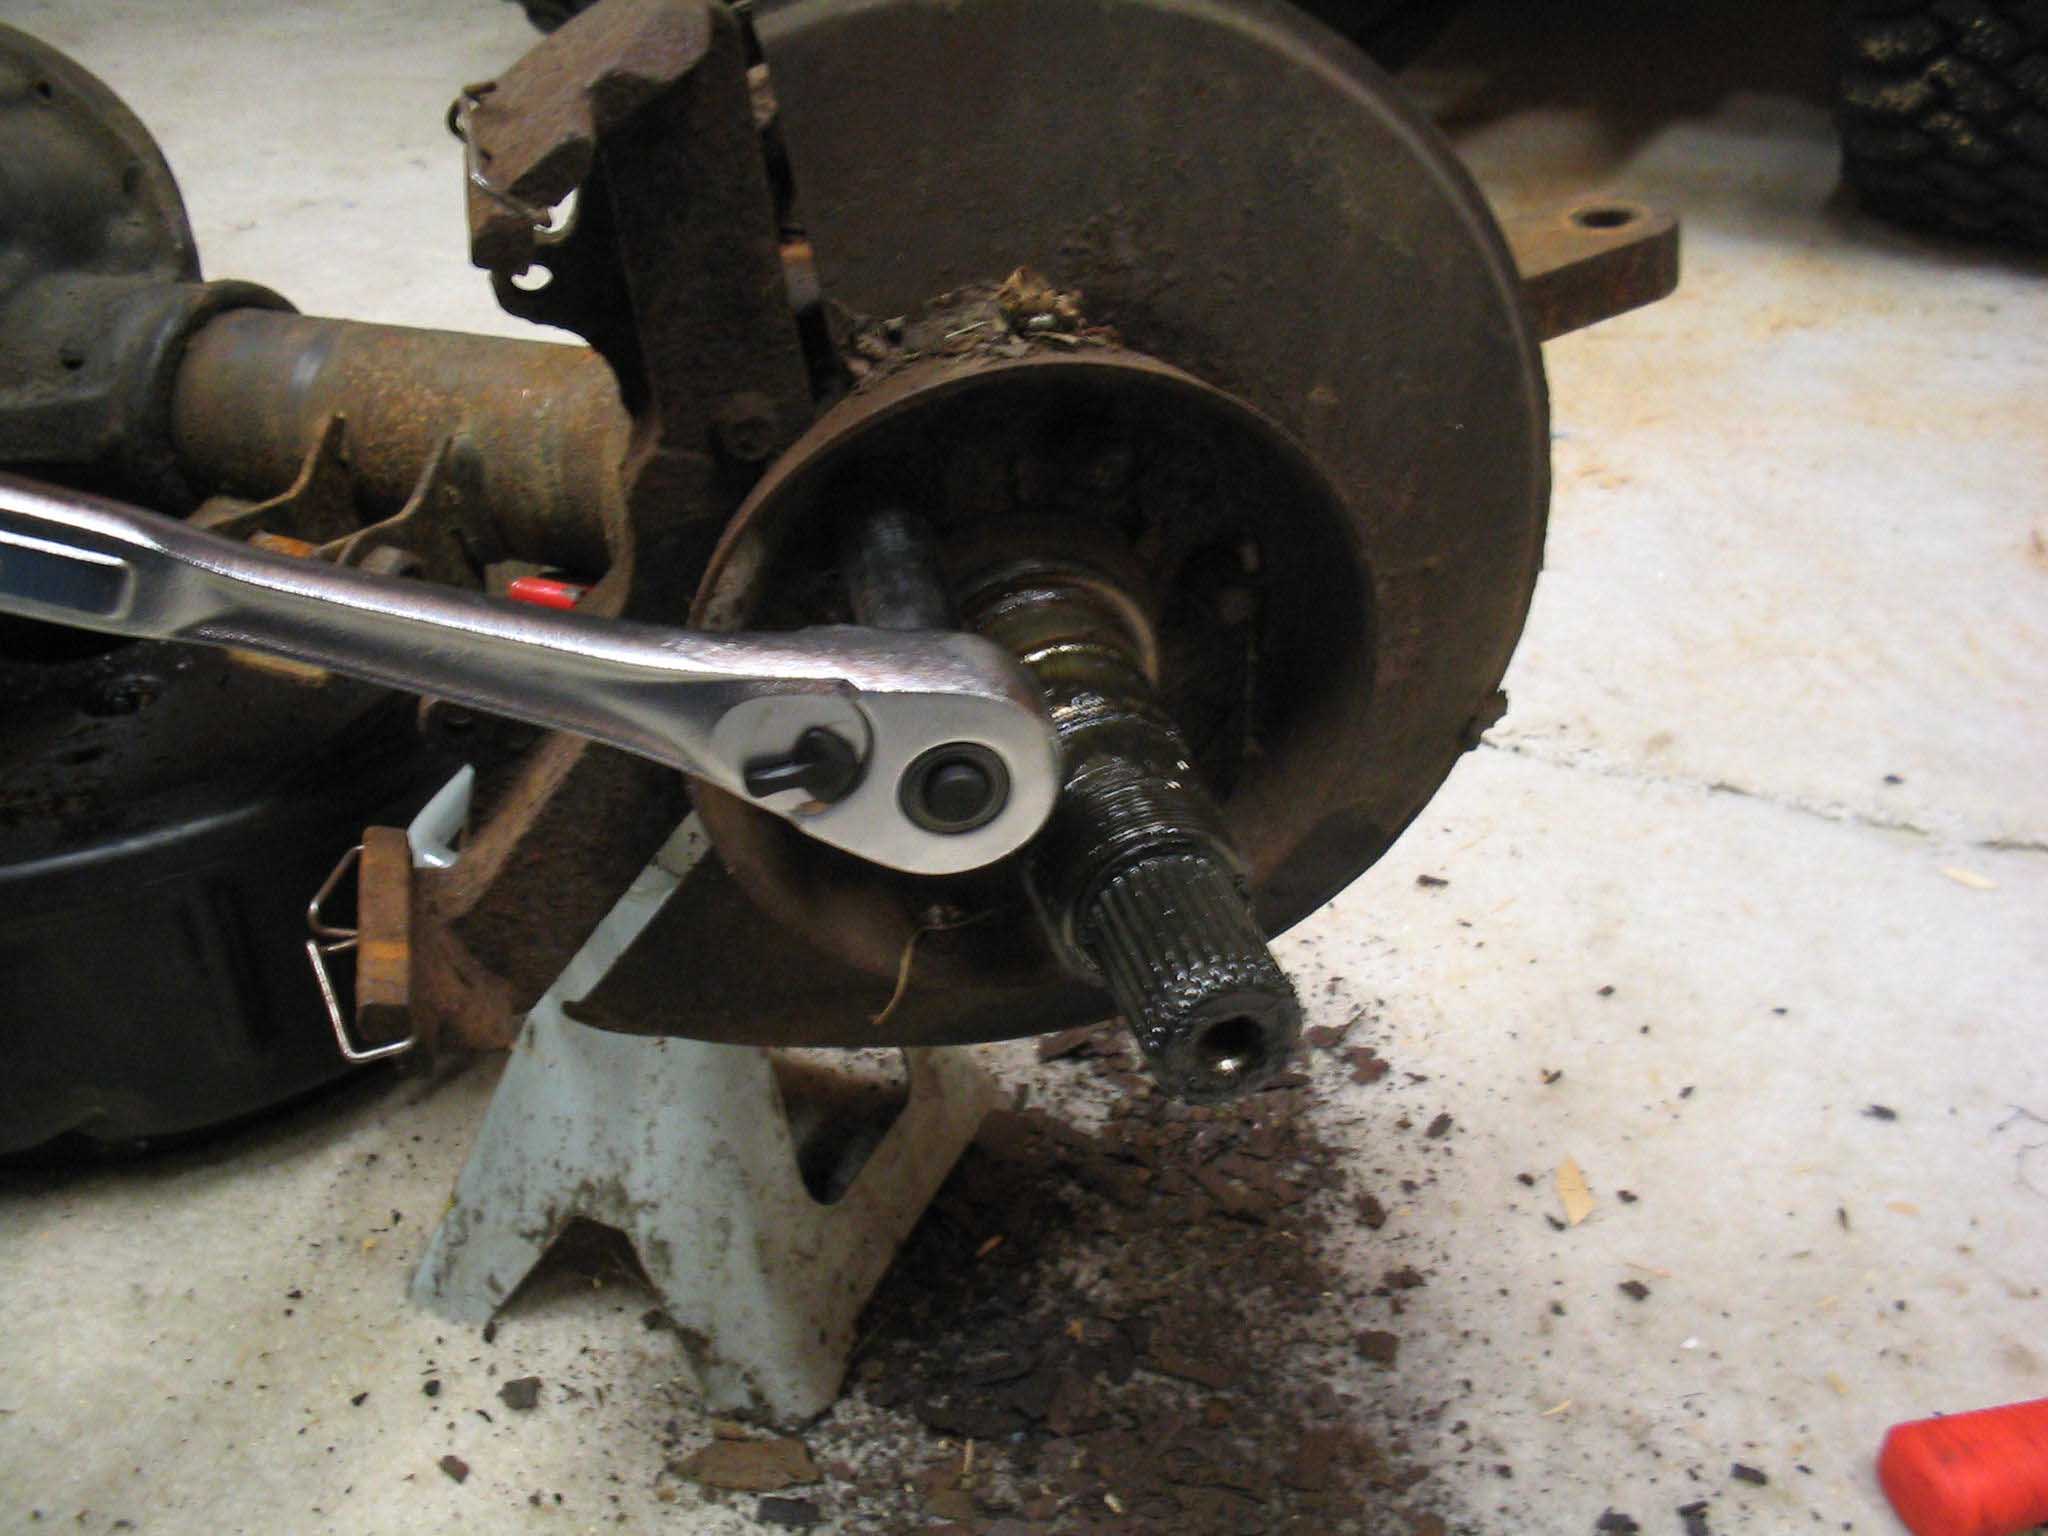
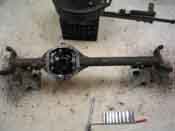
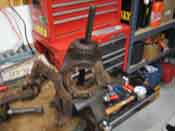
(11/29/06) With a couple more hours out in the garage, I was able to remove
the passenger side setup completely. This went a little faster as I didn't have to stop and take as many pictures,
and for some reason, it was greased up a bit more. The pictures are better, but still a little fuzzy for some
reason, might be the lights, not sure. I have been doing this at night, so that might be another factor.
So, I took off the hub and noticed the snap ring wasn't where it was supposed to be, thought that was odd, but
continued on, removed all the stuff like I said in the previous write-ups and then found the snap ring down near
the spindle end. Not sure why it was like that, but these are the things you have to look for, sometimes things
aren't put together that well when they are redone.
|
| |

|
|
|
|
| |
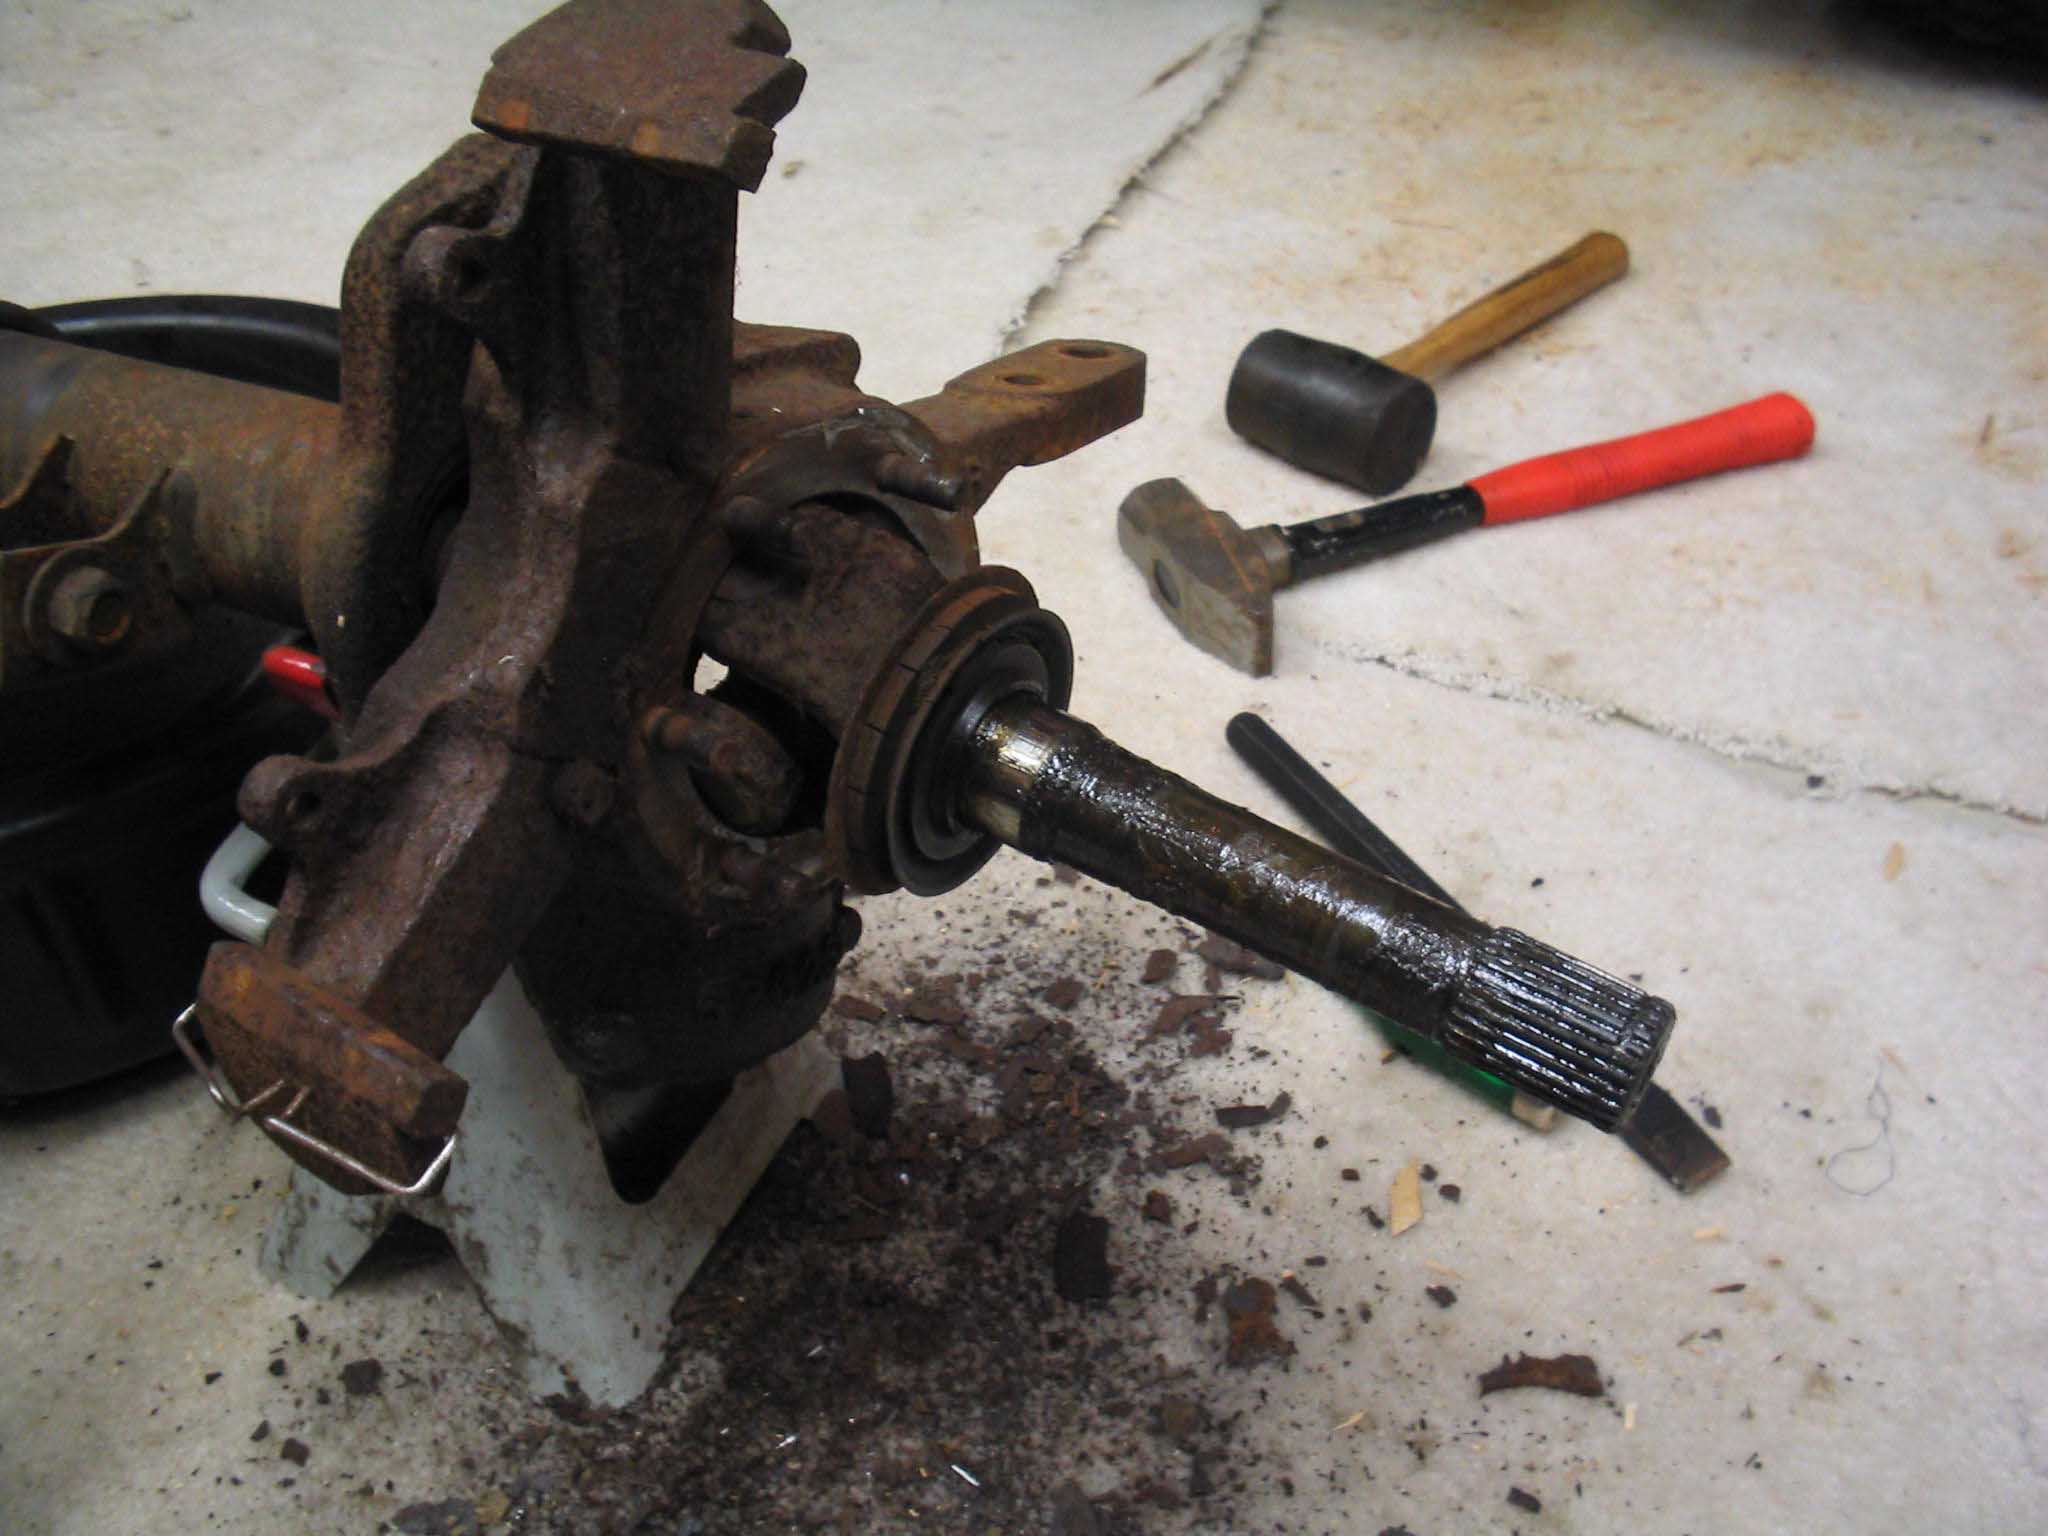
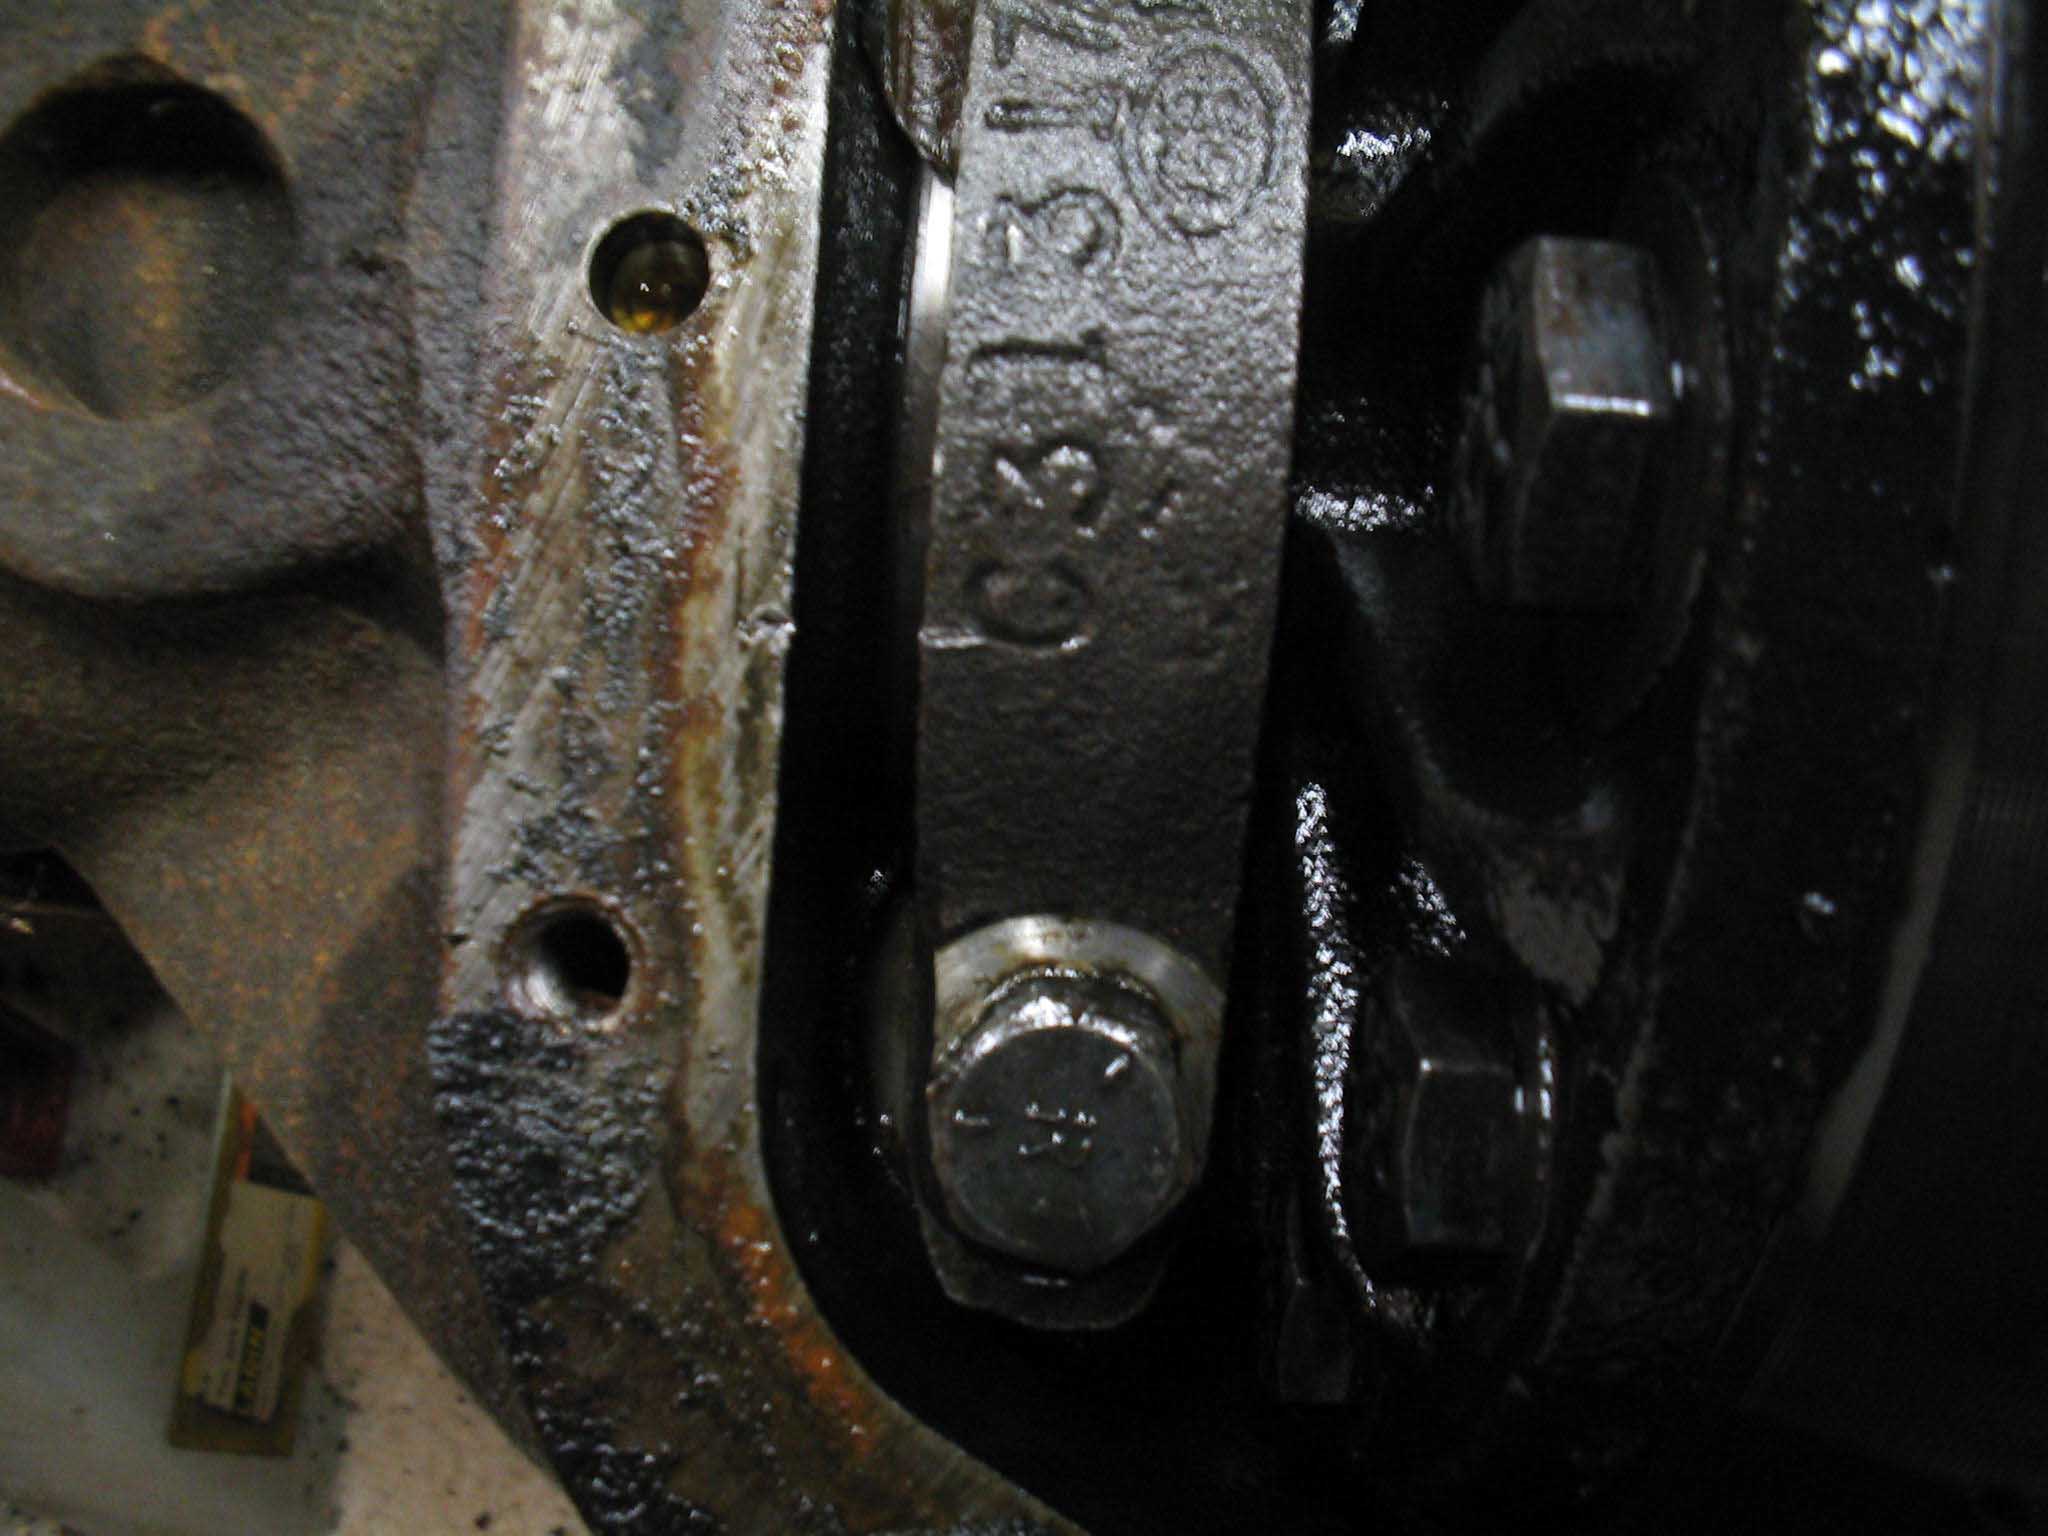
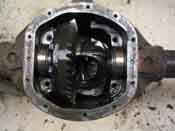
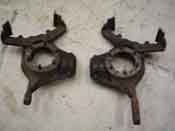
Aside from being more "greased" up, I think the passenger side axle seal is leaking.
This seal is located to the left and the right of the carrier and helps to keep the differential fluid in the
housing and doesn't allow it to move down the axle tubes. It was a bit more thinly lubed up then the driver side.
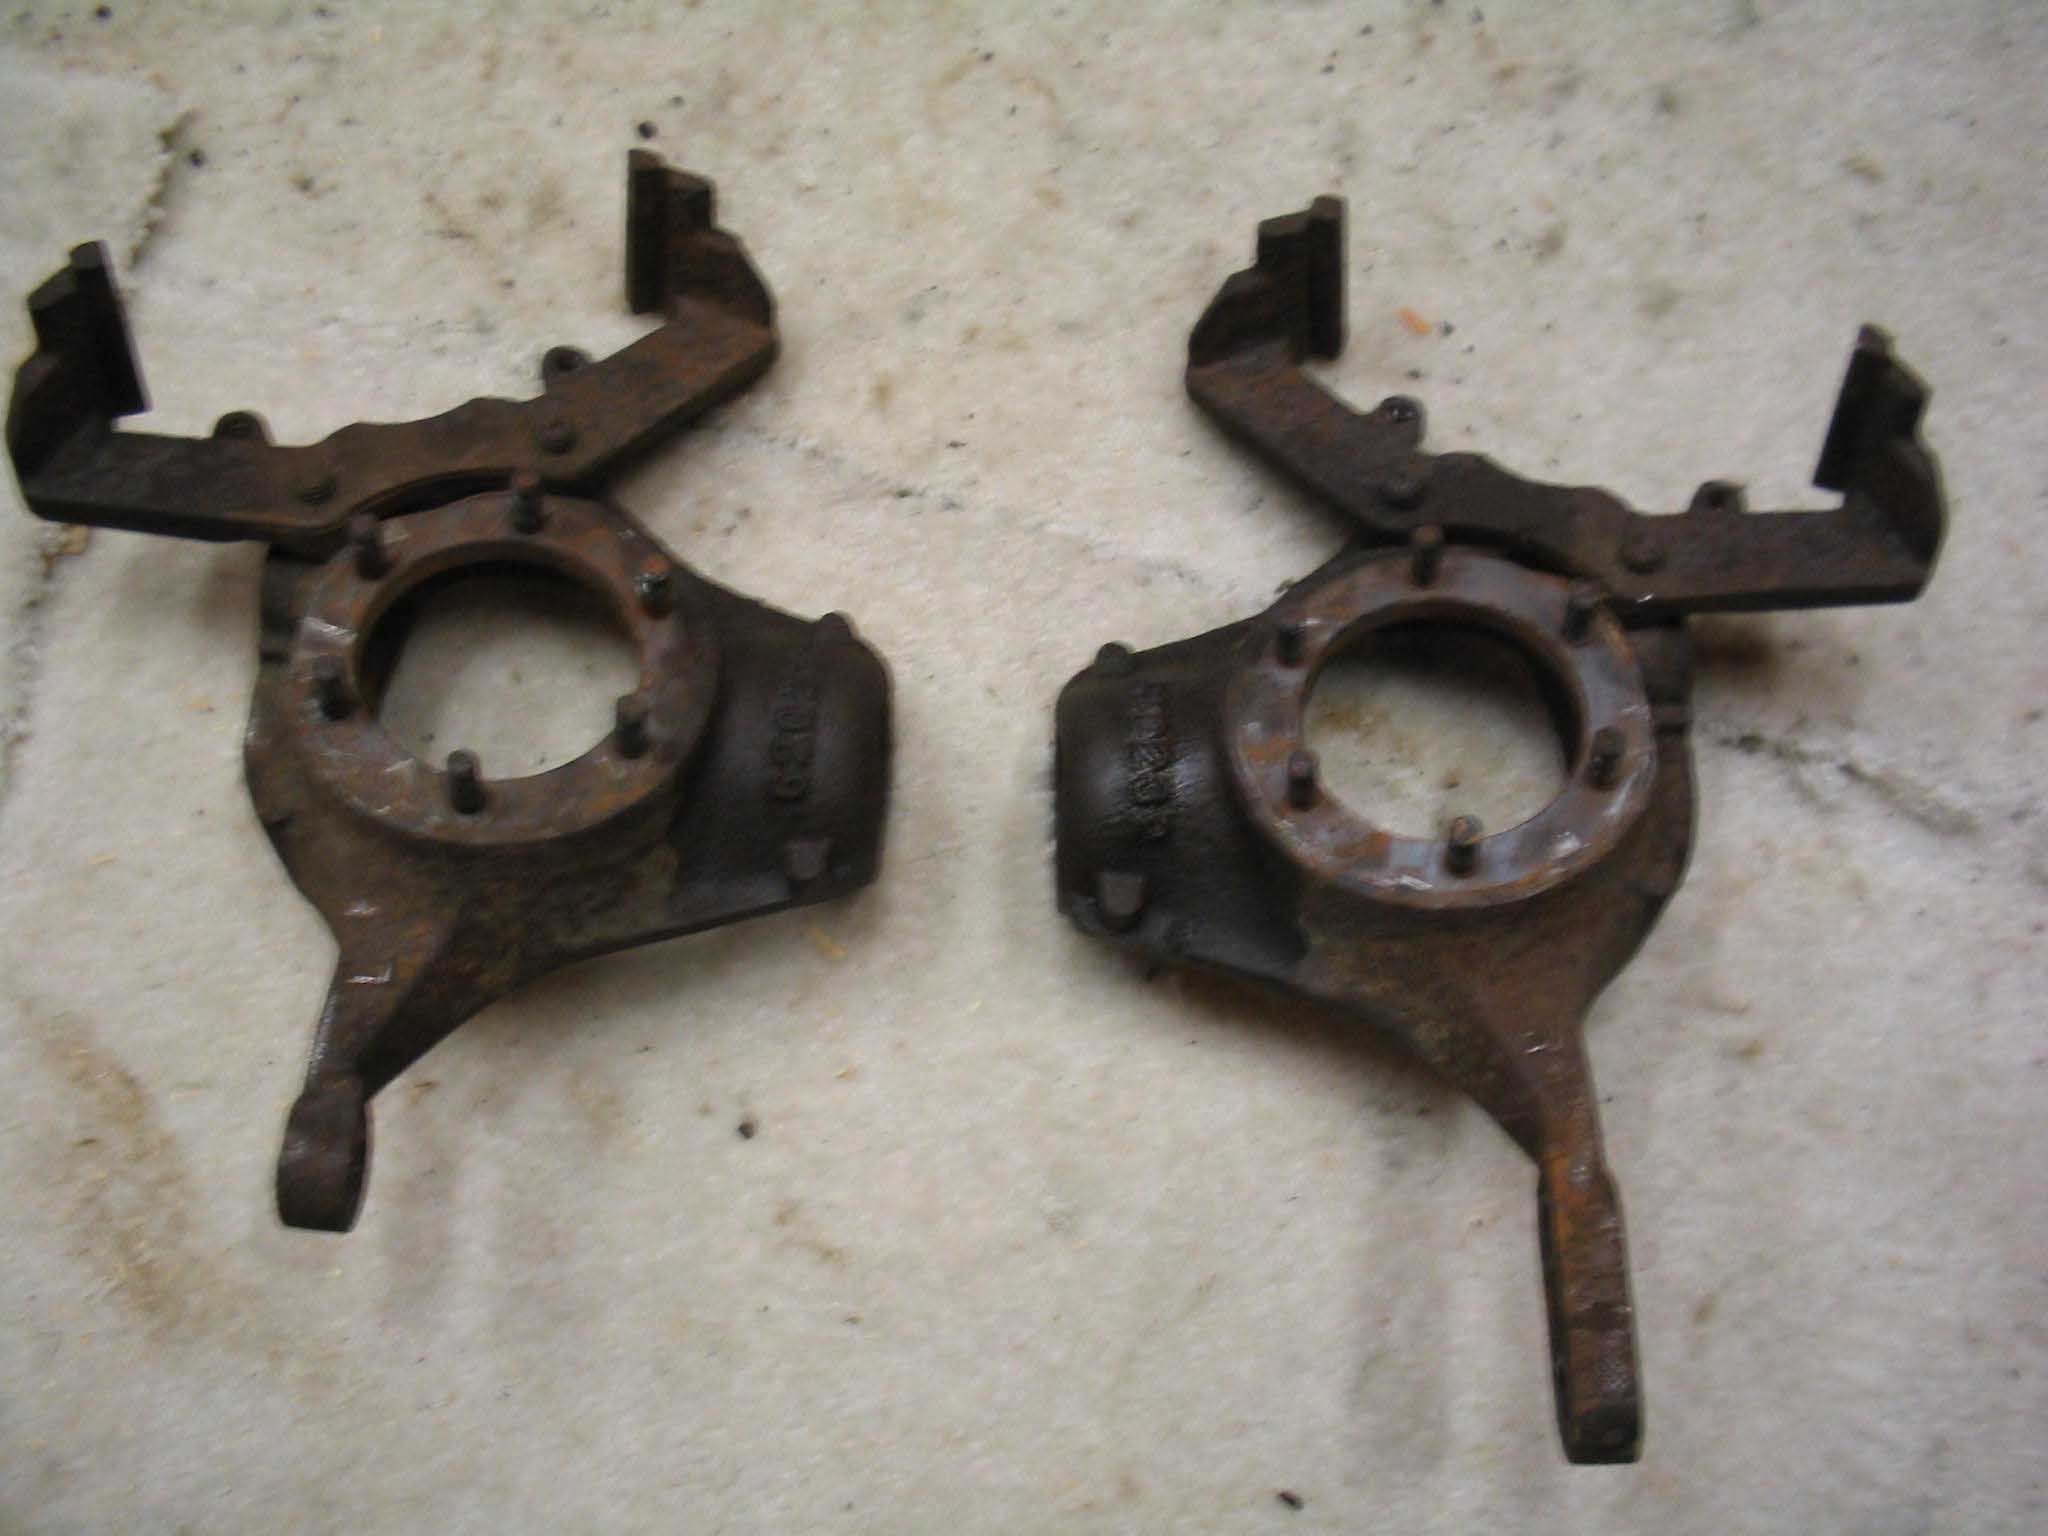
Moving on, the dust shield was toast as well, so that got tossed. The knuckles came out pretty easily and the
u-joint on this side was in a lot better shape then that of the driver side, not sure exactly why, but it is what
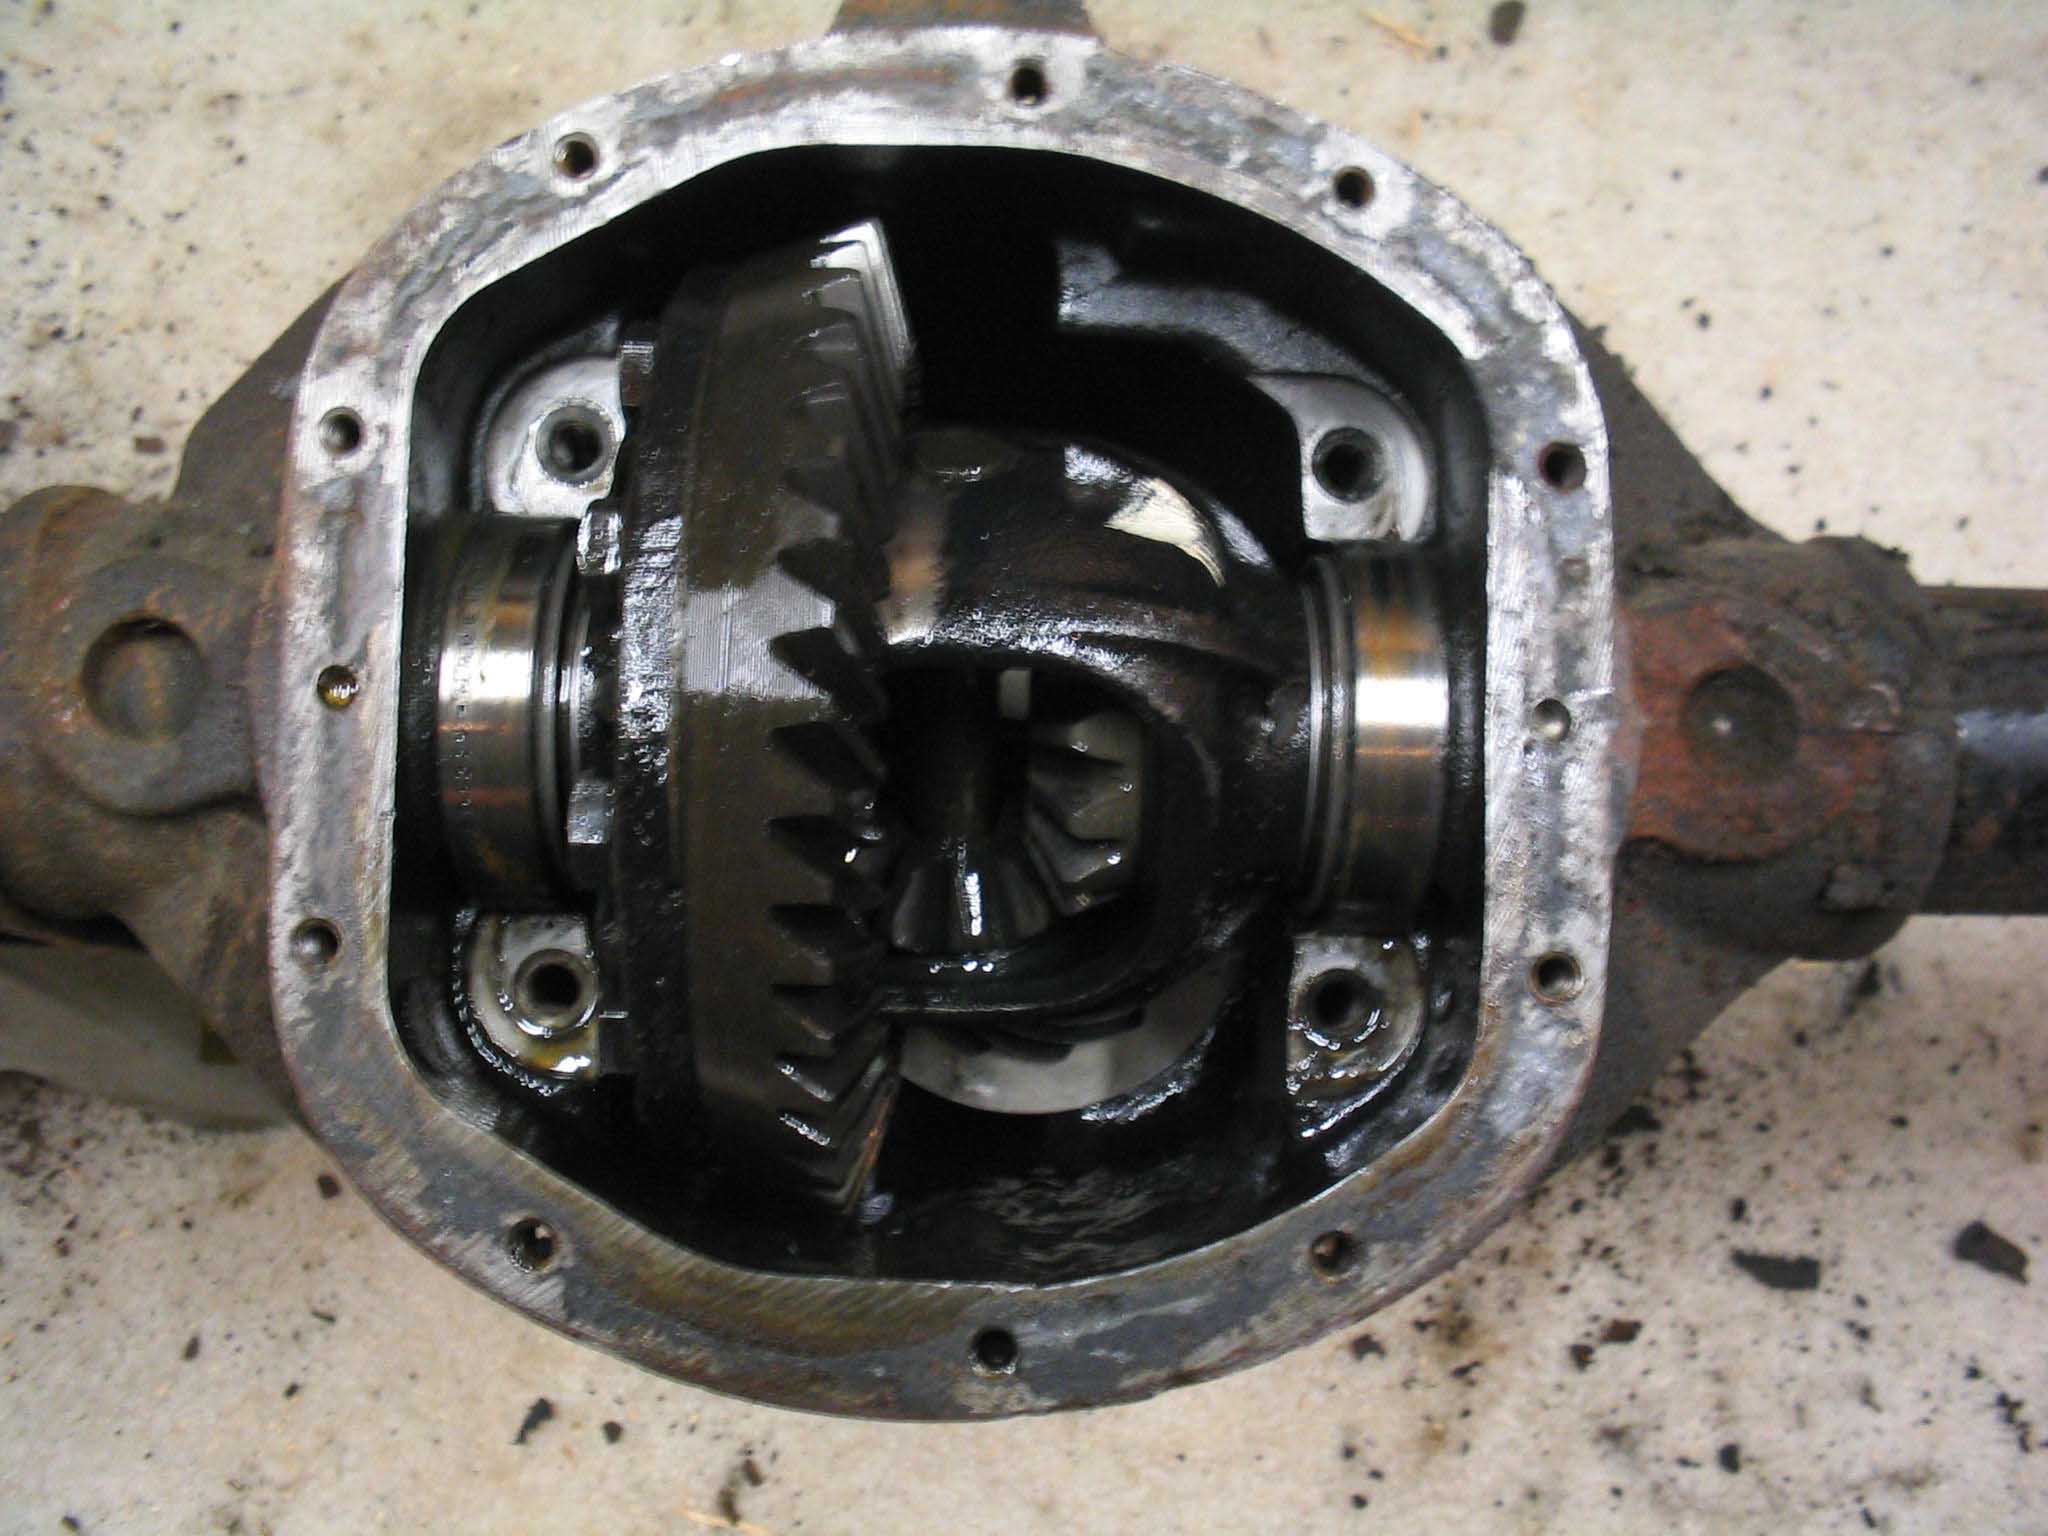
it is. So, with everything off, the caps for the gears were taken off, after they were marked with a punch and
finally it was time to take a step back and look at the housing. It is in pretty good shape, now I had to get
the other parts ready for the new pieces. This required removing the ball joints and the u-joints.
|
| |
|
|
| |
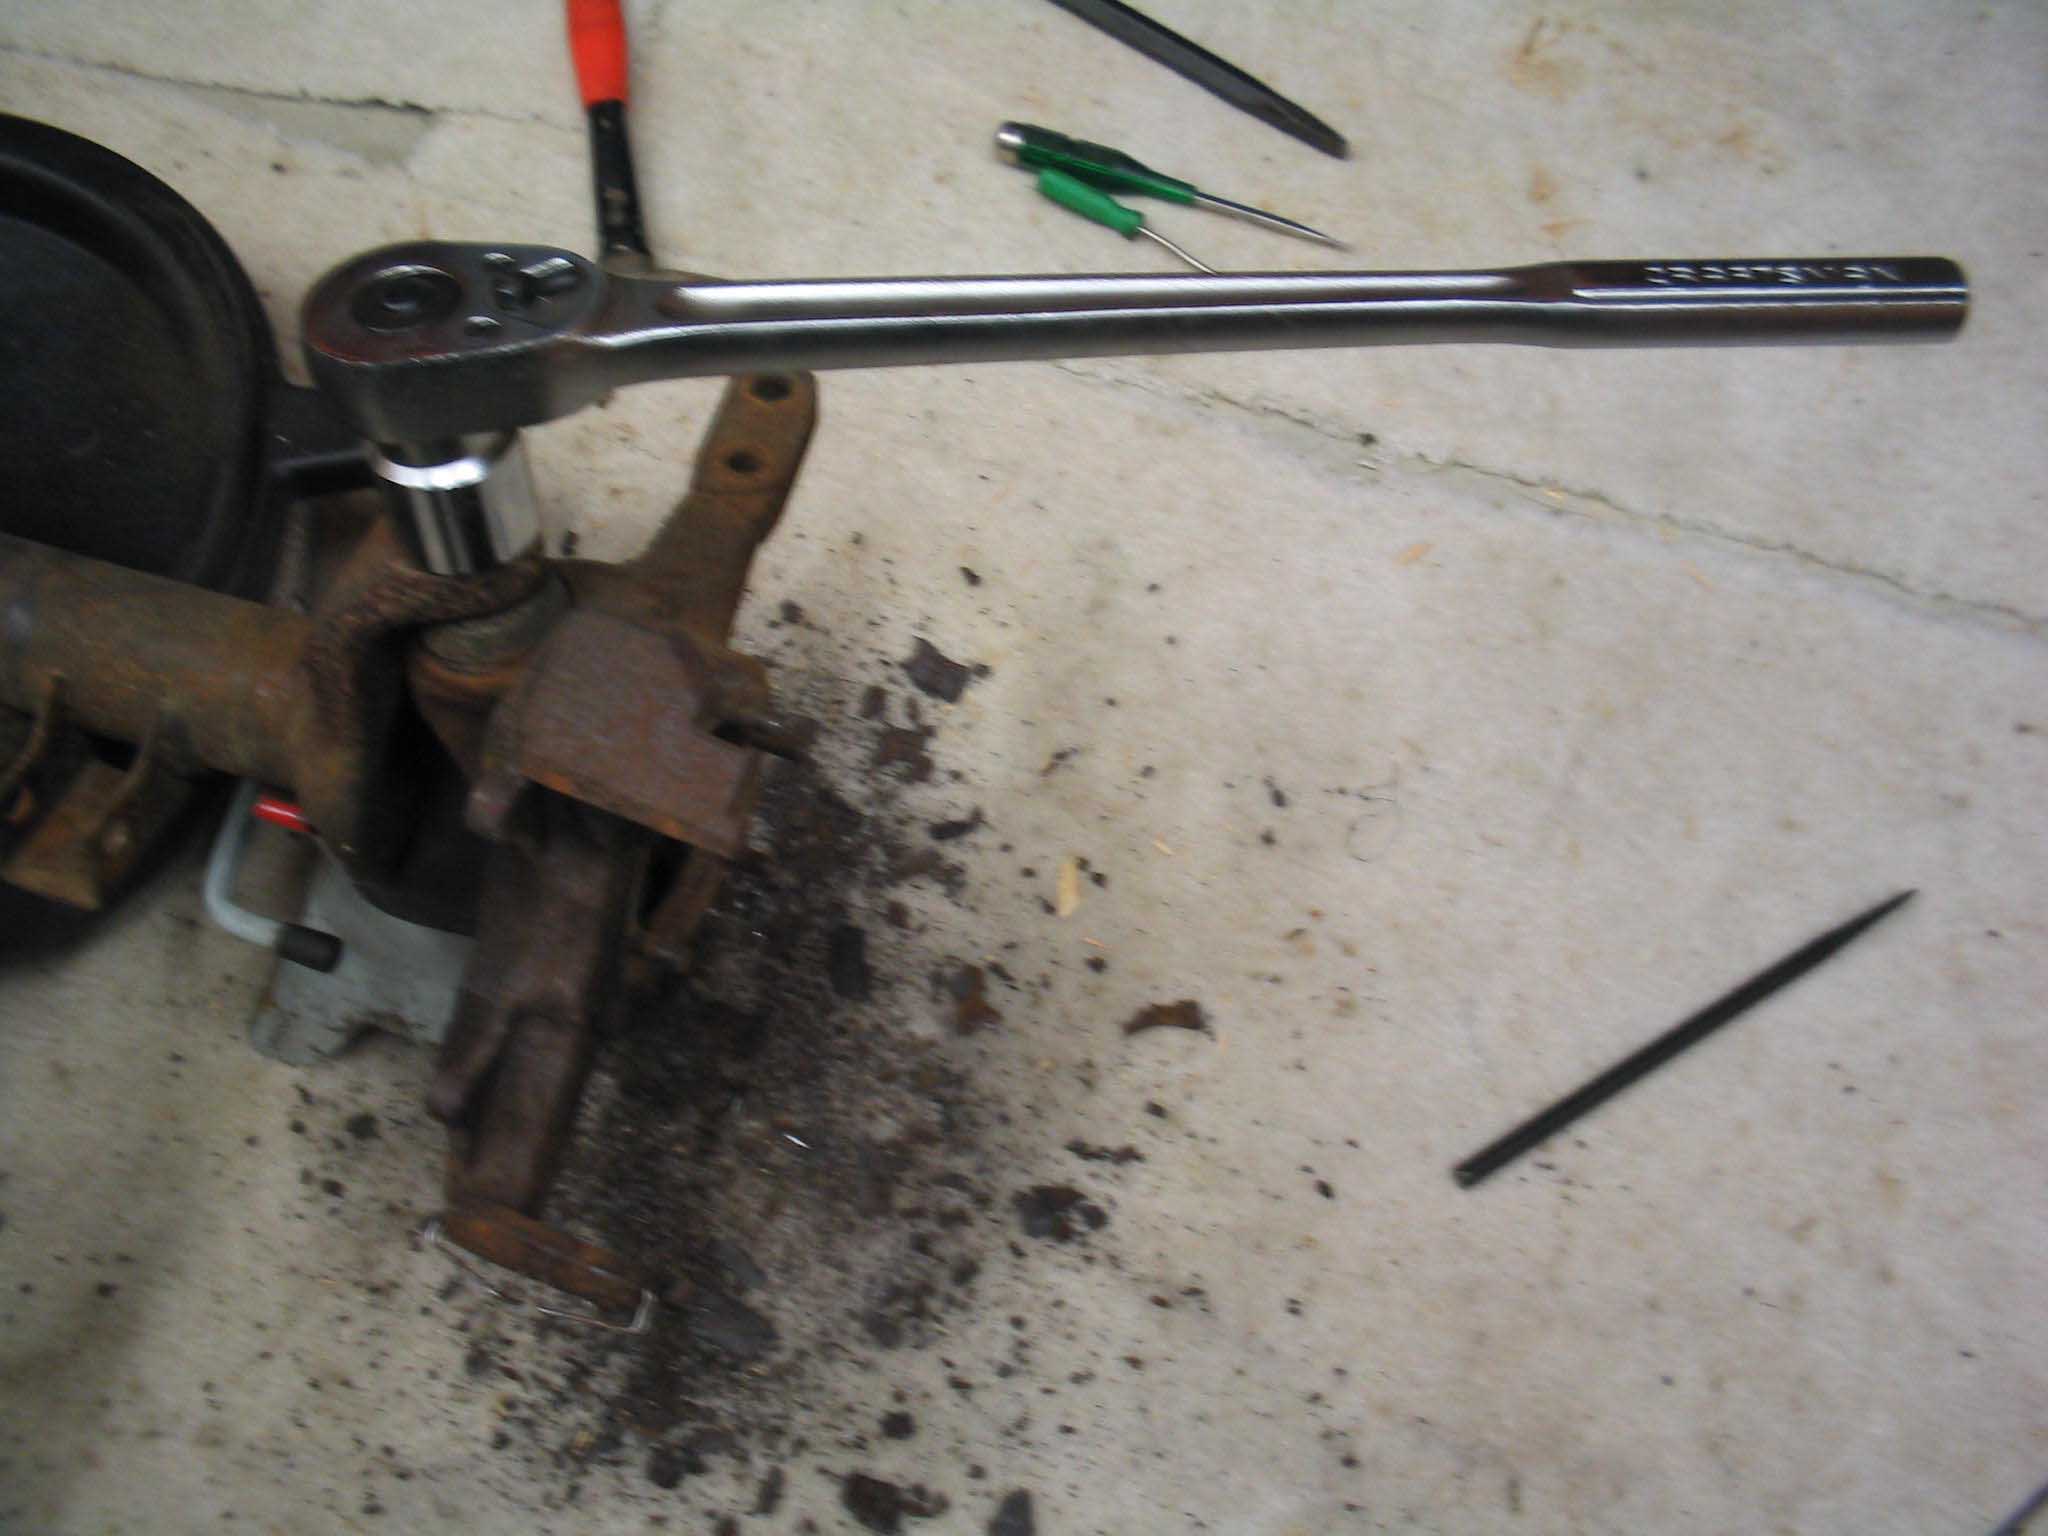
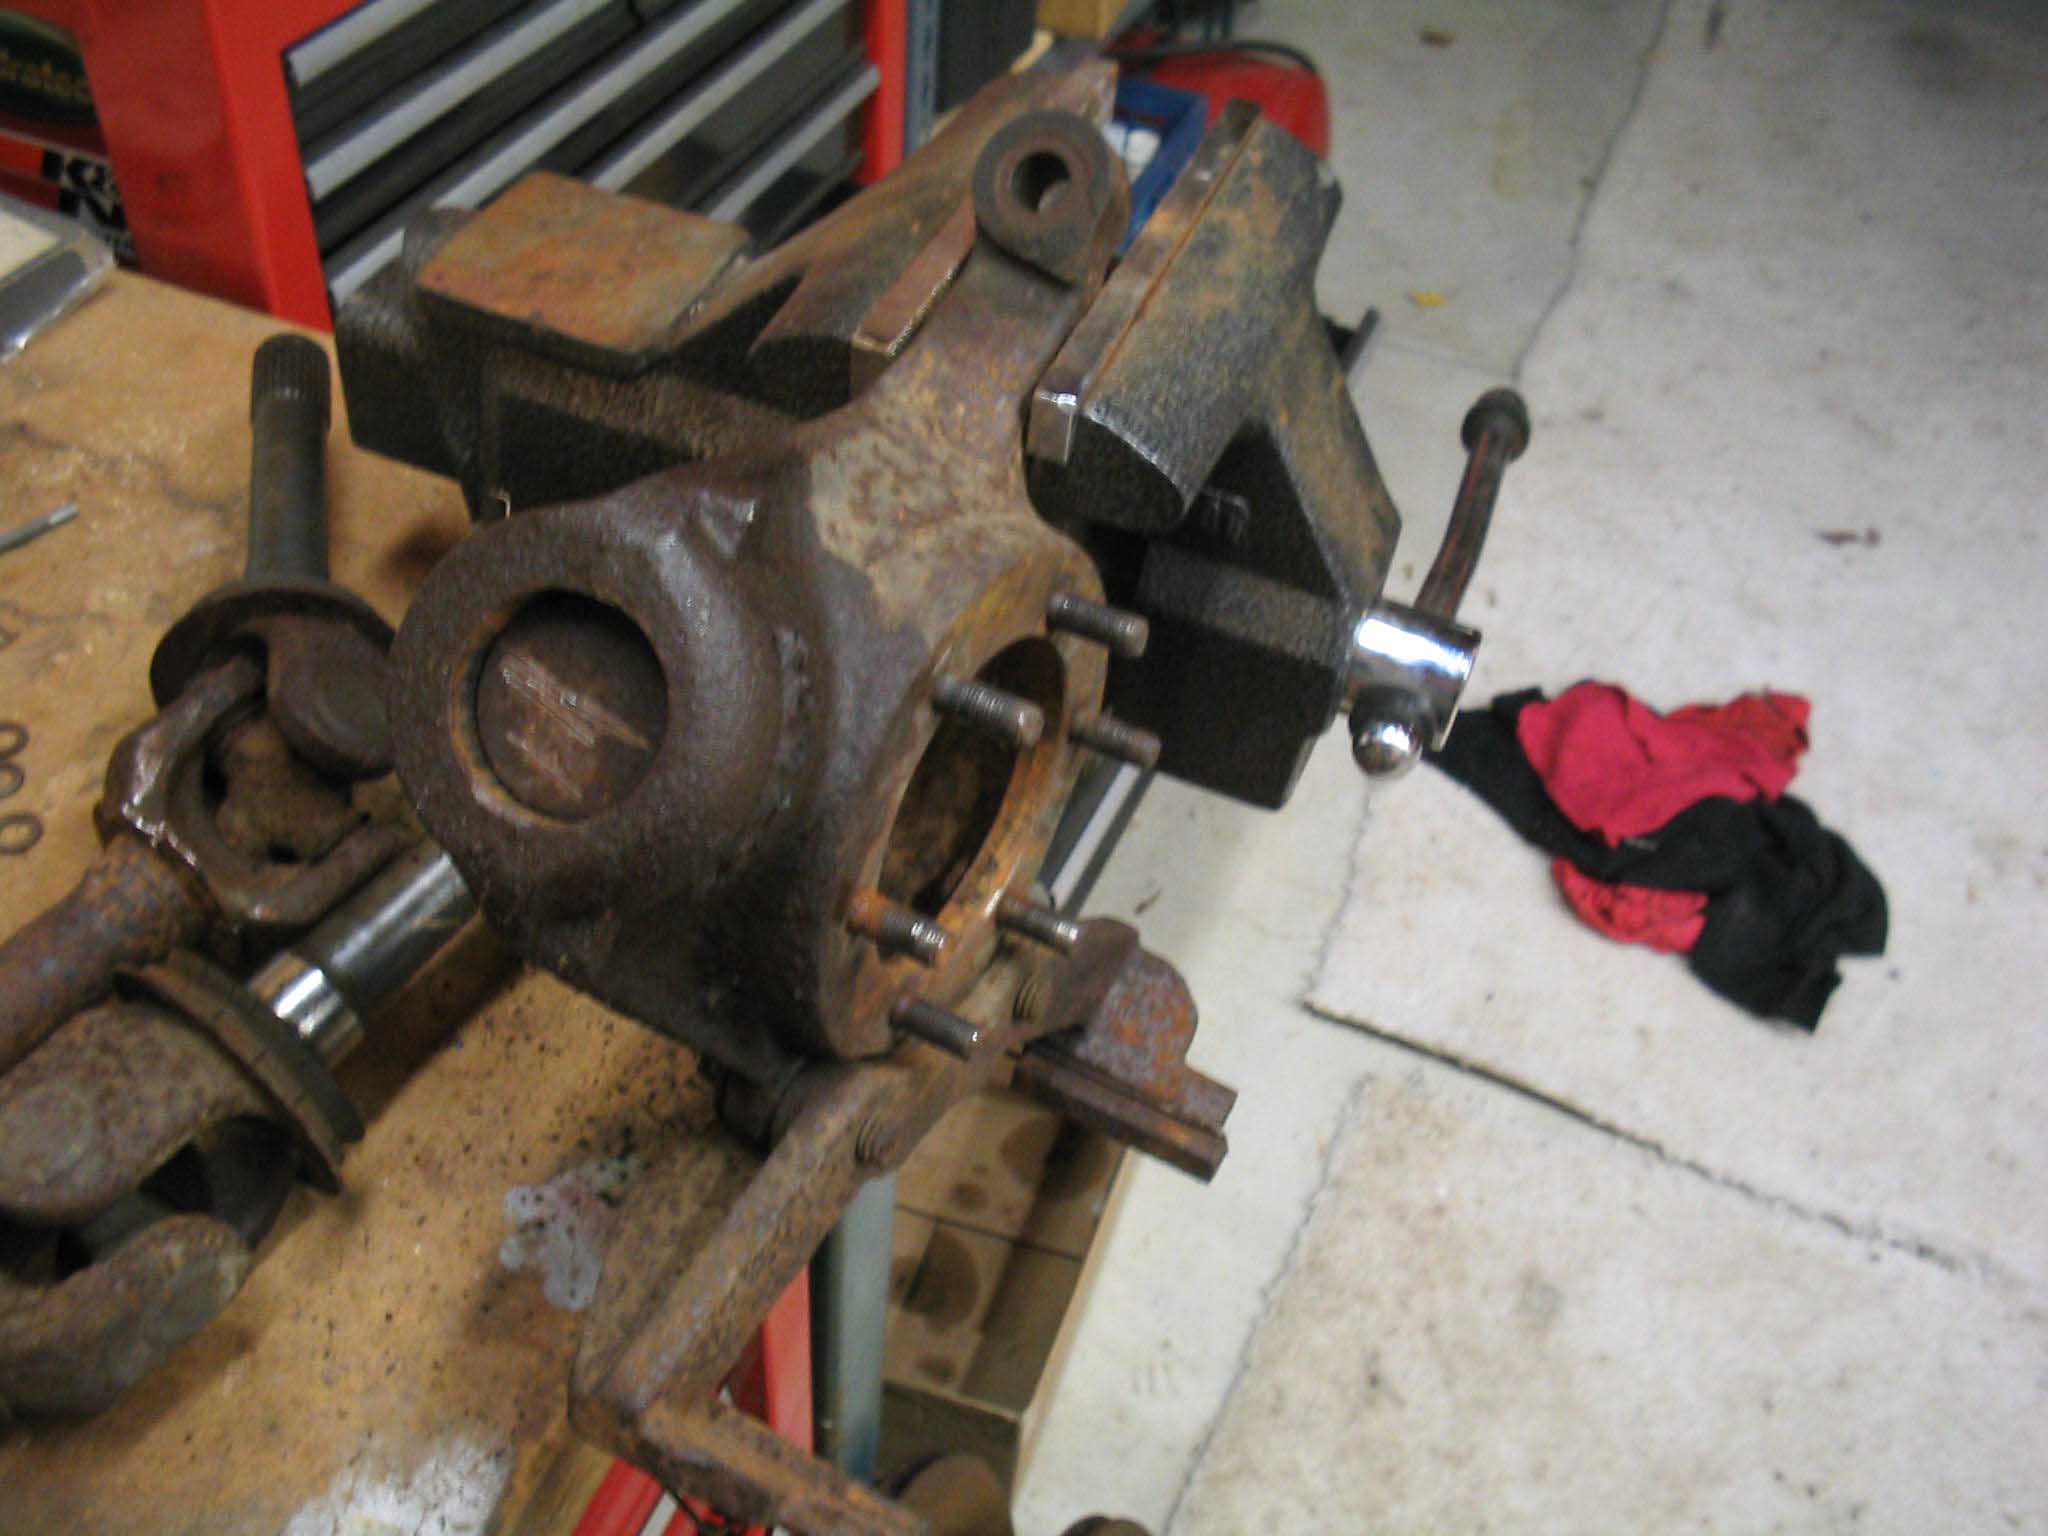
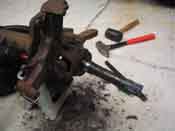
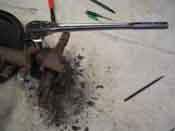
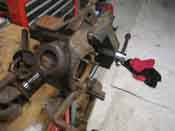
Time was running out, so I figured I would make the best of my time by putting
the knuckles in the vice and using a BFH, knock out the bottom ones. You can mostly knock them out without a
chisel or punch and then finish it off by tapping it out with those implements.
After the bottom one is out, you can get to the top one by putting a chisel or metal rod through the bottom hole
rest it on the upper ball joint and knock it out. I know these are backwards when I say what I say, but the
knuckle is upside down in the vice, remember that.
|
| |
|
|
|
|
| |
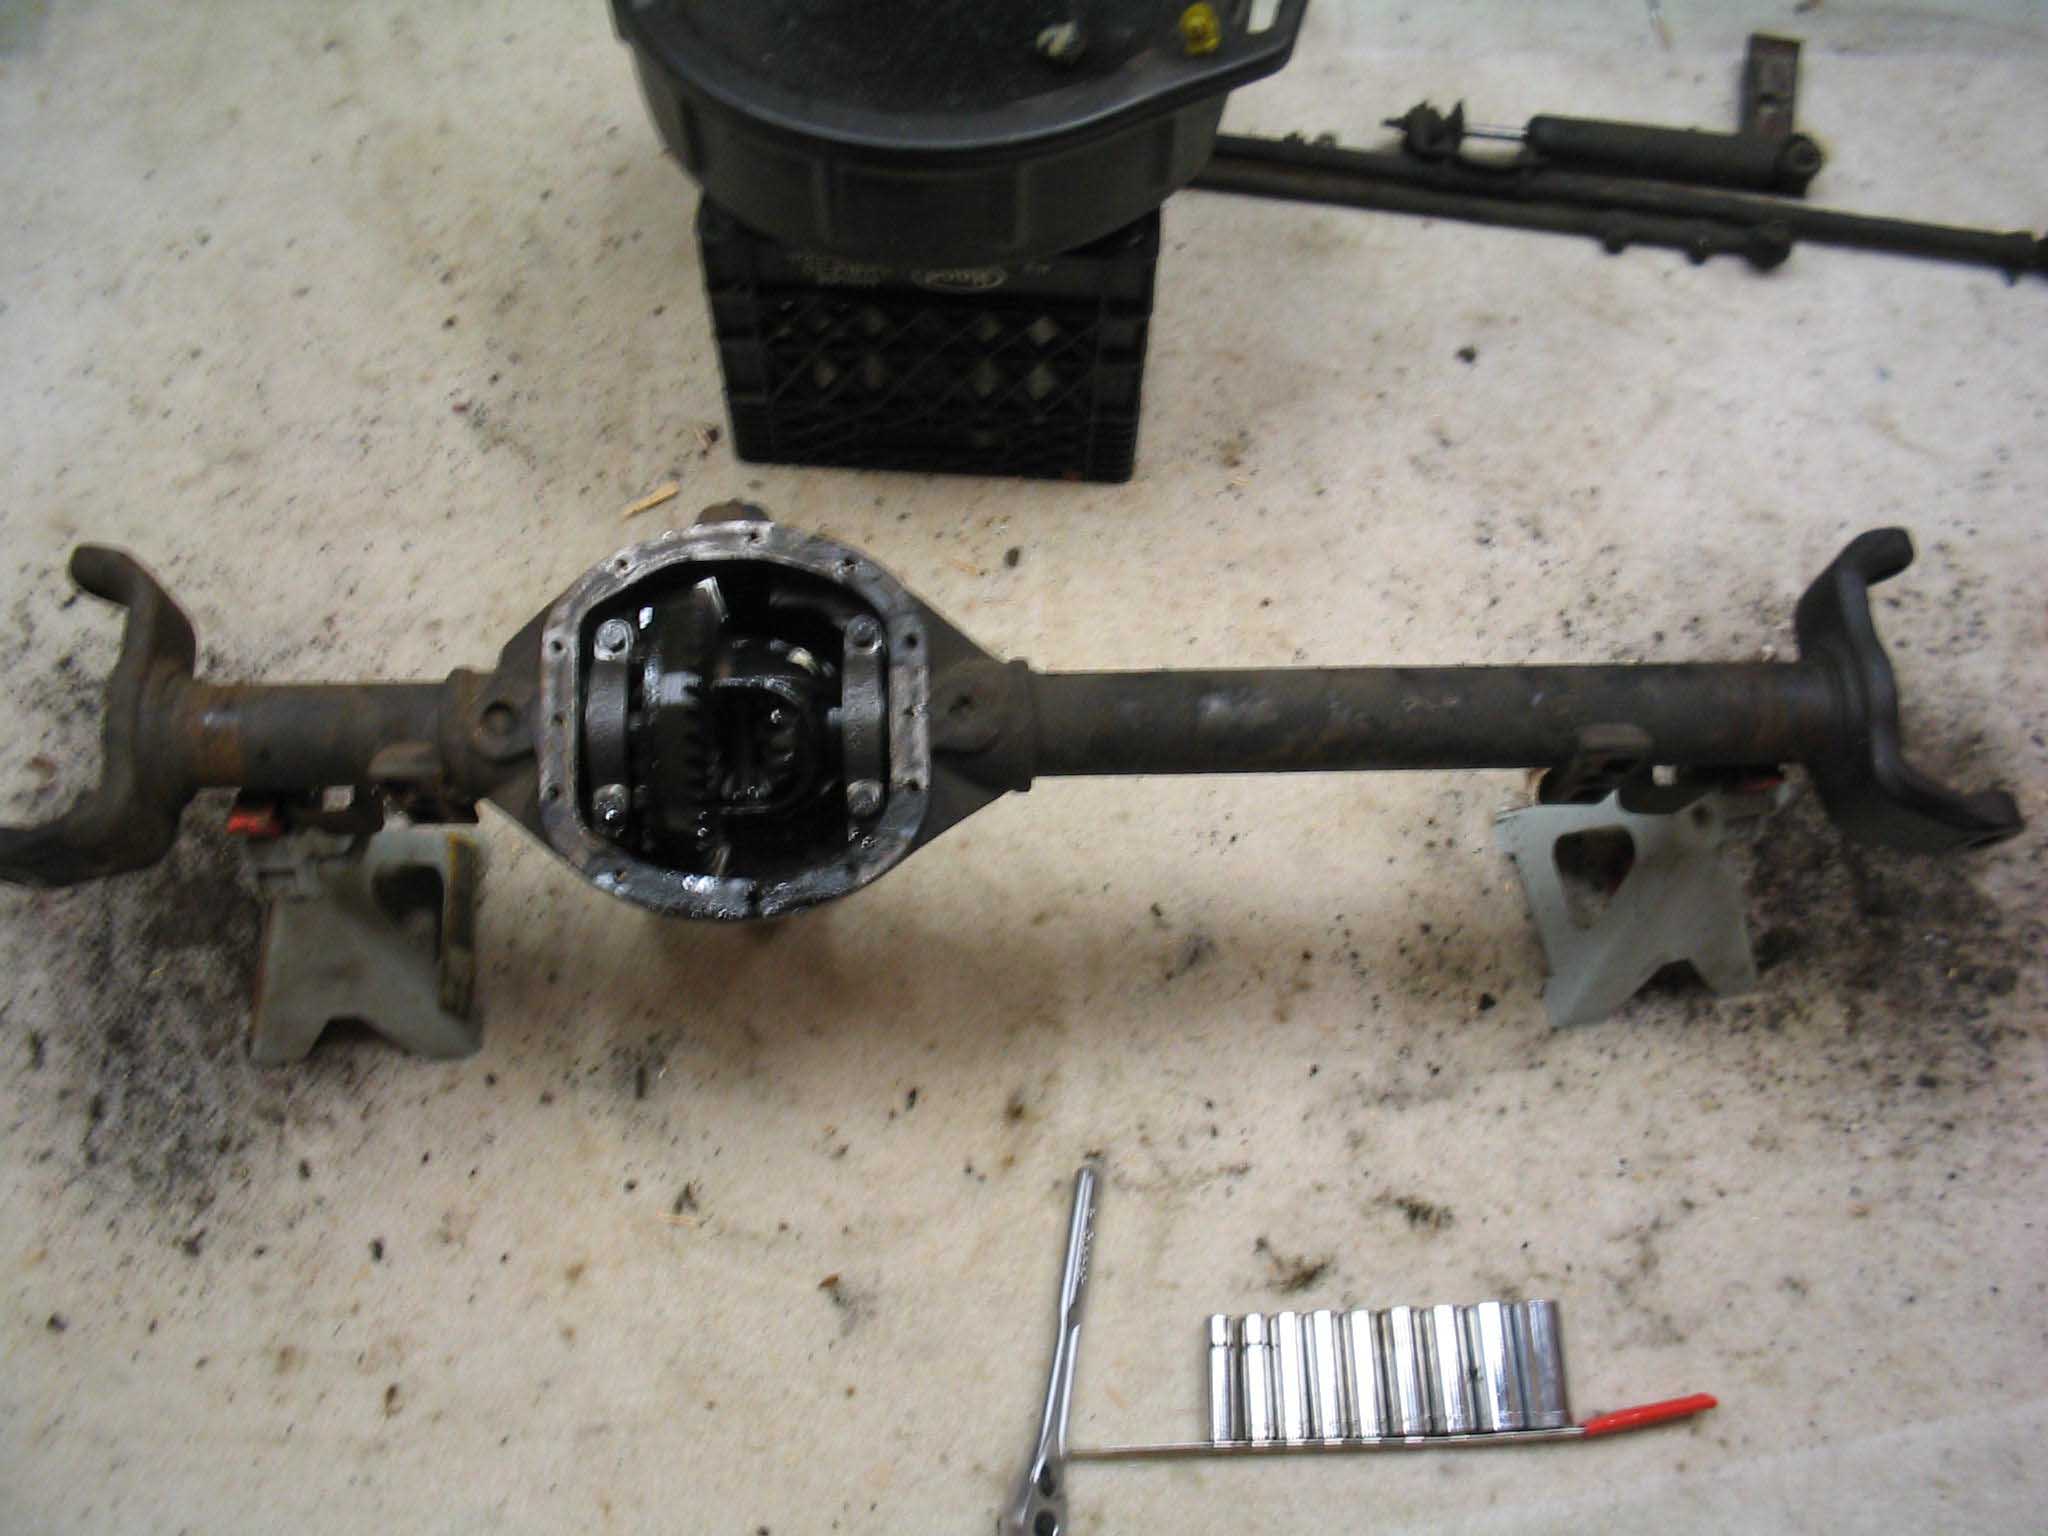
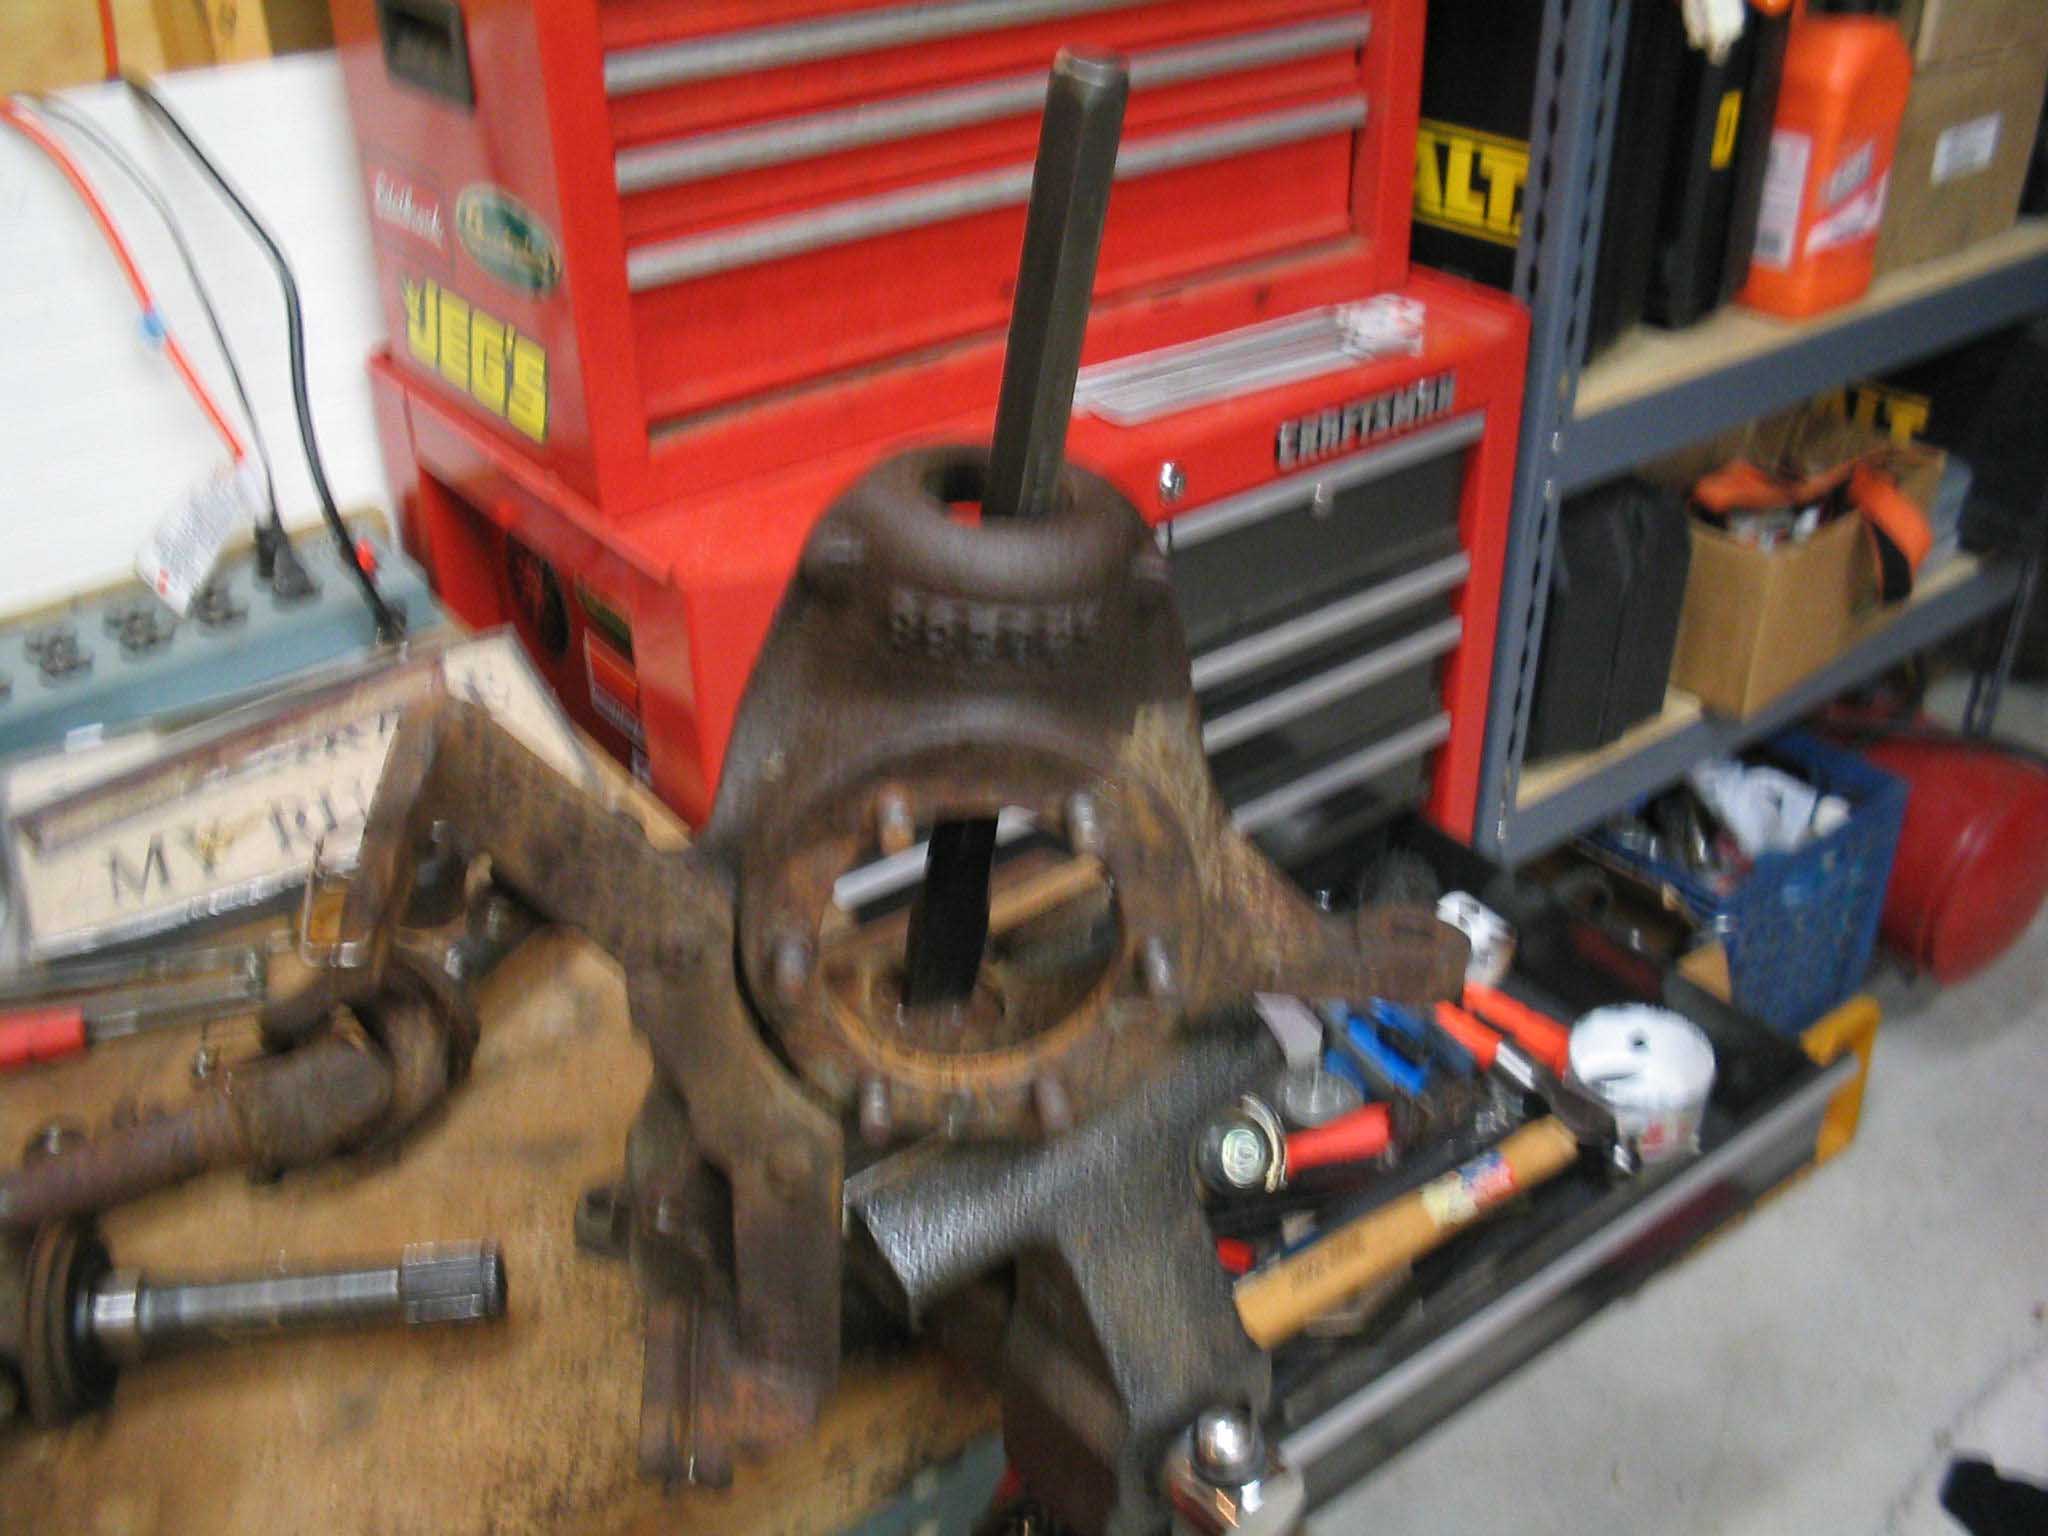
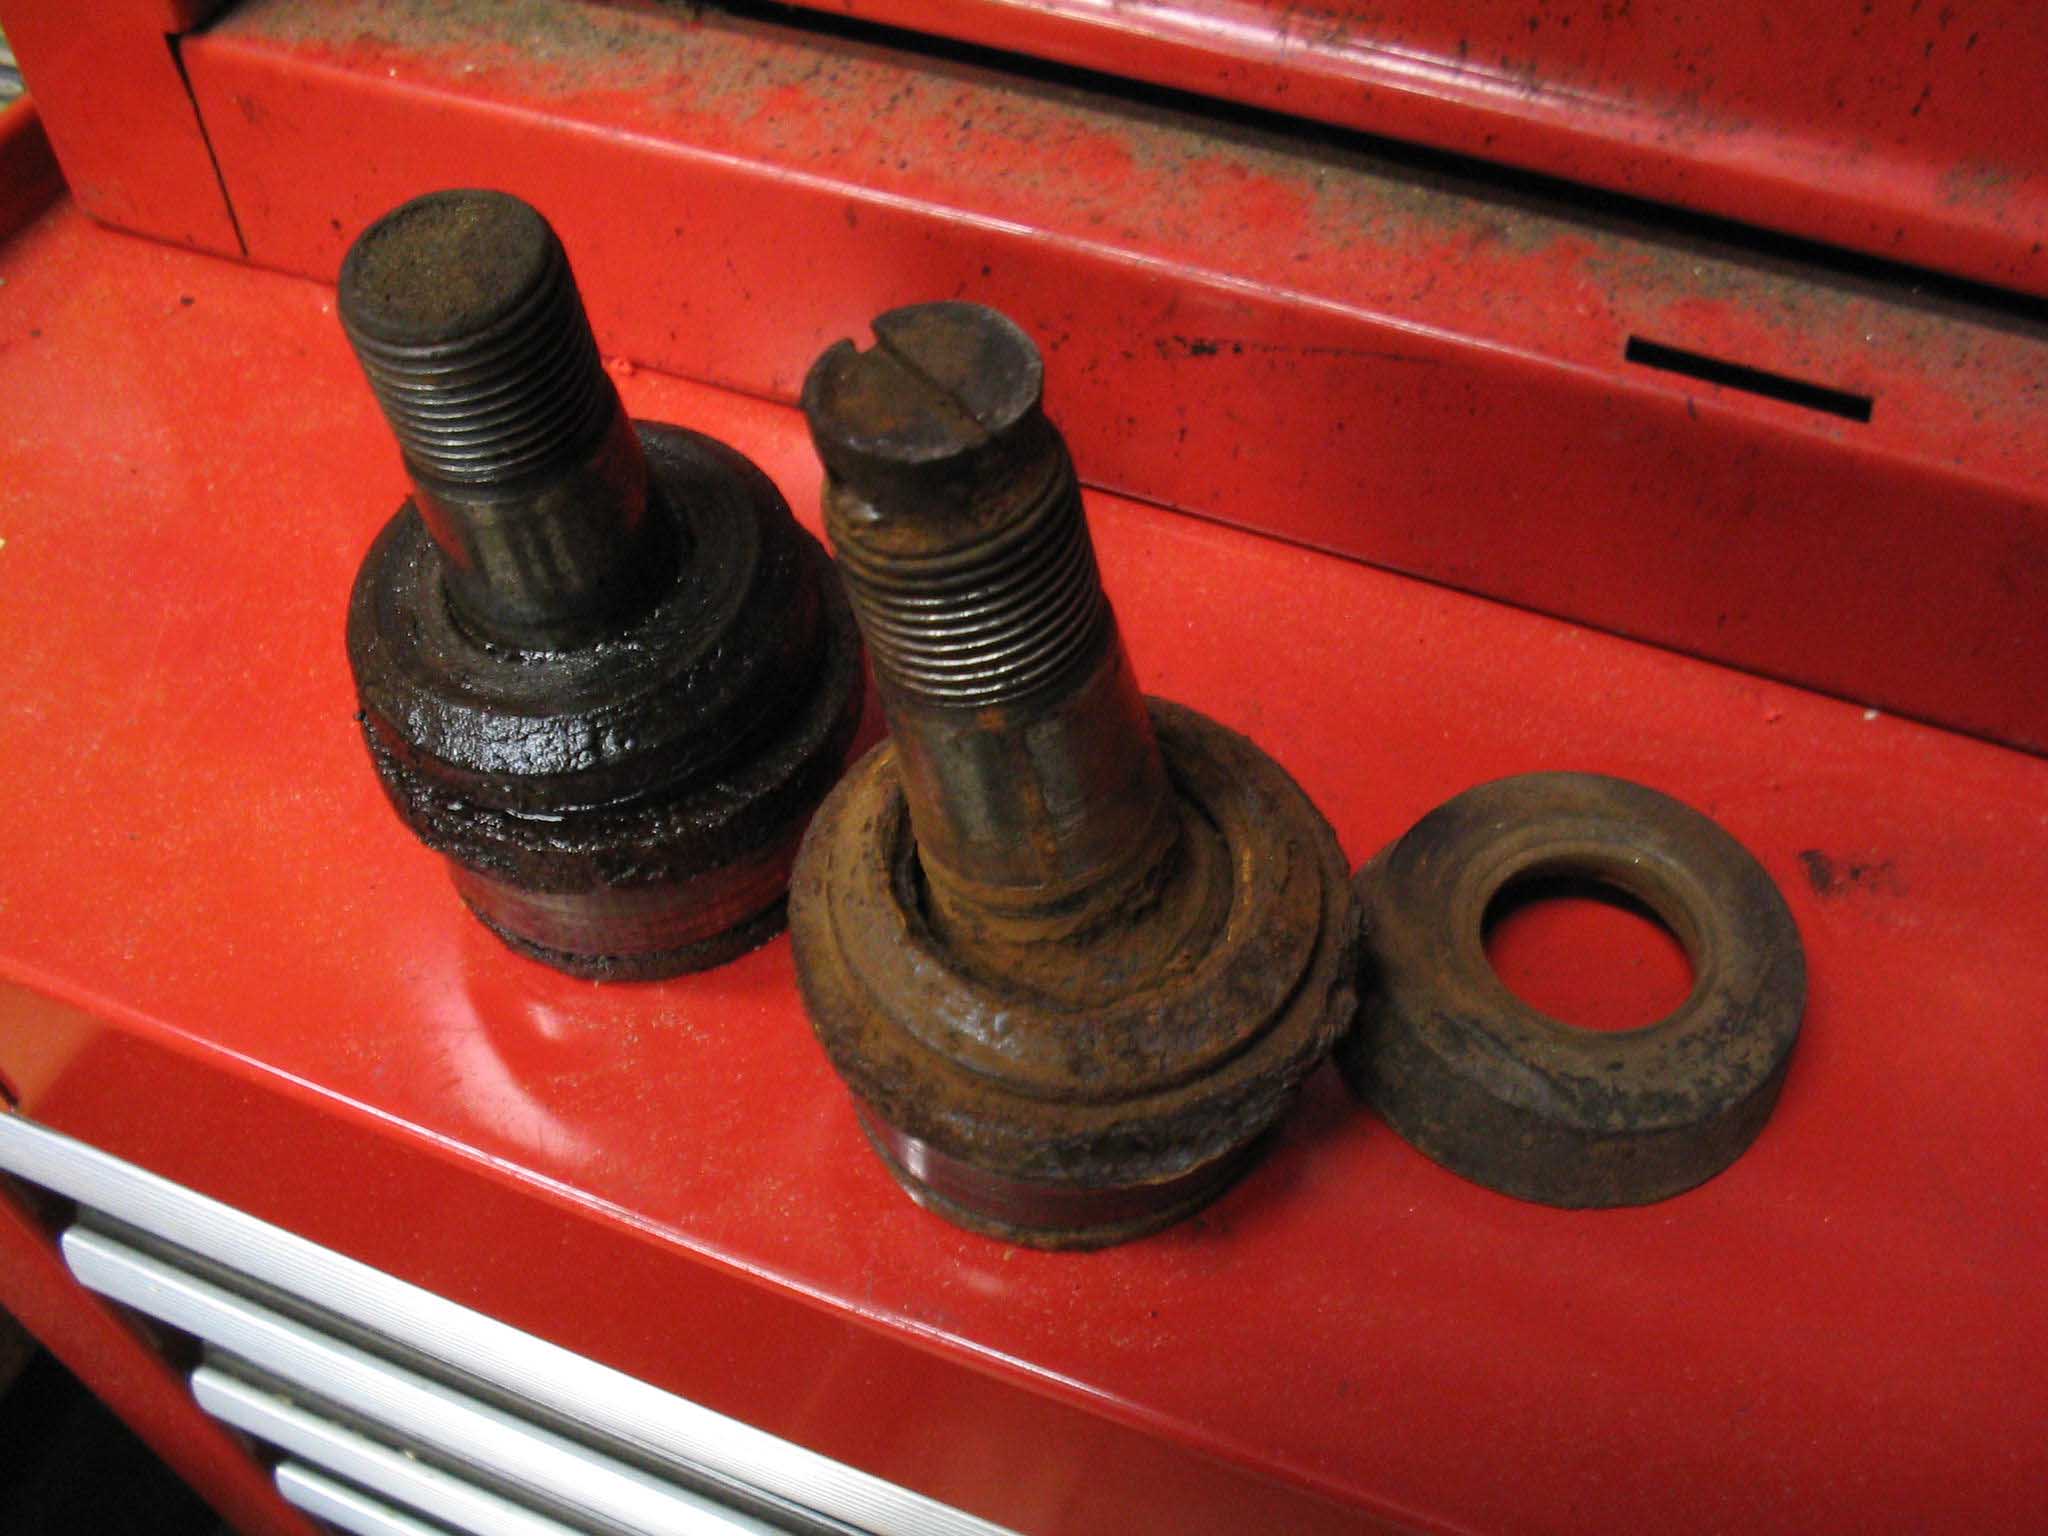
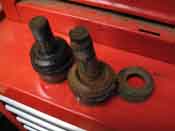
With the four ball joints out, it was time to call it a day. The uppers were
shot, but the lowers were surprisingly in good shape. The knuckles are ready for some cleaning, sandblasting,
paint, and finally getting some new ball joints installed. I am going to try the frozen ball joint and heated
knuckle trick. I will let you know if this works. Again, this is the "Free Jeep", so I am trying to limit
any of the machining costs. I don't have a press, so I can't do a lot of this stuff easily. The hammer on
old ball joints is easy, especially if you plan on replacing them, but they can also be pressed out, can use a
ball joint removal tool, etc. Lots of ways to do this.
So, I have updated the total on the tally page and now I am waiting on getting some parts. I don't have the
paint yet, nor do I have the ball joints. I need to get the carrier out (it was stuck in there pretty good), but
I don't have the axle seals either. I have the rotors/pads/calipers and u-joints, but am waiting on some
other parts. If I have time, I will show how to remove the hubs from the old rotors, again, need paint to clean
them up, and then install them on the new rotors. The bearings appear to be in good shape, so we will re-grease
them and re-use them.
cb (11/29/06)
|
| |
| << Previous |
Next >> |
|