|
|
| Project "Free Jeep" a.k.a Project "FJ" - part #39 |
| |
|
1
2
3
4
5
6
7
8
9
10
11
12
13
14
15
16
17
18
19
20
21
22
23
24
25
26
27
28
29
30
31
32
33
34
35
36
37
38
39
40
41
42
43
44
45
46
47
48
49
50
51
52
53
54
55
56
57
58
59
60
61
62
63
64
65
66
67
68
69
70
71
72
73
|
| |
| (01/13/08) I got a tremendous amount of work done today. I am so happy, I can't express it. I
finally got a bunch of hours to do a bunch of work on the Jeep. It might not look like much, but I guarantee, it is more work
then I have done in the past few weeks.
|
| |
|

|
|
|
| |
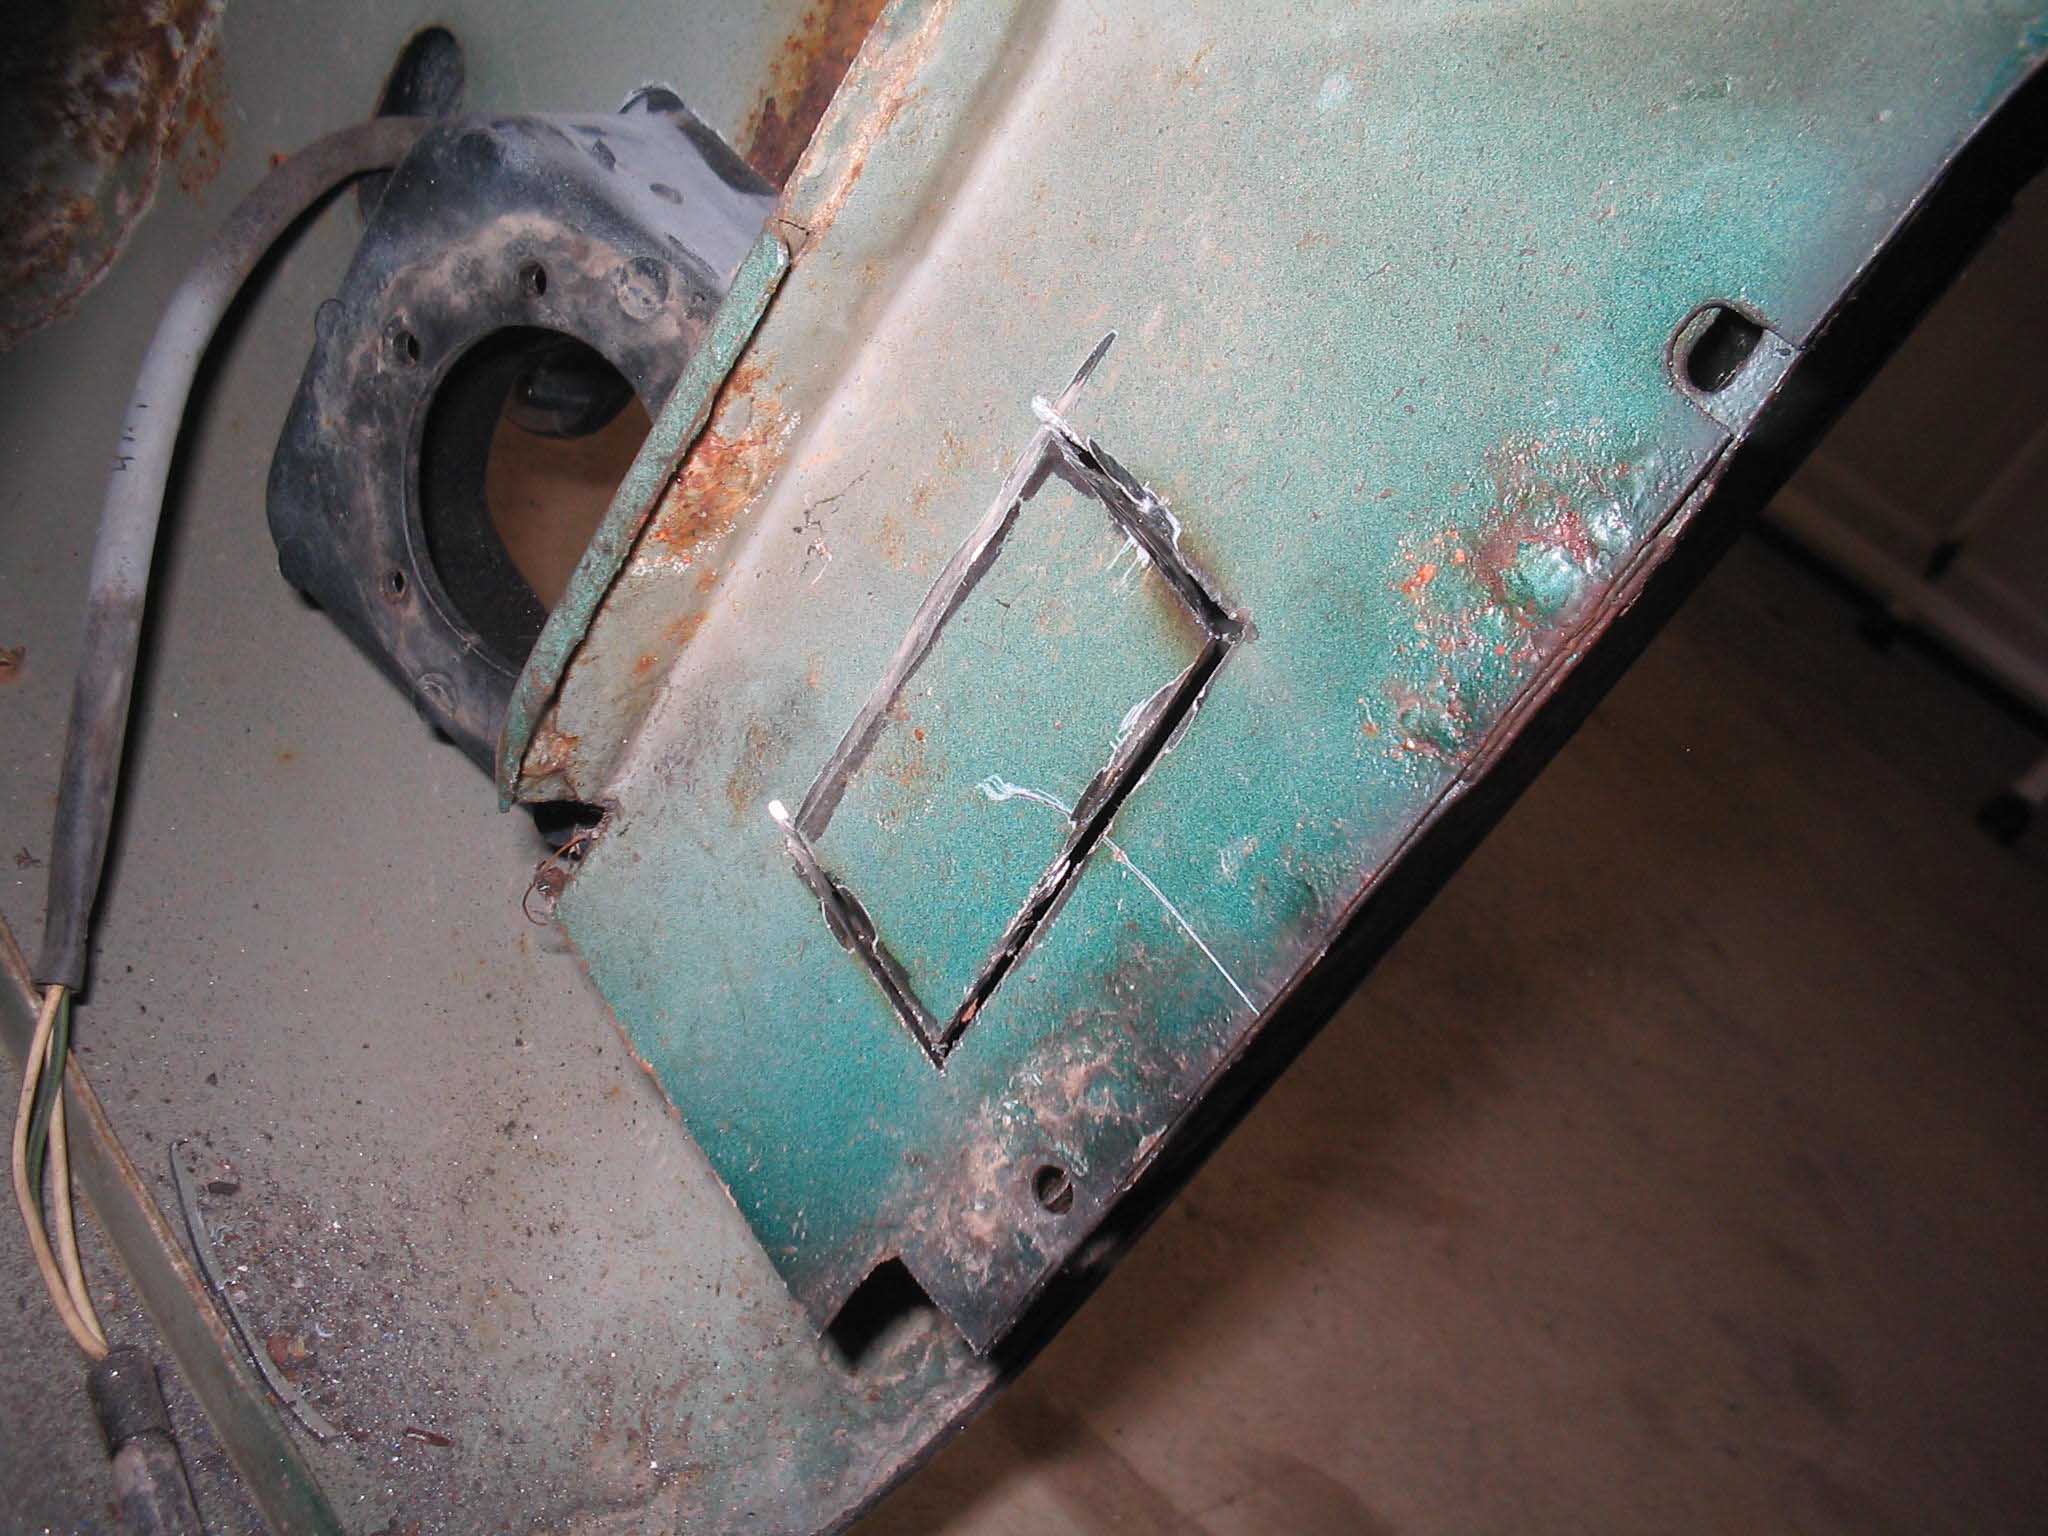
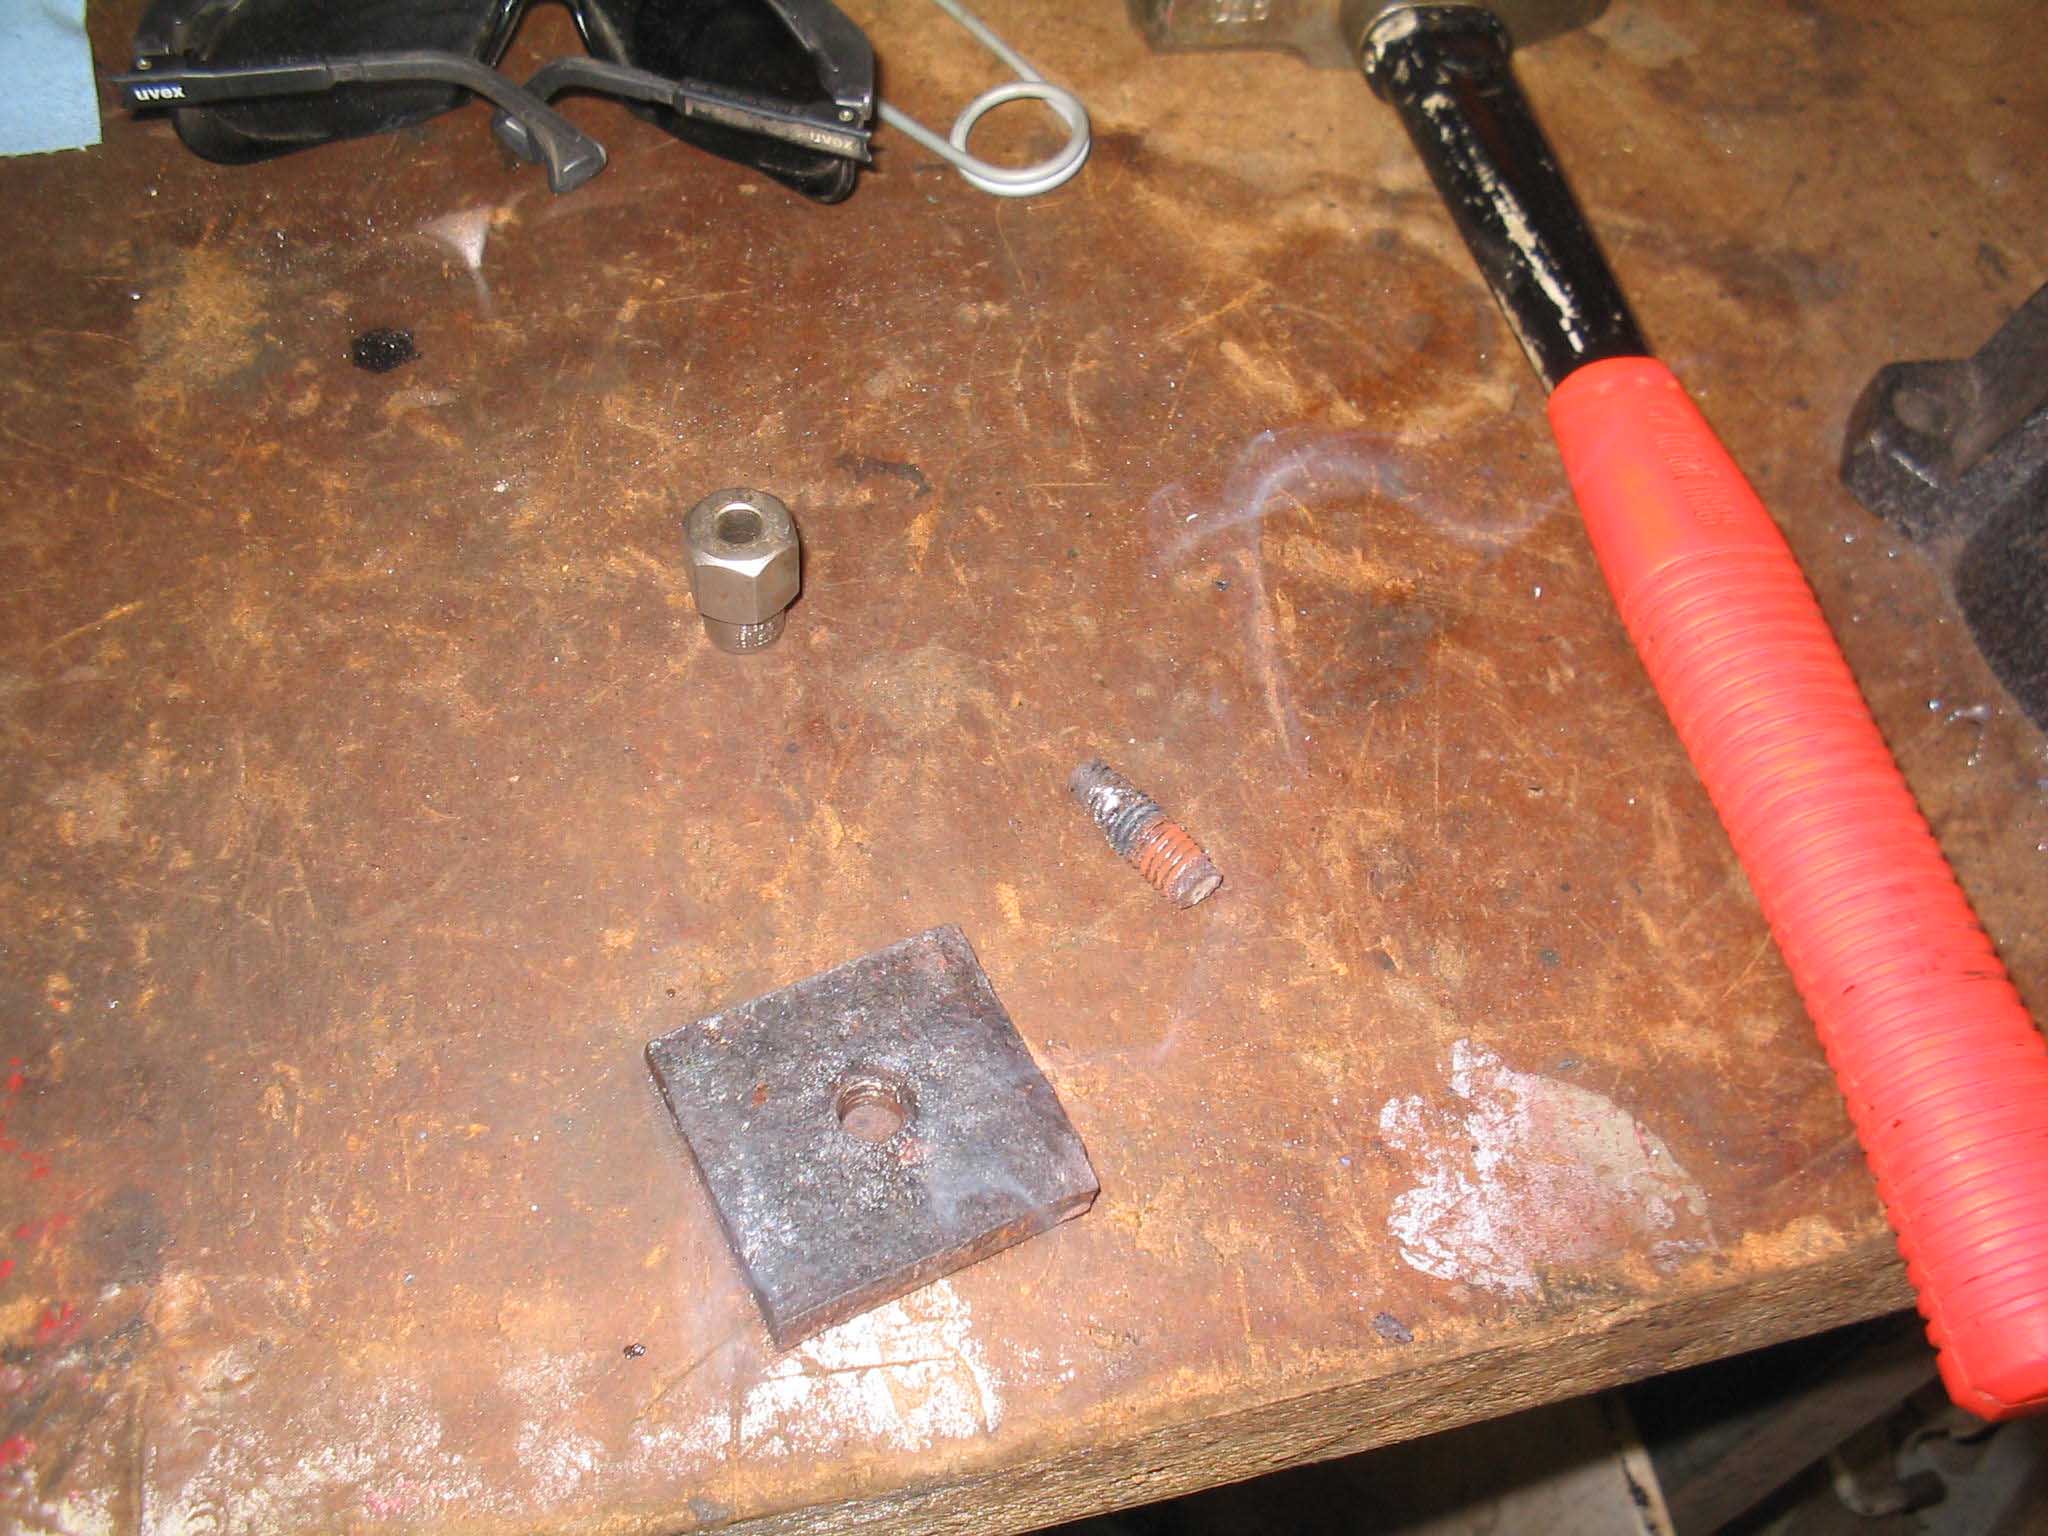
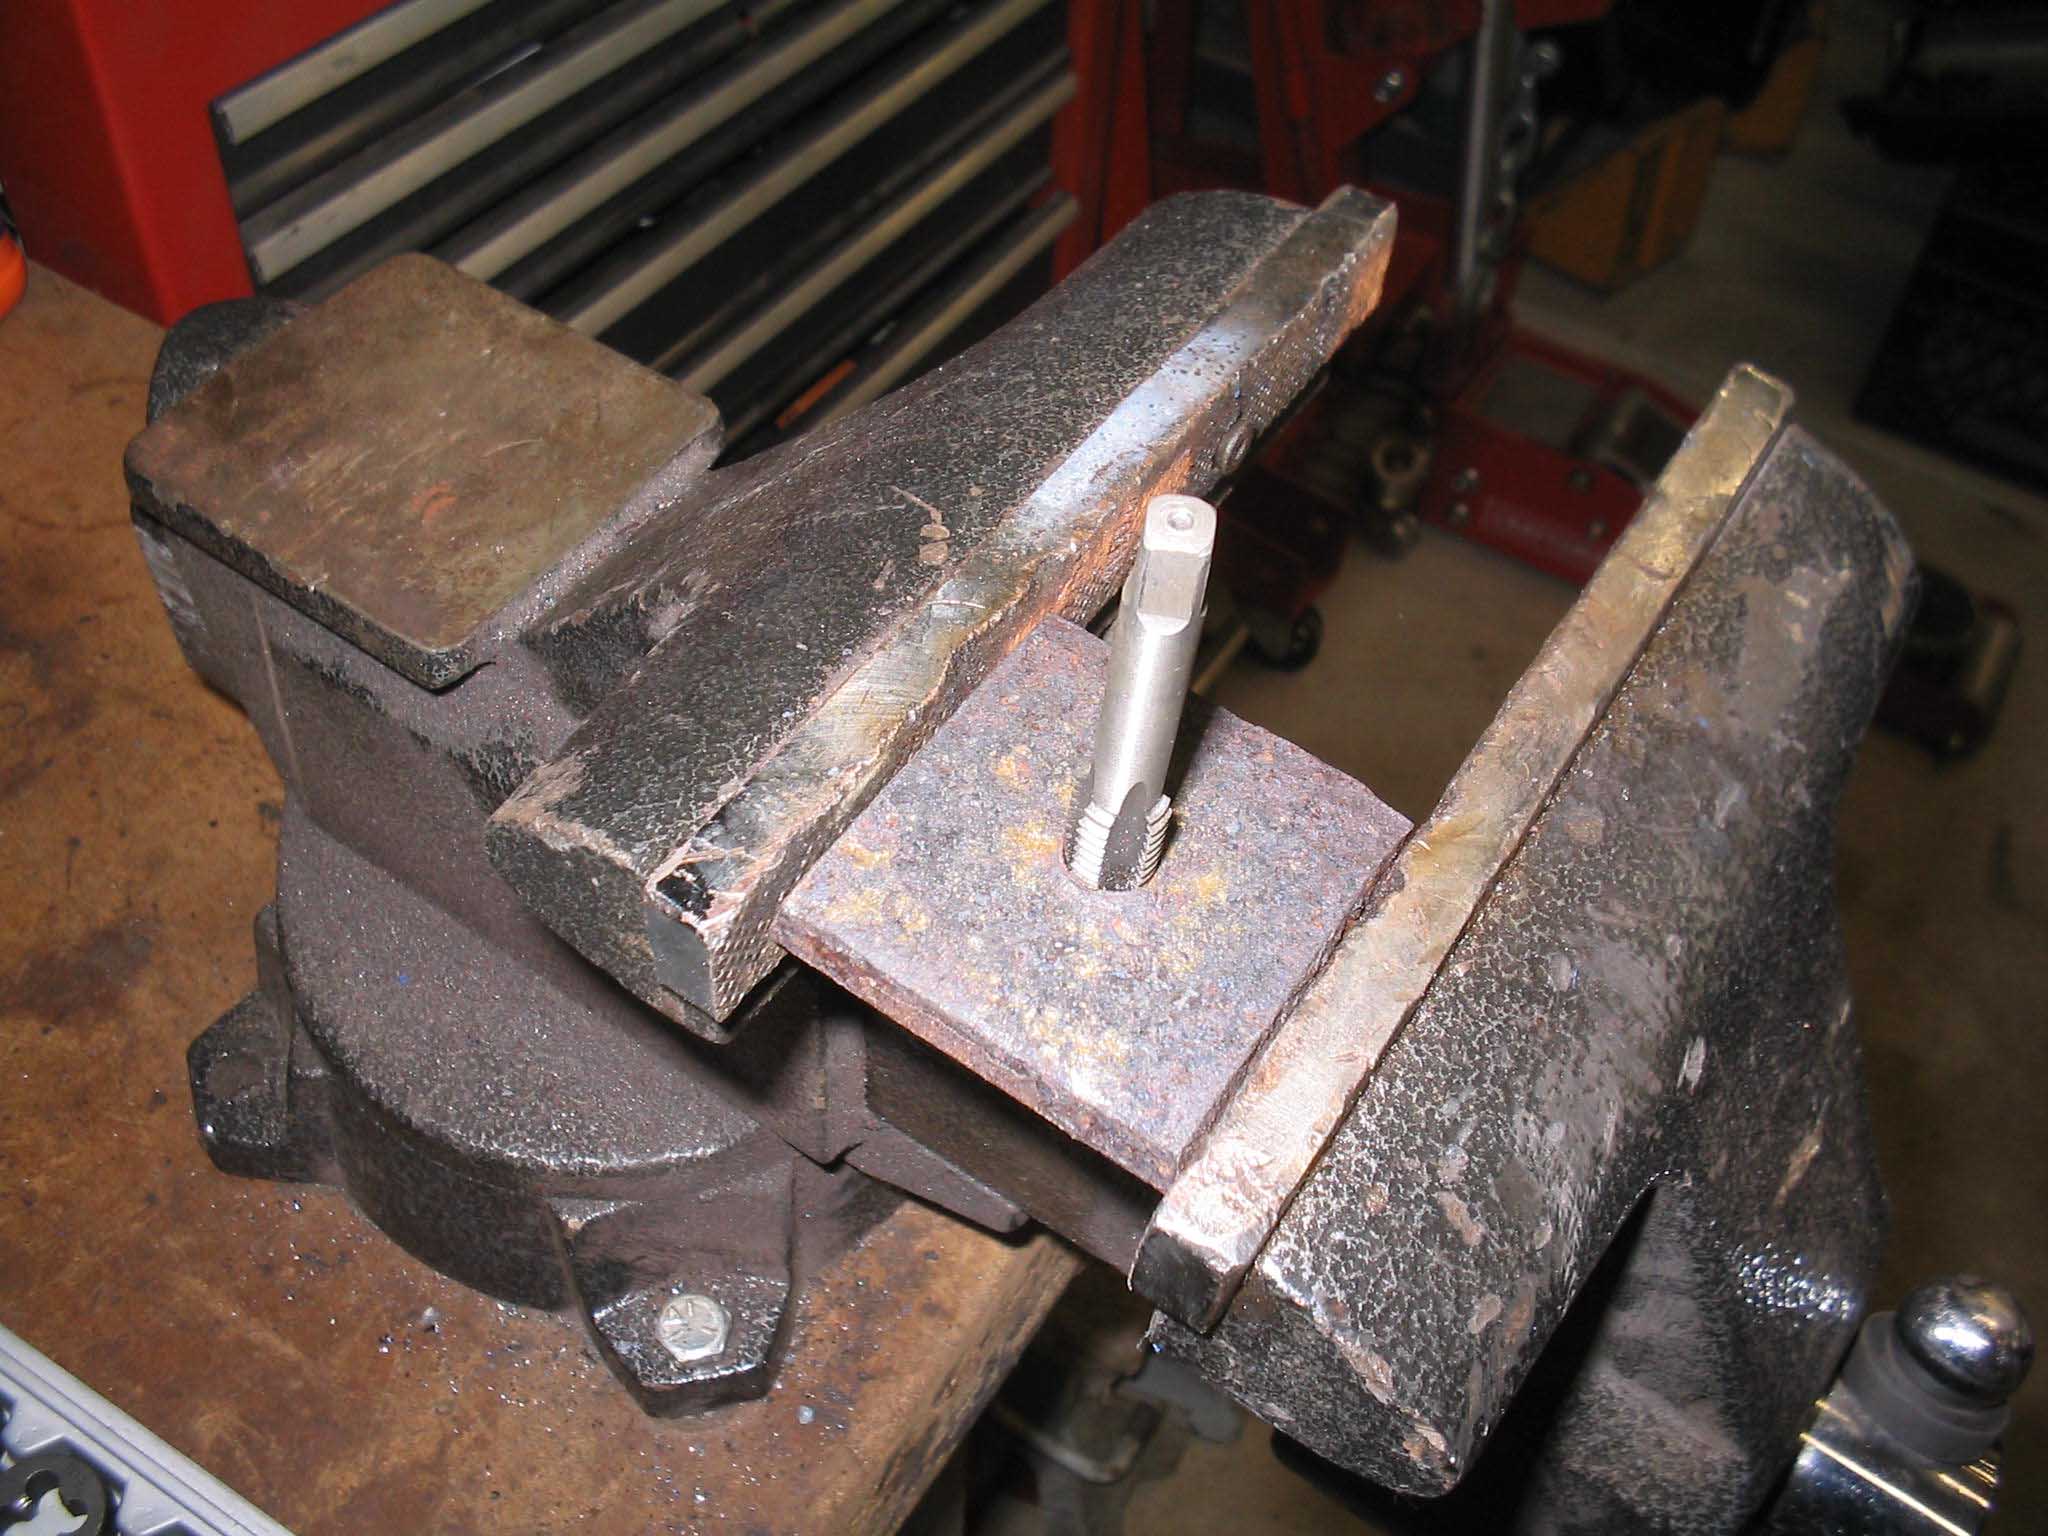
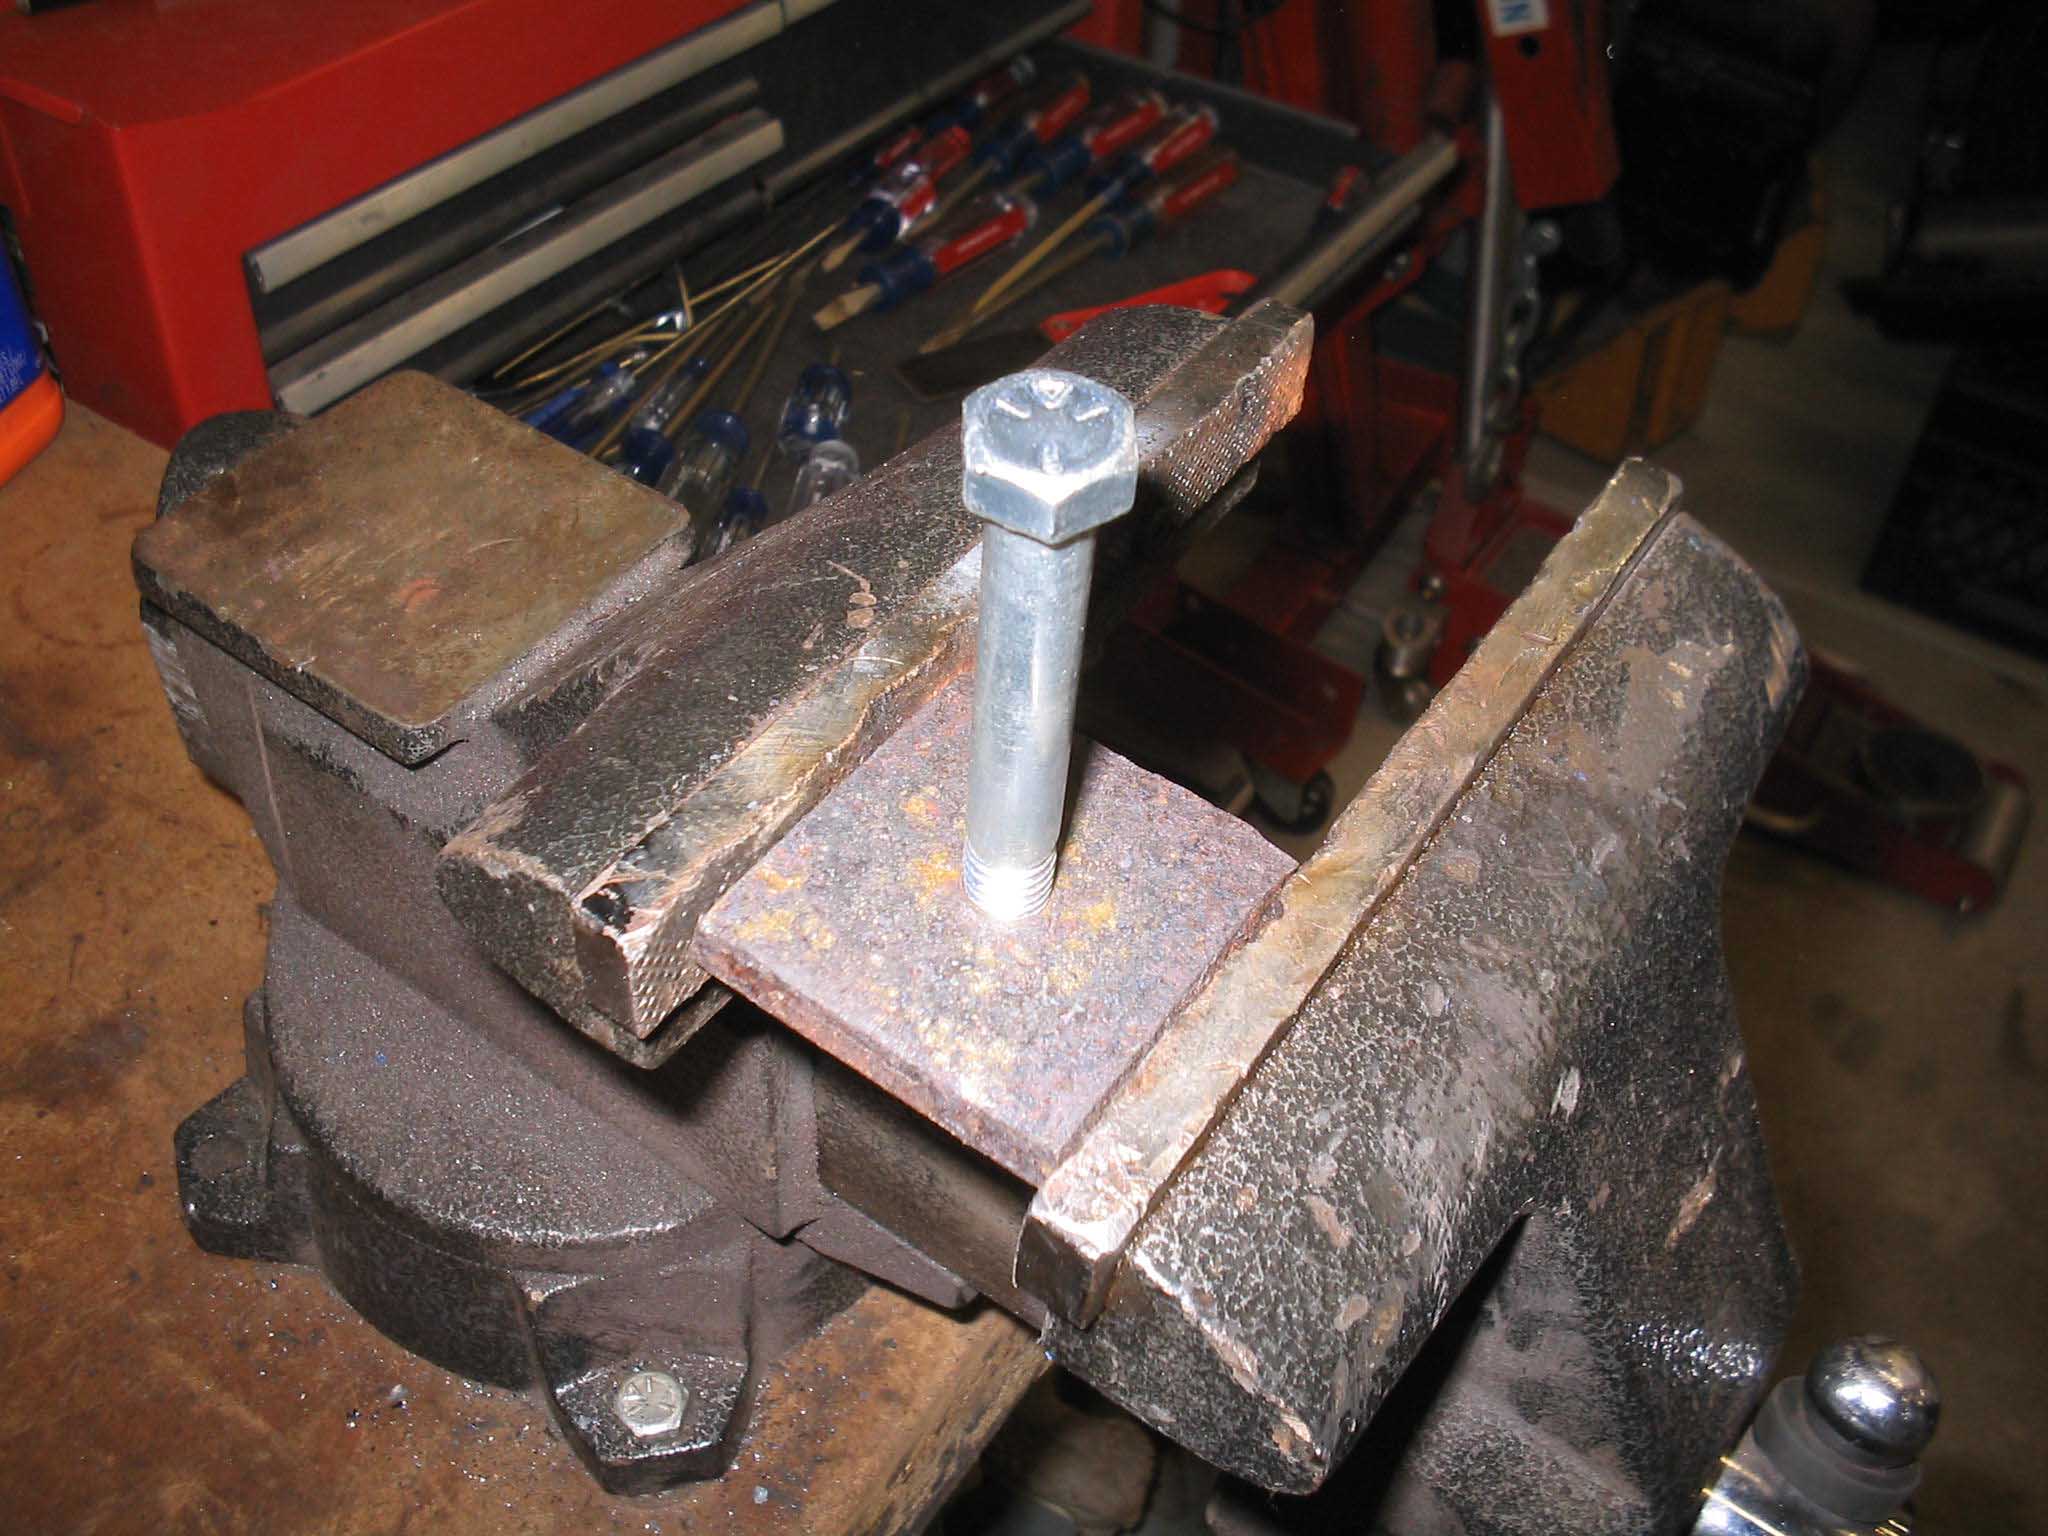
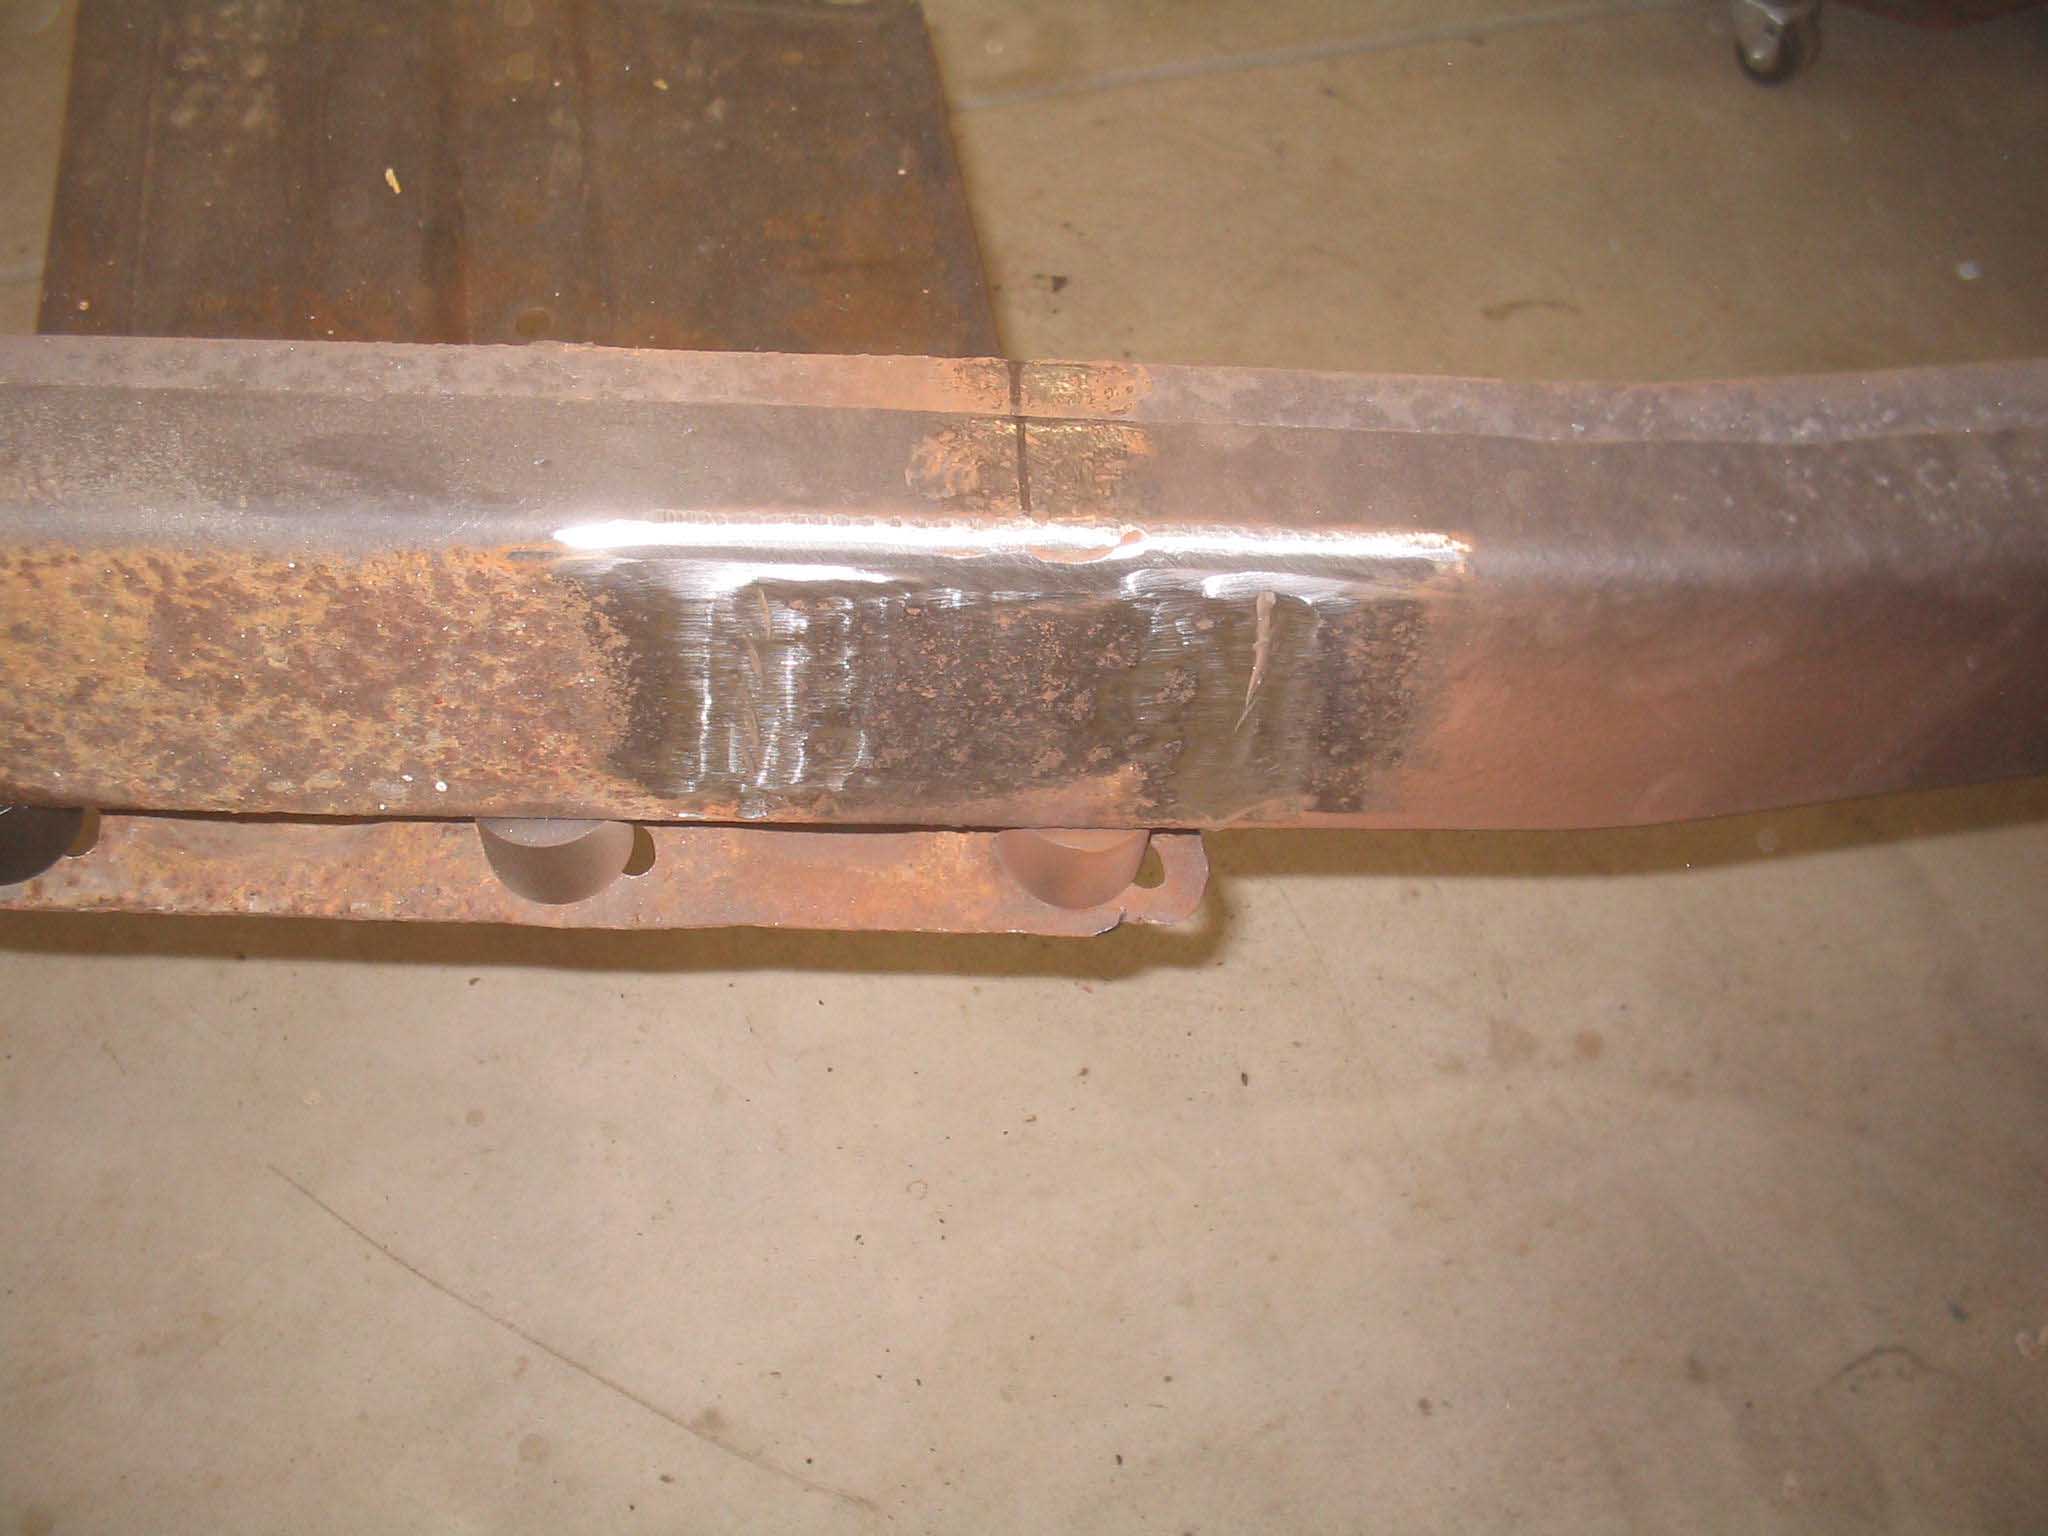
| I spent a fair amount of time working on the Jeep this weekend. Much more then all the weekend
previous to this. I was able to finish up the rear body mounts by cutting an access panel, removing the backing plate with
the snapped off bolt inside and then finally ran a tap through it to clean out the threads and finally put it back in, welded
it up, ground it down and now I am looking at something I can put back on the frame and be in good shape.
|
| |

|
|
|
|
| |
| I moved onto body mount land next and that was fun. I was able to cut off the driver side
middle mount and grind it all down and welded up a new one in its place. This took some time, but as you can see, it all
fits now and looks pretty good I think.
|
| |
|
|
|
|
| |
| I then moved onto the driver side front body mount, which was good and solid for the most part, it
just had an issue with the part around where the mount sat. It was not too thick there anymore, so the piece was cut out, the
replacement mount was then cut and put in place and welded up. This gave it the strength it will need and the thickness to
boot.
|
| |

|
|

|
|
| |
| I threw some paint on the parts that were ground down and welded up and then I moved onto
cleaning up the garage. It was a mess, so I moved everything round, swept and vacuumed up everything and then moved it all
over to one side so I could get the truck in there with the Jeep parts. We were slated to have a foot of snow, so having the
truck in there just makes it easier to not have to clean.
|
| |
|

|

|
|
| |
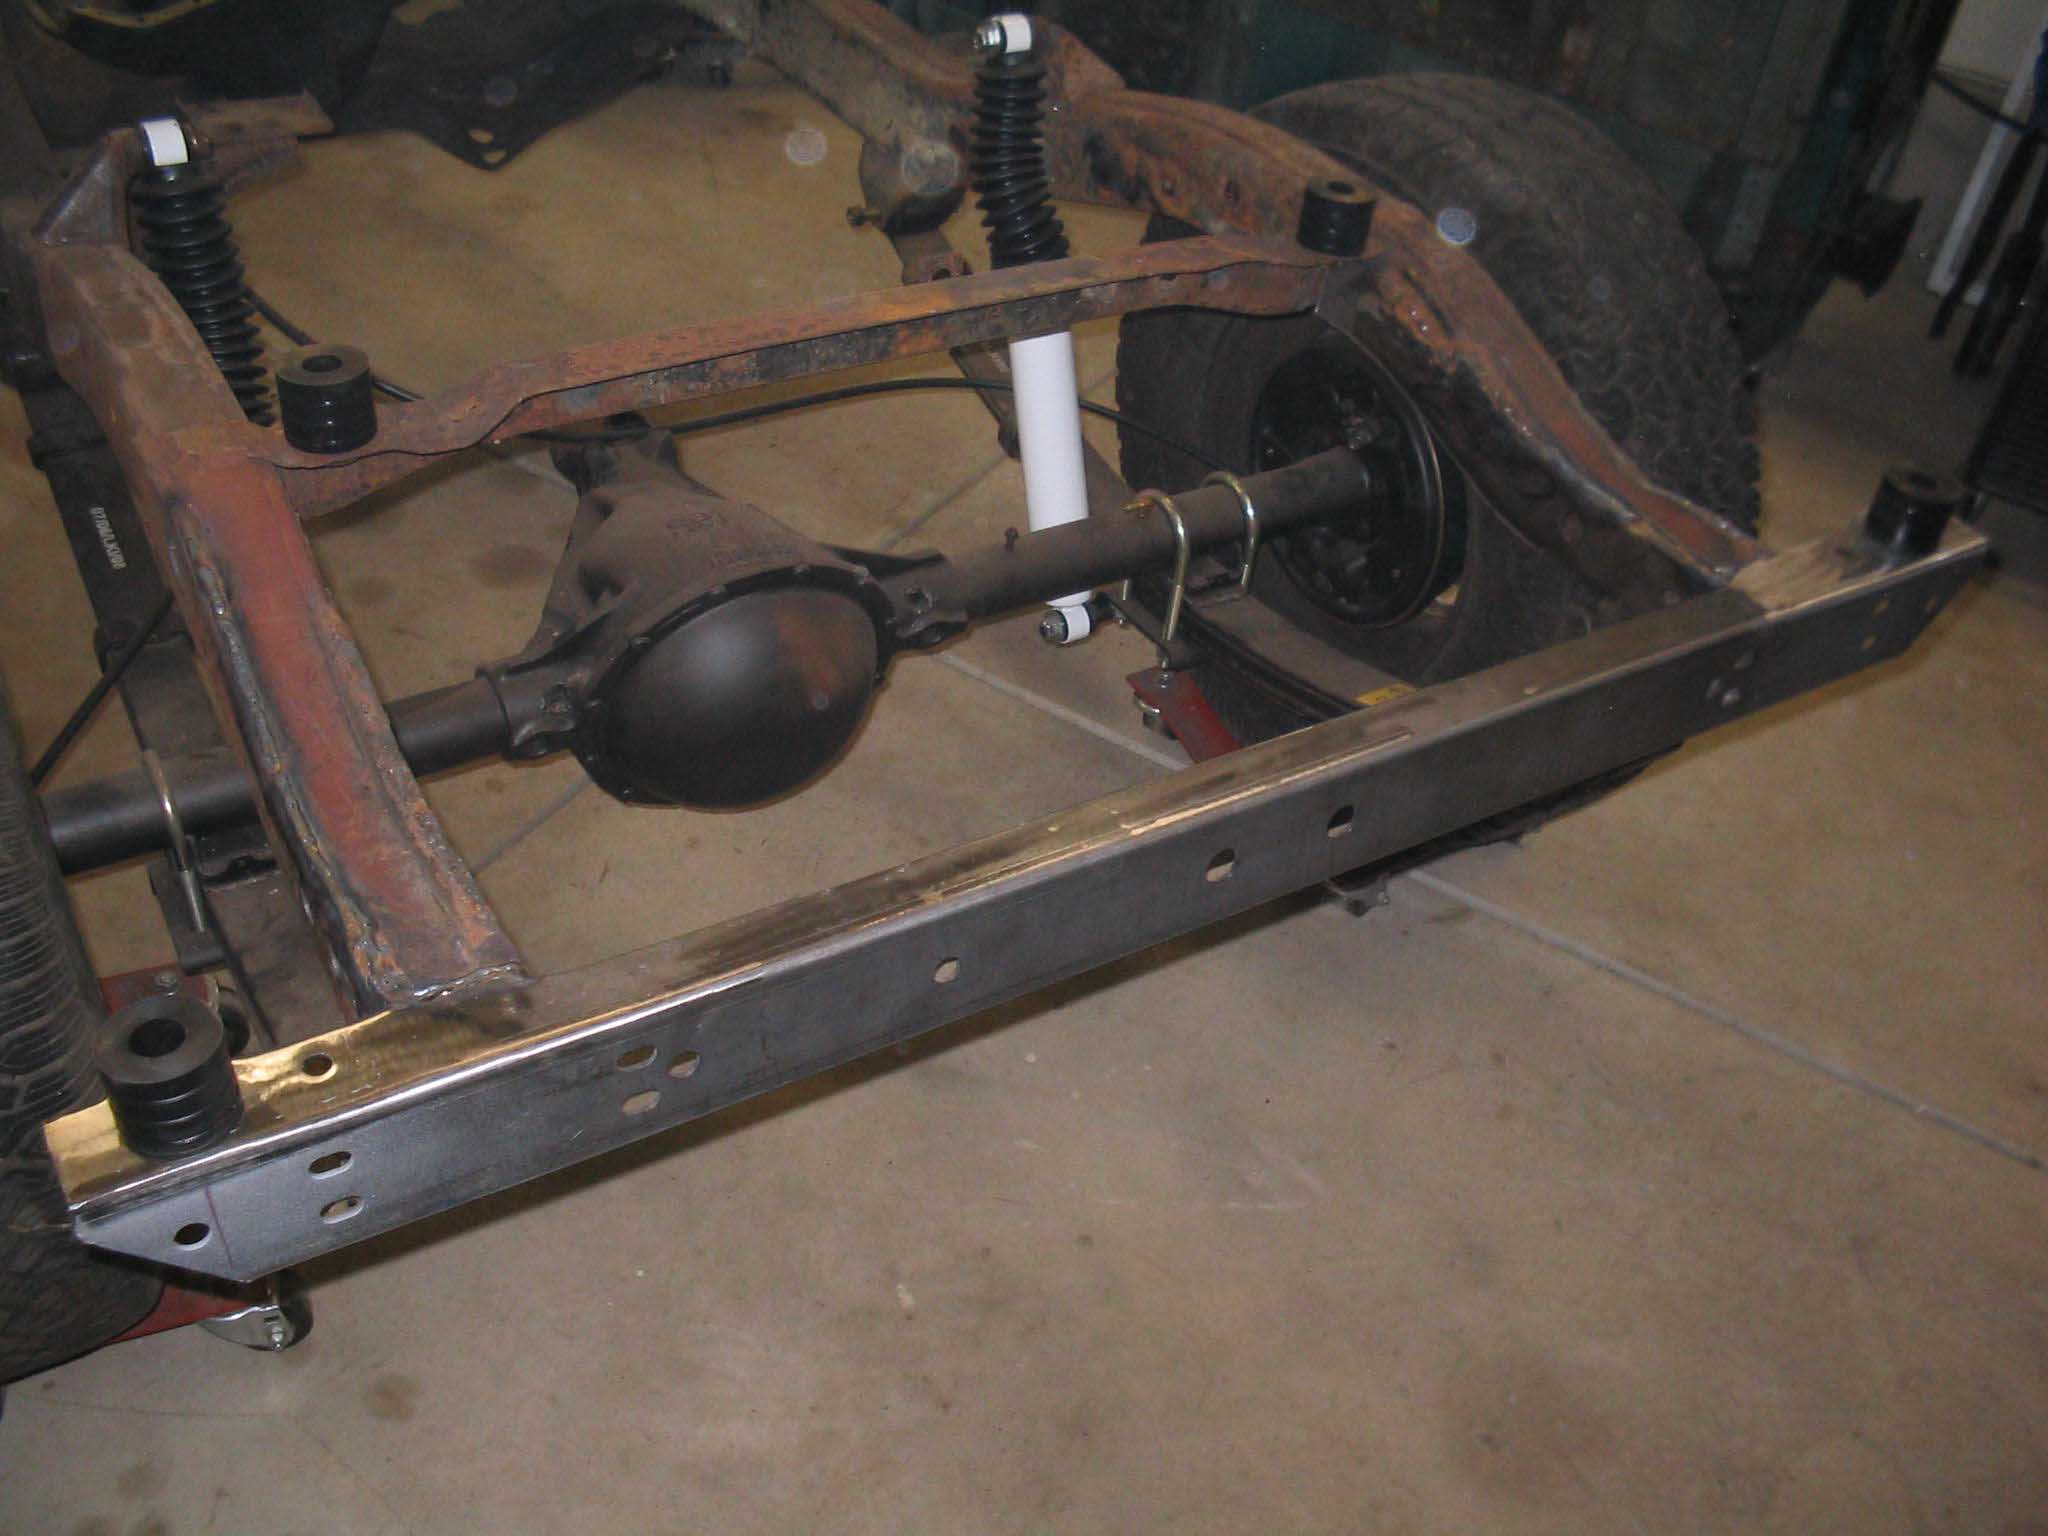
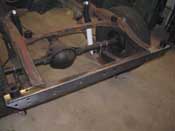
For the first time in a while, I am happy with what I have gotten done this weekend. I finished
off the night be looking at the rear frame mounts as they have to be relocated to fit the Wrangler body. The holes are about an
inch off. People have done a lot of things to fix this, such as elongating the holes, drilling new ones and even moving the
body mounts themselves in the body. I plan on cutting and re-welding the existing holes to the proper location. It won't be
factory looking, but then again, it is a whole new rear cross member as well as rear frame horns, so, it doesn't look factory
anyway. It is just a whole lot stronger with all the metal I burned in there ;)
cb (01/13/08)
|
| |
|

|
|

|
|
|
| |
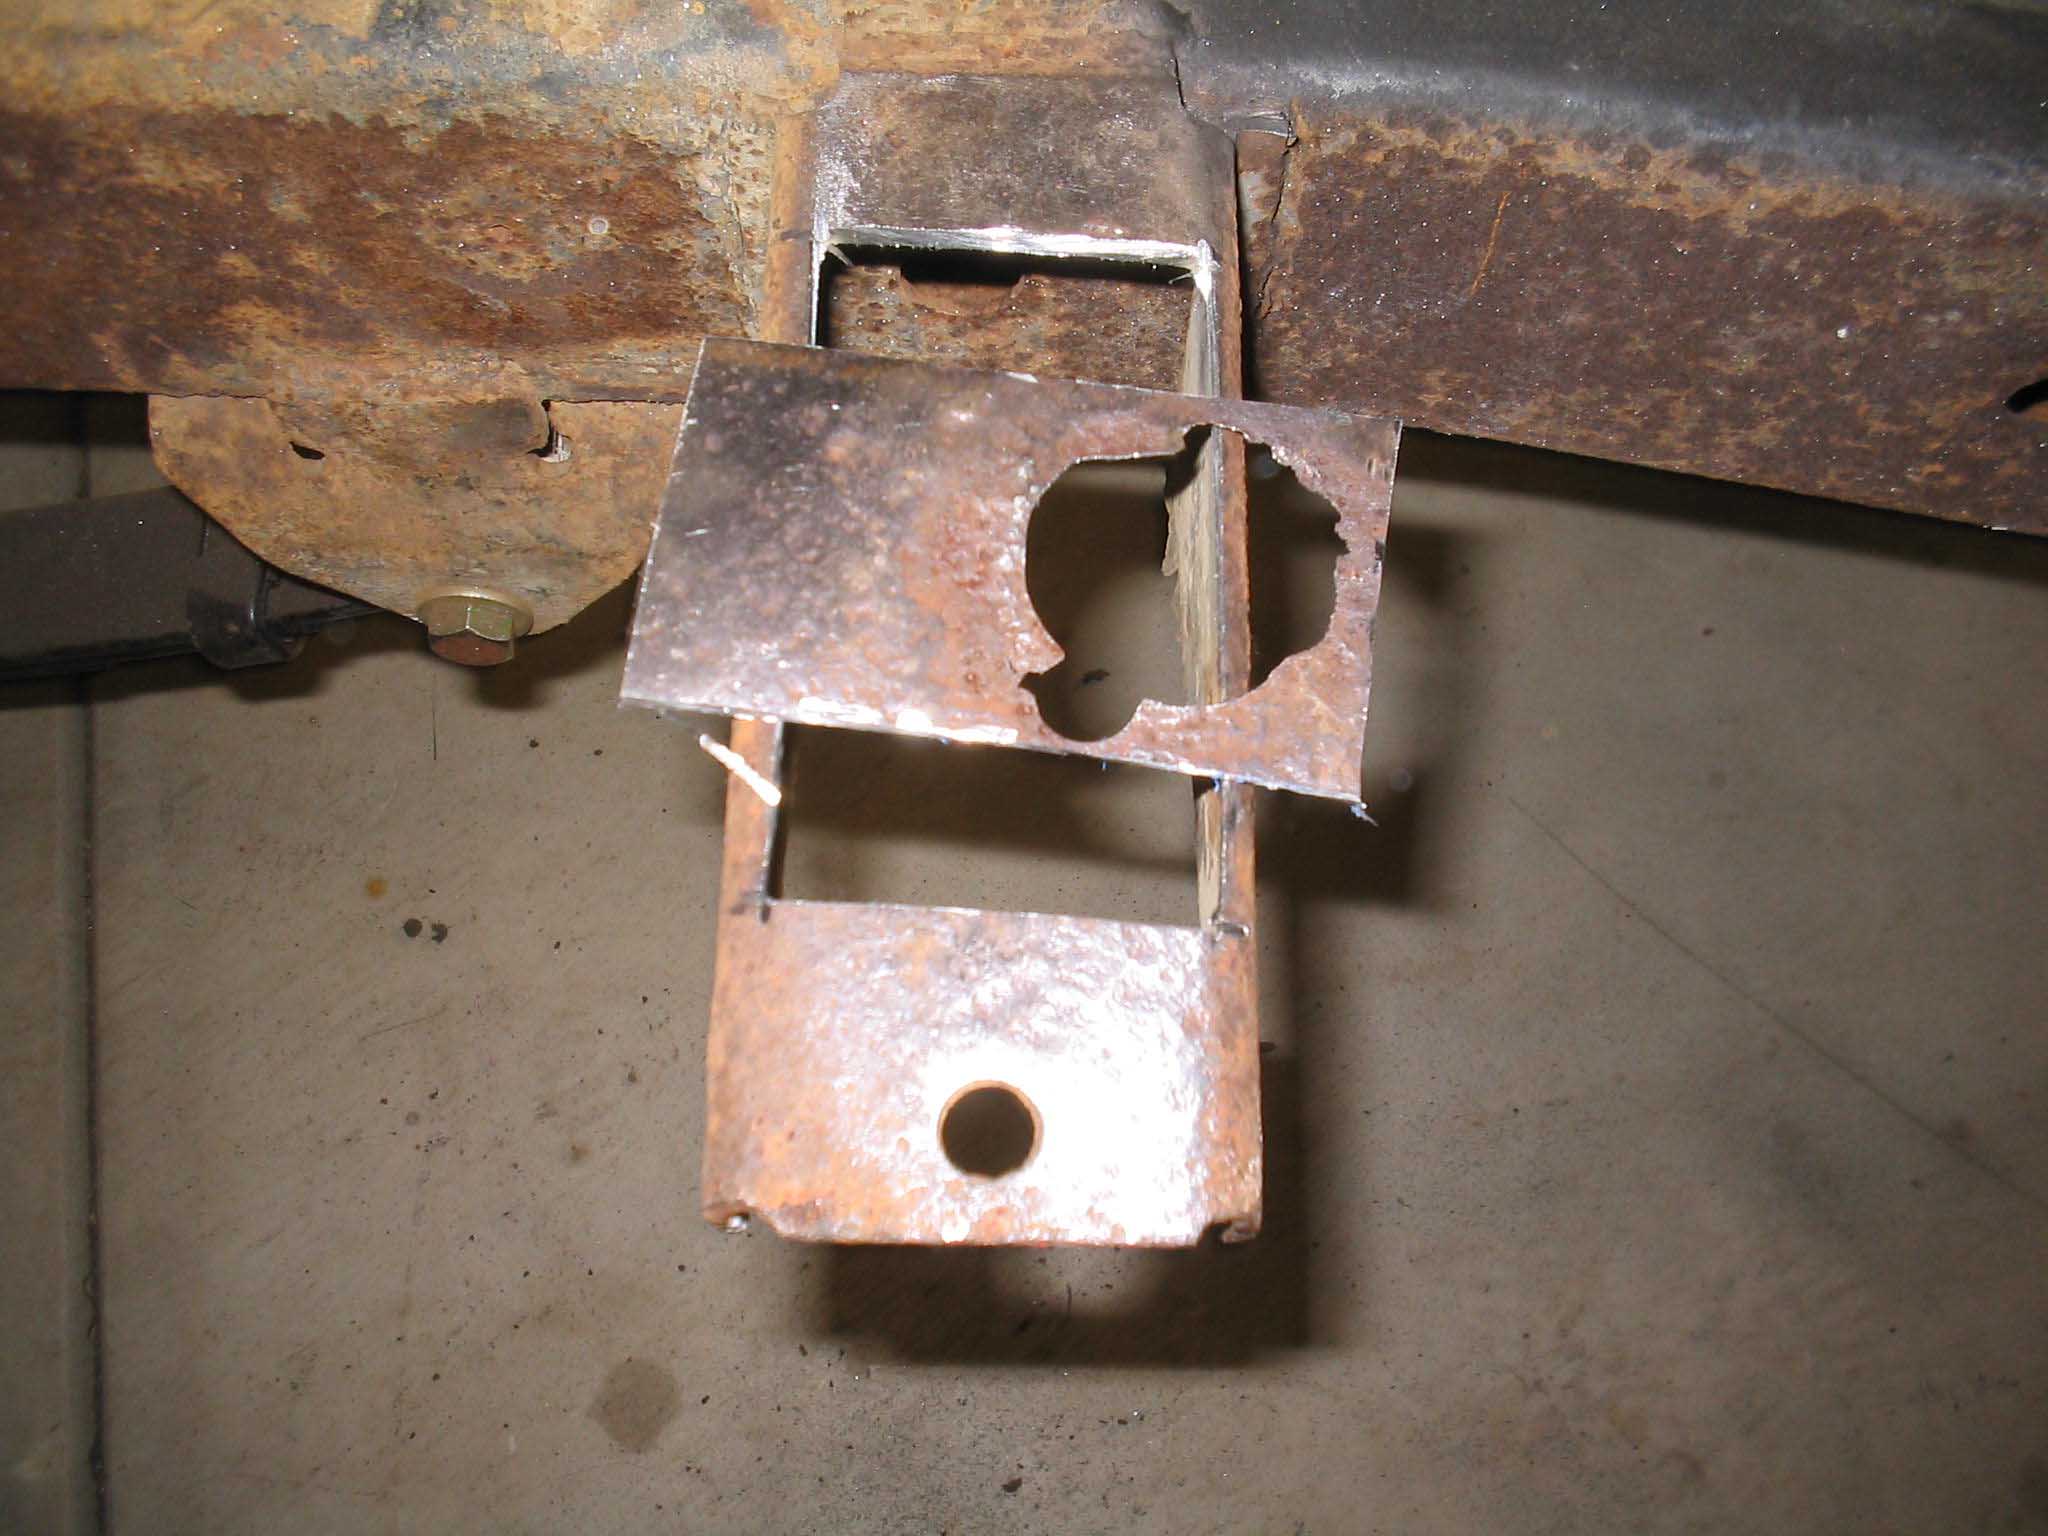
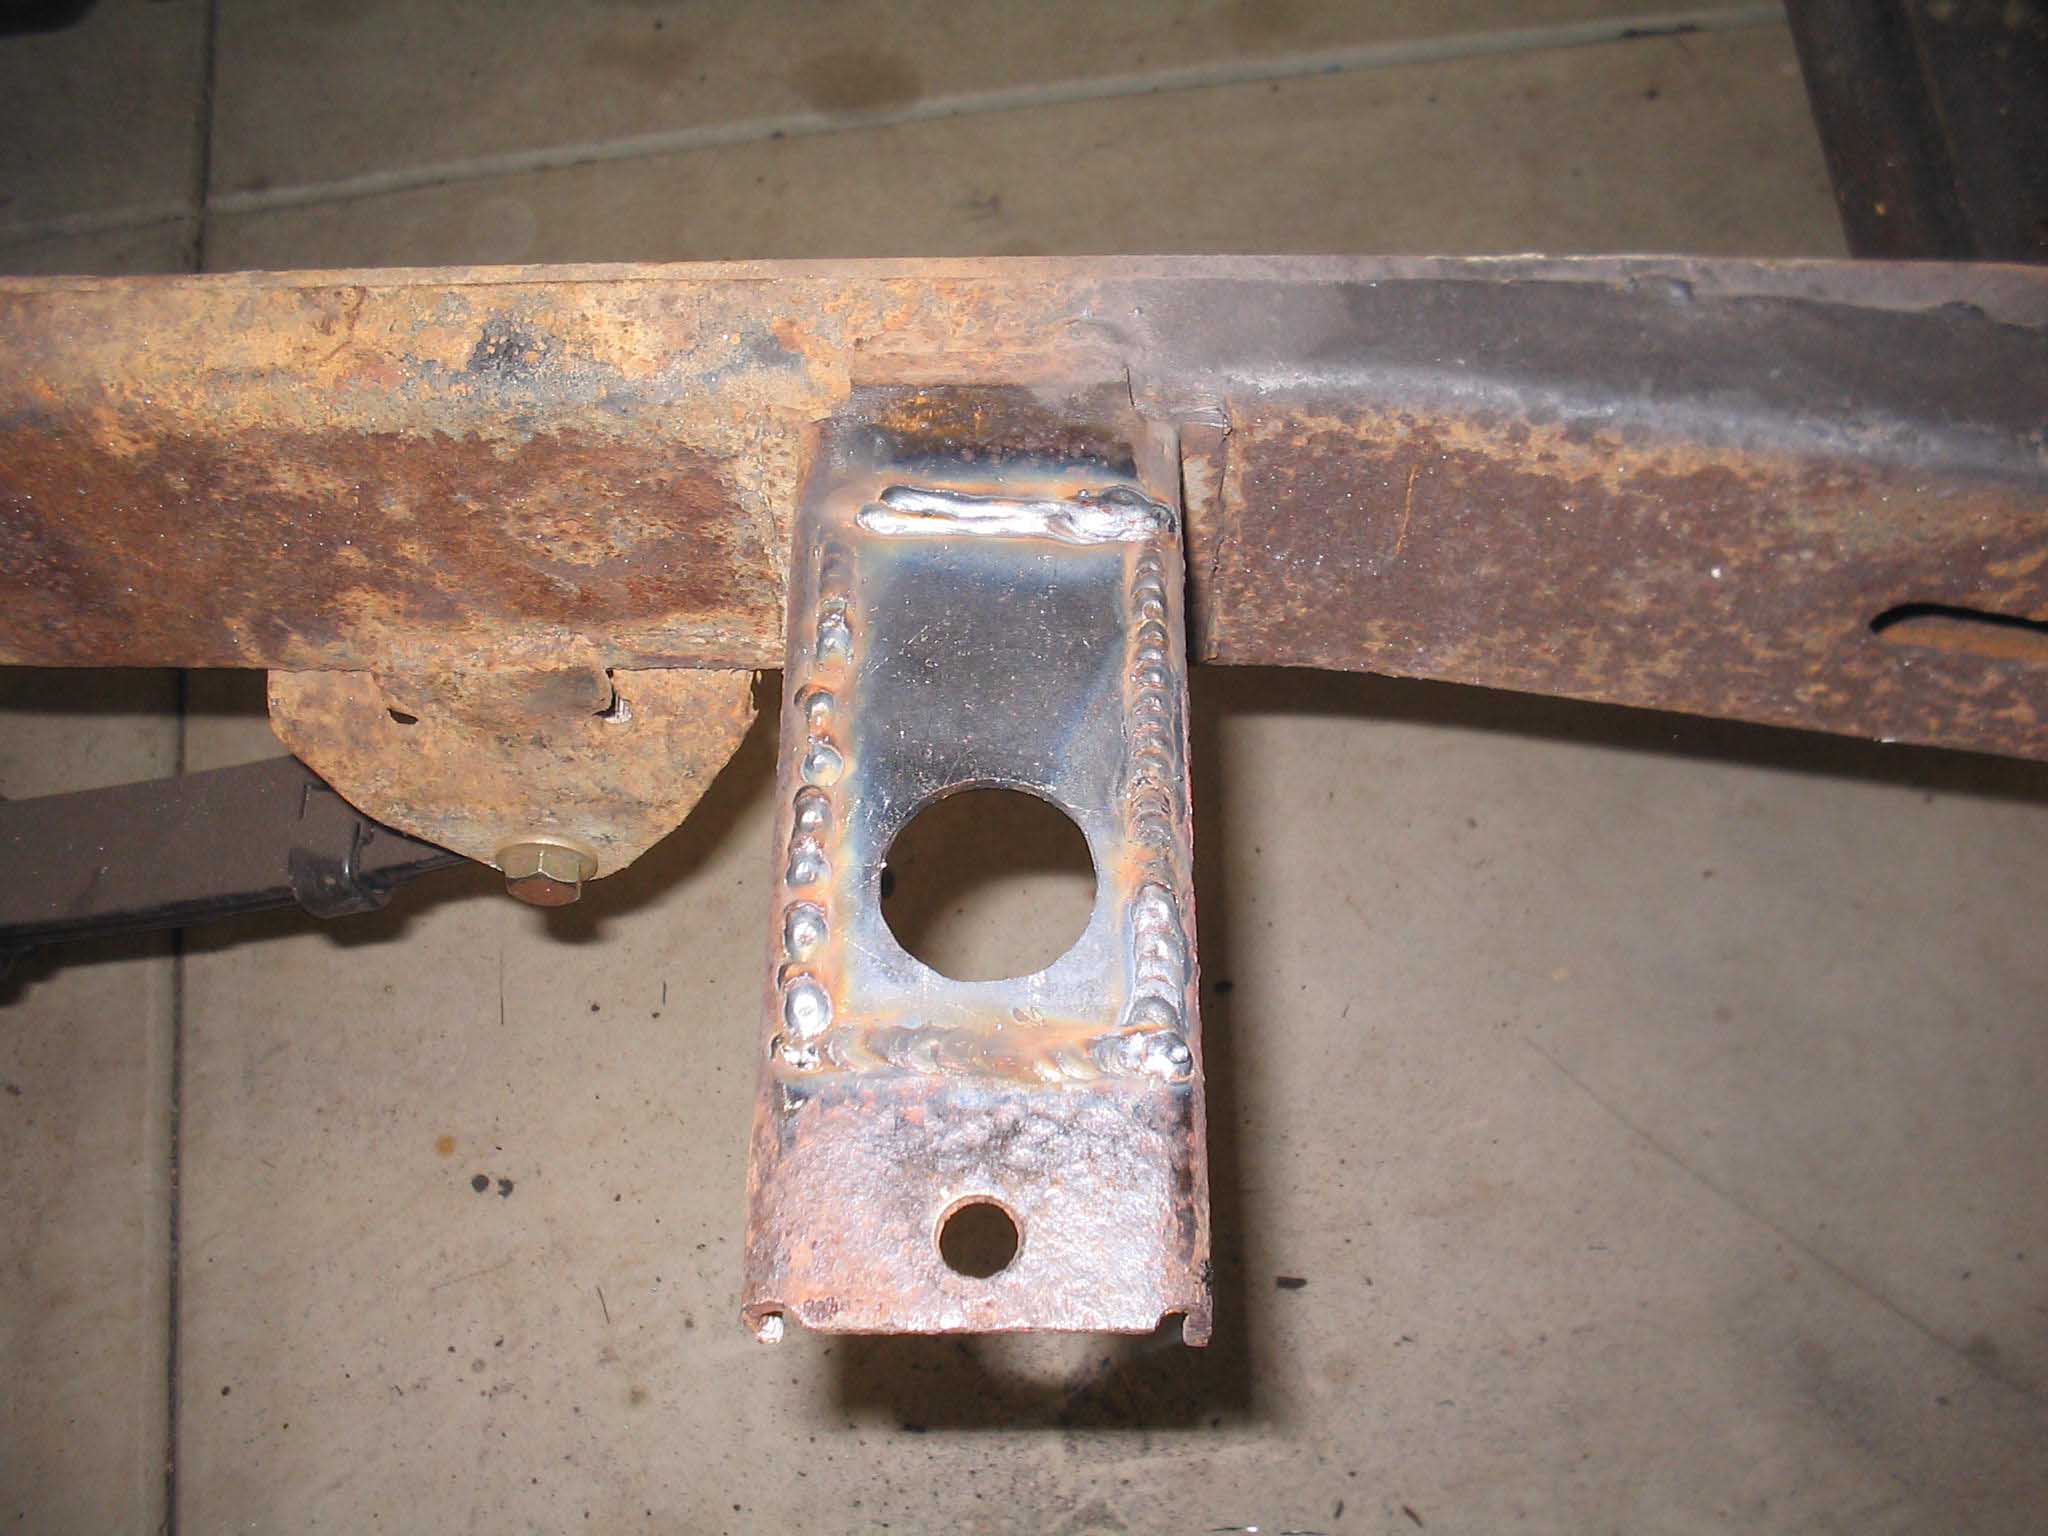
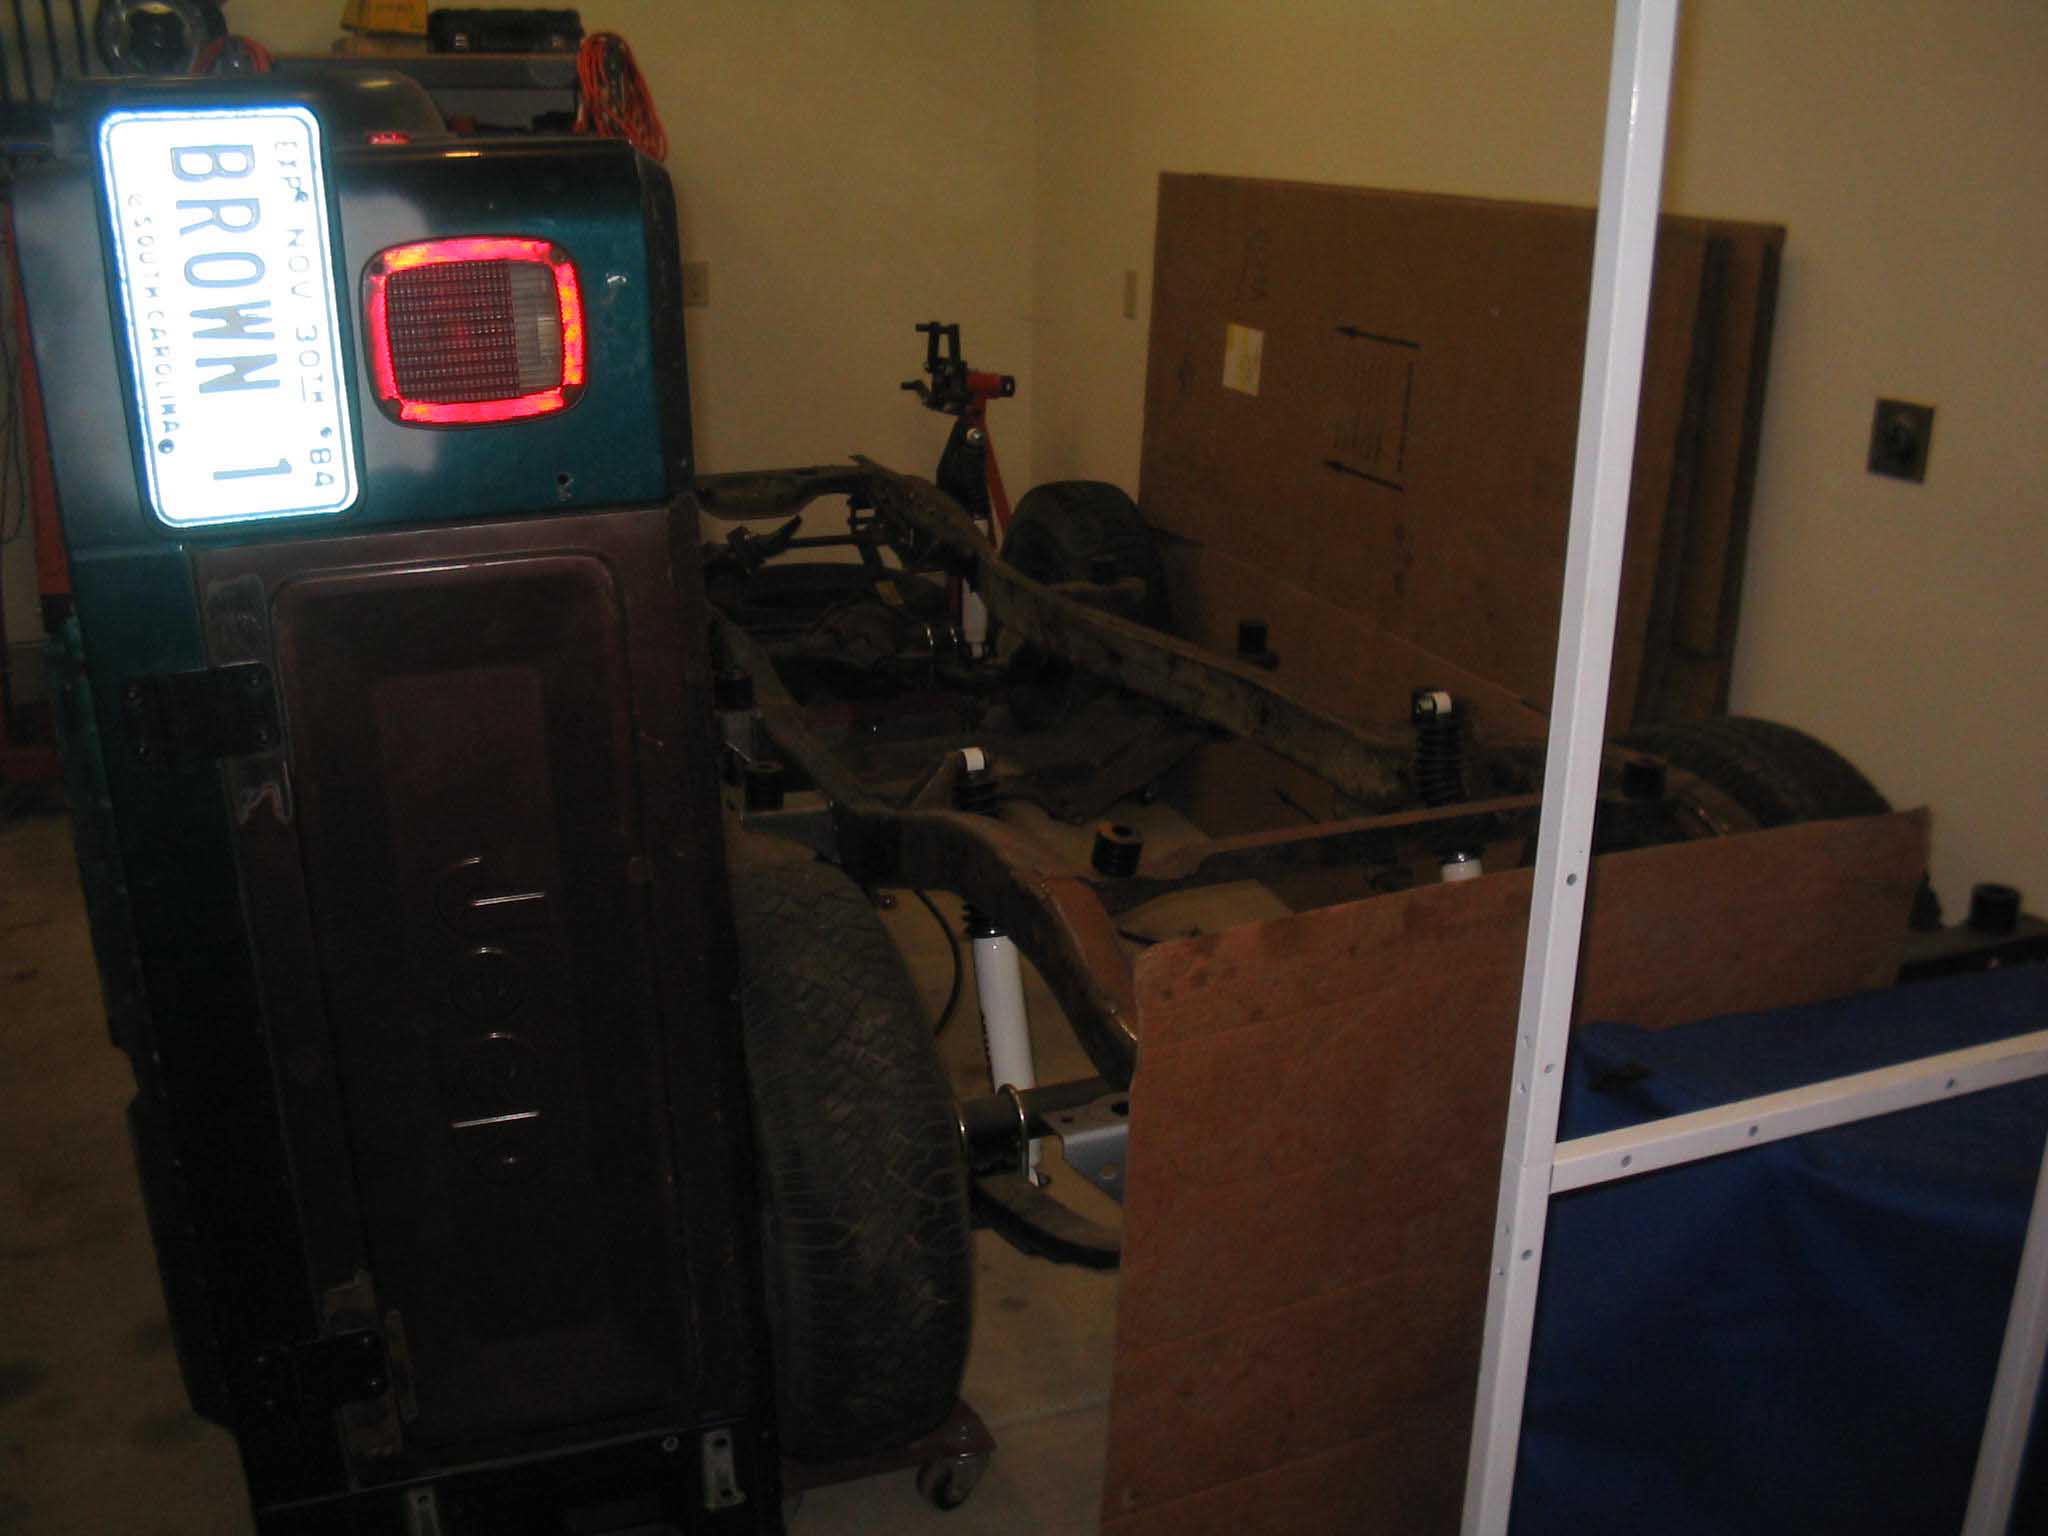
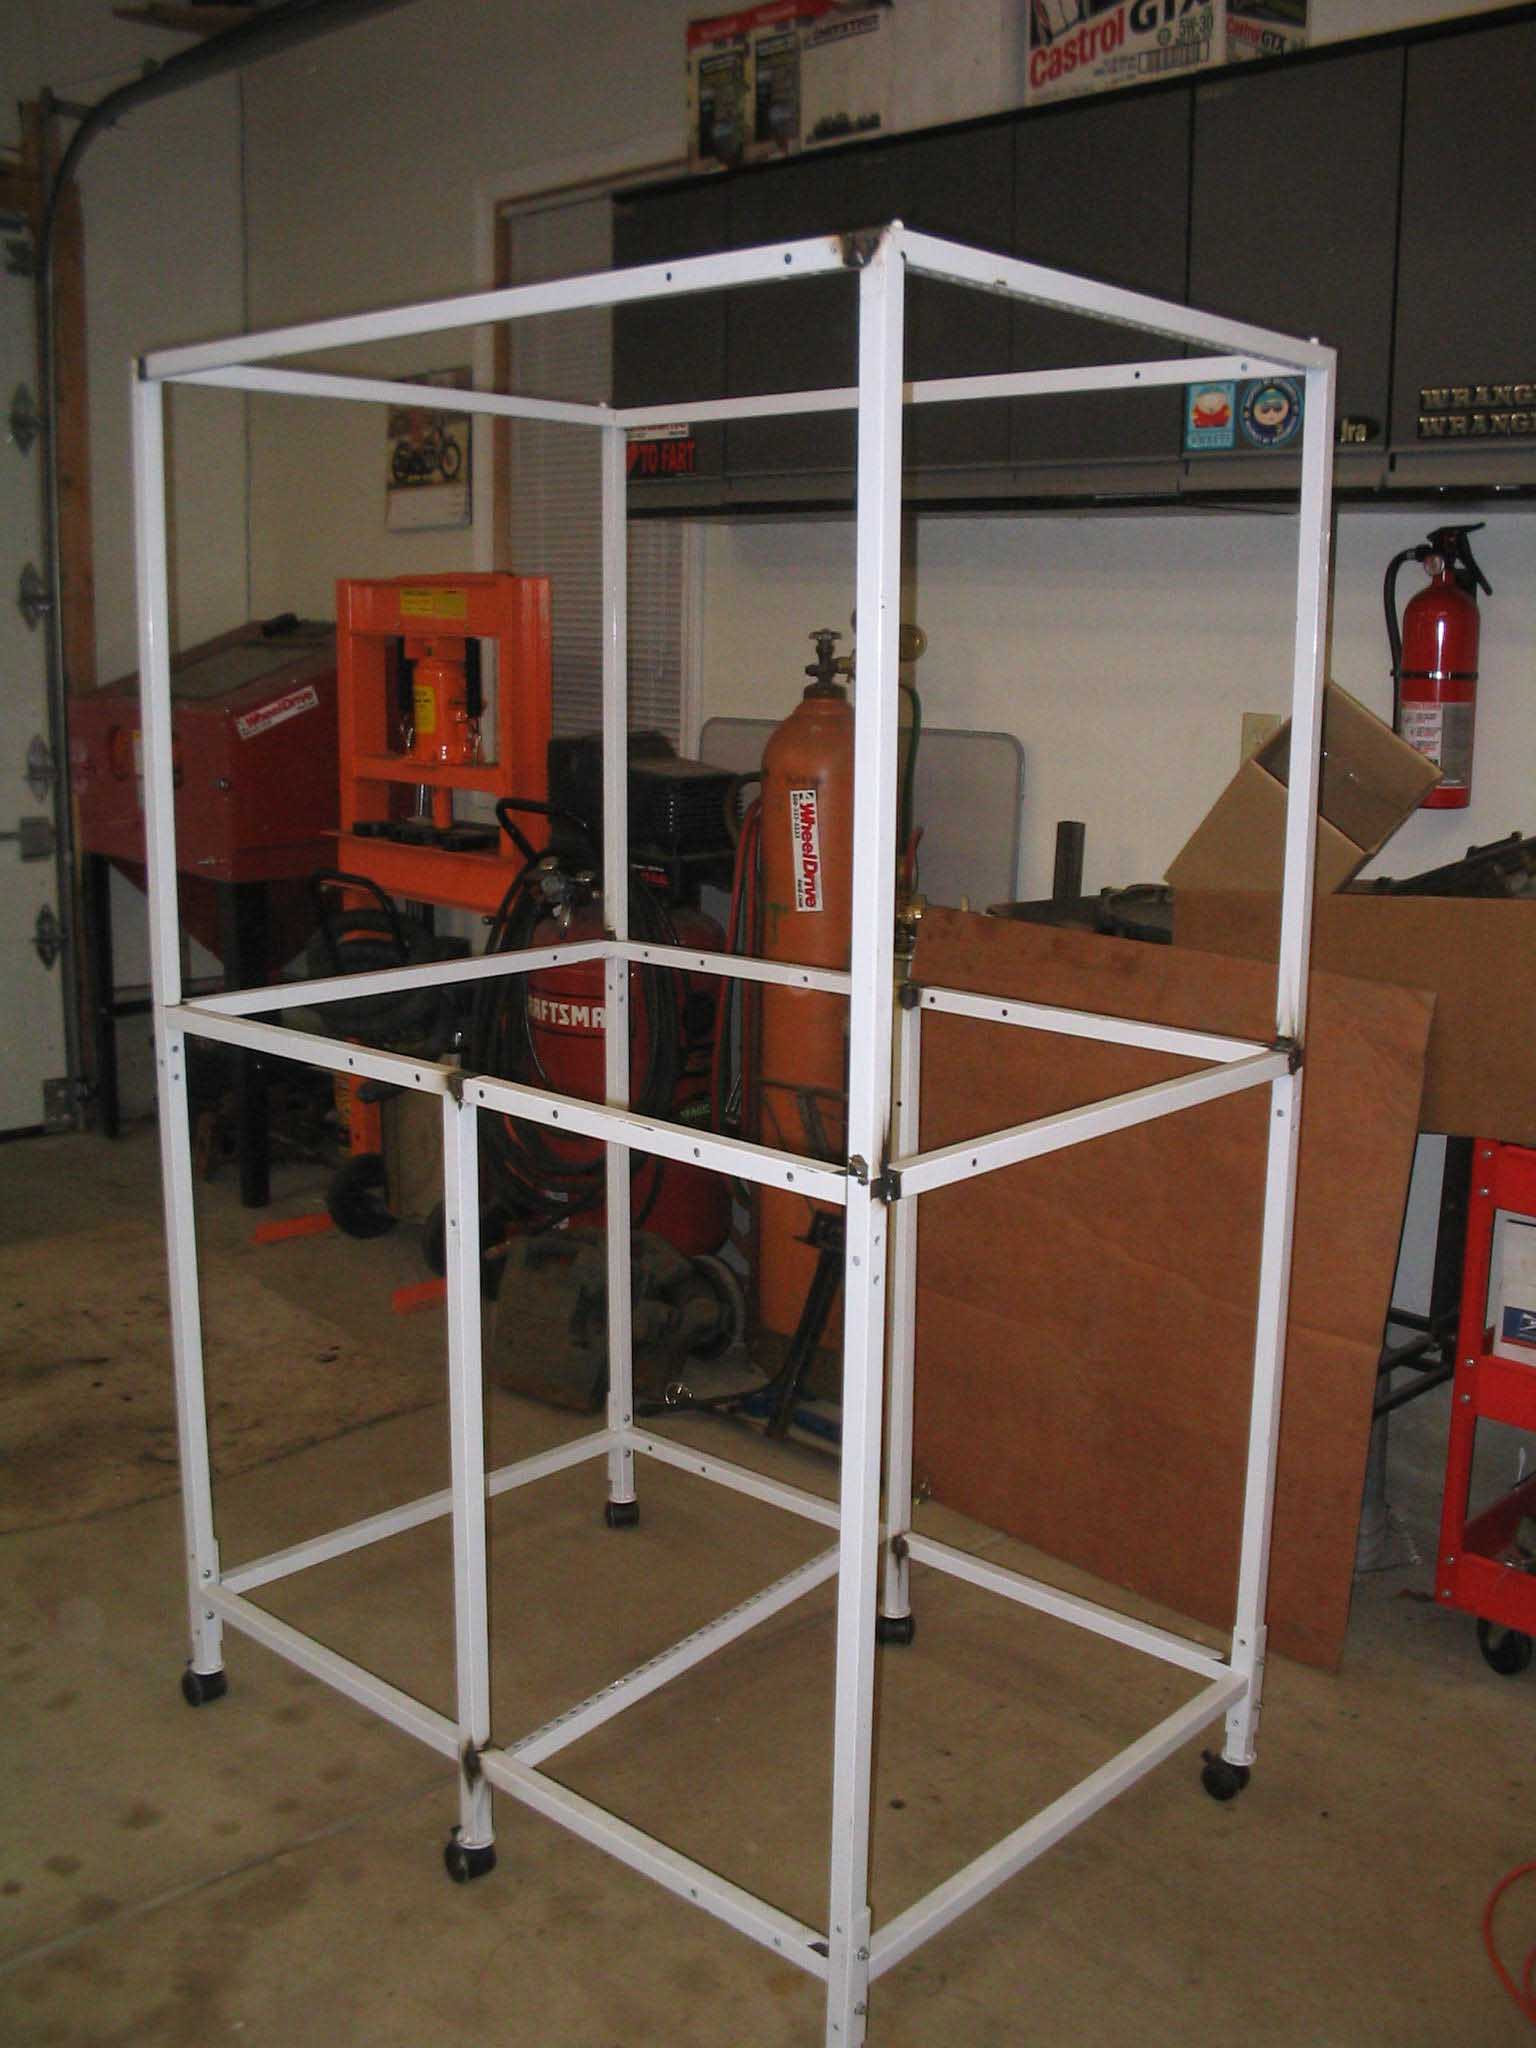
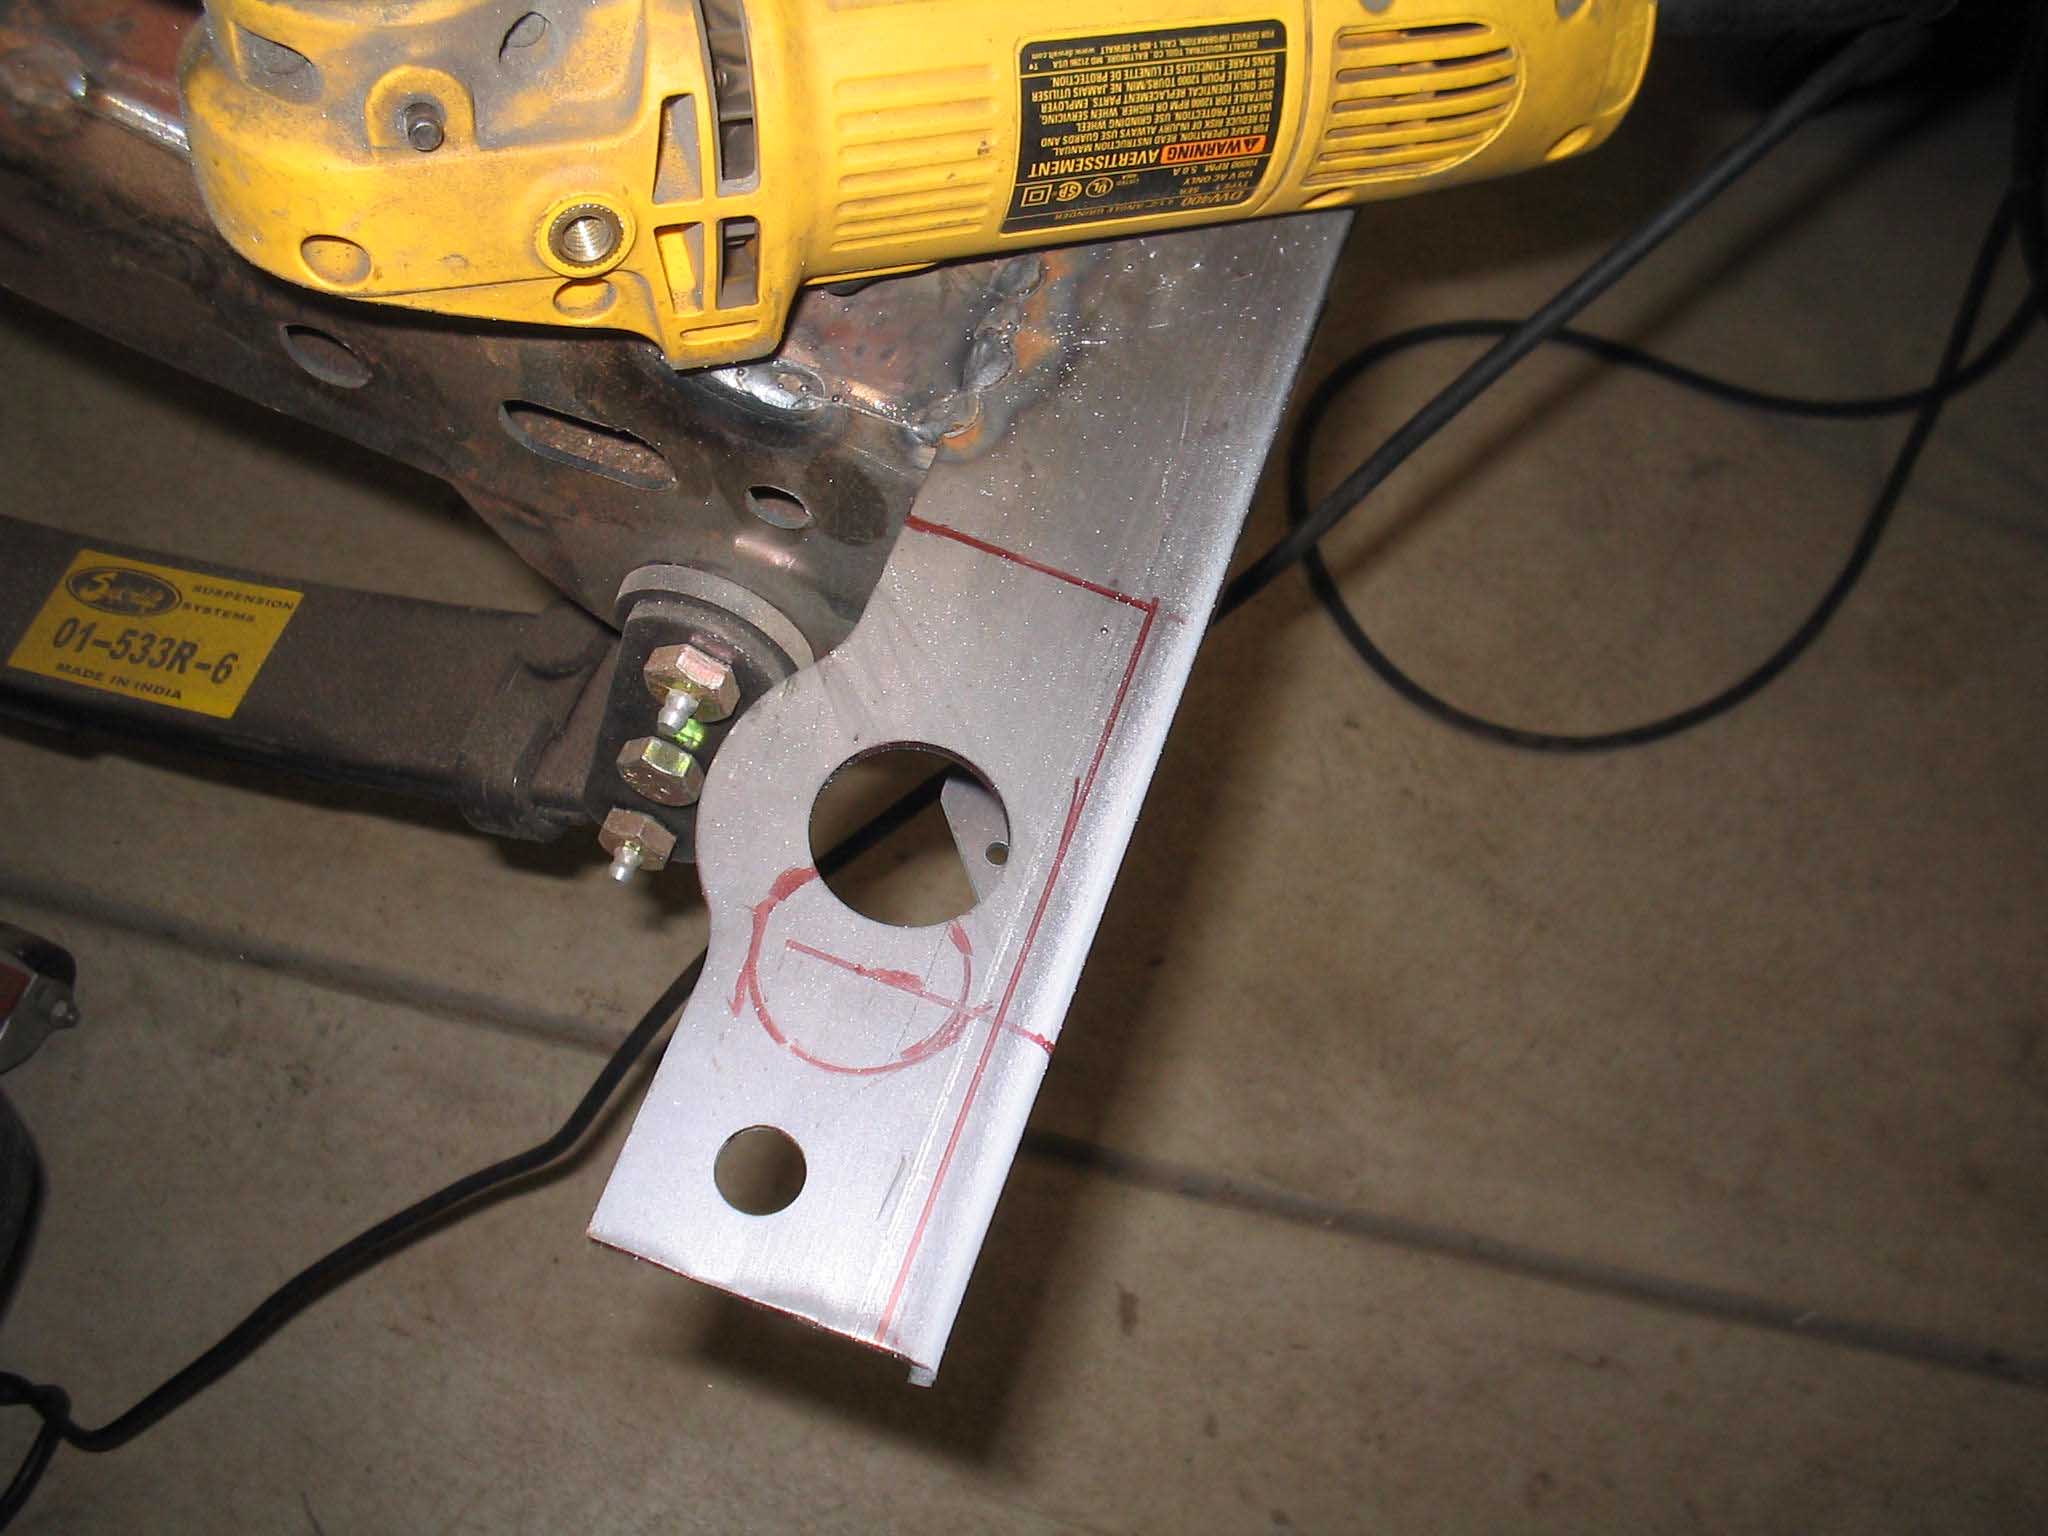
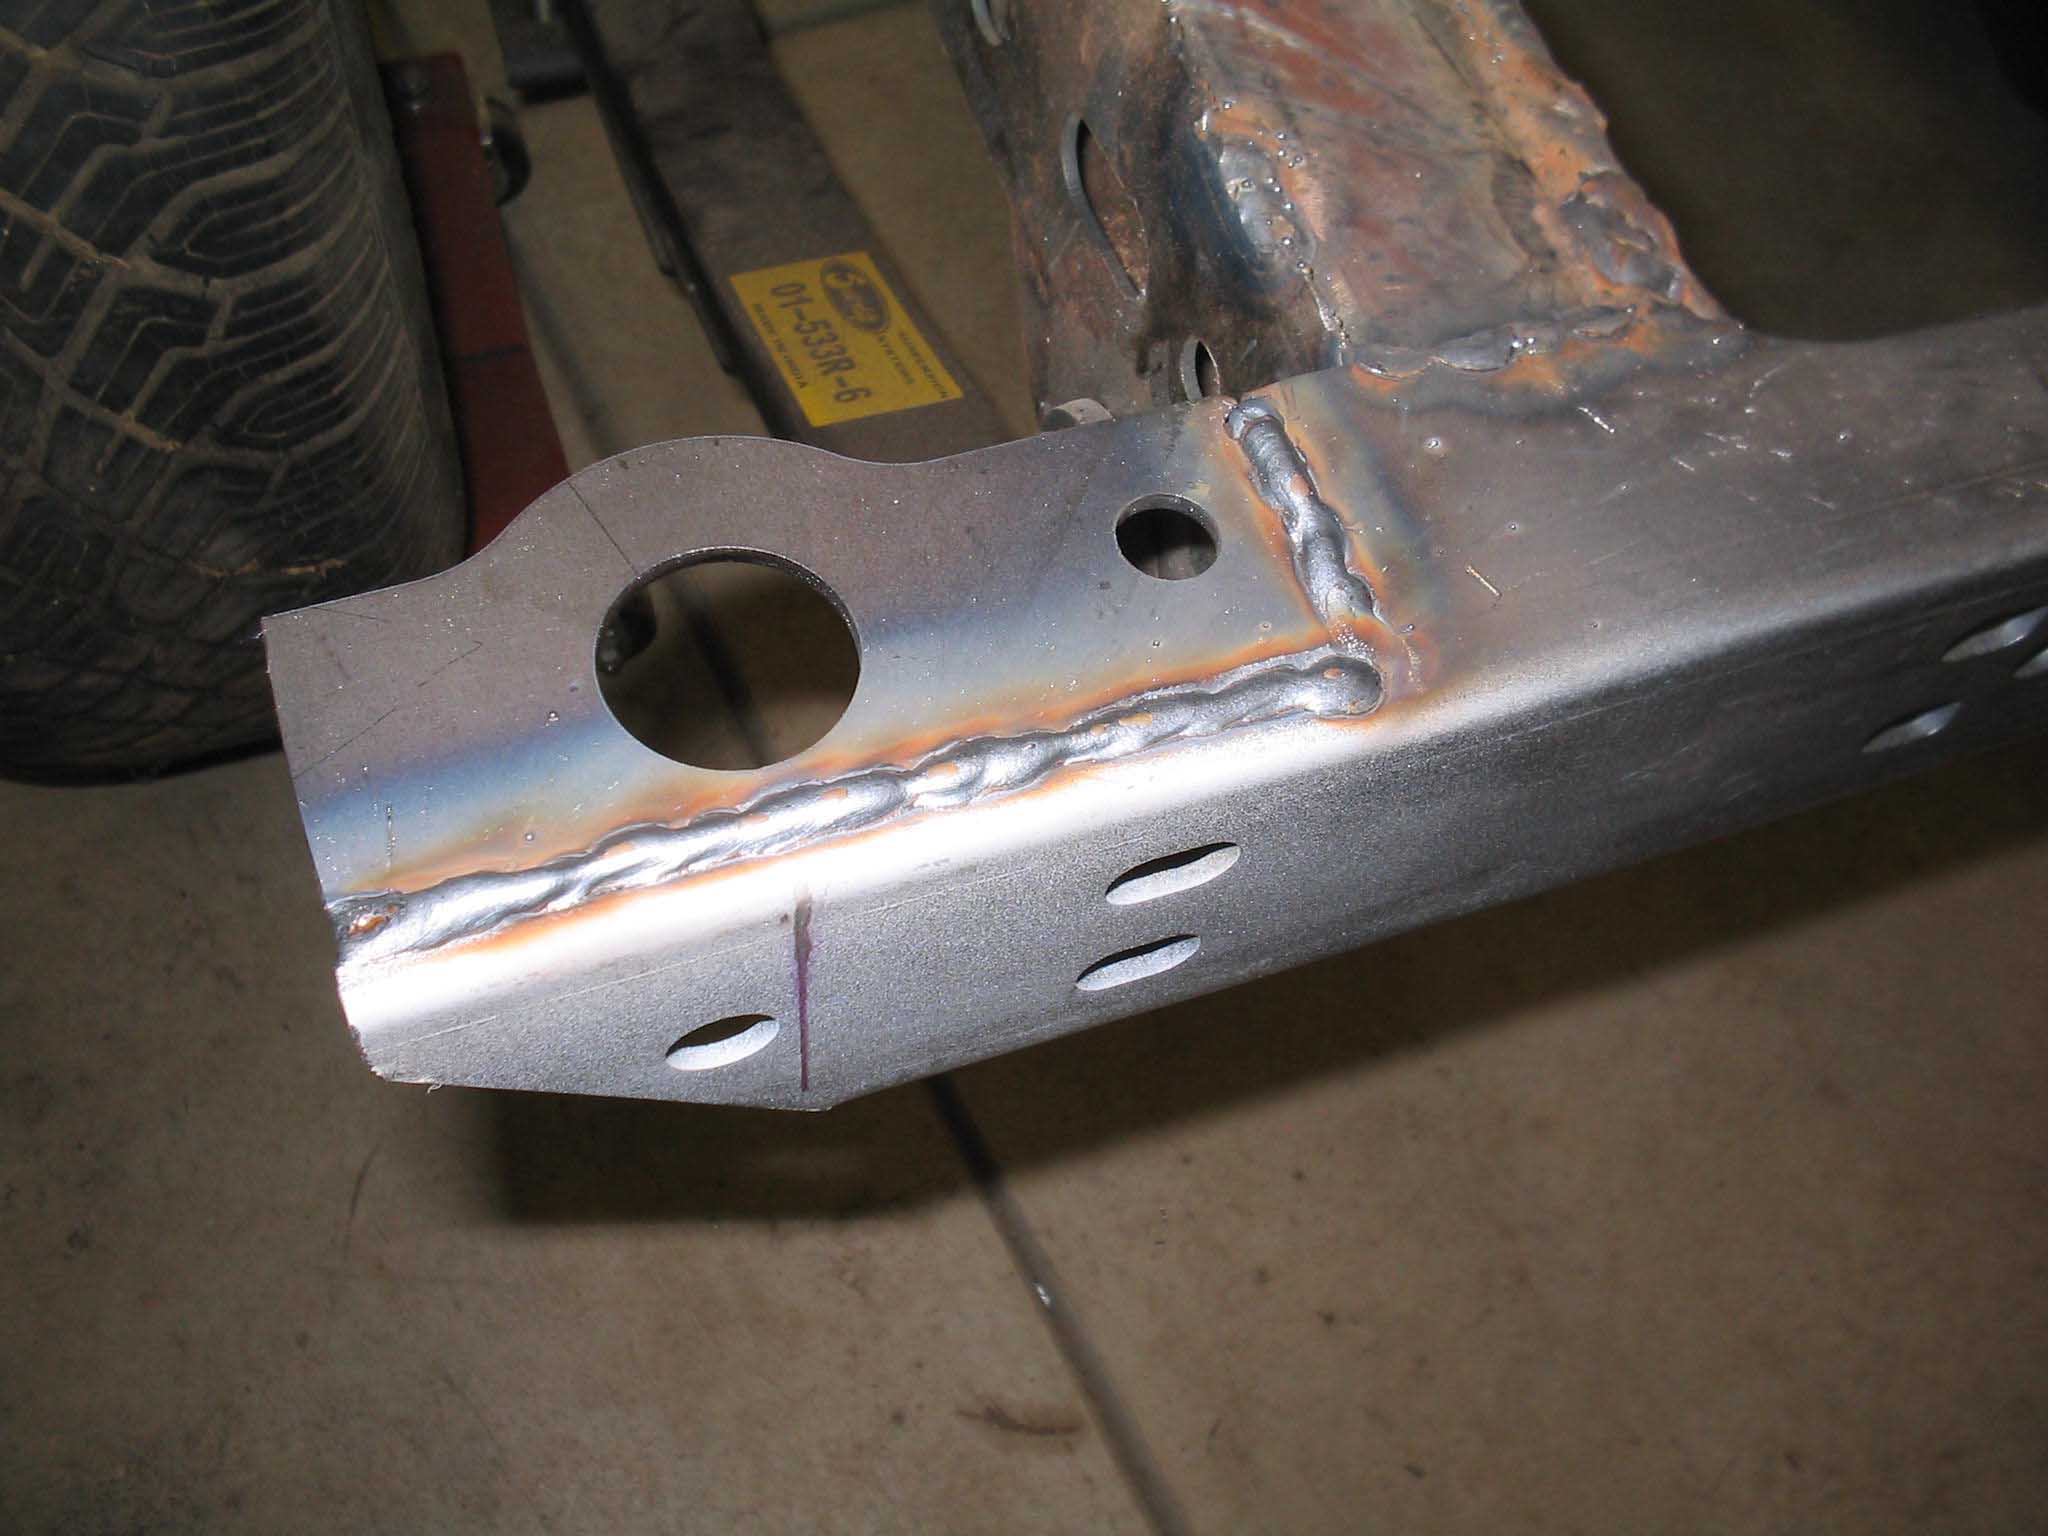
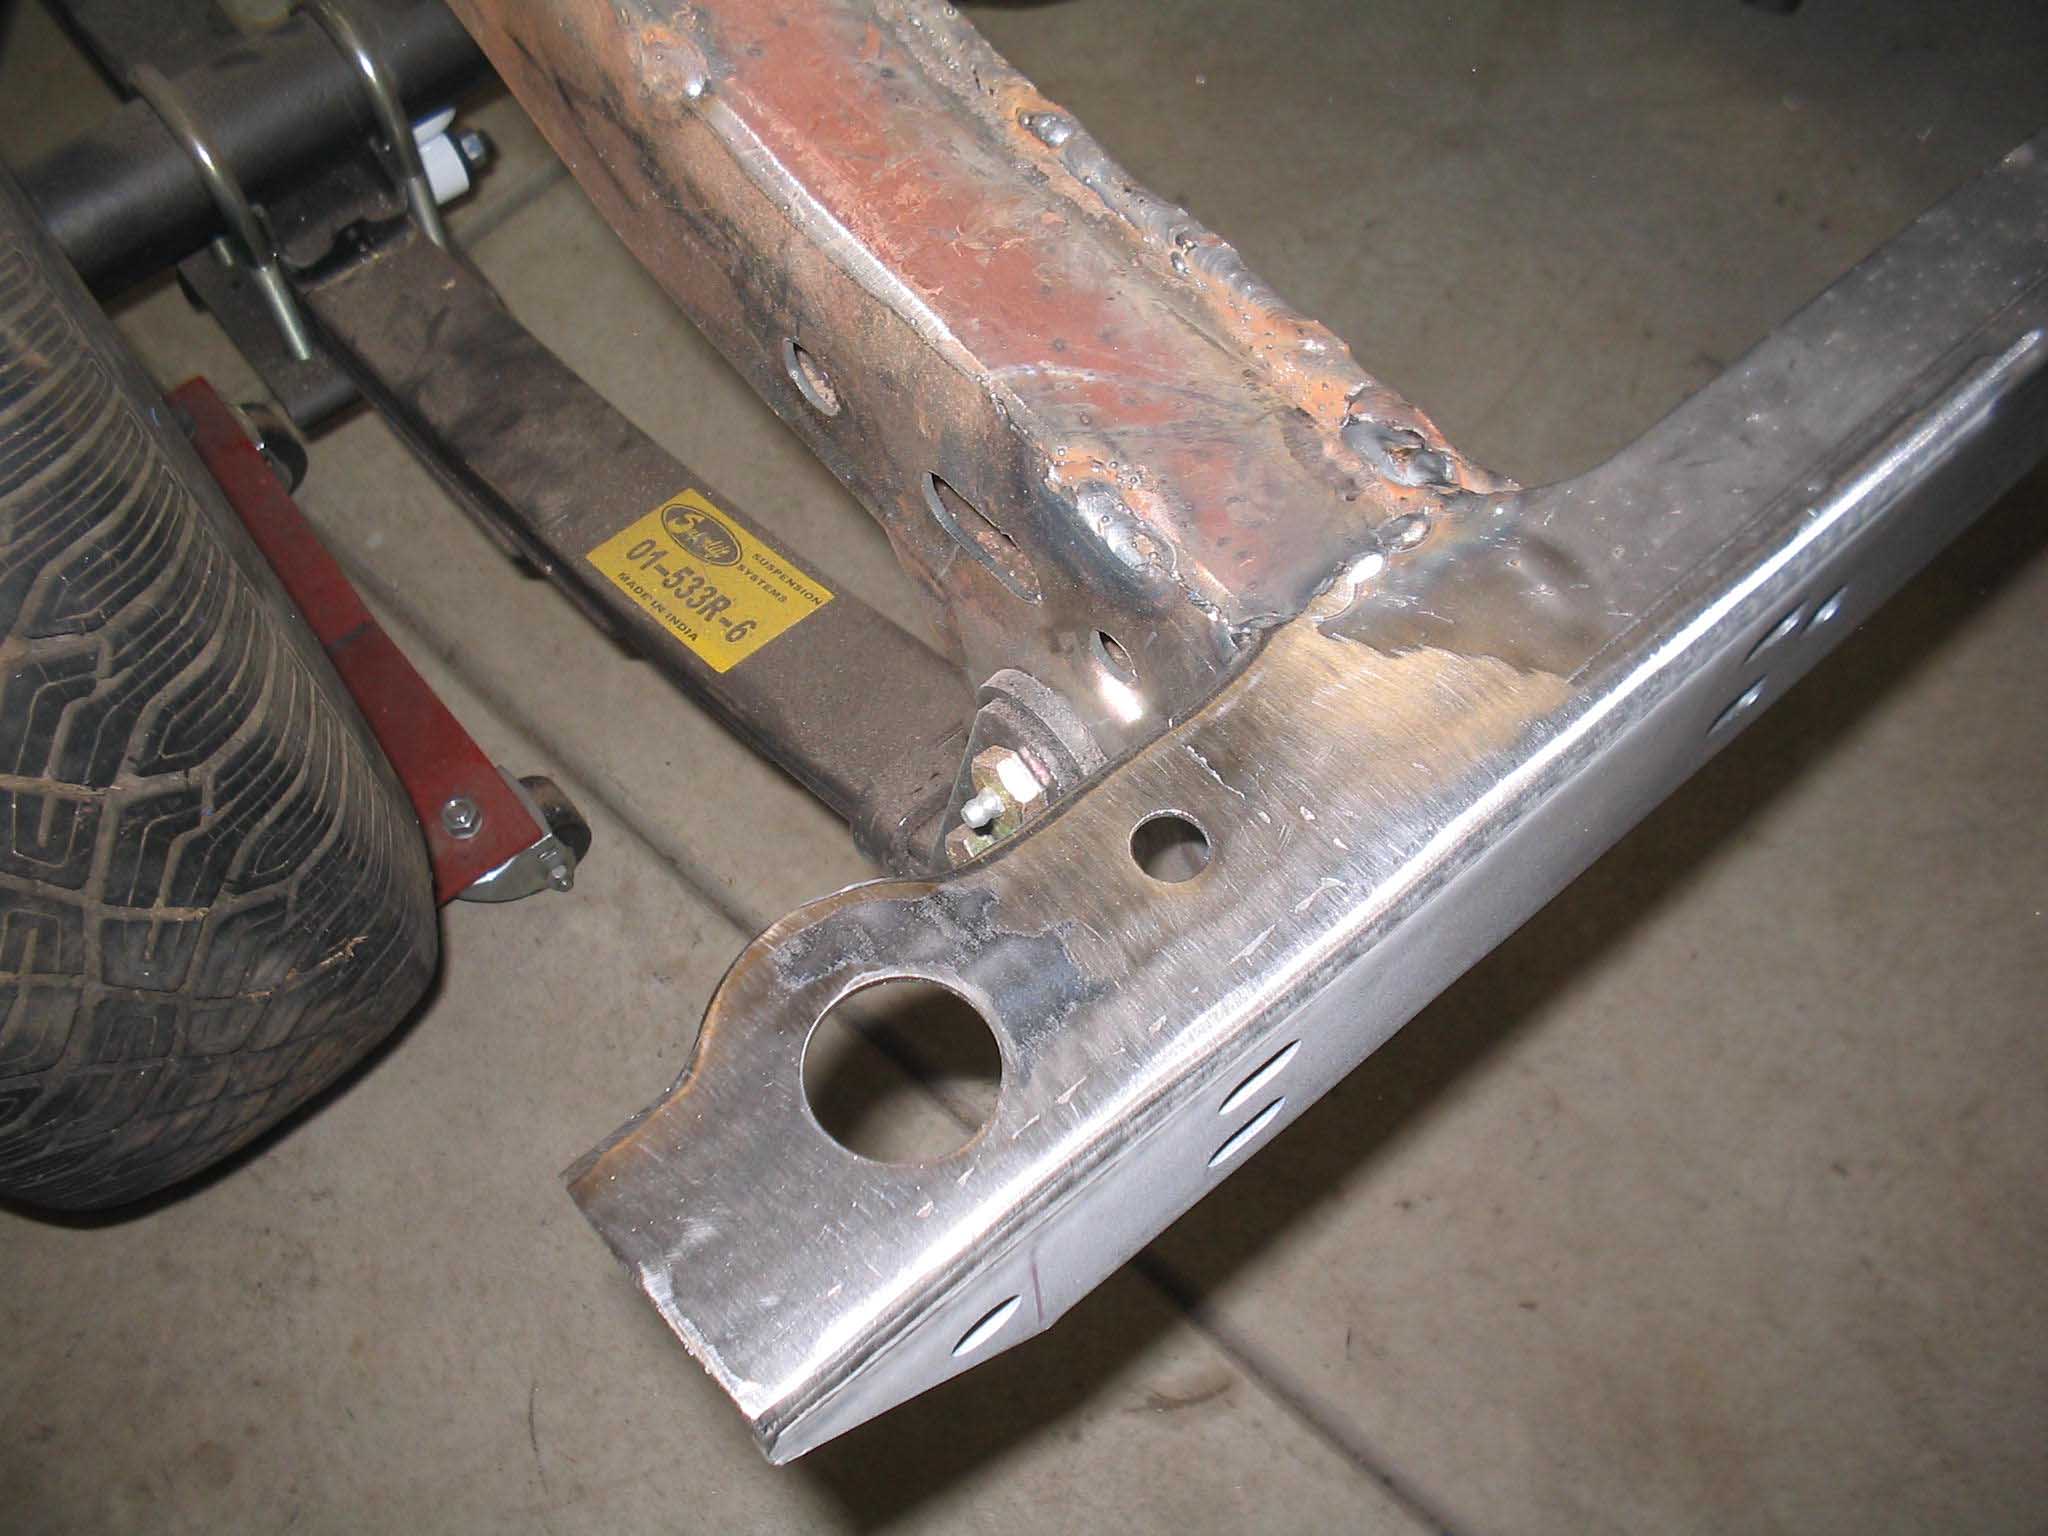
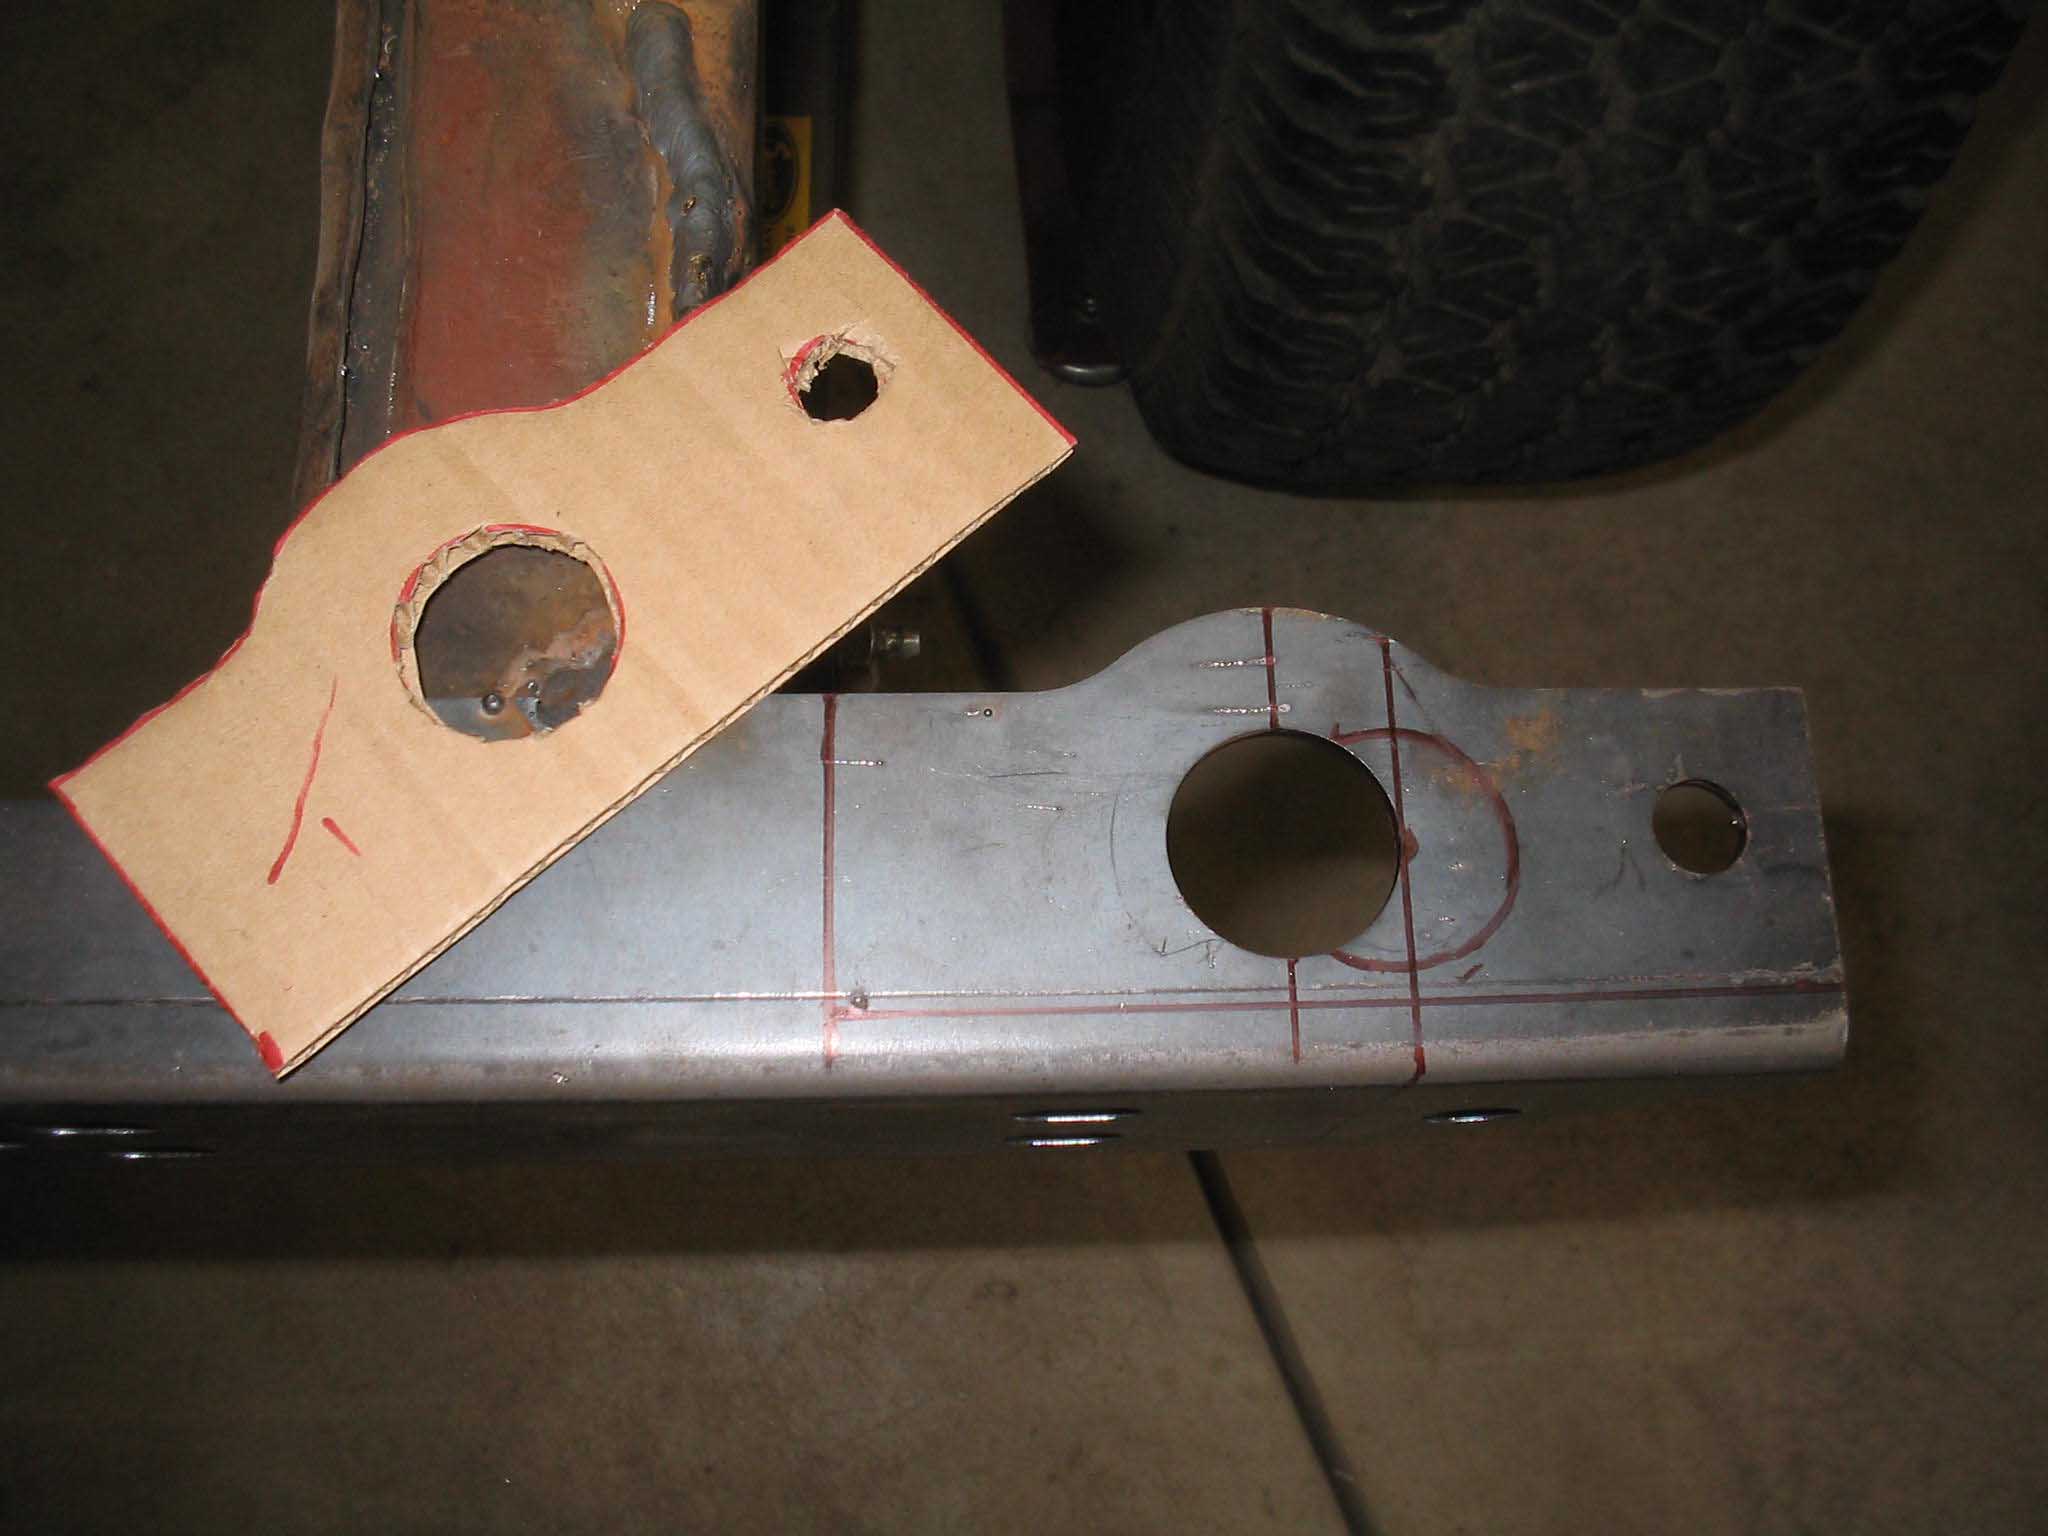
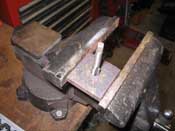
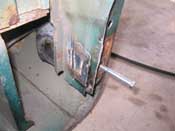
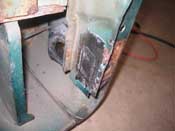
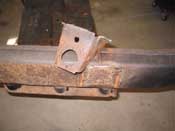
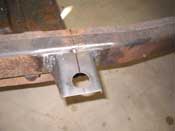
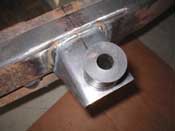
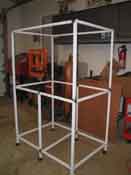
(01/19/08) I was away for a few days, so I returned and went to work in the garage. I was held
up for a couple hours while we worked on the "birdcage" for the aviary shelter. So if you are wondering what that white thing
is, it is going to be a birdcage when it is done. They had a lot of shelving material, so we took it and frankensteined a
cage out of it. It will take a few more hours, but when it is done, it will be good for a large bird.
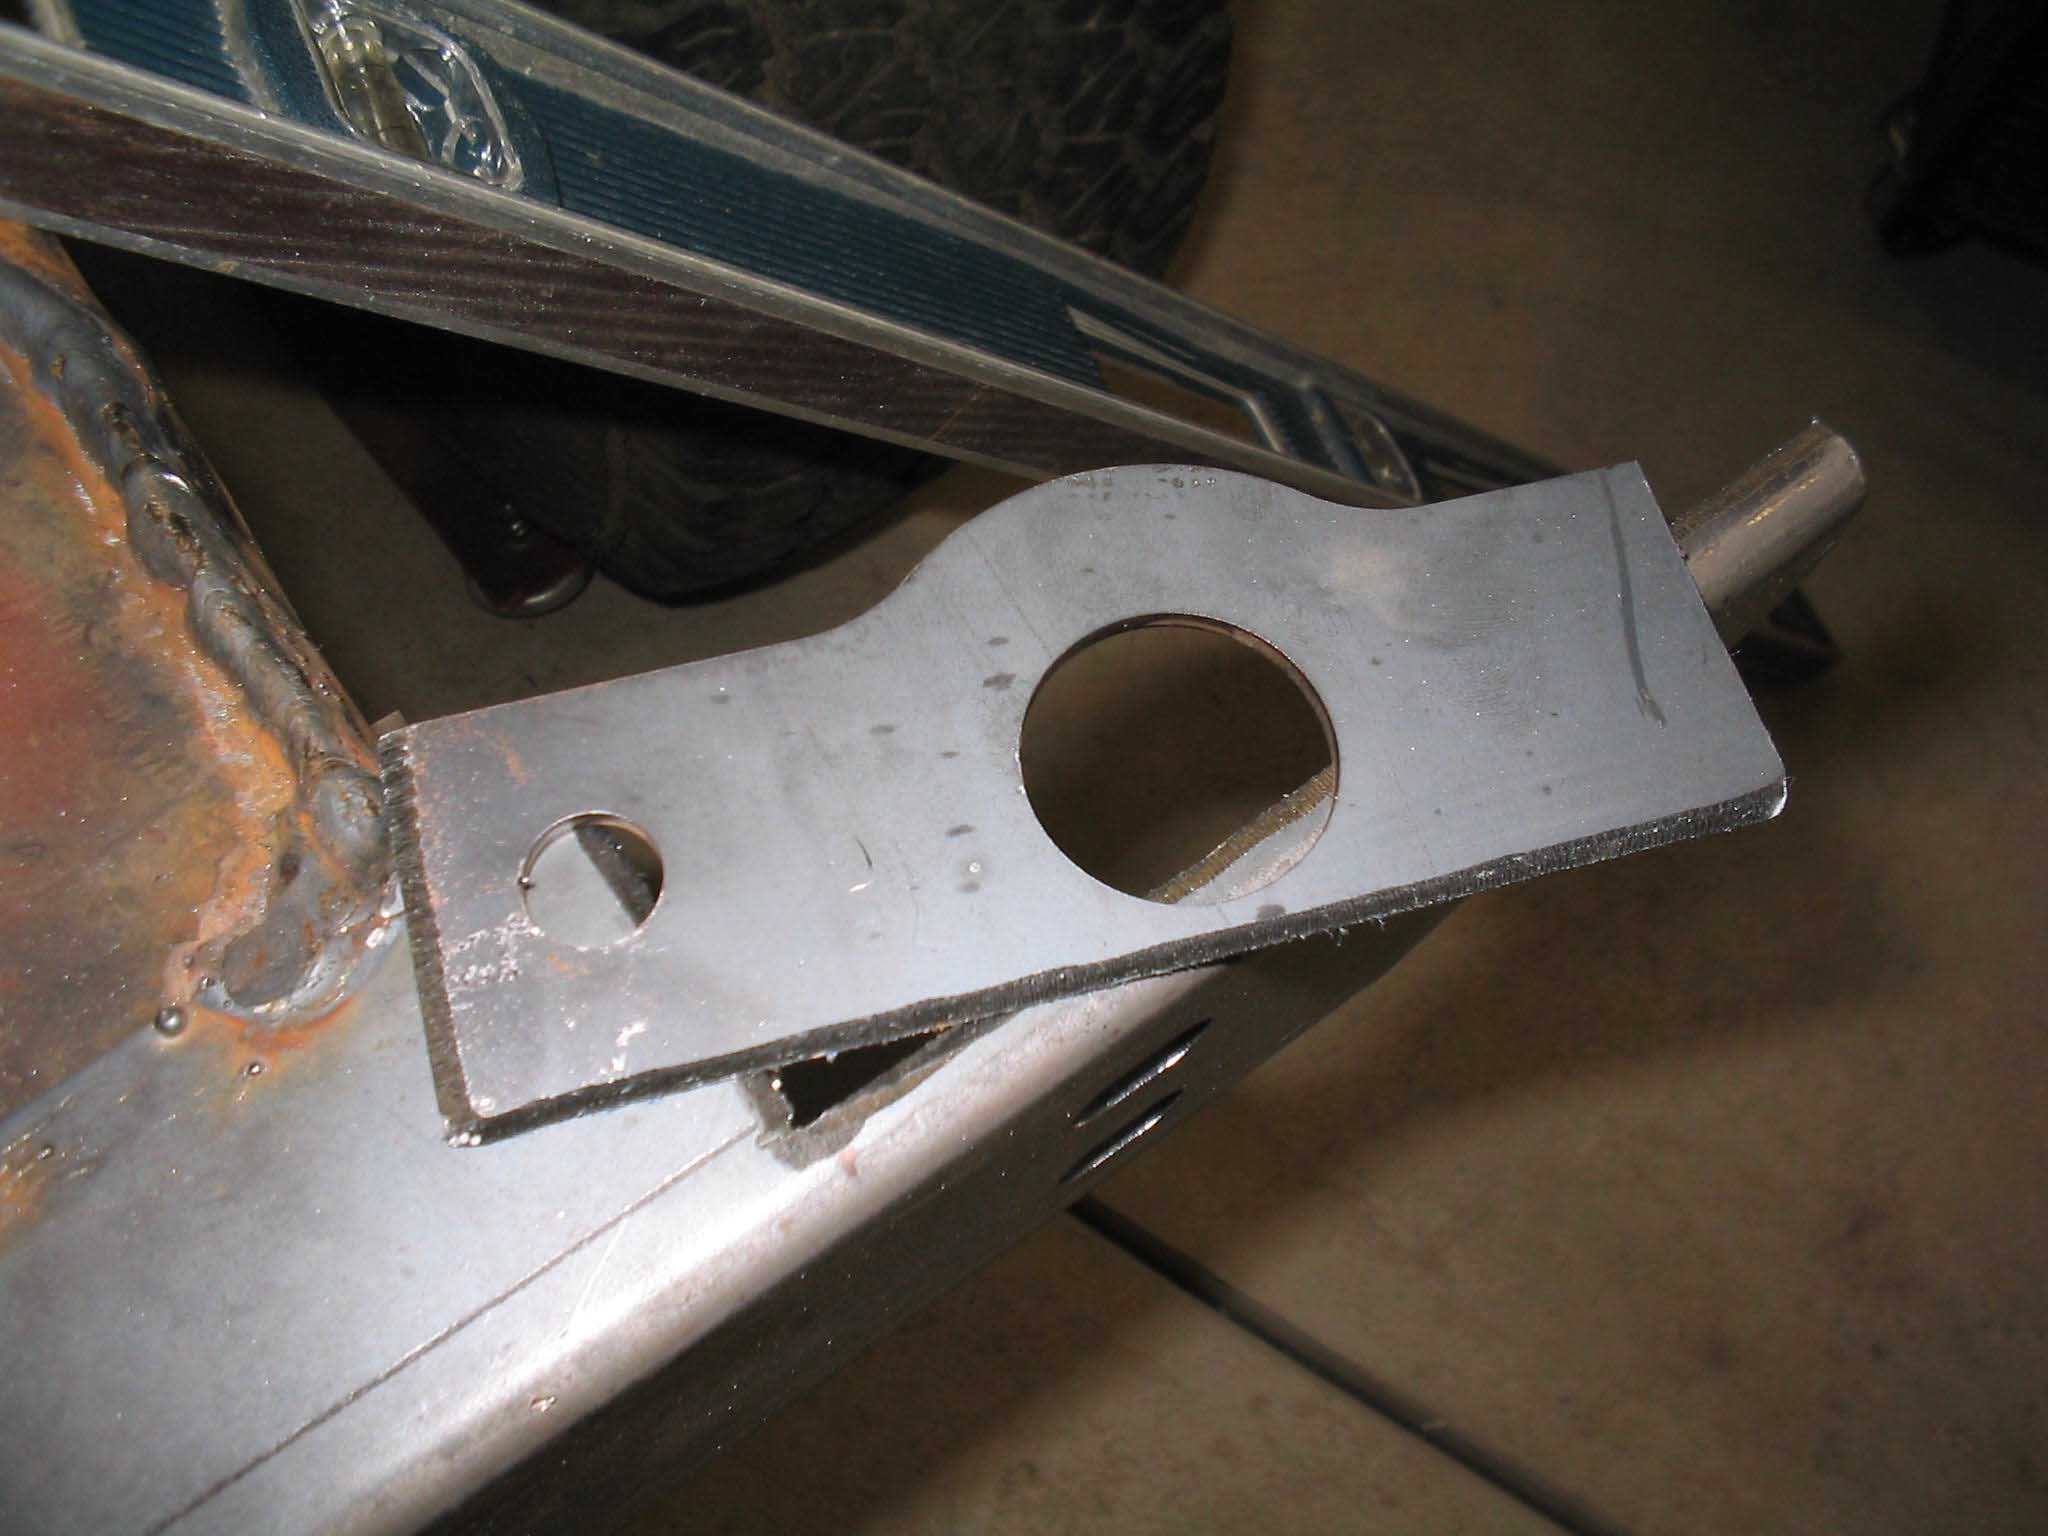
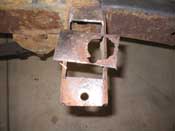
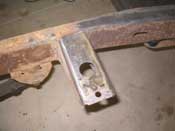
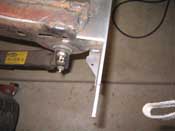
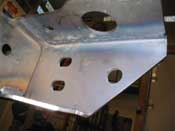
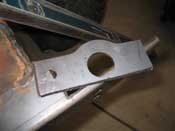
So, after Jen left and went inside, I went to work on the rear driver side cross member body mount hole. The rear cross member
was for a CJ, not a YJ, so the hole doesn't quite line up. There were a variety of ways I could have done this, but the
easiest in my mind was to cut it and flip it. I cut a cardboard cutout, traced it, cut it, beveled it, welded it and finally
ground it smooth... then it was dinnertime. I will do the passenger side today. I included all the different pictures to show
the steps, plus the underside to show that it actually penetrated through.
cb (01/19/08)
|
| |

|
|
|
|
| |
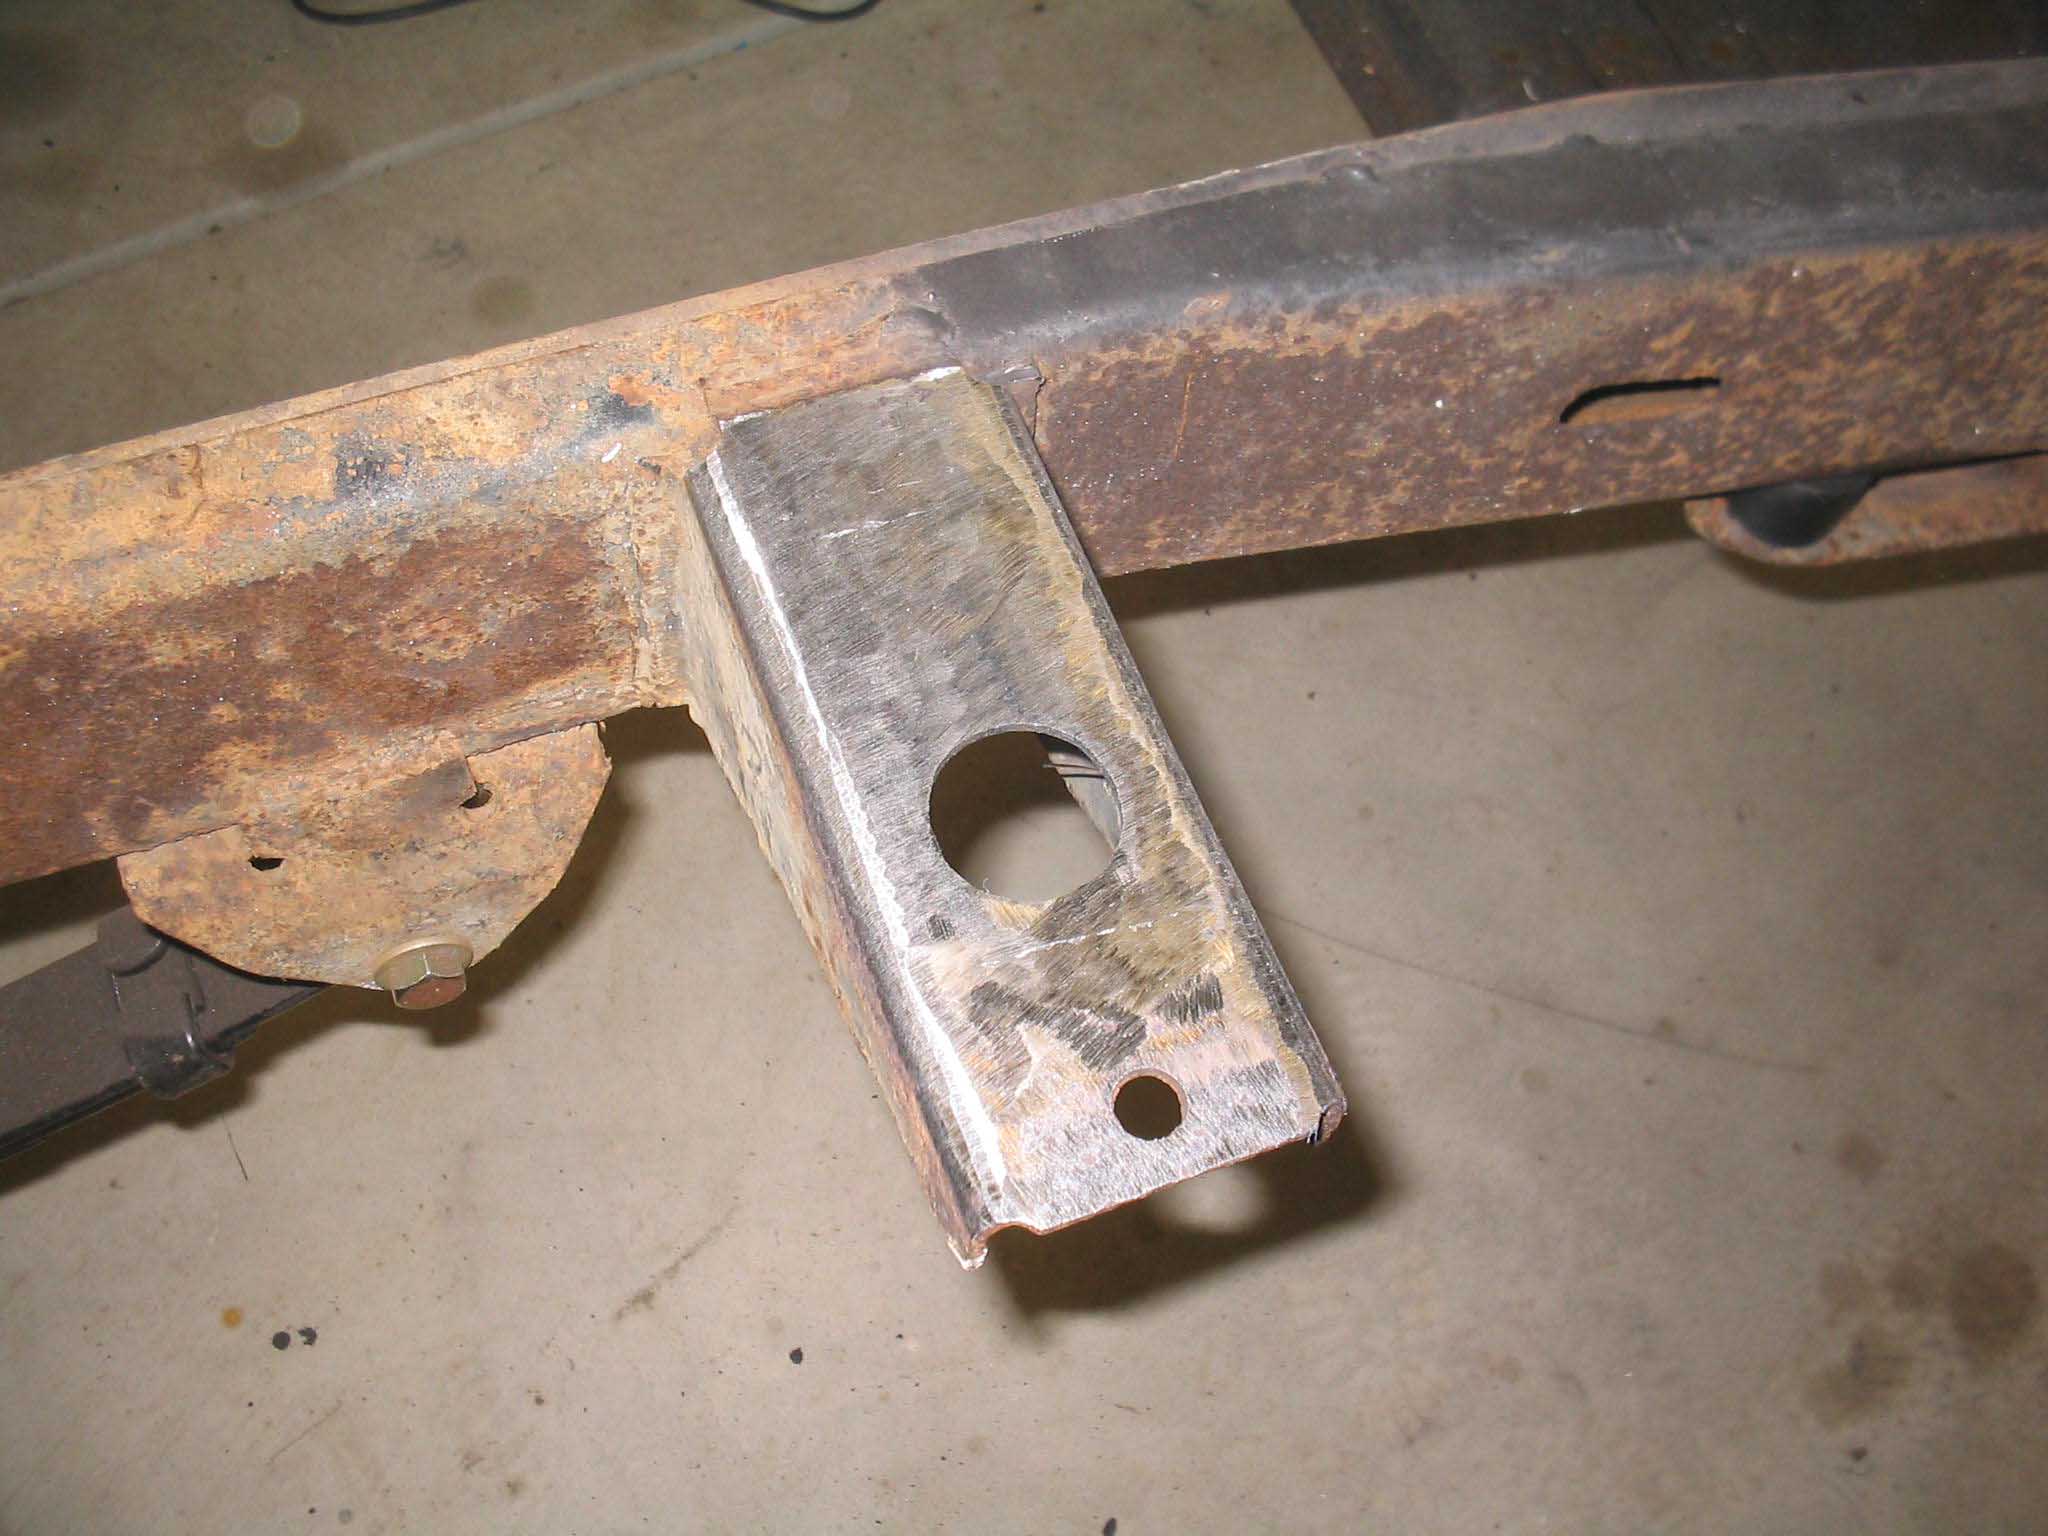
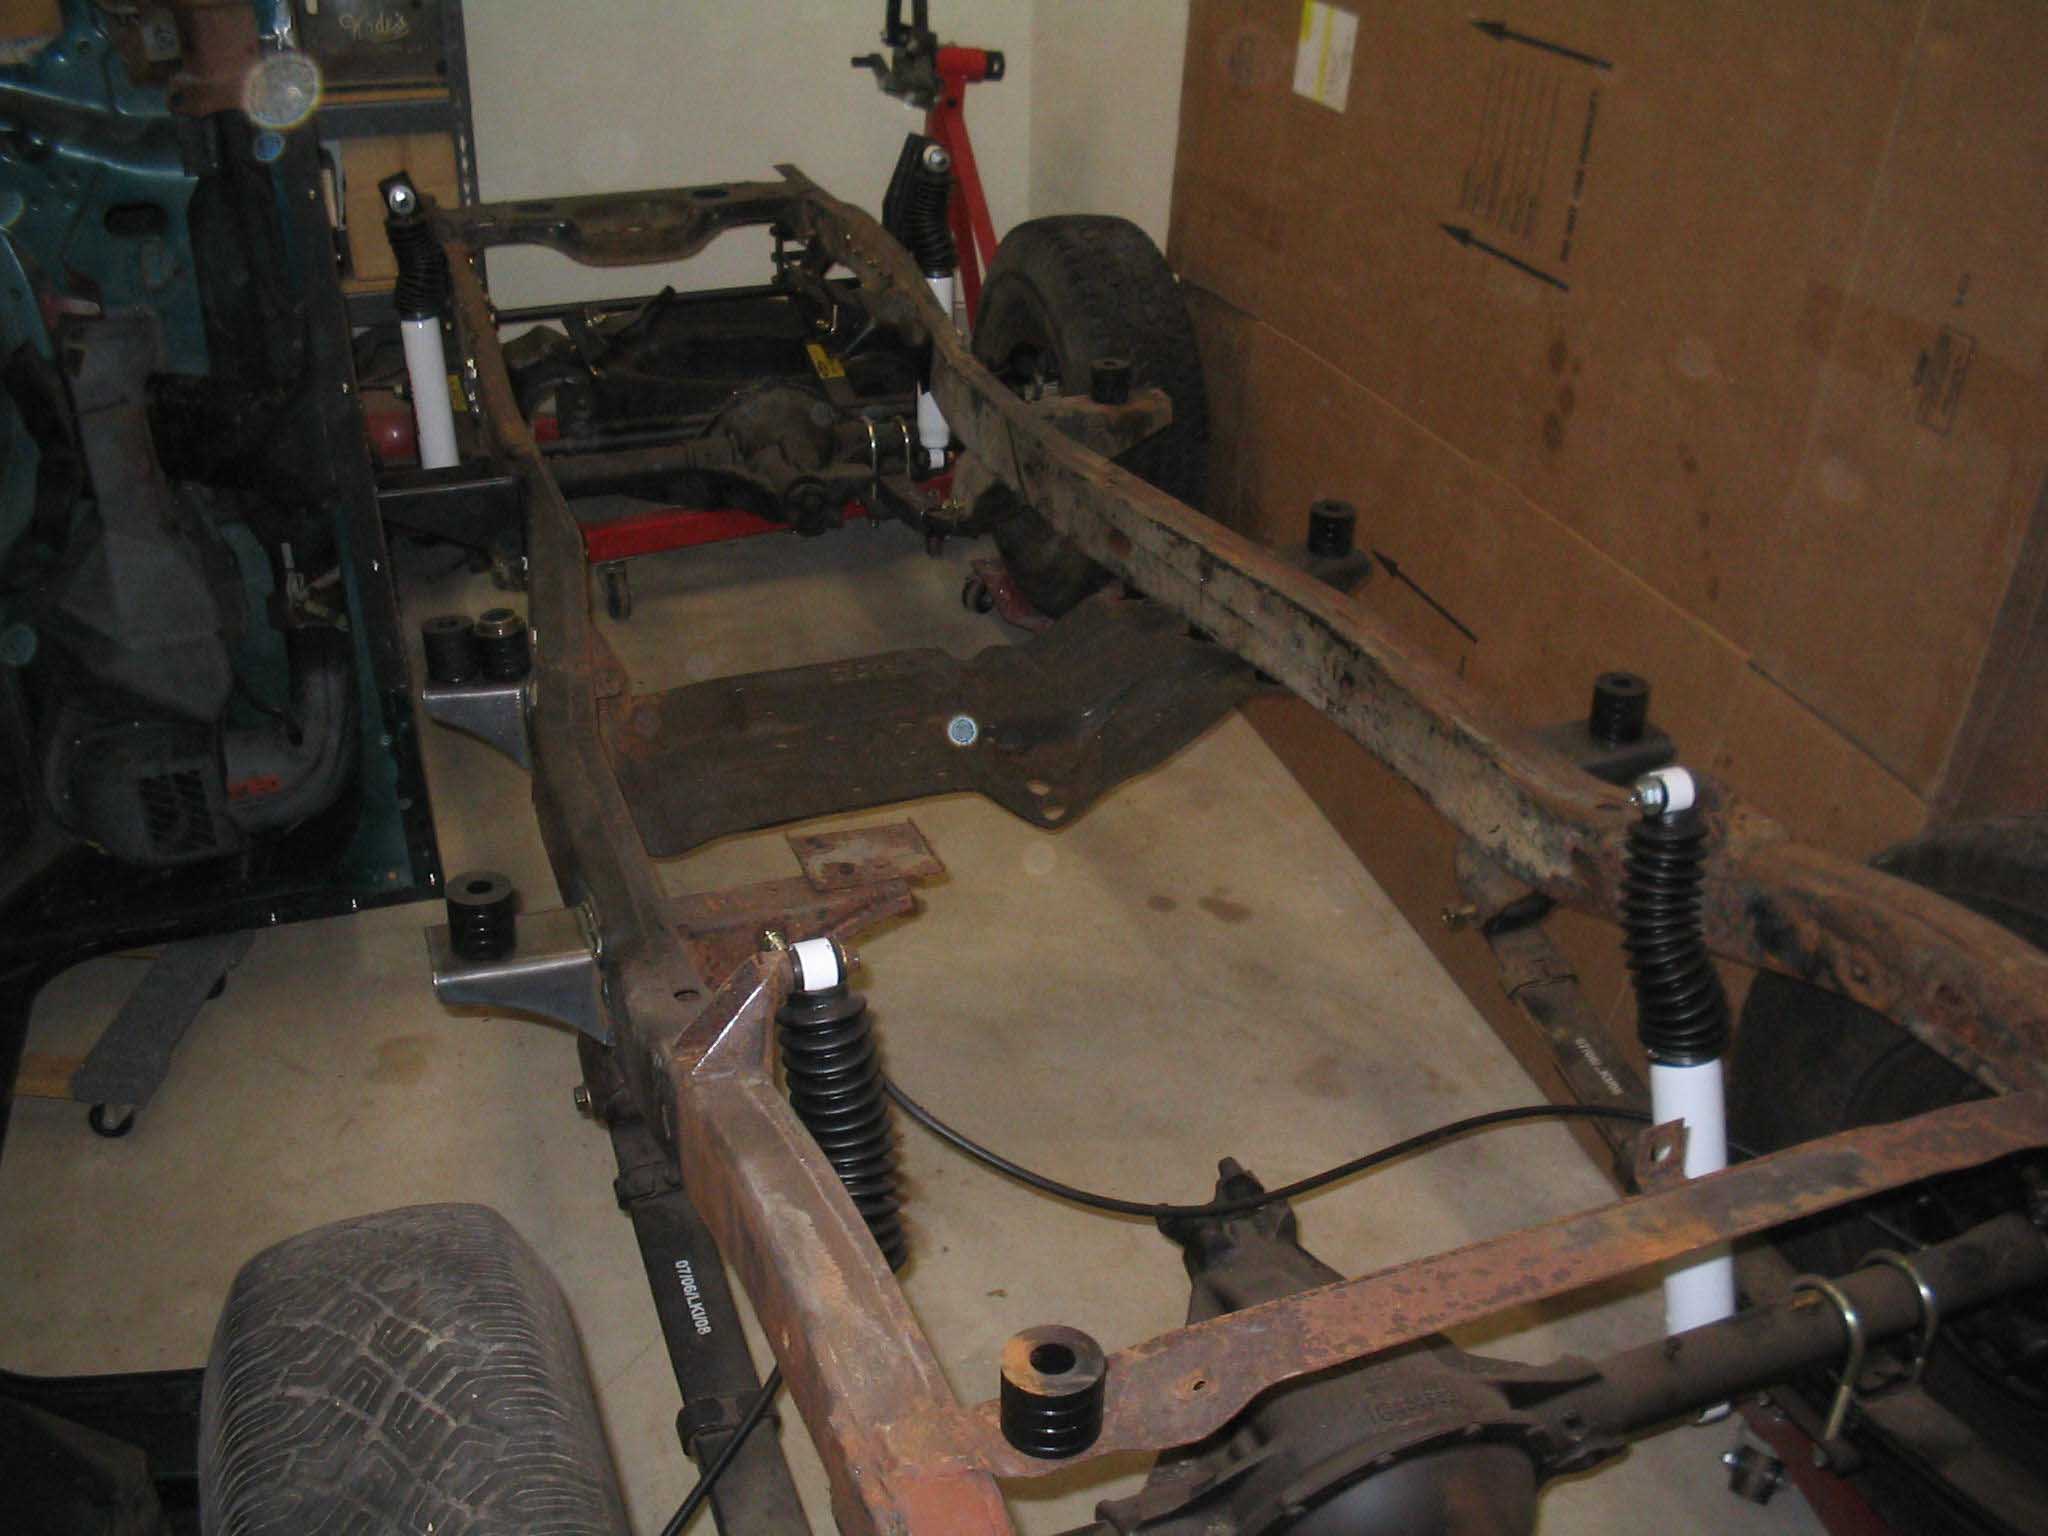
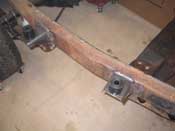
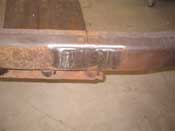
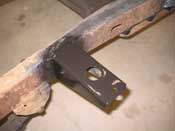
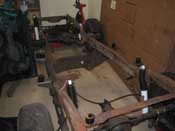
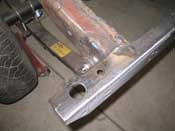
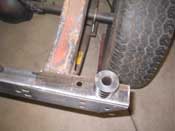
(01/20/08) Again, not a whole lot of time to work on the Jeep, but I was able to finish up a few
loose ends. I cut off the passenger side rear mount, got it ready to weld back on and then welded it back in place. A few
minutes with the grinder and now we are looking good to try the body back on the frame to see if everything lines up and bolts
down in place.
cb (01/20/08)
|
| |
| << Previous |
Next >> |
|