|
|
| Project "Free Jeep" a.k.a Project "FJ" - part #42 |
| |
|
1
2
3
4
5
6
7
8
9
10
11
12
13
14
15
16
17
18
19
20
21
22
23
24
25
26
27
28
29
30
31
32
33
34
35
36
37
38
39
40
41
42
43
44
45
46
47
48
49
50
51
52
53
54
55
56
57
58
59
60
61
62
63
64
65
66
67
68
69
70
71
72
73
|
| |
| (01/28/08) I was quite optimistic in my last post and it turns out that I must have
jinxed myself because I didn't come close to finishing the transmission.
|
| |
|
|

|
|
| |
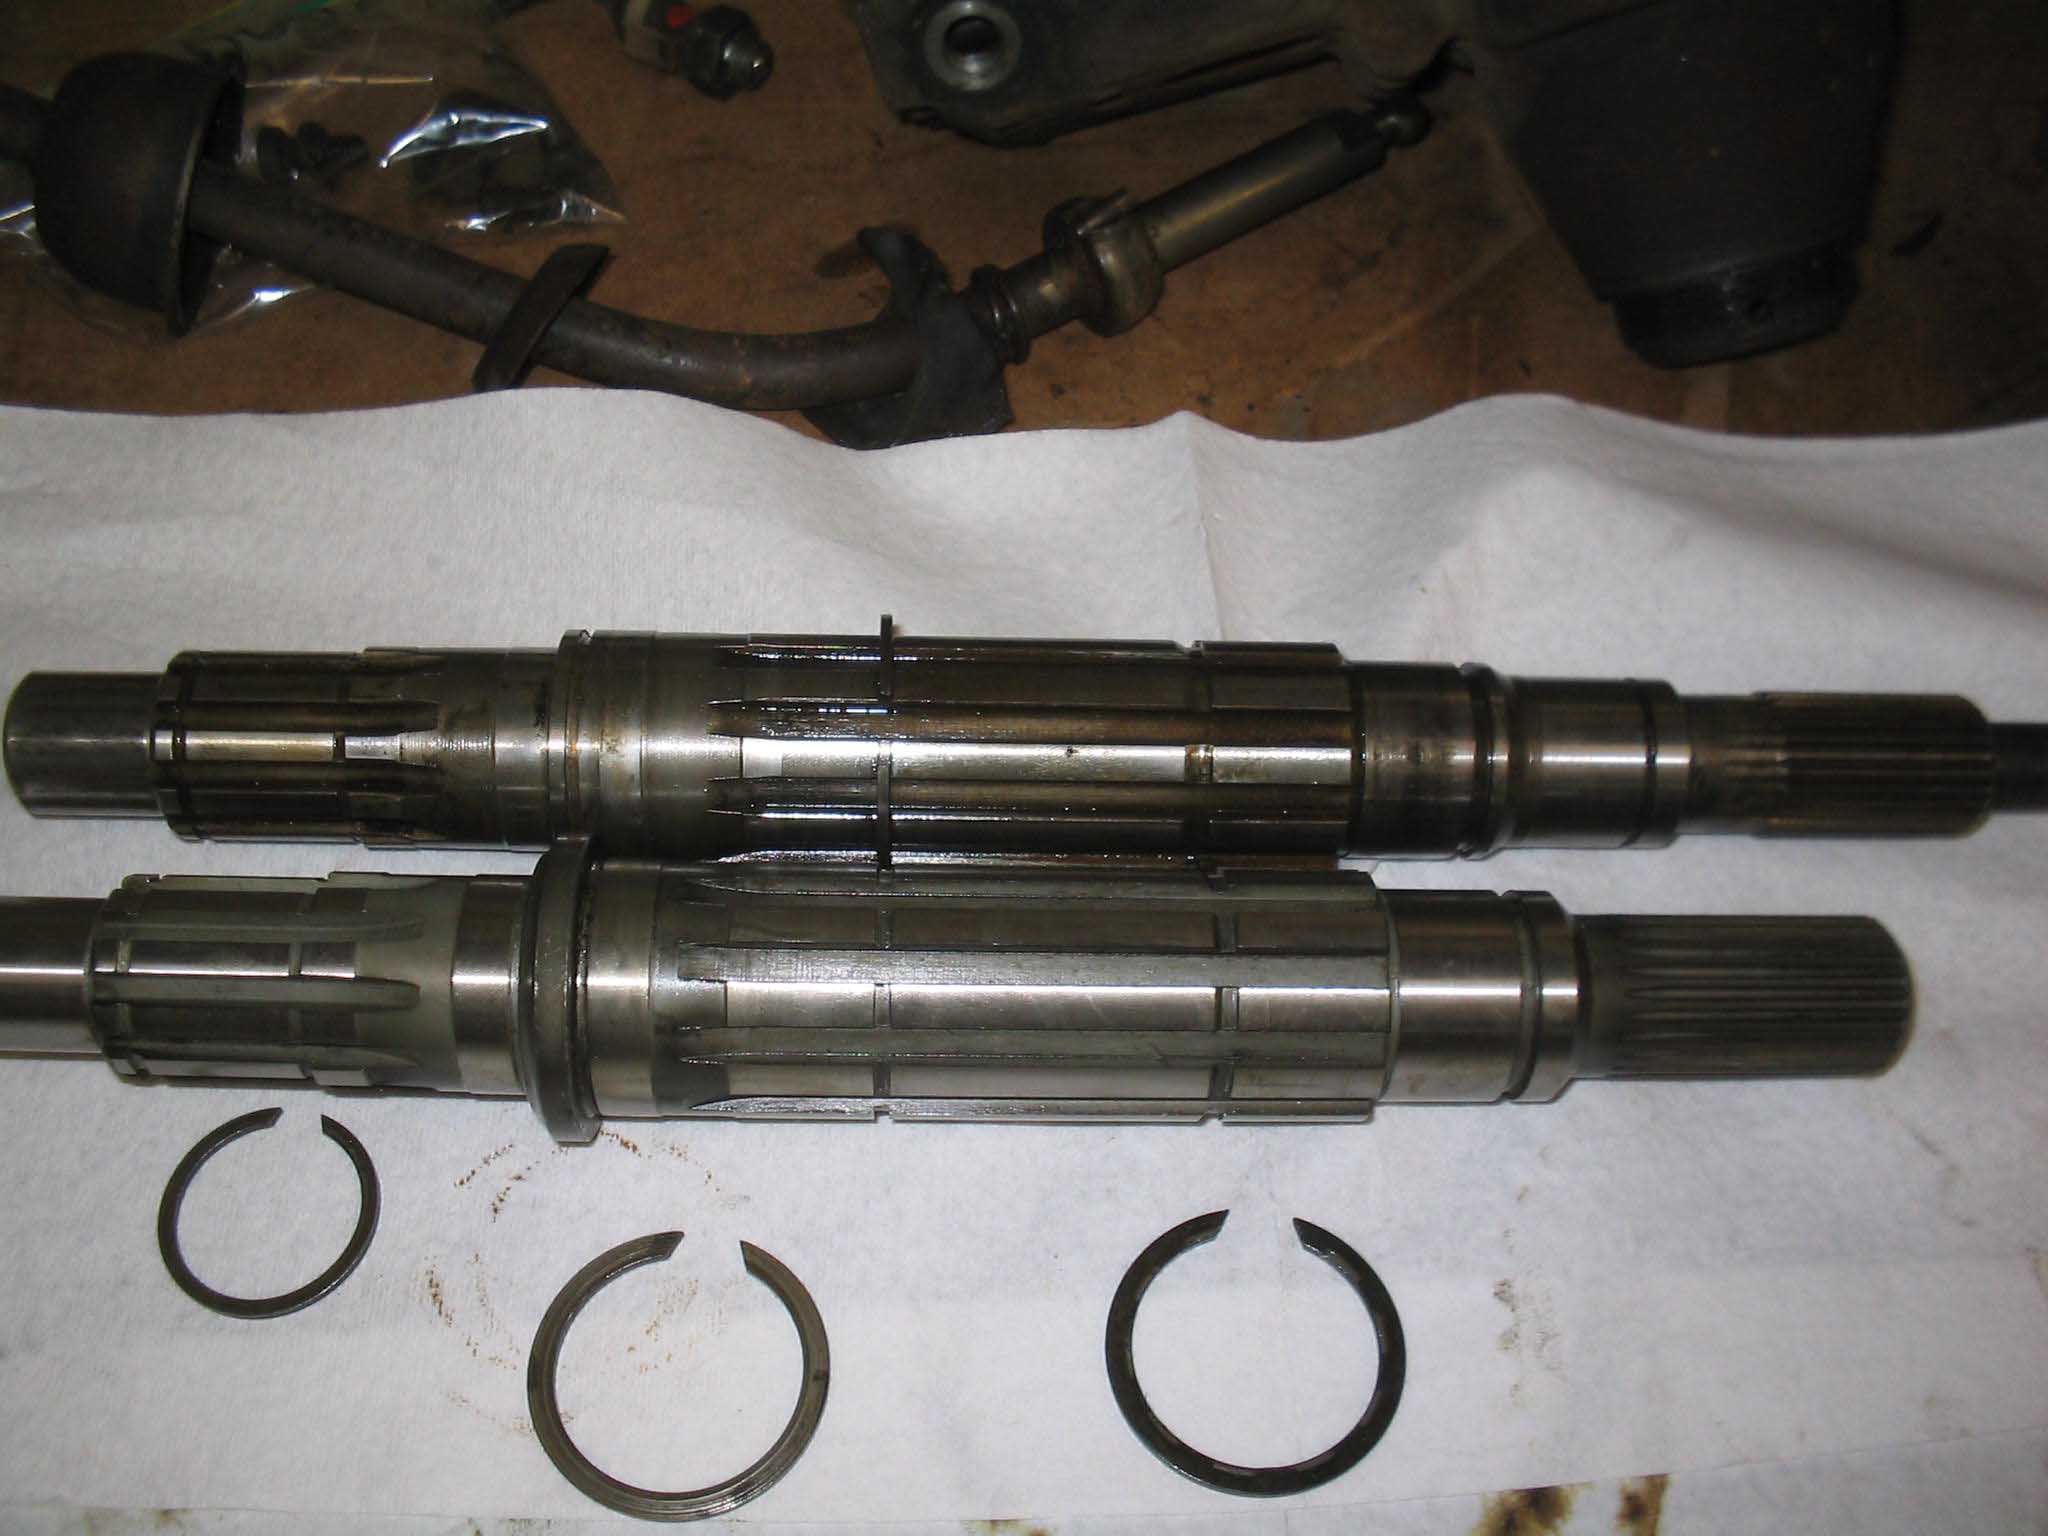
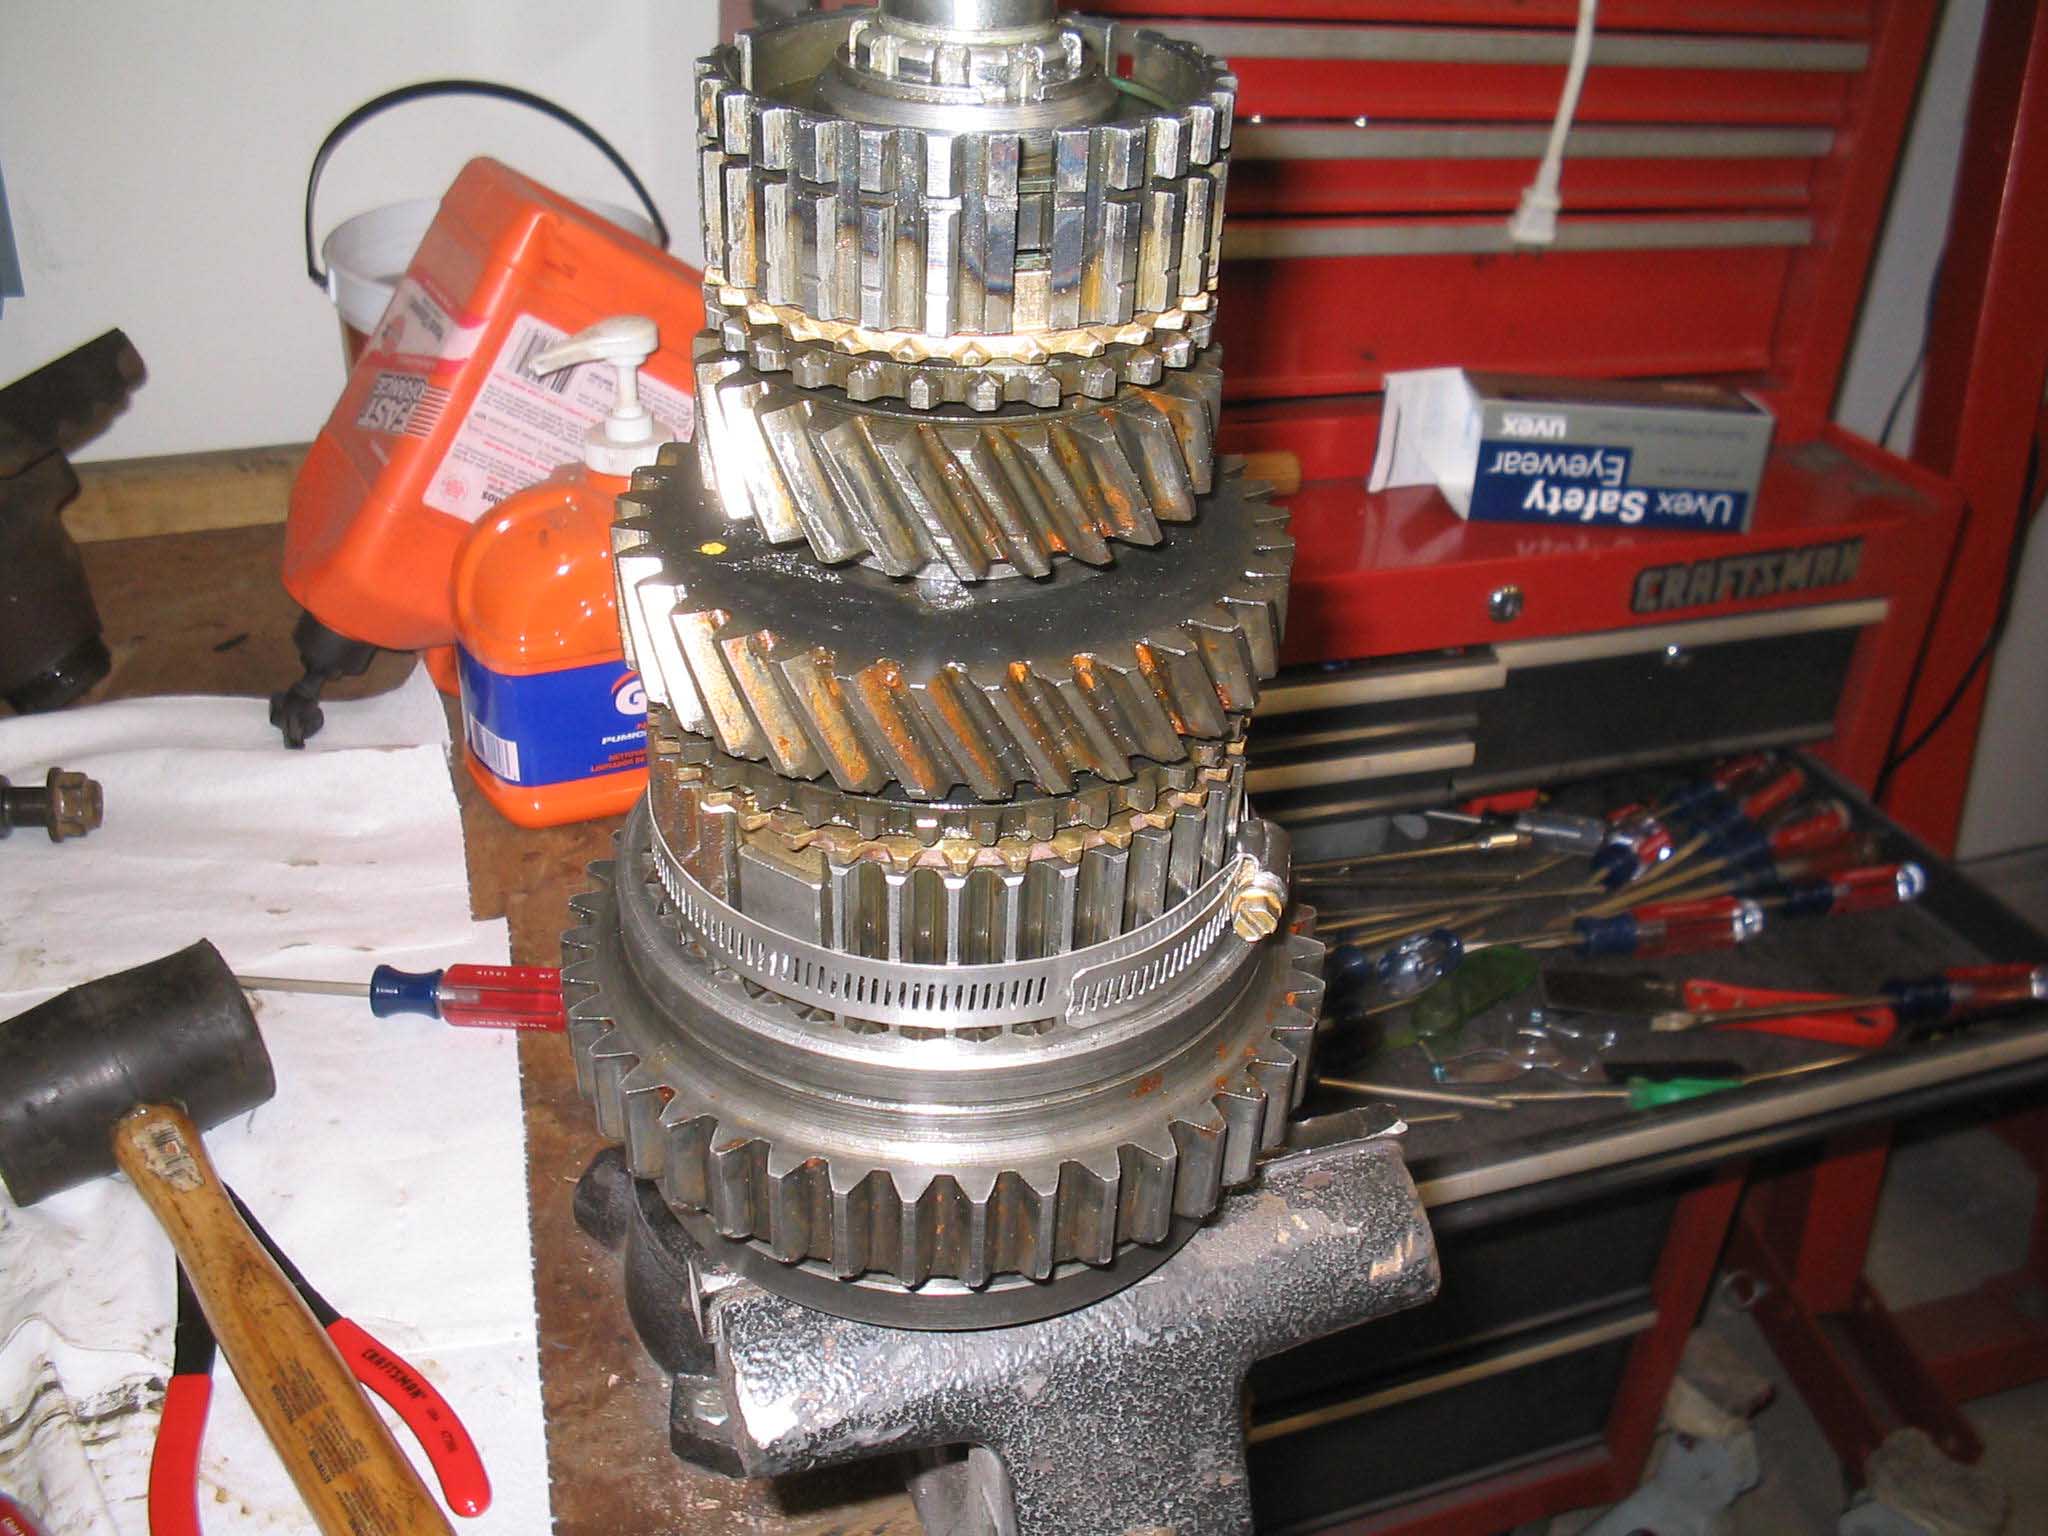
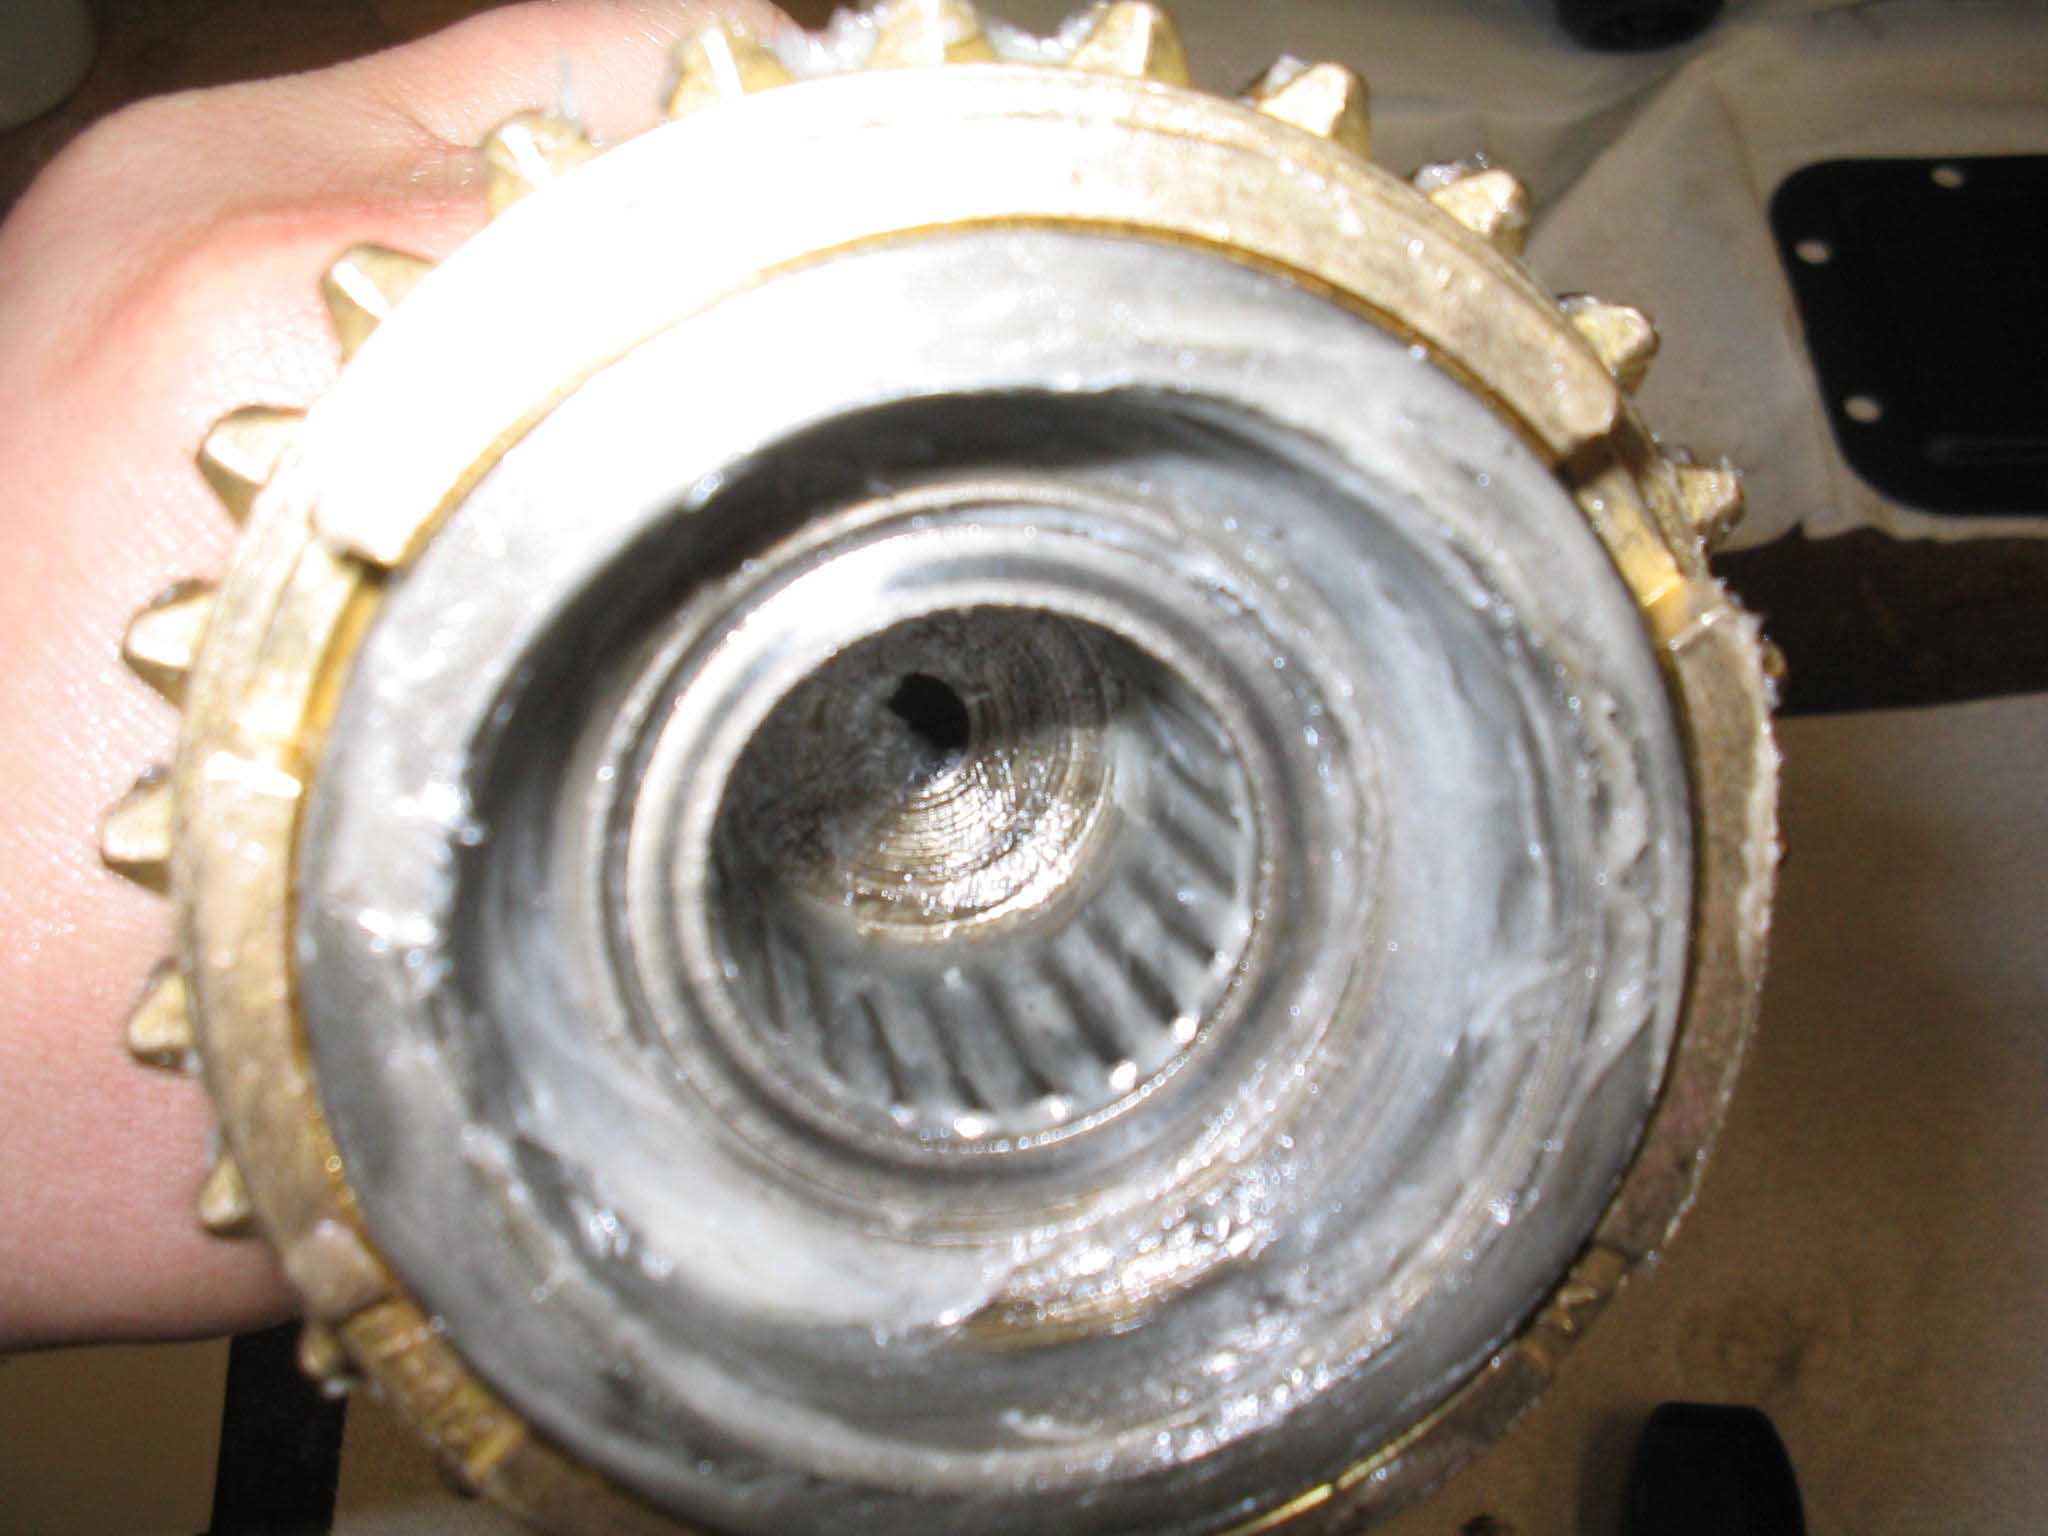
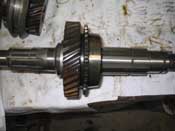
| To make a long story short, the swap out of the shaft should really be done WITHOUT
snap rings installed first to see how everything lines up. In the first picture, it is clear (Mr. Monday morning
quarterback here) that the NEW shaft has a piece in the middle and he OLD one does not. This means that were in
the last one had a spacer and snap ring; the NEW one does not need this. So, basically the first 4 pictures are
me doing what I am telling you NOT to do. Put it all together first WITHOUT snap rings to make sure it all fits
together. Once I did this, I moved on to the other side of the shaft.
|
| |

|

|
|
|
| |
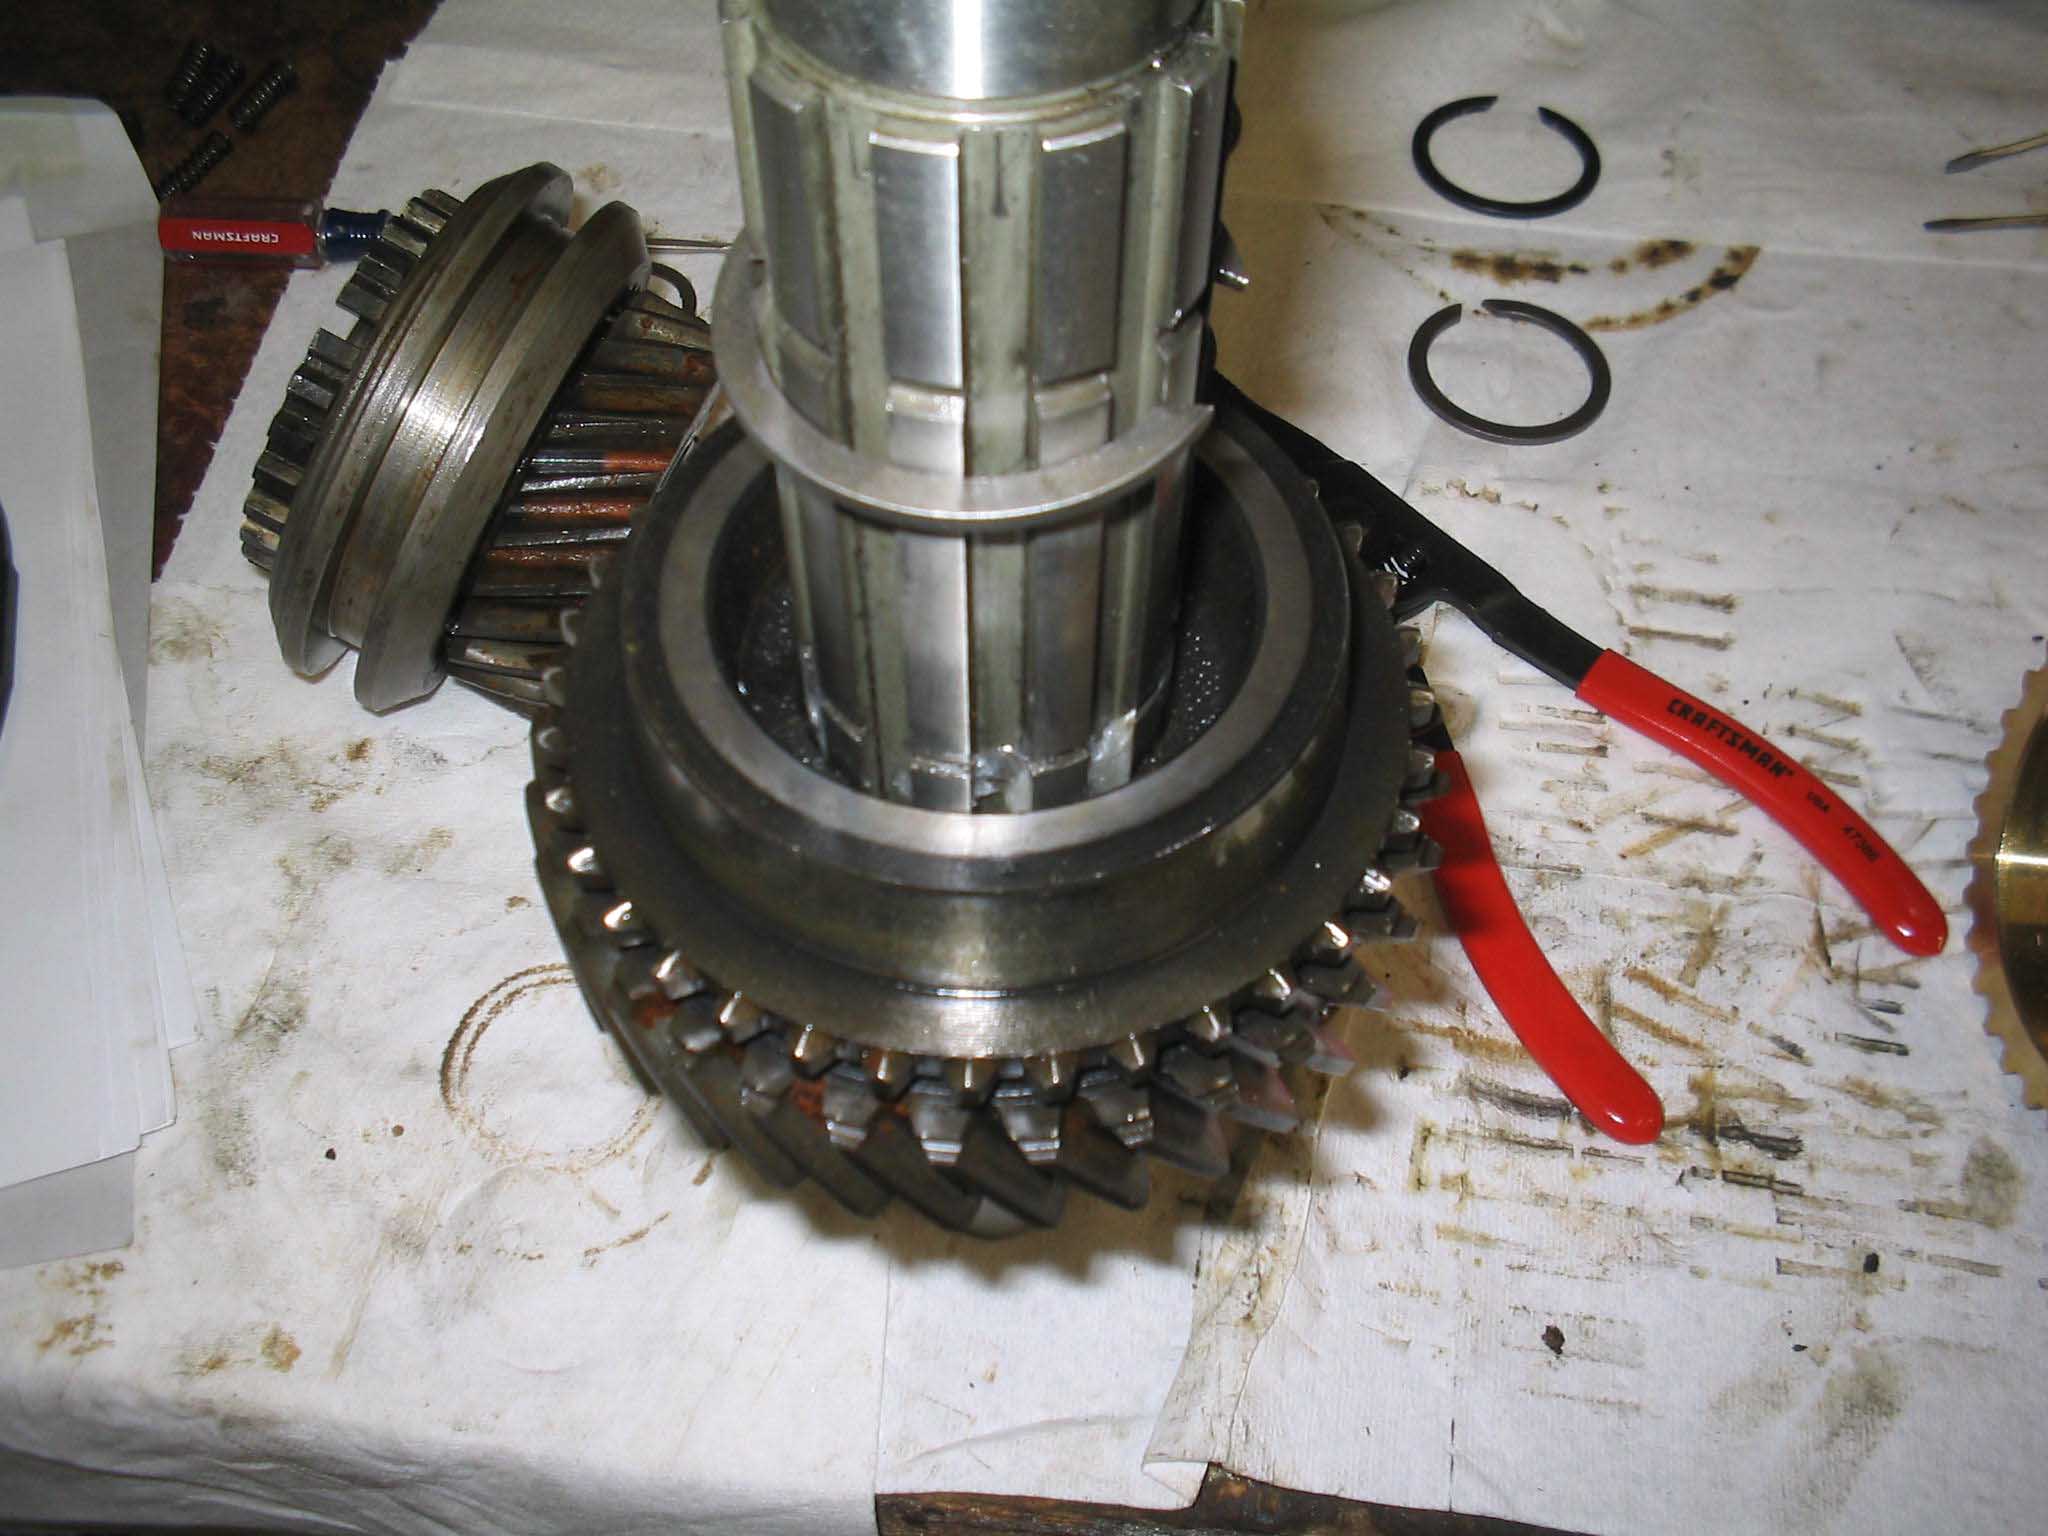
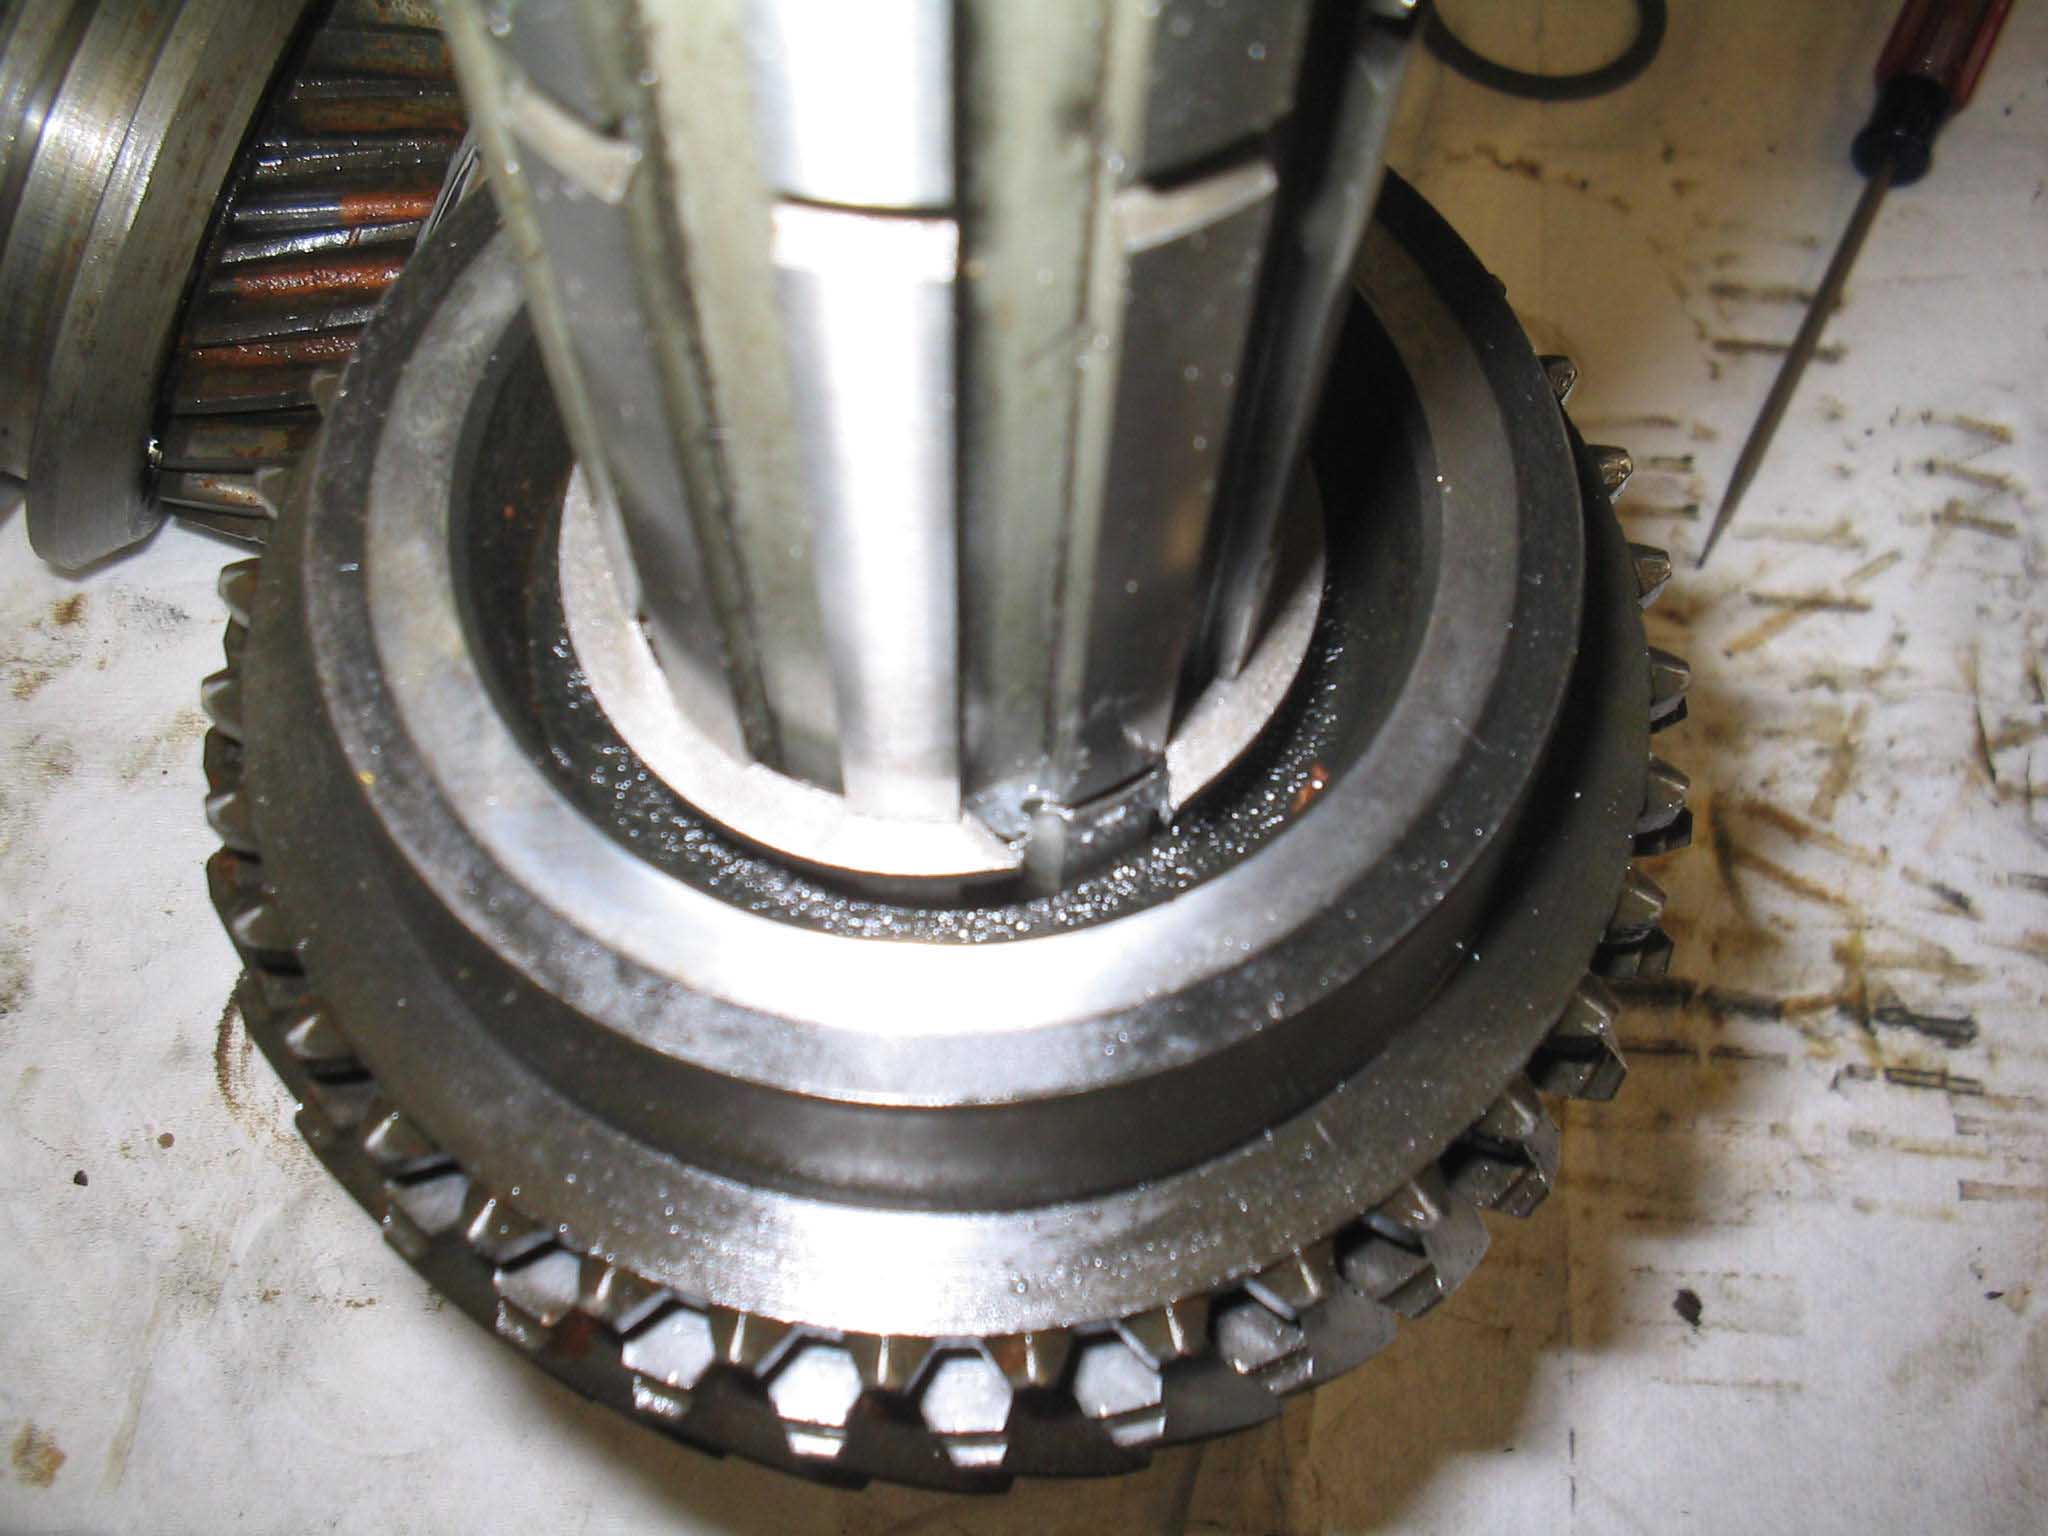
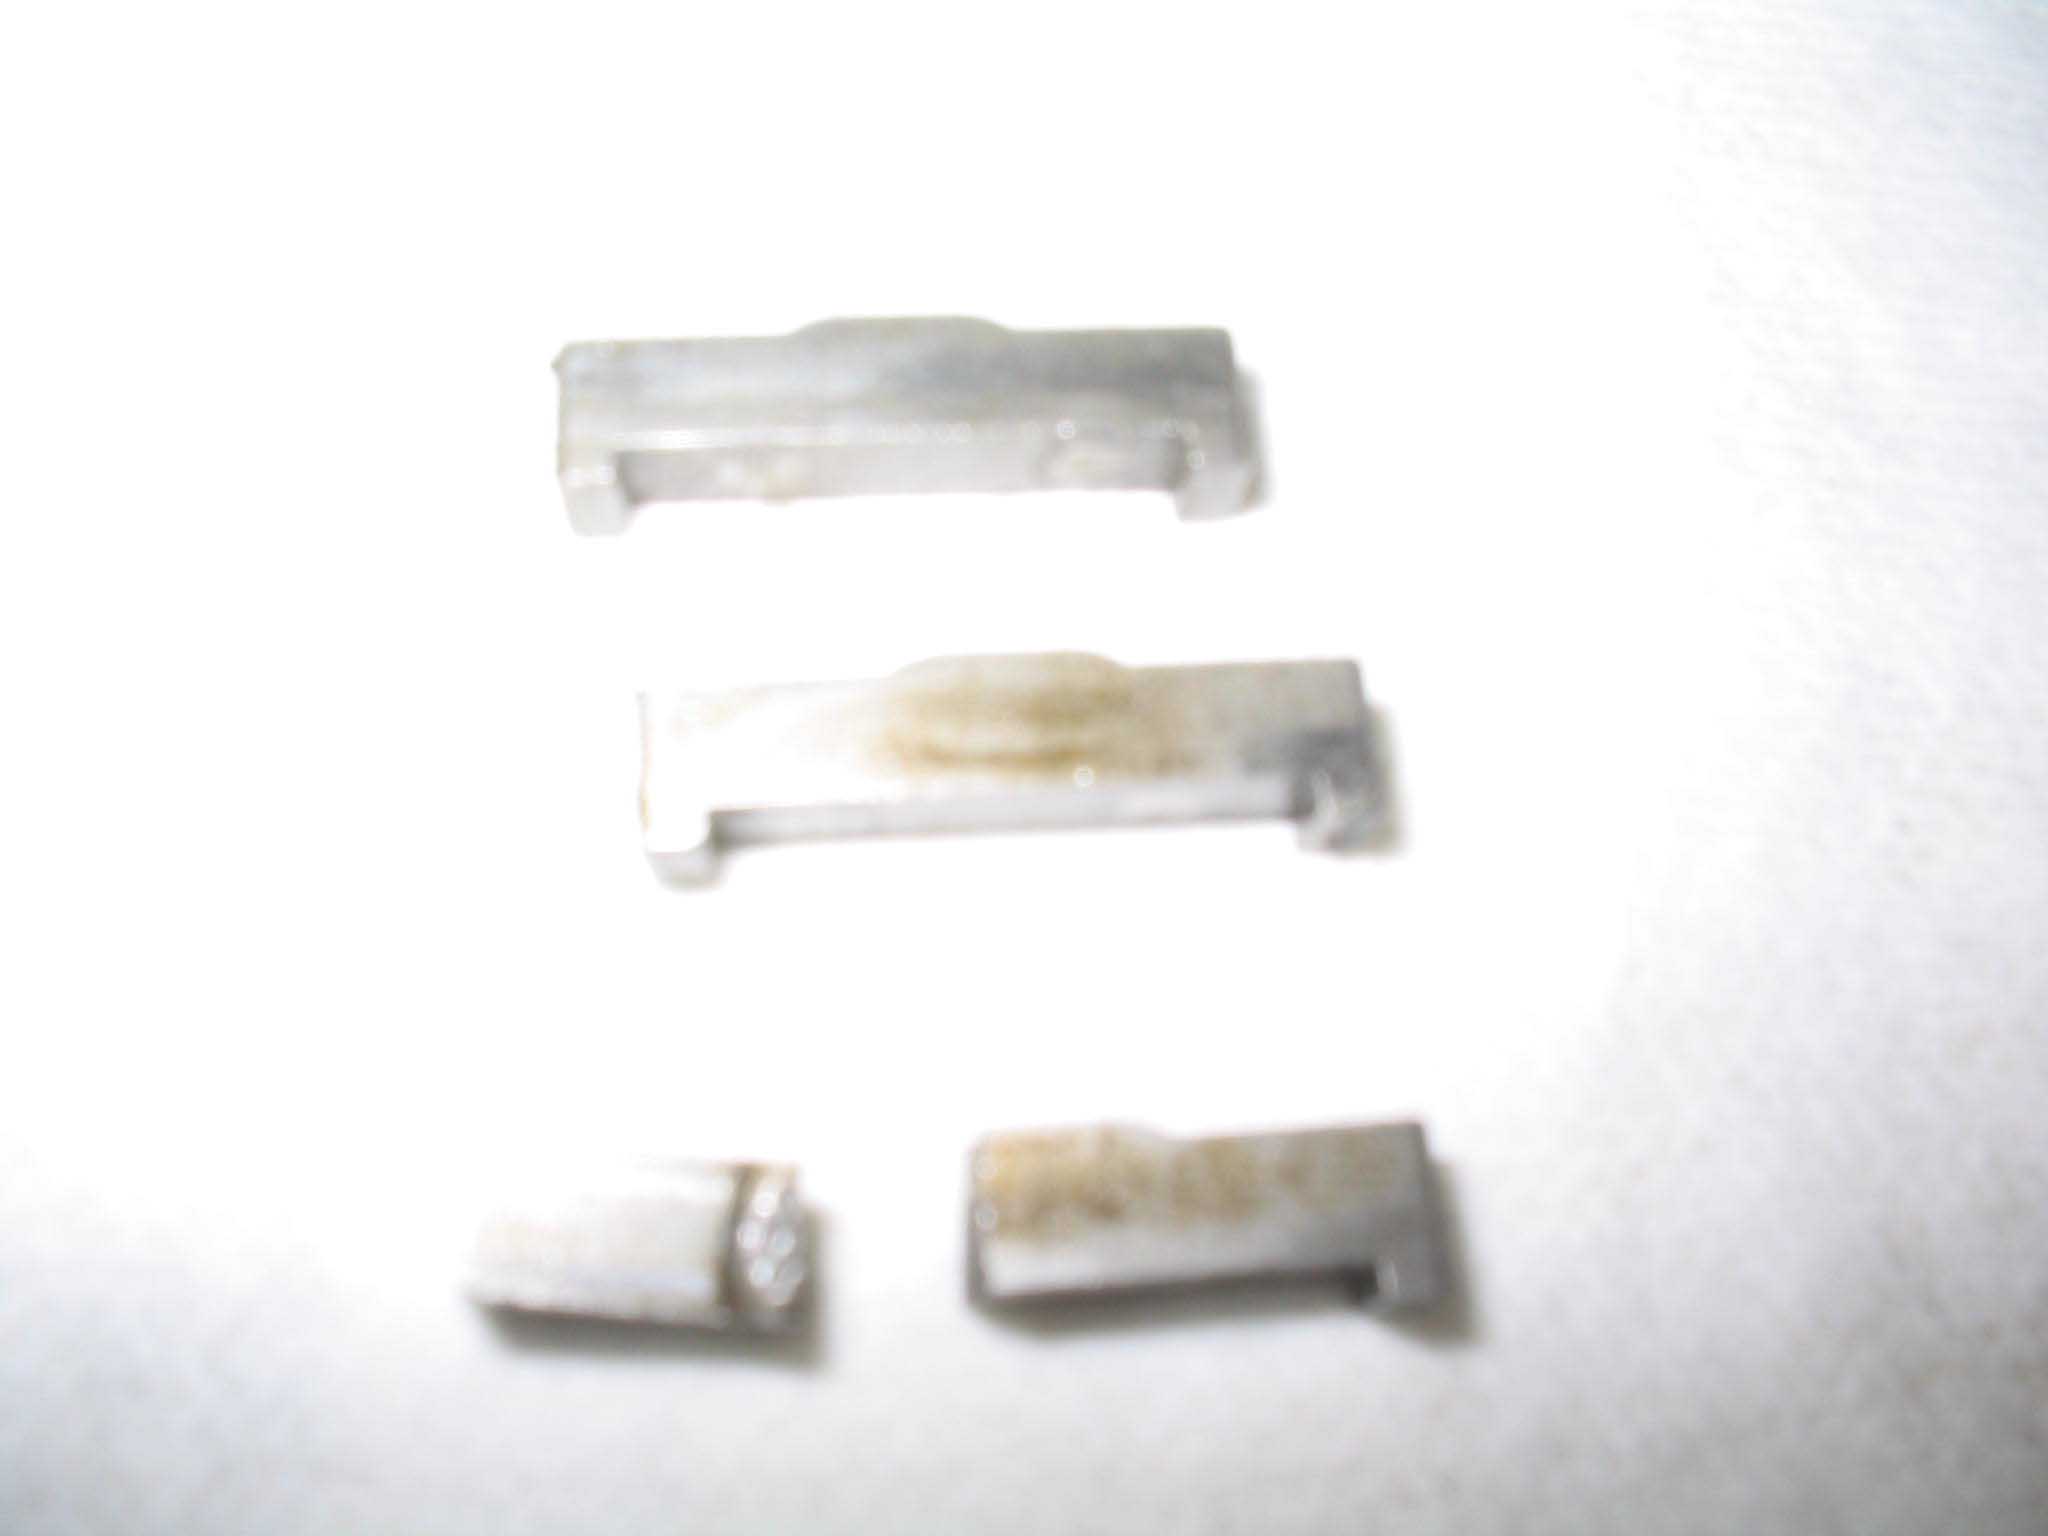
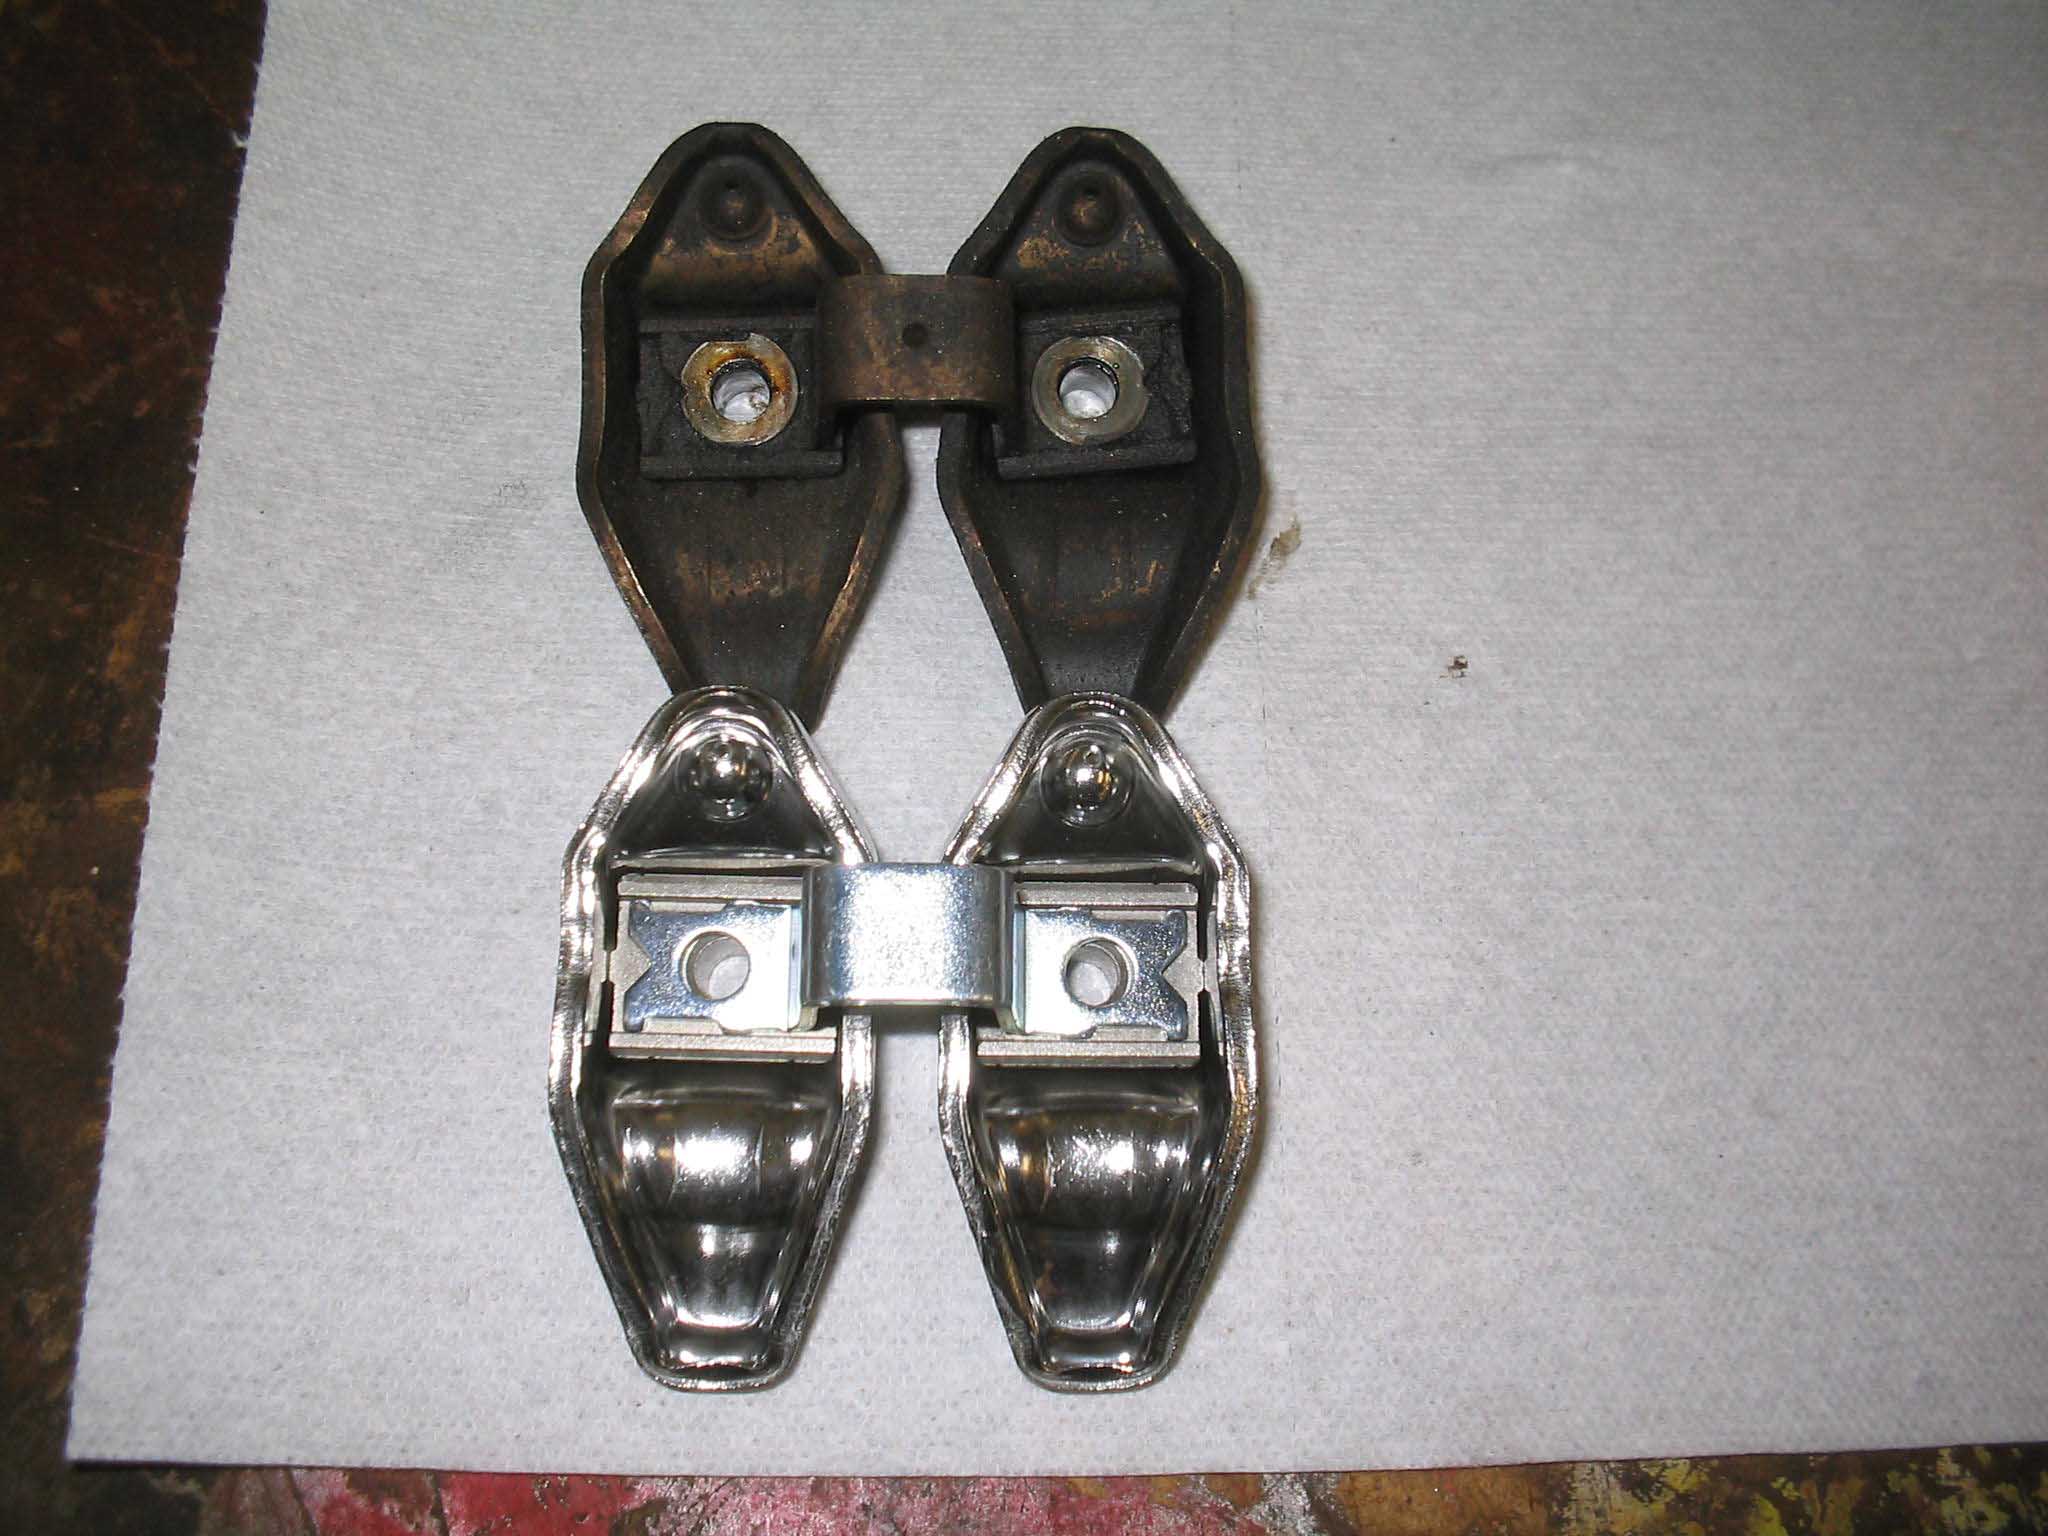
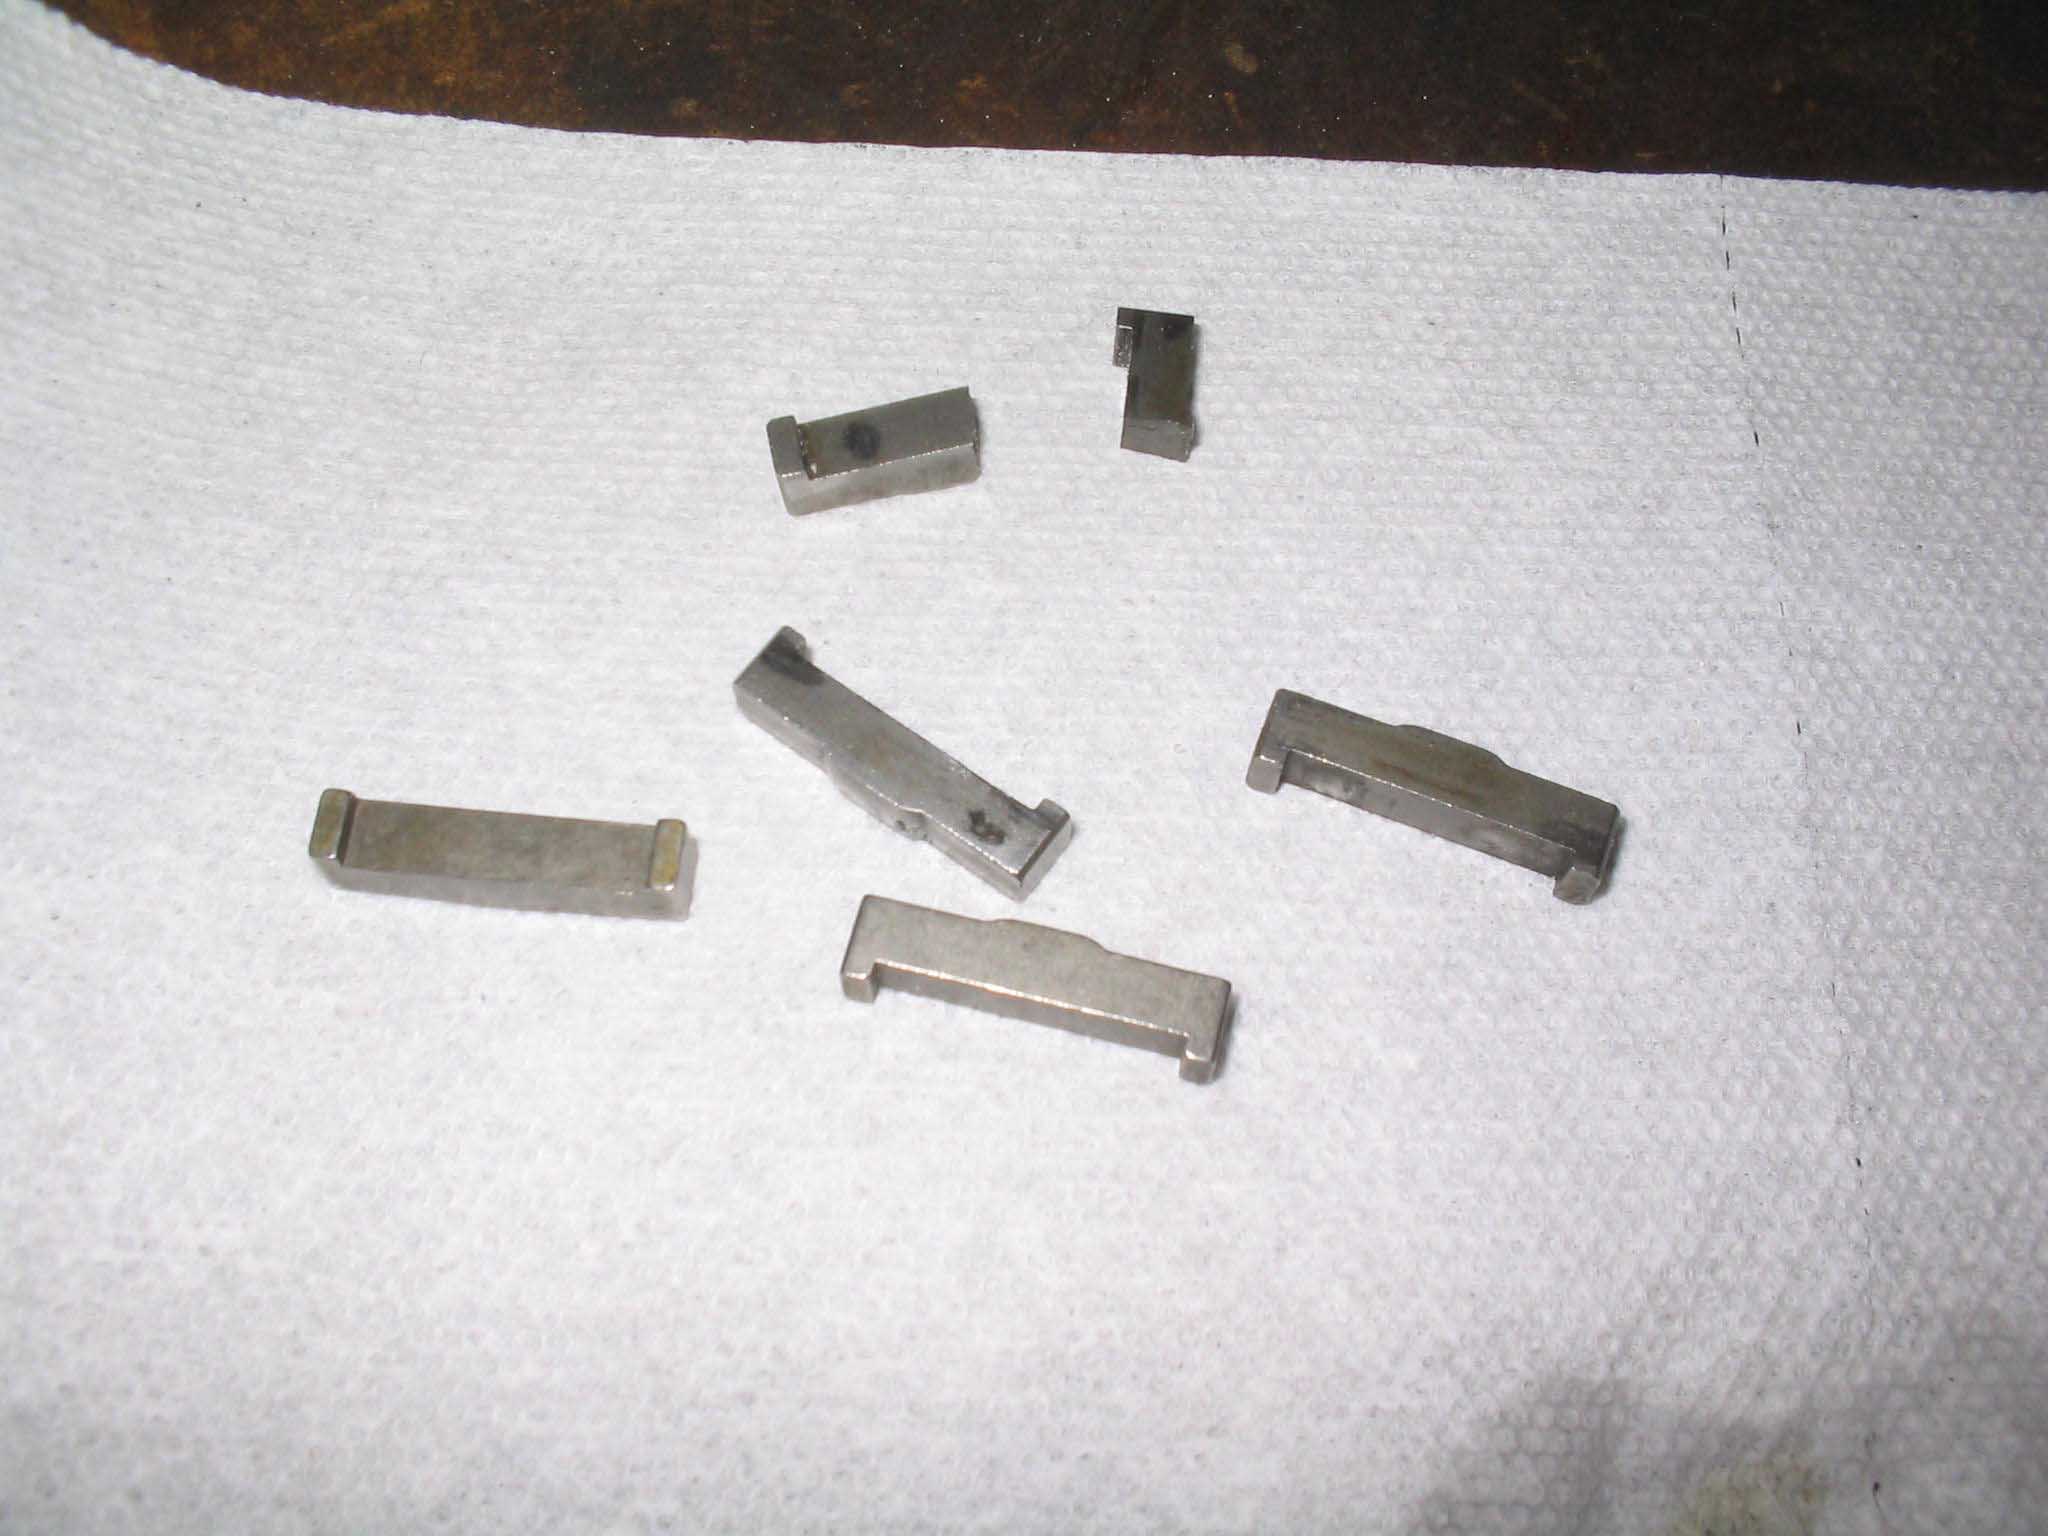
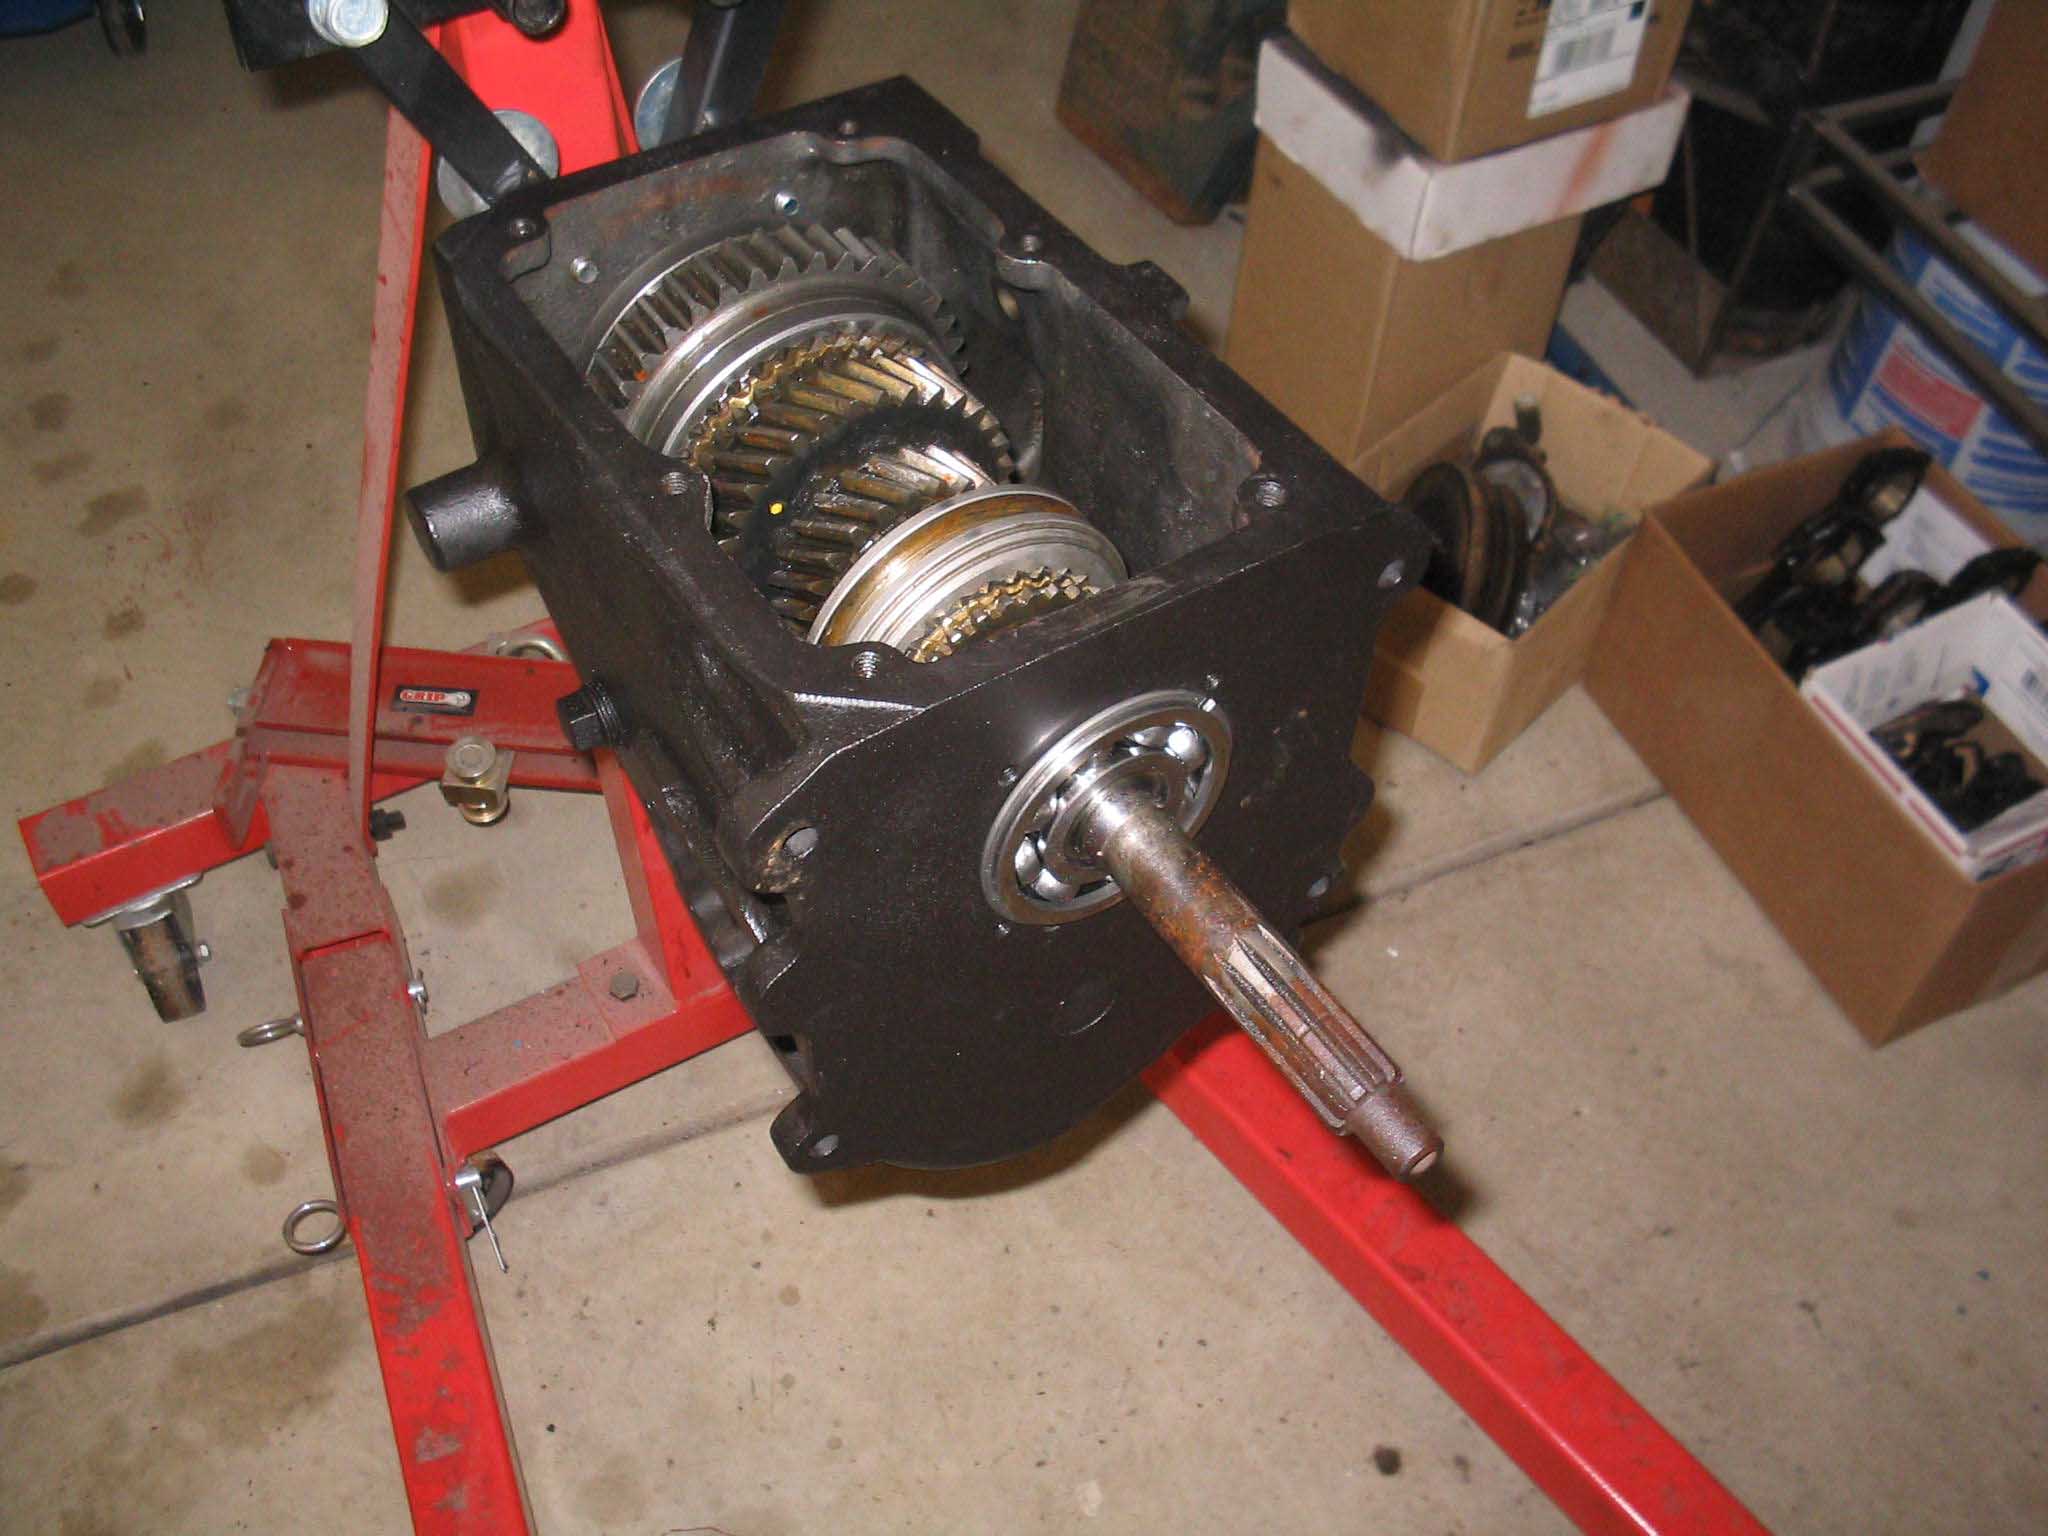
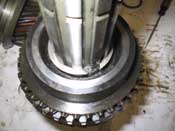
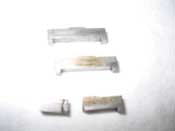
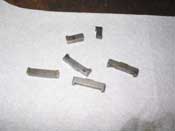
The other side went pretty smoothly until I broke one of the third/fourth shift
plates. They are small things that are needed and I broke one of mine and I am having a hard time finding a
replacement. Fun times for me. Anyway, with the small side done, I went to the large side and came up with
the radiator clamp solution to get the 3 poppet balls and springs in their respective holes. For those who have
not done this, the little springs and balls shoot out like a BB gun, so watch your midsection.
cb (01/28/08)
|
| |
|
|
|
|
| |
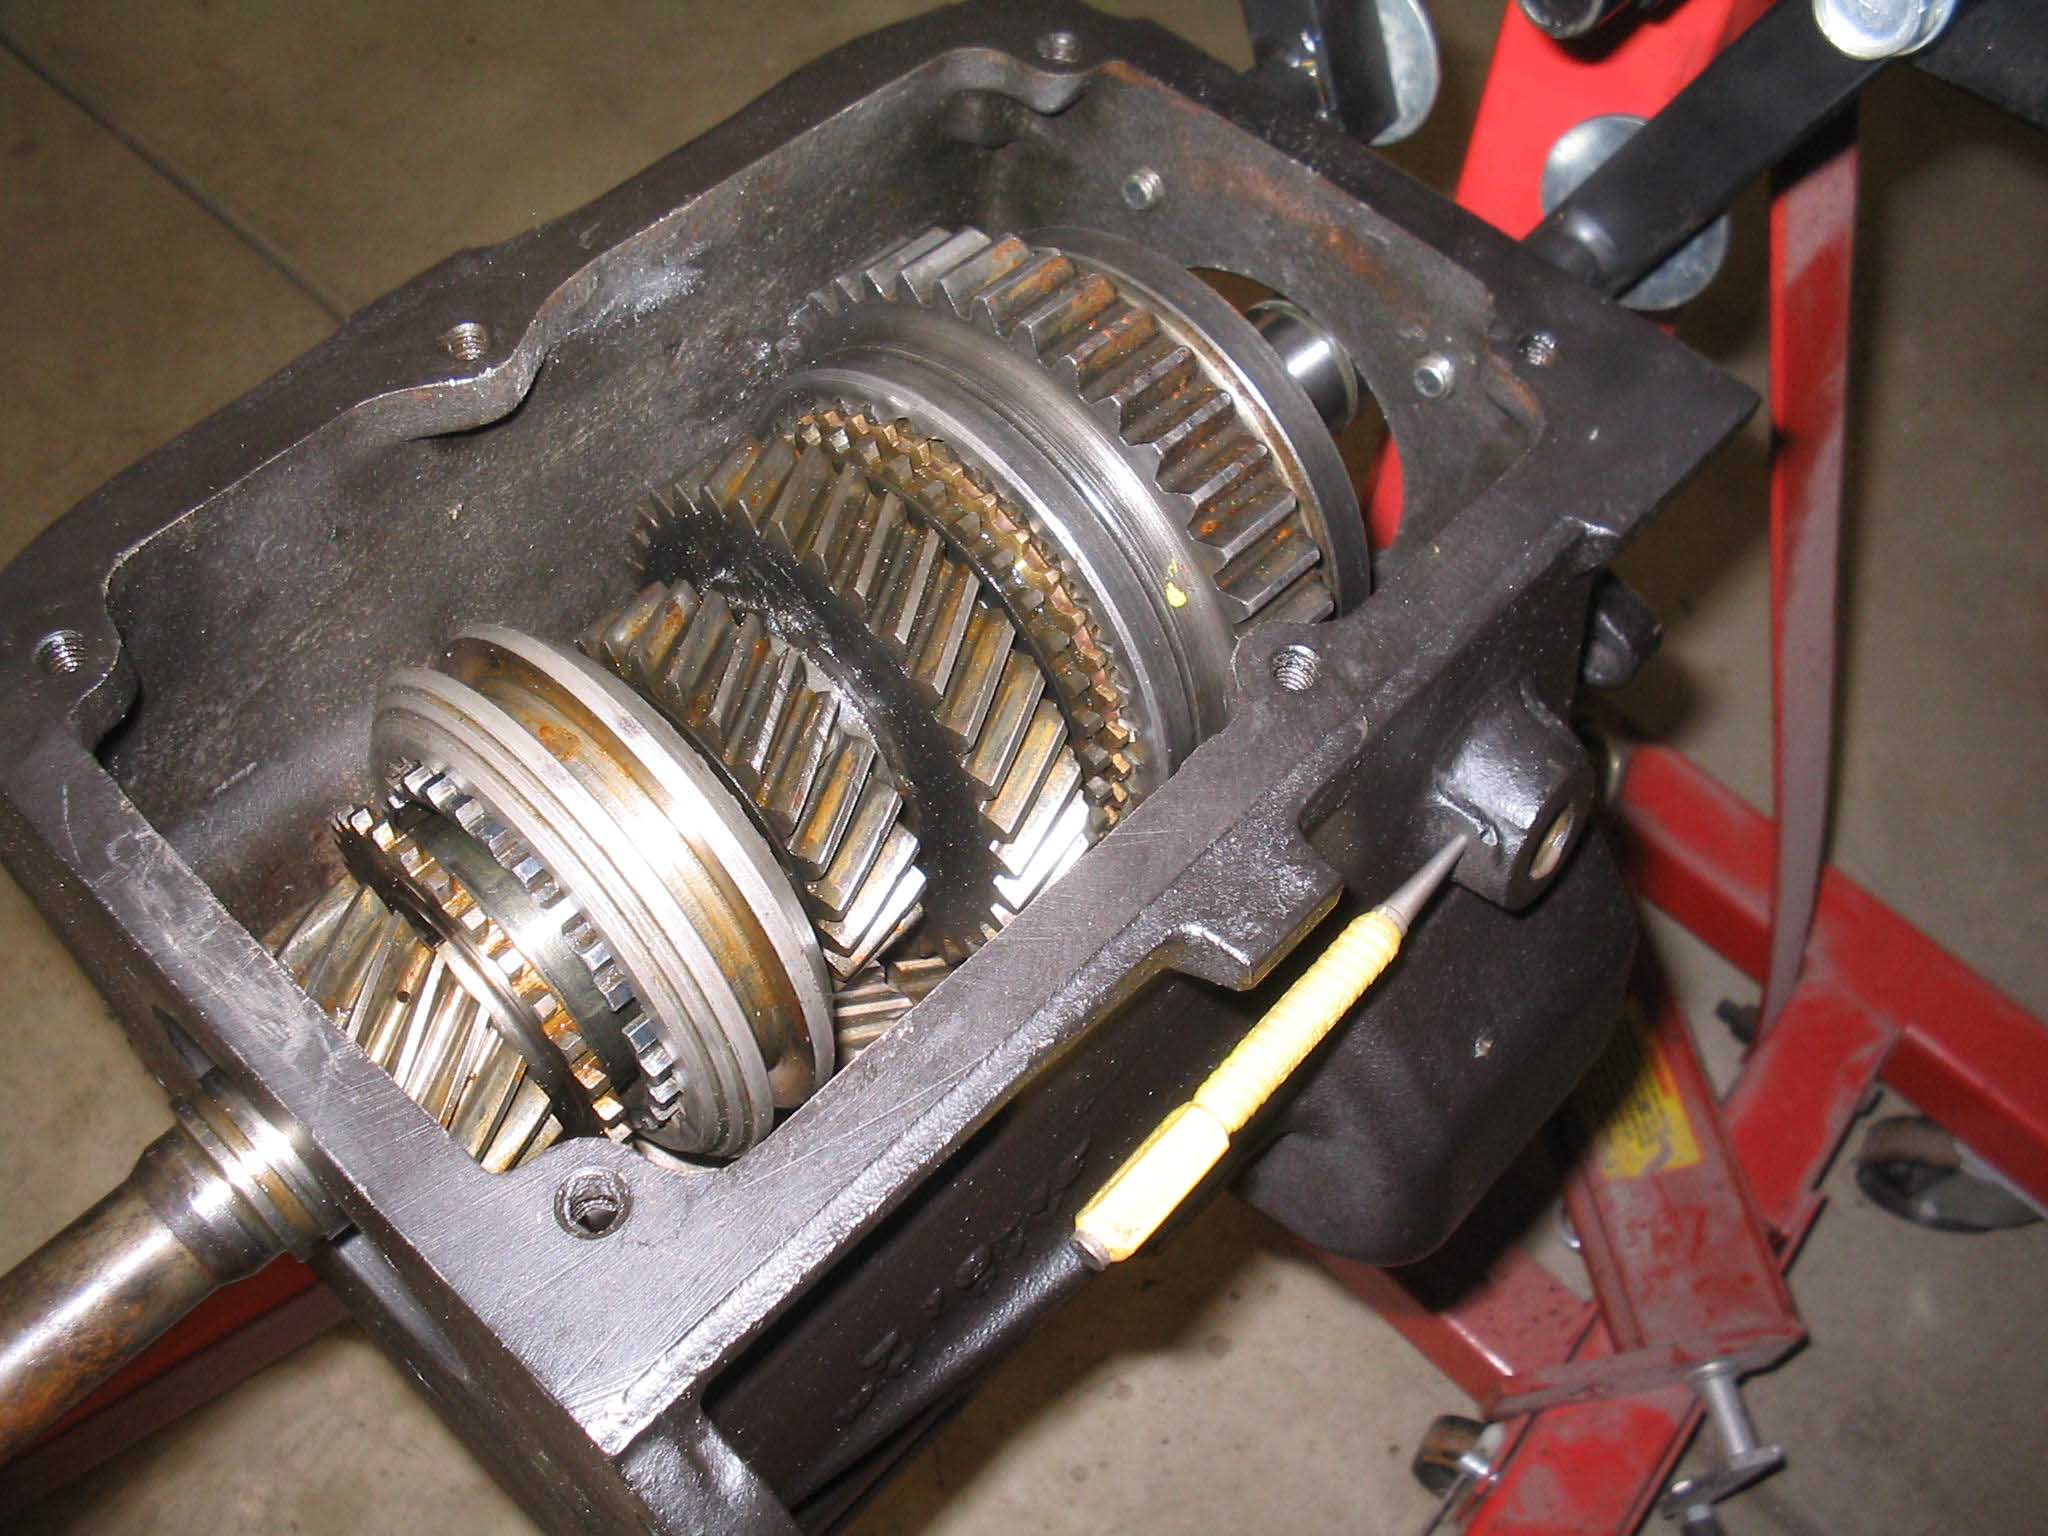
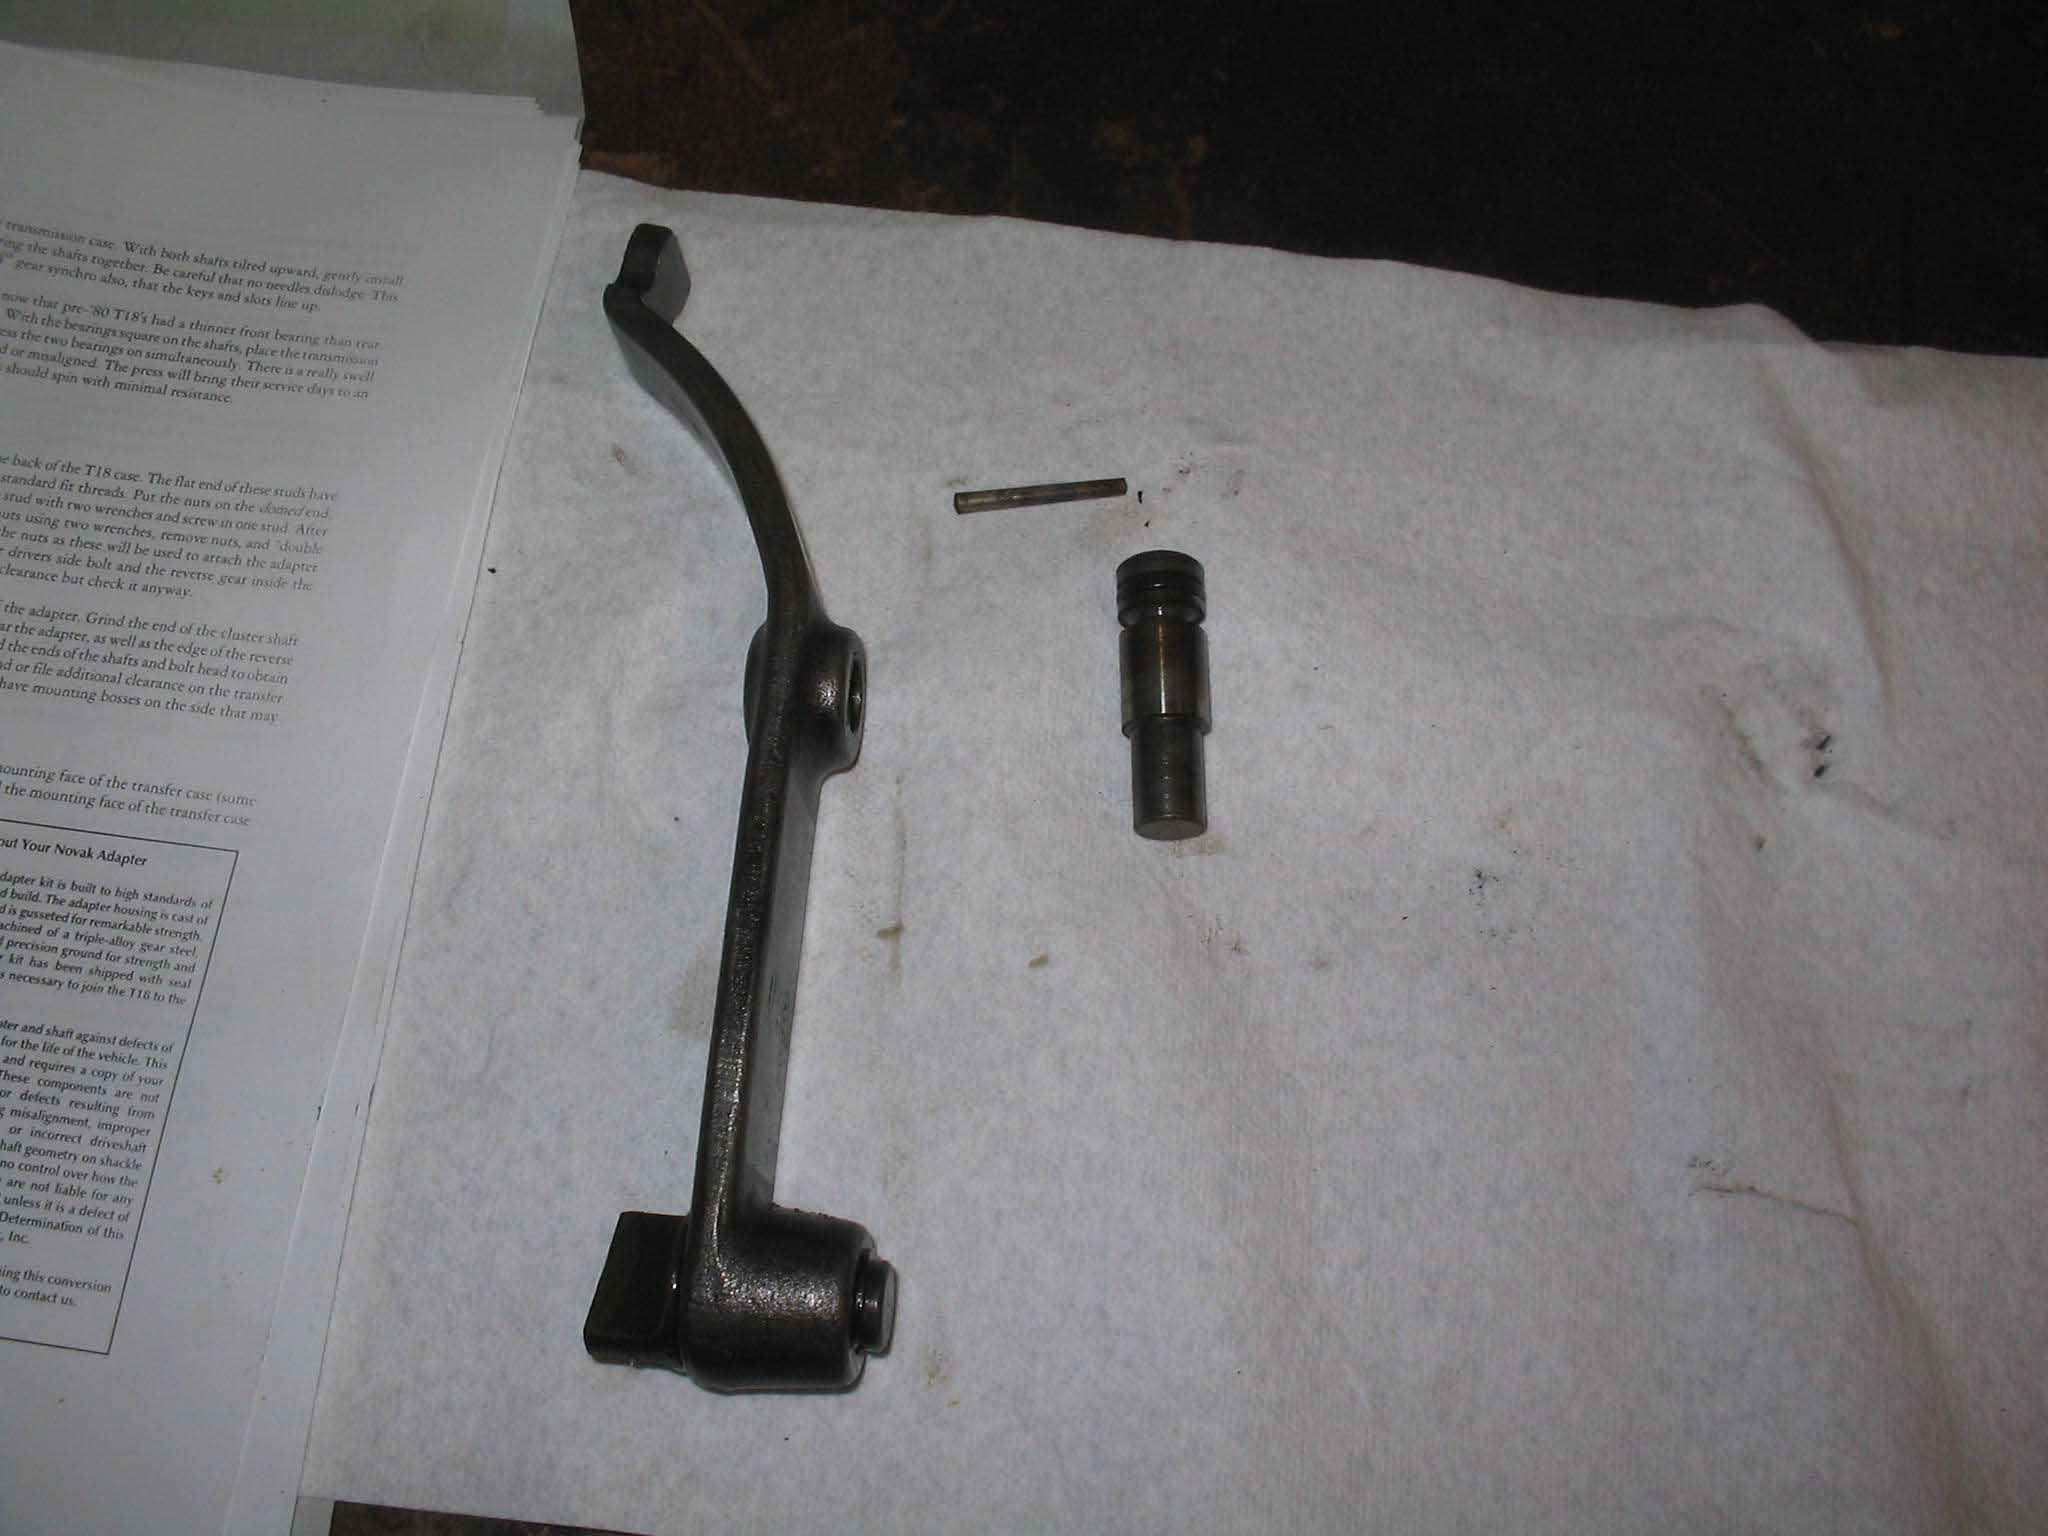
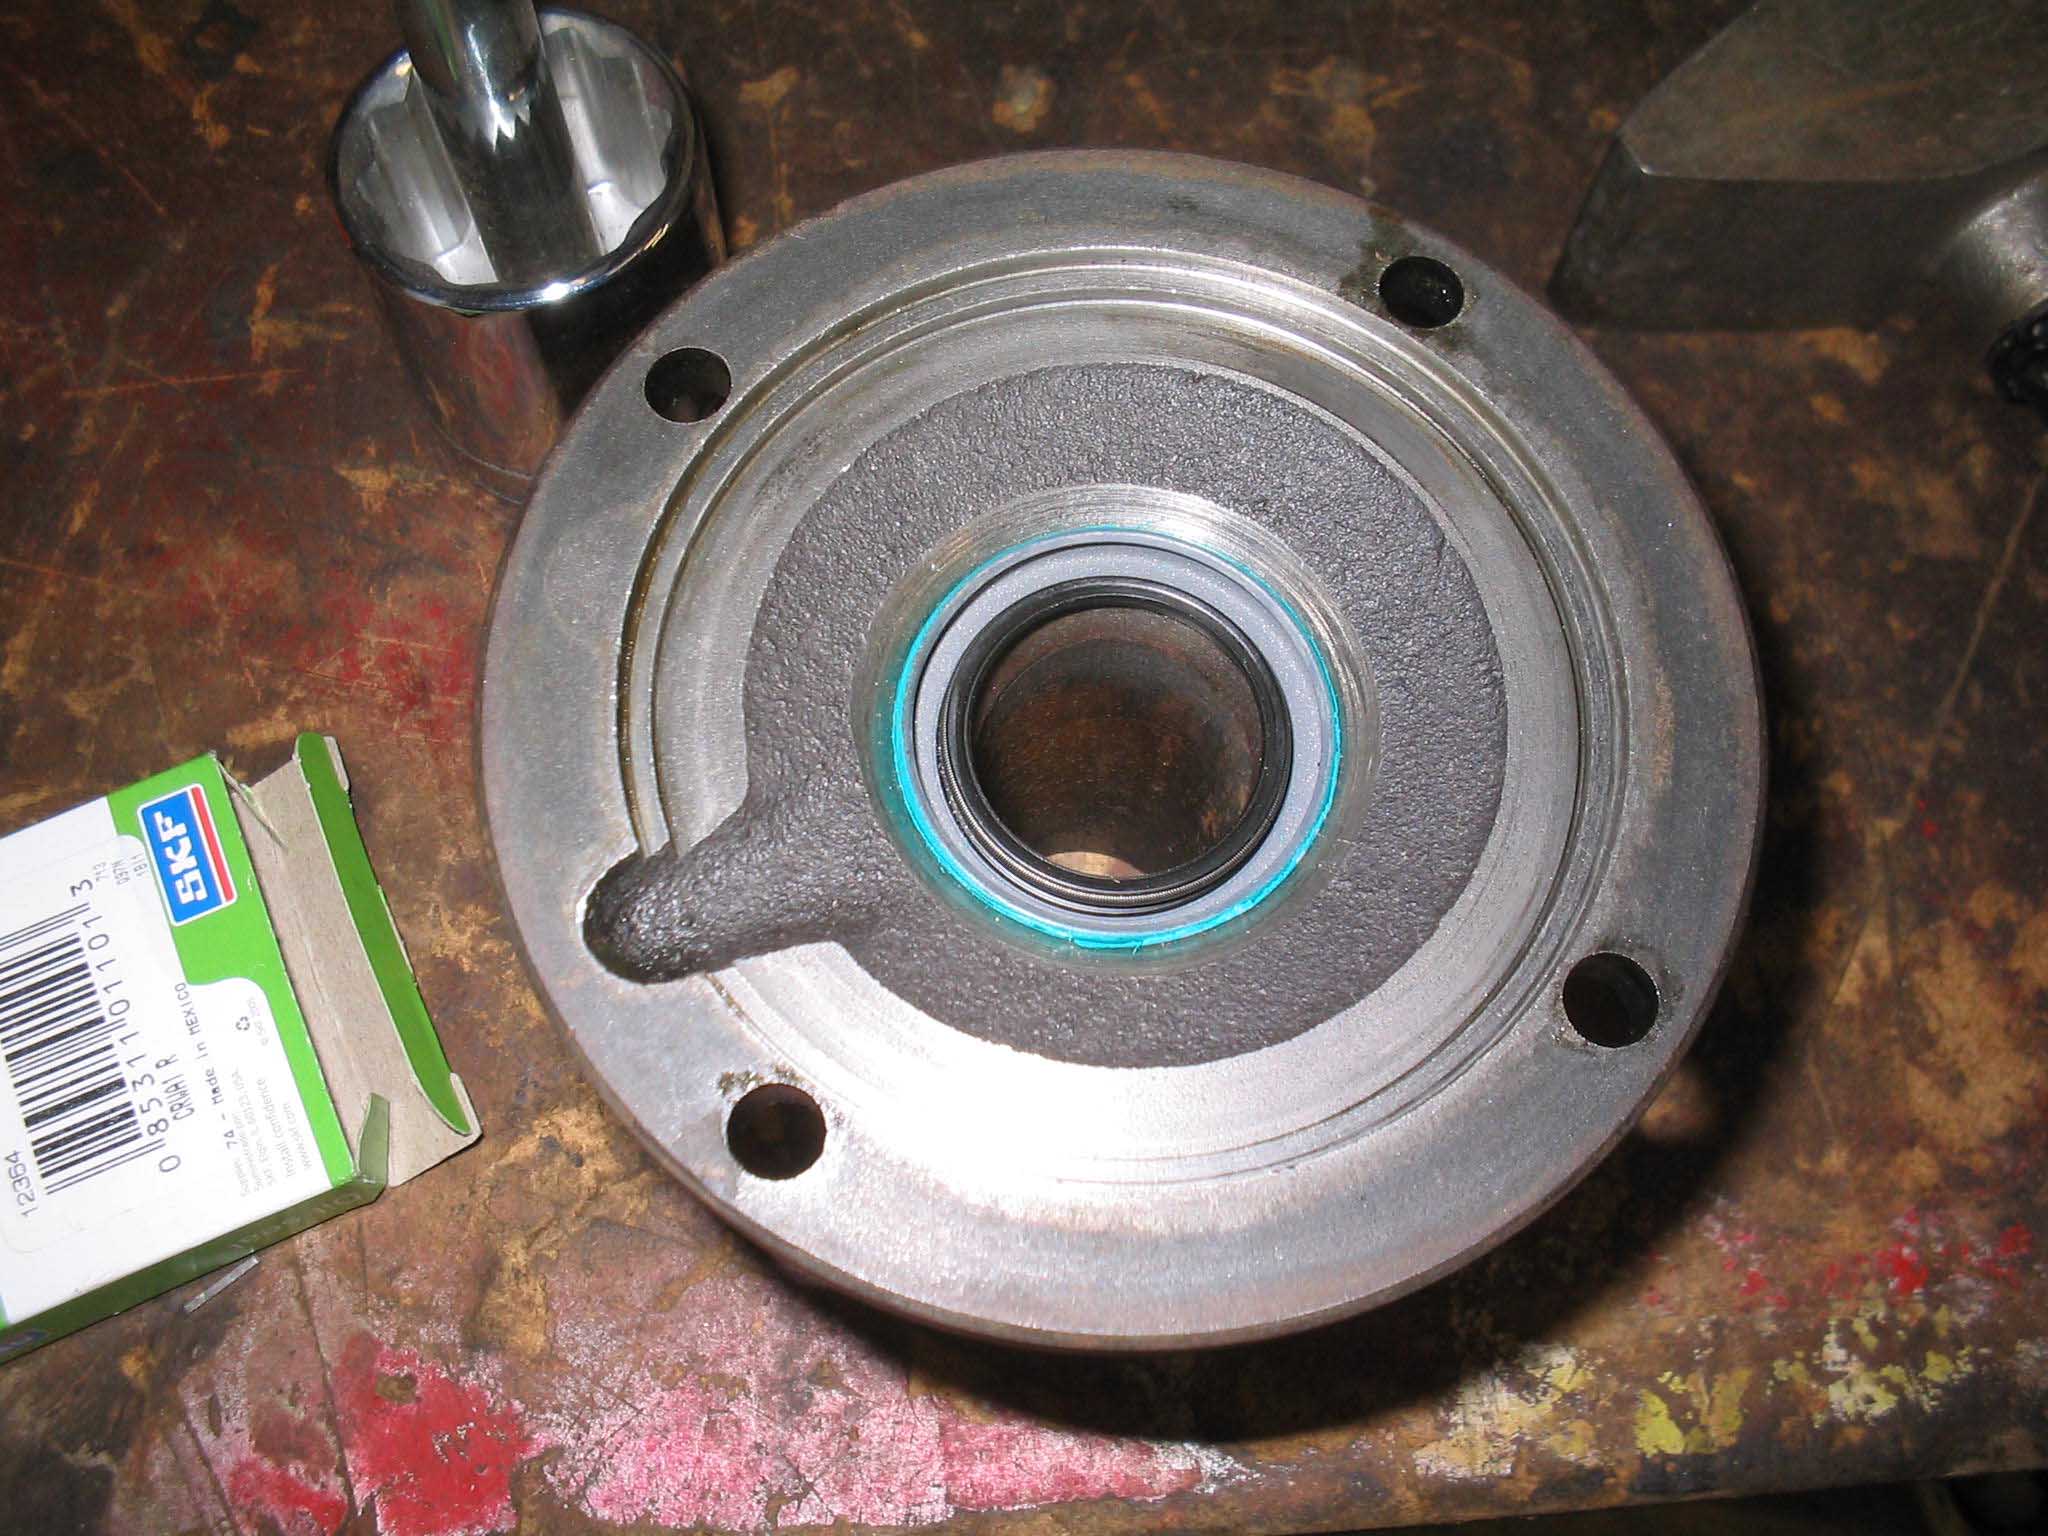
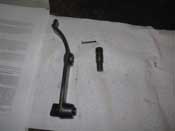
(01/31/08) Why is it, that when someone describes a rebuild, they can't describe
simple things, like say removing the reverse lever to help aid in putting the gear set back into the transmission?
Maybe I am just too thick, but I think that is a basic thing to say. Something like, "knock out the retaining
pin that holds the reverse lever in place, and pull out the reverse lever pin, thereby removing the reverse lever."
|
| |

|

|
|
|
| |
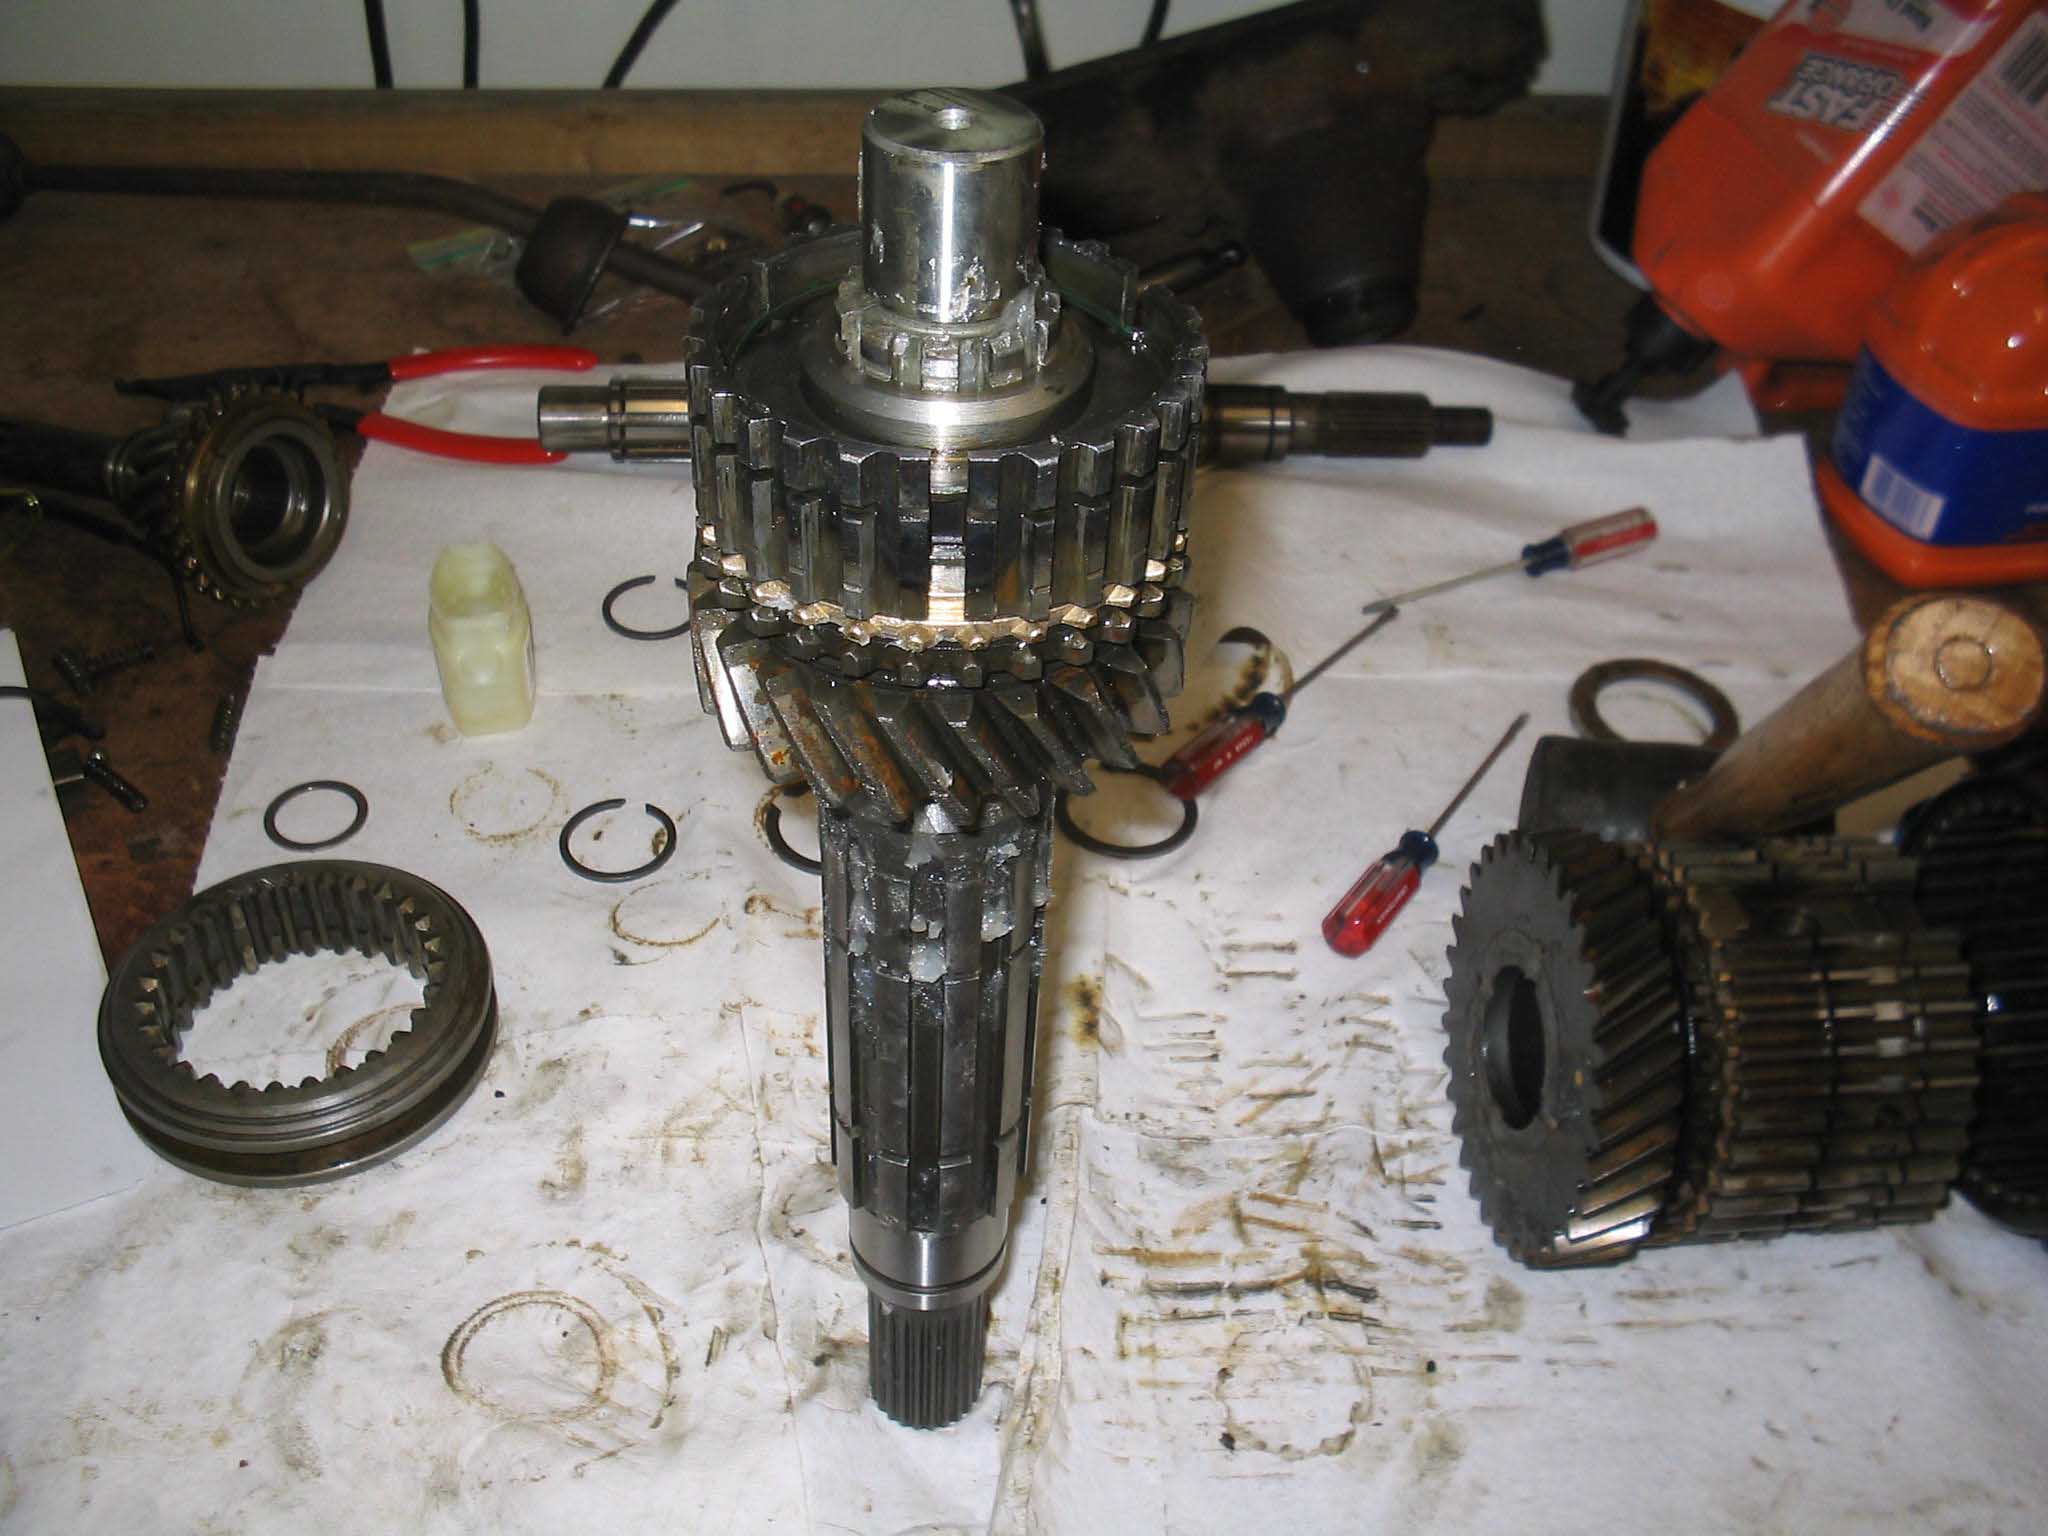
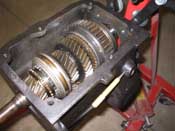
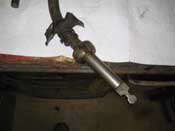
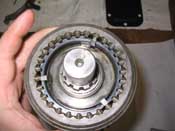
The manual described in detail the difficulty getting the gear set in and out. Let
me tell you, when the reverse lever is out of the way, it is a hell of a lot easier!
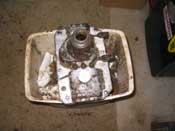
Anyway, I am done complaining for now. I moved onto cleaning and painting other parts while I await the clutch
pins to come in. If you recall, I broke one and I can't continue until that comes in. I hope it will be here
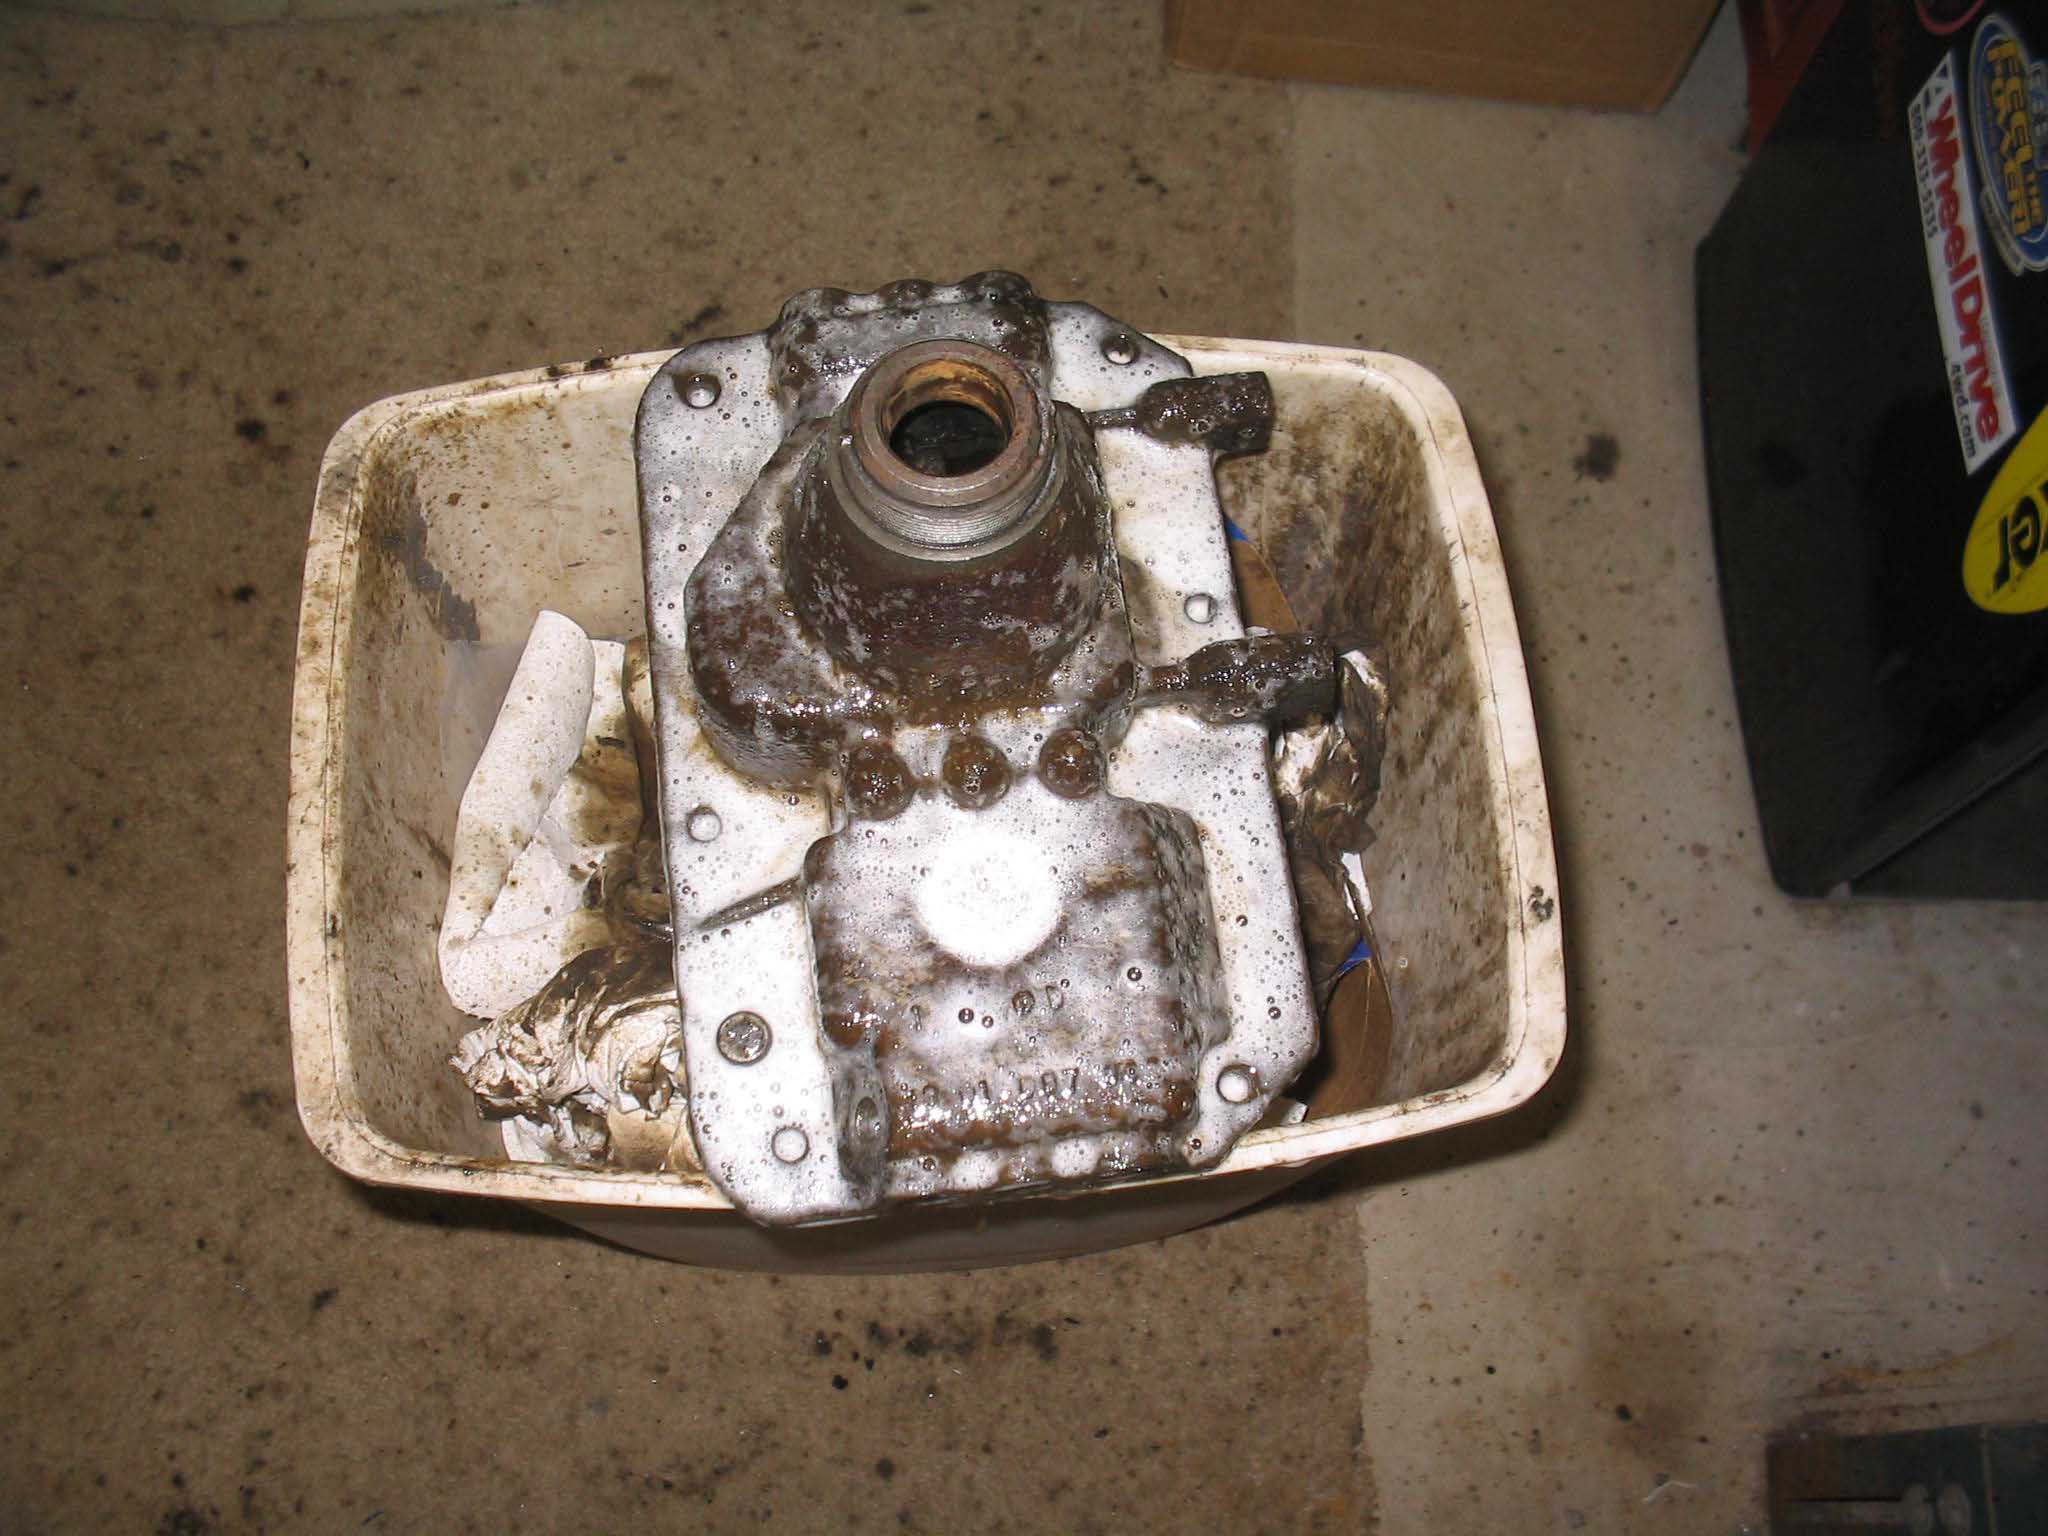
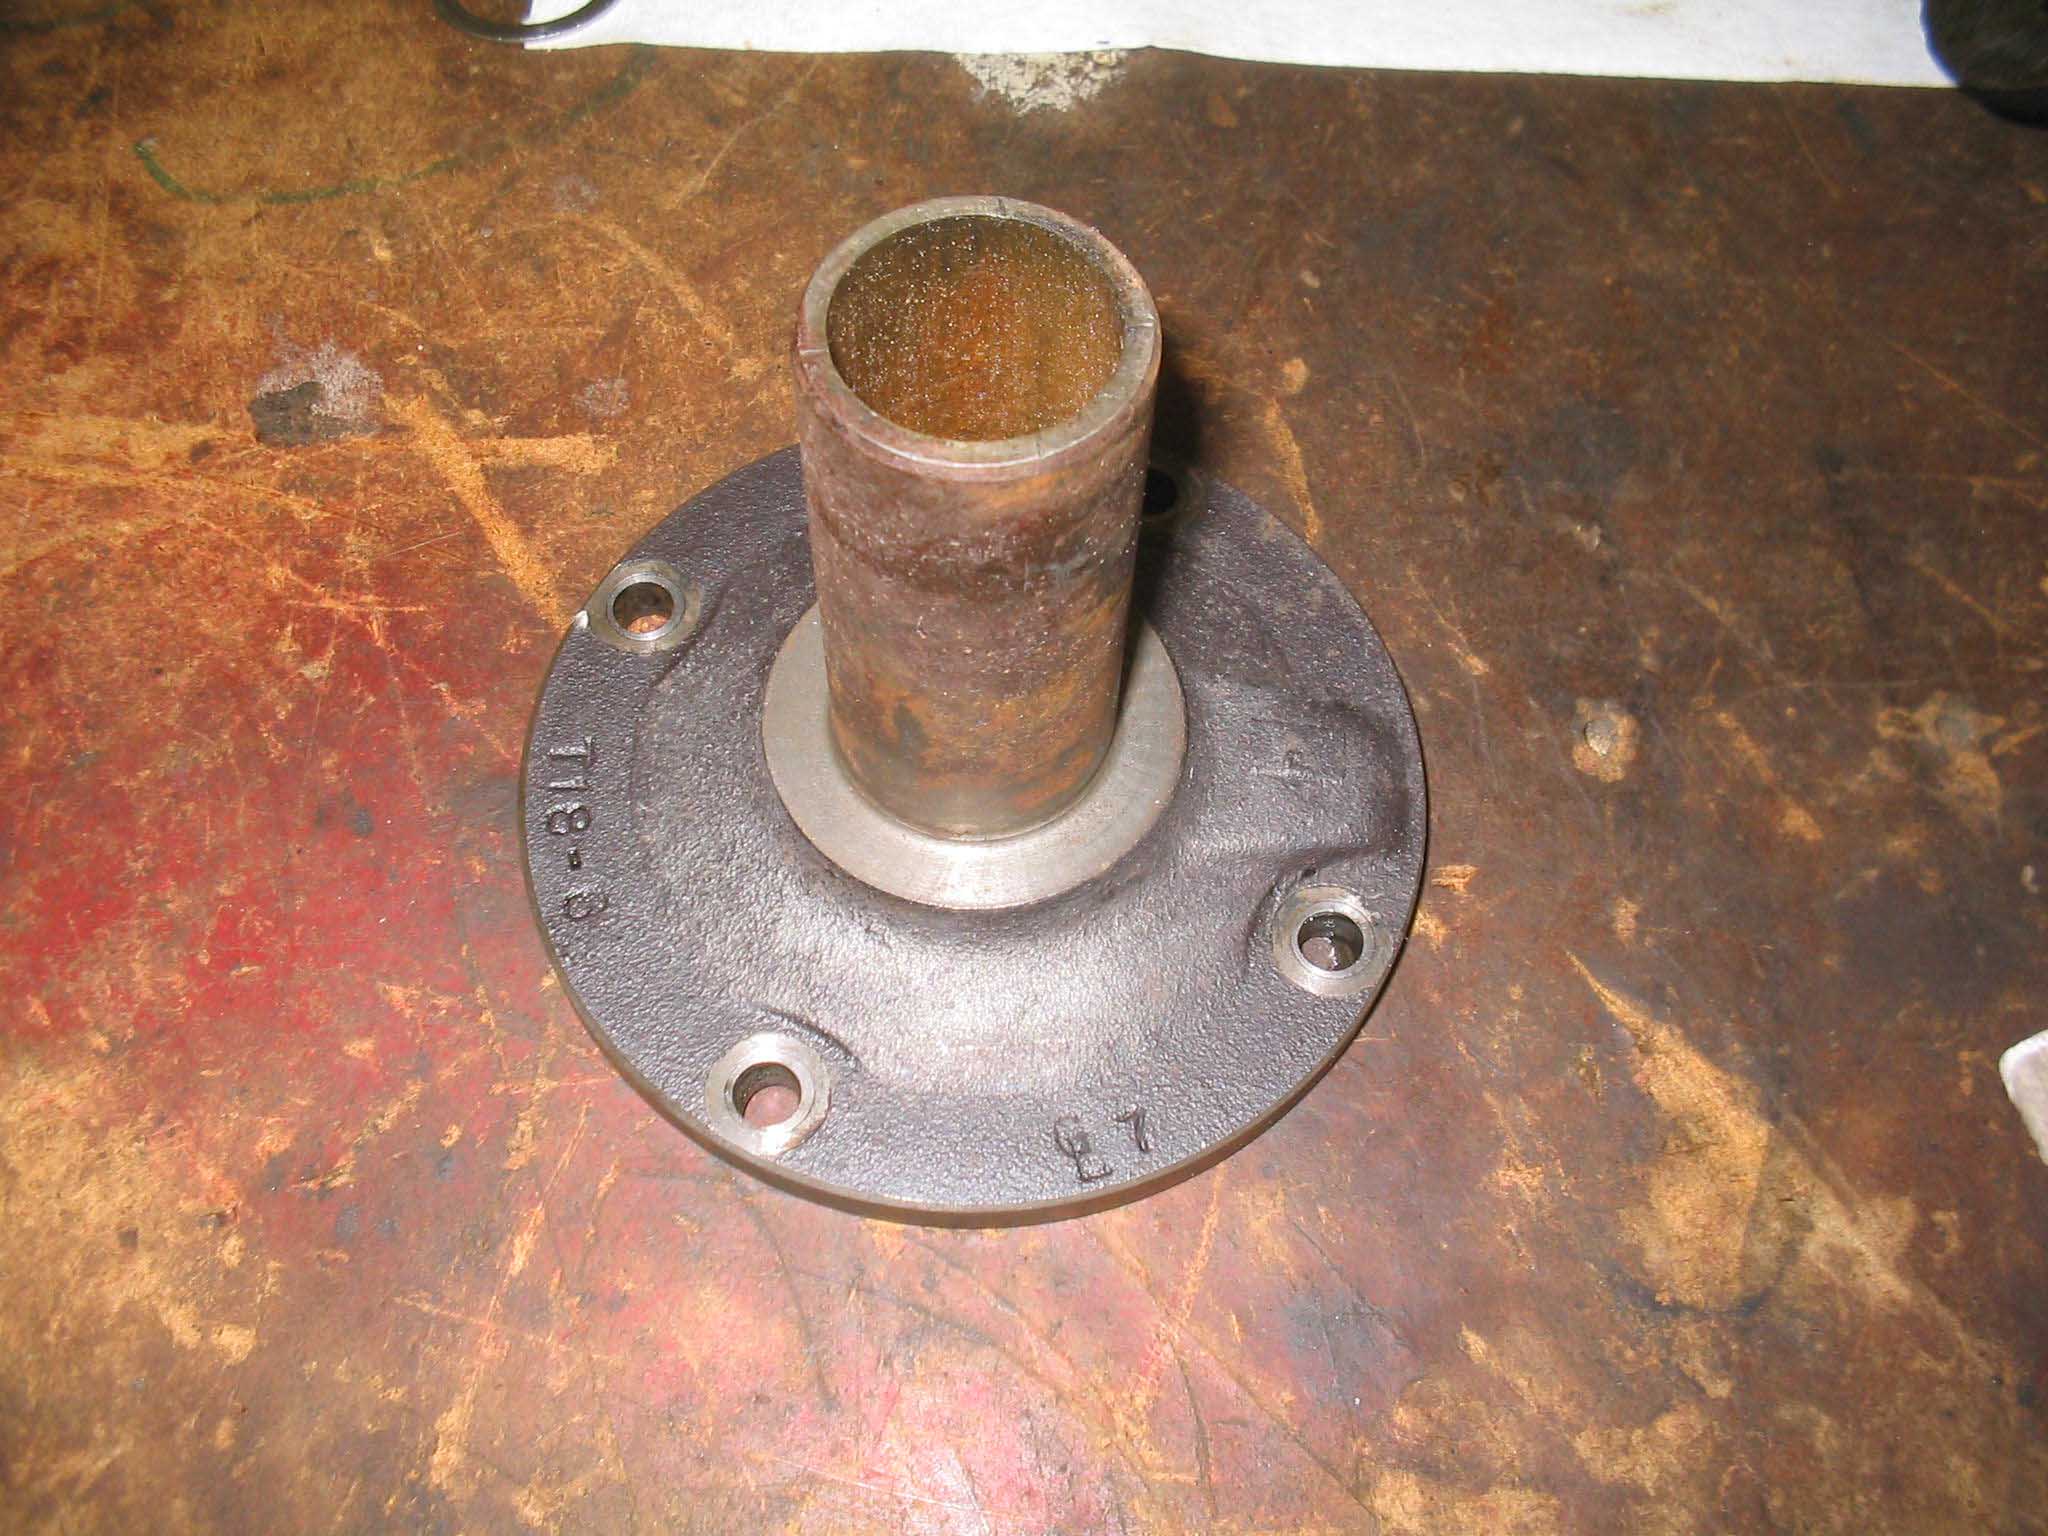
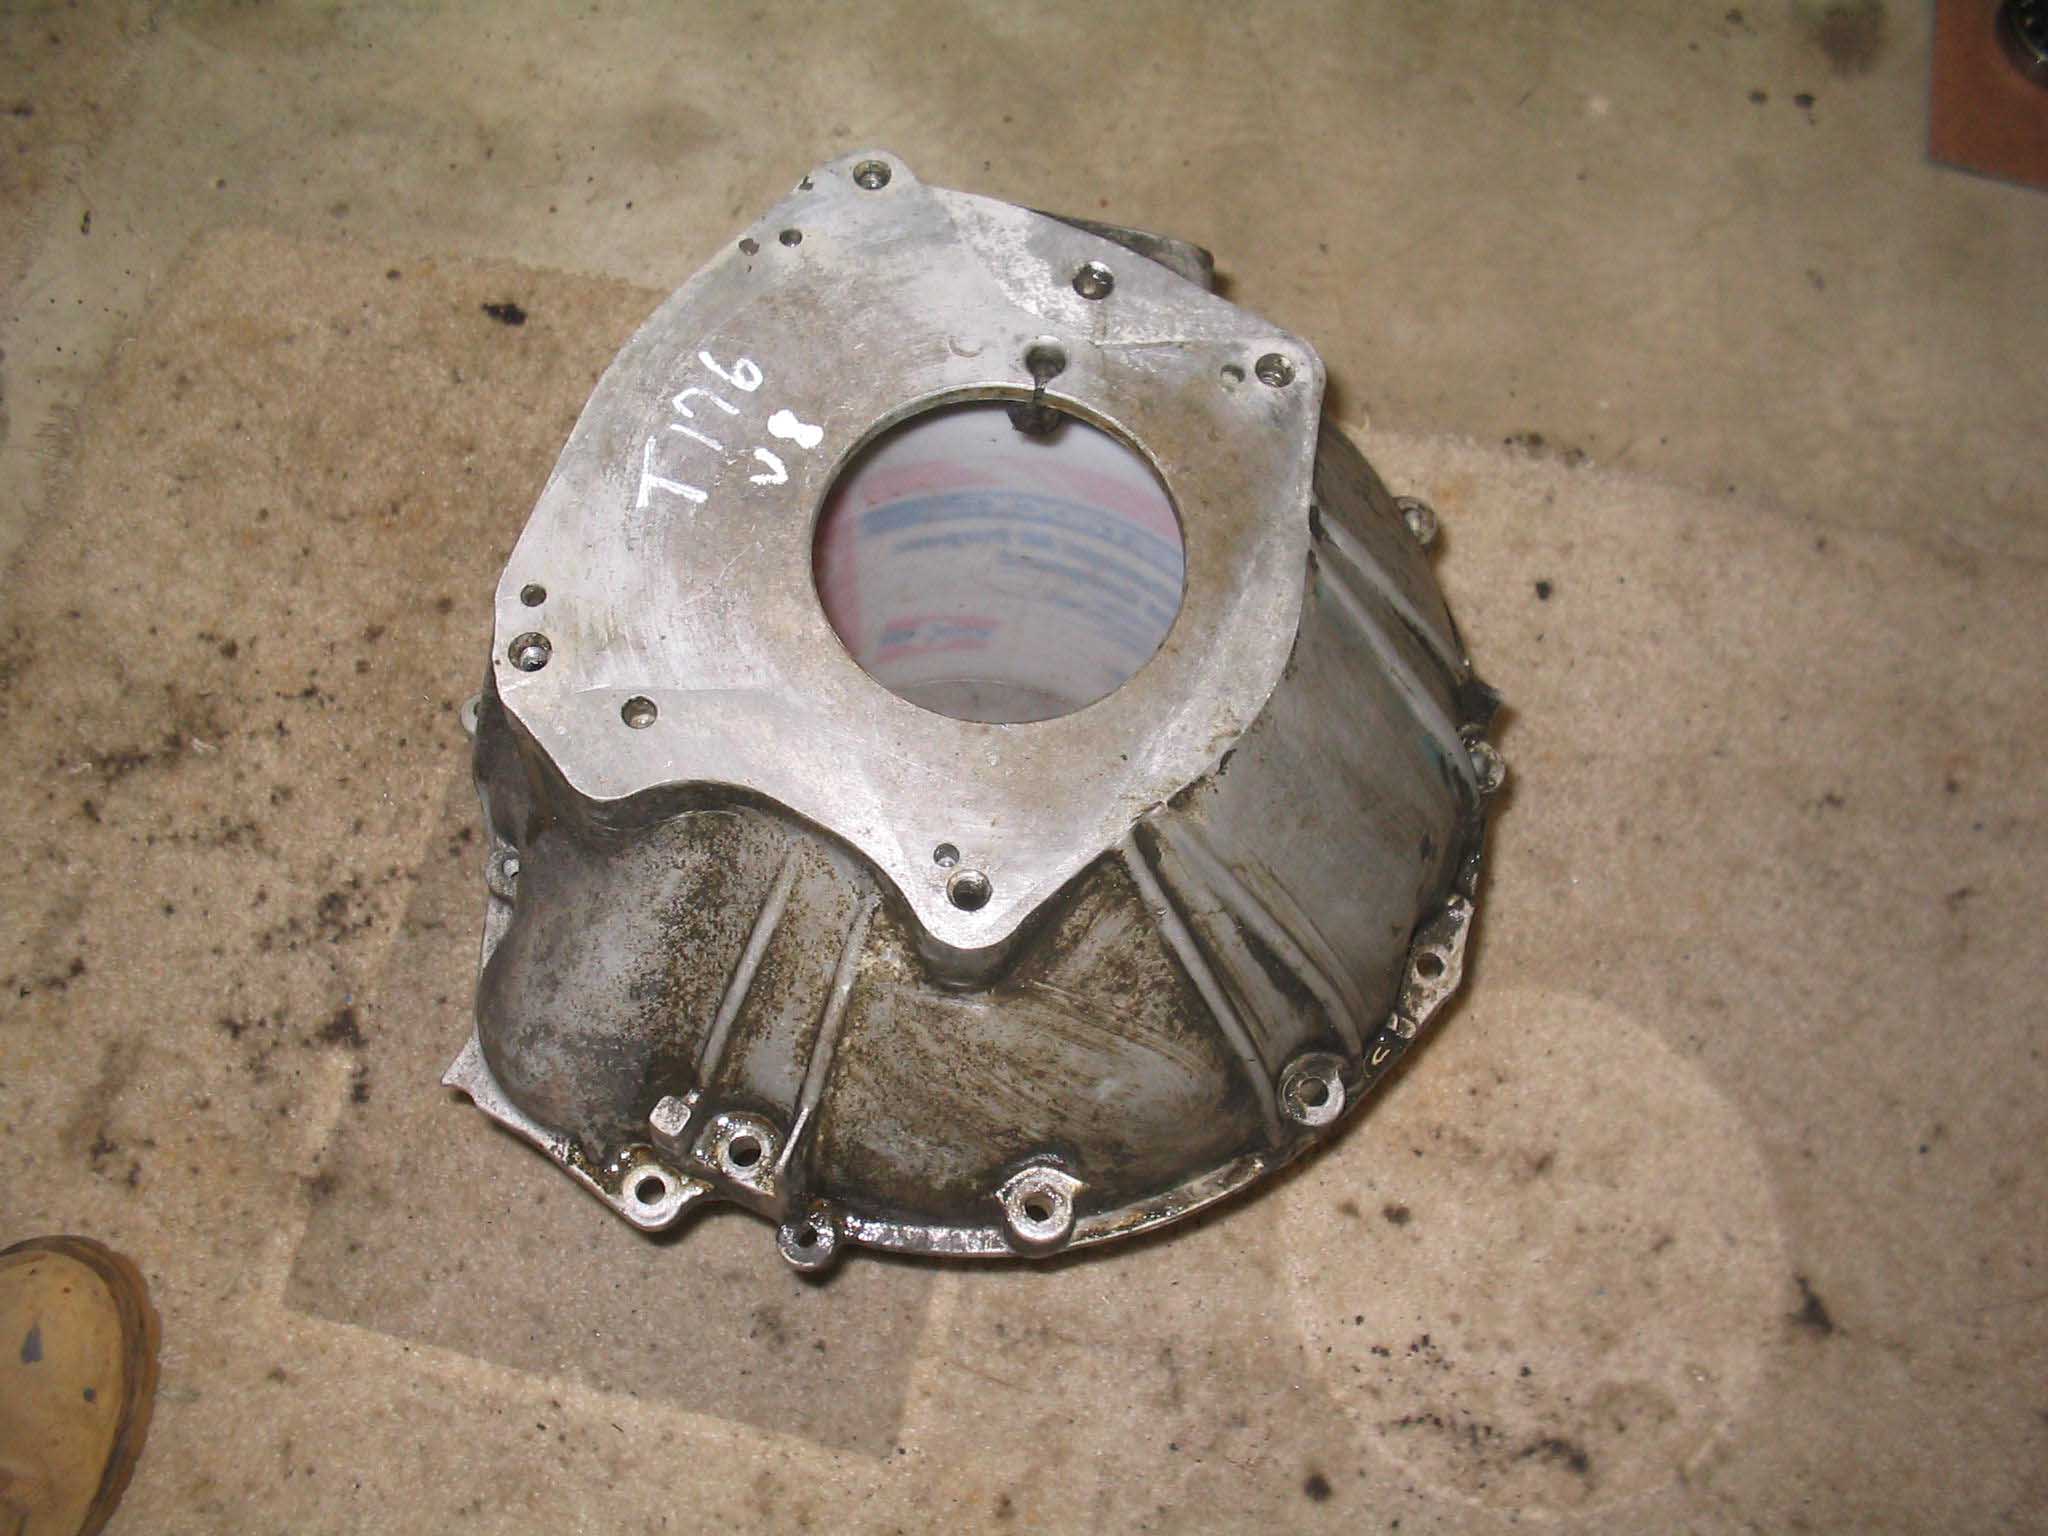
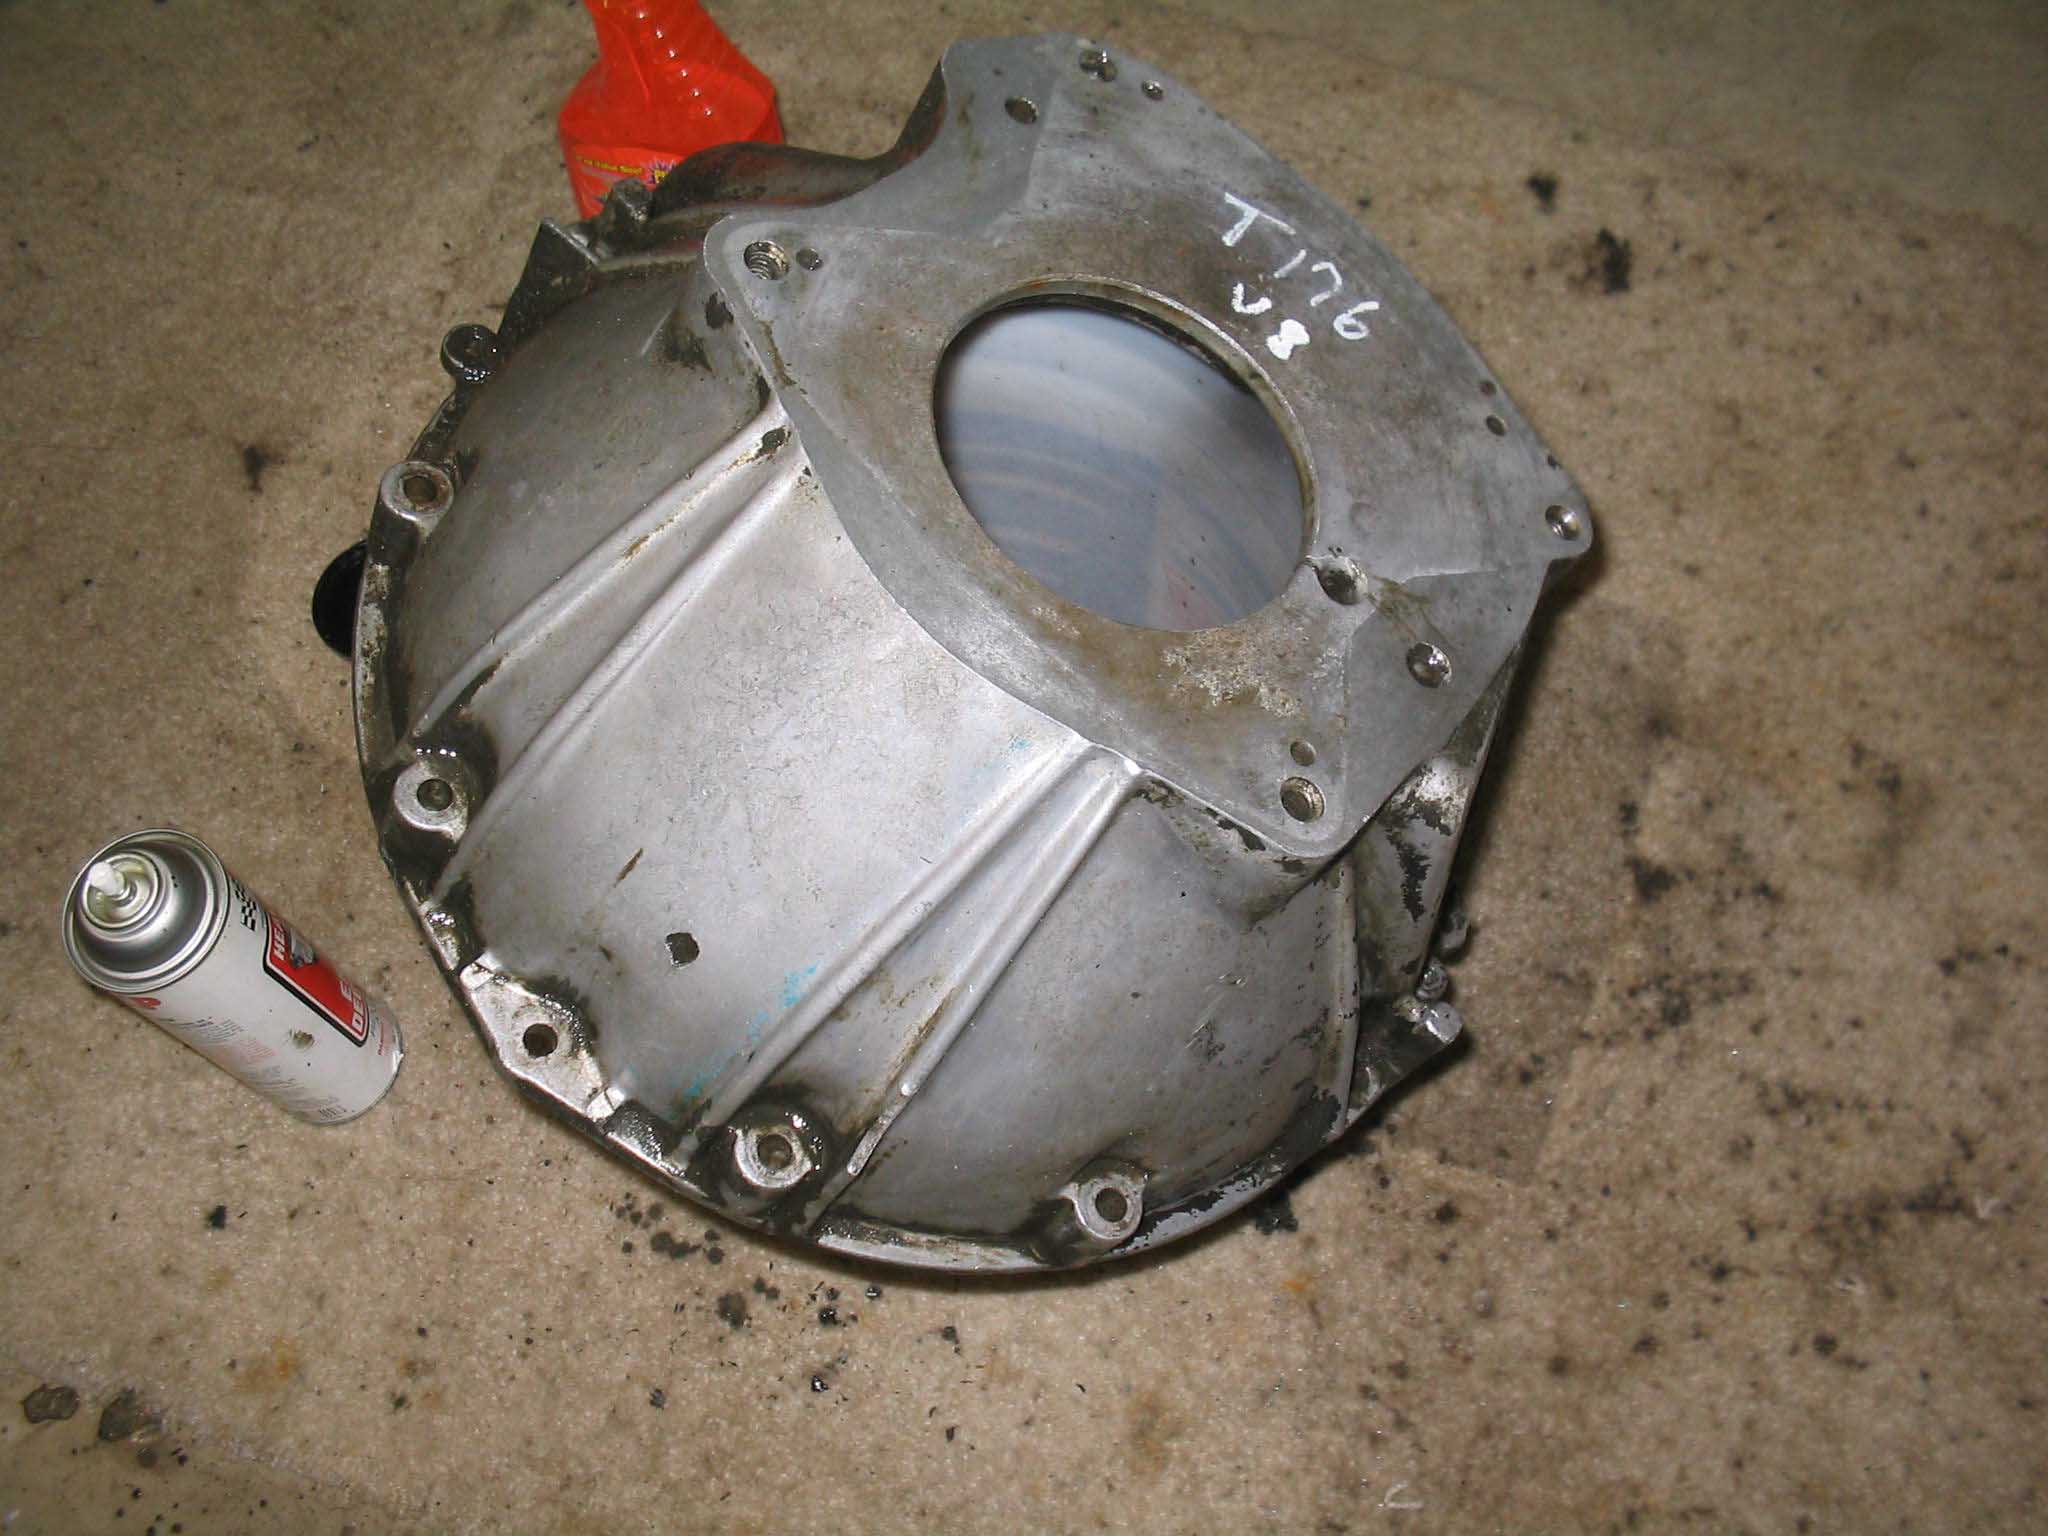
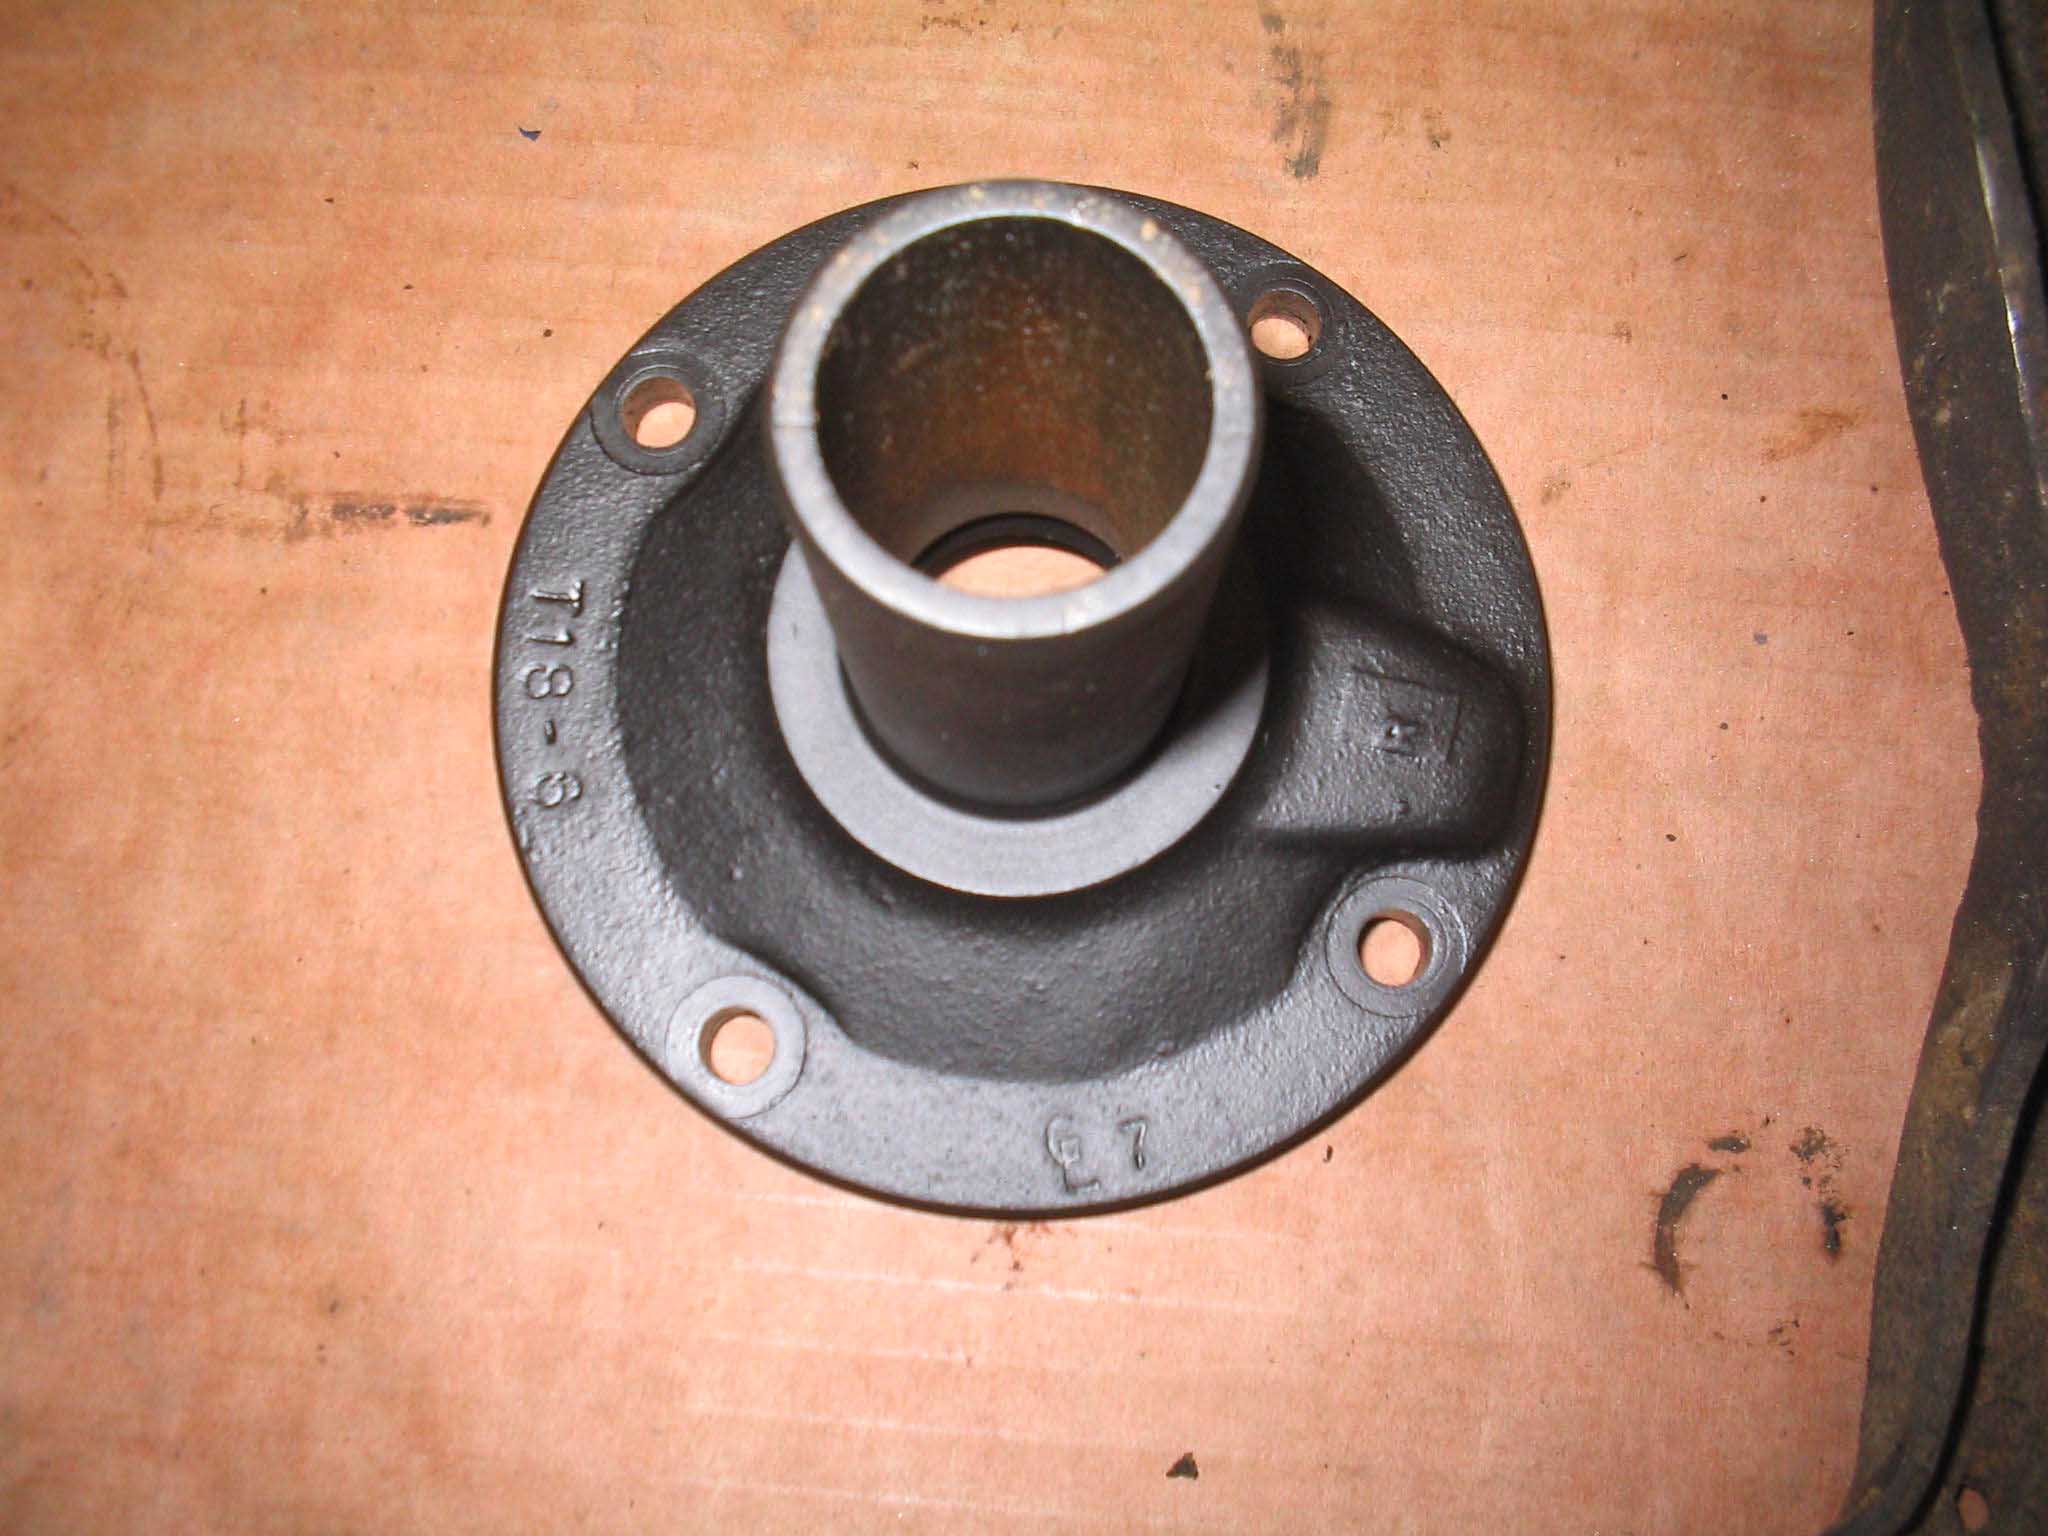
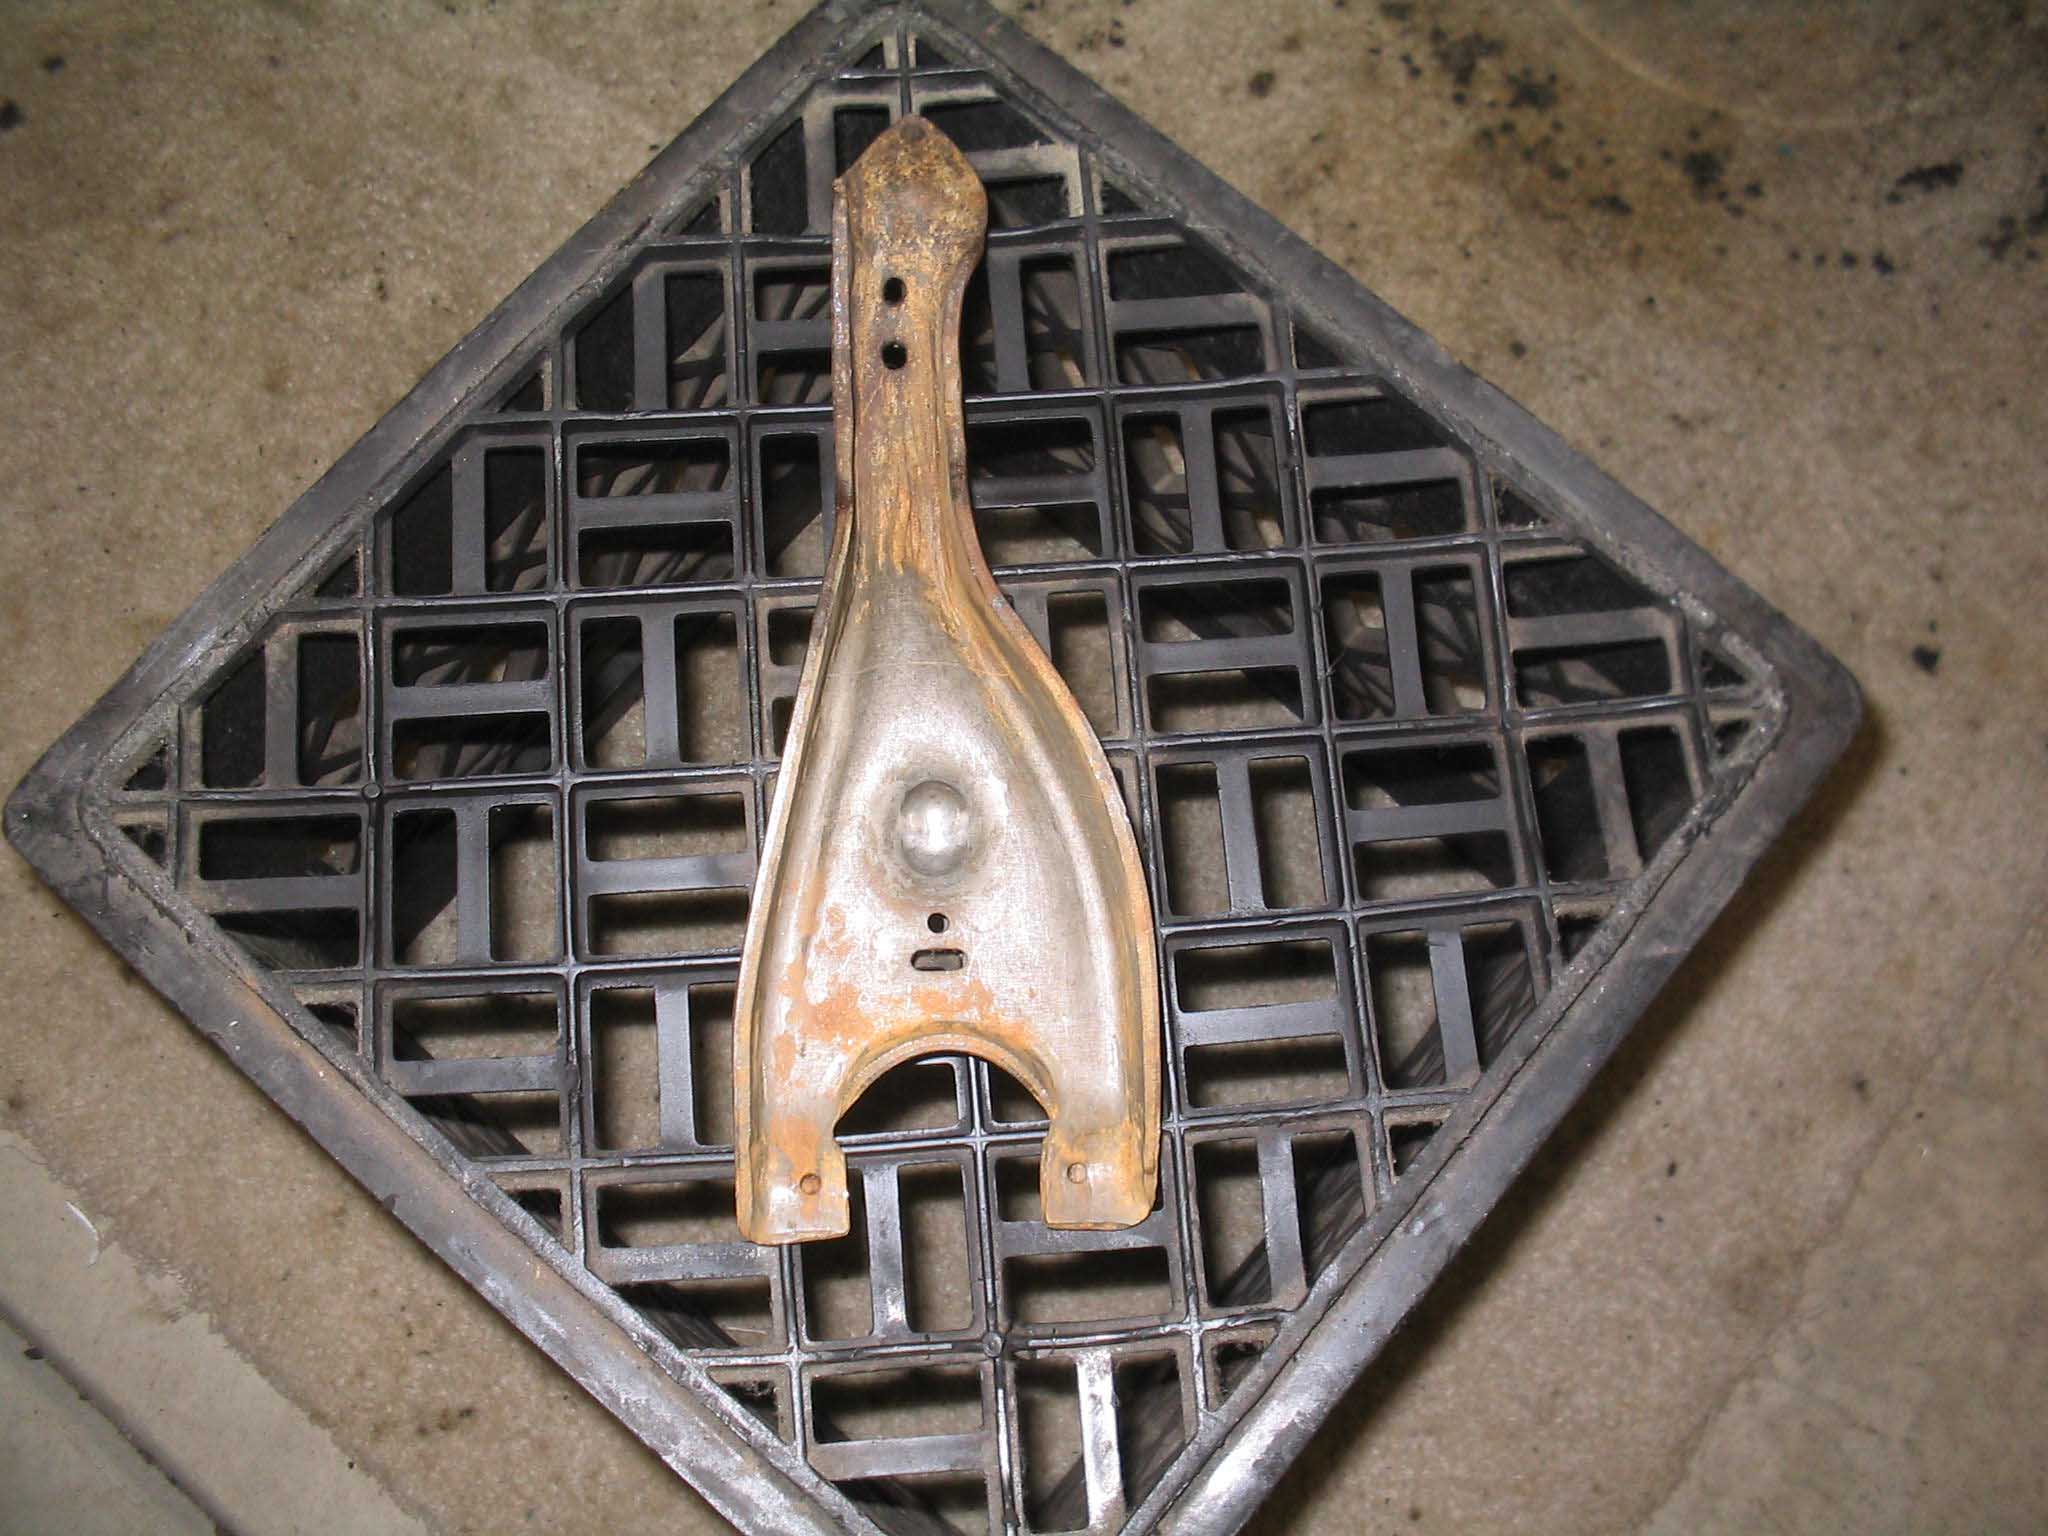
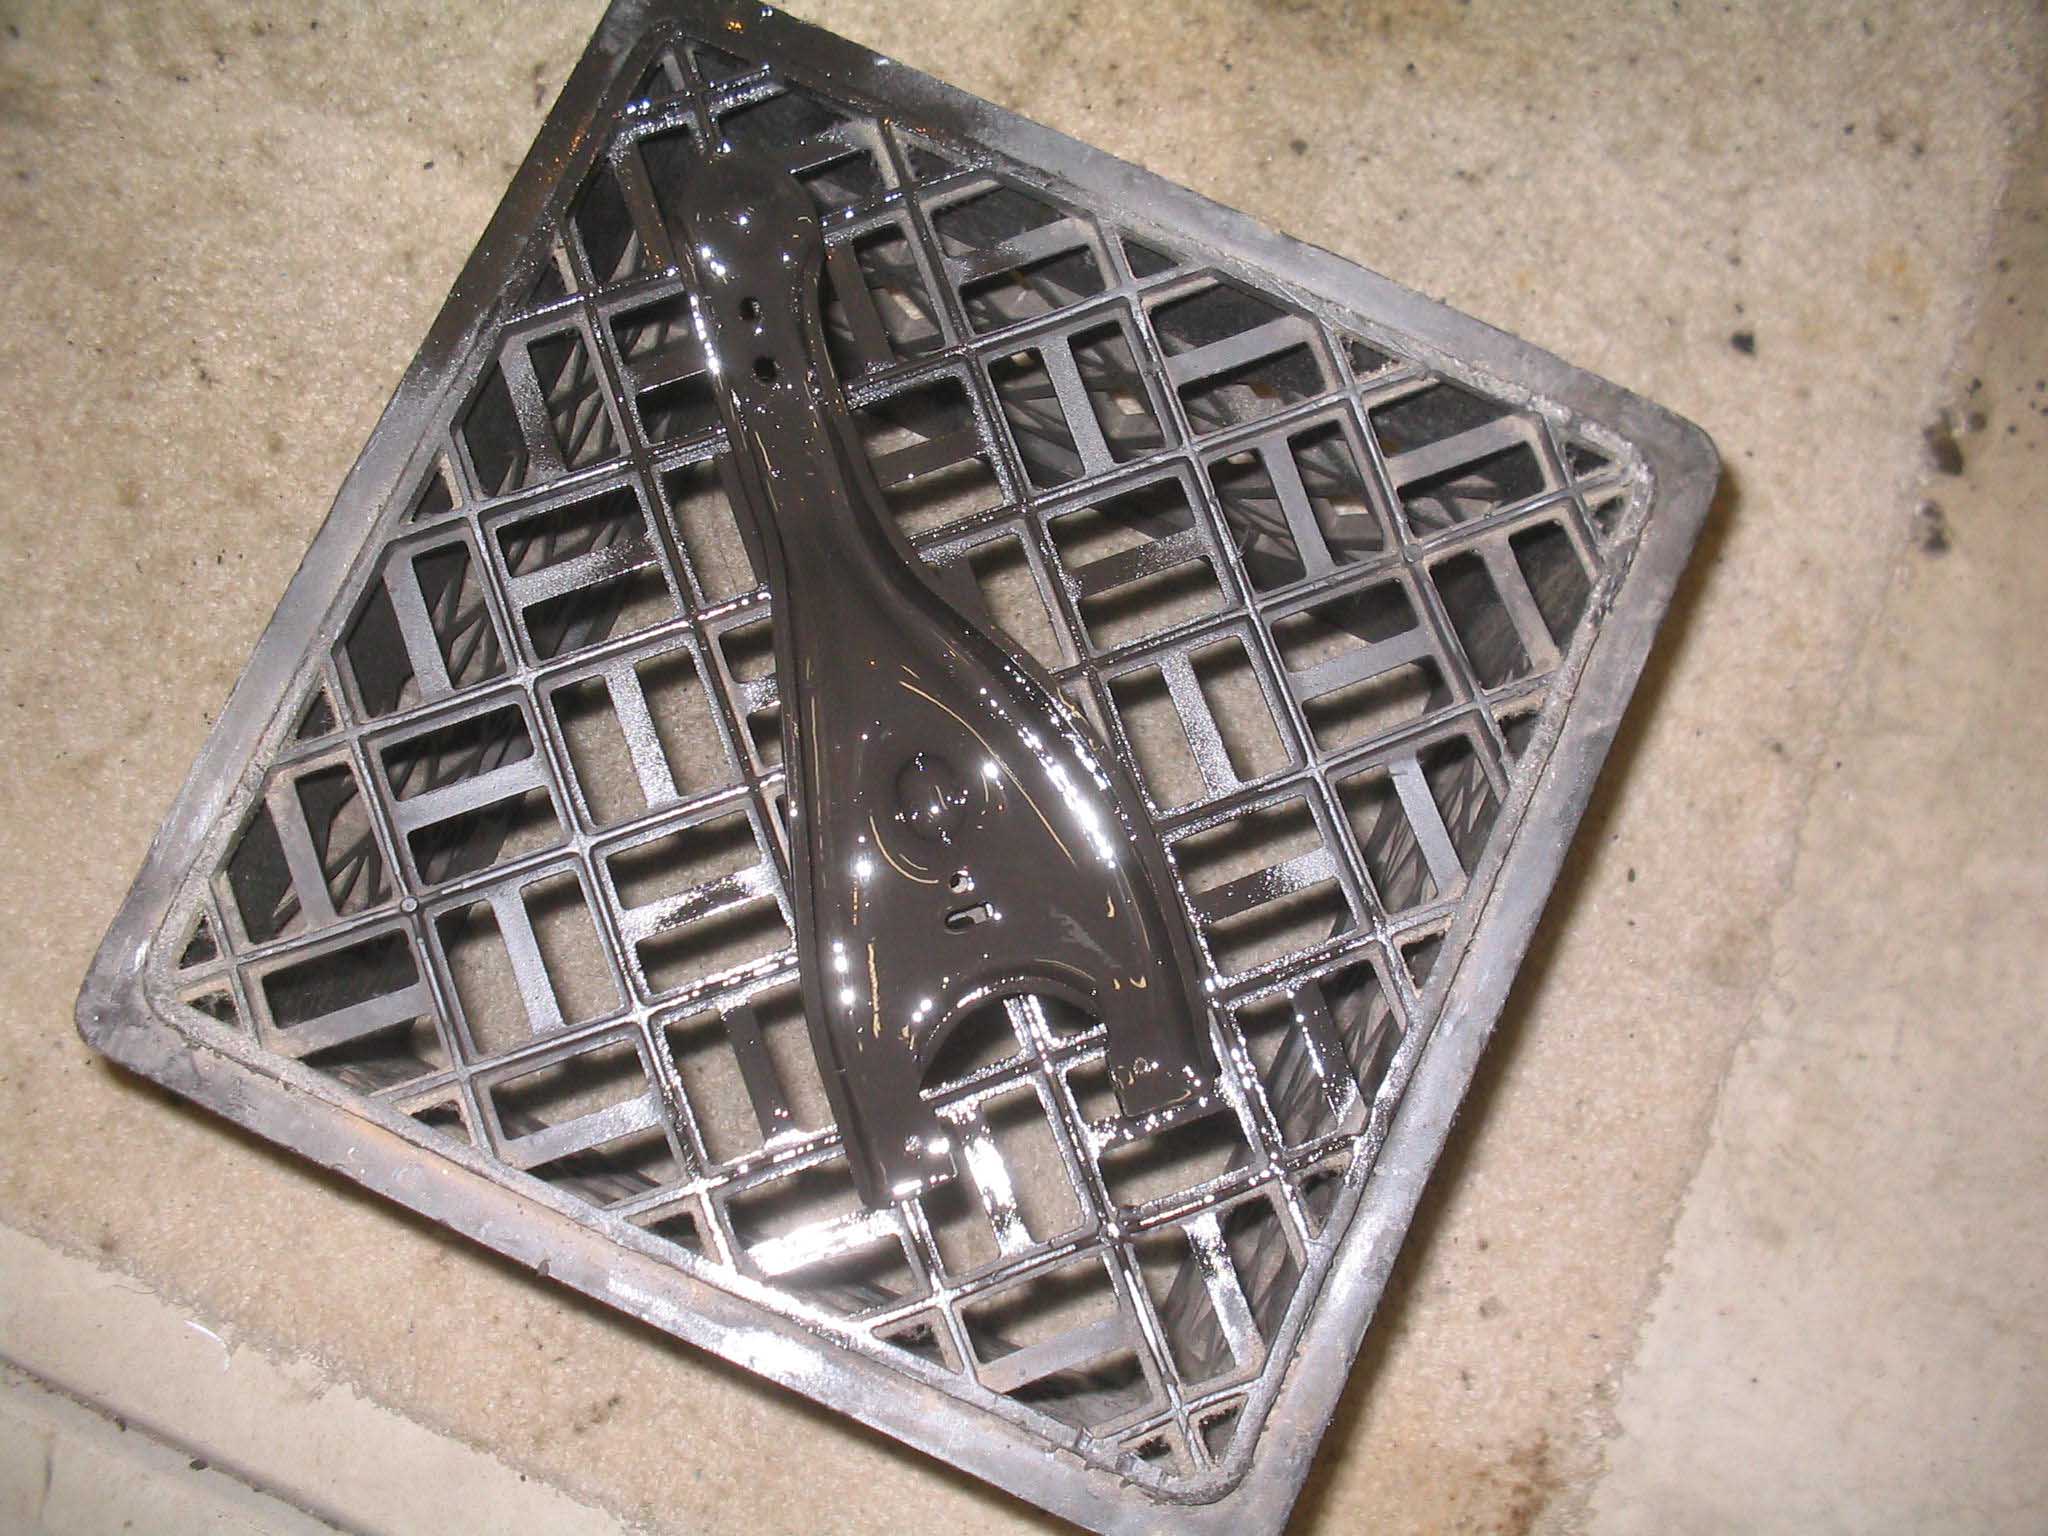
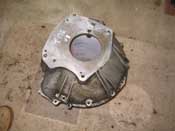
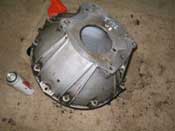
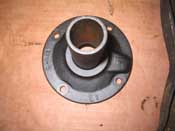
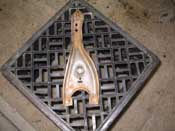
today. If not, I will just finish the cleanup and painting of the other items. The bell housing is filthy inside
and out and the input shaft retainer needs paint and finally the clutch pivot arm is pretty gummed up as well.
cb (01/31/08)
|
| |

|
|
|
|
| |
| (02/01/08) The last couple of days have been spent cleaning a lot of parts in
anticipation of the broken transmission 3rd/4th gear assembly part coming in. Well UPS arrived yesterday and
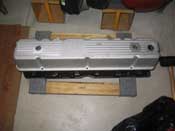
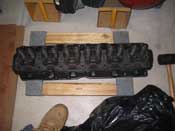
had 3 boxes. One was the reconditioned head for the engine, one was push rods, rockers and a new radiator cap,
and the third little box was the new parts. BAD NEWS! The parts weren't the right ones. Now I know how those
reality shows feel ;)
|
| |
|
|
|
|
| |
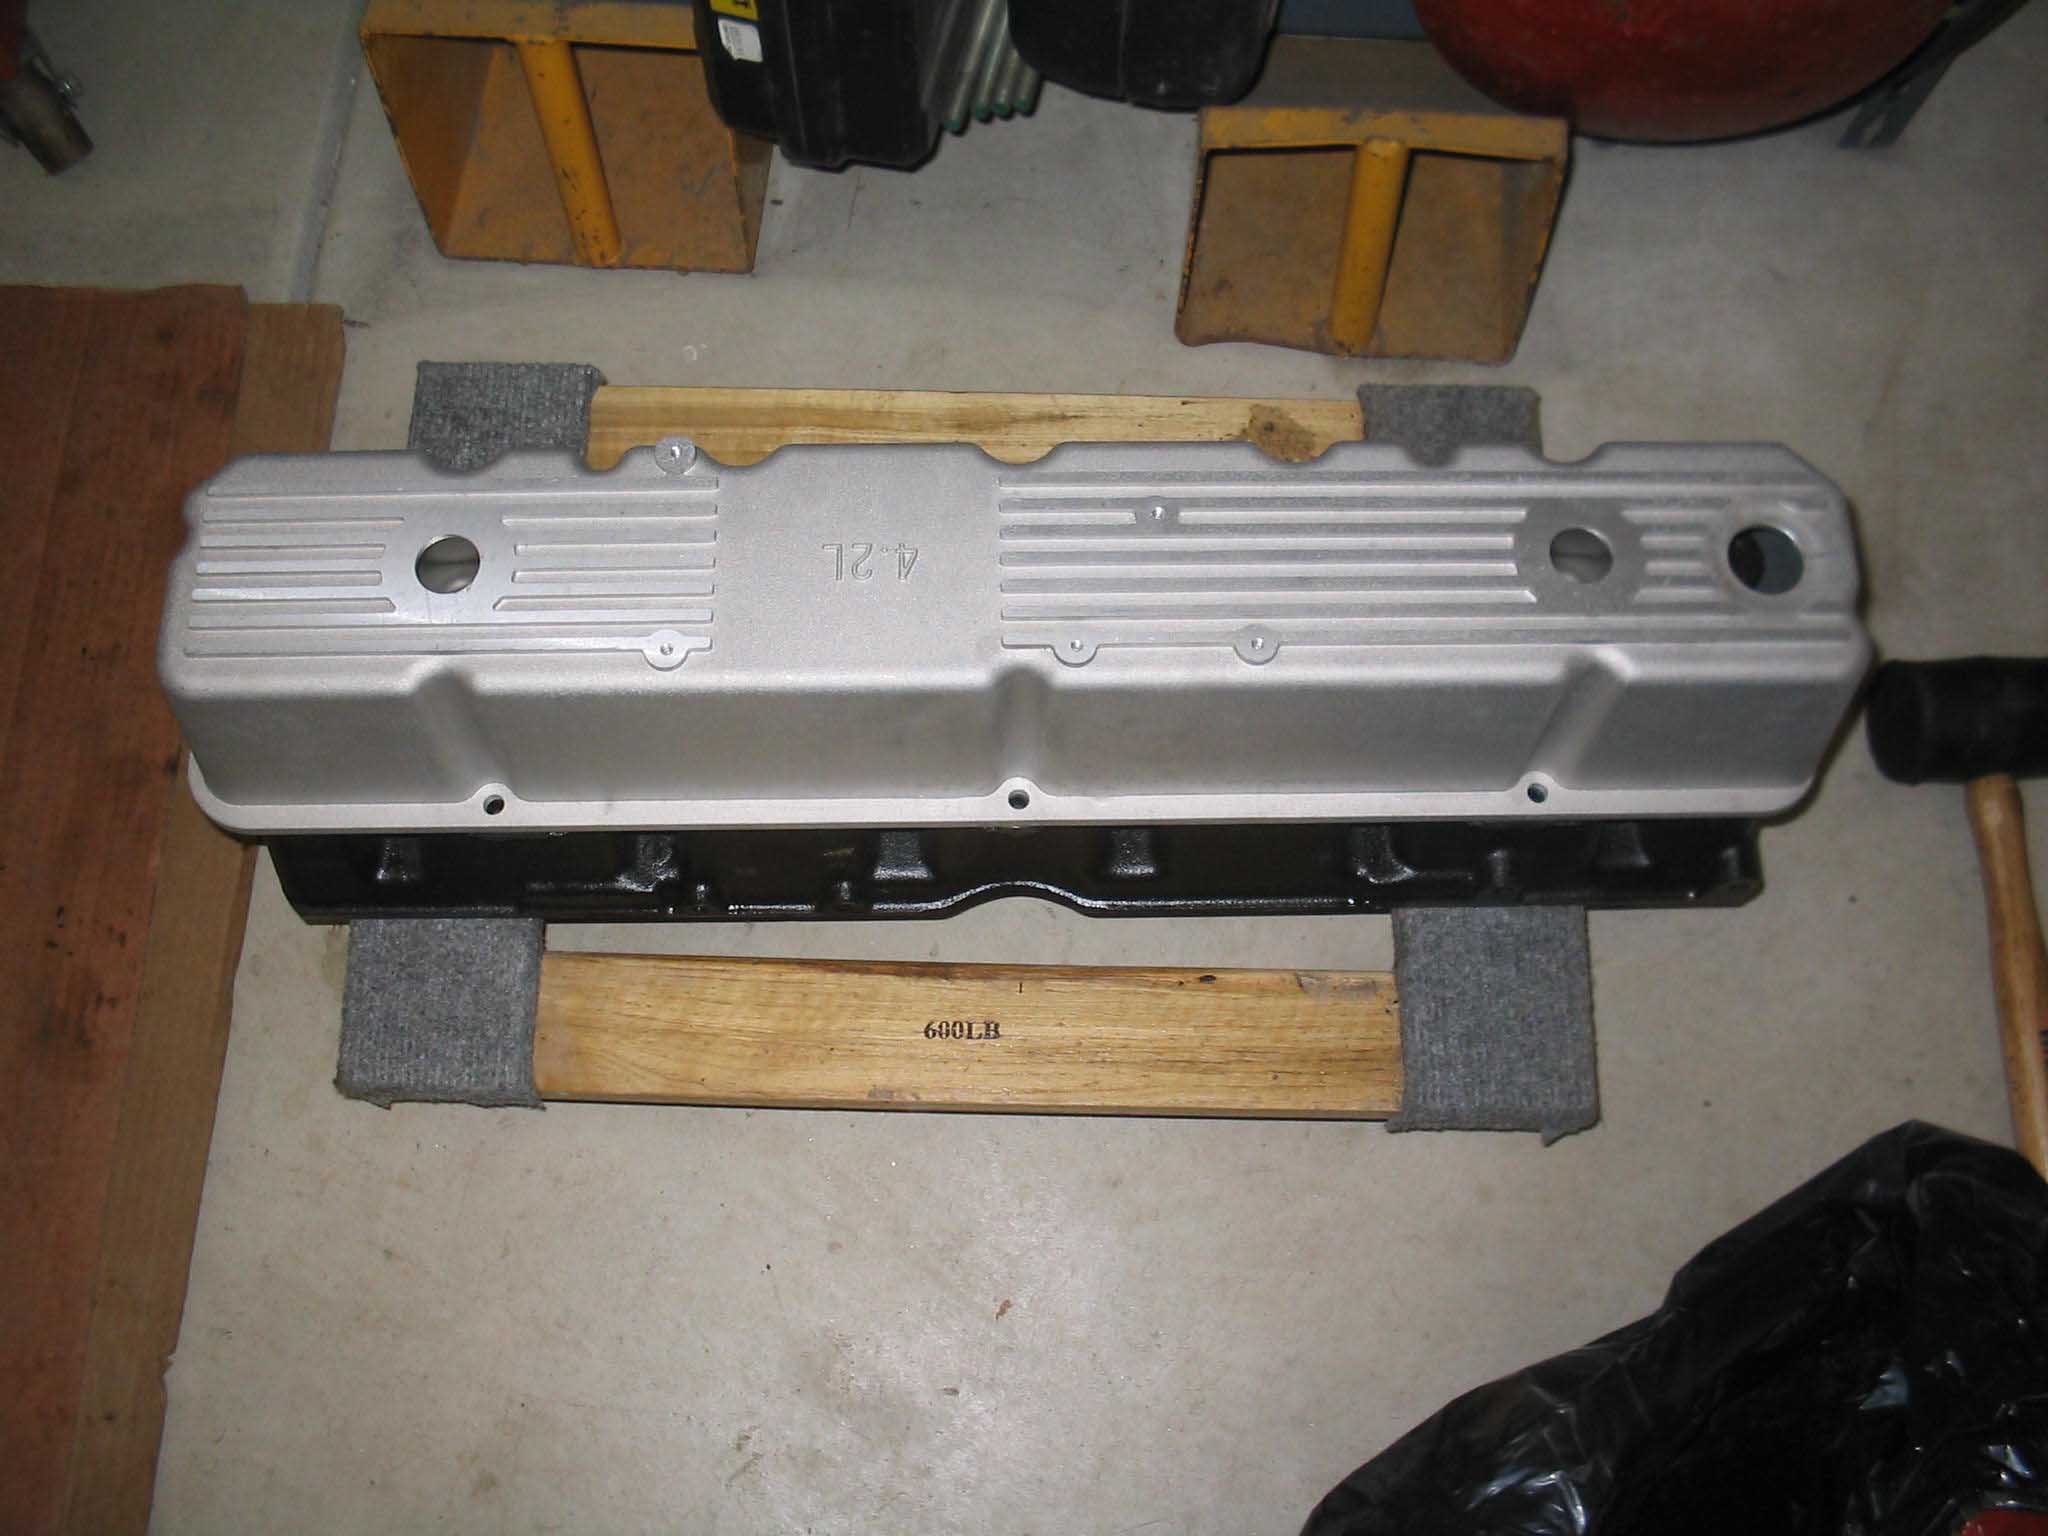
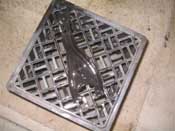
The head looked fine, non e of the valves were stuck, the casting number was correct,
and finally the new valve cover fit over it as well, so I think that is going to work out just fine.
So, with no other option, I went to the FORD dealer to get the parts I needed. Long story short, they don't make
them anymore. But, as my head was racing, the guy said, go down and talk to Wayne at Russell Auto, a Transmission
shop, because he has been in business forever and was a guru on this stuff.
|
| |
|

|
|
|
| |
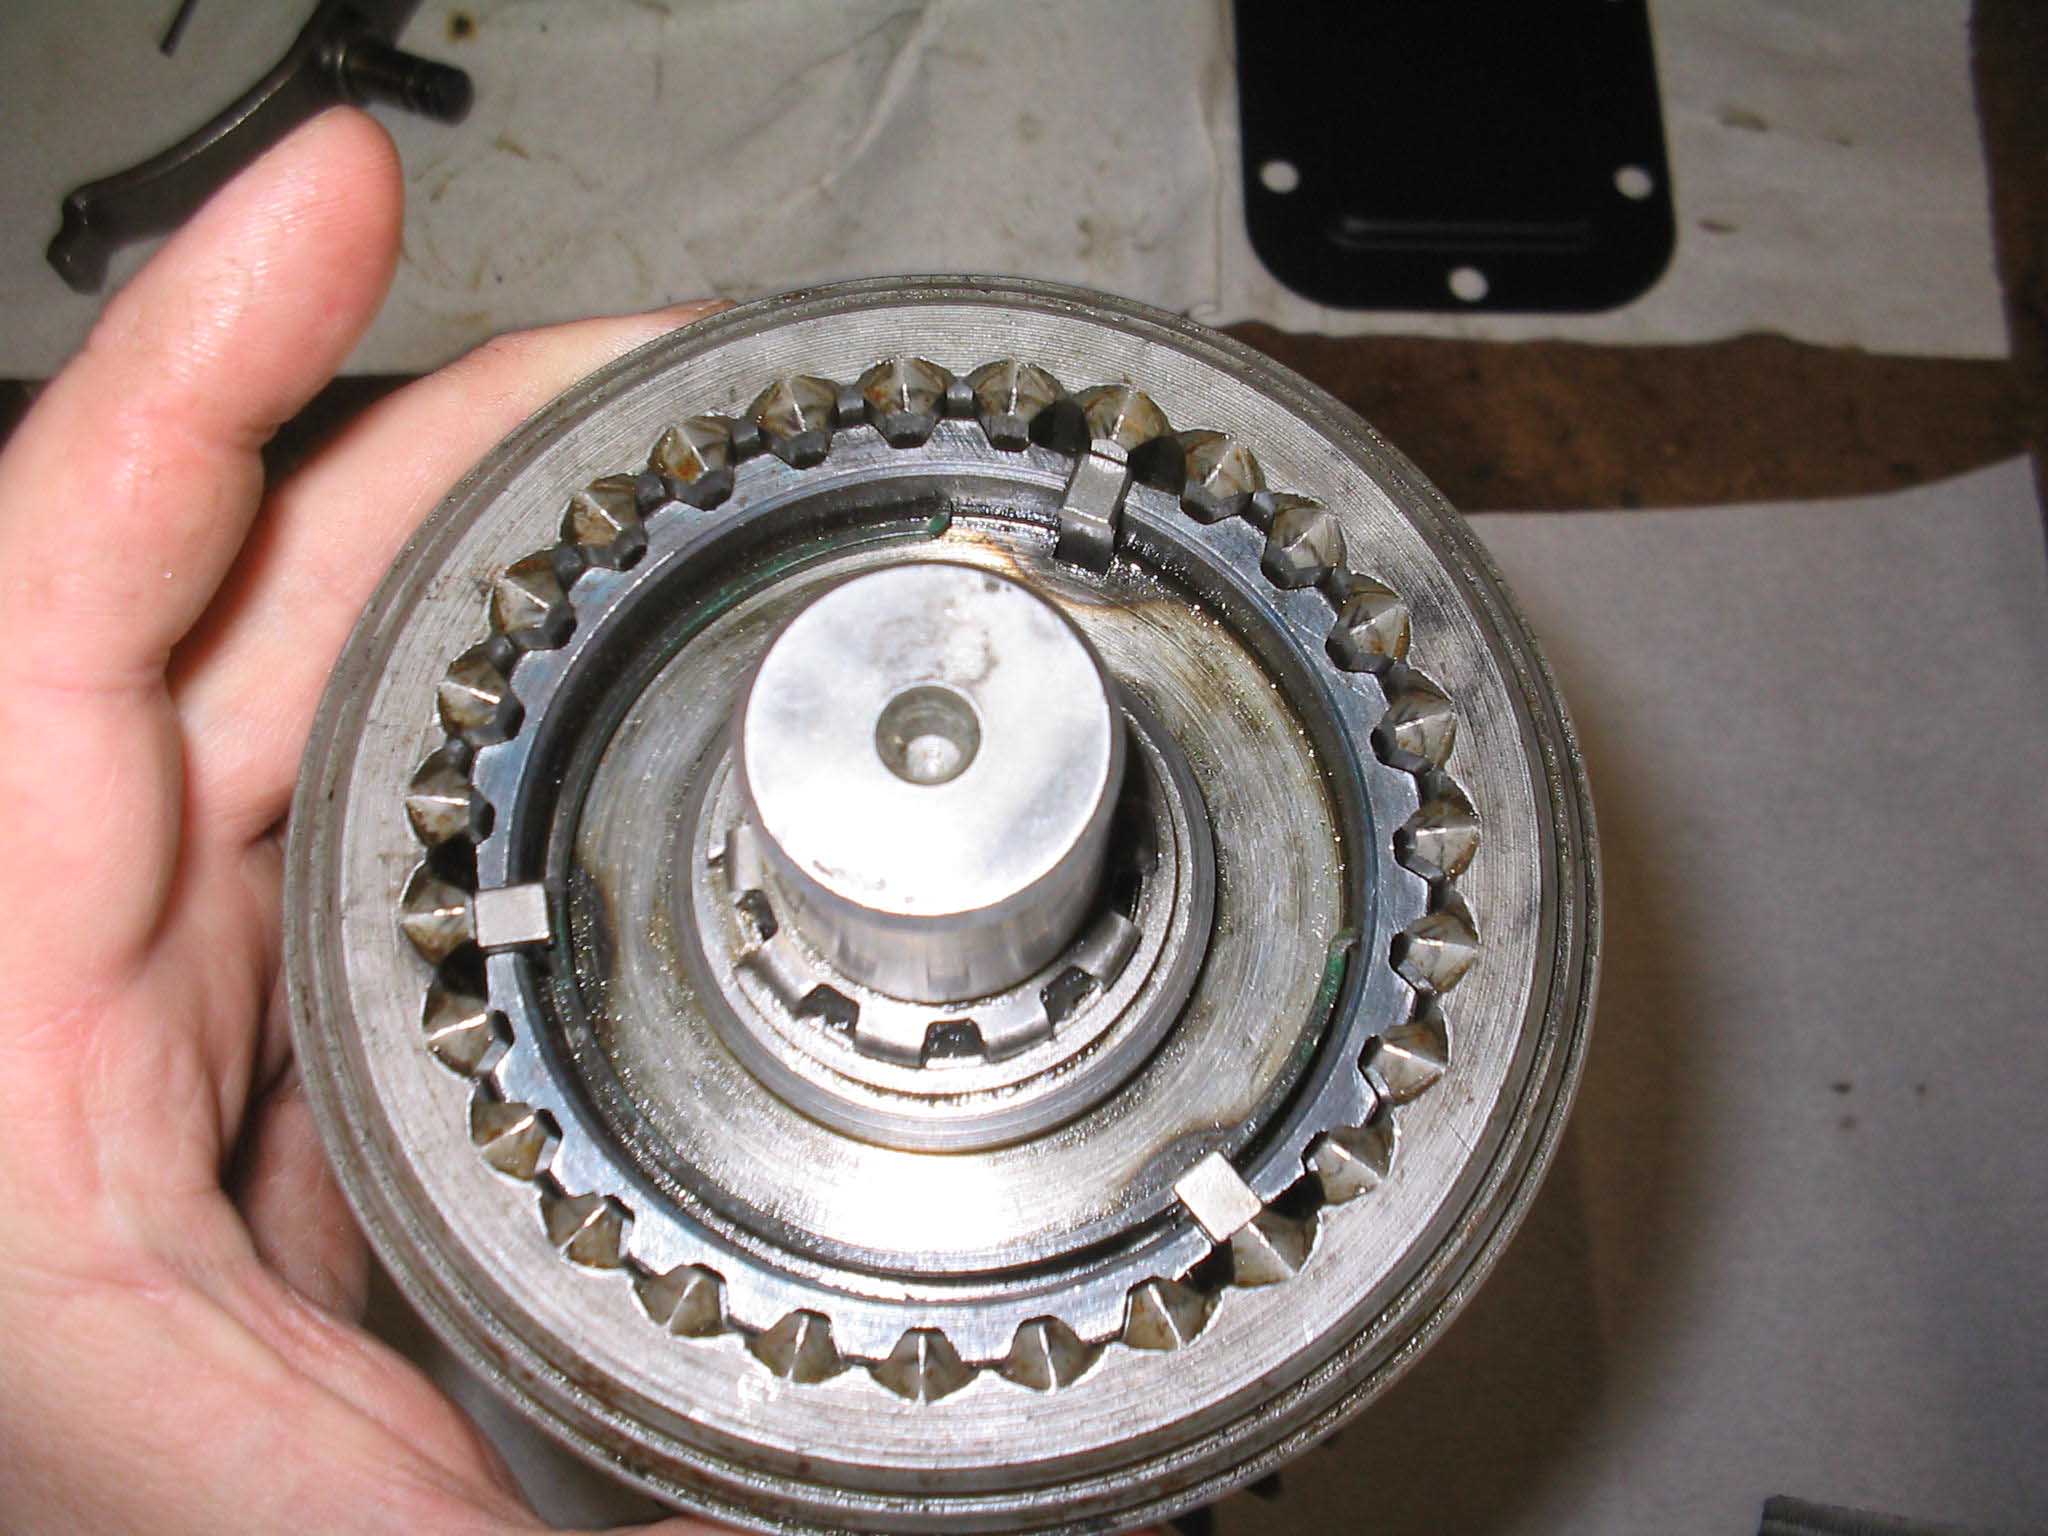
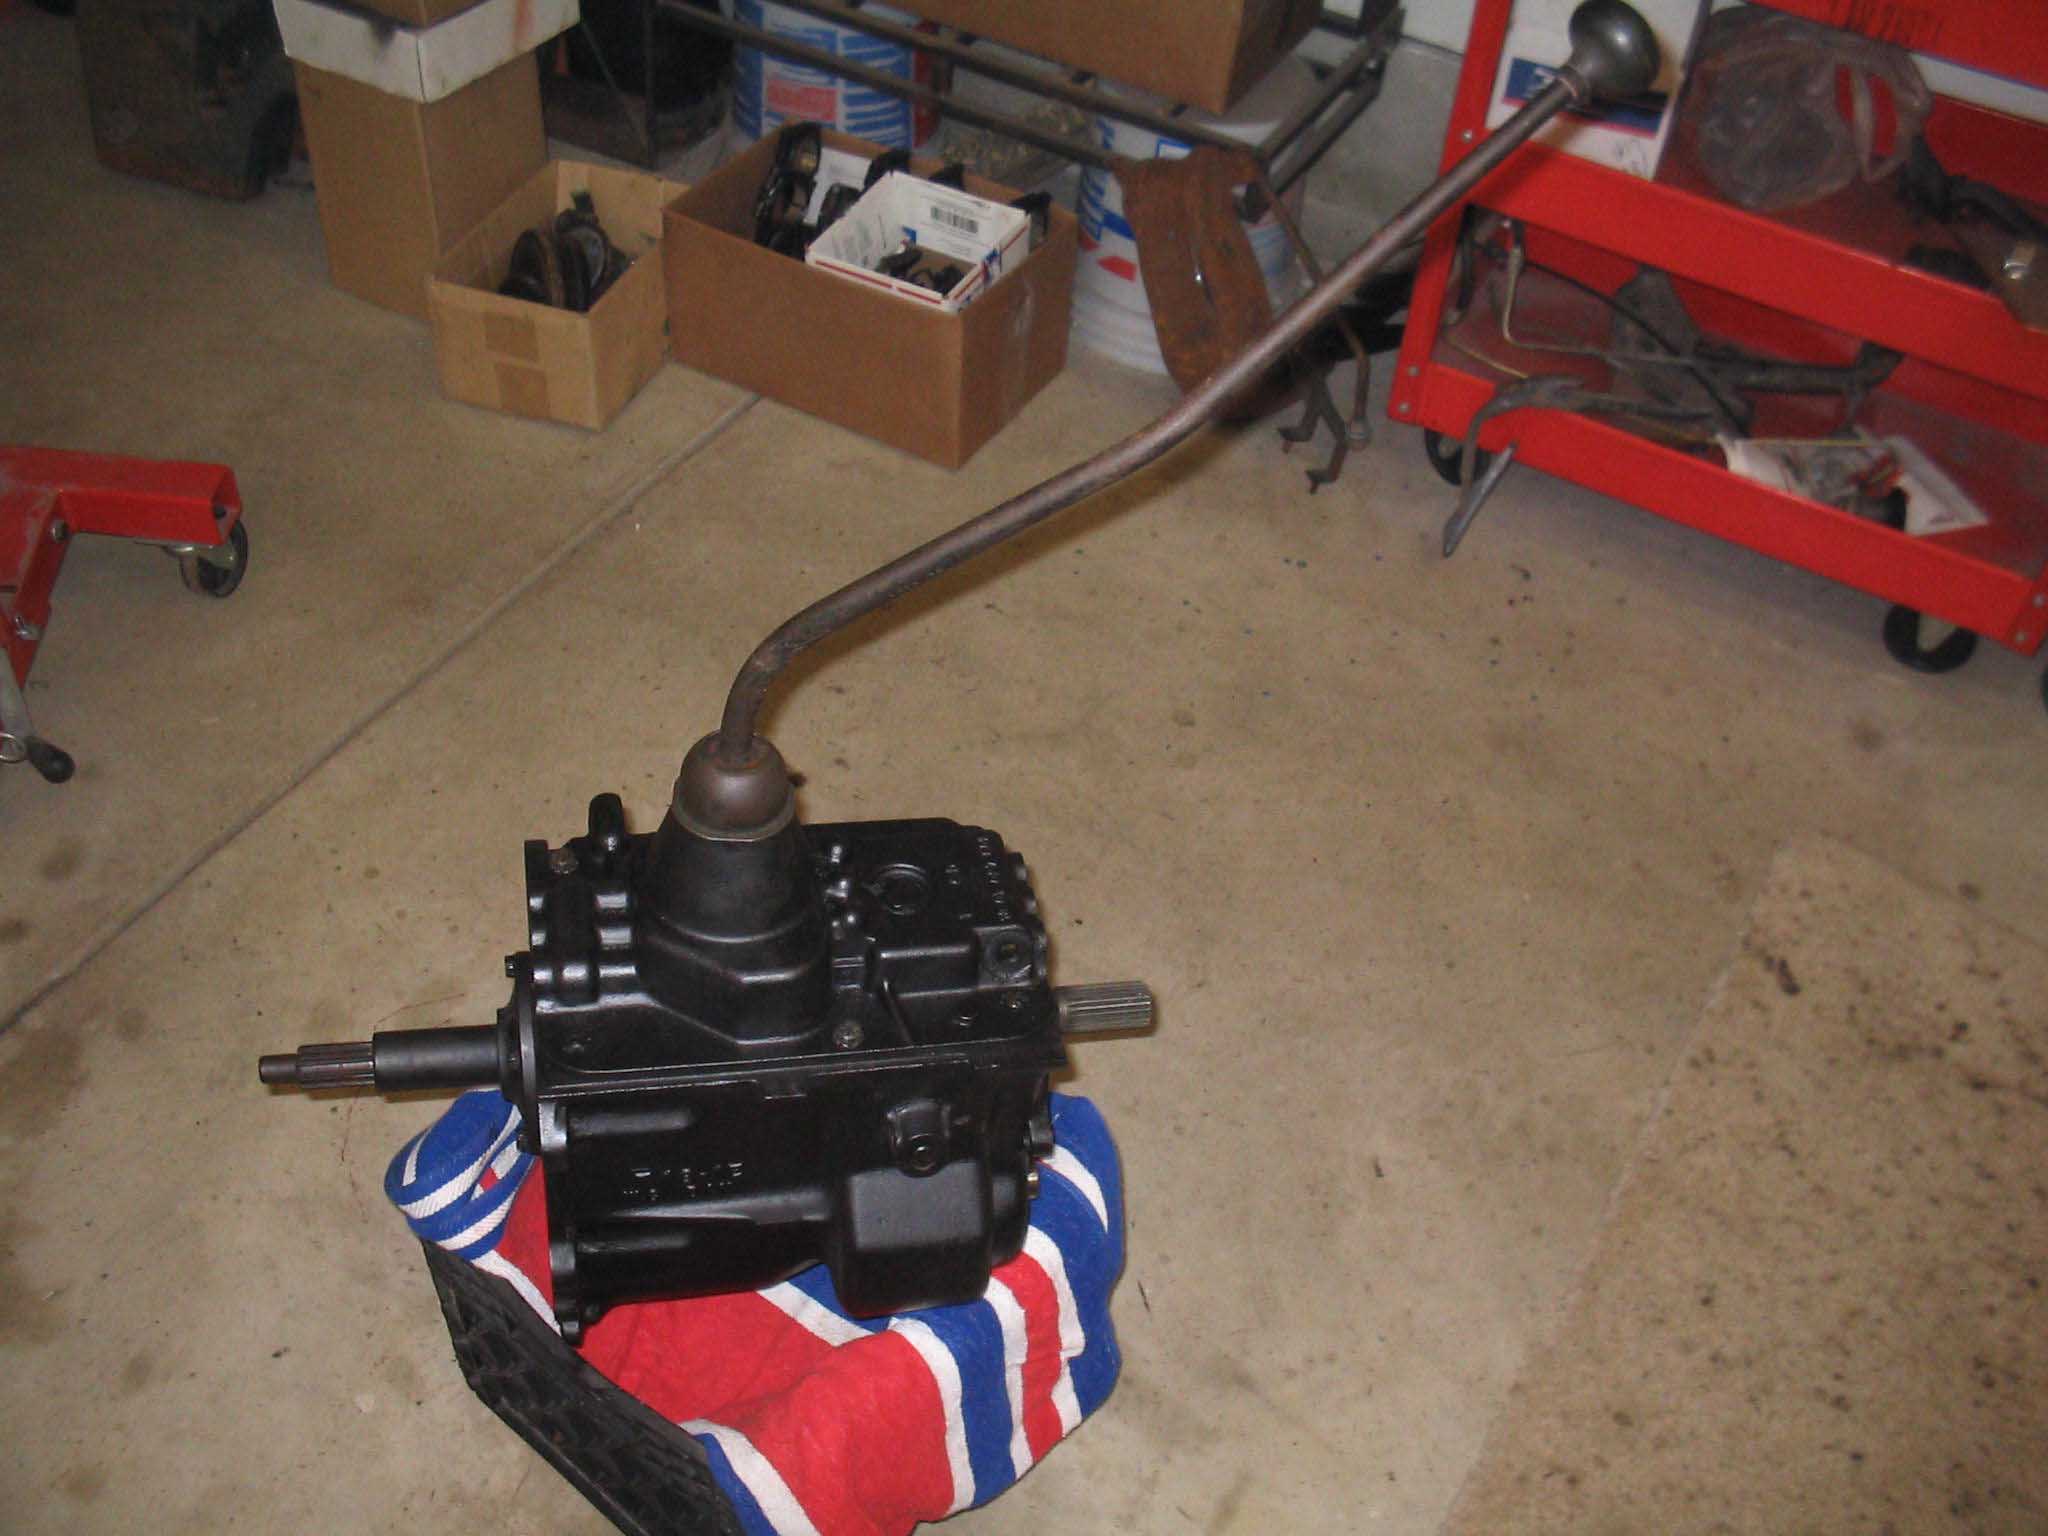
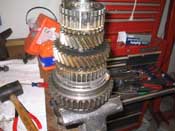
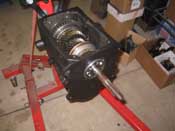
Sure enough, Wayne had it, I traded him my other parts for what he had and I was
on my way home, a very happy man. I got home, tried out the parts, they all fit, I then test fit everything and
finally put the bearings/Vaseline in the input shaft, attached the new synchro, put the spacer on and put
everything in the case (without the reverse lever in place). With it all in place, the new bearings were pressed
on in a press (no picture) and finally I finished it up by putting the top cover on and the shifter in place to
see if it shifted... IT DID NOT!
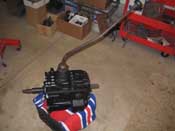
Feeling dejected, I remember reading somewhere you have to have the input/output shafts on when you do this because
the internals are depending on that pressure. I take it all apart... AGAIN... and put the appropriate piece on and
then FINALLY!!! it shifted. Now the next steps are to take it apart again and put some gaskets in place. I didn't
do that last night because of 2 reasons. The first was I didn't have any RTV to stick the gaskets on and second
I wanted to make sure this all functioned before I wrapped it all up. The last thing I want is to have it all
stuck together and find out I forgot a part... which I did, the oil seal behind the front bearing... had to take
it all apart... AGAIN!
cb (02/01/08)
|
| |
| << Previous |
Next >> |
|