|
|
| Howell TBI Fuel Injection Installation - Part #1 |
| |
|
1
2
3
4
5
|
| |
(02/25/06) After reading about many stories of people four wheeling with
carburetors that flooded out on steep inclines and declines, we decided that fuel injection might be a good
idea for Jen's Jeep. I did a lot of research on the subject and I found that Howell Industries makes a very good
fuel injection setup that uses GM parts from light duty trucks from 1987-1991. All the parts are ready available
and they come from a 4.3L V6 setup. We ordered the Howell Fuel Injection kit from
4wd.com and it arrived a few days later. There was a back order
with the O2 sensor, but that came in a few days later.
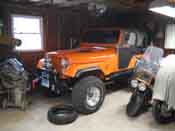
We started out by rearranging the garage to move my Jeep to the back and hers into prime time and then we
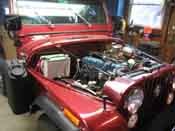
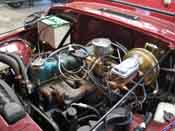
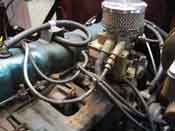
started ripping into her engine. We removed all the old stuff that wasn’t going to be needed like the mechanical
fuel pump, the carburetor, and finally the intake and exhaust manifold. Jen’s Jeep was originally a 1-barrel
carburetor setup and in order to do fuel injection with the Howell Fuel Injection kit, we needed to have a
newer 2-barrel setup. I did a lot of research and all that searching and reading told me that I needed to have
a 2-barrel intake and a new exhaust manifold to match up with that.
|
| |
|
|
|
|
| |
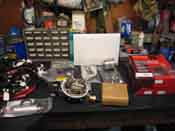
I had ordered up a new exhaust manifold a while back when we started thinking about
doing fuel injection on Jen's Jeep. I got it off of eBay from a company called 1A Automotive. It was a good
deal as this was a new piece and it was $63.00 shipped to my door. This allowed me to have an exhaust manifold
for the Jeep that would fit a 1981-1990 4.2L 258 engine. This came with a bung already molded into place for the
O2 sensor that will be needed in the new Howell Fuel Injection Kit that we ordered up later.
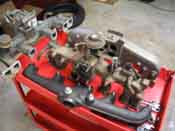
With the exhaust side of the equation figured out, the intake was next. Since Jen's Jeep was a 1-barrel setup,
neither of the manifolds could be re-used as the setup that was on her Jeep was bolted together as an assembly.
In the earlier models, the intake and exhaust were 1 piece held together with 4 bolts. This is an extremely
HEAVY setup and very restrictive. I use the word "vintage" setup. It is nice, it gets the job done, but it
doesn't produce a lot of power.
|
| |
|
|
|
|
| |
I was able to get an intake manifold off of eBay for $40.00, however, when it
arrived one of the ears was cracked off, so I called up the guy, explained it, sent pictures, and a new one was
on the way. Also, in that time, I was able to source a 4-barrel Offenhauser intake manifold setup for cheap, so
I was thinking we might be able to use that as well. So, armed with 3 intake manifolds as well as the old one
for reference and parts, we set out to mock everything in place once we got the old stuff off to see what would
fit and what wouldn't.
It turns out the 4-barrel wouldn't fit as it requires a header due to clearance issues and besides I already
bought the new exhaust manifold, so that will go on another project or perhaps a future upgrade. We took all the
sensors and parts off the old cracked manifold and set out to clean up the good 2-barrel intake manifold that
we were going to use on the project. A few parts were swapped in and off the old assembly and we finally had
the setup we were going to use. The setup is off a 1983 Jeep 4.2L 258 motor, so the 2 pieces were going to
match up nicely... in theory.
|
| |
|
|
|
|
| |
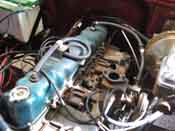
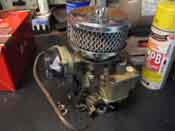
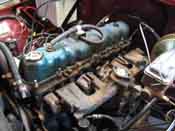
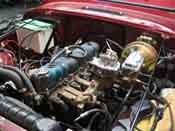
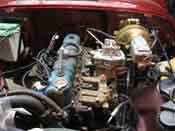
So we took out the old mechanical fuel pump linkage and carburetor and the fuel
pump block off plate was installed. We removed the old stuff and set out to mock the new stuff in place to check
for clearance issues. We were able put everything in place with the exhaust manifold. It took a lot of doing,
but in the end, I couldn’t believe how easily this stuff all went in... and came out for that matter. I guess
you get what you pay for. Jen's Jeep was purchased from Arizona and the nice clean surroundings allowed the
bolts to come out easily and allow for the new 2-barrel setup to go in nicely. I couldn't believe how easily the
intake and exhaust manifold bolts came out and went back in.
At the end of the day, the TBI setup was checked for clearance on the spacer we looked to be in good shape. We
had to go to a dinner party so we knocked off for the day, but we had gotten a tremendous amount of stuff done.
|
| |
| Last |
Next >> |
|

