|
|
| Howell TBI Fuel Injection Installation - Part #3 |
| |
|
1
2
3
4
5
|
| |
(03/01/06) I had a doctor's appointment today and after it was done I headed up to
the garage so I could get a few things out of the way and grab a few things that needed to be measured up so I
could get a lot more done over the weekend.
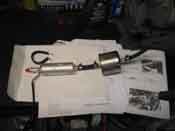
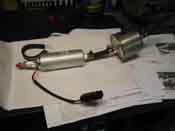
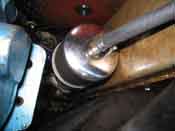
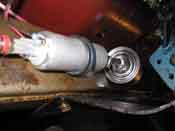
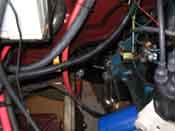
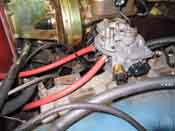
I got to the garage around 5 PM since I left work around 3 PM to go to the doctor's. I was able to successfully
put in the electric fuel pump up inside the transmission skid plate and then route the included fuel line into
the feed line of the throttle body unit. After that was done, I took the remaining fuel line and connected it
to the return line of the throttle body unit. With that done, I turned my attention to the brain.
|
| |
|
|
|
|
| |
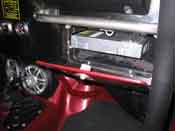
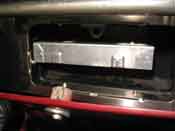
The computer was mounted inside the glove box. I removed the glove box and cut
out the back so the computer could poke through the back. This was needed to be done because there isn’t really
enough clearance for the computer in the glove box. The glove box doesn’t really open with the full roll cage
down tubes, so this was a good place to put it. I also put the computer in the same place in the Orange Jeep,
so I knew it would fit.
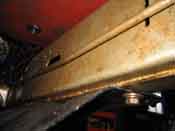
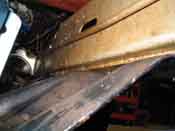
After that was done I moved onto removing the body mount bolts on the Jeep. There was two reasons for this,
the first is for the body lift we plan on putting on the Jeep in the coming weeks and second is to be able to
raise up the rear of the Jeep to check out the top of the gas tank. I am not sure what type of fuel sending
unit that this Jeep has, so I have to make sure it has a return line feed for the return line of the throttle body.
|
| |
|
|
|
|
| |
After this was done I decided to call it a day so I could get home to do a few
things around the house and to do some research on the remaining items of the fuel injection setup.
I have to research the connections for the pertronix ignition setup as it pertains to the ignition as well as the
distributor so I can make sure that this will be able to be done without getting a new distributor. This setup
is not cheap and if there are any more costs involved I want to know about them up front.
|
| |
|
|
|
|
| |
I spent about 3 hours up there working on the Jeep. I still can't believe how
easily this is coming apart and then going together. This Jeep is giving up its parts far easier then any other
Jeep I have ever worked on. I found a couple surprises on the body mount bolts, specifically that 2 were missing
and a couple others had nuts on the top of them.
It appears that the previous restoration on this Jeep broke some of the welded nuts off. We will have to
account for this when it goes back together. And yes, we will have to use plenty of anti-seize to ensure that
if we ever remove these bolts again, they will come out without any struggle.
|
| |
| << Previous |
Next >> |
|

