|
|
| Howell TBI Fuel Injection Installation - Part #4 |
| |
|
1
2
3
4
5
|
| |
(03/06/06) Well this was a pretty good weekend on the Jeep. We actually finished
up the fuel injection and got it running, however, we had a few issues that came up along the way and thus set
us back to needing one more day to finally finish everything.
Let's go back a couple of days. We headed up to the garage early on Saturday morning and started right in on the
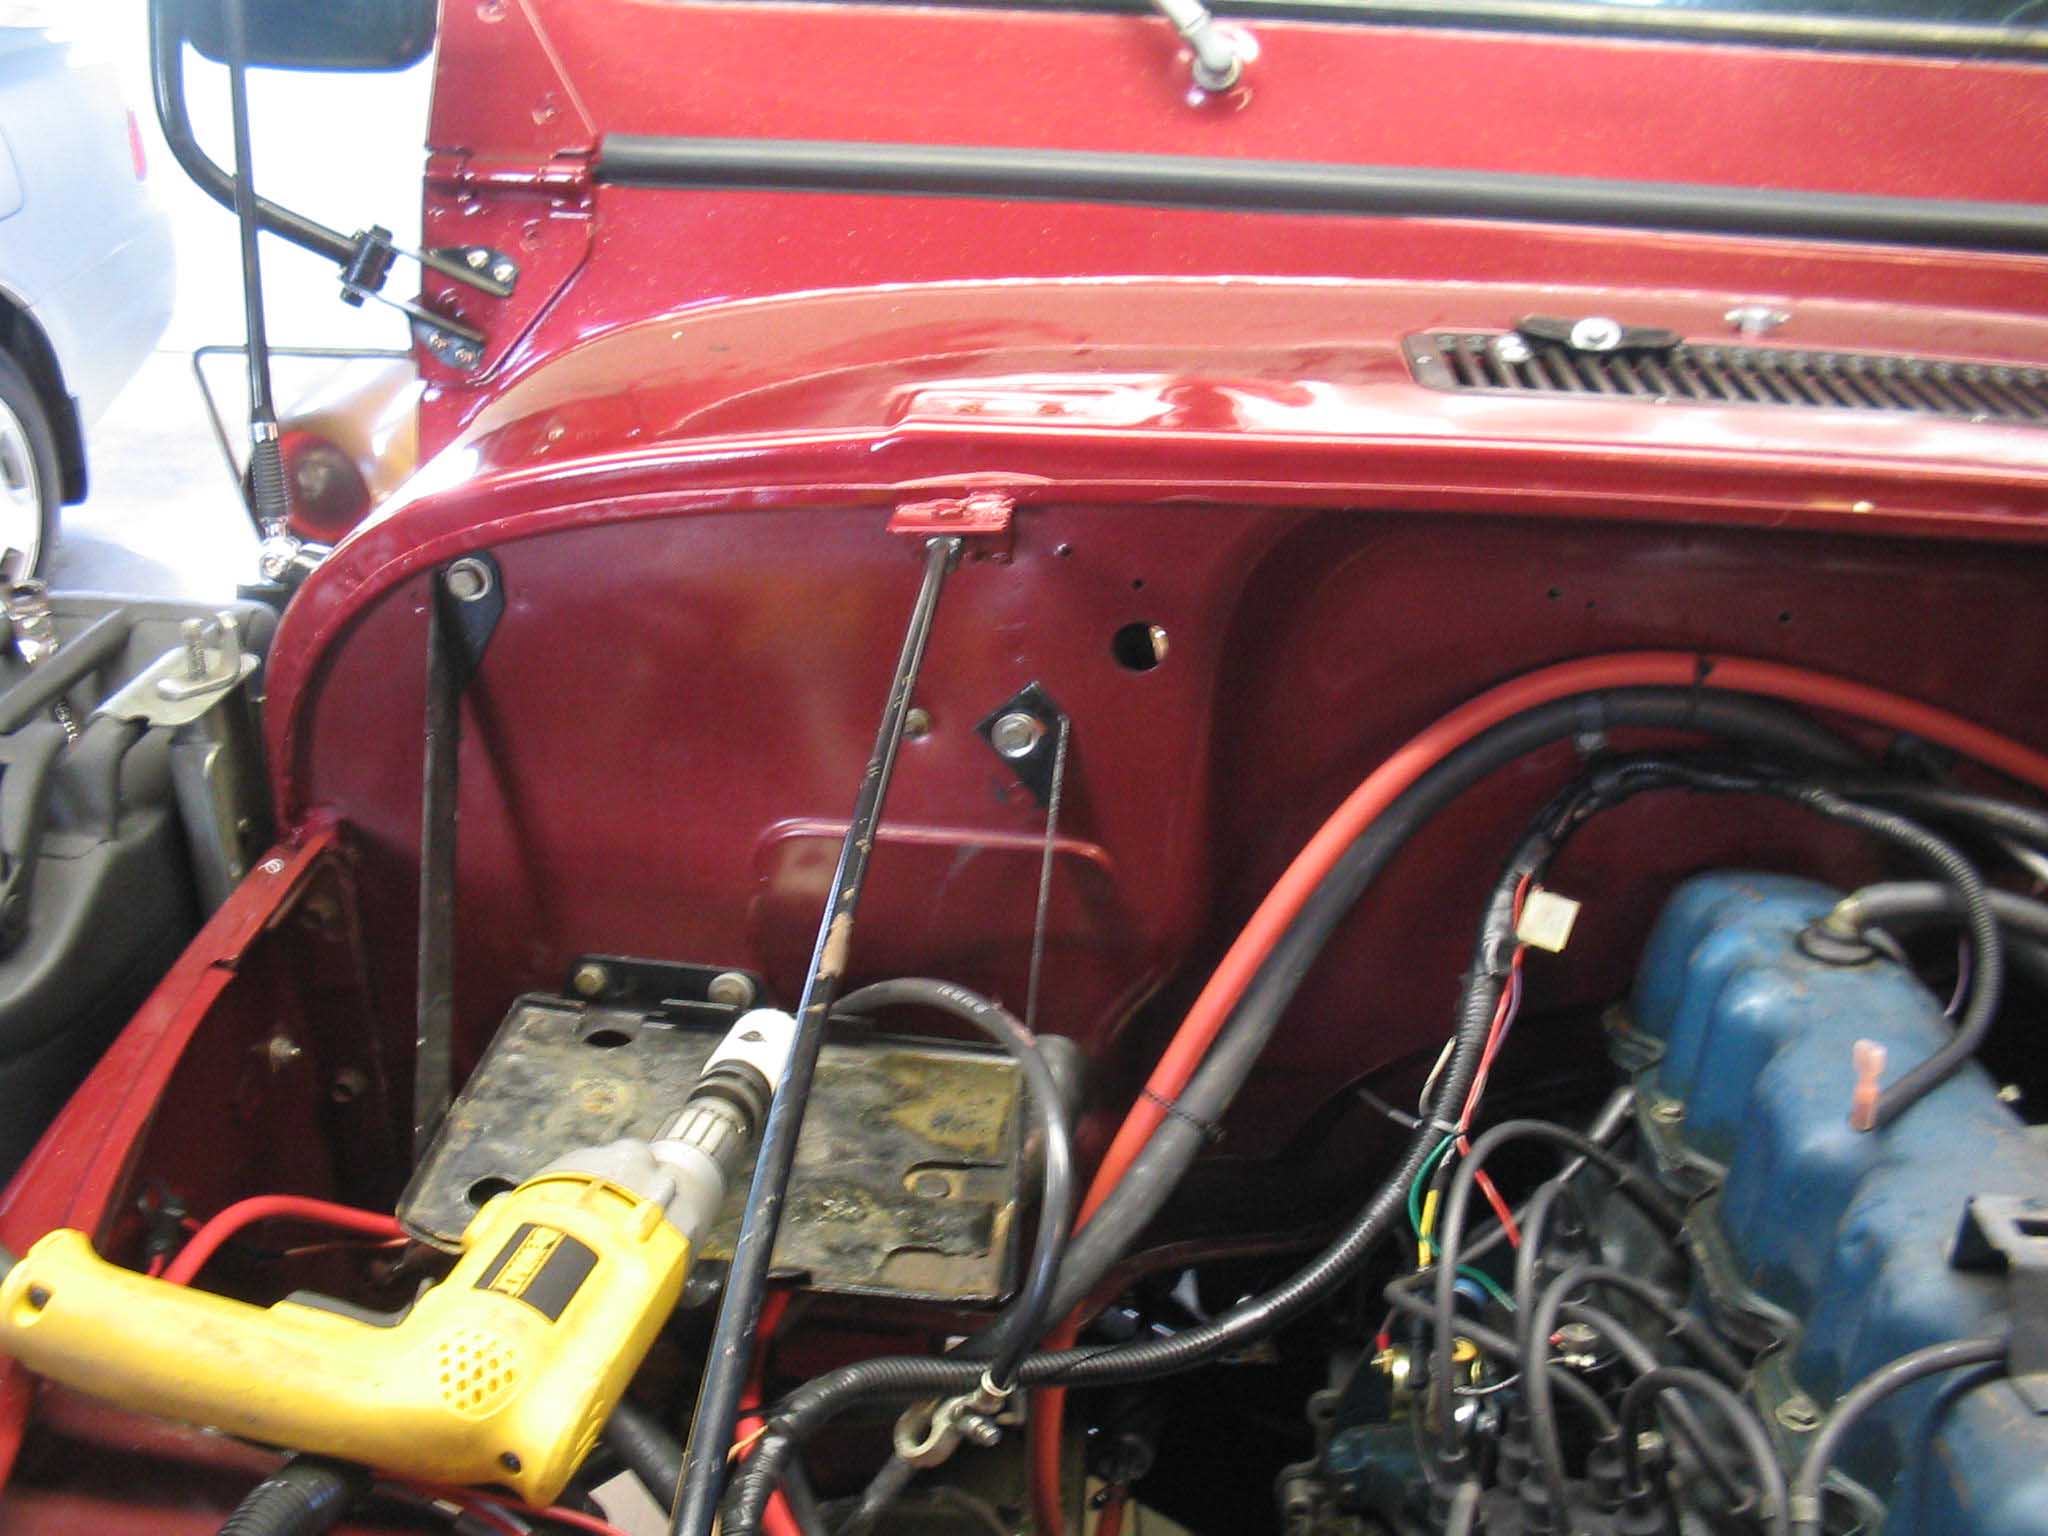
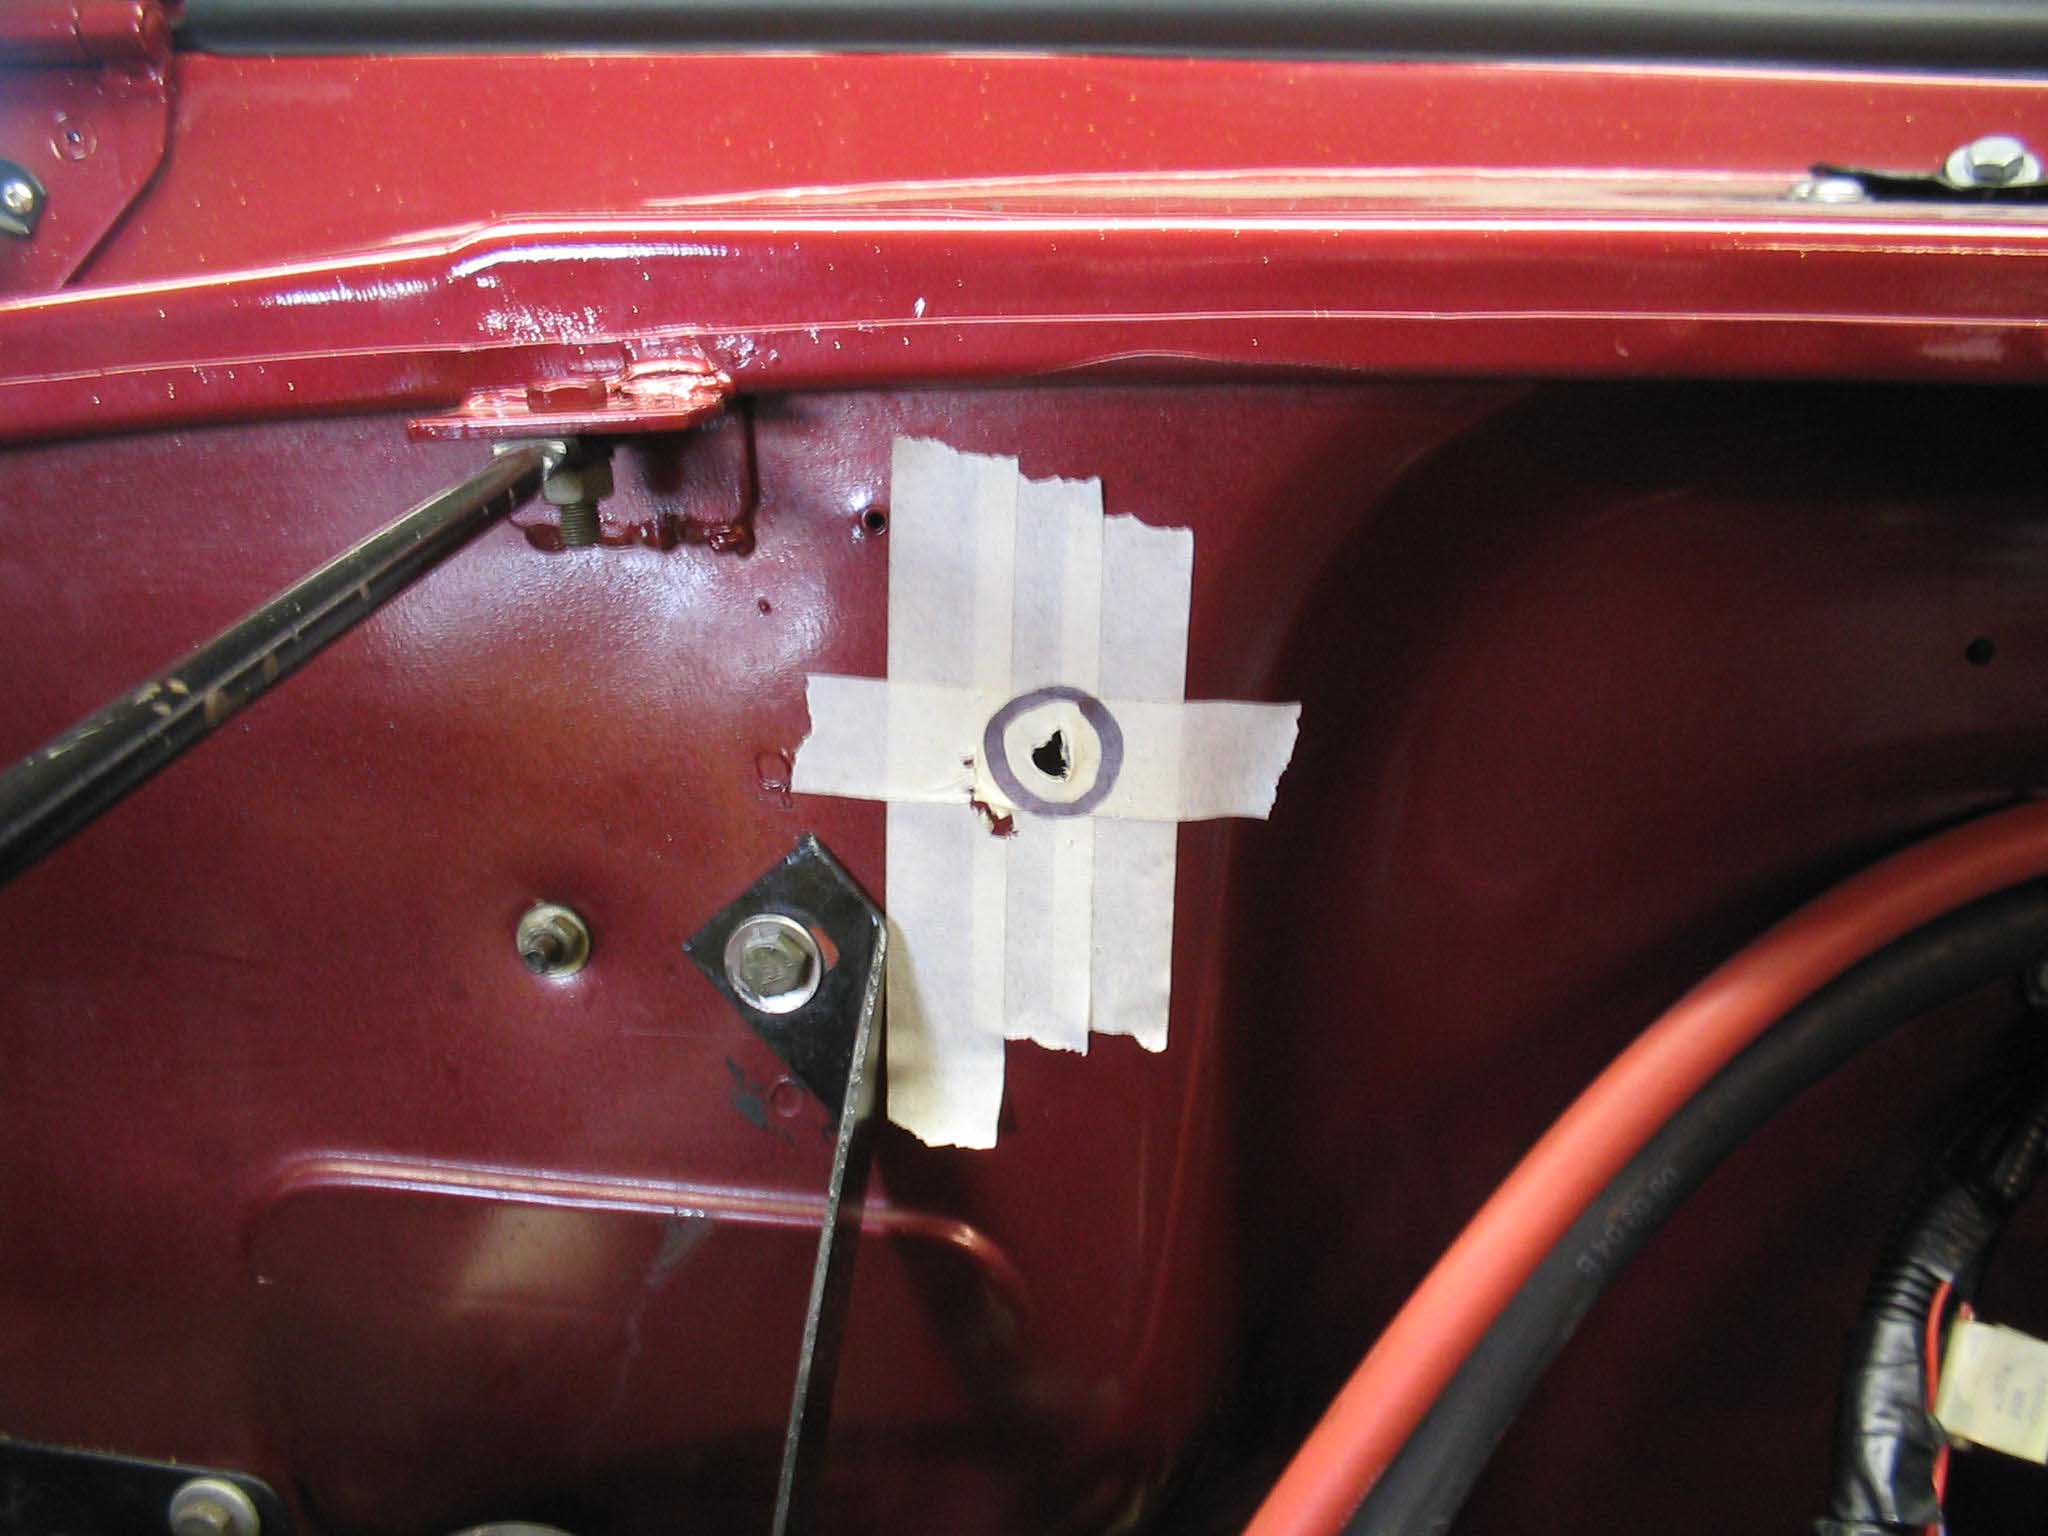
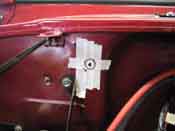
Jeep. I had to cut a hole in the firewall to allow for the wiring harness to be fed from the inside of the Jeep
to the engine bay. I removed the fuse connectors and relays to reduce the size of the connectors that pass
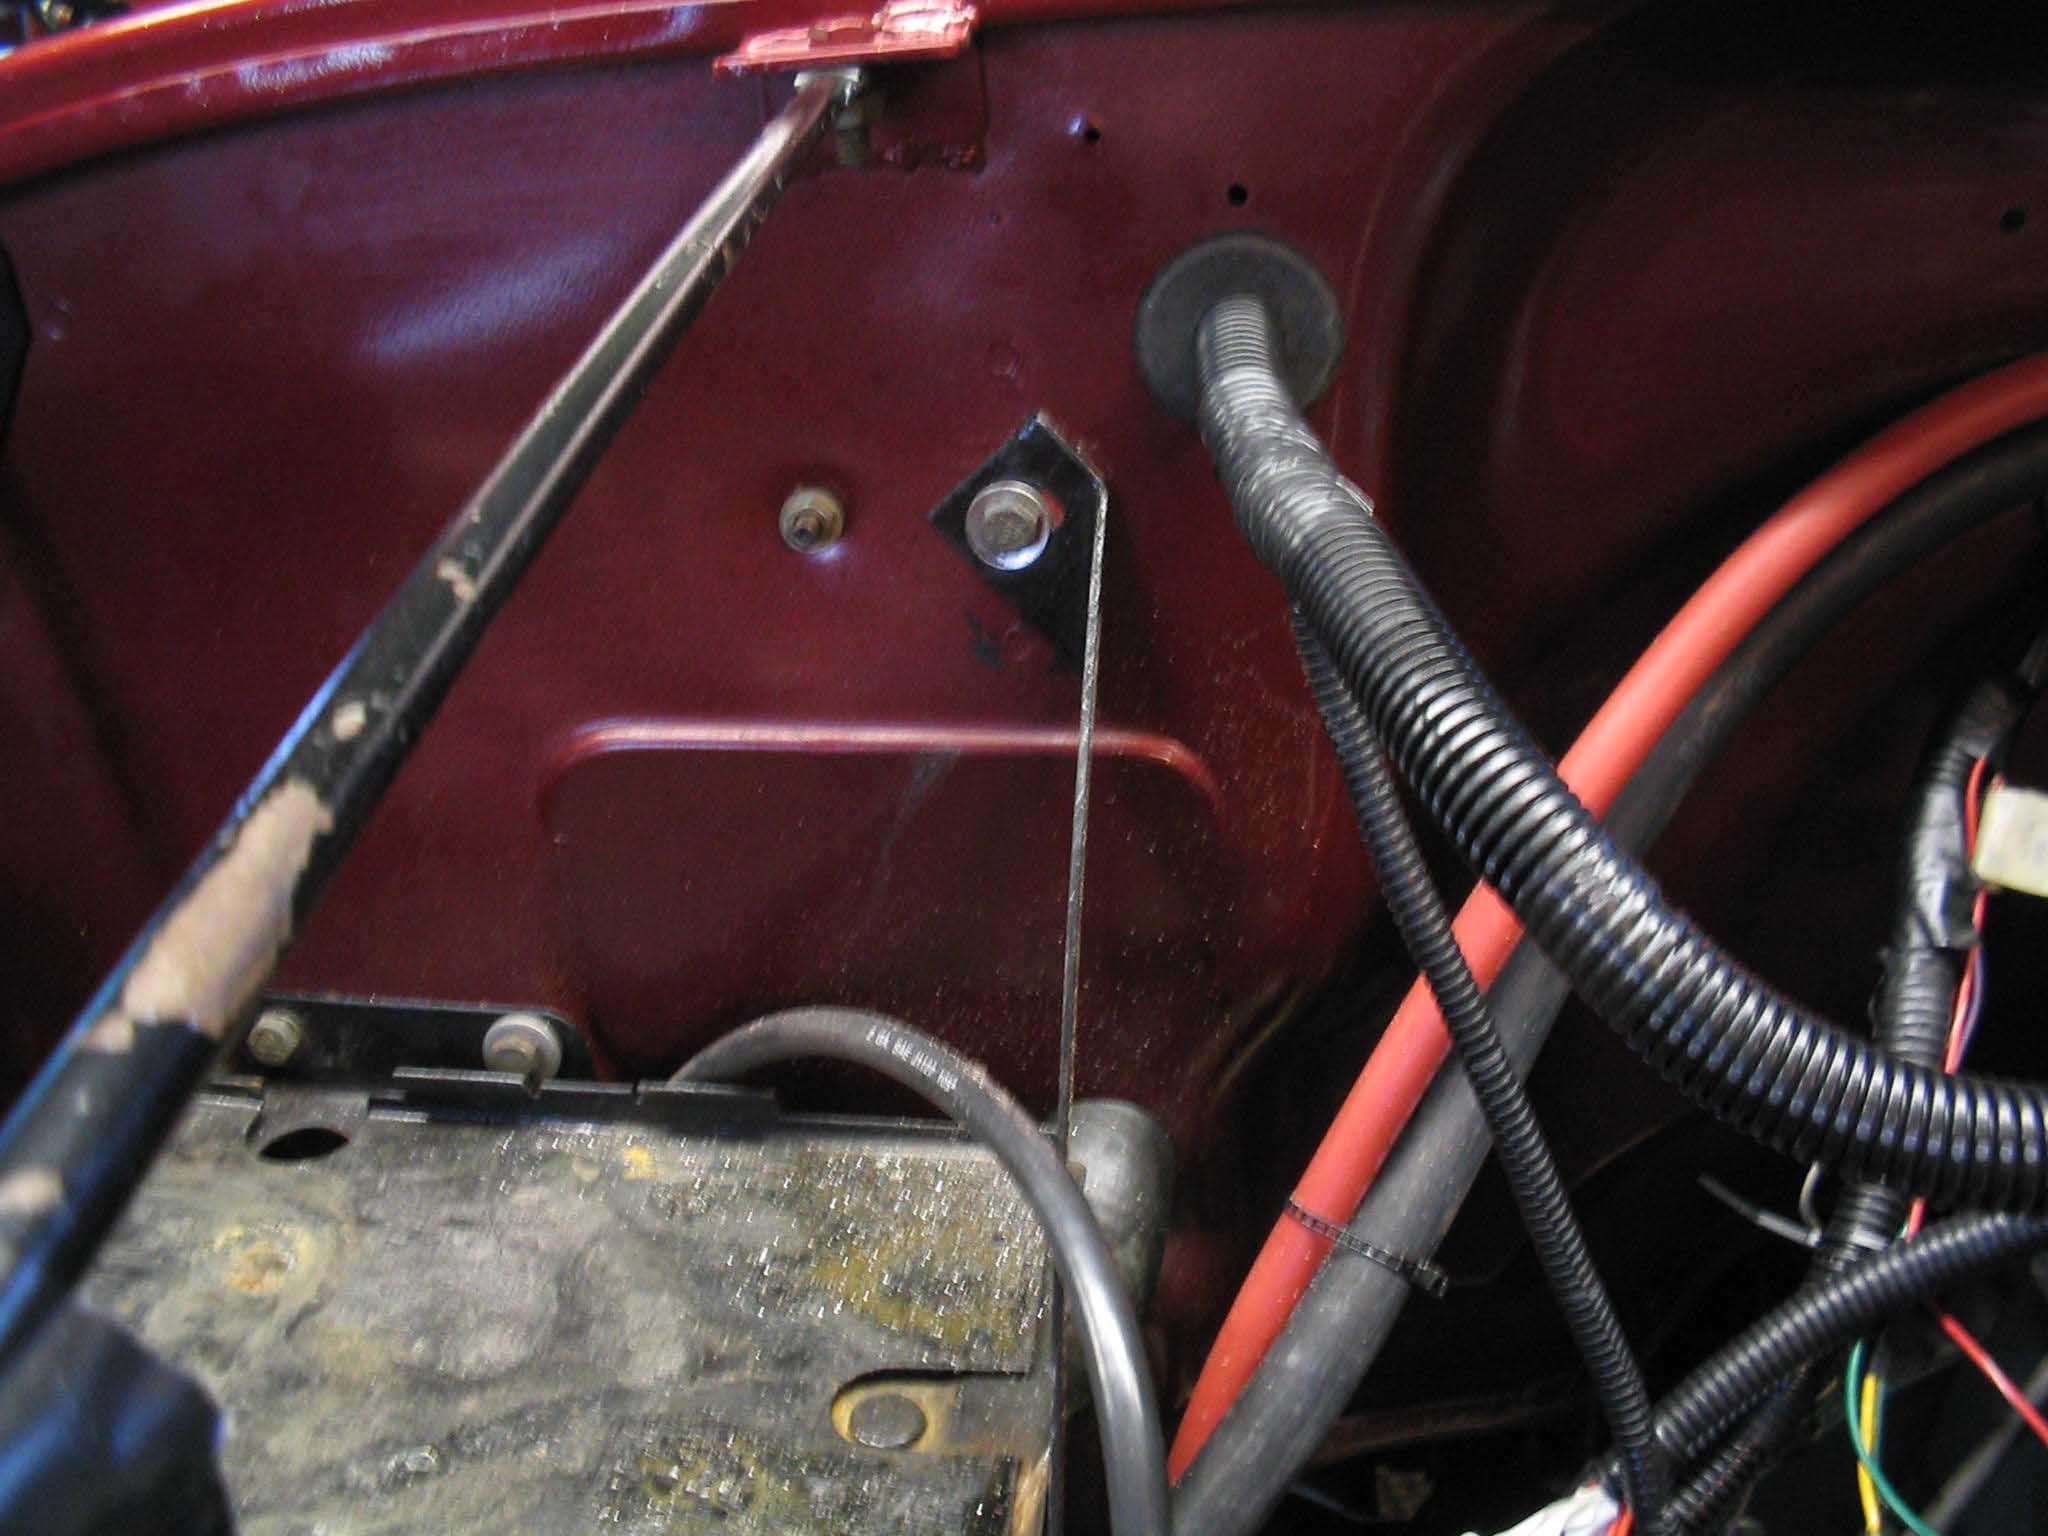
through the firewall. The hole has to be about 1 1/2" big and included with the kit is a grommet that fits
in the hole after the wires are passed through the firewall. I removed the battery to get to the area on the
firewall to drill the hole out. If you don't remove the battery, then you must remove the negative cable so
that you can wire the Jeep and not juice yourself in the process.
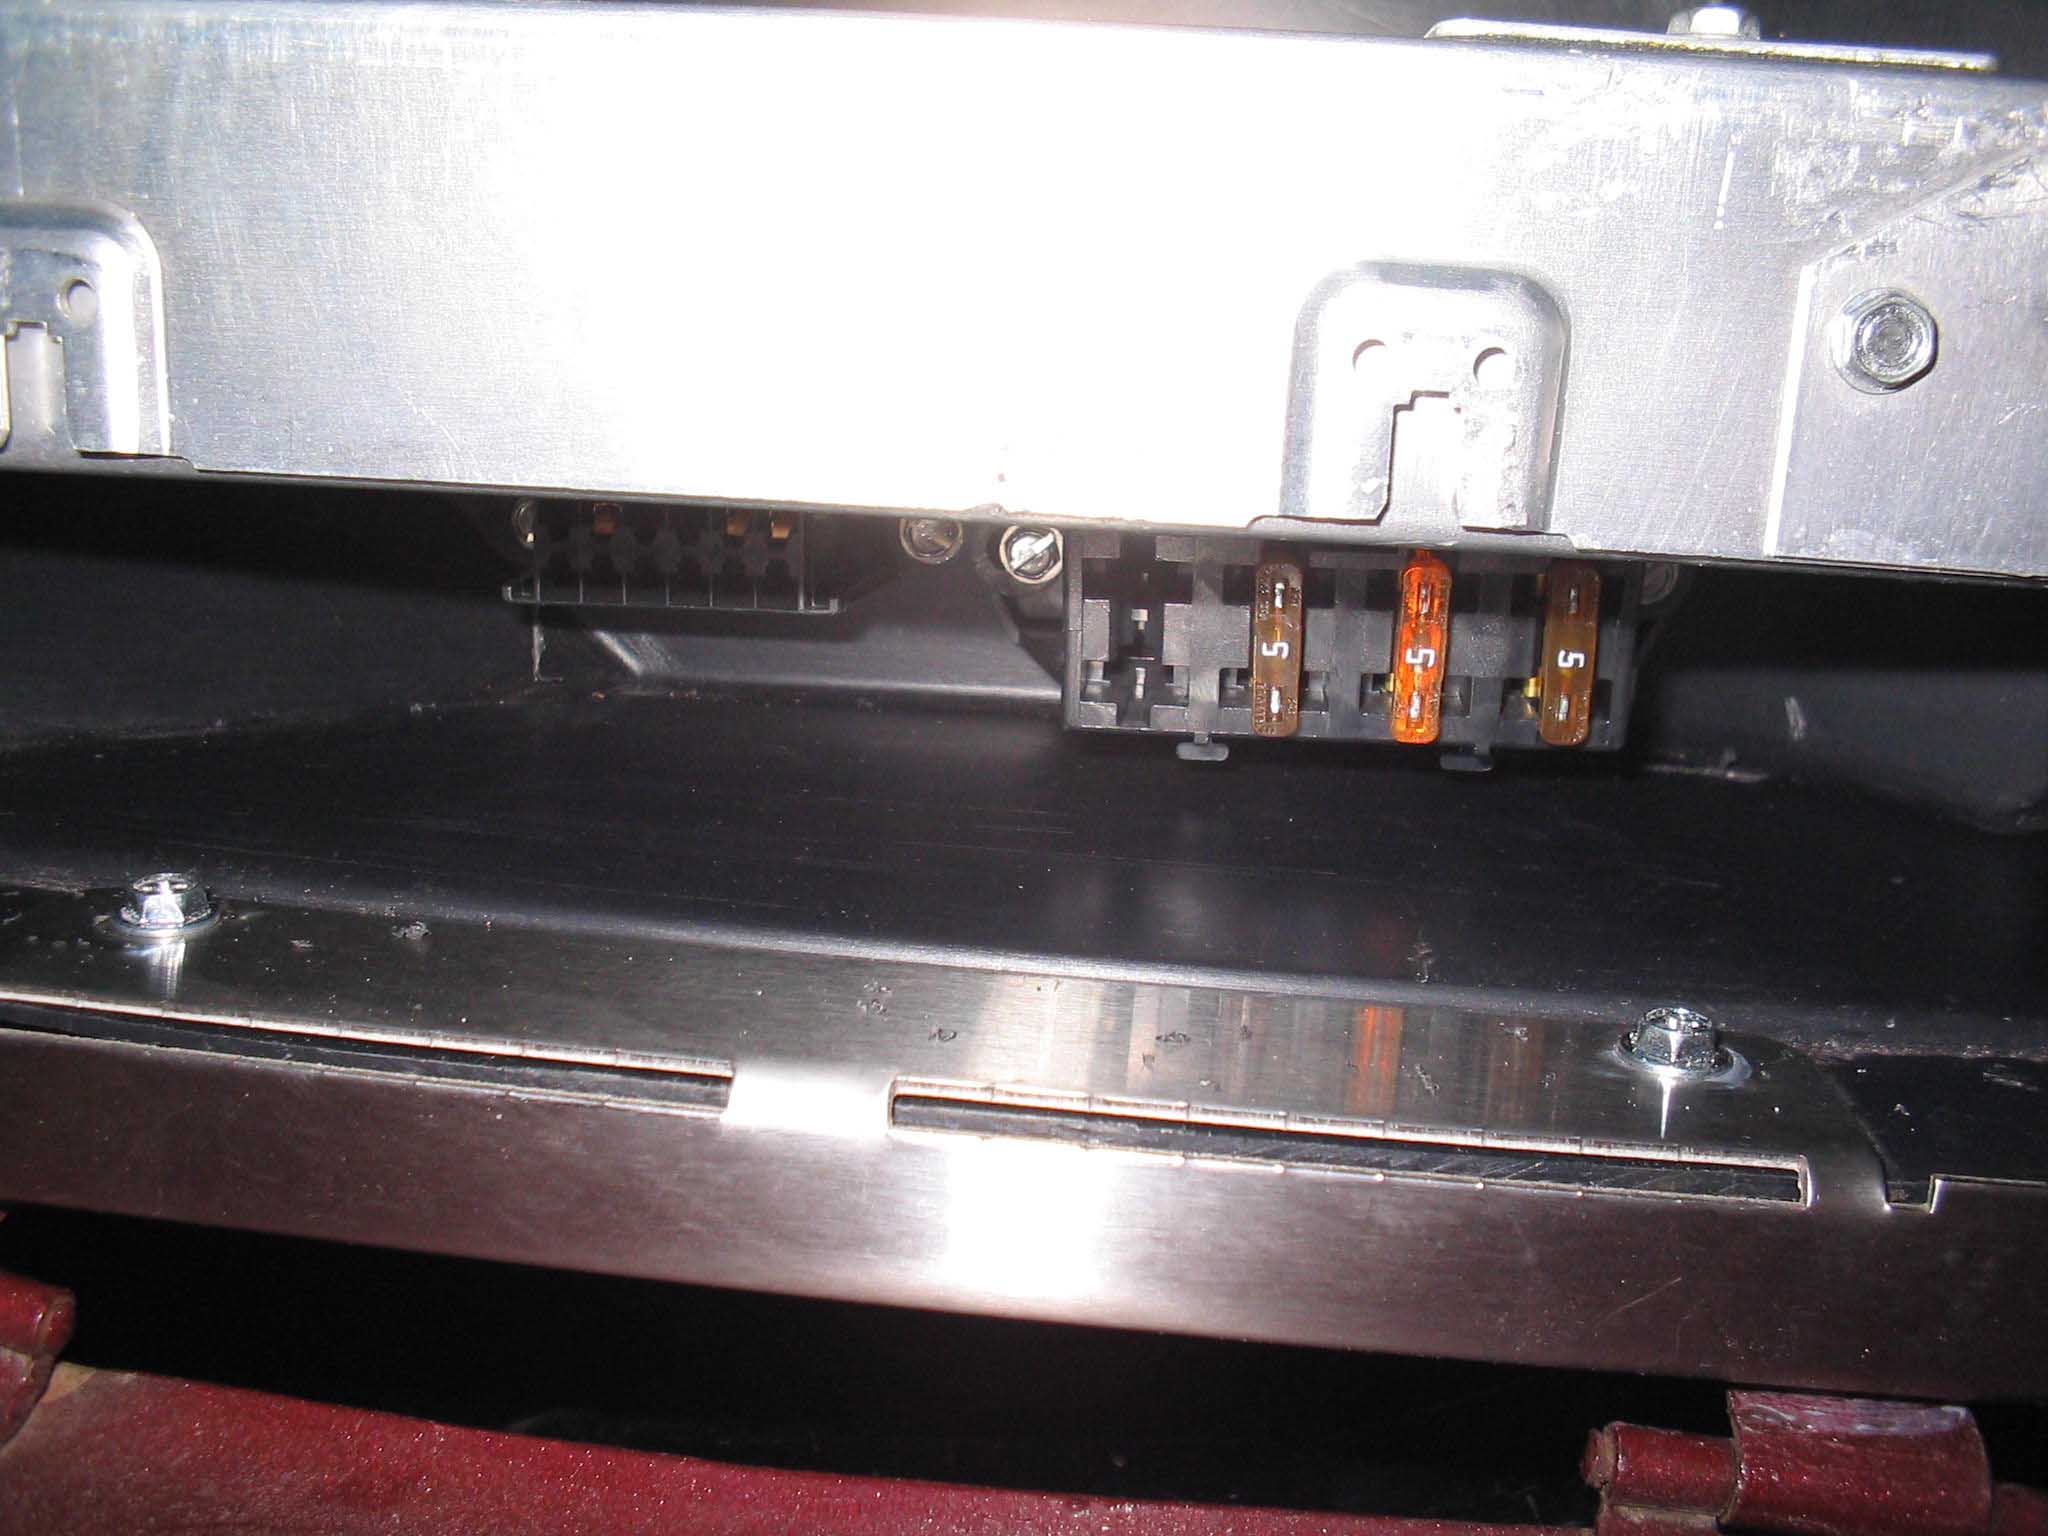
Earlier in the build, I took out the glove box and made room for the brain inside there. Jen had gotten an
aftermarket plastic glove box and it was easily cut and shaped to accept the computer. Along with the kit comes
a fuse panel and the ADL diagnostic port connector. A few trims and a couple of drill holes into the plastic and
the 2 connectors were mounted up under the computer. It really came out a lot nicer then I thought, definitely
better then the attempt on the Orange Jeep. You learn something new every day I suppose.
|
| |

|
|

|

|
| |
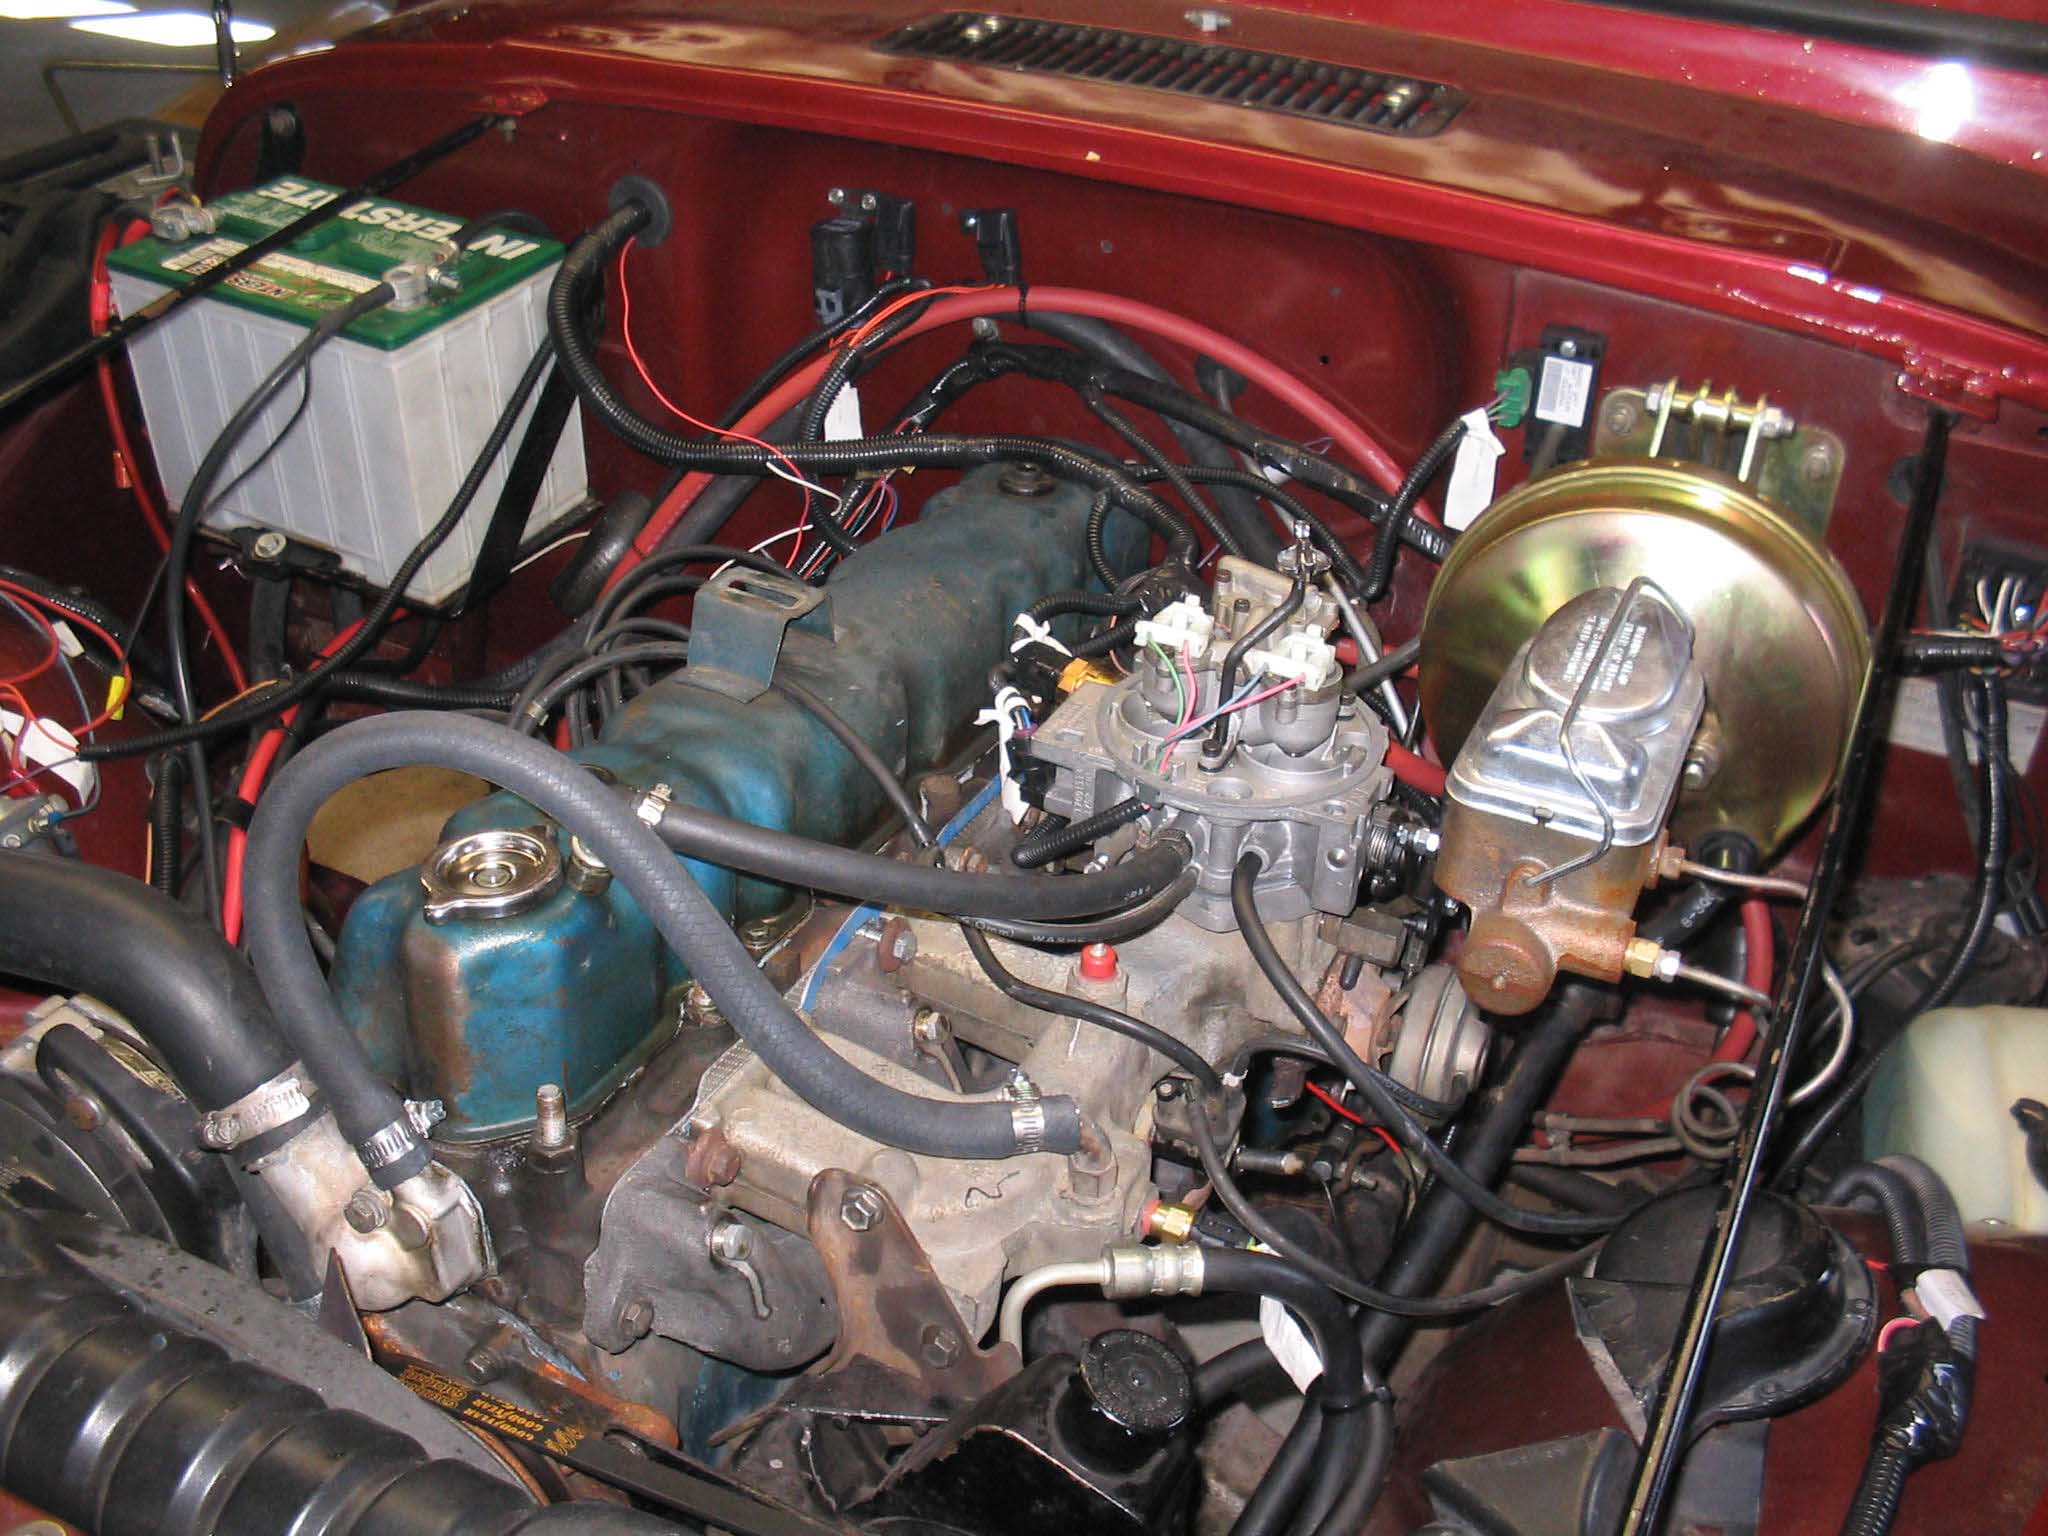
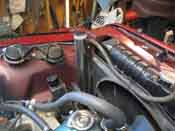
Next up after the glove box was buttoned up and the wires were passed through to
the engine compartment was connecting up a source for the fuse panel that received 12 volts when switched and
running. This was tapped into on the "+" side of the coil. I am not sure about the exact voltage, but the
Orange one was setup this way, I am checking to see if this is OK.
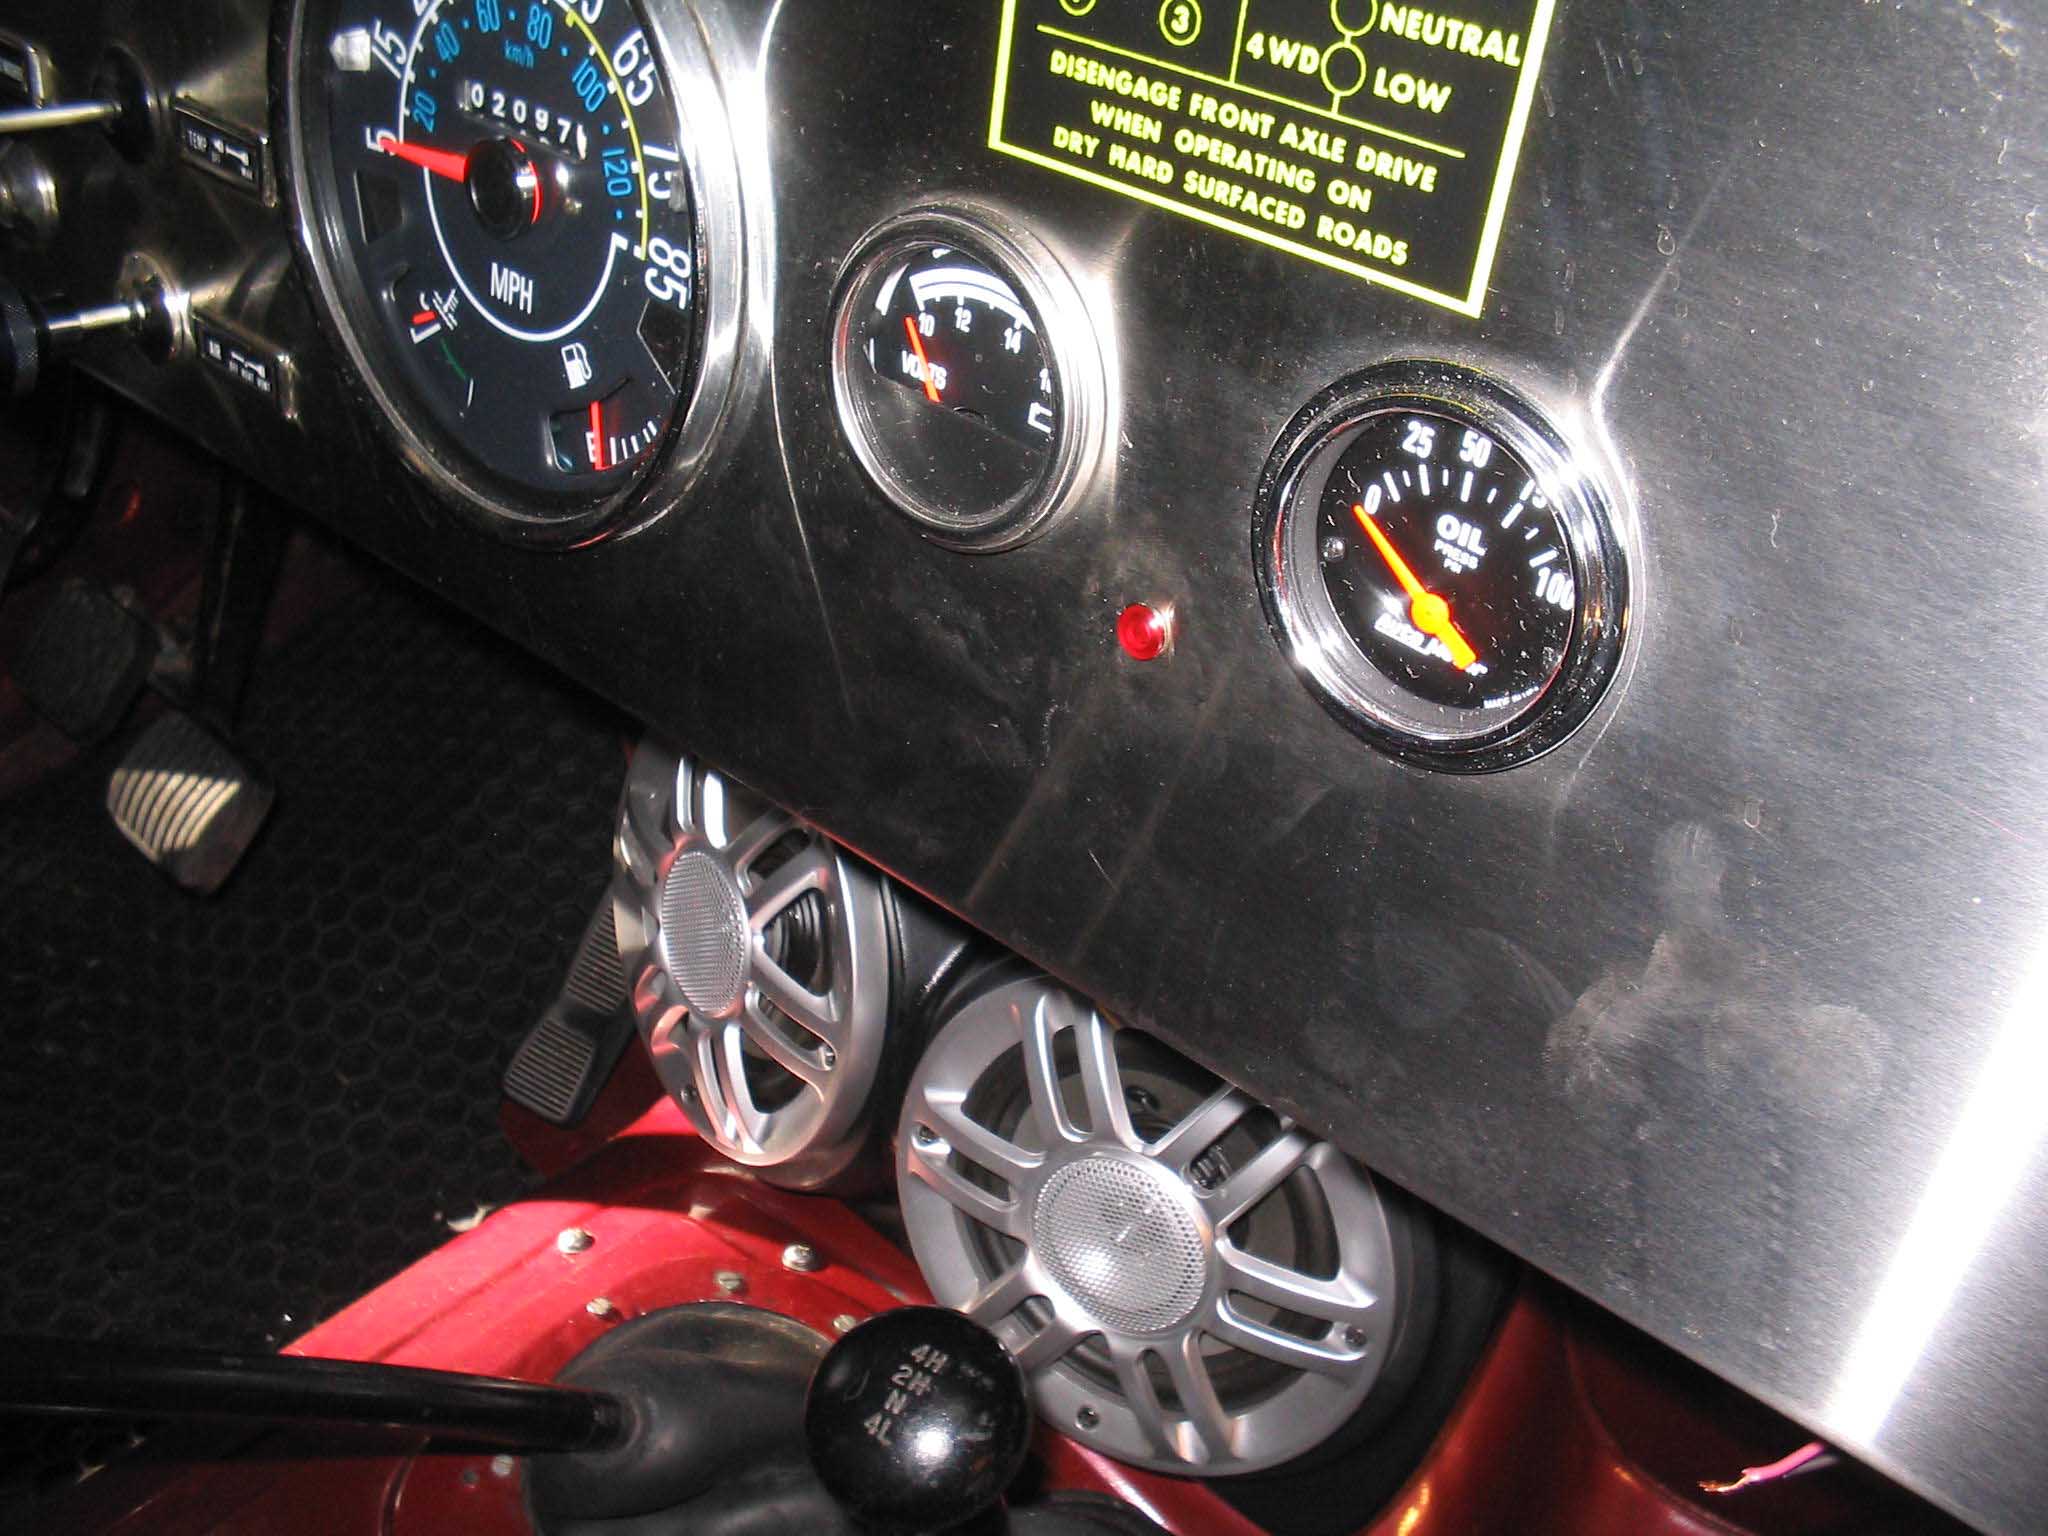
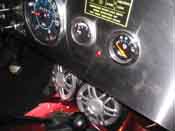
So, after that was all done, I had to get a 12V light for the check engine light. We got a LED variety from
radio shack and drilled a hole for this in the dash between the oil and voltage gauges. This looks nice and it
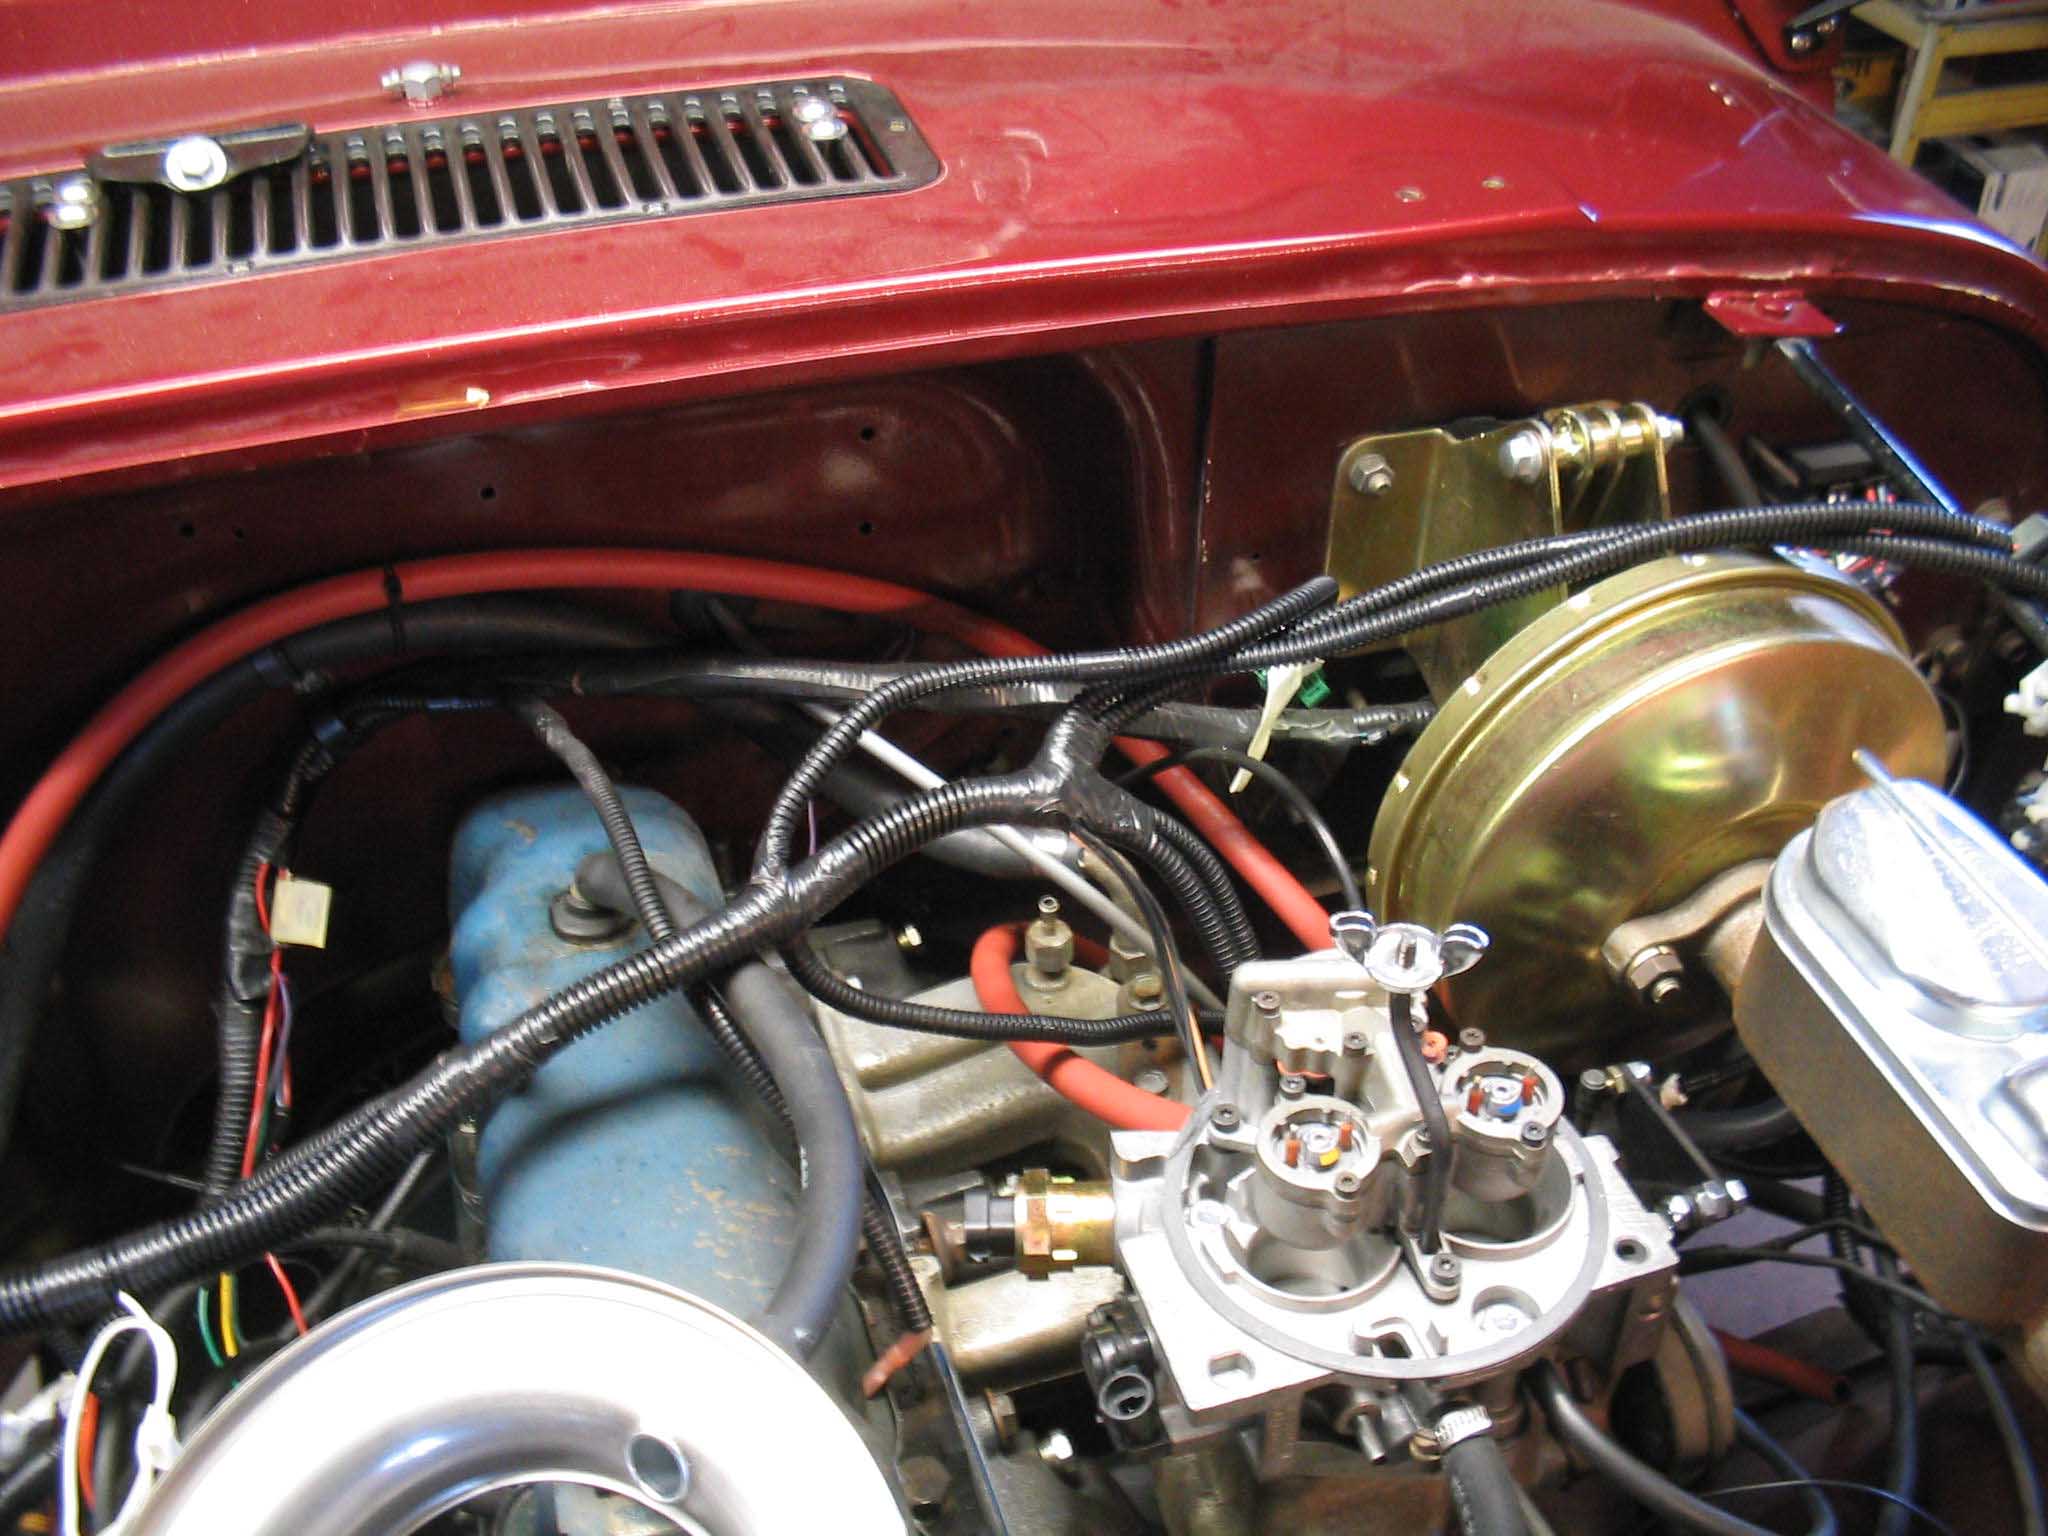
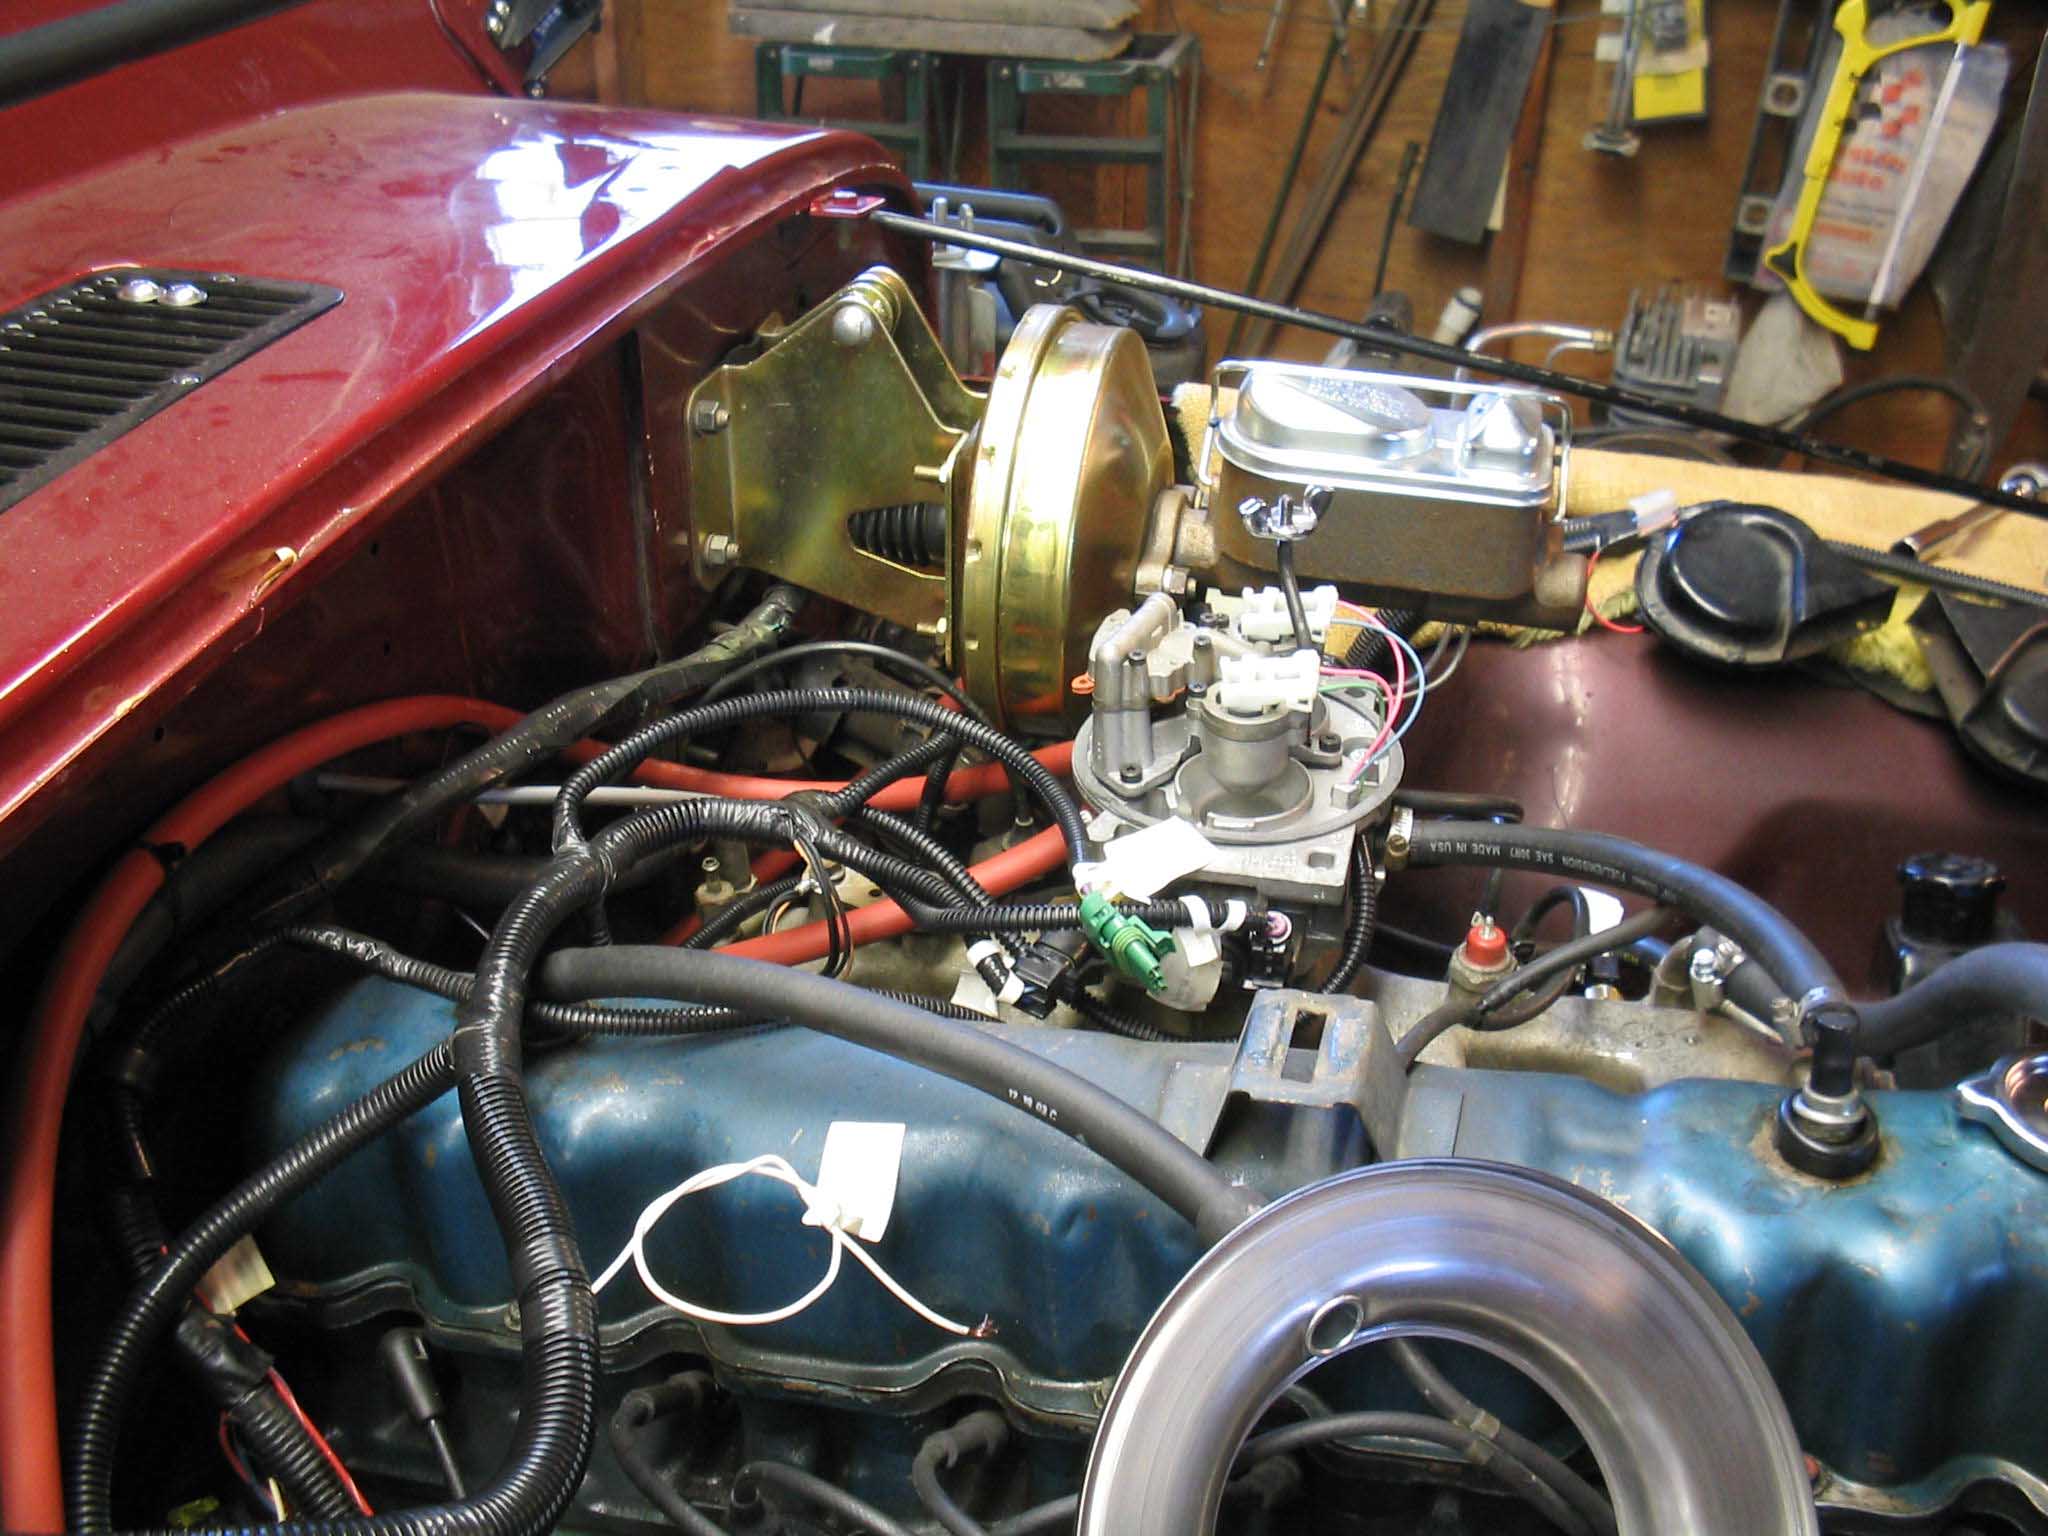
completed the installation under the dash. We moved back into the engine bay and started connecting up the
connectors. Basically everything in the engine is easy to connect as it only goes to one place. The only
extra things to do that require thought is to connect the orange and purple wires respectively to the starter
solenoid.
After that is done, there is a white wire that needs to be connected to the "-" side of the coil.
Once that is done, there are some vacuum lines to connect and you will need to "T" them into each other and get
them to the appropriate places. There is a great picture here at
4x4 xplor. It is a lot
clearer then the instructions Howell gives. They do a great job, but the wiring diagram as well as the pictures
they have would benefit from a color brochure or at least a .pdf file that is in color that can be printed out
in color to see where things go and what they connect to.
|
| |

|

|

|

|
| |
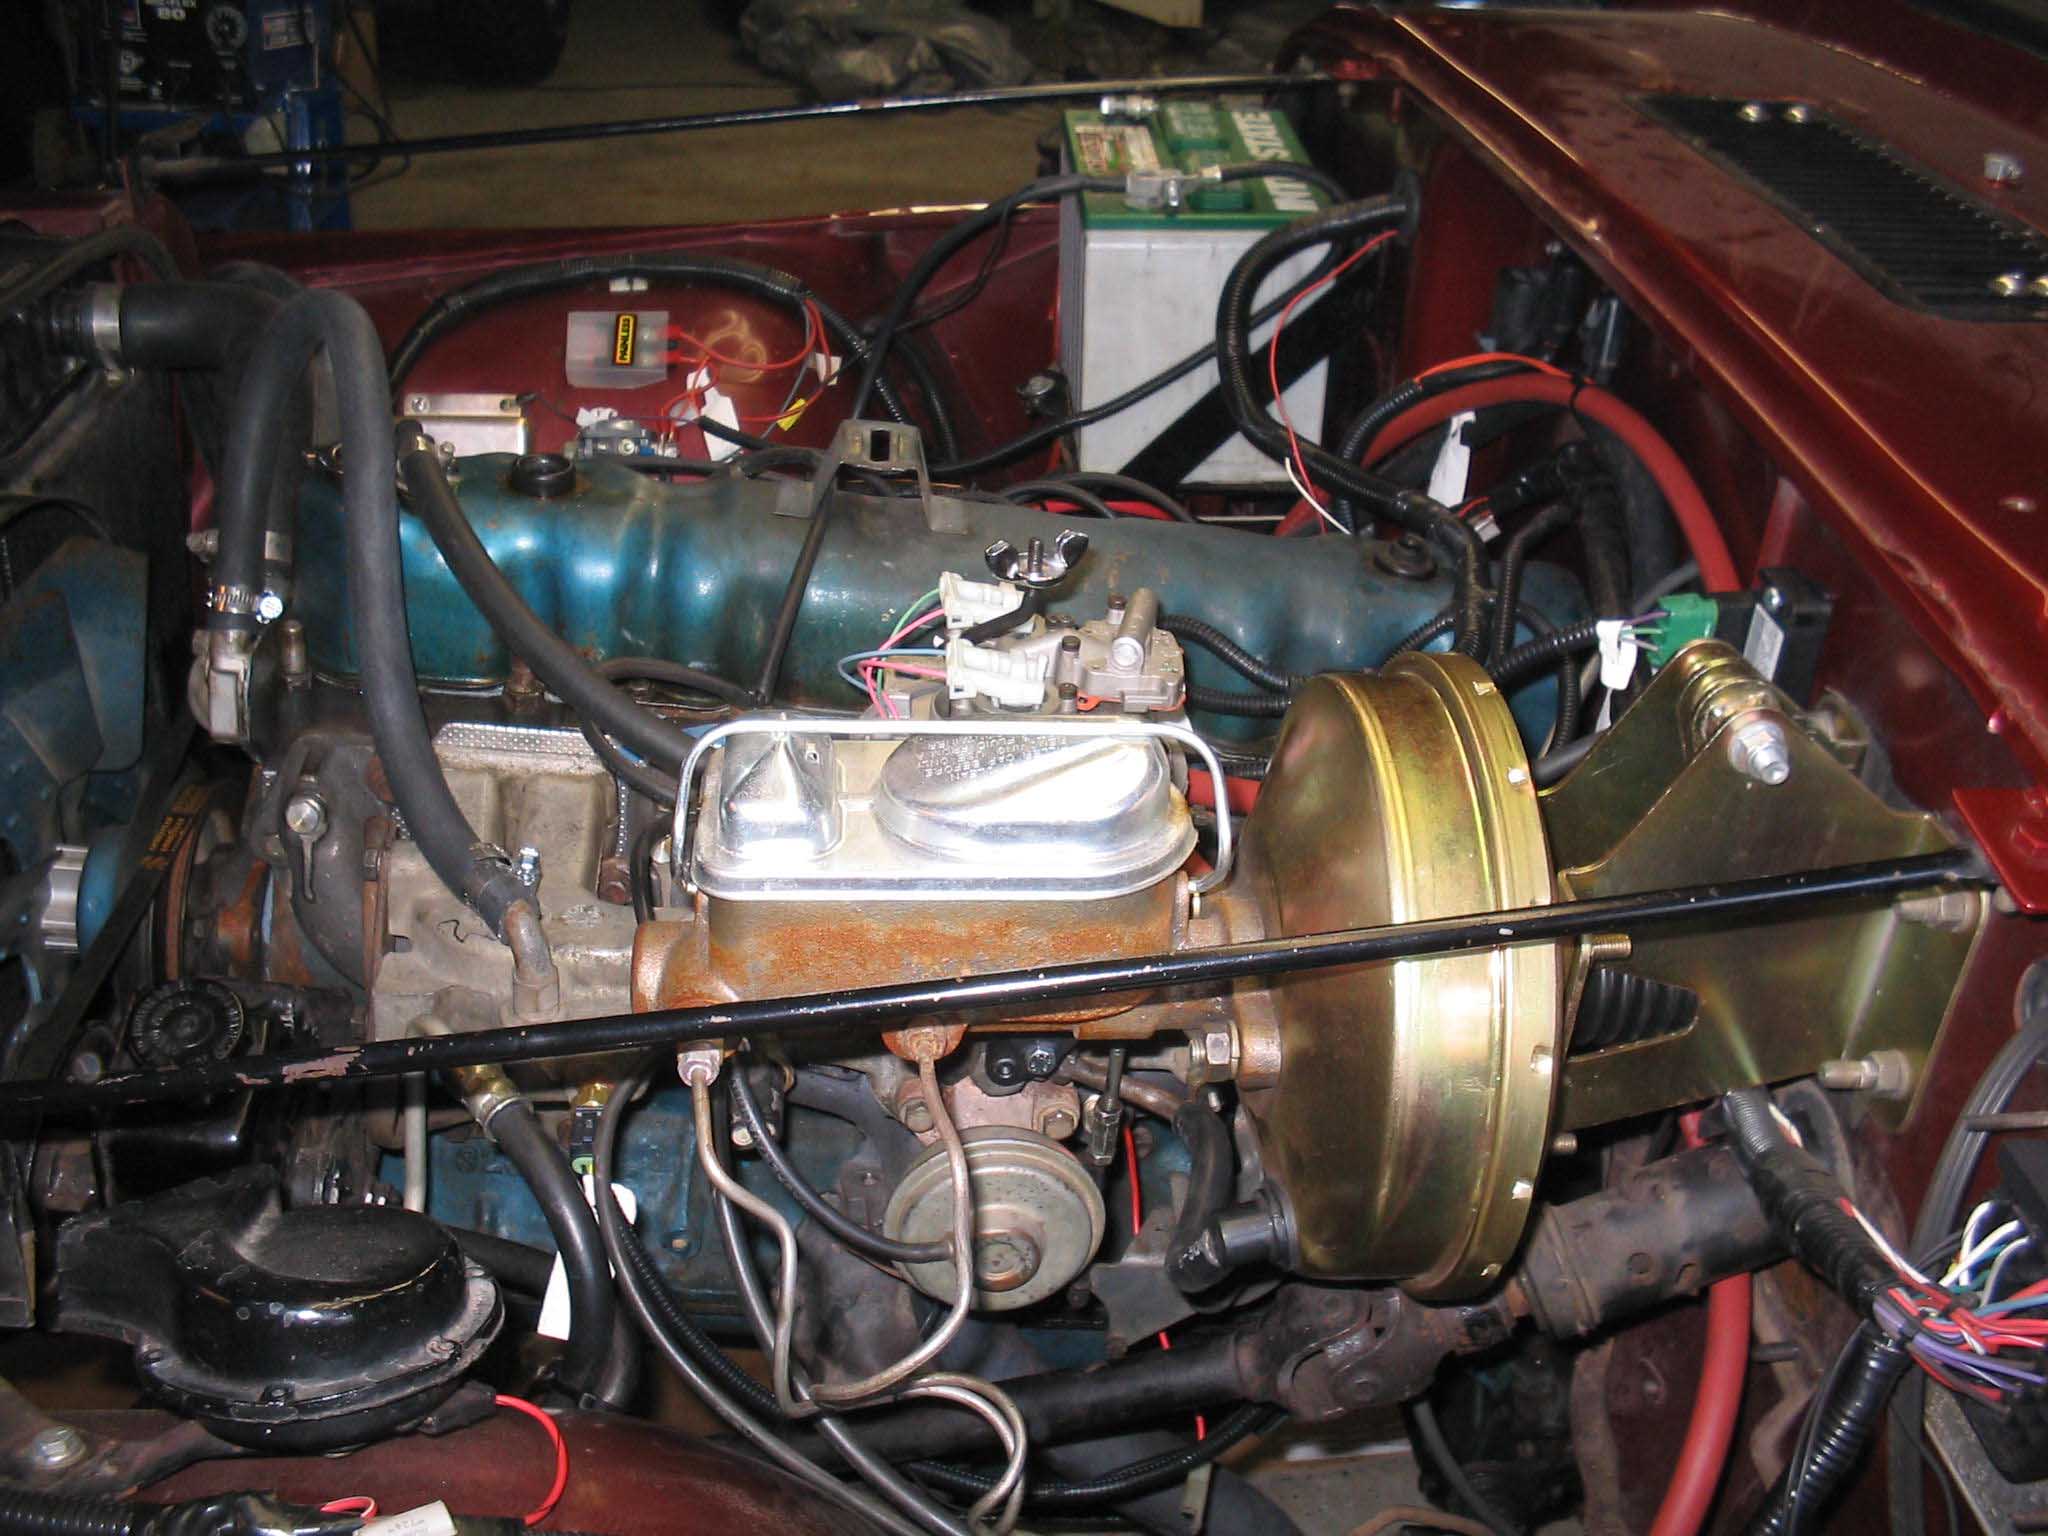
So, after everything was connected, the return fuel line was connected up and
things were ready to go. Starting the Jeep took a little bit of doing, but once it cleared out, we were good
to go. It stumbled a little, but it overall started as expected according to the directions.
Well, this project was going along so easily, that you know something bad had to happen and with no further
delay, here is the bad part. It sounded good, so we went for a drive to get some gas, as we were low, on the
way down, the Jeep wasn't performing so well in 2nd and 3rd gears. It was stumbling and not generally working
well. No black smoke, just seemed like when you pressed the gas pedal, it was not liking the extra gas, or
lack there of, couldnt 't tell. I limped back home to check it out. It was about this time that we thought
to check the timing, just to see if it was in the 6-8 degrees BTDC. It happened that the Jeep was about 8-10,
but we adjusted it down to 6-8.
|
| |

|

|

|
|
| |
It was about this time that we started wondering about the gas tank venting.
Basically this is a setup from a 76 1-barrel and there was no return line to speak of, just the vent line, so
we took the vent line and turned it into a return line, but never ran the vent hose. Not sure what to do, we
decided to call Howell to see about that and the system voltage going to the "+" coil. There were a few
questions that we needed to answer, so we turned our attention to a few other things that were not related to
the fuel injection.
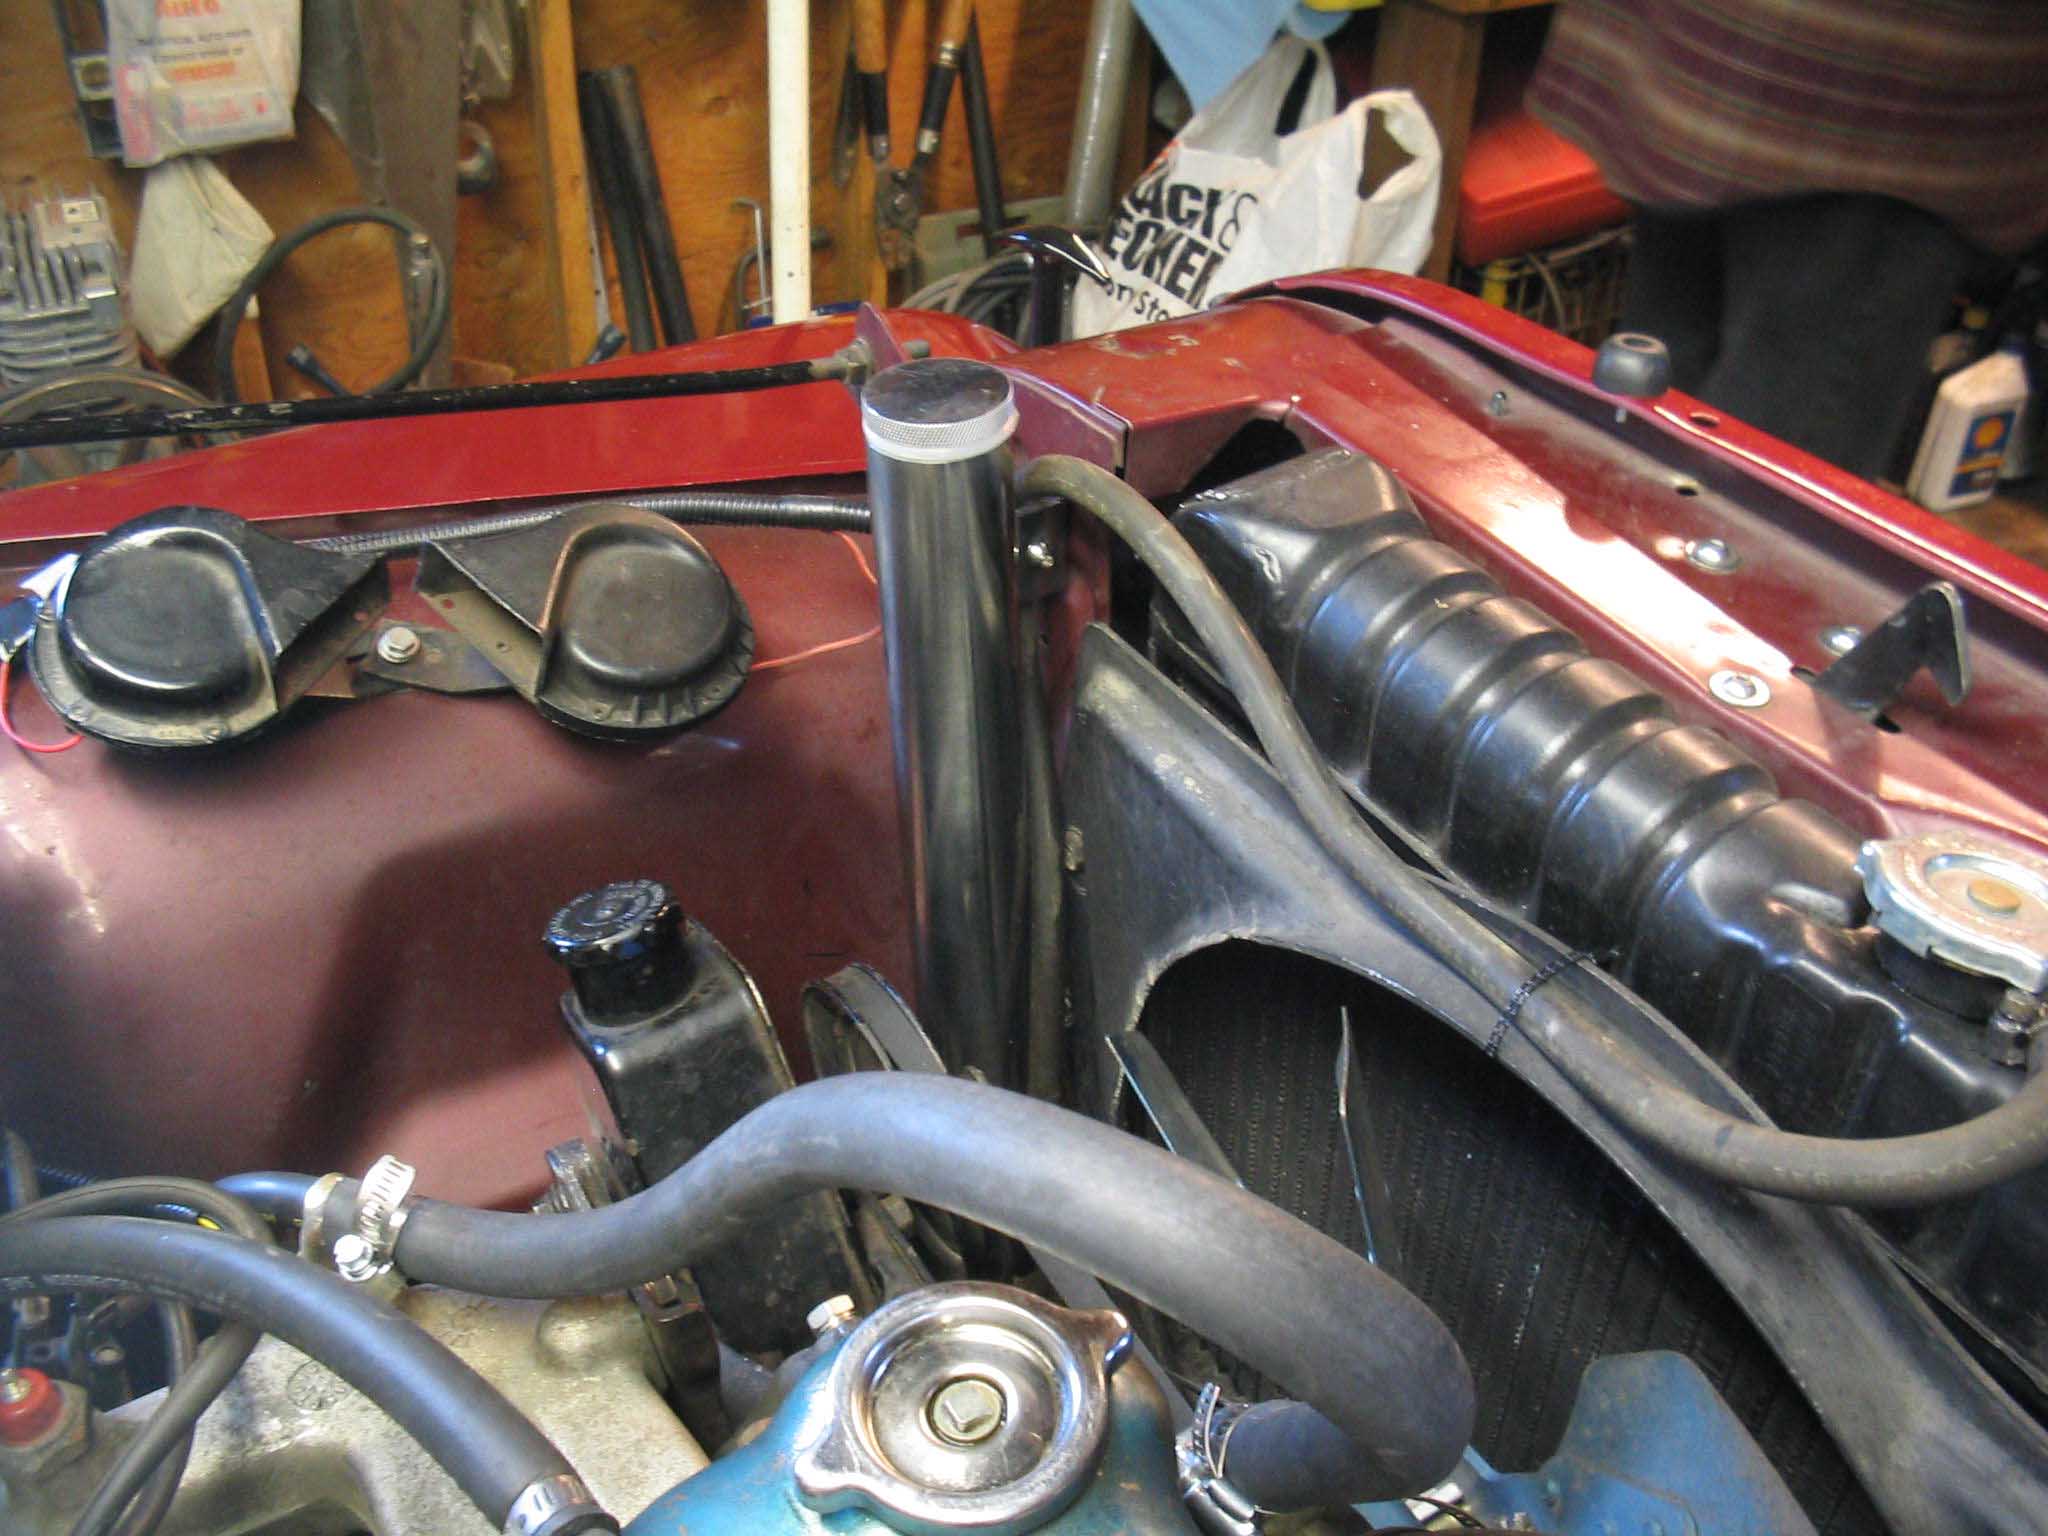
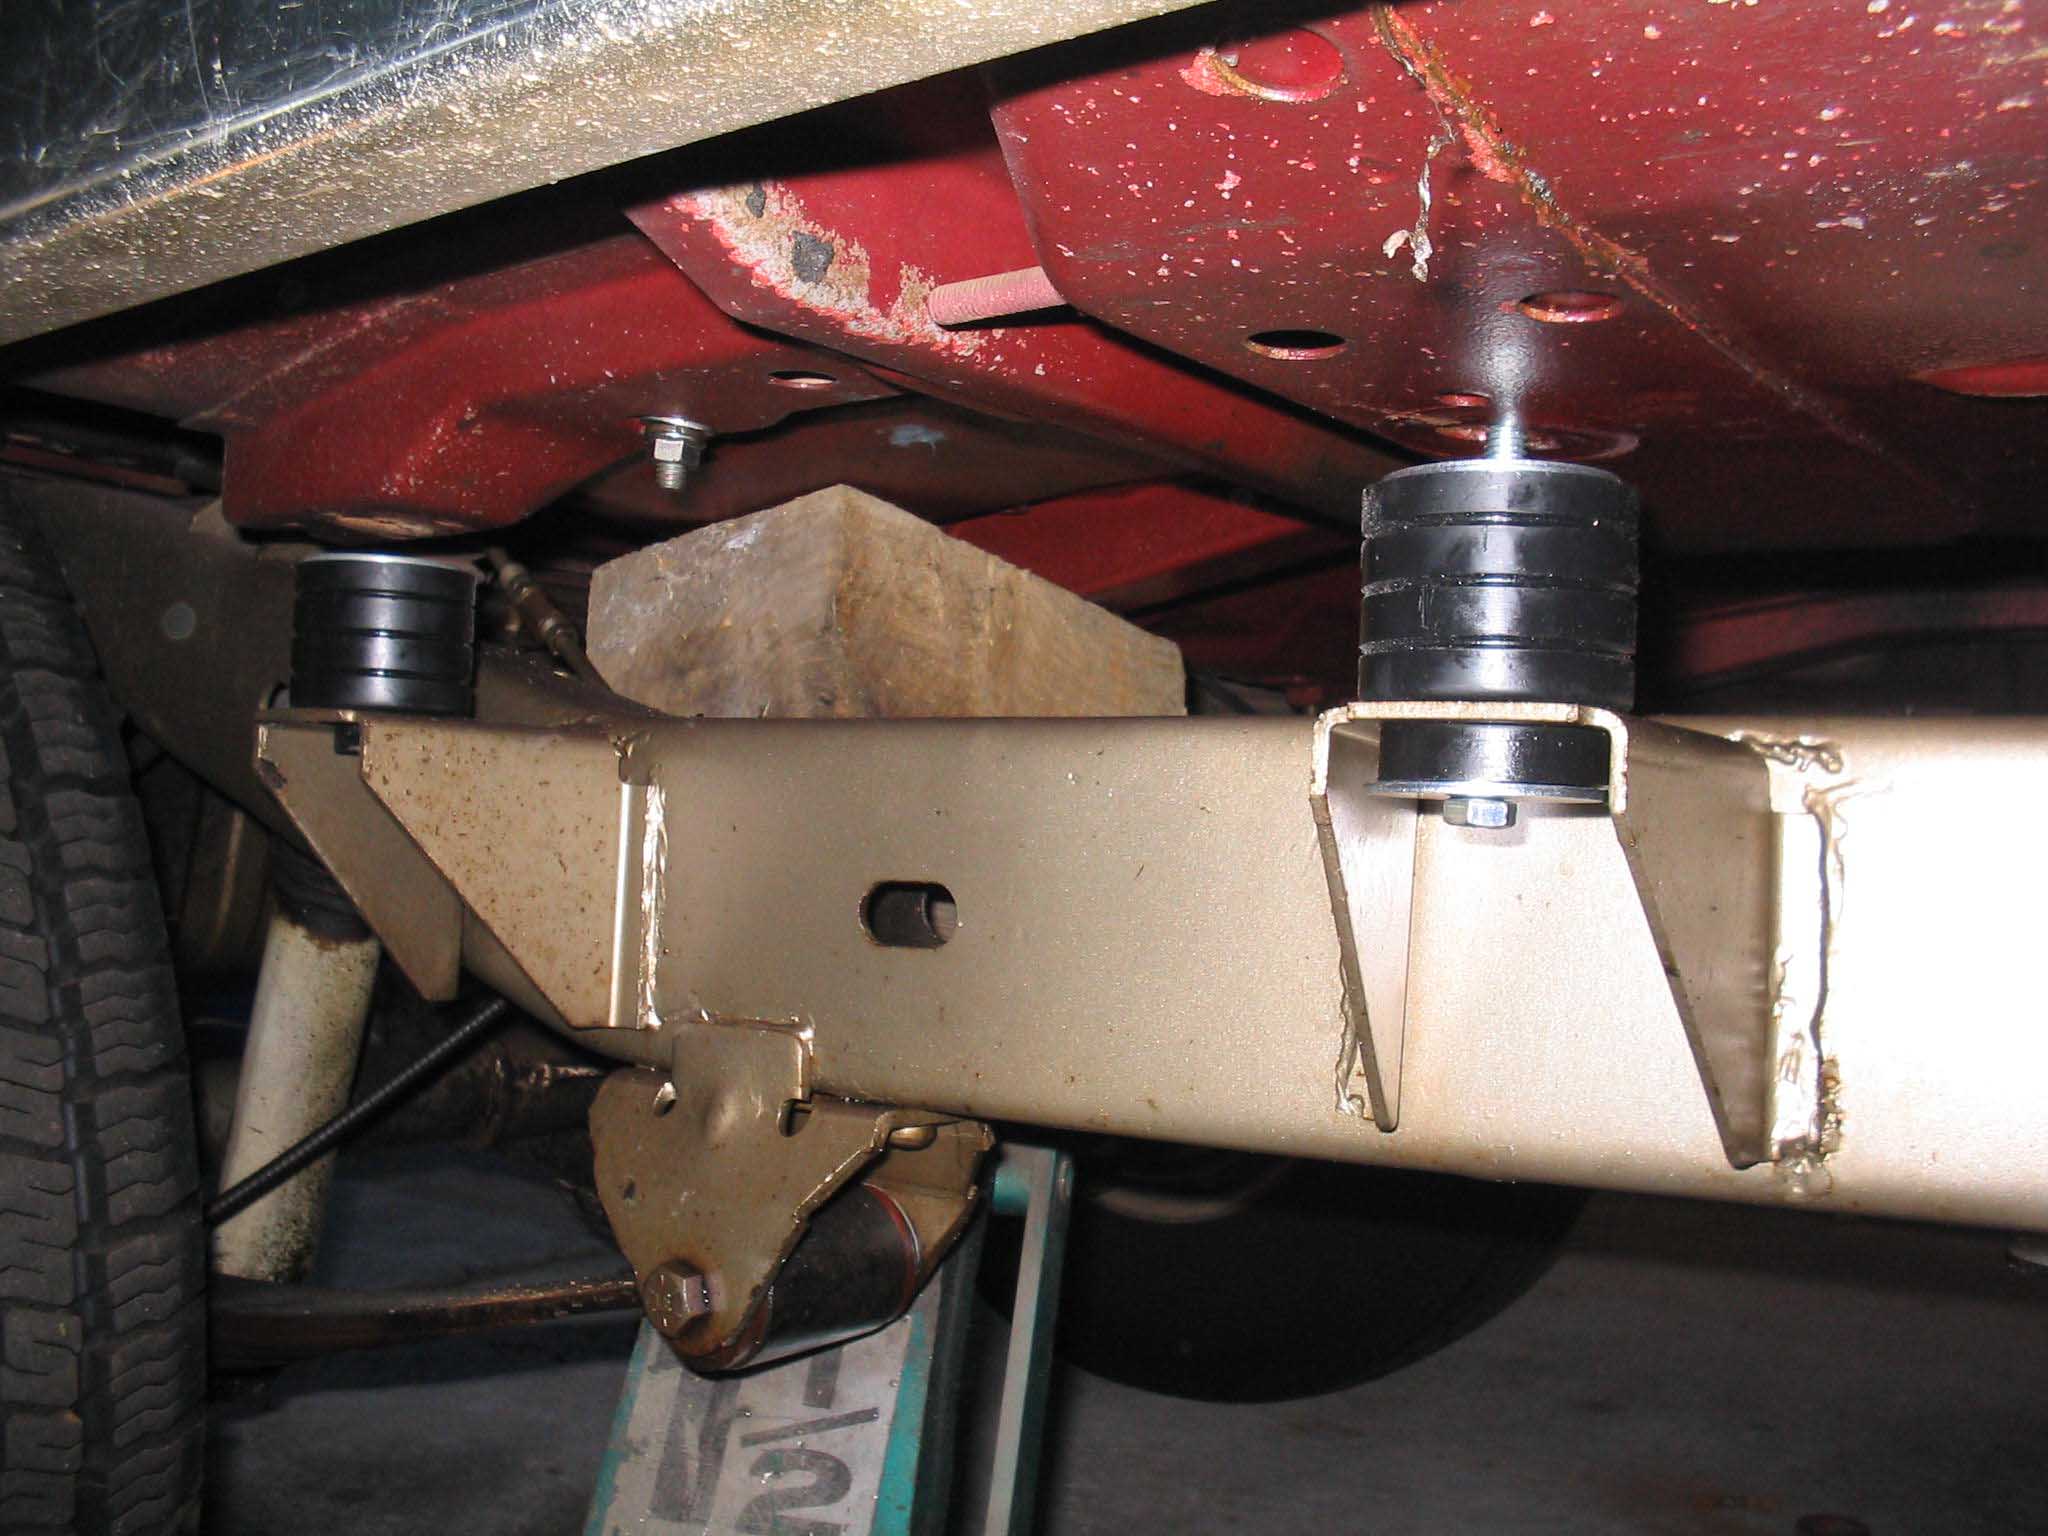
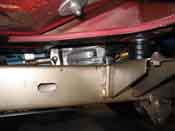
We put a trick radiator bottle onto the Jeep as well as a 1" Daystar body lift. Well, the radiator bottle went
on very easily and without issue whereas the body lift, well that went on OK, but it caused the gas tank to
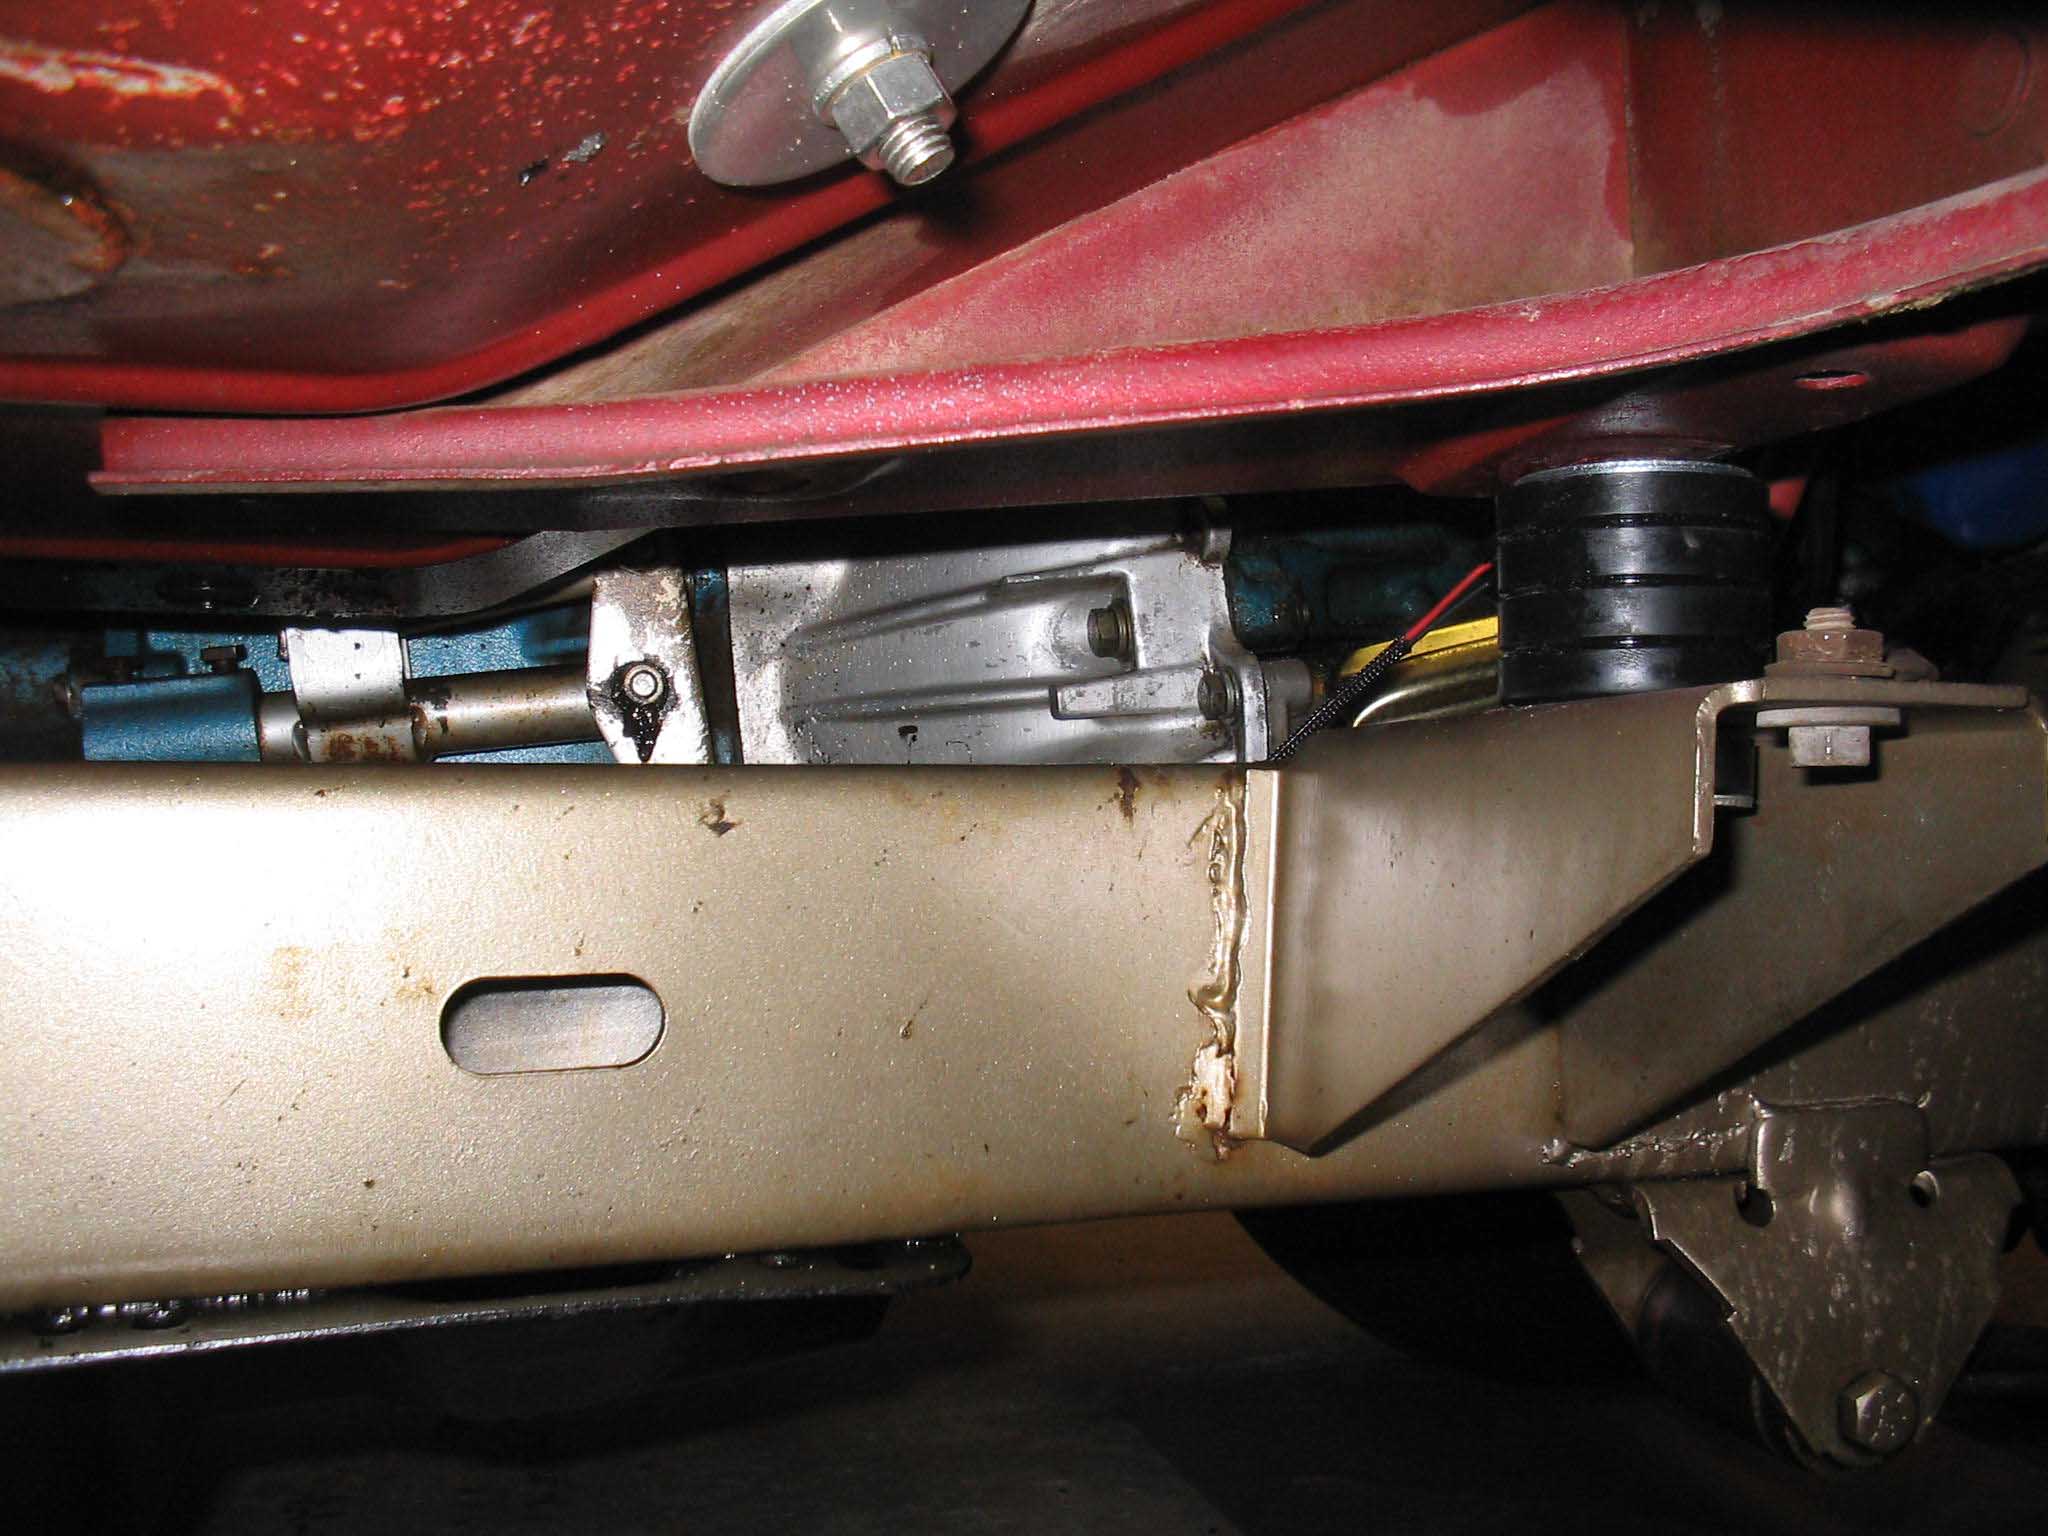
break and there was fuel leaking all over the place. Essentially the body was jacked up to put the pucks in
and that in conjunction without removing the gas filler line proceeded to bend the inlet to the gas tank
upwards causing it to break and leak gas when you were driving. So, we were now faced with what to do and
decided to get a new gas tank, as that was the original more then likely. We dropped the tank, cleaned out the
skid plate and called it a day.
|
| |
|

|
|
|
| |
Now the only things that remaining are to run one more T for the vacuum lines
for the CTO valve, put the new gas tank in, run the vent line to the gas tank, and finally get the voltage
figured out to the fuse panel for the computer. Once this is all done, I am pretty sure that we will be in
good shape. The only thing that might be bad after this is a possible issue with the ignition box, but I don't
think that will be the issue. I have a spare one, just in case.
One other thing that I noticed between this build-up and others that I have read and done is that there was no
computer in this build-up, so there was no need to do the nutter bypass on the Duraspark setup due to the fact
that we didn't have a Duraspark, but rather a Prestolite ignition. This was common on the 76-77 models and in
fact my Orange Jeep had this setup to begin with. There isn't anything wrong with it, but it was just something
that was worth noting. I am still awaiting word back from Howell on this and we will see what they say about
the Prestolite and the ignition voltage at the coil. My thoughts are that under load, the coil voltage drops
and causes issue. But it is just a guess.
|
| |
| << Previous |
Next >> |
|