|
|
| Dream Garage - Part #2 |
| |
|
1
2
3
4
5
|
| |
Argue with me if you want, tell me I did something wrong if you will, but
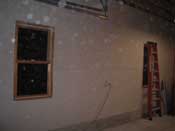
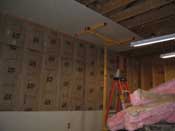
basically with all the stuff in the garage, I had to do this assembly in pieces. I moved everything from
one side of the garage to the other and then had to wire up the North, West and East wall.
The PO ran a panel into the garage, but it only had one outlet for the garage door opener and one near the
panel. I guess that is the base code you can get away with. With 3 outlets on the North Wall, 3 on the East
Wall, one on the West (that is the garage door side) and 2 in the ceiling, we were ready to rock and roll.
|
| |
|
|
| |
I know what you are thinking, why outlets in the ceiling? Well, I am lazy when
it comes to turning on things, so I wanted to flip one switch and have all the lights that I planned on having
in the ceiling come on. So, the 2 outlets on the East Wall Ceiling side were connected to the 2 lights that
were already in the ceiling. Now whenever the light switch is thrown, all 4 lights come on with the 2 existing
ones. Did I say 4... I meant 7, but that is a story for later on.
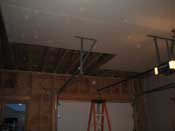
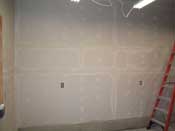
So, work started on the North wall. I put up the insulation and started in on the sheetrock. Now here is
another point you can argue. Do you do the ceiling first or not? The answer is probably yes, you do that first,
unfortunately I didn't have a panel lift that weekend and didn't want to waste the opportunity that I had. To
buck the trend further, I didn't have any help, so I couldn't put the rock up high first and work down. I went
backwards on the North Wall. It looks fine, this isn't the Sistine chapel!
|
| |
|
|
| |
| The following weekend I was able to get my hands on a panel jack and I was able
to put up a bunch of insulation and about 7 sheets of sheetrock in the ceiling. This really made it start to
look like a garage, not to mention the fact that the heat was starting to be retained in the garage. This
really makes a difference when you are running a kerosene heater for heat. You want it to be vented, but come
on, you don't want to run it non-stop... those things are LOUD!
|
| |
|
|
| |
The following weekend after I got as much of the rock I could do, I started in
on the mud. Let me tell you something here... if you don't plan on heating this full time with the WET mud in
there and then leave it for a warmer time. It was 10 degrees at night when I did this; needless to say, it
CRACKED when the water froze. Again, this didn't need to be perfect, but I also didn't want a ton of cracks all
over the place.
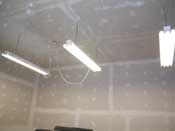
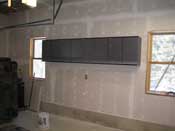
Hung up some lights and got things looking pretty nice down the North/East corner of the garage.
|
| |
|
|
| |
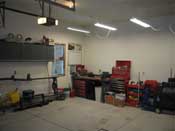
The following weekend (notice a trend here? This takes a LONG time to do by
yourself... for god's sake, get some friends to help you!) a little paint and a little rearranging and I was
able to clear out the South Side Wall of the garage.
A little wiring and there were 3 outlets on the South Side, including one more in the ceiling for more light
up front on the East Side and finally a box for 220V (future wiring for a bigger welder). No outlet was put
on there yet for the 220V wiring, as we didn't know what type of outlet we would need. A 600V cable and 4 wires
will be able to take anything we throw at it.
|
| |
|
|
| |
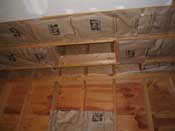
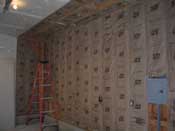
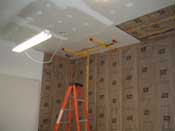
| The following weekend was met with finishing up the little bit of insulation in
the ceiling, cutting and fitting in an access panel to get up into the ceiling in the event we need something
else done up there. Hopefully not, I ran a bunch of electrical up there and it should be good for now, but who
knows. I then ran down to the Depot and rented the same panel lift that I used to do the other 2/3 of the
garage. Hopefully this rental is for the last time. After a long hiatus, I was able to recruit my fiancée to
help me put up a little sheetrock. It helped that it was 40 degrees and I put the heater on. She was a little
more amicable then she had been before (we choose not to discuss the cold times). Thanks Jen!
|
| |
| << Previous |
Next >> |
|

