| Third Project Build-up - part #13 |
| |
|
1
2
3
4
5
6
7
8
9
10
11
12
13
14
15
16
17
18
19
20
21
22
23
|
| |
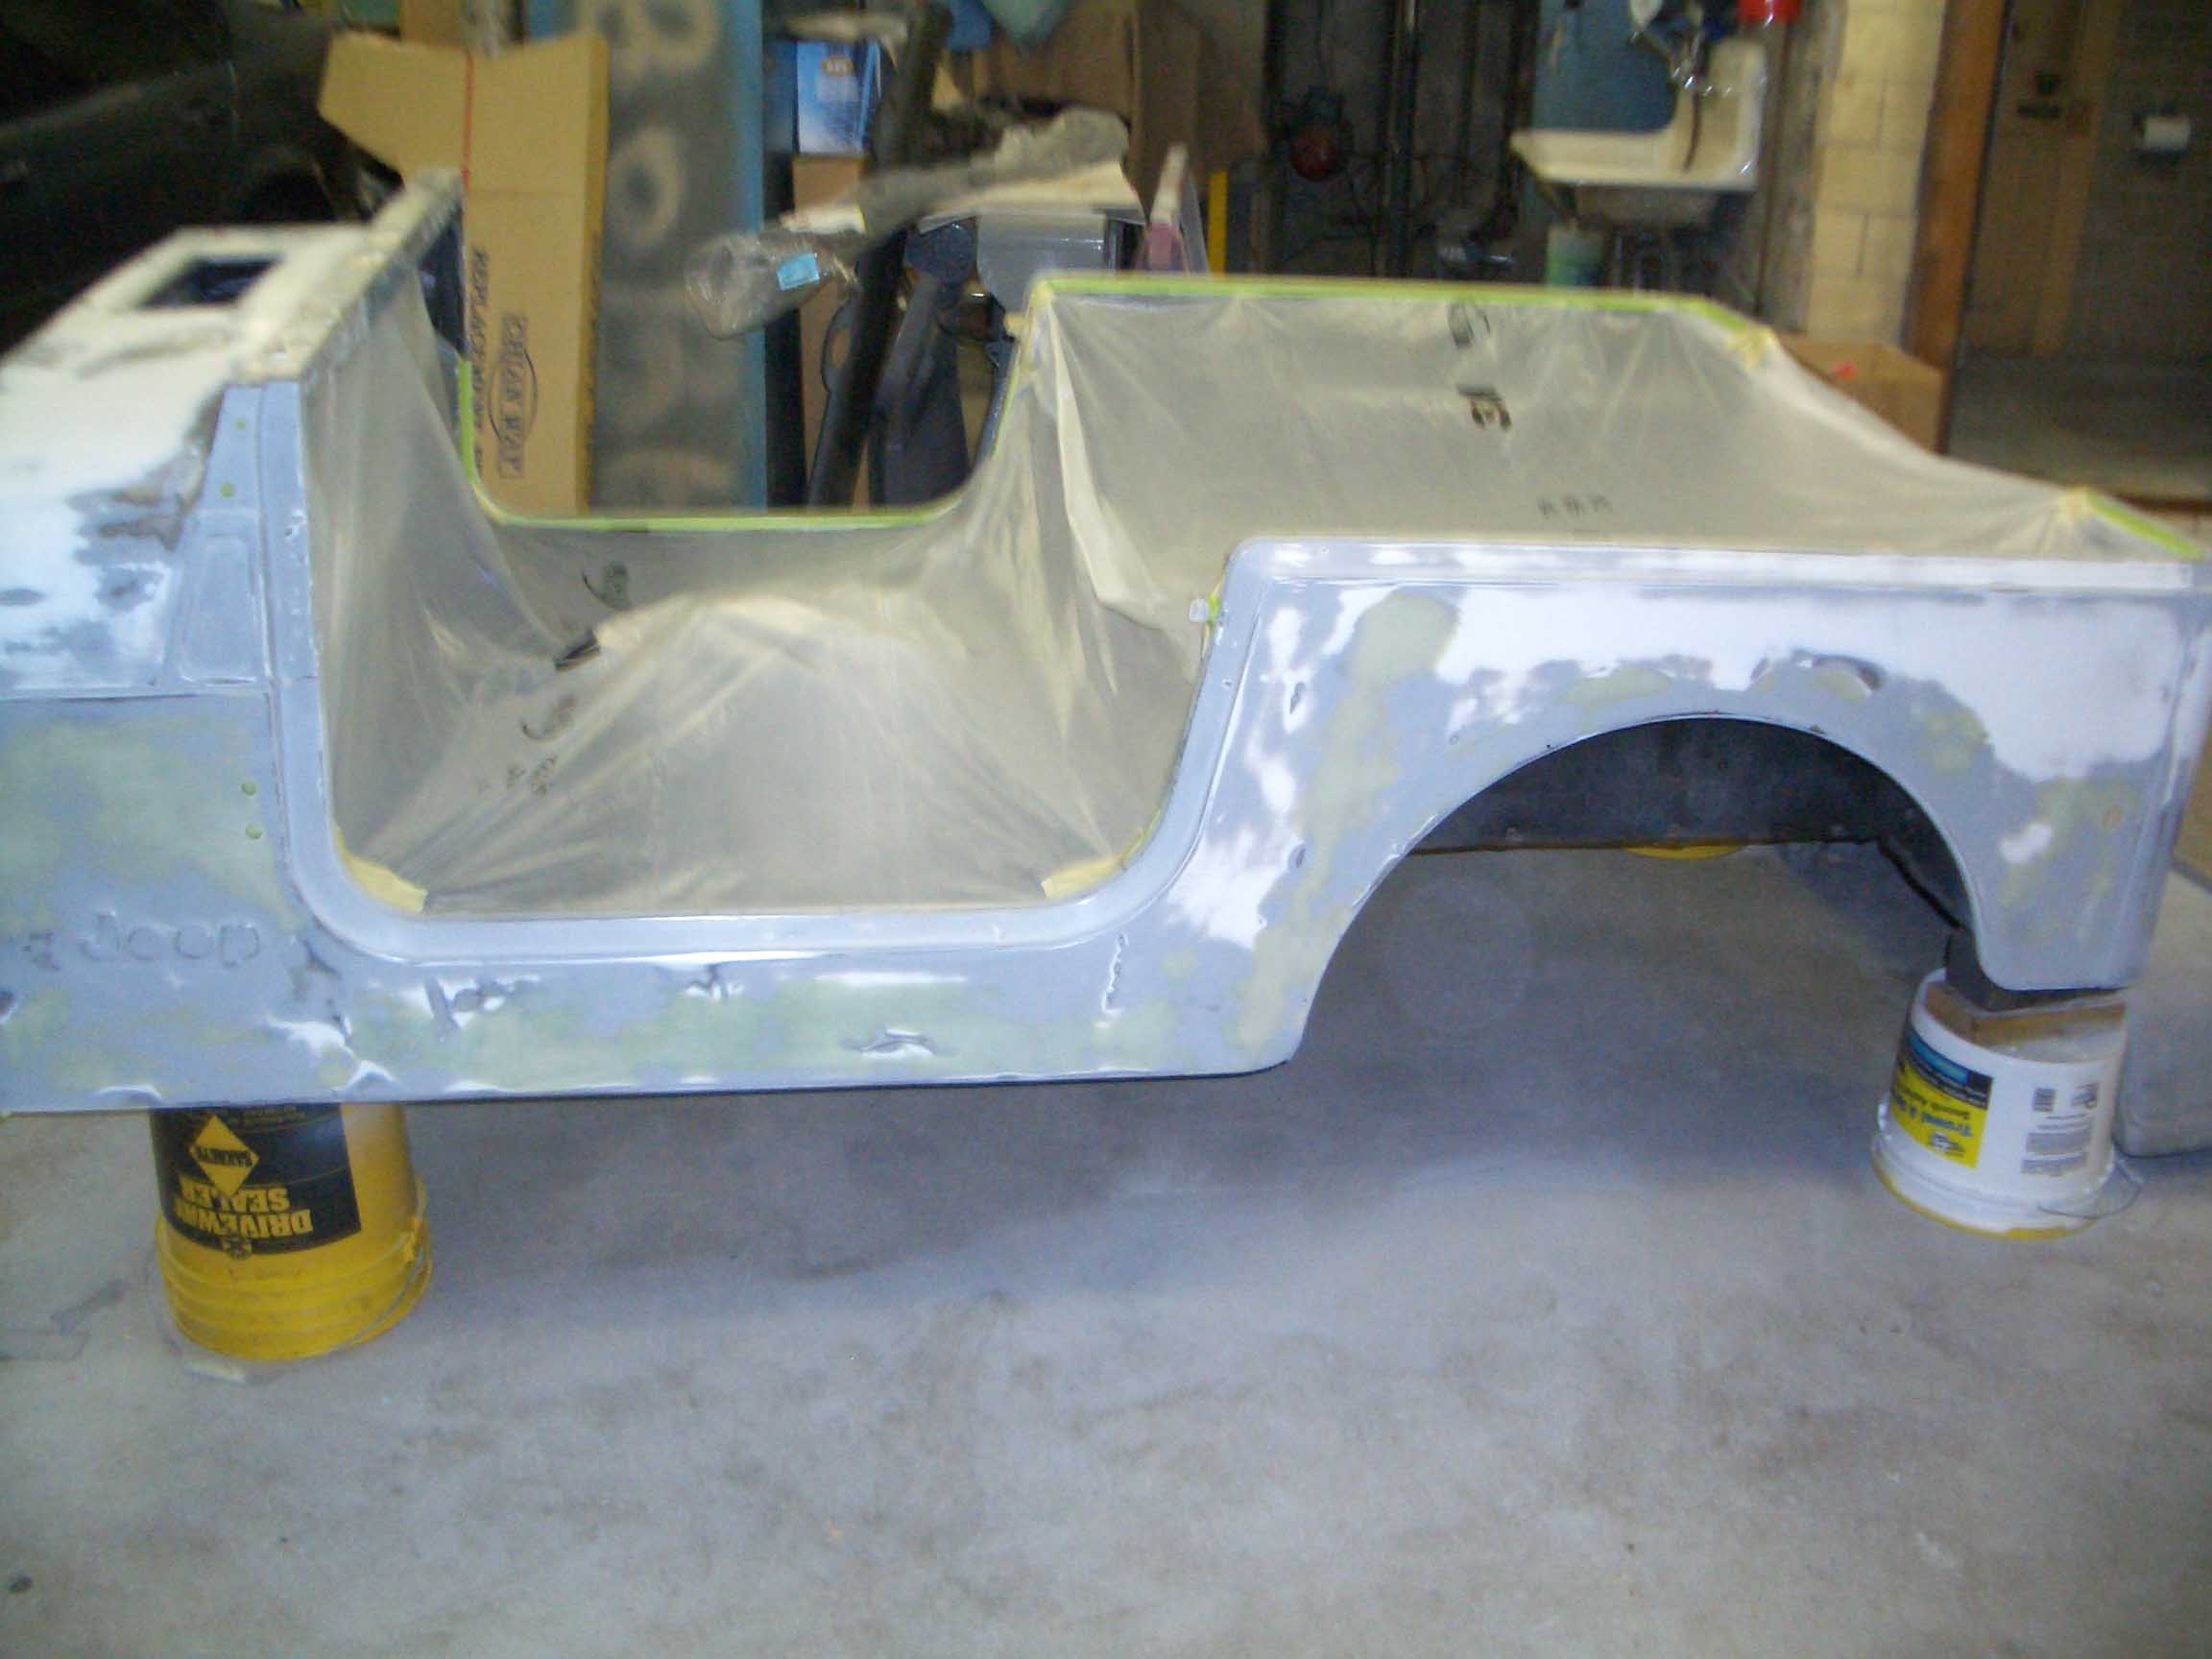
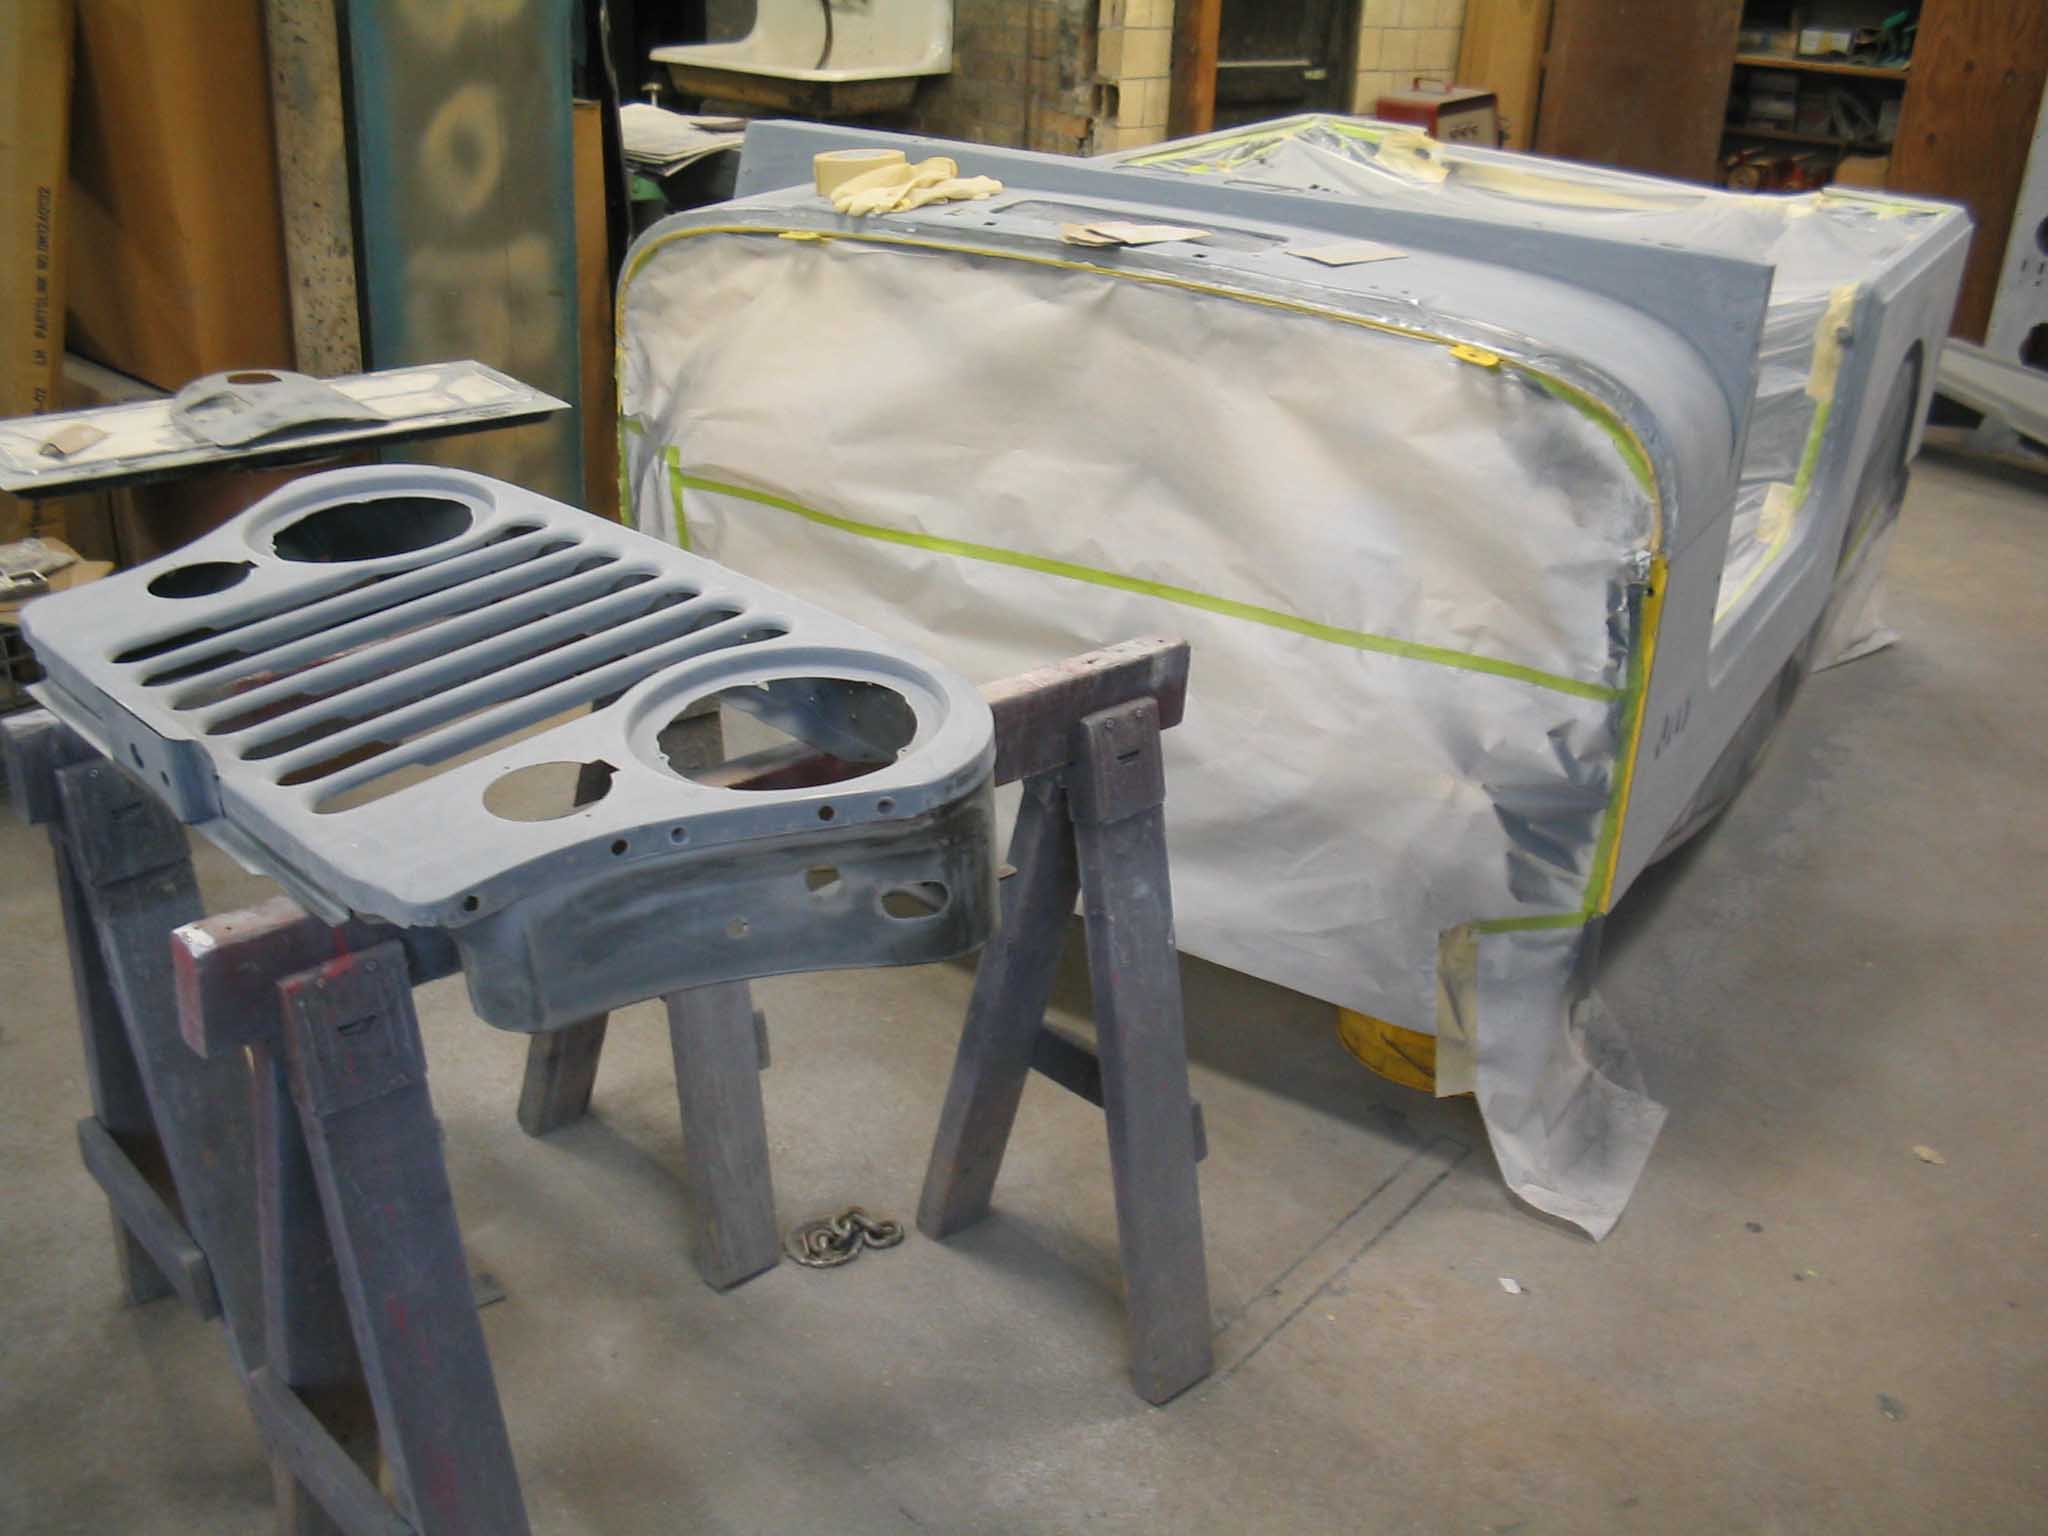
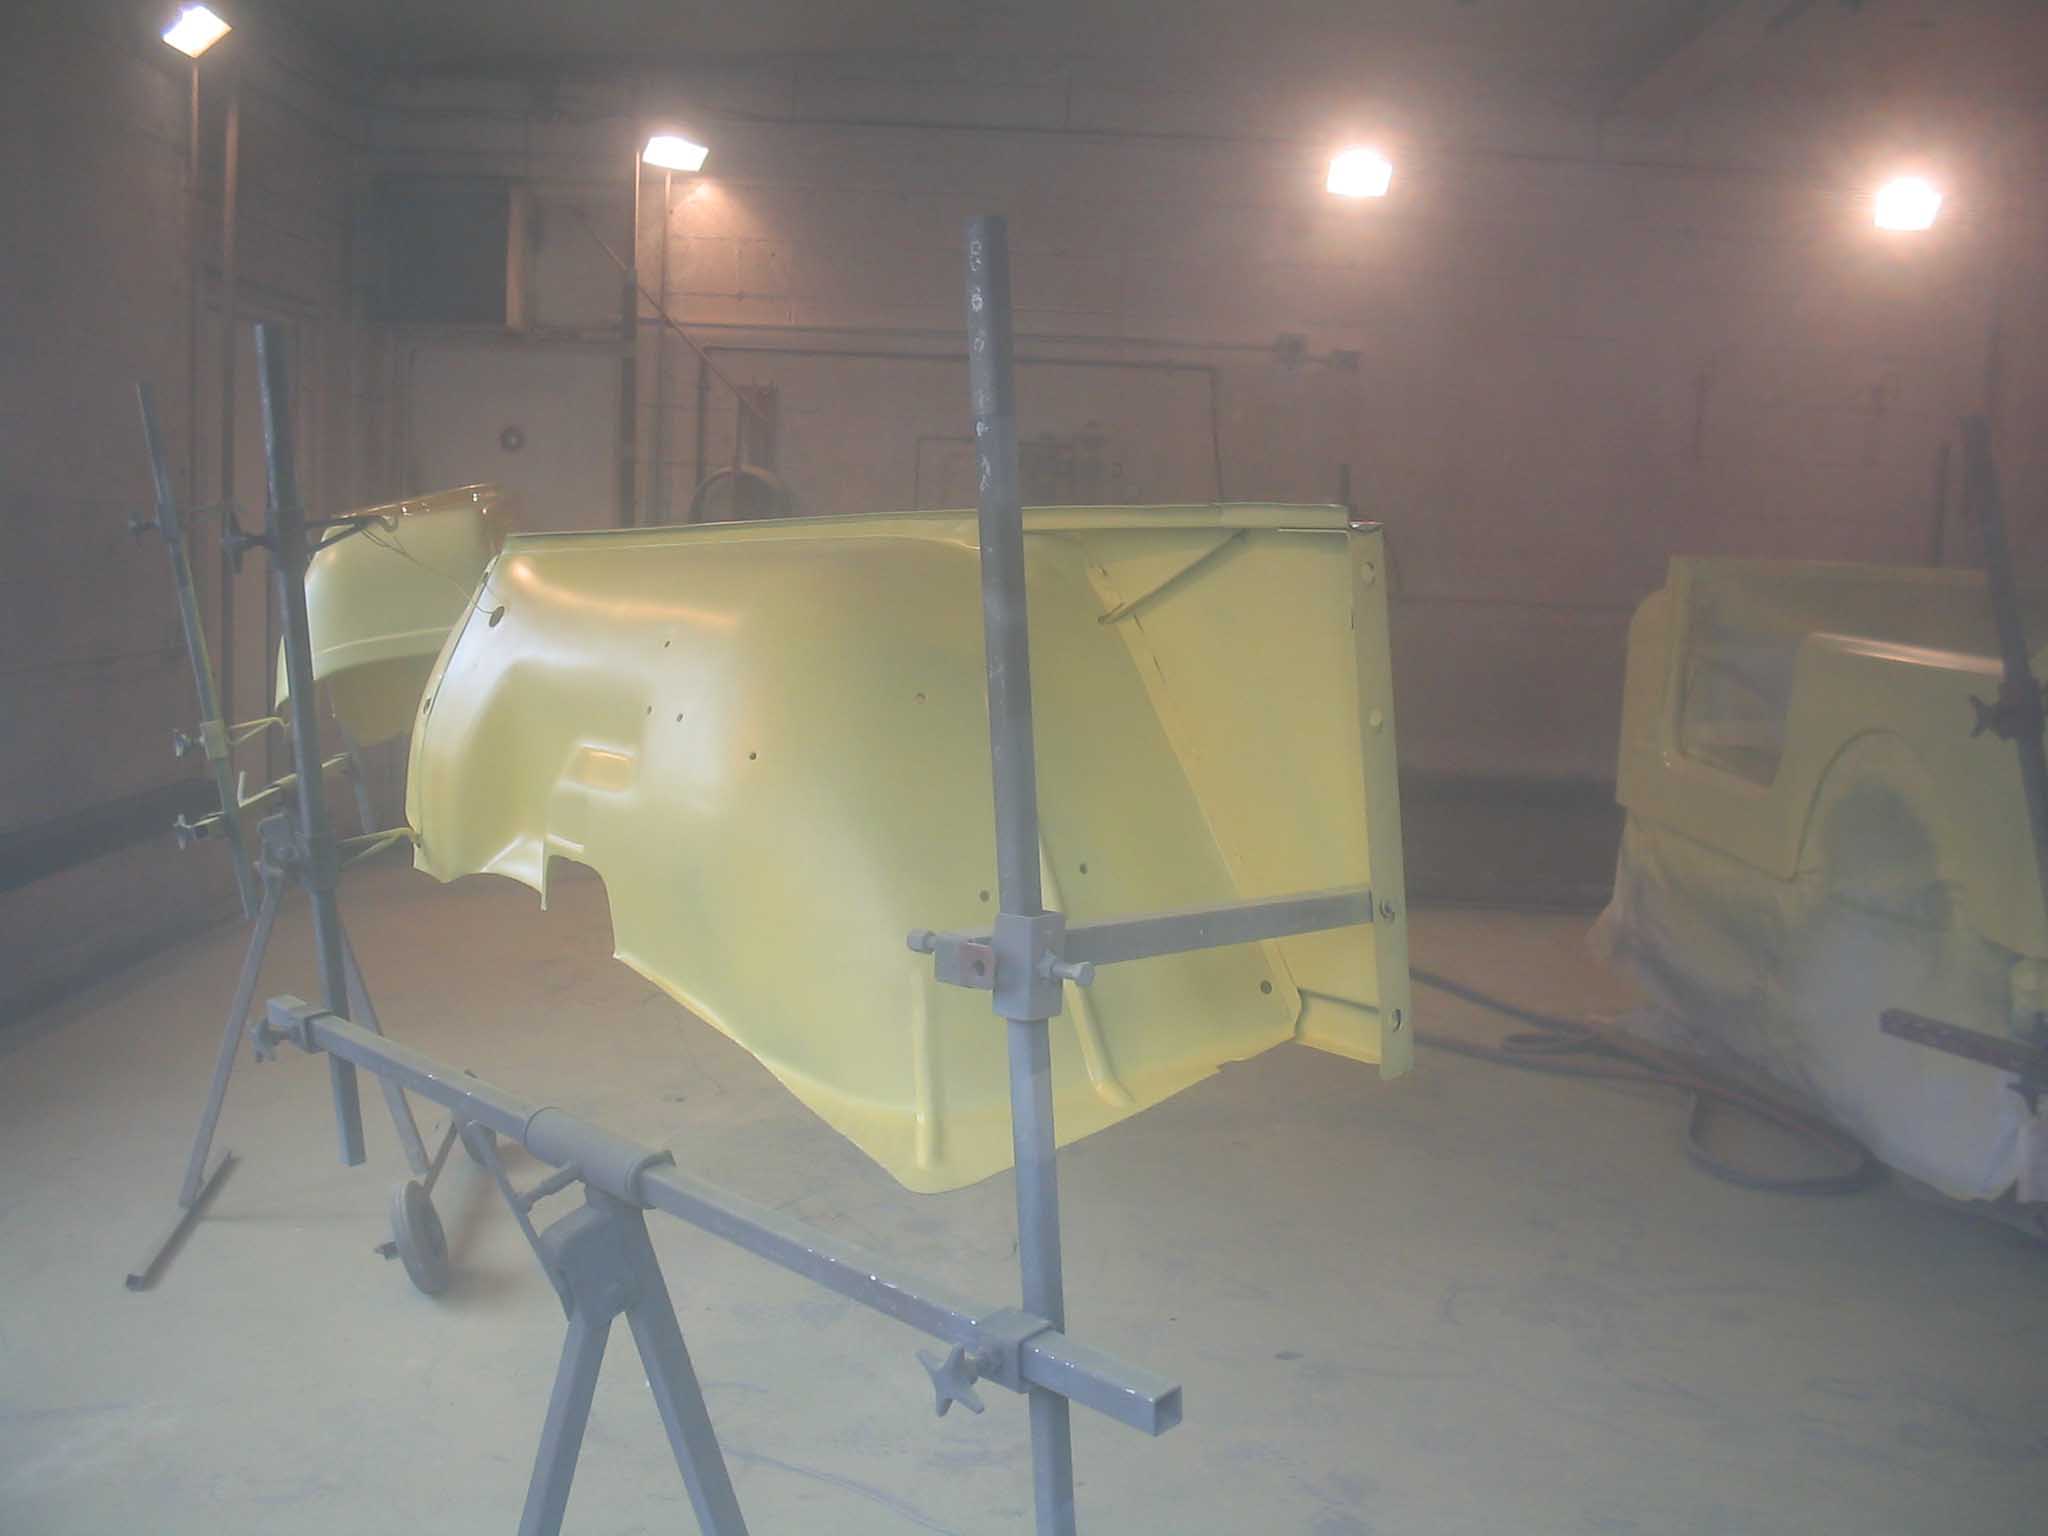
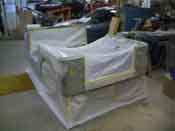
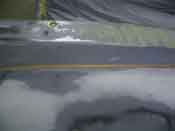
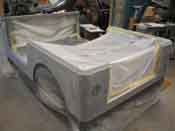
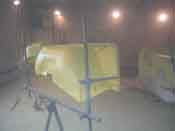
| I just got word that the "Yellow" Jeep which now appears more sanded and primed
then "yellow" is in the shop and ready for sealer/primer. This will be done tomorrow(10/13/2005) and then it will
be sanded down and will be painted on 10/15/2005. Here are some pictures of it as it stands right now.
|
| |
|
|
|
|
| |
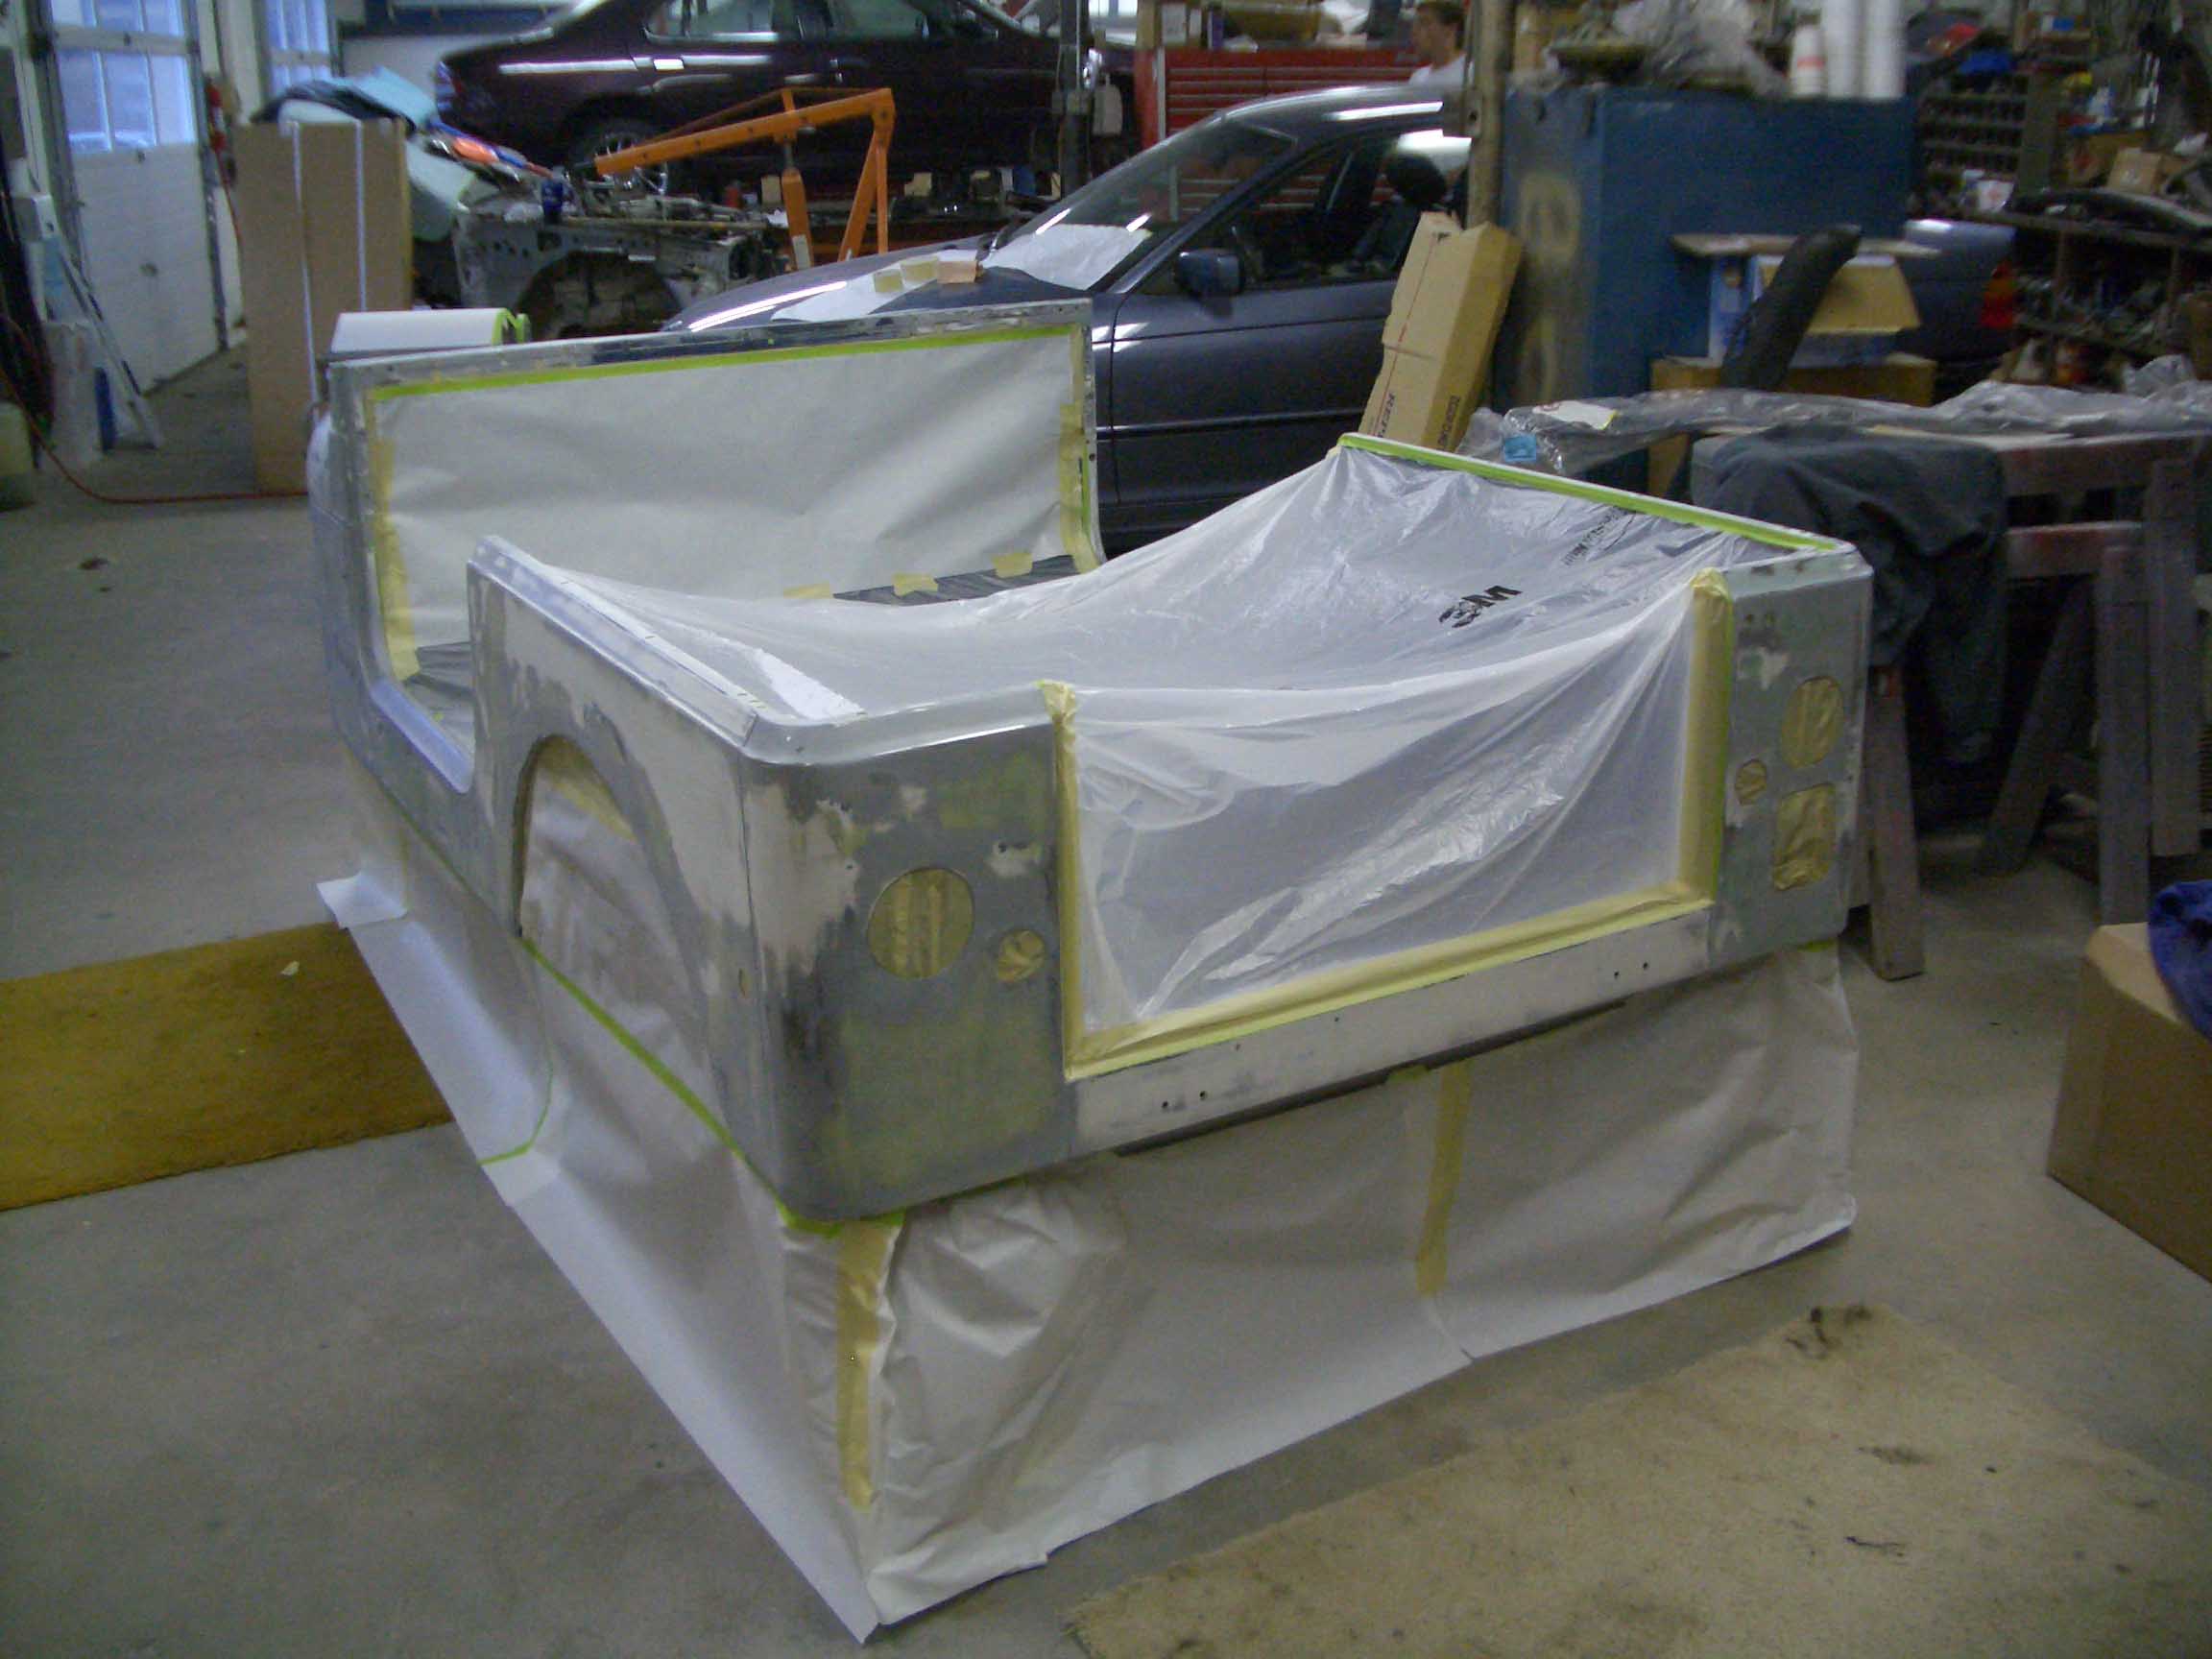
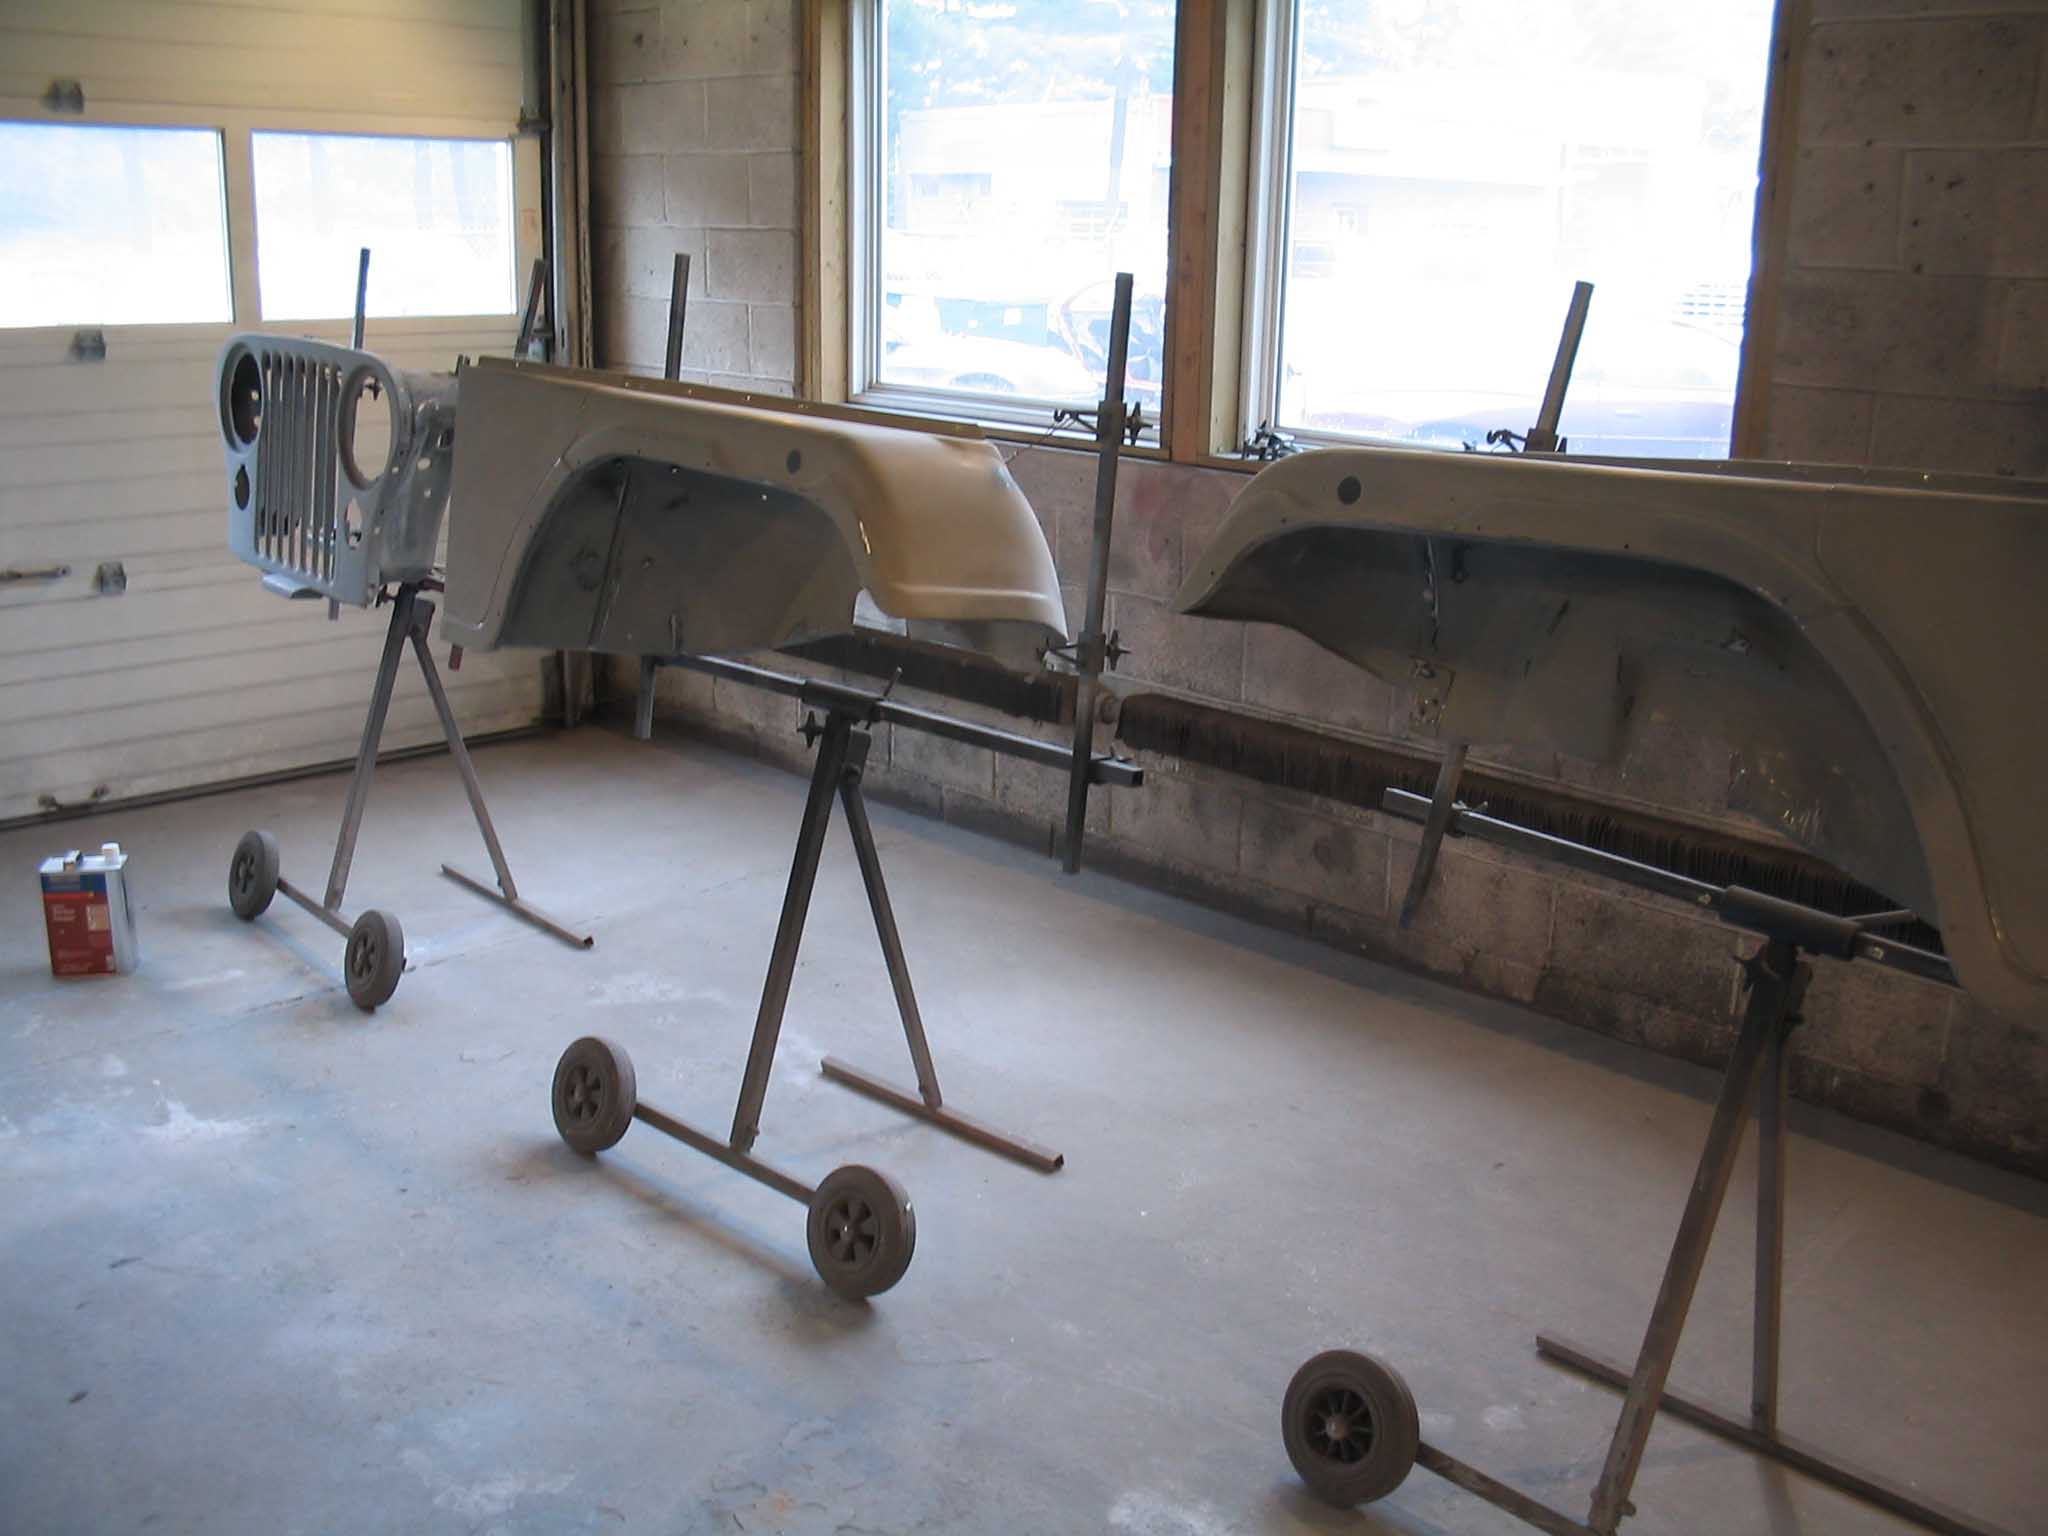
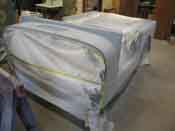
We just got back from the body shop where all the pieces except for the
glove box are ready to go to paint. We had some miscommunication on the color of the glove box, so it
was left behind, but tomorrow we will get it ready and get it painted. We are going up there
tomorrow morning (10/15/2005) to move it all into the paint booth, clean it down, and then paint it.
Jen did an amazing job ruining her fingers and getting rid of all her fingerprints to make sure that
this Jeep is going to have an amazing paint job. She worked all day sanding and smoothing to get the
Jeep ready in time. I was slacking at real work, go figure...
After the paint is done tomorrow, we will go pick up the pieces on Sunday and we will bring them all
back and put them on the frame, should be a great day. It is supposed to stop raining, so that would
be a treat!
|
| |

|
|
|
|
| |
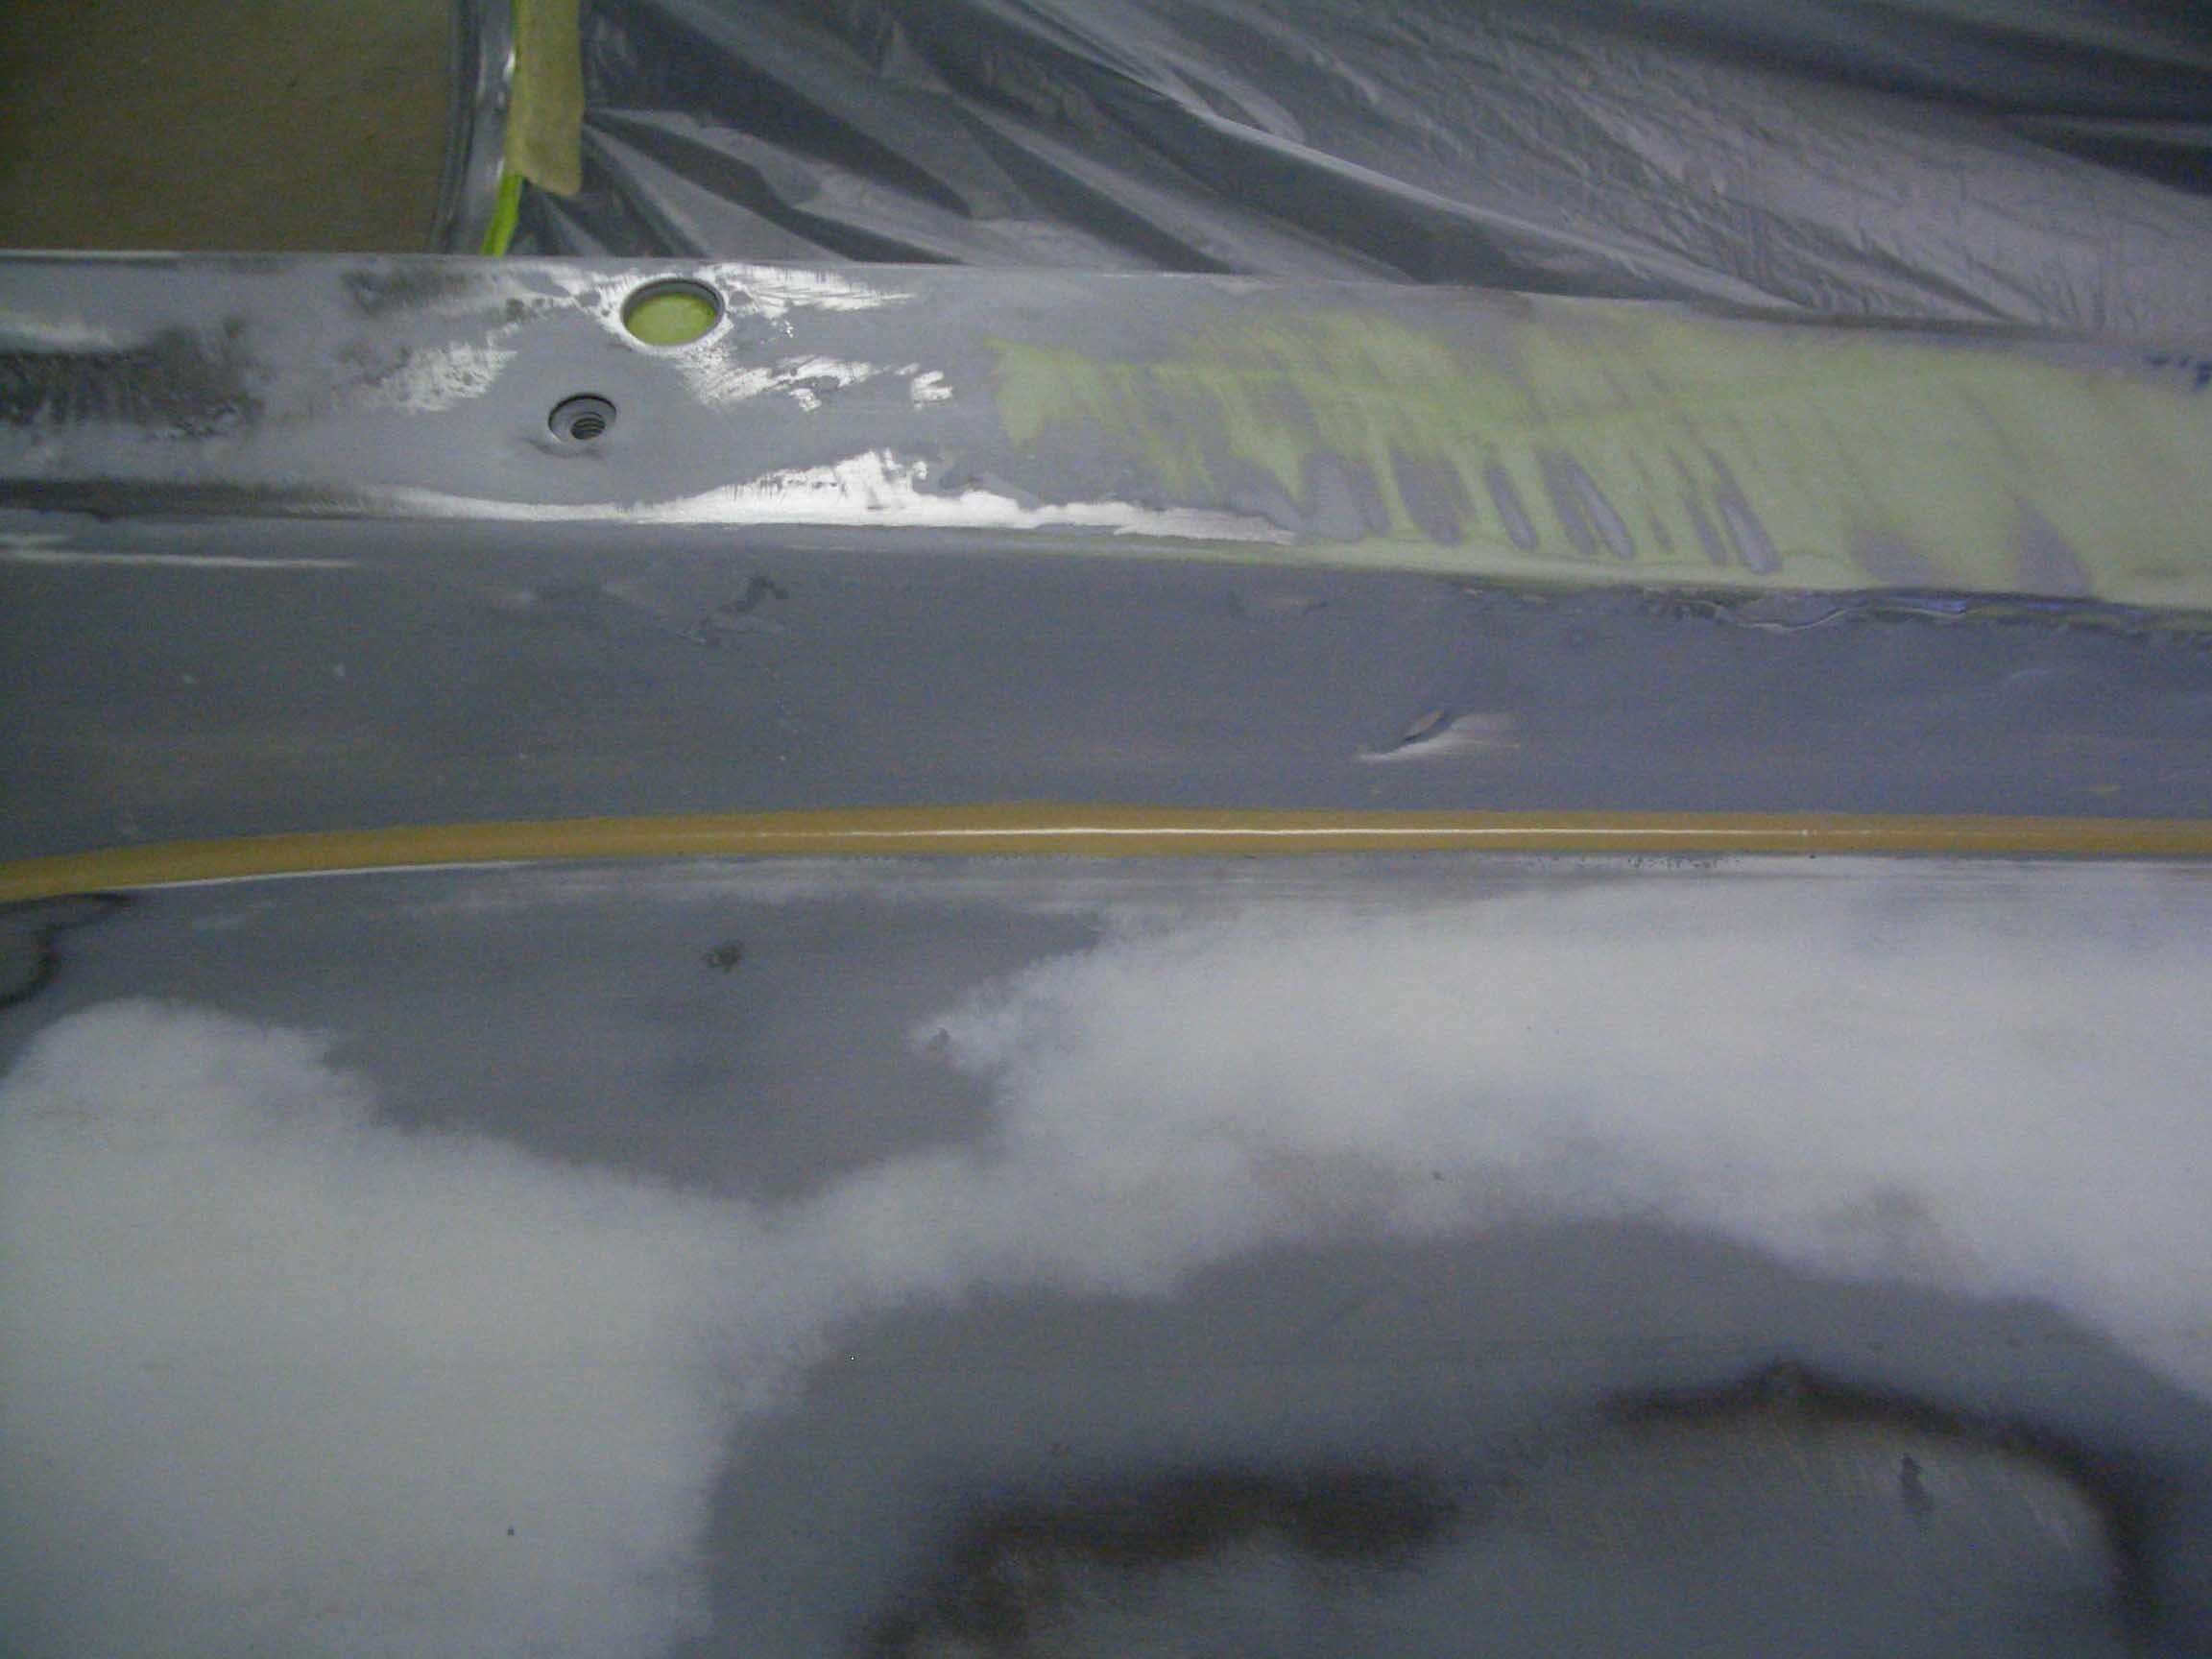
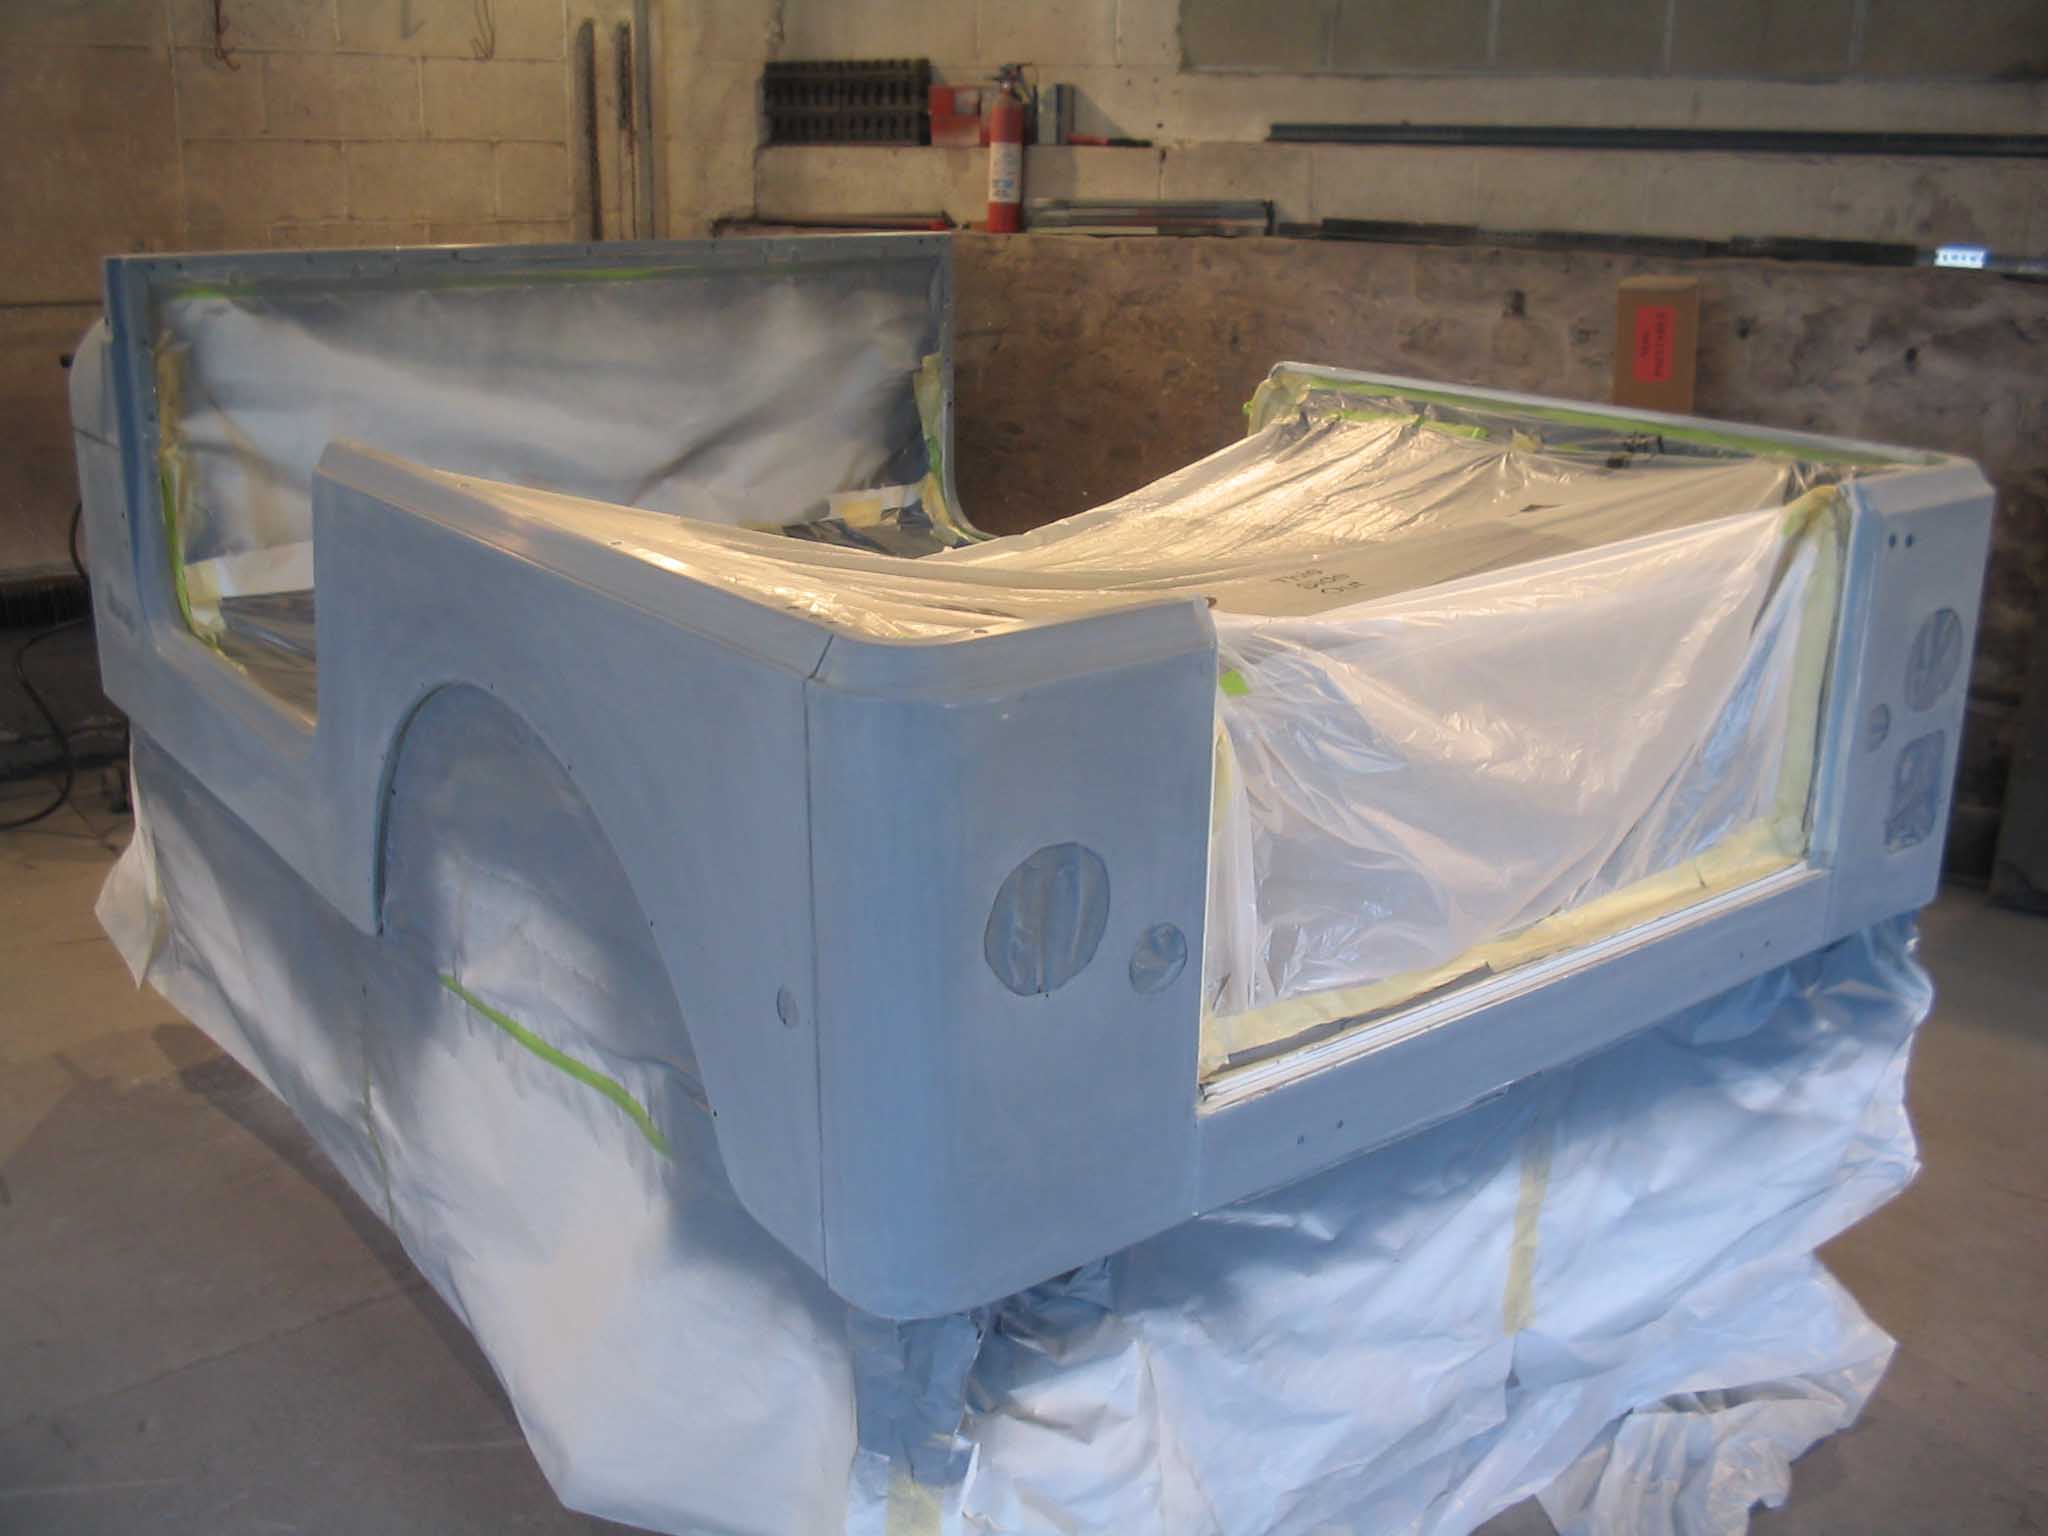
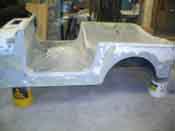
It is Monday morning and we just had a whirlwind of activity over the weekend.
Starting on Friday afternoon, I left work and headed up to the body shop so we could start prepping
the Jeep for paint on Saturday morning. I got there around 1 pm and much to my surprise and pleasure,
the body was already completely sanded and ready for paint.
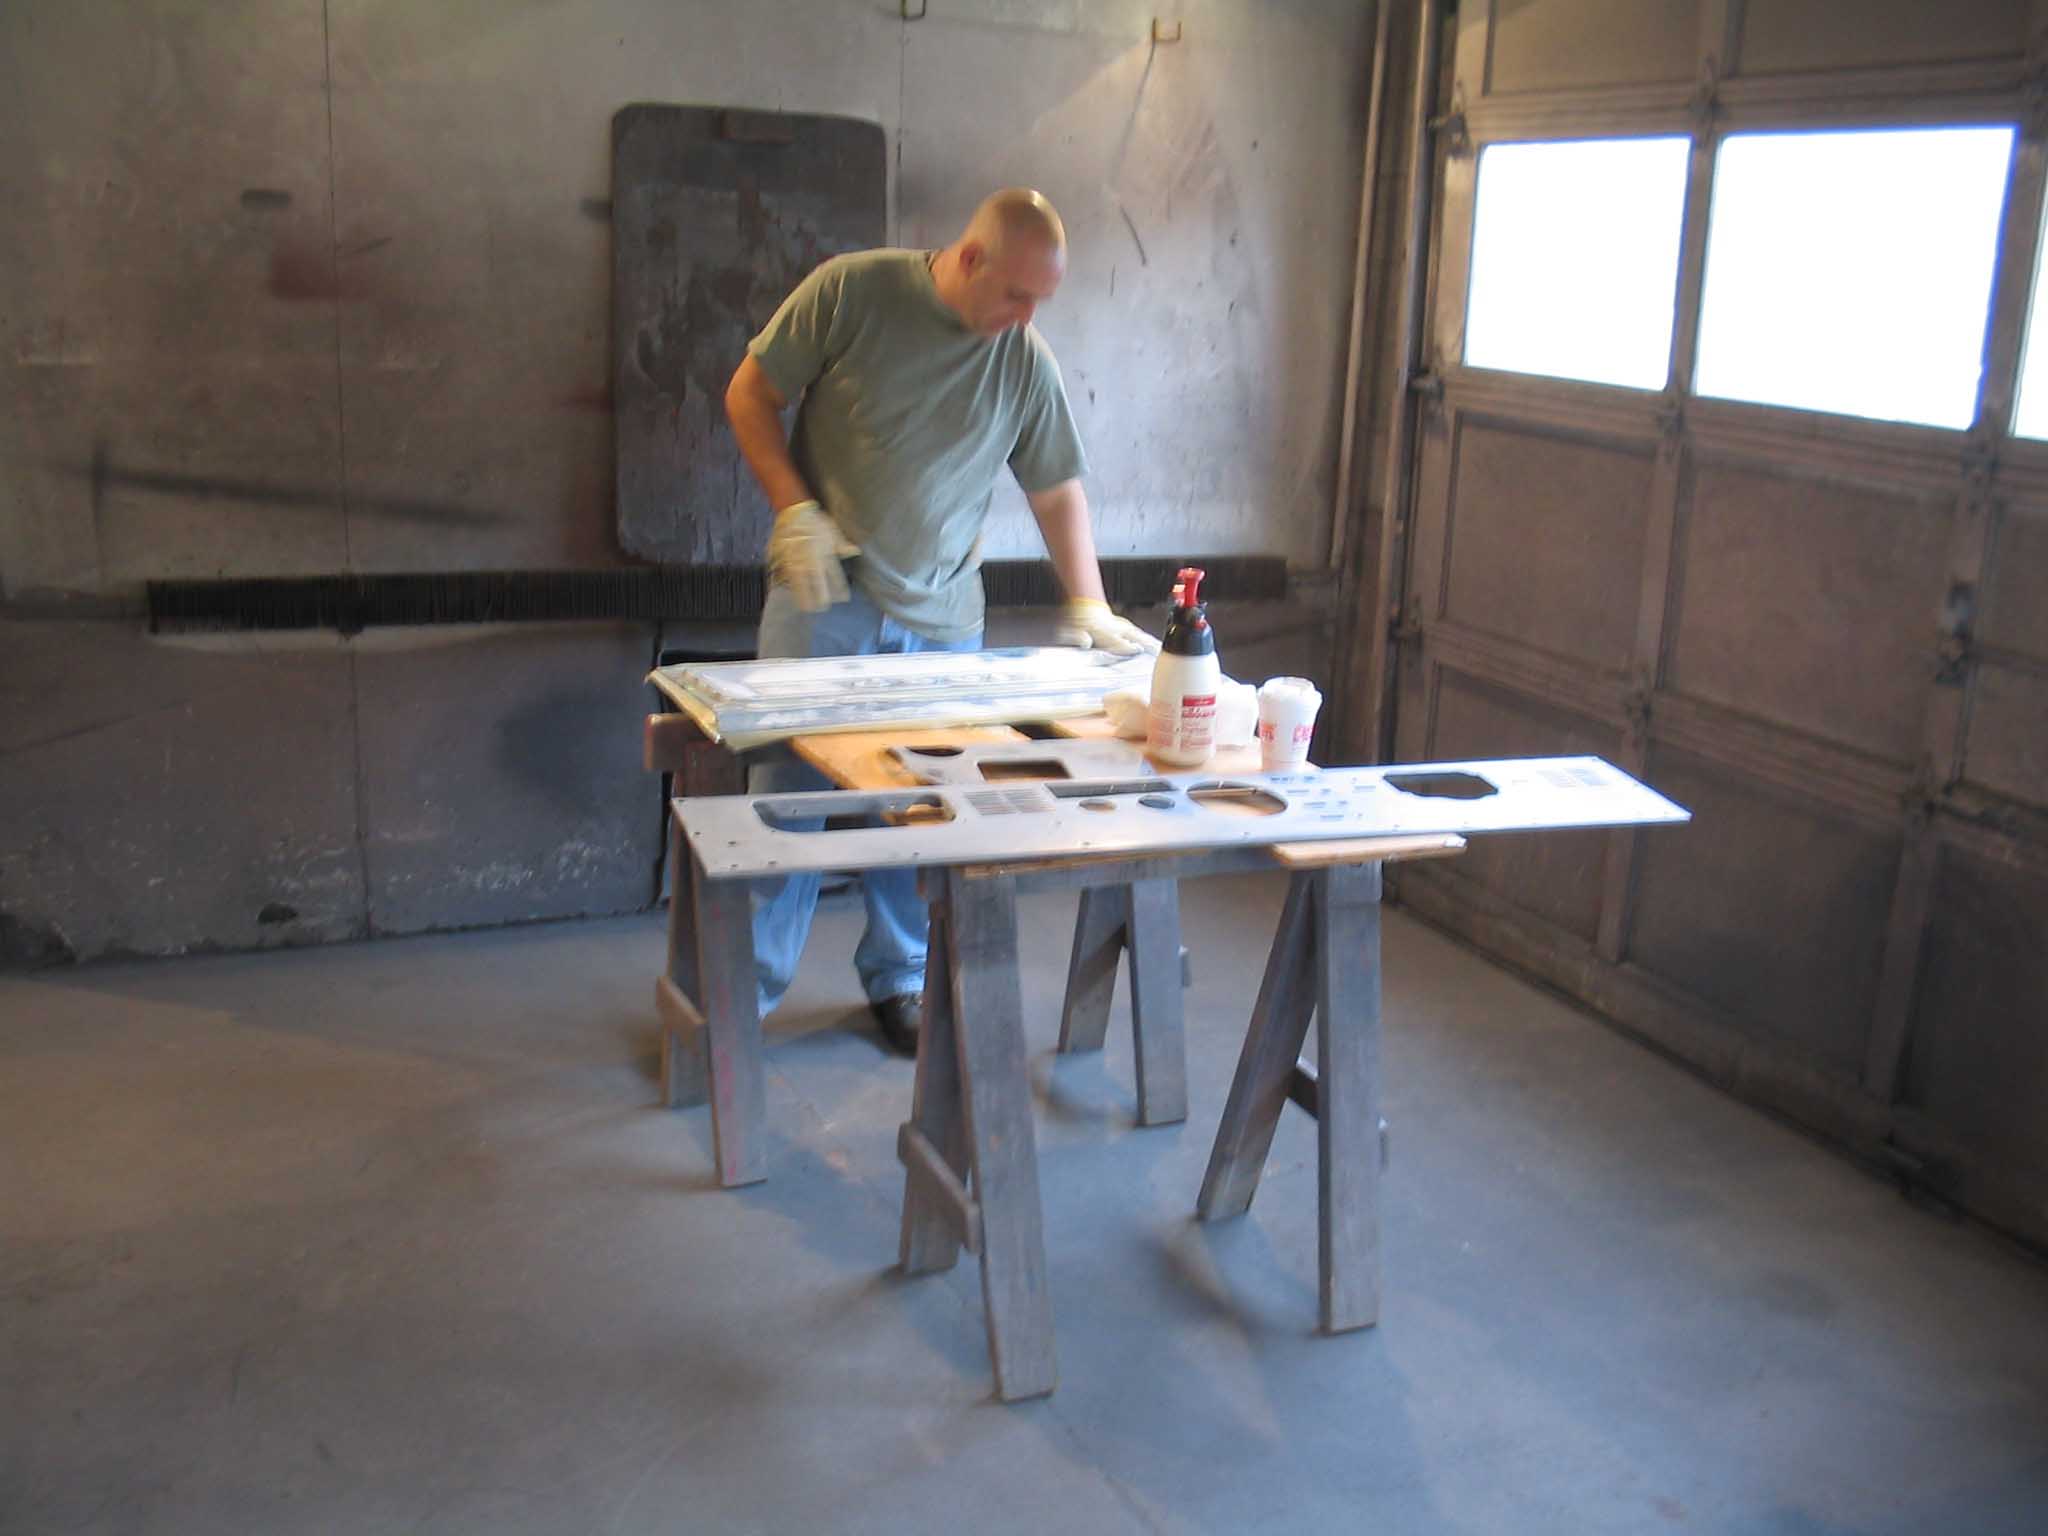
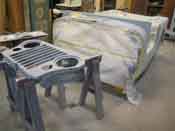
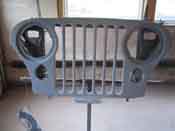
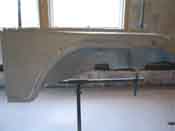
Jen and Frank had done a lot of prep work already so I jumped right in and started sanding all the other
pieces of the Jeep. Keep in mind that there are a lot of other pieces that go along with this Jeep. These
other pieces include the fenders, hood, radiator shell, tailgate, dashboard, glove box, and transmission hump.
|
| |

|

|
|
|
| |
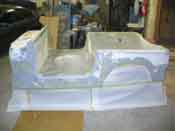
| With all the sanding done, it was around 6 pm and we decided to knock off
for the night and continue on Saturday morning before Johnny-5, the painter, got there. I had not met him,
but I had seen his work and from what I was told, he was known for staying out late and not being right on
time, so we had a little leeway the next morning.
|
| |

|
|
|

|
| |
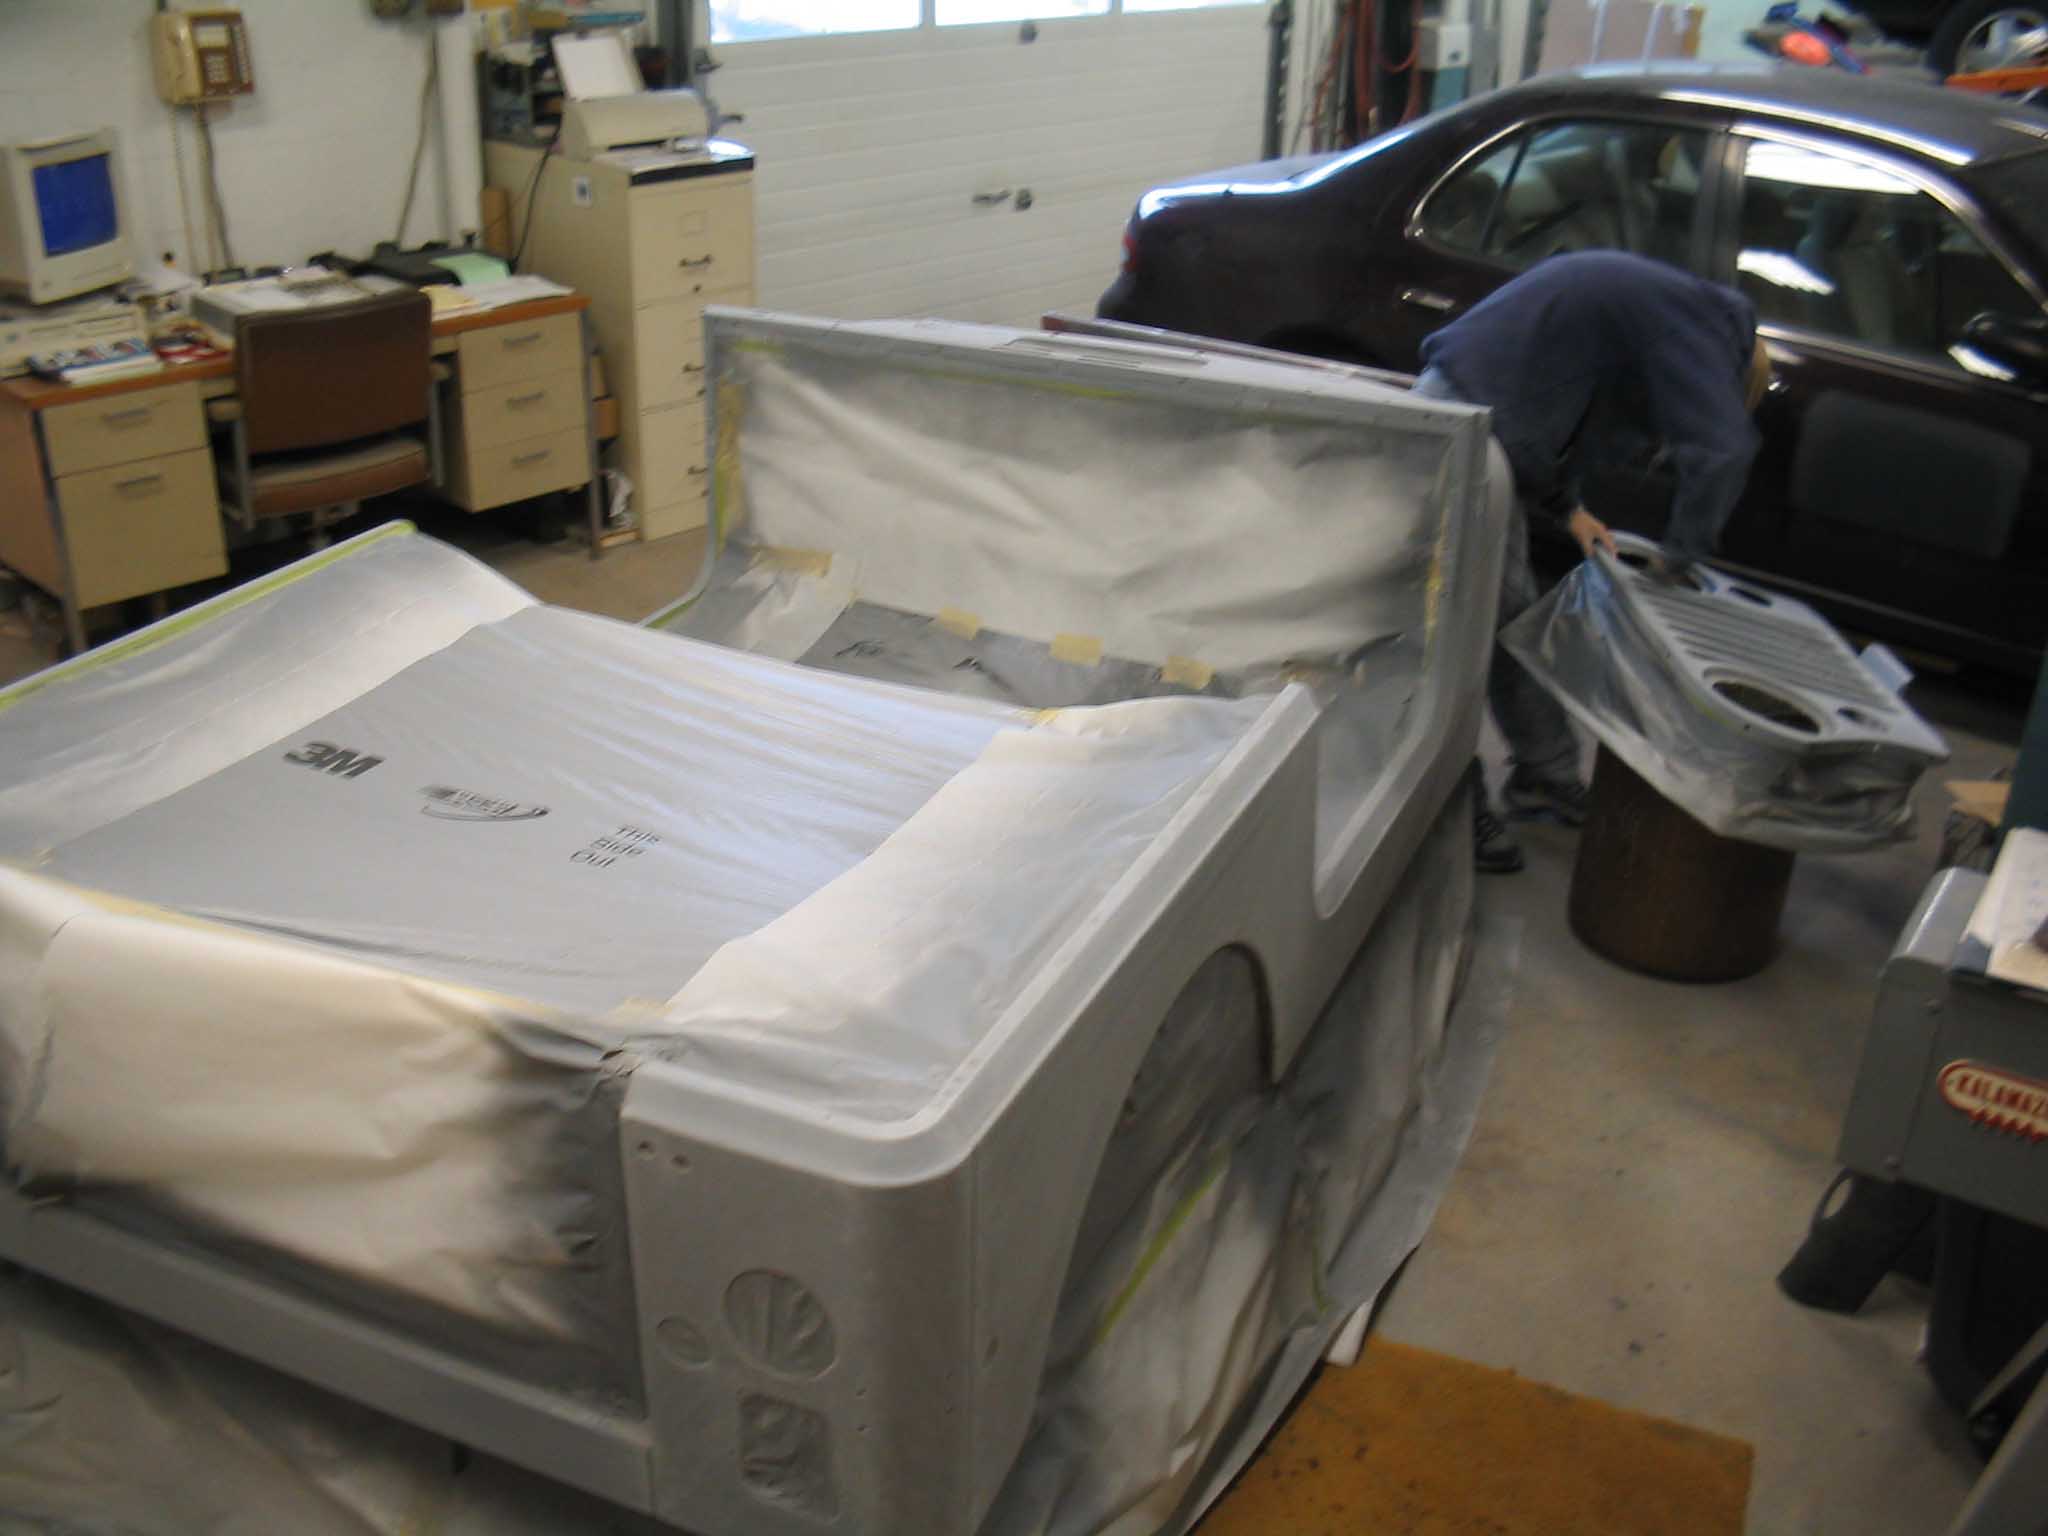
The first thing we did the next morning was to move all the pieces into the paint booth and get them organized in a
fashion that the owner, Mr. Bill, was comfortable with so the single stage paint wouldn't get all over his doors
and windows. After that was done, we used the air hose to spray off all the pieces and swept up the room so there
was little if any dust present and then we wiped down all the pieces with some cleaner and degreaser to get off all
the remaining wax, grease and dust.
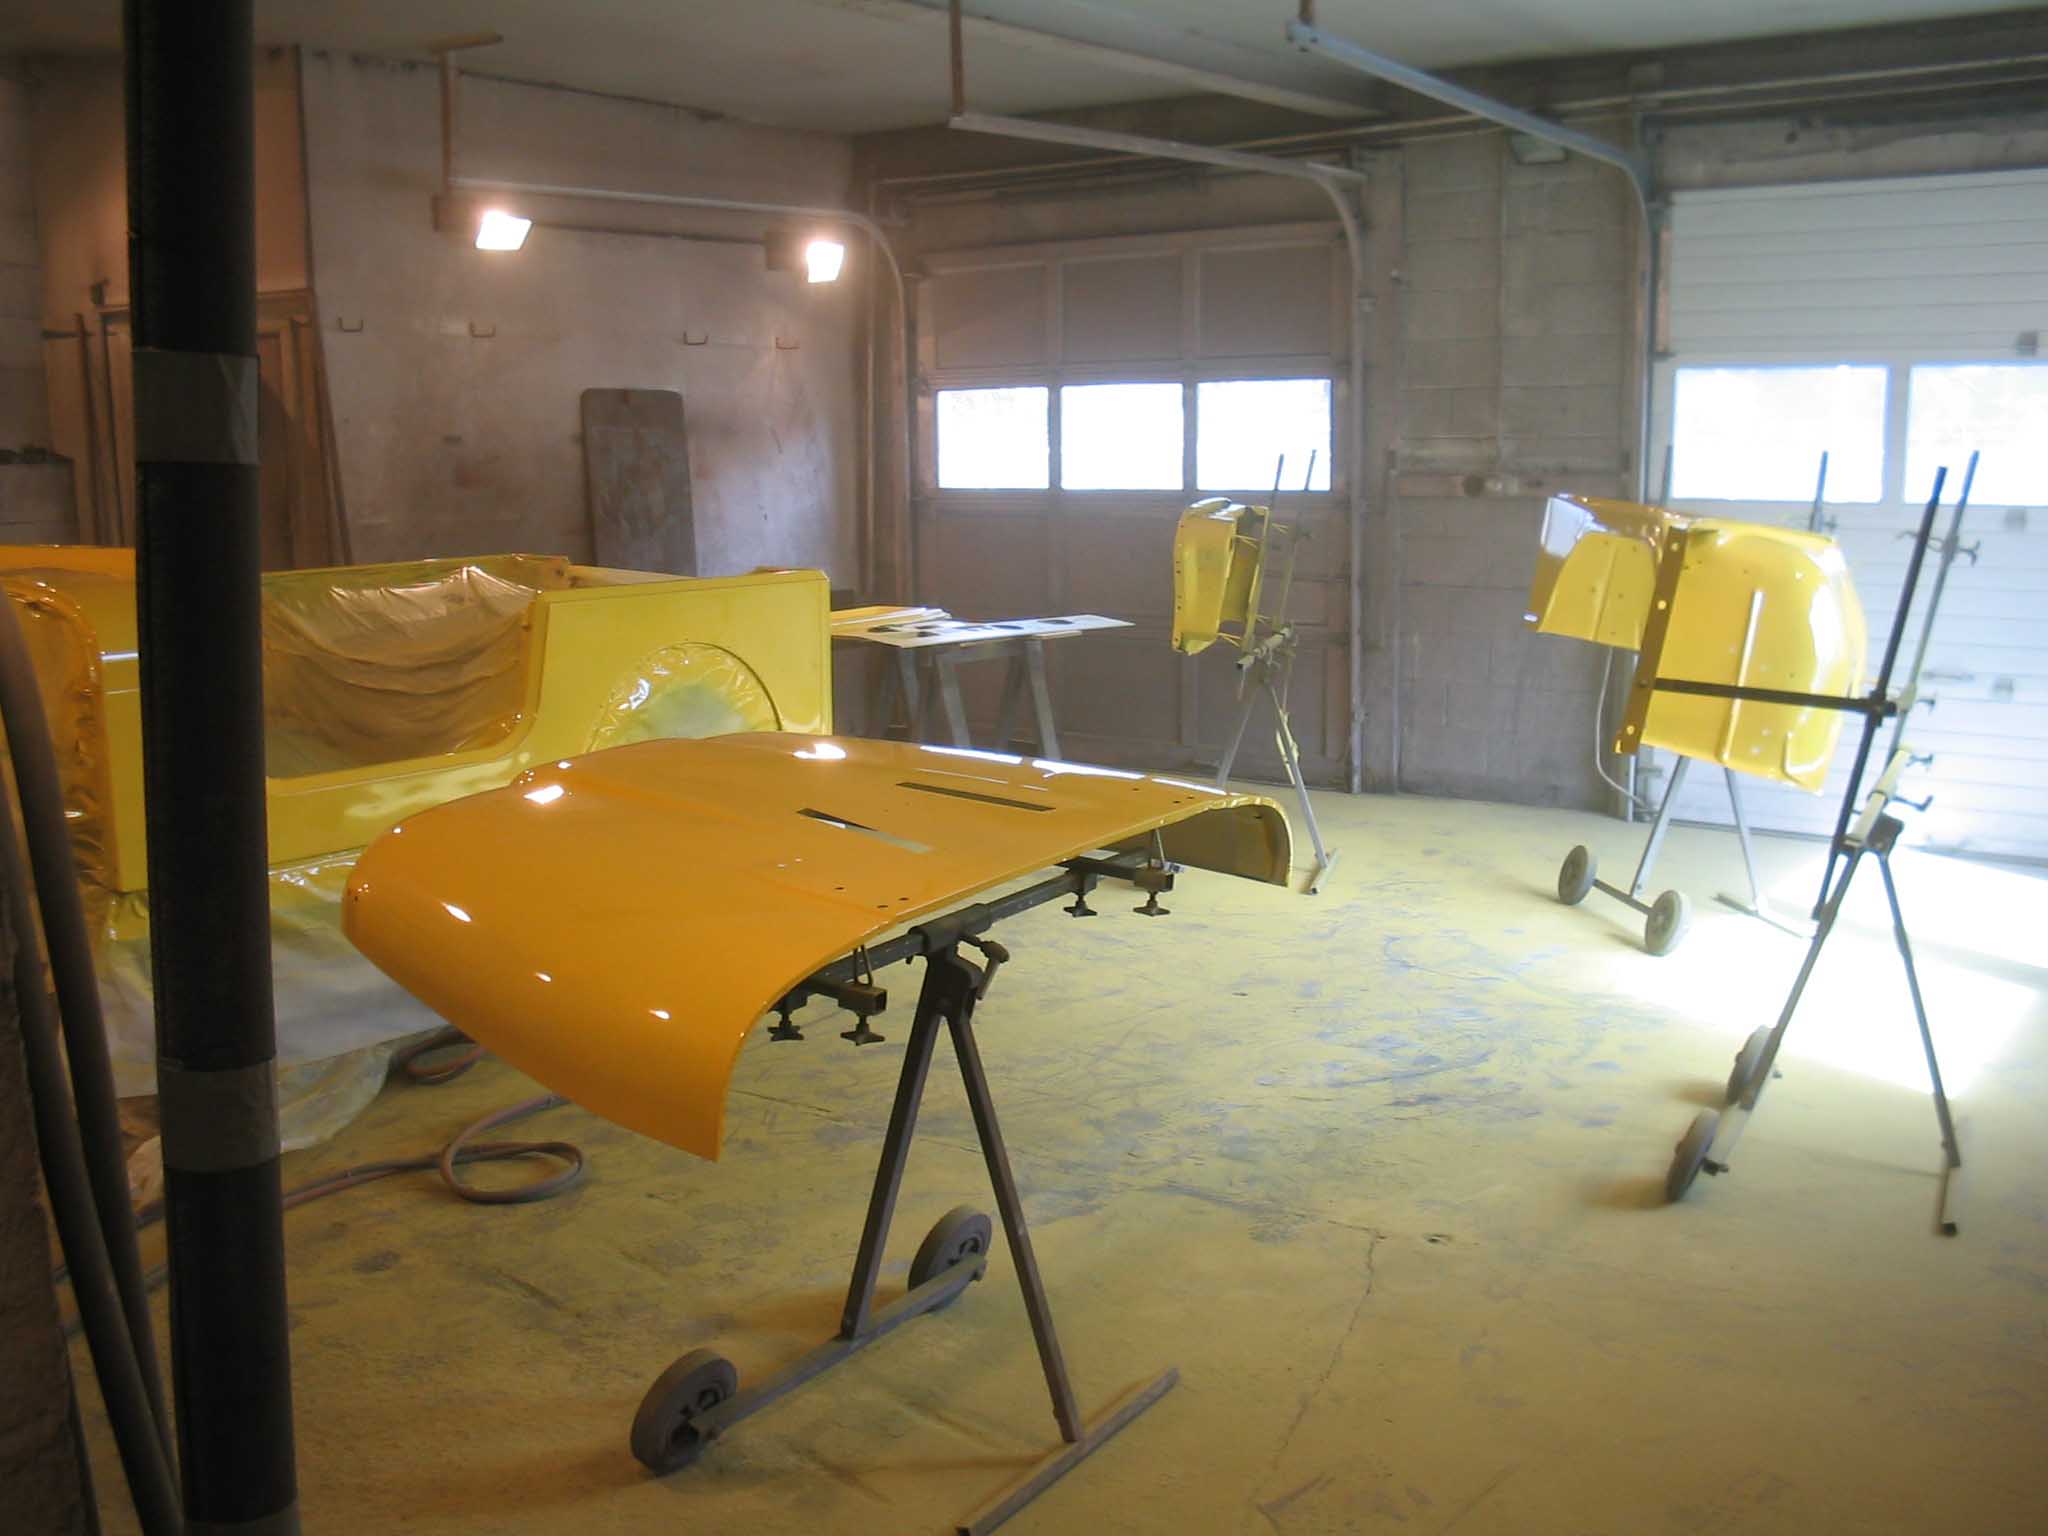
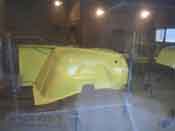
It was about this time that Johnny-5 showed up and helped us finish up the cleaning process and then started to
spray on the Yellow sealer so all the pieces would be coated in a base yellow. The previous day, all the pieces
were sealed by Mr. Bill to ensure all the little low areas and nicks were coated so when we finish sanded with the
320-grit sandpaper, we would have a nice smooth finish. Prep work takes all the time in painting I came to find out.
It is a long and arduous process, but the more time you take prepping the vehicle, the better the final result. Also,
the paint that we were using was a single stage paint that had the paint and clear coat in one. This paint is quite
transparent, thus the need for the yellow base coat. With 2 coats of sealer and 2 coats of paint, the Jeep turned
out amazing.
|
| |
| << Previous |
Next >> |