|
|
| Third Project Build-up - part #11 |
| |
|
1
2
3
4
5
6
7
8
9
10
11
12
13
14
15
16
17
18
19
20
21
22
23
|
| |
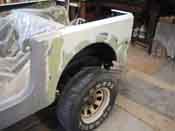
| So the weekend of October 01/02 was very good the third project Jeep. During
the week, we made preparations to go out and get some NOS fenders that had been sitting in a barn for the past
9 years or so. They were painted back when they were bought a silver color, but were never installed and just
sat in the barn. After getting those, a new hood was ordered and that was picked up on Saturday morning (after
securing some much needed coffee). It had been a while since we worked on the Jeep. It was good to get back
to it and get a lot of much needed work on it done.
|
| |
|
|

|
|
| |
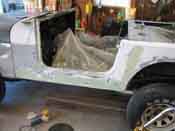
It has been nearly 4 months since we got the Jeep and it has been through quite
a transformation in the process. It is coming along nicely and we are almost at the stage where we can shoot
some paint on it and really start putting this back together.
We started out by fitting the new fenders, hood, and radiator shell on the Jeep. With the stainless kit, we were
able to replace the brace rod support kit with new stainless hardware (after a lot of penetrating oil and some
coaxing to get the old ones off) and after that we used the new stainless bolts and hinges to put the rest of the
parts together. The hood was pretty close to fitting right away, just required a little persuasion as well as
some of the new hardware for the support rod and other various new parts to make sure everything was attached
properly and shut correctly.
|
| |
|
|
|
|
| |
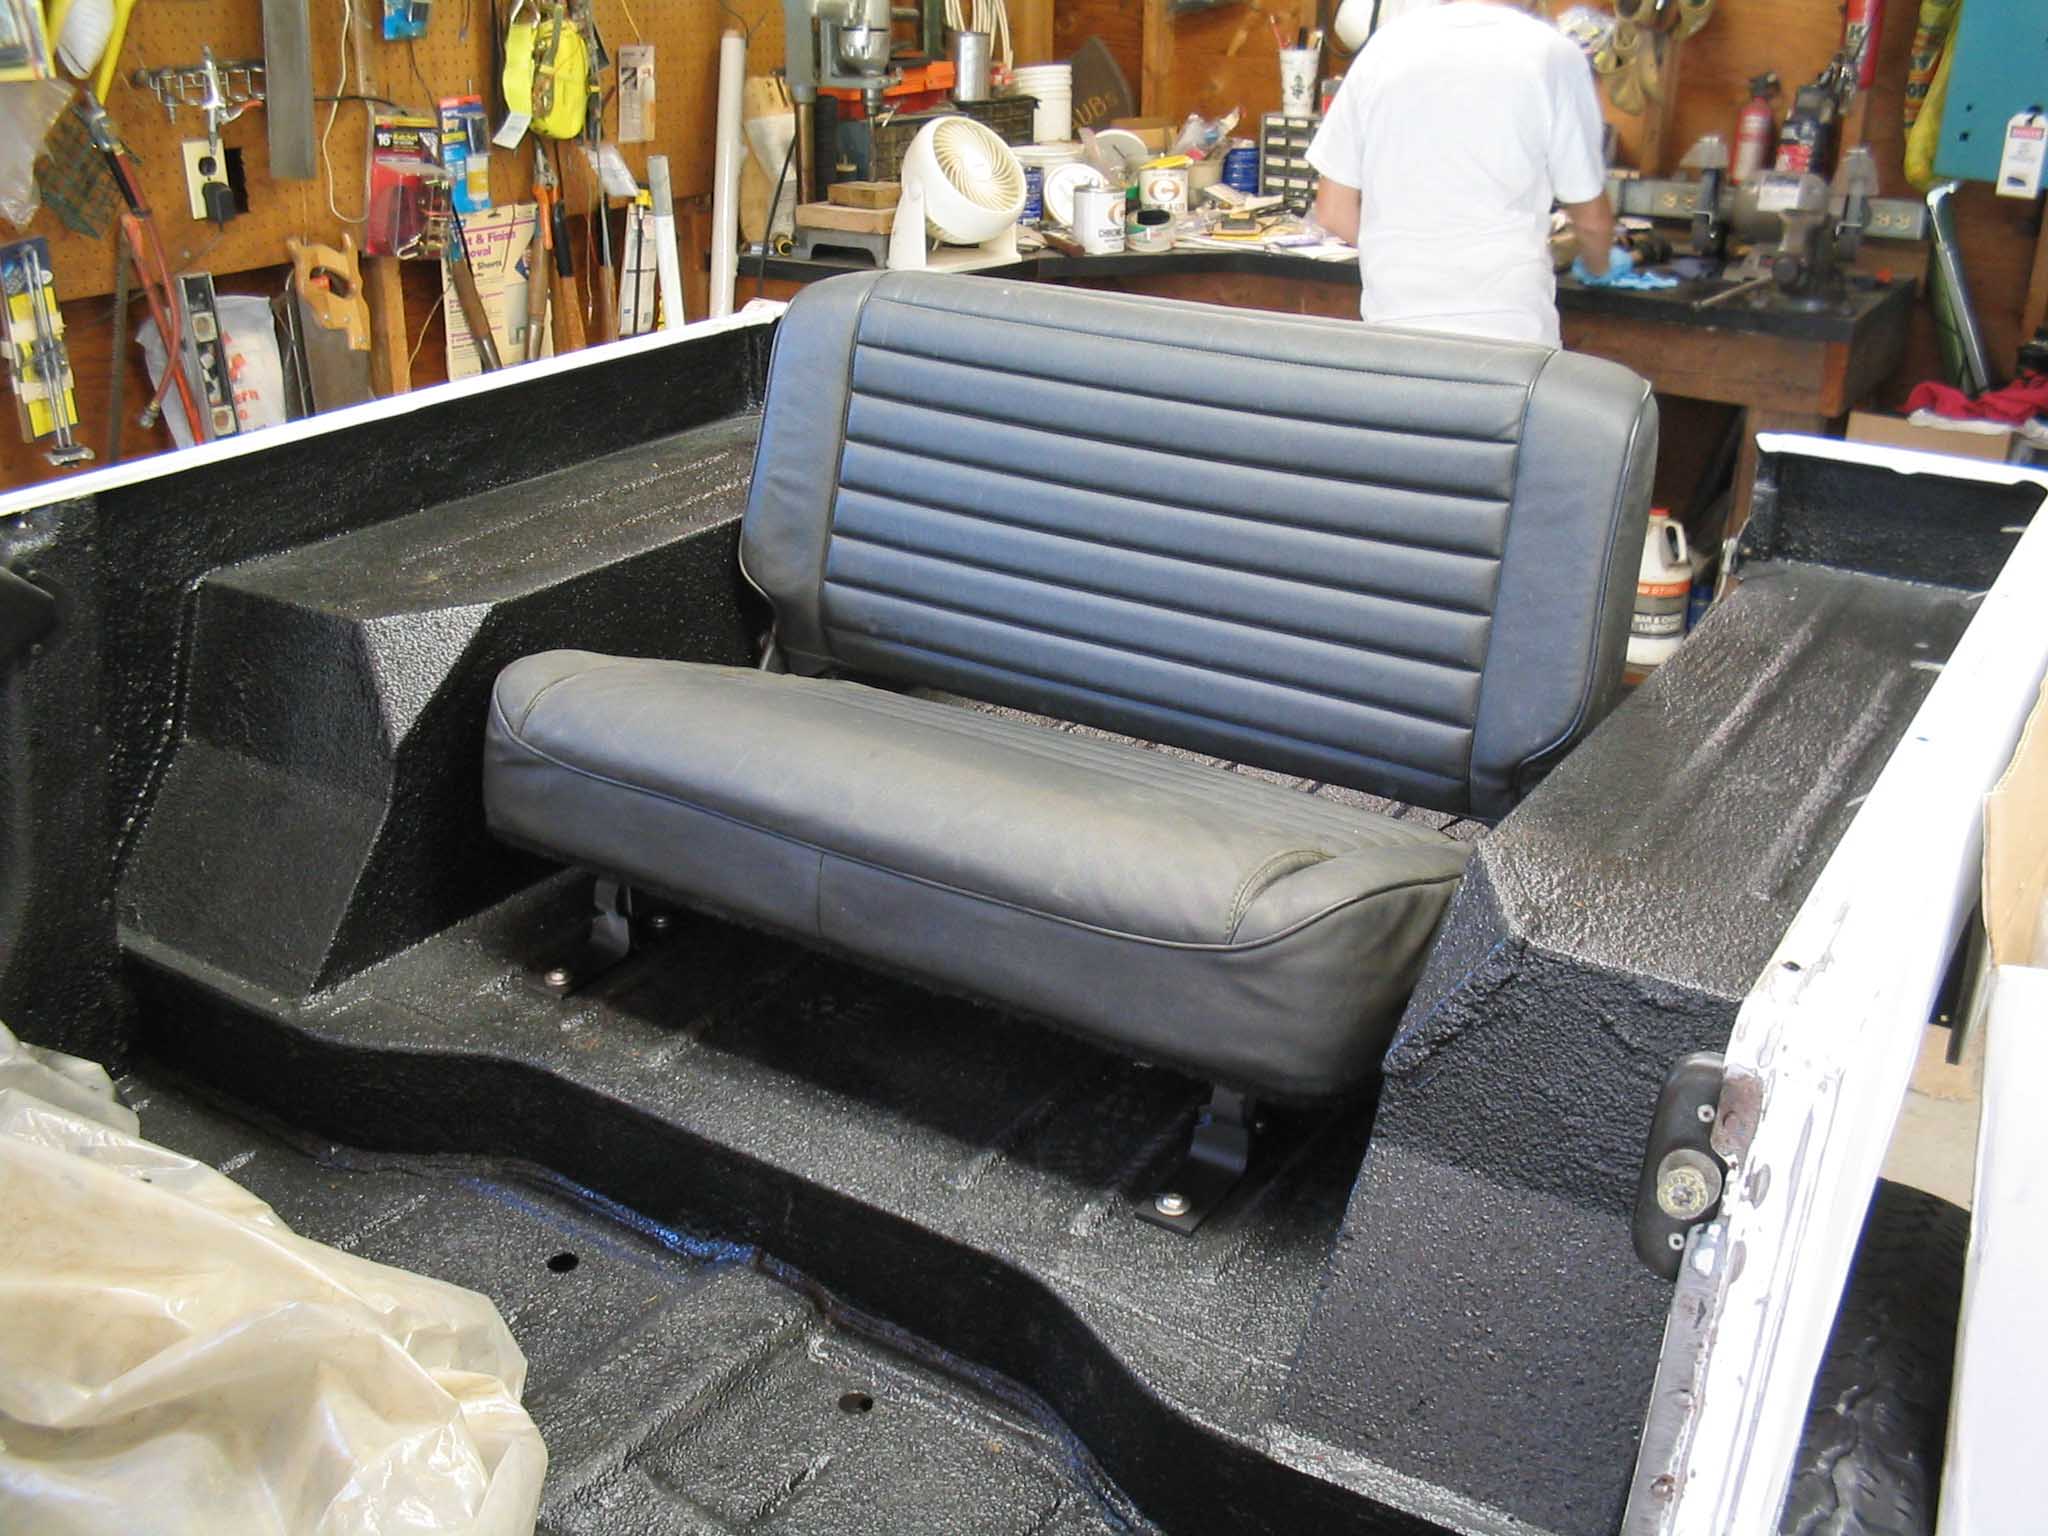
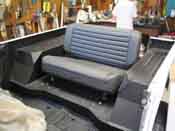
We then moved onto going through the parts bin trying to find the fold-n-tumble
seat brackets. These were a bit rusty, so the wire wheel came out and then a coat of primer and black spray
paint finished up the clean up process and then they went back onto the Jeep.
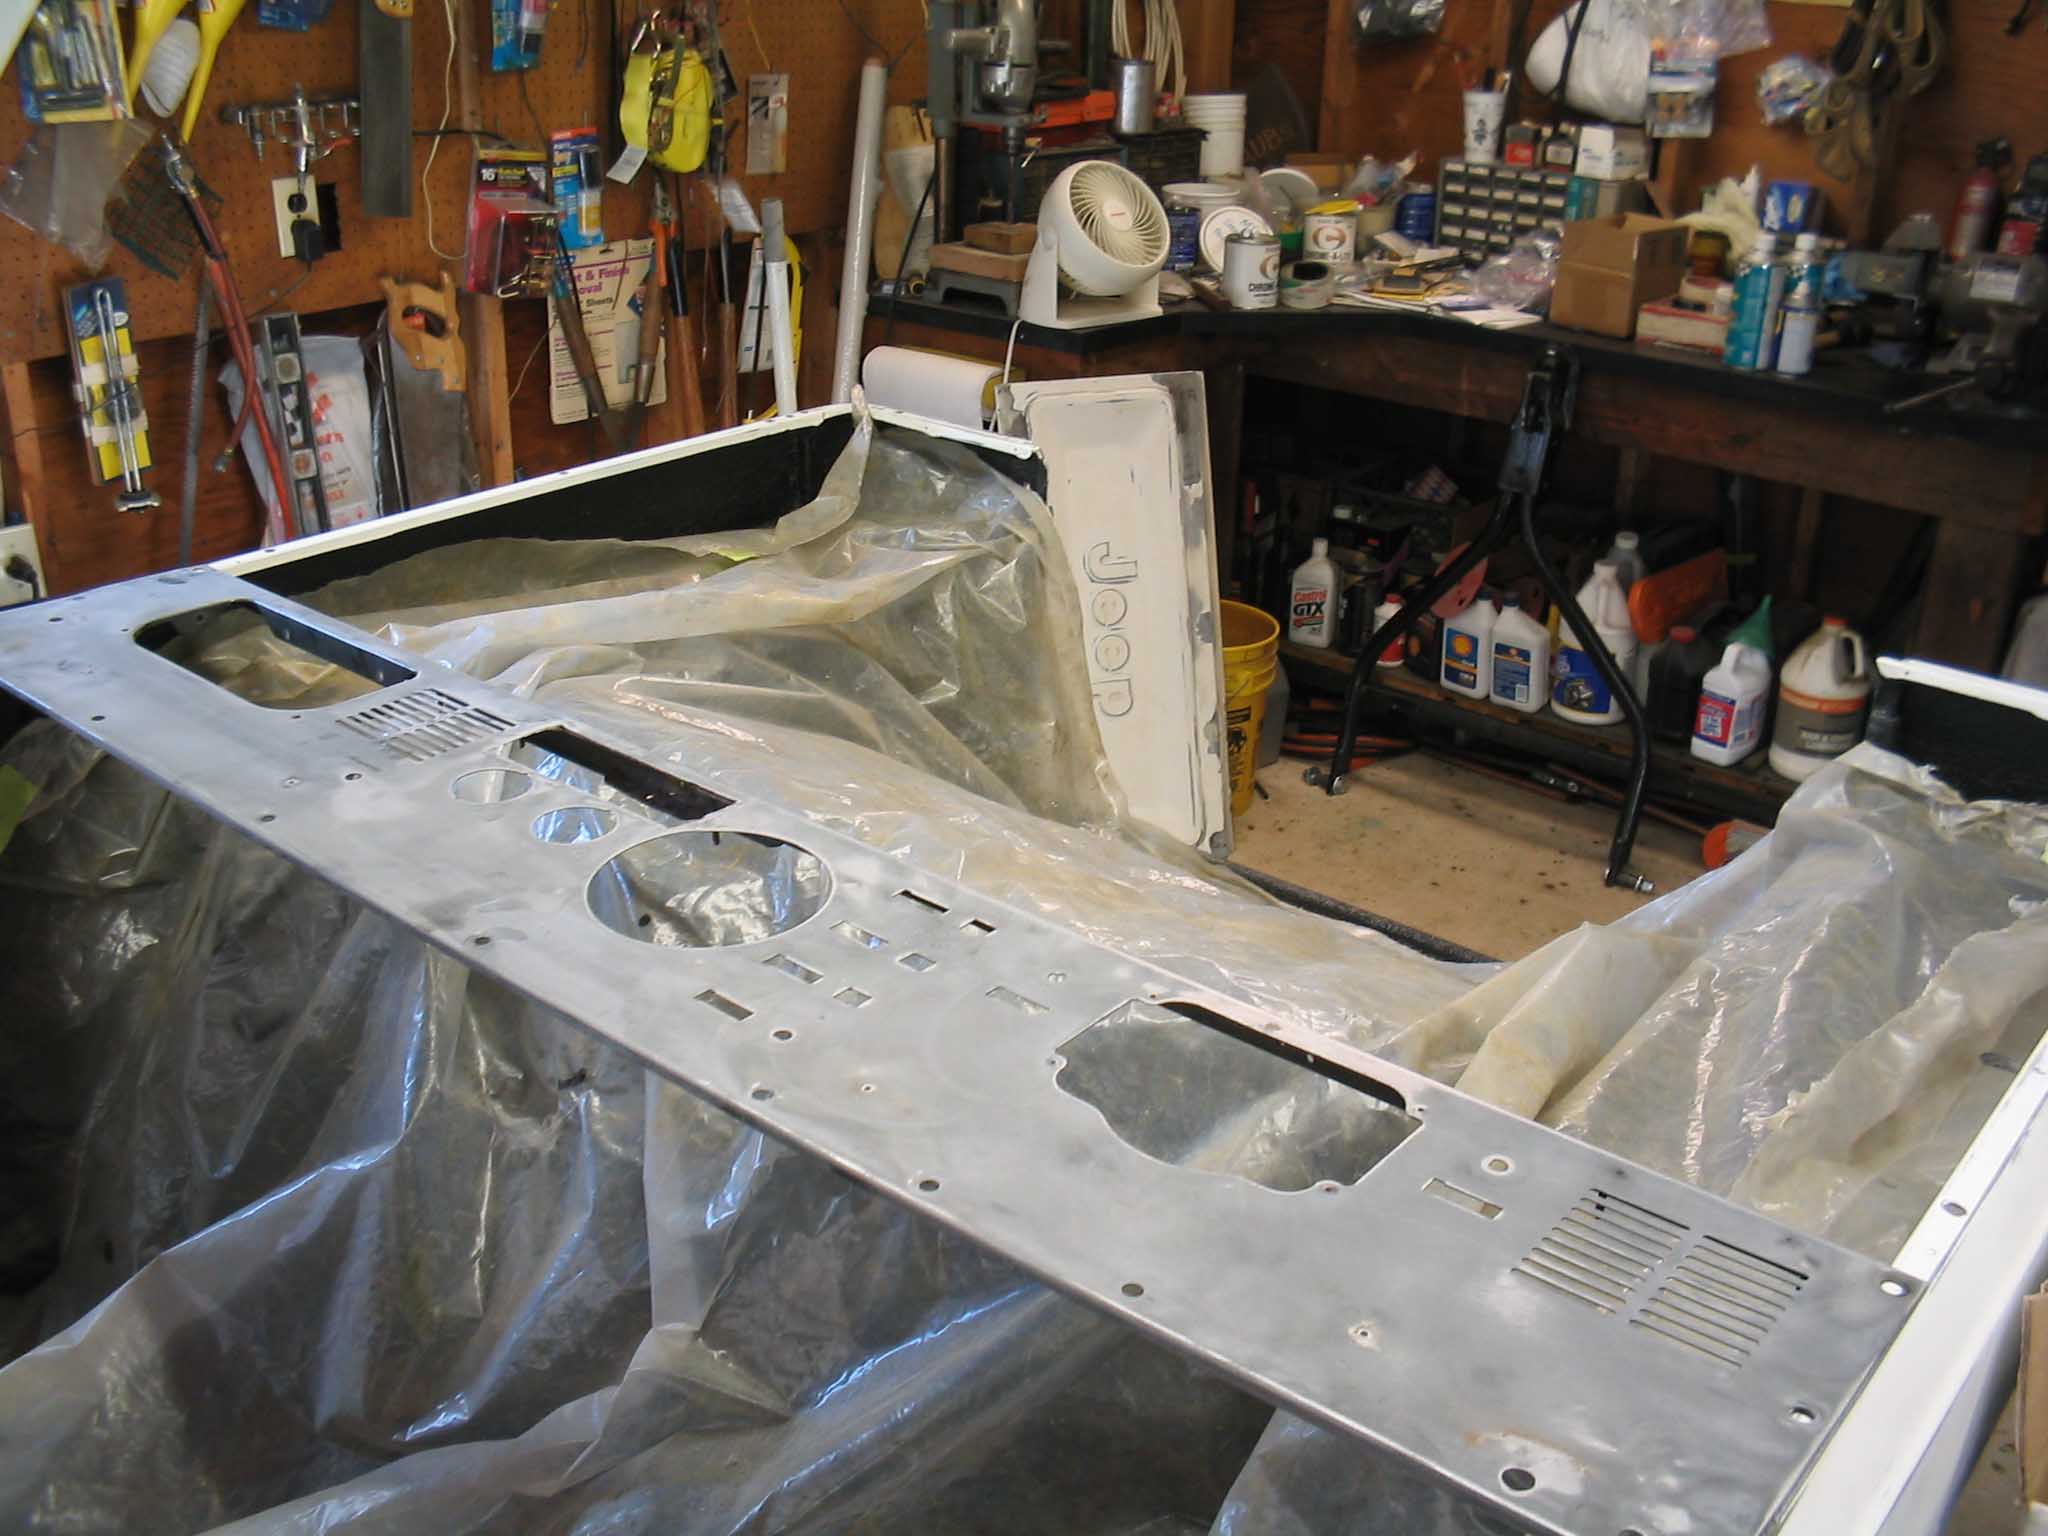
The dash was originally the color of the original CJ-7, which was gun metal gray, so that was stripped down to
almost bare metal so the paint will adhere to it better. It took a long time with the scrapper to get off
all the glue that was behind the dash panel cover, but in the end, it was worth it. Hey, if you are going to do
a job, you might as well do it the right way.
|
| |
|
|
|
|
| |
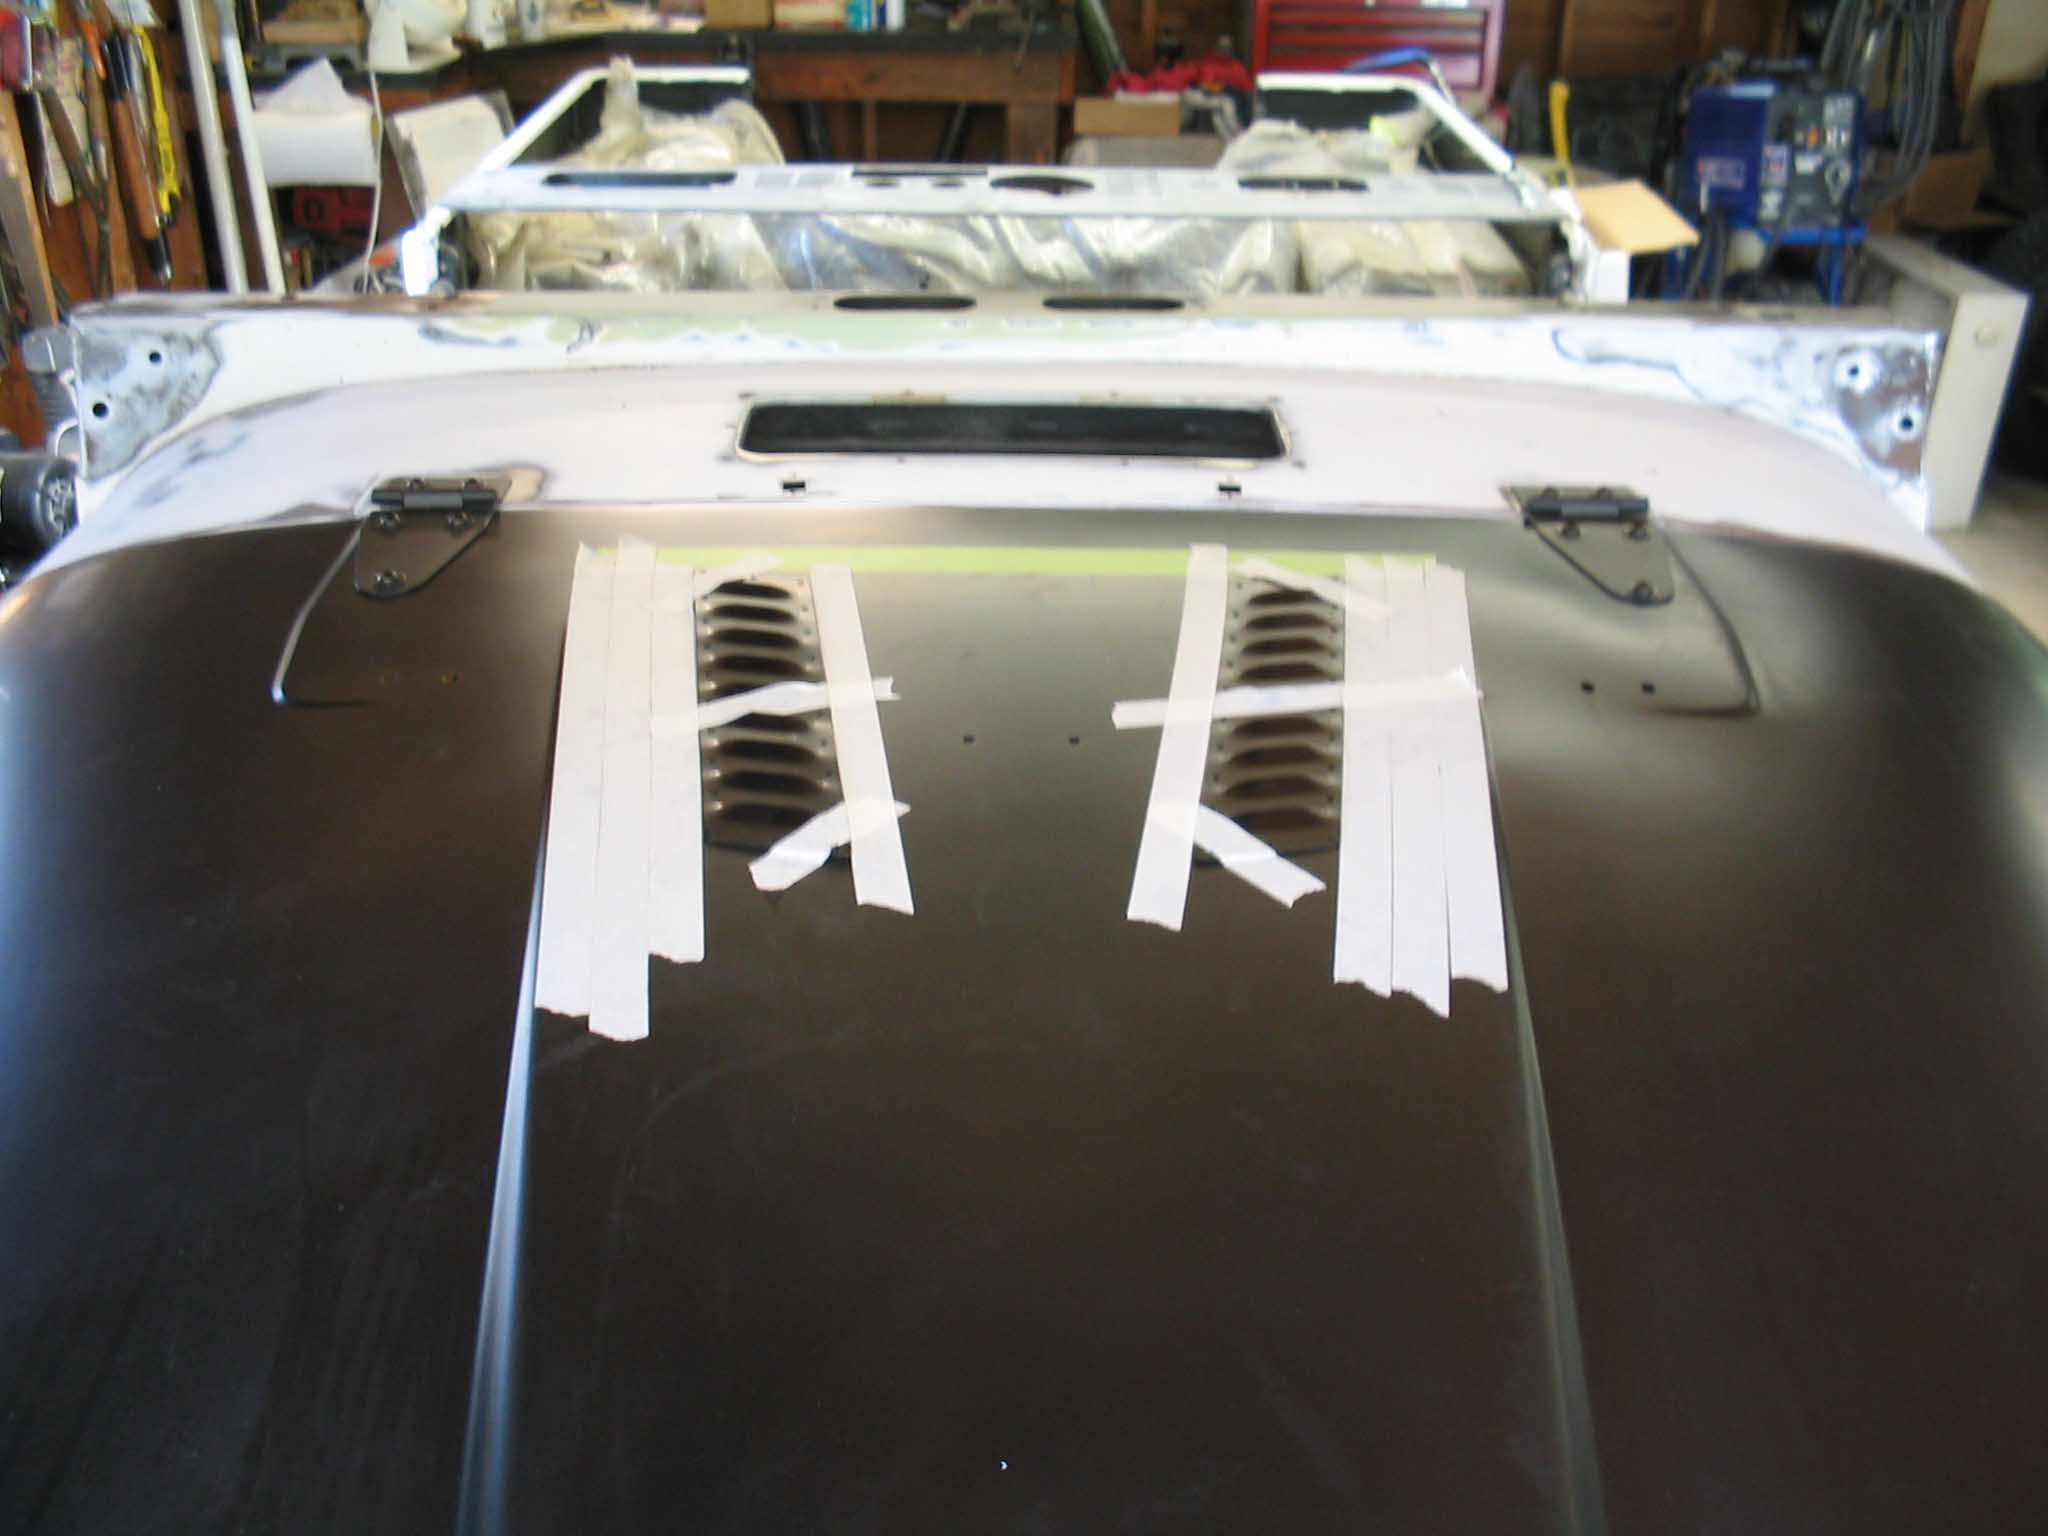
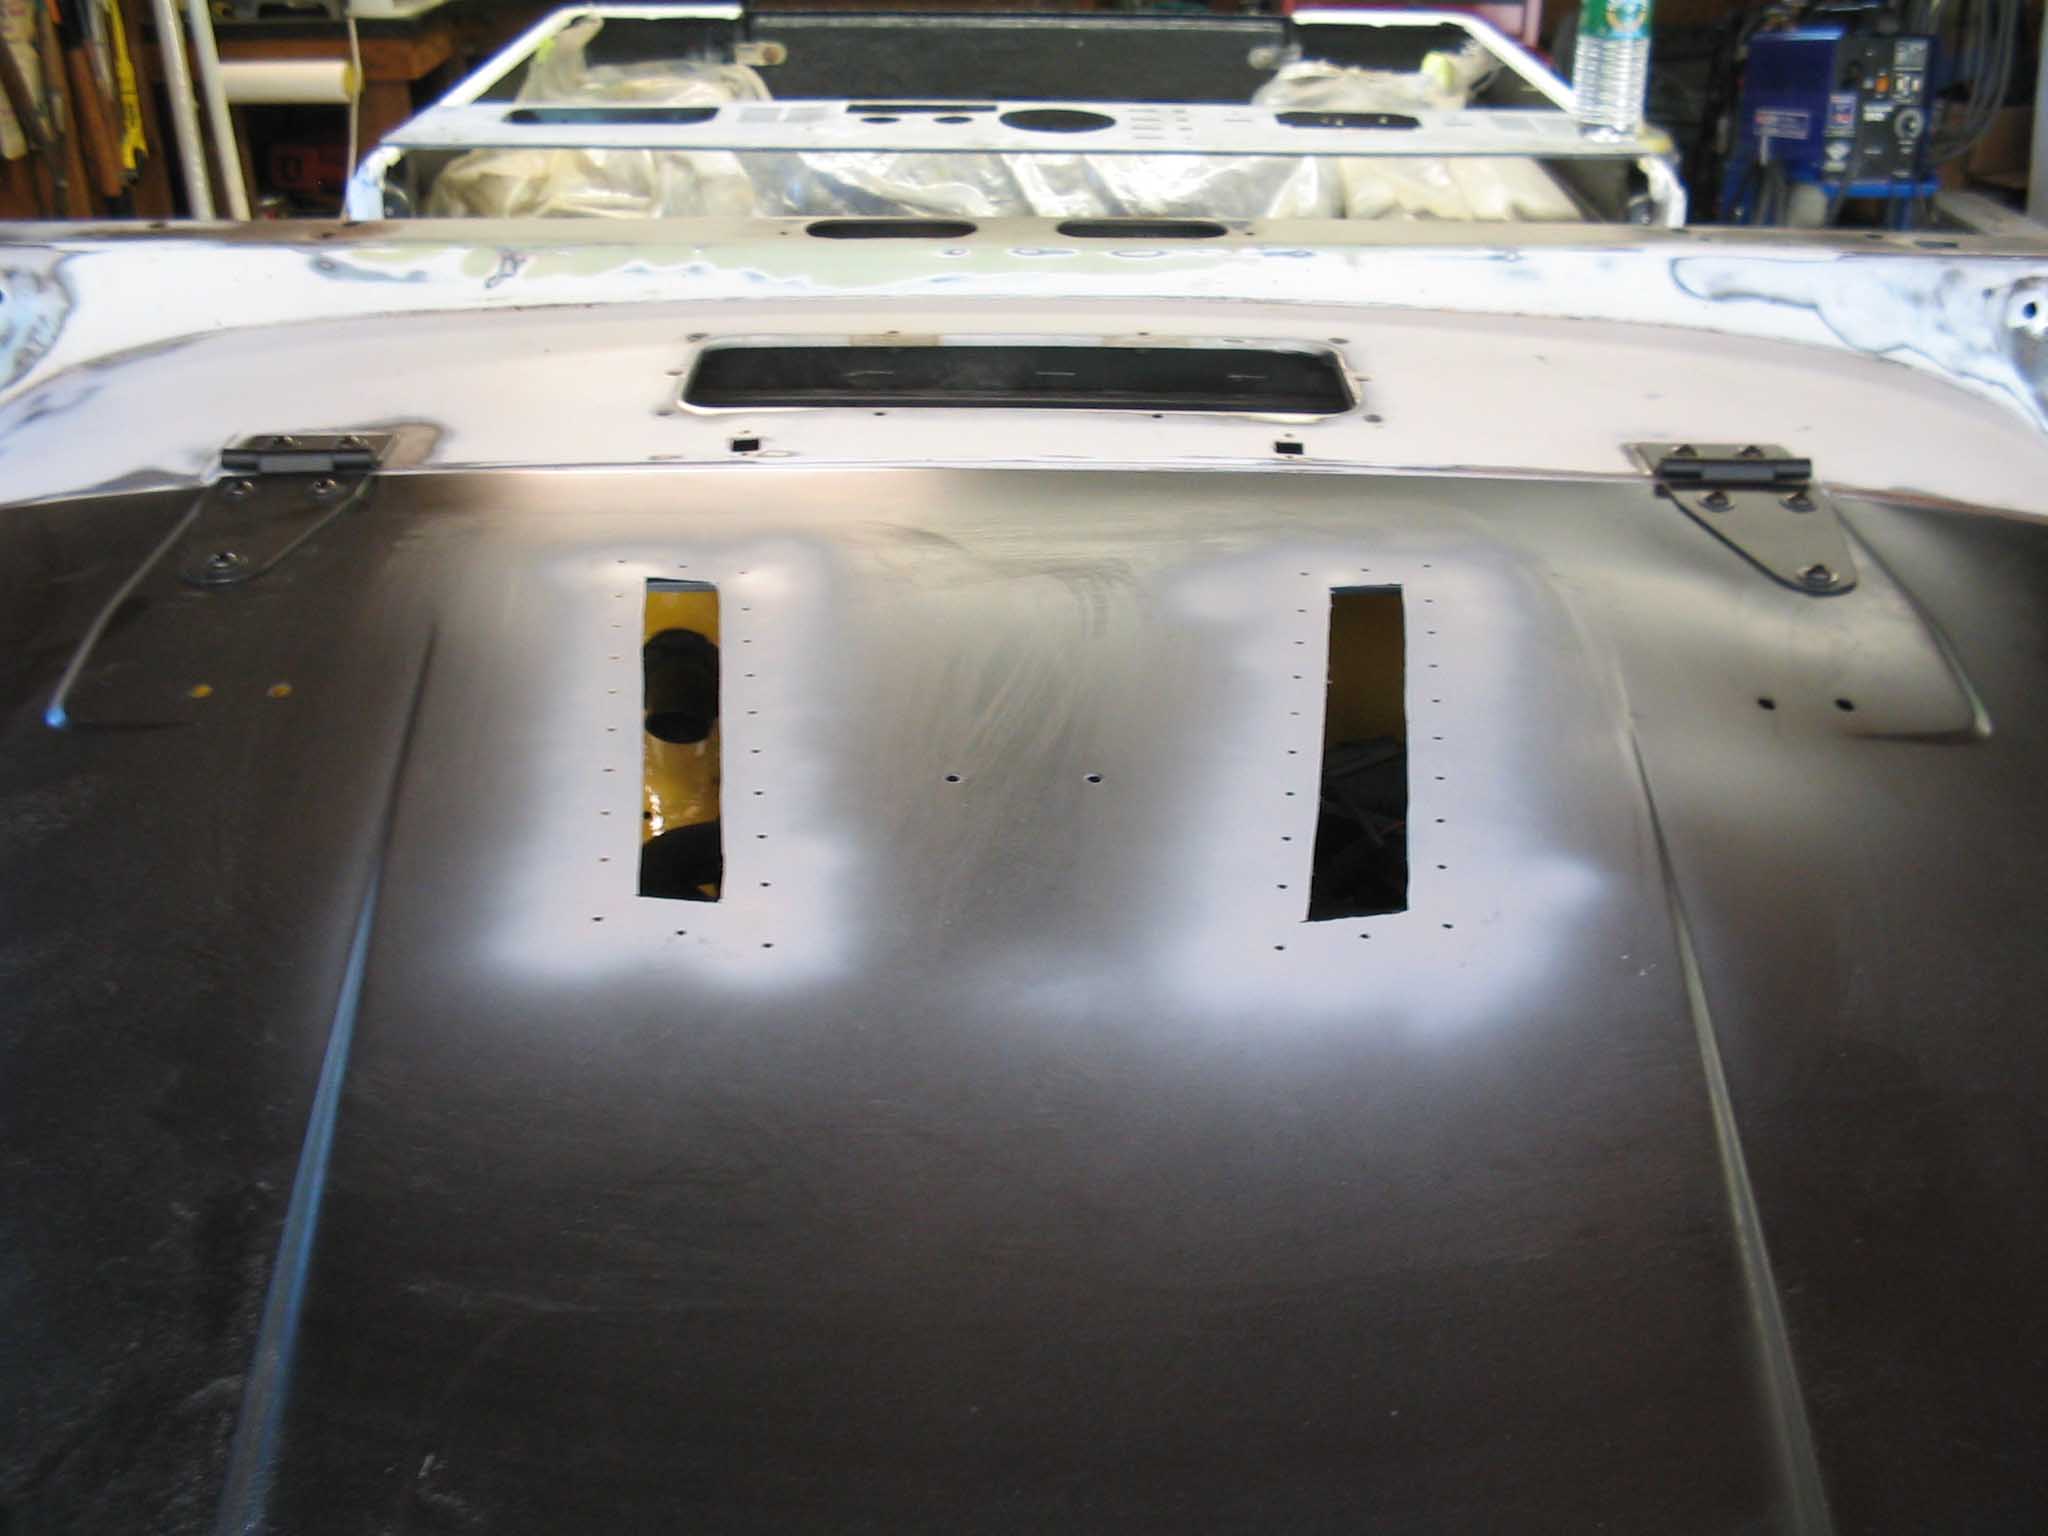
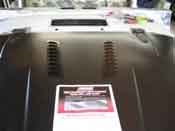
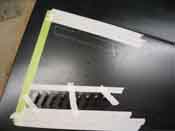
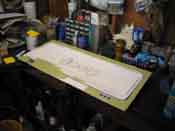
We had a little lunch and then we were onto cut up the new hood we had just bought.
On the first Jeep (Orange one) I had put a set of
Race Ace Louver's on the Jeep. I liked them a
lot and then I got an email from a guy at Race Ace saying they had a new slim line design of the louvers, so I
figured that since they worked so well on the first Jeep, I should try them on the 3rd Jeep. The louvers came in
and we followed pretty much the same set of steps that are outlined in the
Hood Louver Installation section.
We laid them out where we wanted them to be, set some tape down after careful measuring, then used a marker to
mark all the holes that were going to be drilled and then removed the louvers. Each hole mark was tapped with a
hole punch and then the supplied drill bit was used to drill out all the holes. This is a bit tedious and repetitive,
but the time spent here will ensure proper fitting of the louver and make everything look really good with the final
installation.
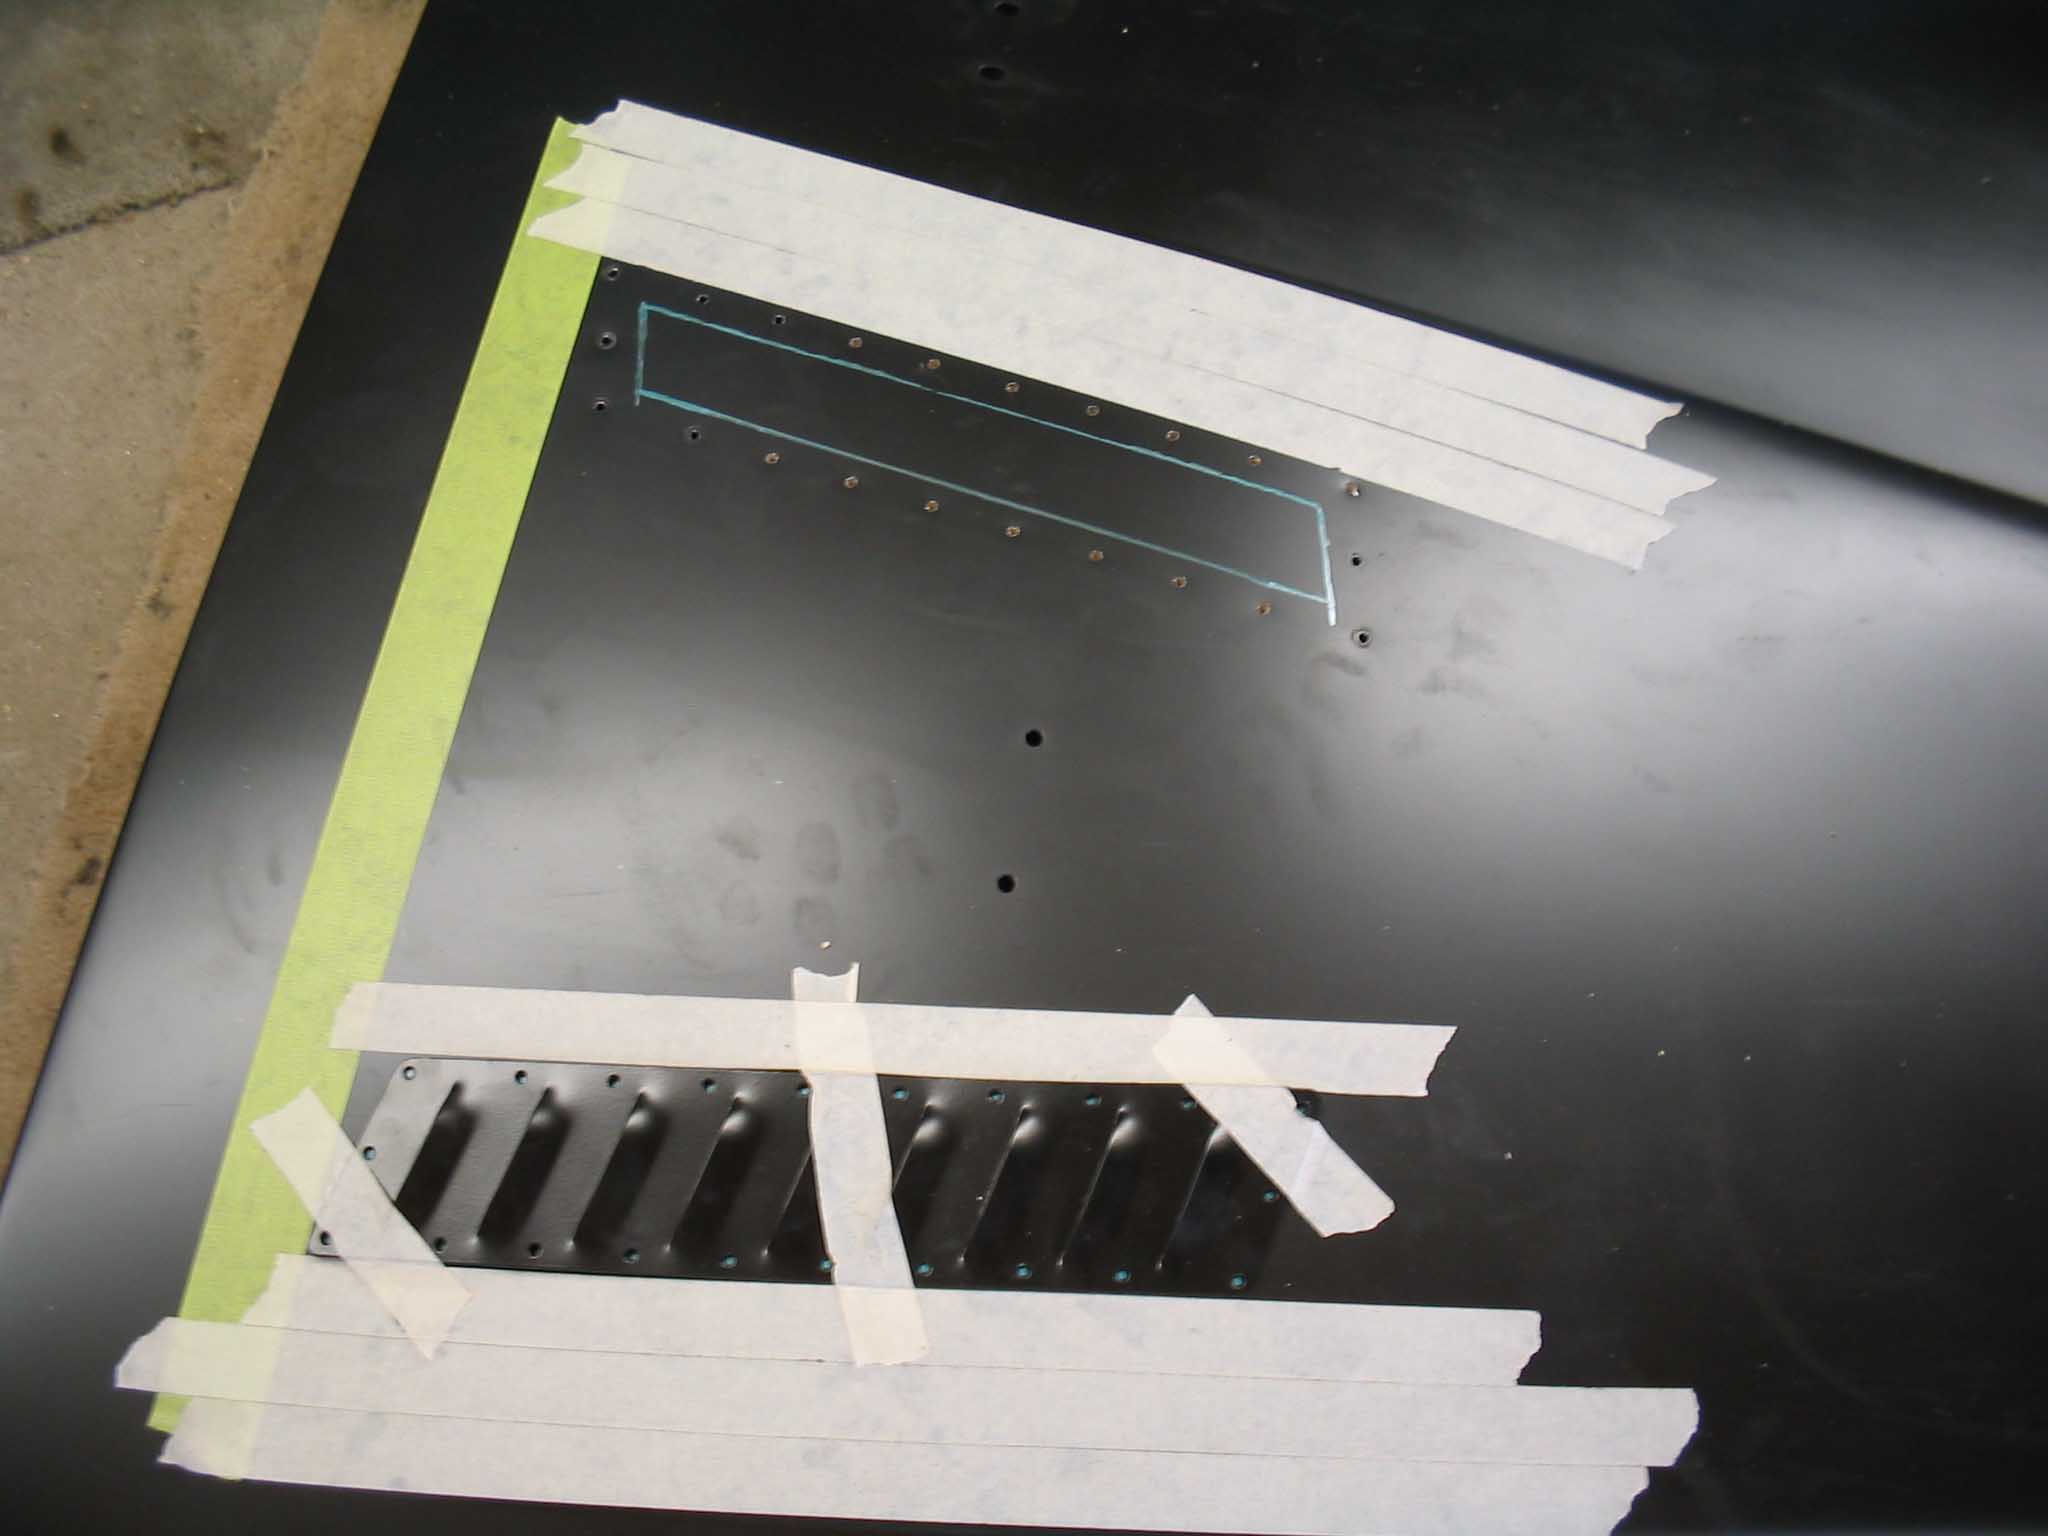
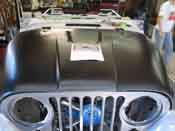
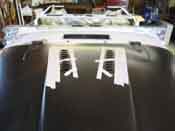
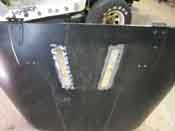
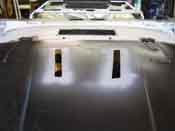
After the holes were all set, some more tape was laid down and the inside section was marked in order to cut out
the middle section. Last time, I did this step in the reverse order and when I tried to drill through the hood with
the center cut out, the metal needed some support because it was so flexy without the center section there. This time
around, the process was much better and the hood flexed less when pressure was applied by the drill. Once the center
sections were cut out, a grinder was used to knock off the underside of the holes and cut marks, and finally a sander
was used to clean up all the edges. A coat of primer was applied so there will be no surface rust until we are able
to paint the hood. This will all happen in the coming weeks. Check back later to see how the final assembly goes
and you will be able to see the black louvers on the school bus yellow paint job. It should look really nice!
NOTE: The guy that emailed me and said that after he read the write-up on the site, his company made some
changes in the installation instructions as well as the aluminum rivet bag that is included is now taped up so that
it won't open when being shipped. This company is a class act and really listens to its customer's suggestions. Nice
work Race Ace!
|
| |
|
|
|
|
| |
After the hood was put back onto the Jeep, the fender flares for the new front fenders
were attacked and those went on without a hitch. Some C-clamps were used to hold the new fender flares in place and
then the holes were marked on some masking tape and finally a punch and drill were used to put the holes in the
fenders for the mounting hardware. Separate hardware was purchased a while back for the rear fender flares and that
was dug up and used for the installation of the front flares. This went on without a hitch and finally the front-end
work was completed for the time being. We removed the fender flares after they were mounted and stored them for
final assembly in a few weeks.
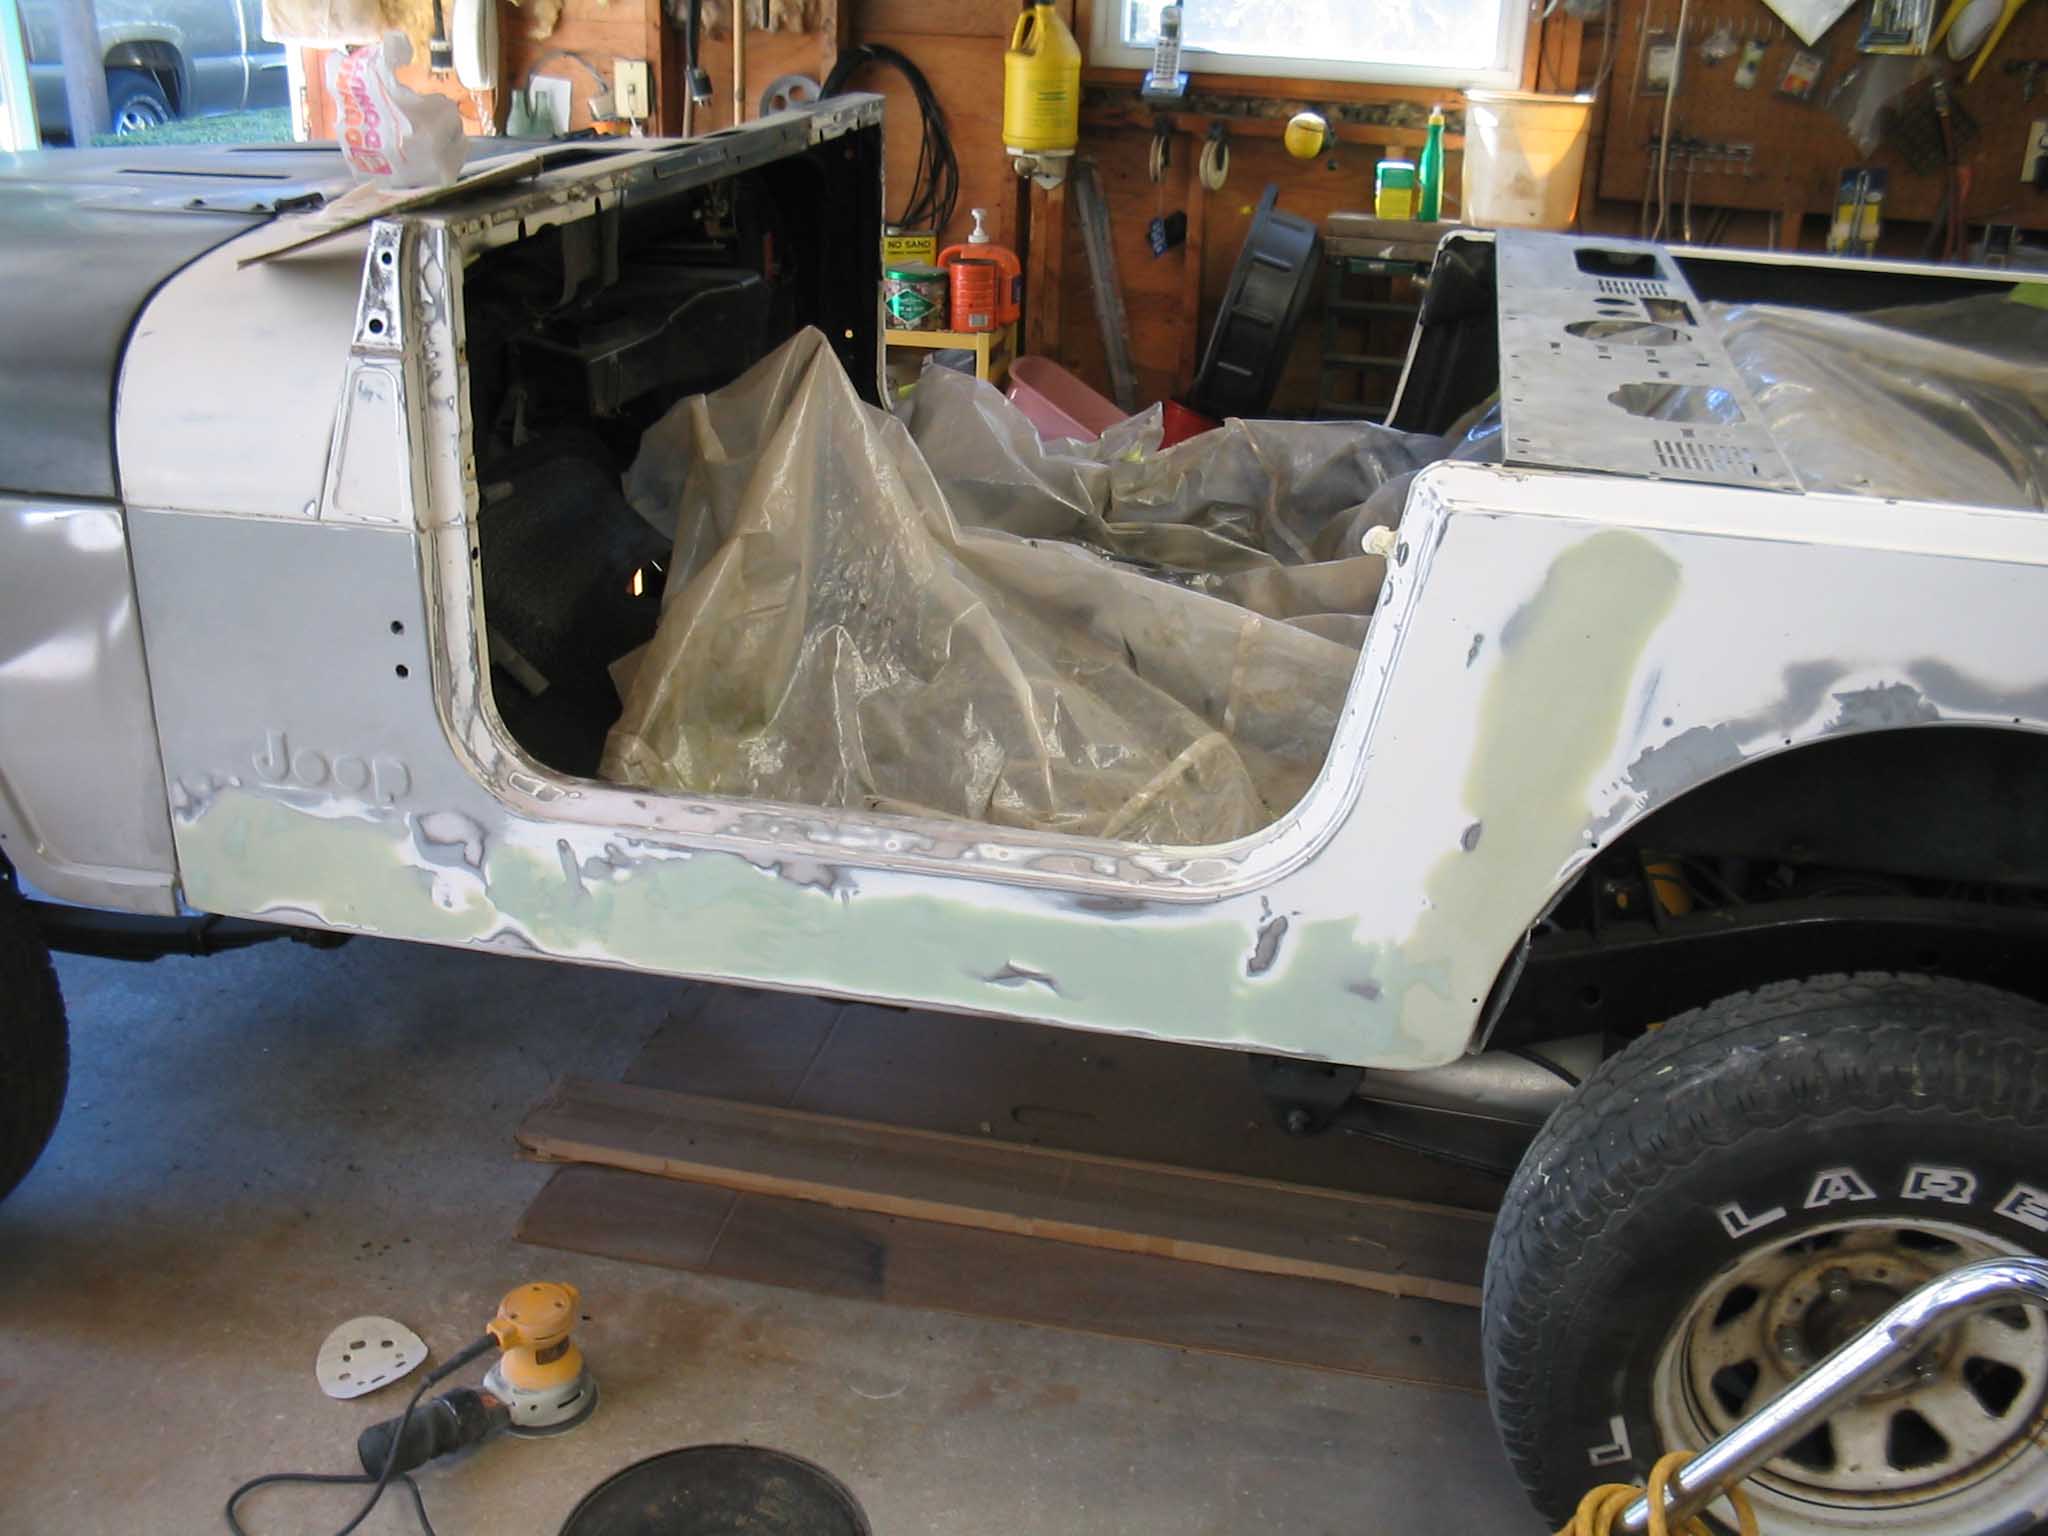
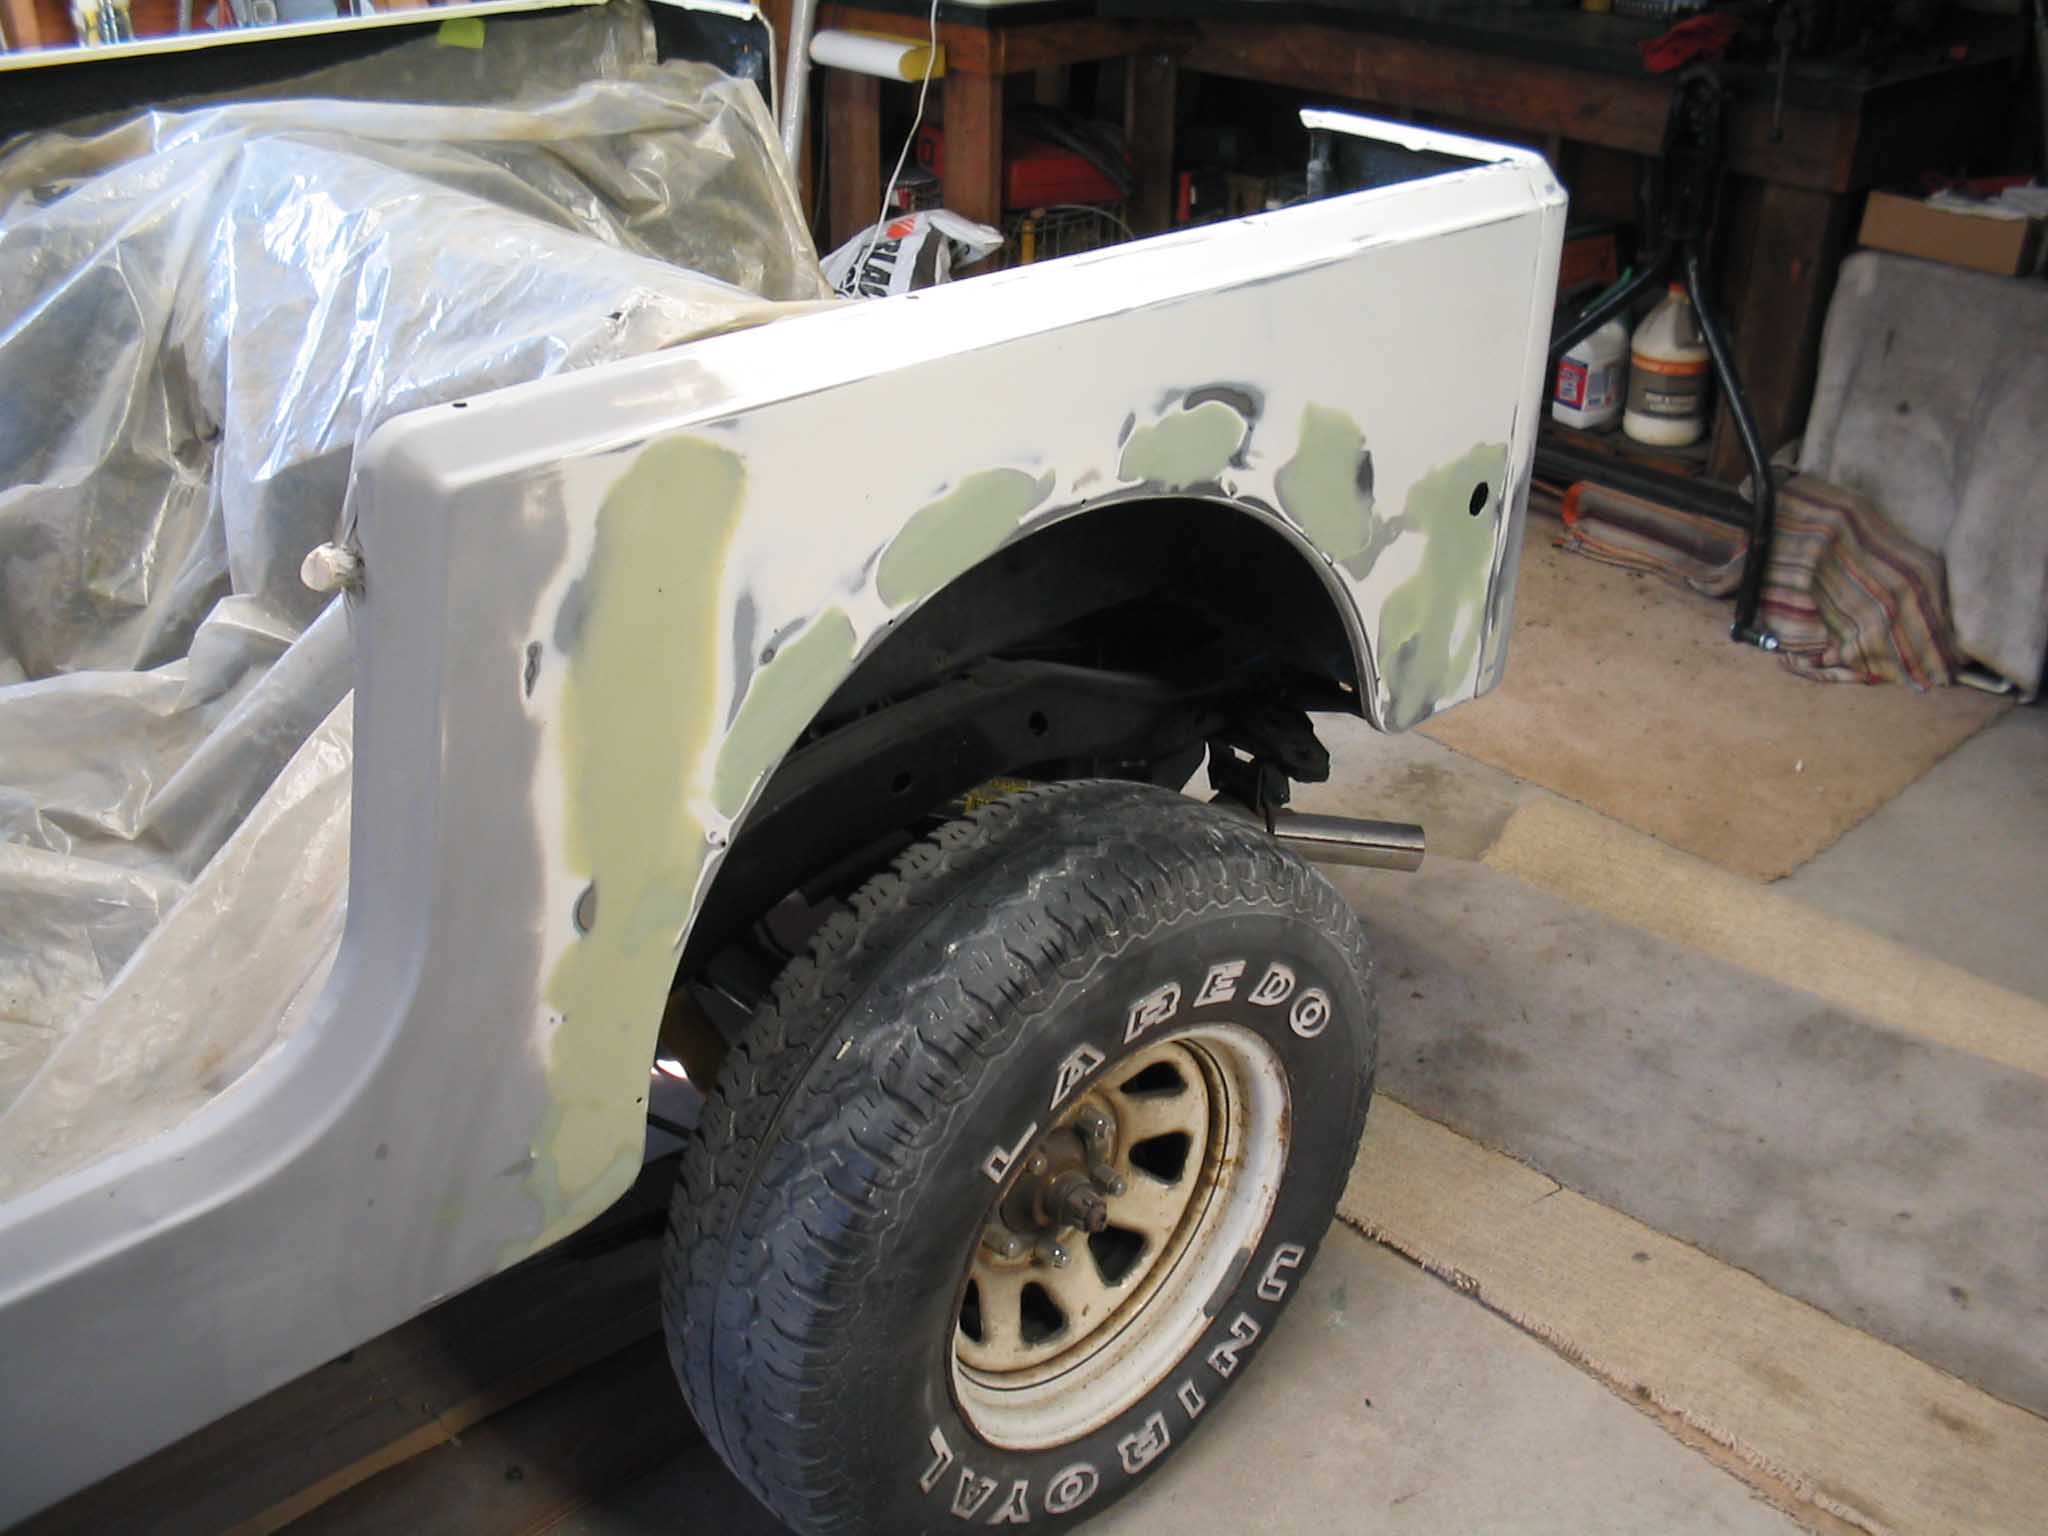
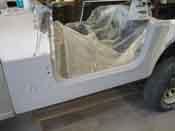
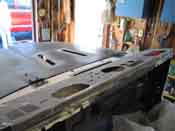
Most of that happened on Saturday with us coming back on Sunday for the bodywork on the Jeep. The Jeep body is a
1989 YJ Wrangler body that was in pretty good shape, however, it had the holes for the side rocker panels as well as
the YJ style rear fender flares, not to mention the gas filler neck was on the wrong side. All of these holes were
welded up, grinded down and then finally a little bit of plastic body filler was applied and sanded smooth. We then
shot a coat of primer on to protect the area until final sanding and paint.
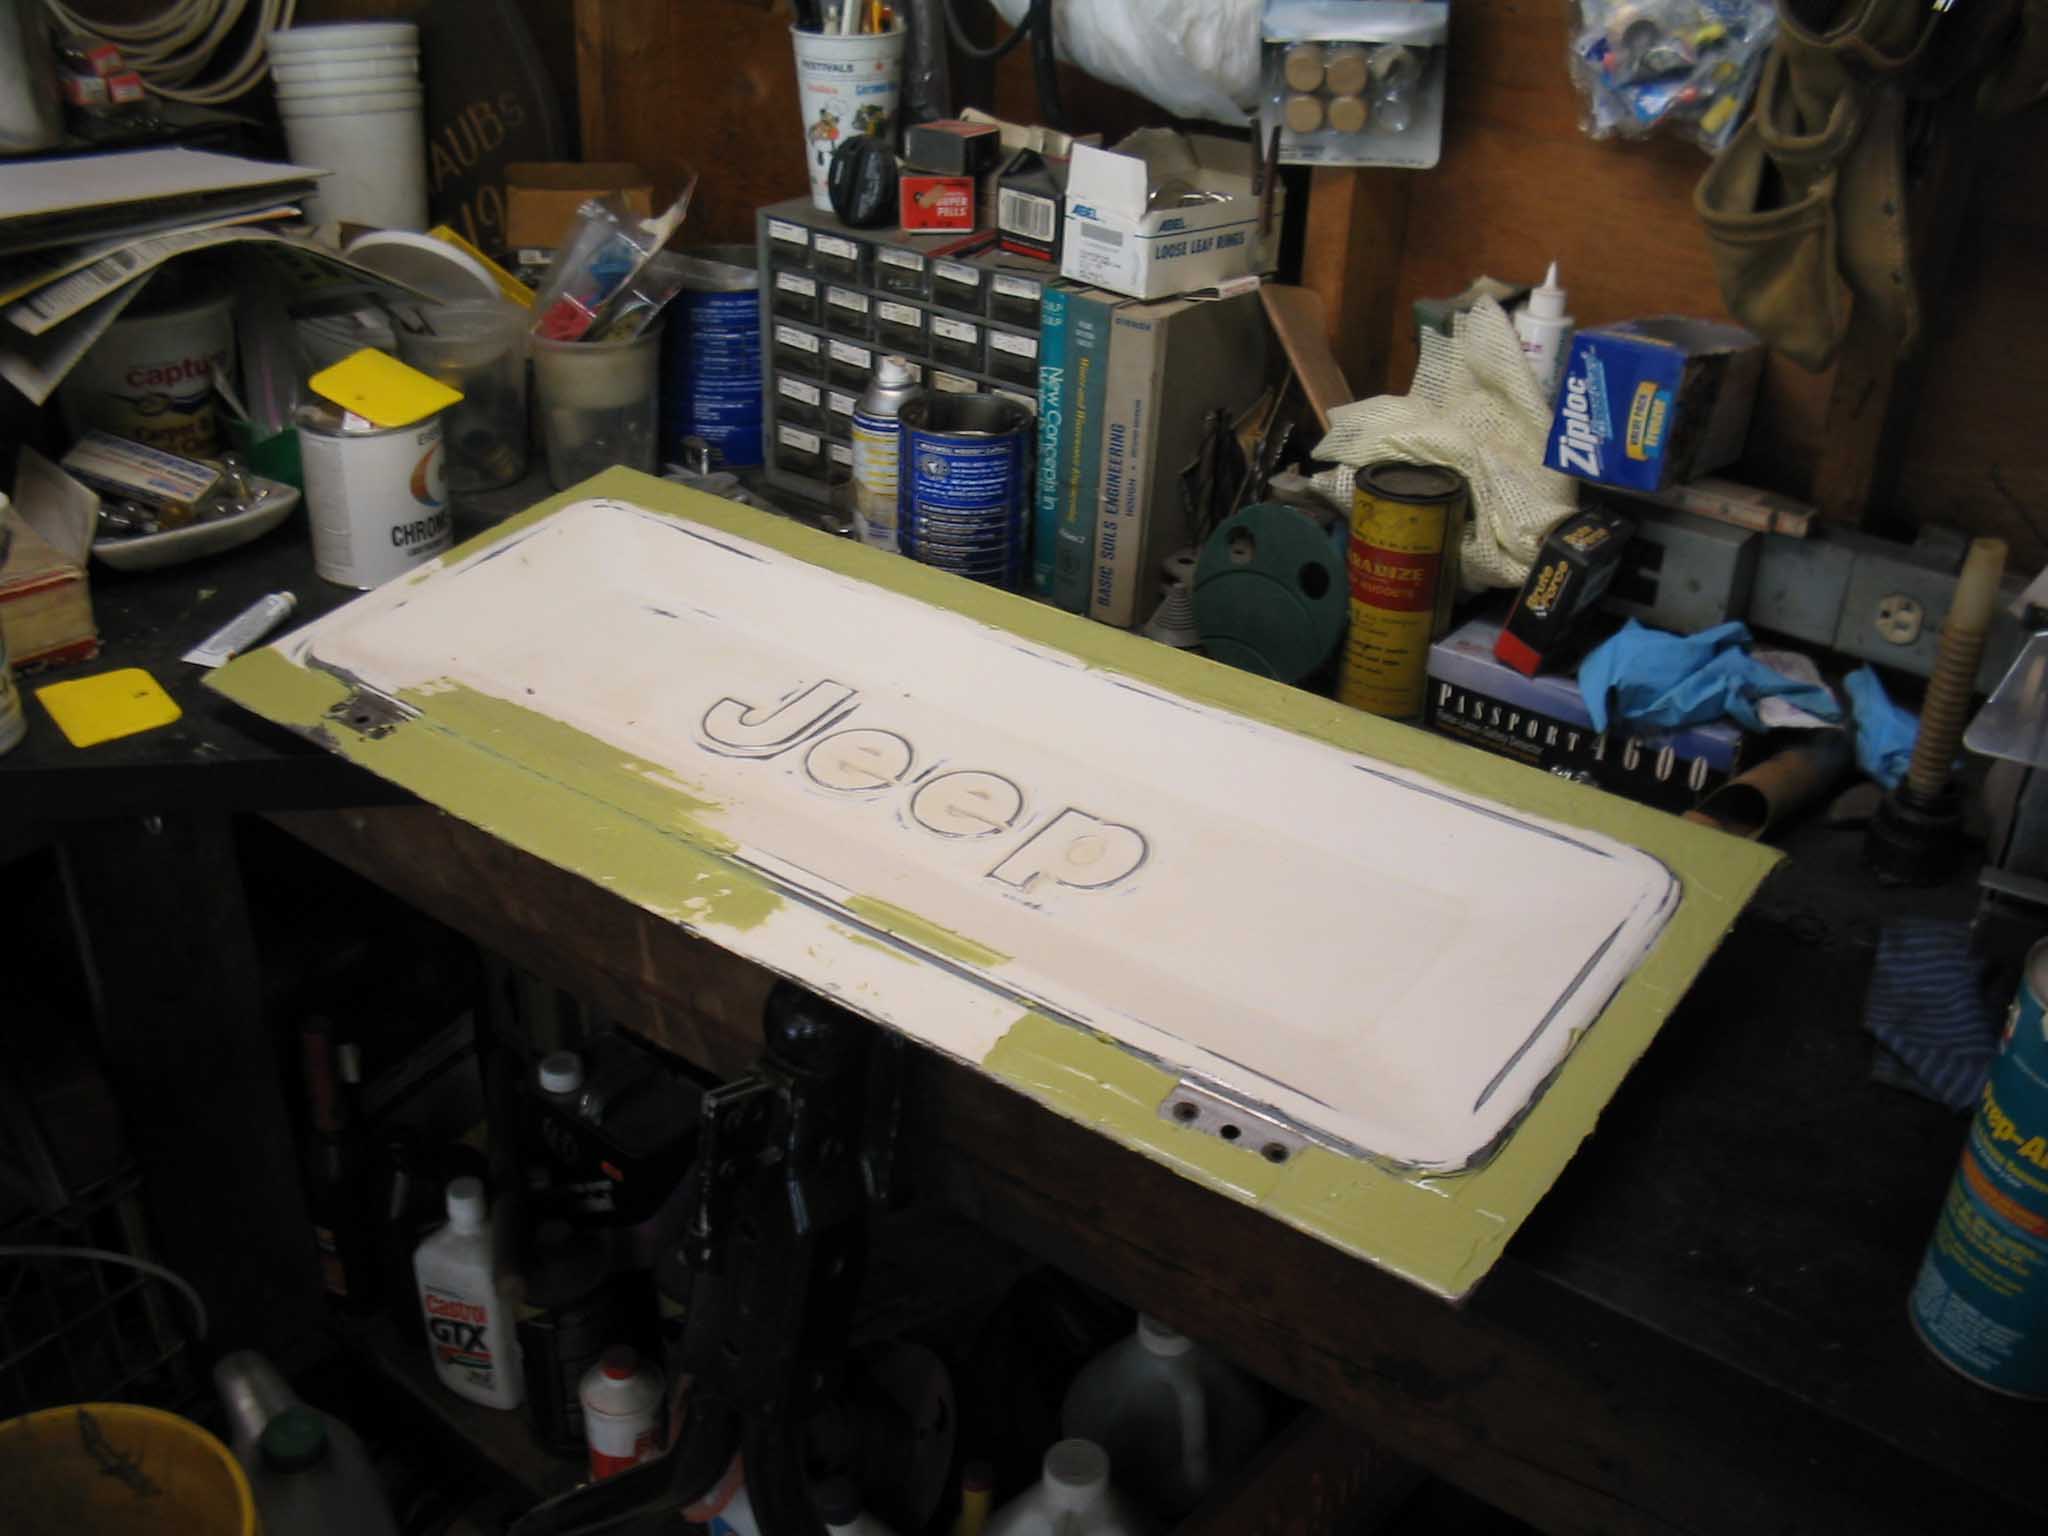
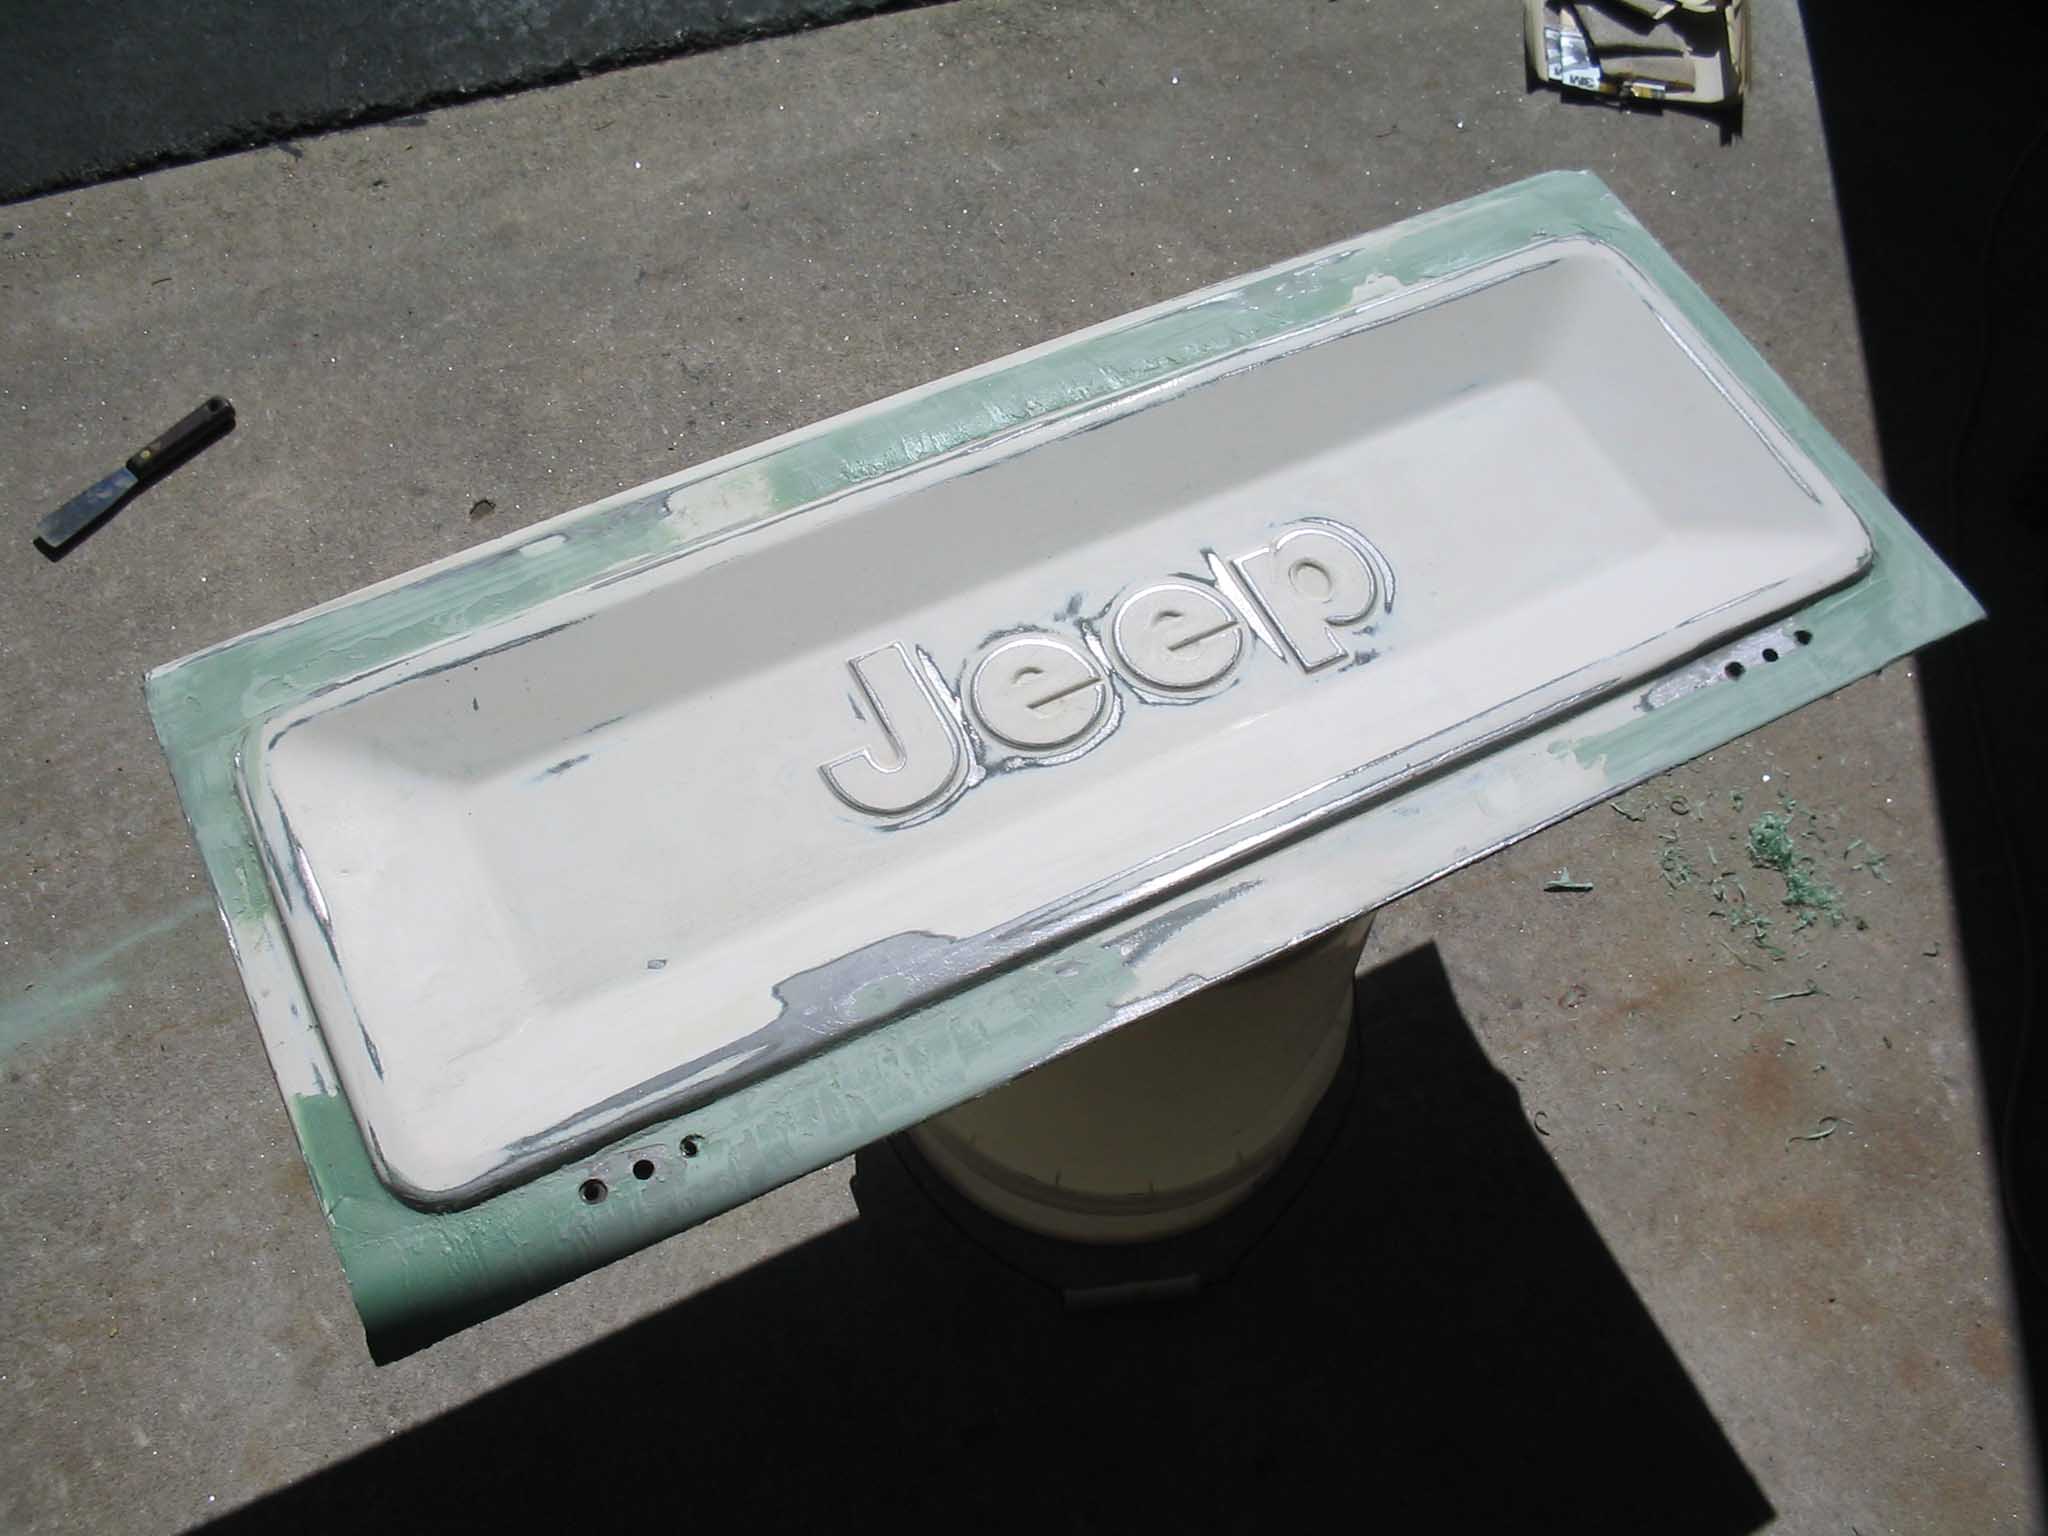
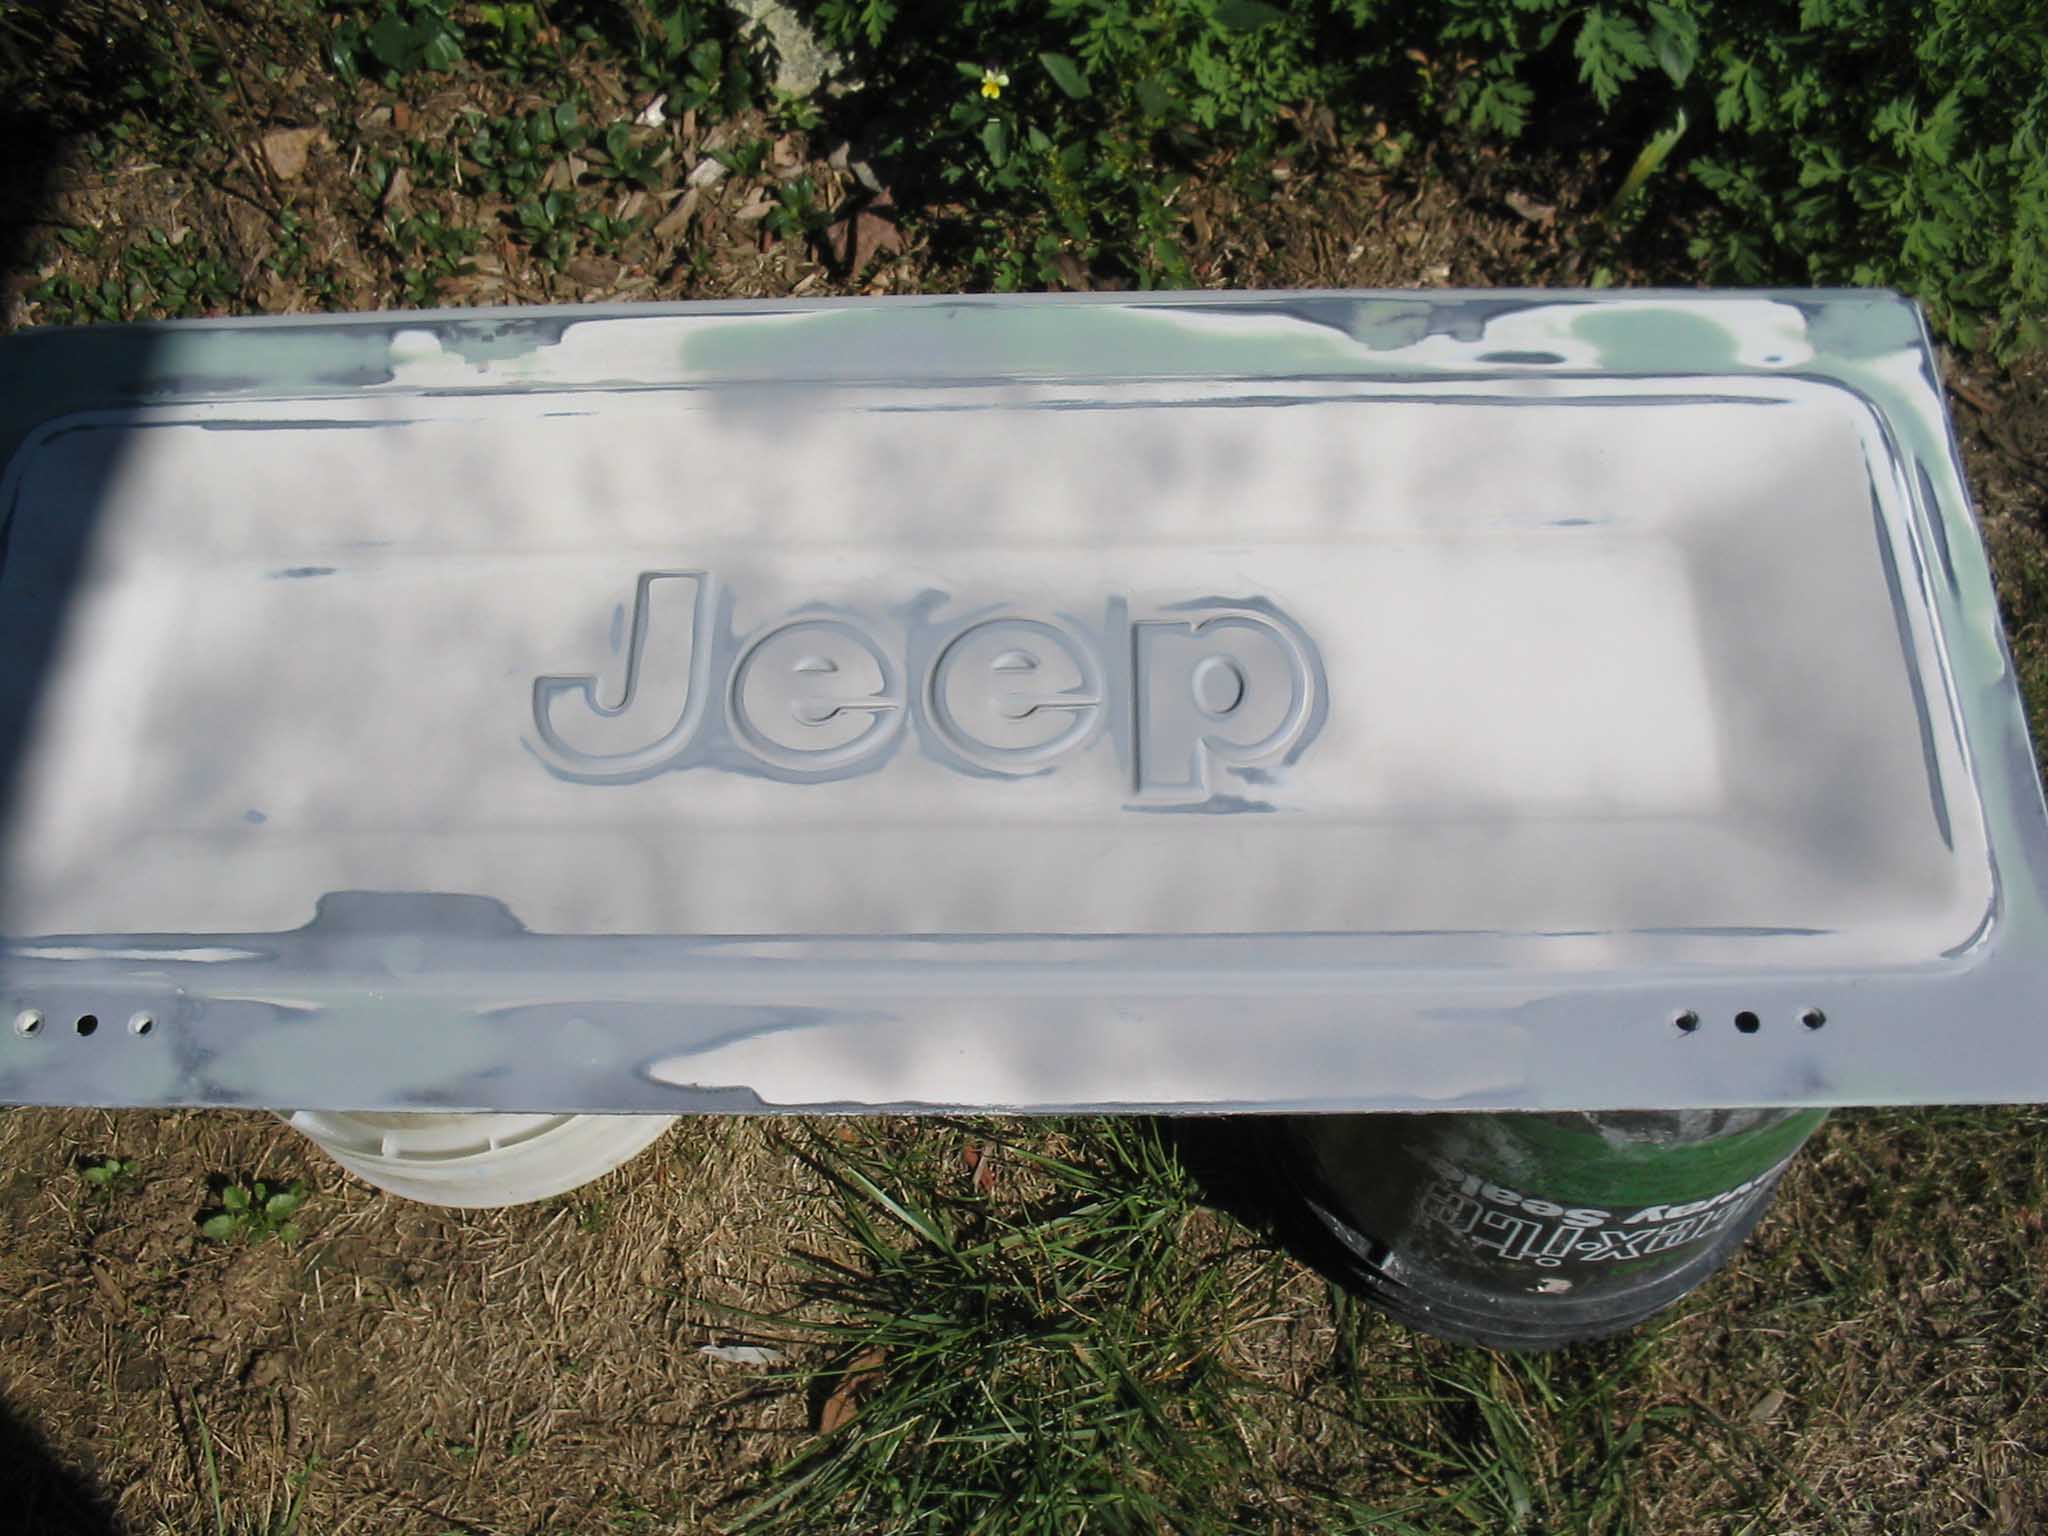
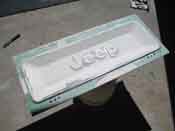
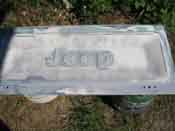
The tailgate was then tackles as it had some holes in it as well from the original soft top mounting hardware. We
then ran out of primer and acetone, so it didn't receive a coat of primer to finish off the work for the weekend, but
during the week, those items will be obtained from the local parts store and then a quick sand next weekend will have
the tailgate looking ready for paint as well.
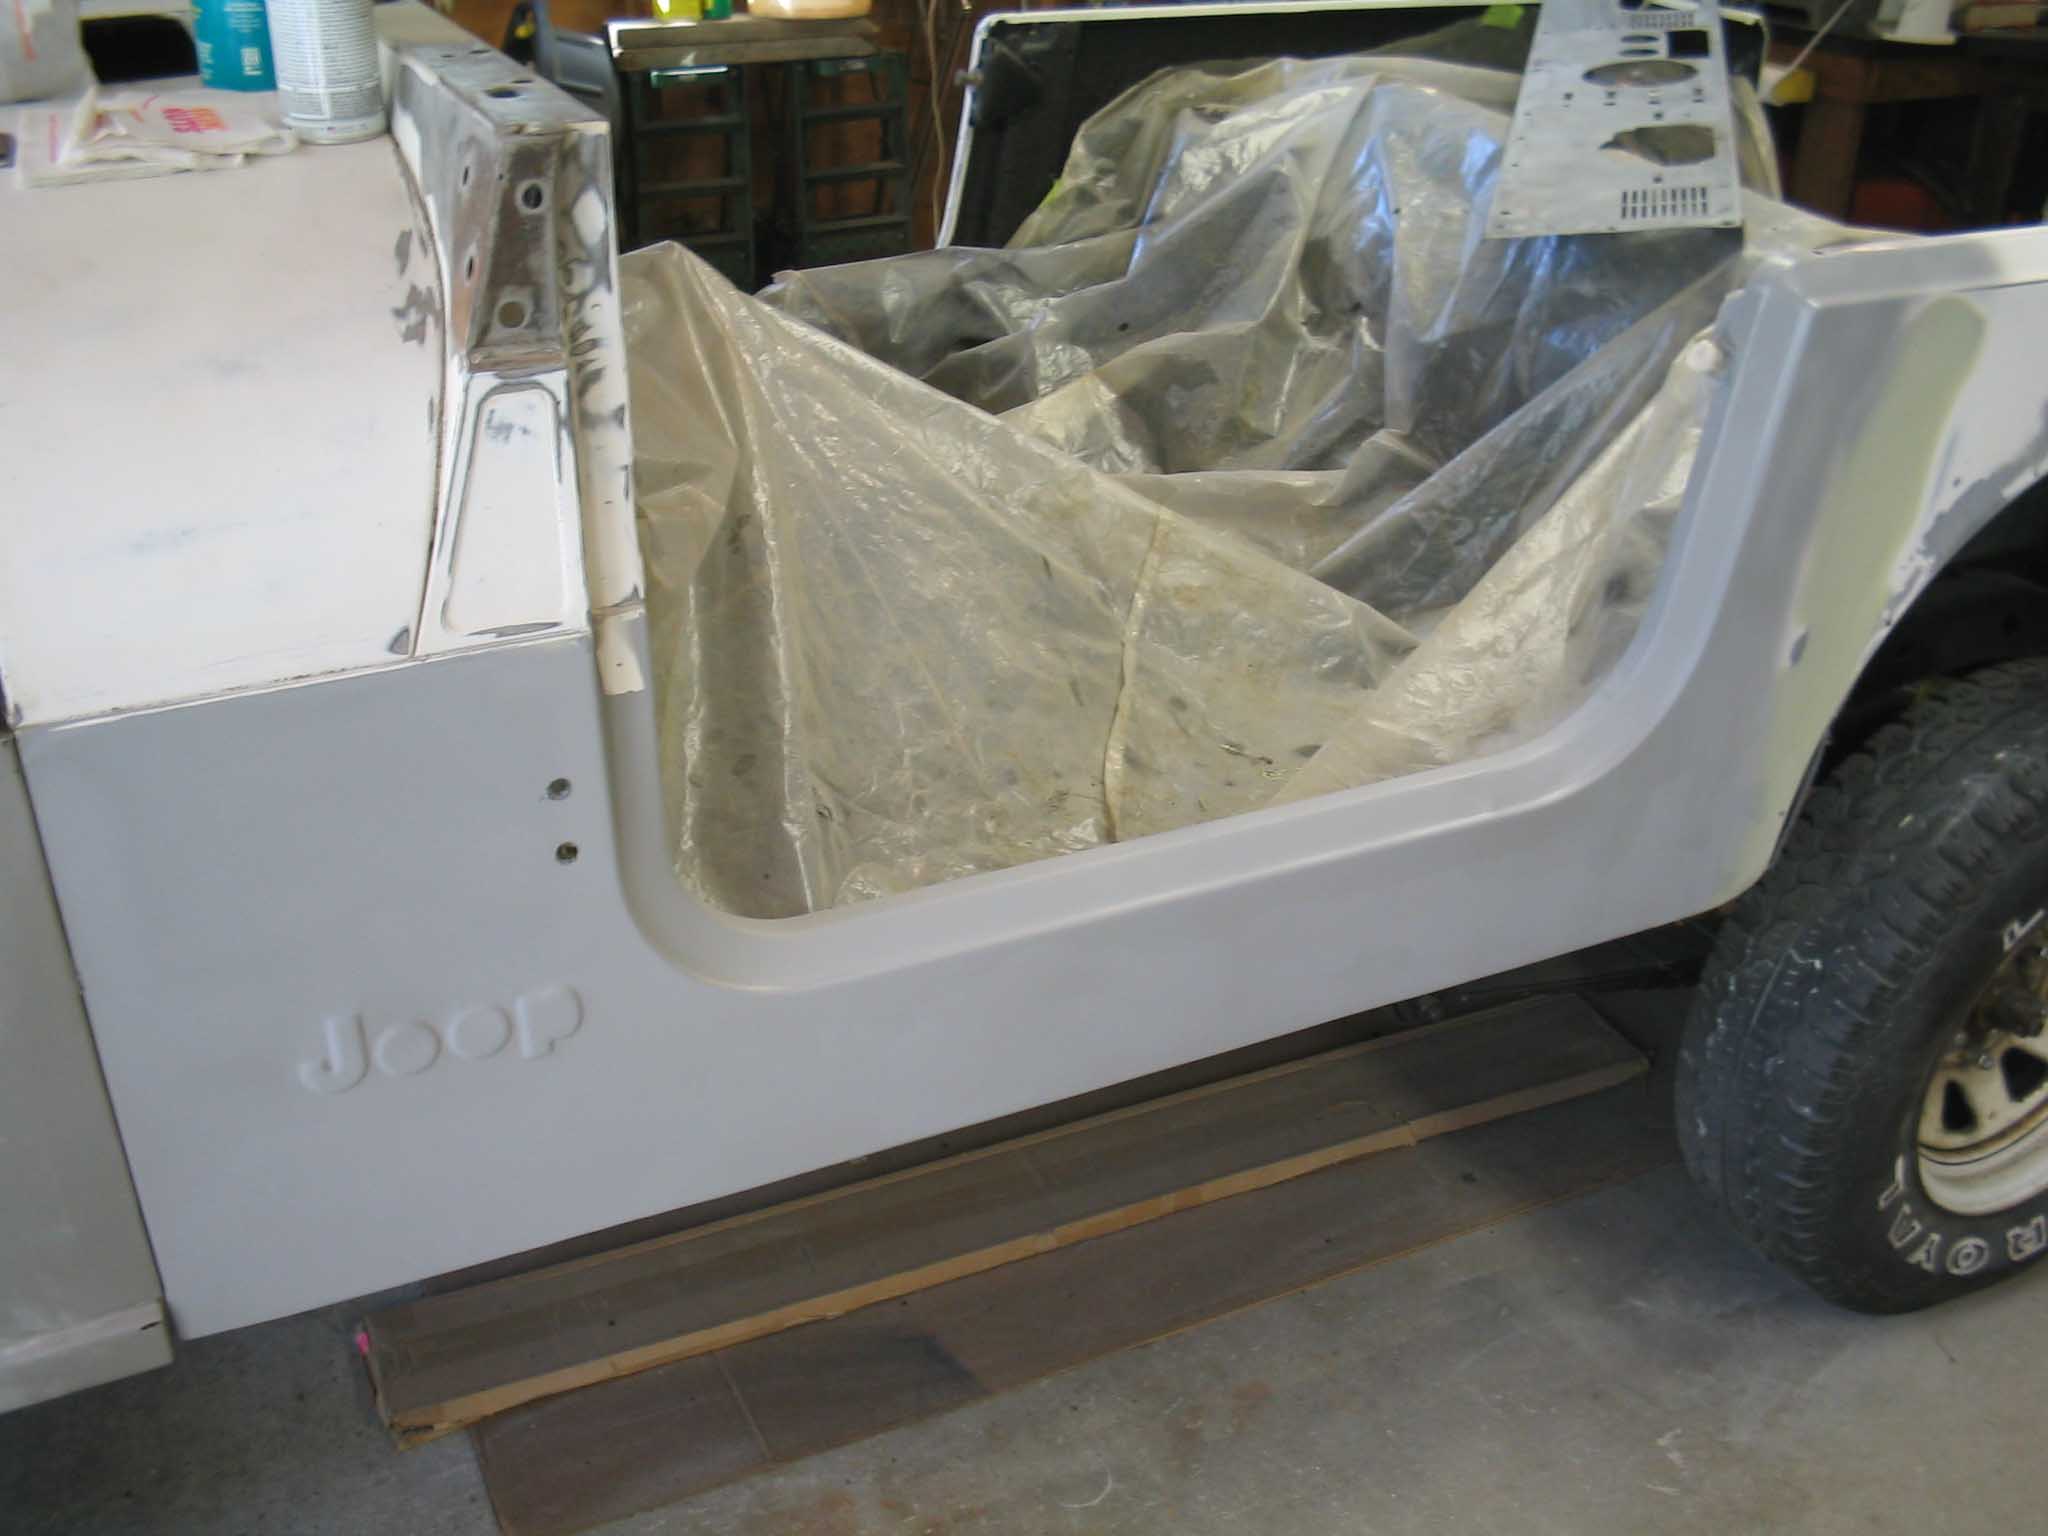
The driver side is all set and next week we will tackle the passenger side. Most of the work is almost done for
paint and soon, this baby will be sitting in 1992 Mustang Yellow paint as this is the color that the firewall is
already as well as the windshield frame. About 16 total hours went into the Jeep this weekend and we have a few more
to go. Thus far, it has been about 140 hours total with probably about 50 more to go until it is completed. It
has really come a long way in the past 4 months and somebody next year will really enjoy driving the reworked Jeep
once it has been completed. That is about all we did this weekend and we have plans for a lot more next weekend.
|
| |
| << Previous |
Next >> |
|