|
|
| Third Project Build-up - Post-Conclusions |
| |
|
1
2
3
4
5
6
7
8
9
10
11
12
13
14
15
16
17
18
19
20
21
22
23
|
| |
| Post-Conclusions |
| |
This is a section that I thought that I would write to just finish up the Jeep, kind of a
Conclusions, after the conclusions because a few things have popped up that really need to be addressed and probably should
have been addressed during the part of the restoration when the frame was off the Jeep.
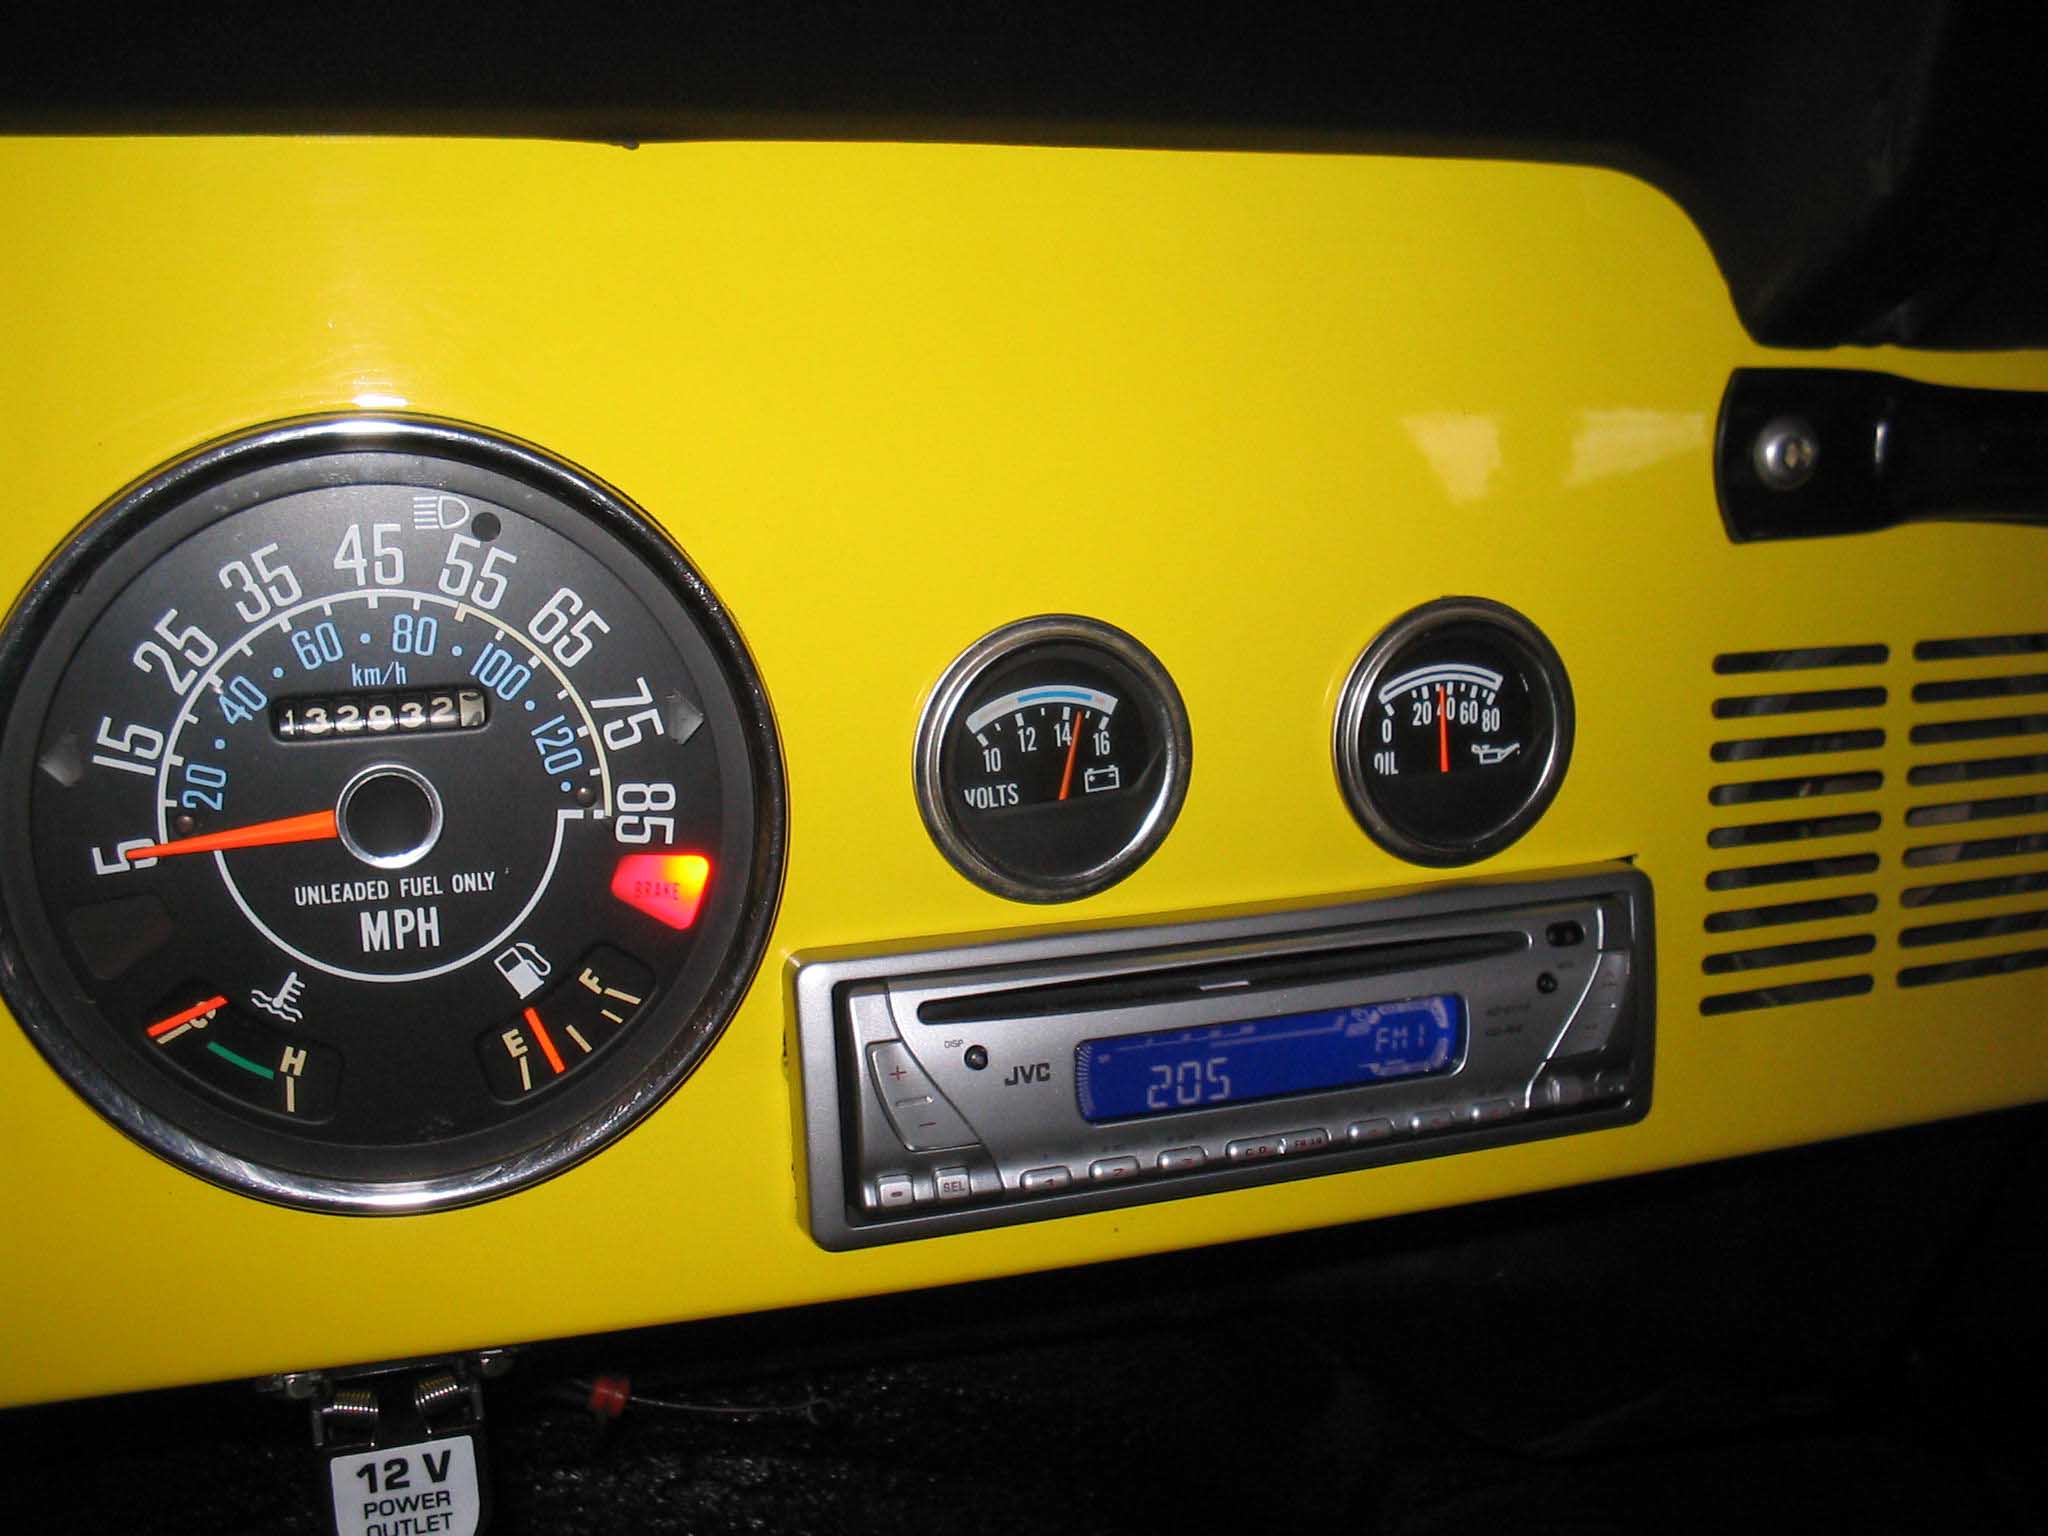
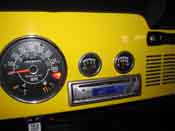
Today (12/04/05), I had to replace the oil pressure gauge, which meant that I had to reach up behind the dash and get to the
dash since it was already installed. This was a PITA because you can't see up there, especially with the seats on, you can't
really get up there and check things out. To make matters worse, I had to take out the CD Player, this was no fun either.
My advice, make sure all the gauges are working when you have the dash hanging on the wire hooks and then again when you bolt
it altogether, prior to putting the CD Player in, this will save you a lot of hassle when it comes to tweaking everything at
the end. You don't want to have to worry about gauges when the dash is altogether. This brings me to my next point. The gauge
turned out to be fine, however, the sending unit was what wasn't working. I had gotten a new one with the project Jeep and
just assumed it was good. I think that maybe it was the old one and the new one had already been put in. Instead of testing
the one that was in the Jeep, I just swapped it out and in turn put in one that didn't work, not too bright and it took a
while to figure that out.
|
| |
|
|

|
|
| |
So, with the dash all back together, I moved onto changing the oil. Not a big deal, it all
drained out and looked pretty good. It was black, but not chunky, and there were no metal flakes in it, so we filled her
back up, started her up and we were all set. The oil filter was changed out as well. This was on a little tight, but nothing
that a filter wrench couldn't take care of. At this point, we moved onto lubing up all the nipples underneath the rig. This
was a little shocking in that we went through an entire tube of grease. Let's just say that the Jeep was dry and without
lubrication. Now everything is lubed up and ready to roll.
The last thing we did on the Jeep for the day was to clean up some wiring and then top off all the fluids in the differentials
as well as the transmission and the transfer case. Everything was in good shape except for the transfer case, which was done
a little. We topped off all these and we were done for the day. Again, this is something that should have been done when the
body was off the frame. It makes it a lot easier to get to the drain holes and fill plugs not to mention getting at the
nipples for the grease gun when they drive shaft is in a funny angle or the gun just is at a bad angle to pump.
A couple thoughts that I had while doing this work was to adjust the rear brakes. This is easily done by going in reverse
and hitting the brakes, but it is something that we haven't done yet. Also, I realized that I am not sure if the speedometer
is working or not. I have to check this out the next time I go for a ride. Totally aside, but when using parts obtained from
someone else's project, it might be a good idea to check them out and see if they work prior to putting them on the rig
because it will just cause you pain and suffering in the end. Some people (myself included) tend to keep the parts that they
take off, especially during preventative maintenance because, who knows, you might need a spare spark plug wire, or perhaps
the sending unit fails. If this is the case, they the parts you inherit might be the old ones and not the new ones. In this
case, they might be broken. Bottom line, go with what you have until you know it is broken and then swap it out.
|
| |
| Thoughts to Consider |
| |
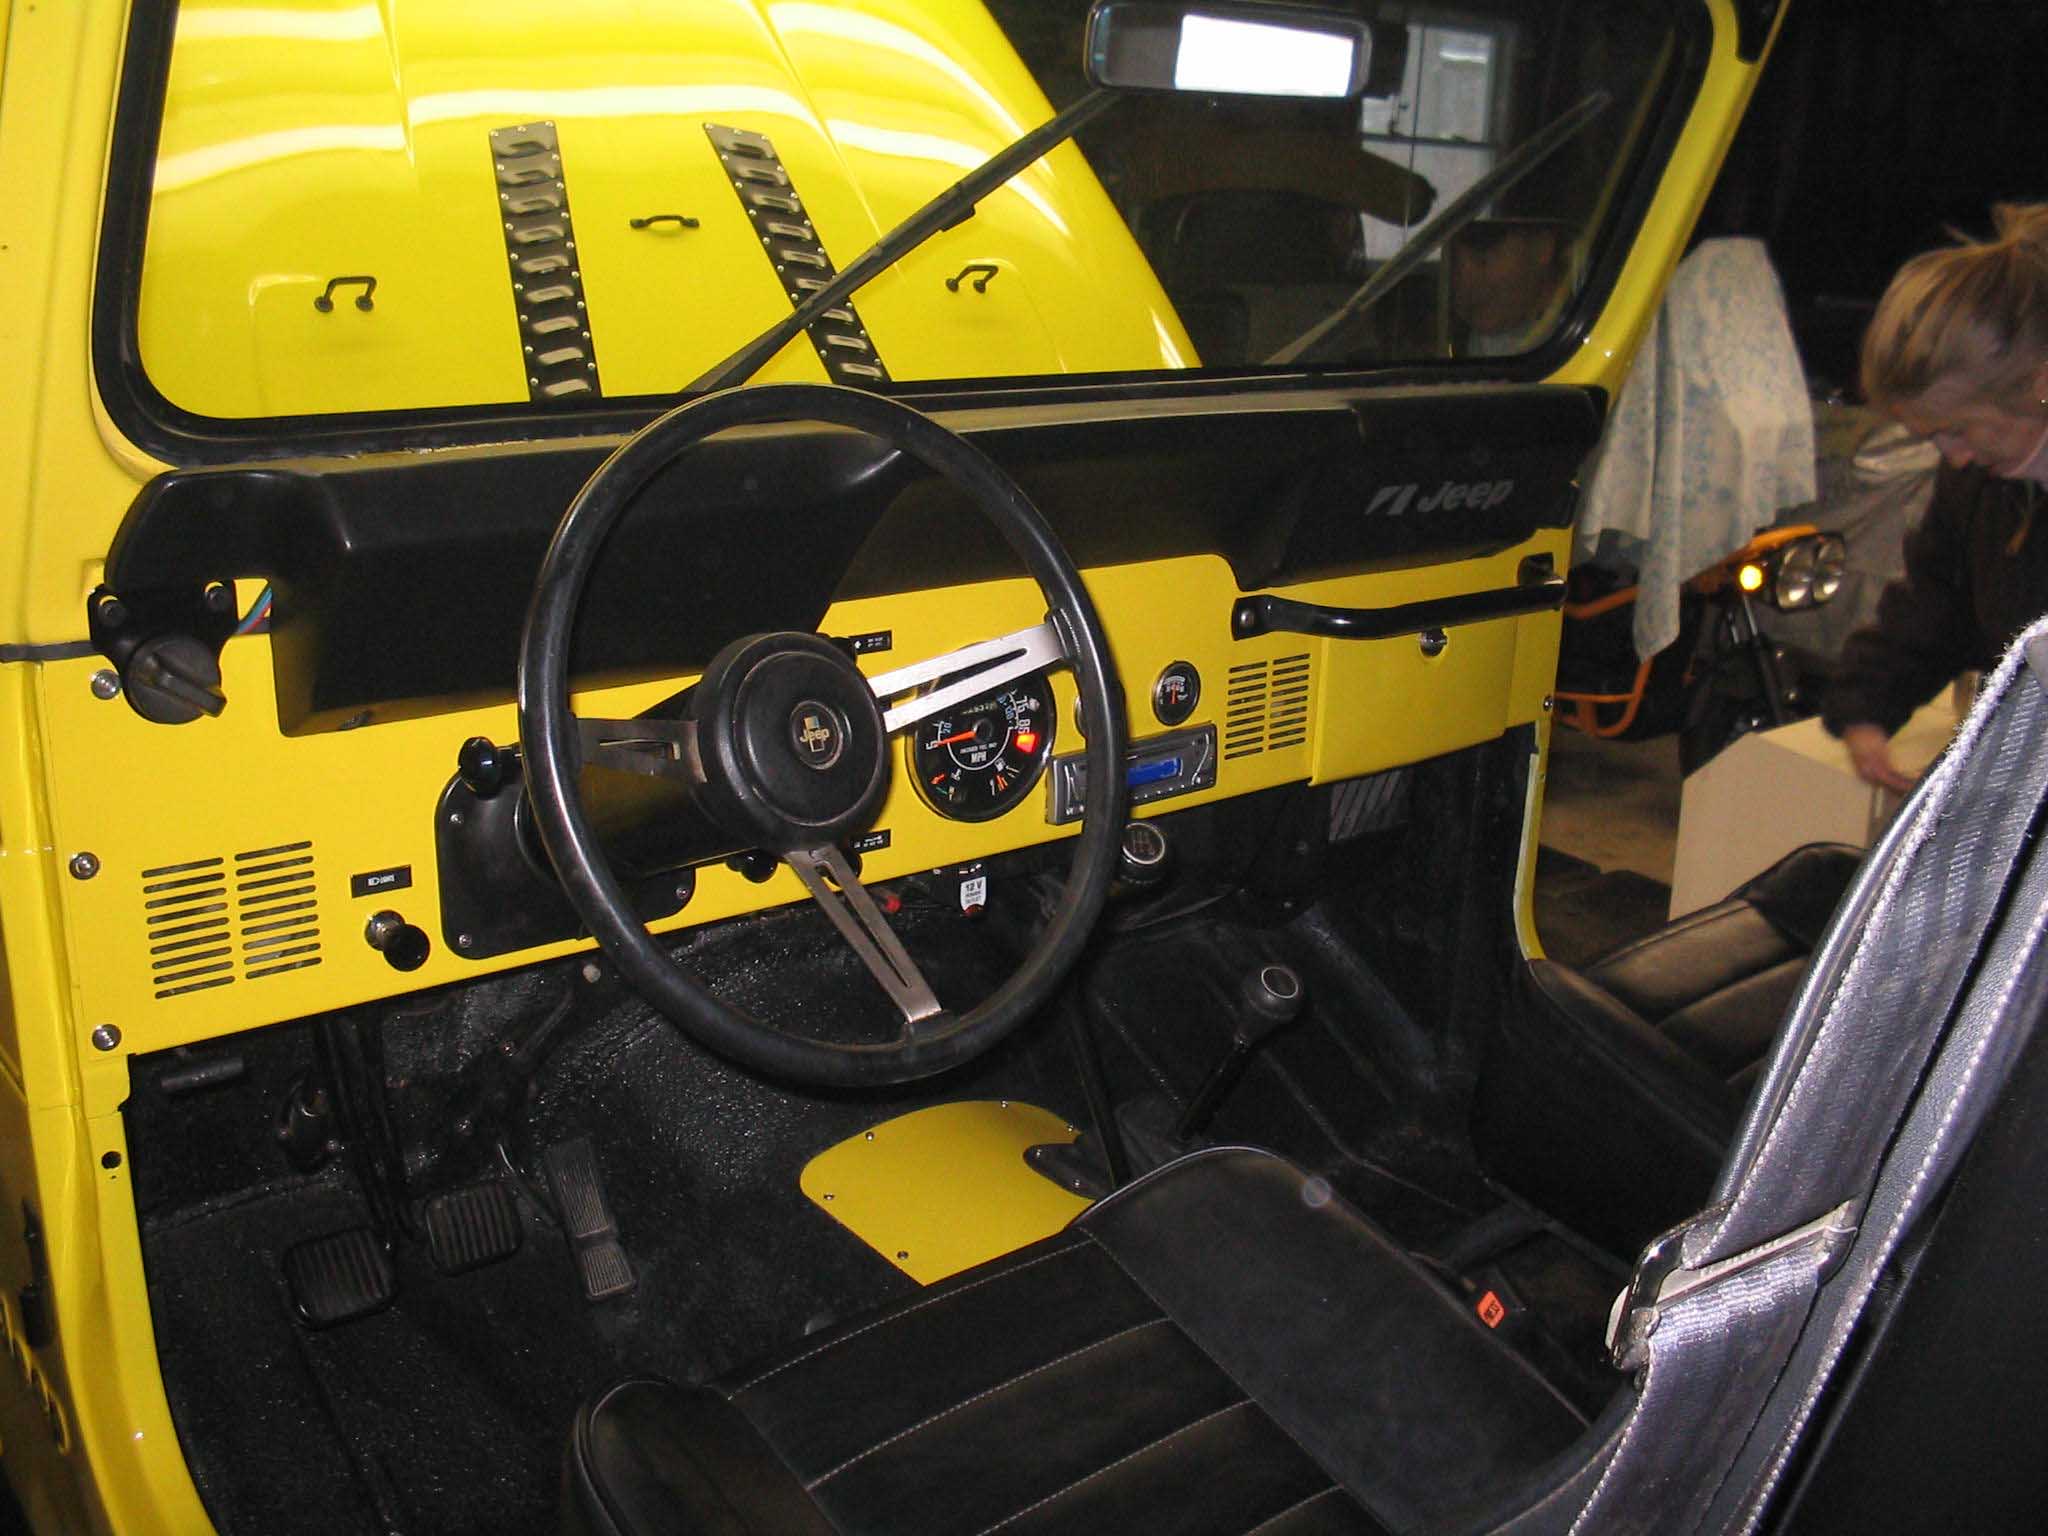
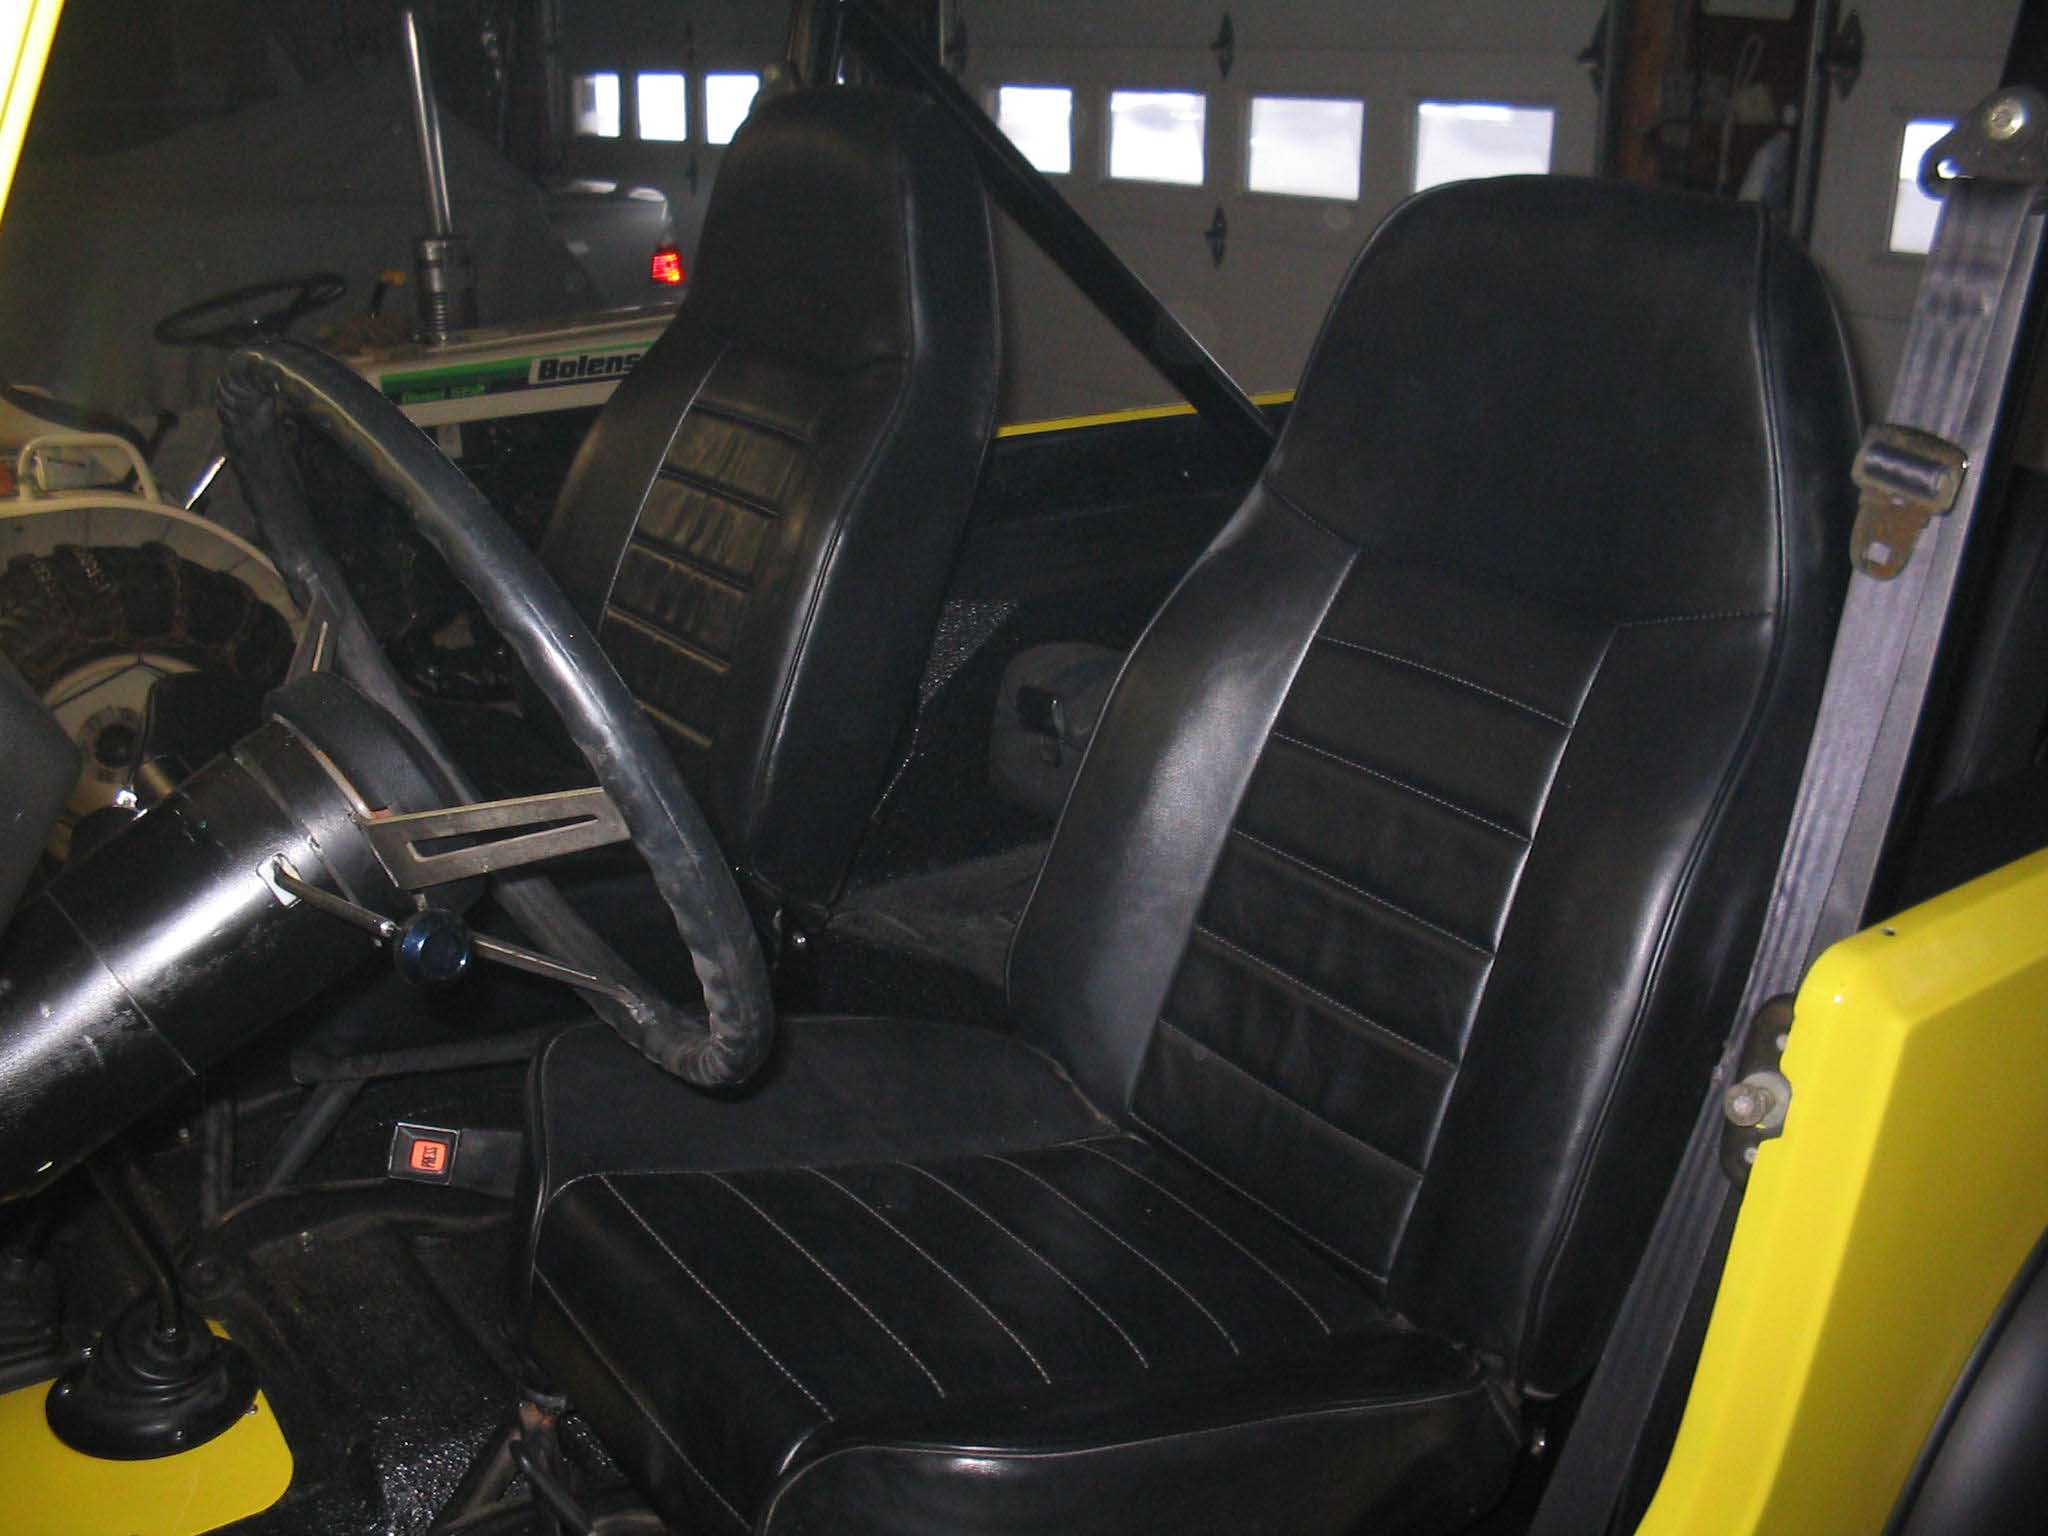
As I look back over the project, there were definitely times that I wish I had done
something when the body was off or when the dash hadn't been put in or things to that effect. Definitely the last things
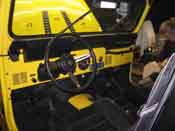
to go into the Jeep are the seats; there is no reason to have them in there. The steering wheel is debatable since it could
be used to steer the vehicle, however, it makes it difficult to have it in when the dash is not in. The windshield is also
something that should wait until the end. This makes it much easier to do work on the firewall and run wires and such.
Before the heater goes in, run the hoses for the windshield wiper fluid, this makes it much easier in the end, trust me!
Battery tray in before the heater assembly. Headlight switch on the floor before the foot pedals go in. Adjust the clutch
linkage right away when putting in the foot pedals, don't wait until the end. Fit wiper bottle and coolant prior to getting
the fenders painted to avoid scratching them and having to repaint. Get the battery that you are going to use upfront and have
it situated in the tray along with the cables so you get the correct length. Notch the transmission pan if you are doing a
body lift and make sure it shifts correctly prior to painting if you are doing that. Painting first vs. Herculining first,
this is a debate that can only be solved during the time available to do the work. I cleaned up afterwards with a scrub
brush, make sure the seats aren't in there and you should be able to get all the dust out pretty easily.
Make sure all welding is done prior to the herculiner. Either smooth the entire tub or leave the holes (swing out tire
carrier) I left some in and it doesn't look right. Make sure you have the stainless bolt kit up front and laid out in what
you are going to use and what you aren't. This saves time when looking for bolts. Also, make sure you have all tools upfront.
I spent a lot of time going out to get tools, sandpaper, cut off parts, welding supplies, etc. and that chews up a bunch
of time. Good droplights are also a good idea. This helps out a bunch. Having the tires/wheels at the time of fitting the
body would have been a good idea to make sure that you have enough lift for what you are putting on the rig. Make sure you
know all the steps of the 12 needed to convert the wrangler body to a CJ that you plan on doing and stick to it, I just kept
going and kept finding new things to do. Mainly make sure you do the dash adjustments prior to paint as well as the hold in
the firewall and the foot high beam indicator. The rear cross member should be done with the frame off and the fender flares
done with the body on or off, just prior to paint. Make sure everything is very smooth and don't warp the metal.
Make sure you go over all the work done by the previous owner; they may have done some short cuts. Basically we found a few
issues with the coated frame that should have been painted better and the inside of the frame cleaned out a bit better. So,
don't take for granted that they did everything right. Make sure you go over the brakes, all the lines, both gas and brake to
make sure they are tight and not leaking, and finally get the radiator tested if you are reusing it as a shop can tell you
better what kind of life it has left. You want to maximize your working time and minimize your running around time, so if you
follow these steps, you will end up in better shape. Always try to think 10 steps ahead and make sure you have all the parts
you are going to need for the following weekend. If you need something for the following week, make sure you order it up
ahead of time.
cb 12/05/05
|
| |
| << Previous |
First |
|