|
|
| Project "Moab" a.k.a "Just a Tub Swap" - part #11 |
| |
|
1
2
3
4
5
6
7
8
9
10
11
12
13
14
15
16
17
|
| |
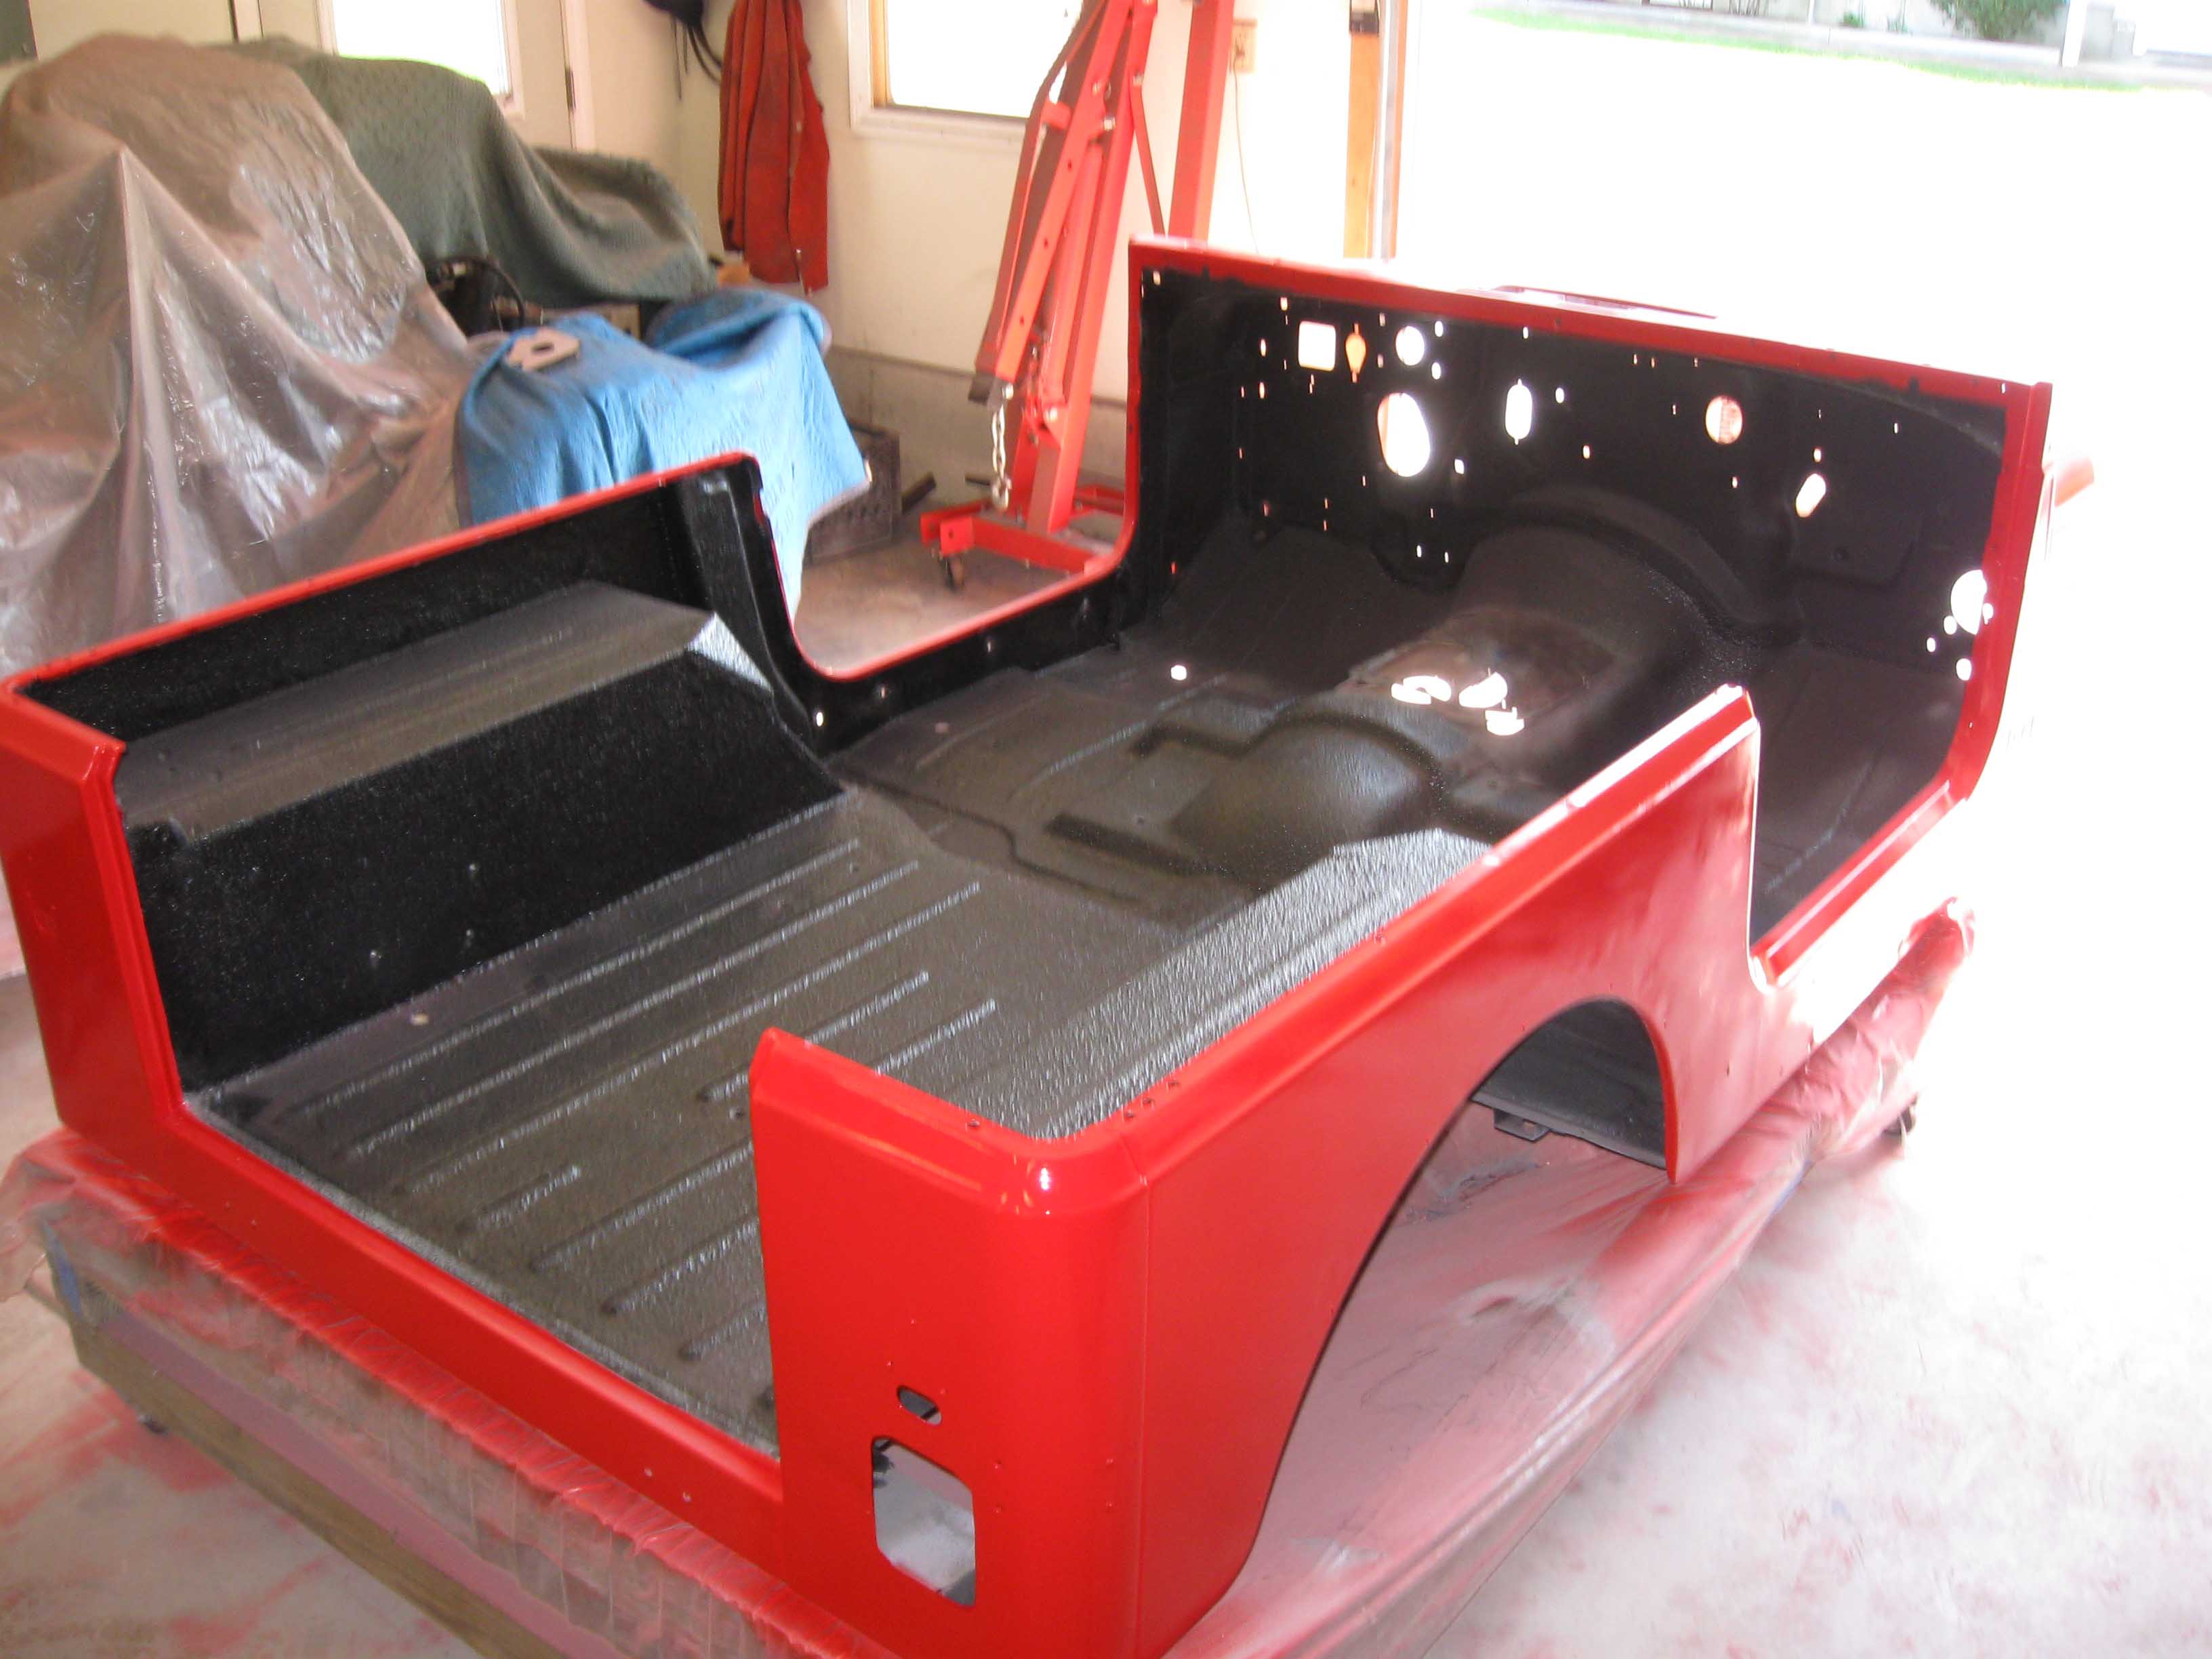
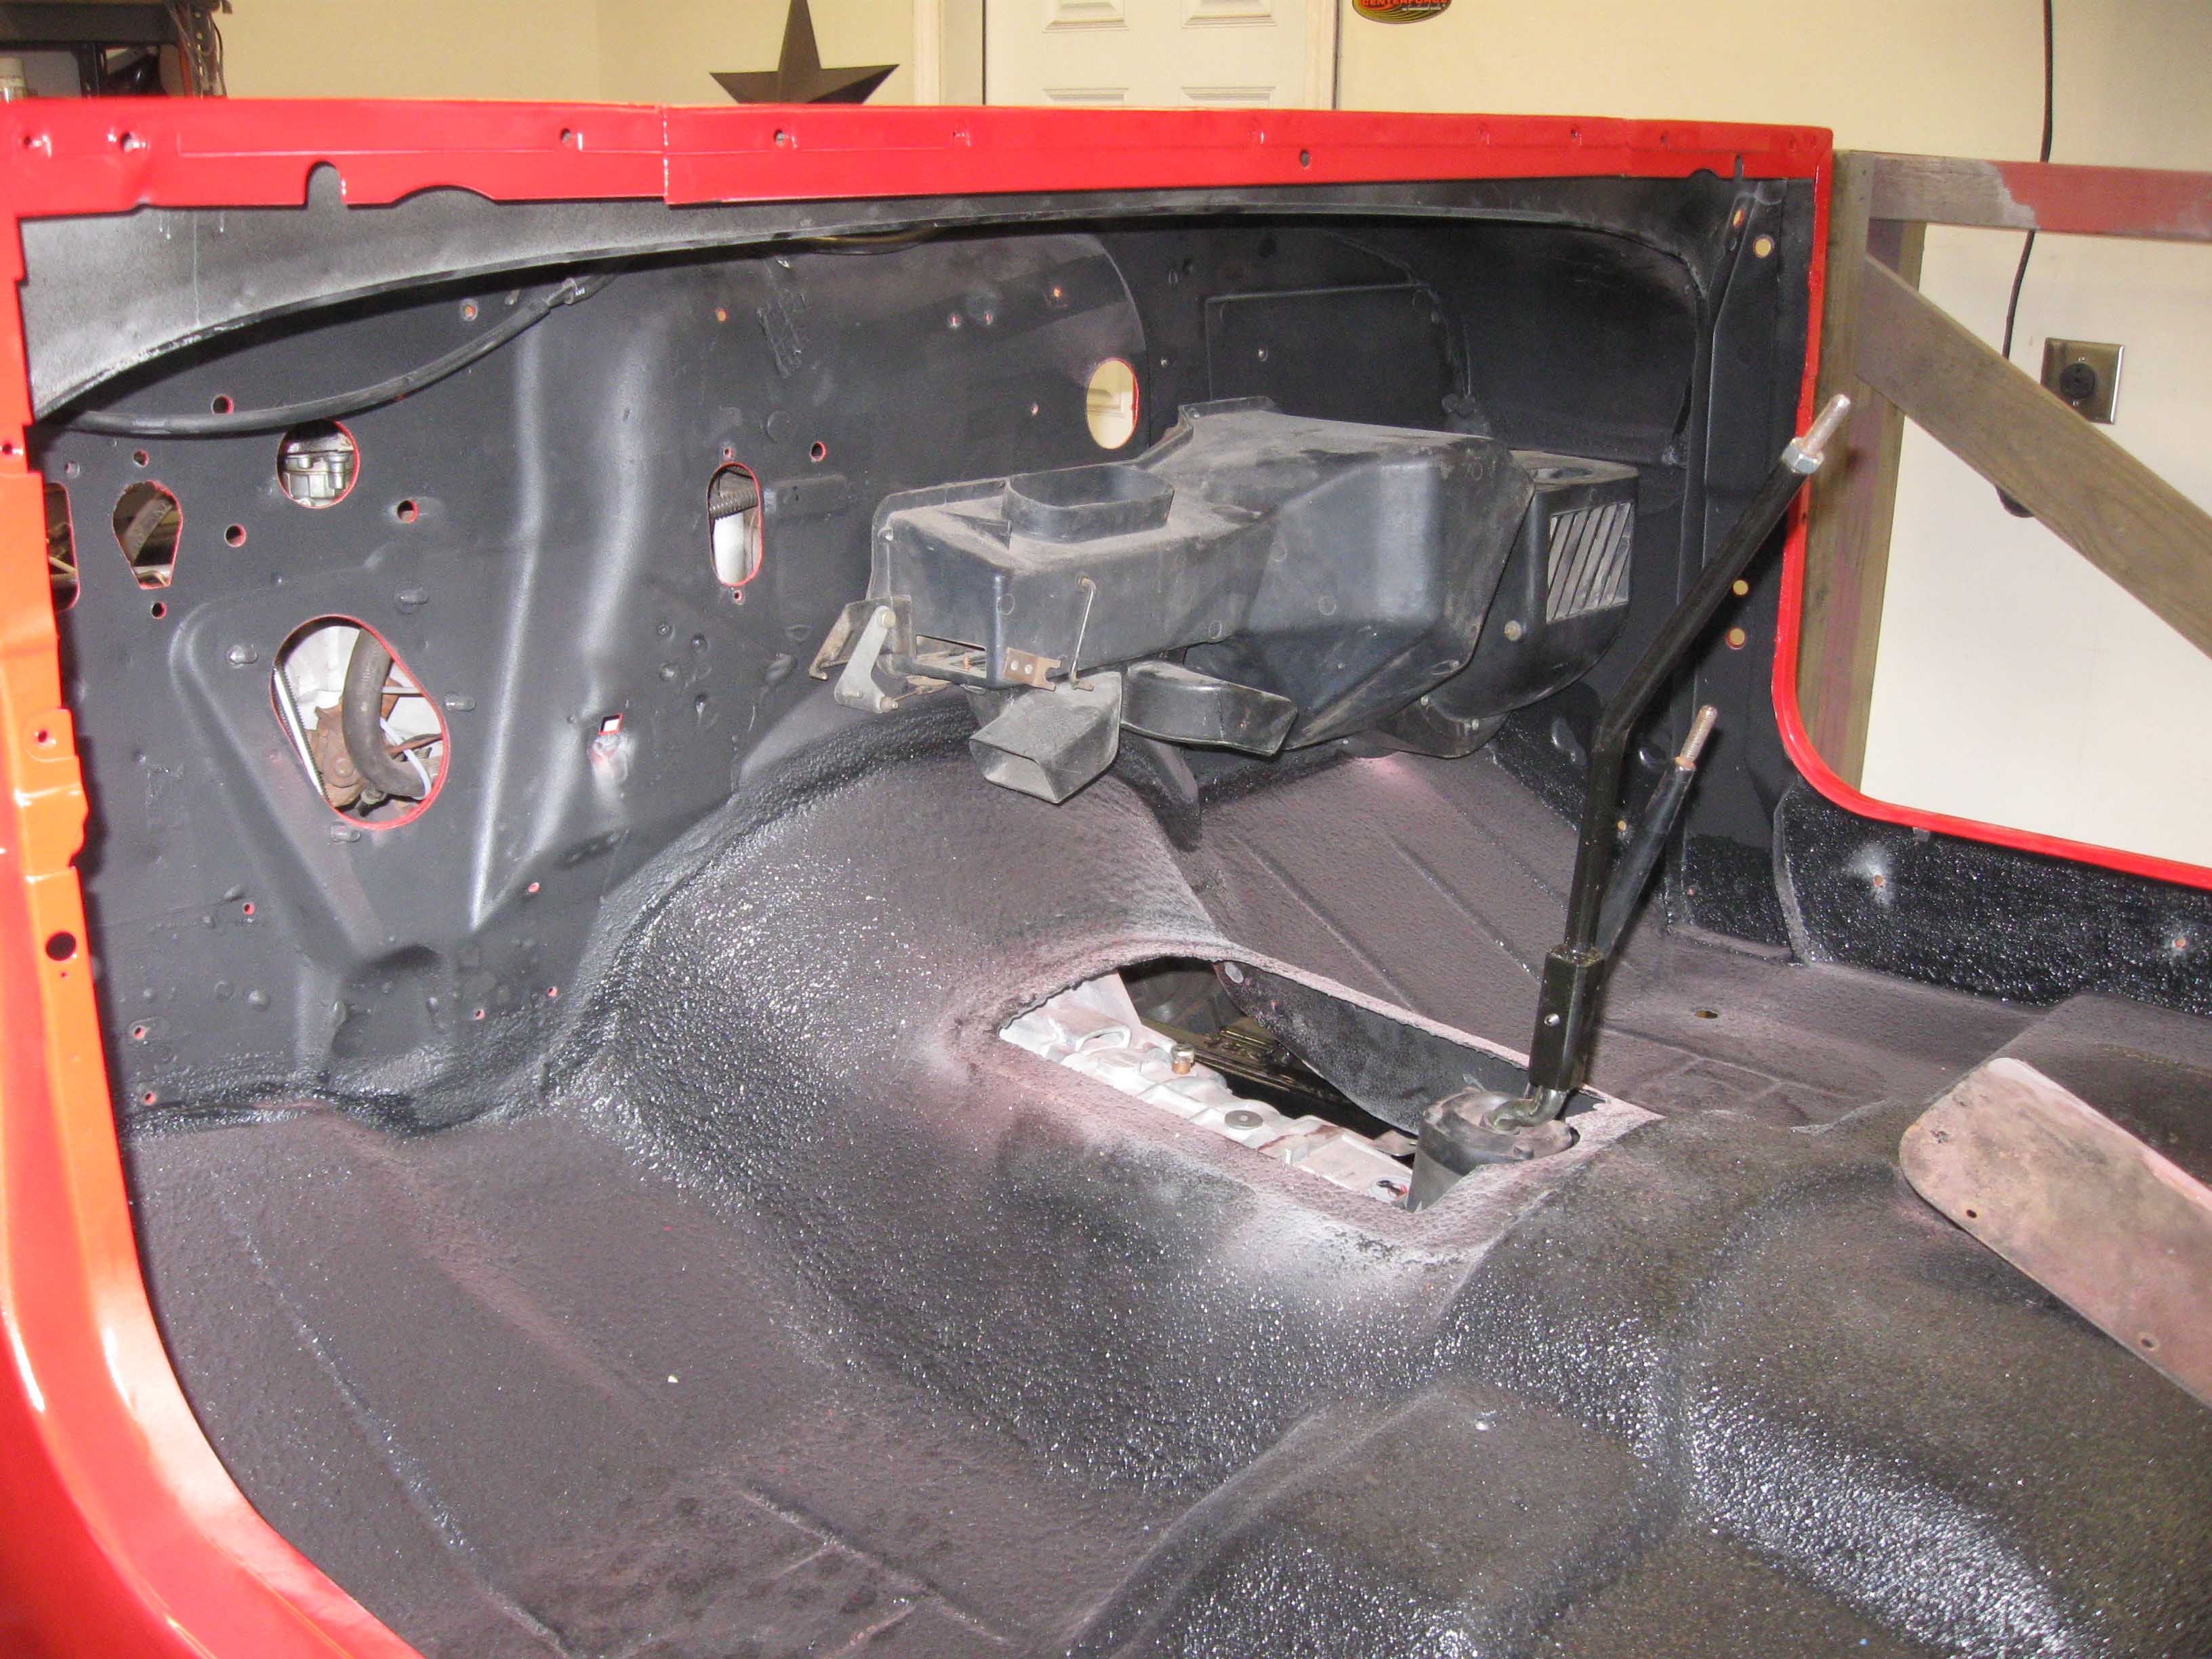
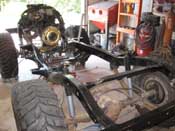
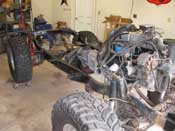
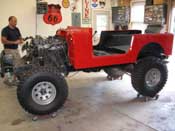
| (07/11/09) The last couple days have been crazy busy with working on the Jeep. In
a nutshell, the Jeep is painted and cleared, the undercoating and inside herculining is done and we have started to
put the drive train back together. It has taken many many hours to get to where we are right now... basically there
has been almost 300 hours total so far... in labor, Internet, and driving time. I know it seems high, but I am
tracking every last minute on this project to see what is really entailed in doing this soup to nuts, starting
with what we thought was a pretty decent rig.
|
| |
|
|
|

|
| |
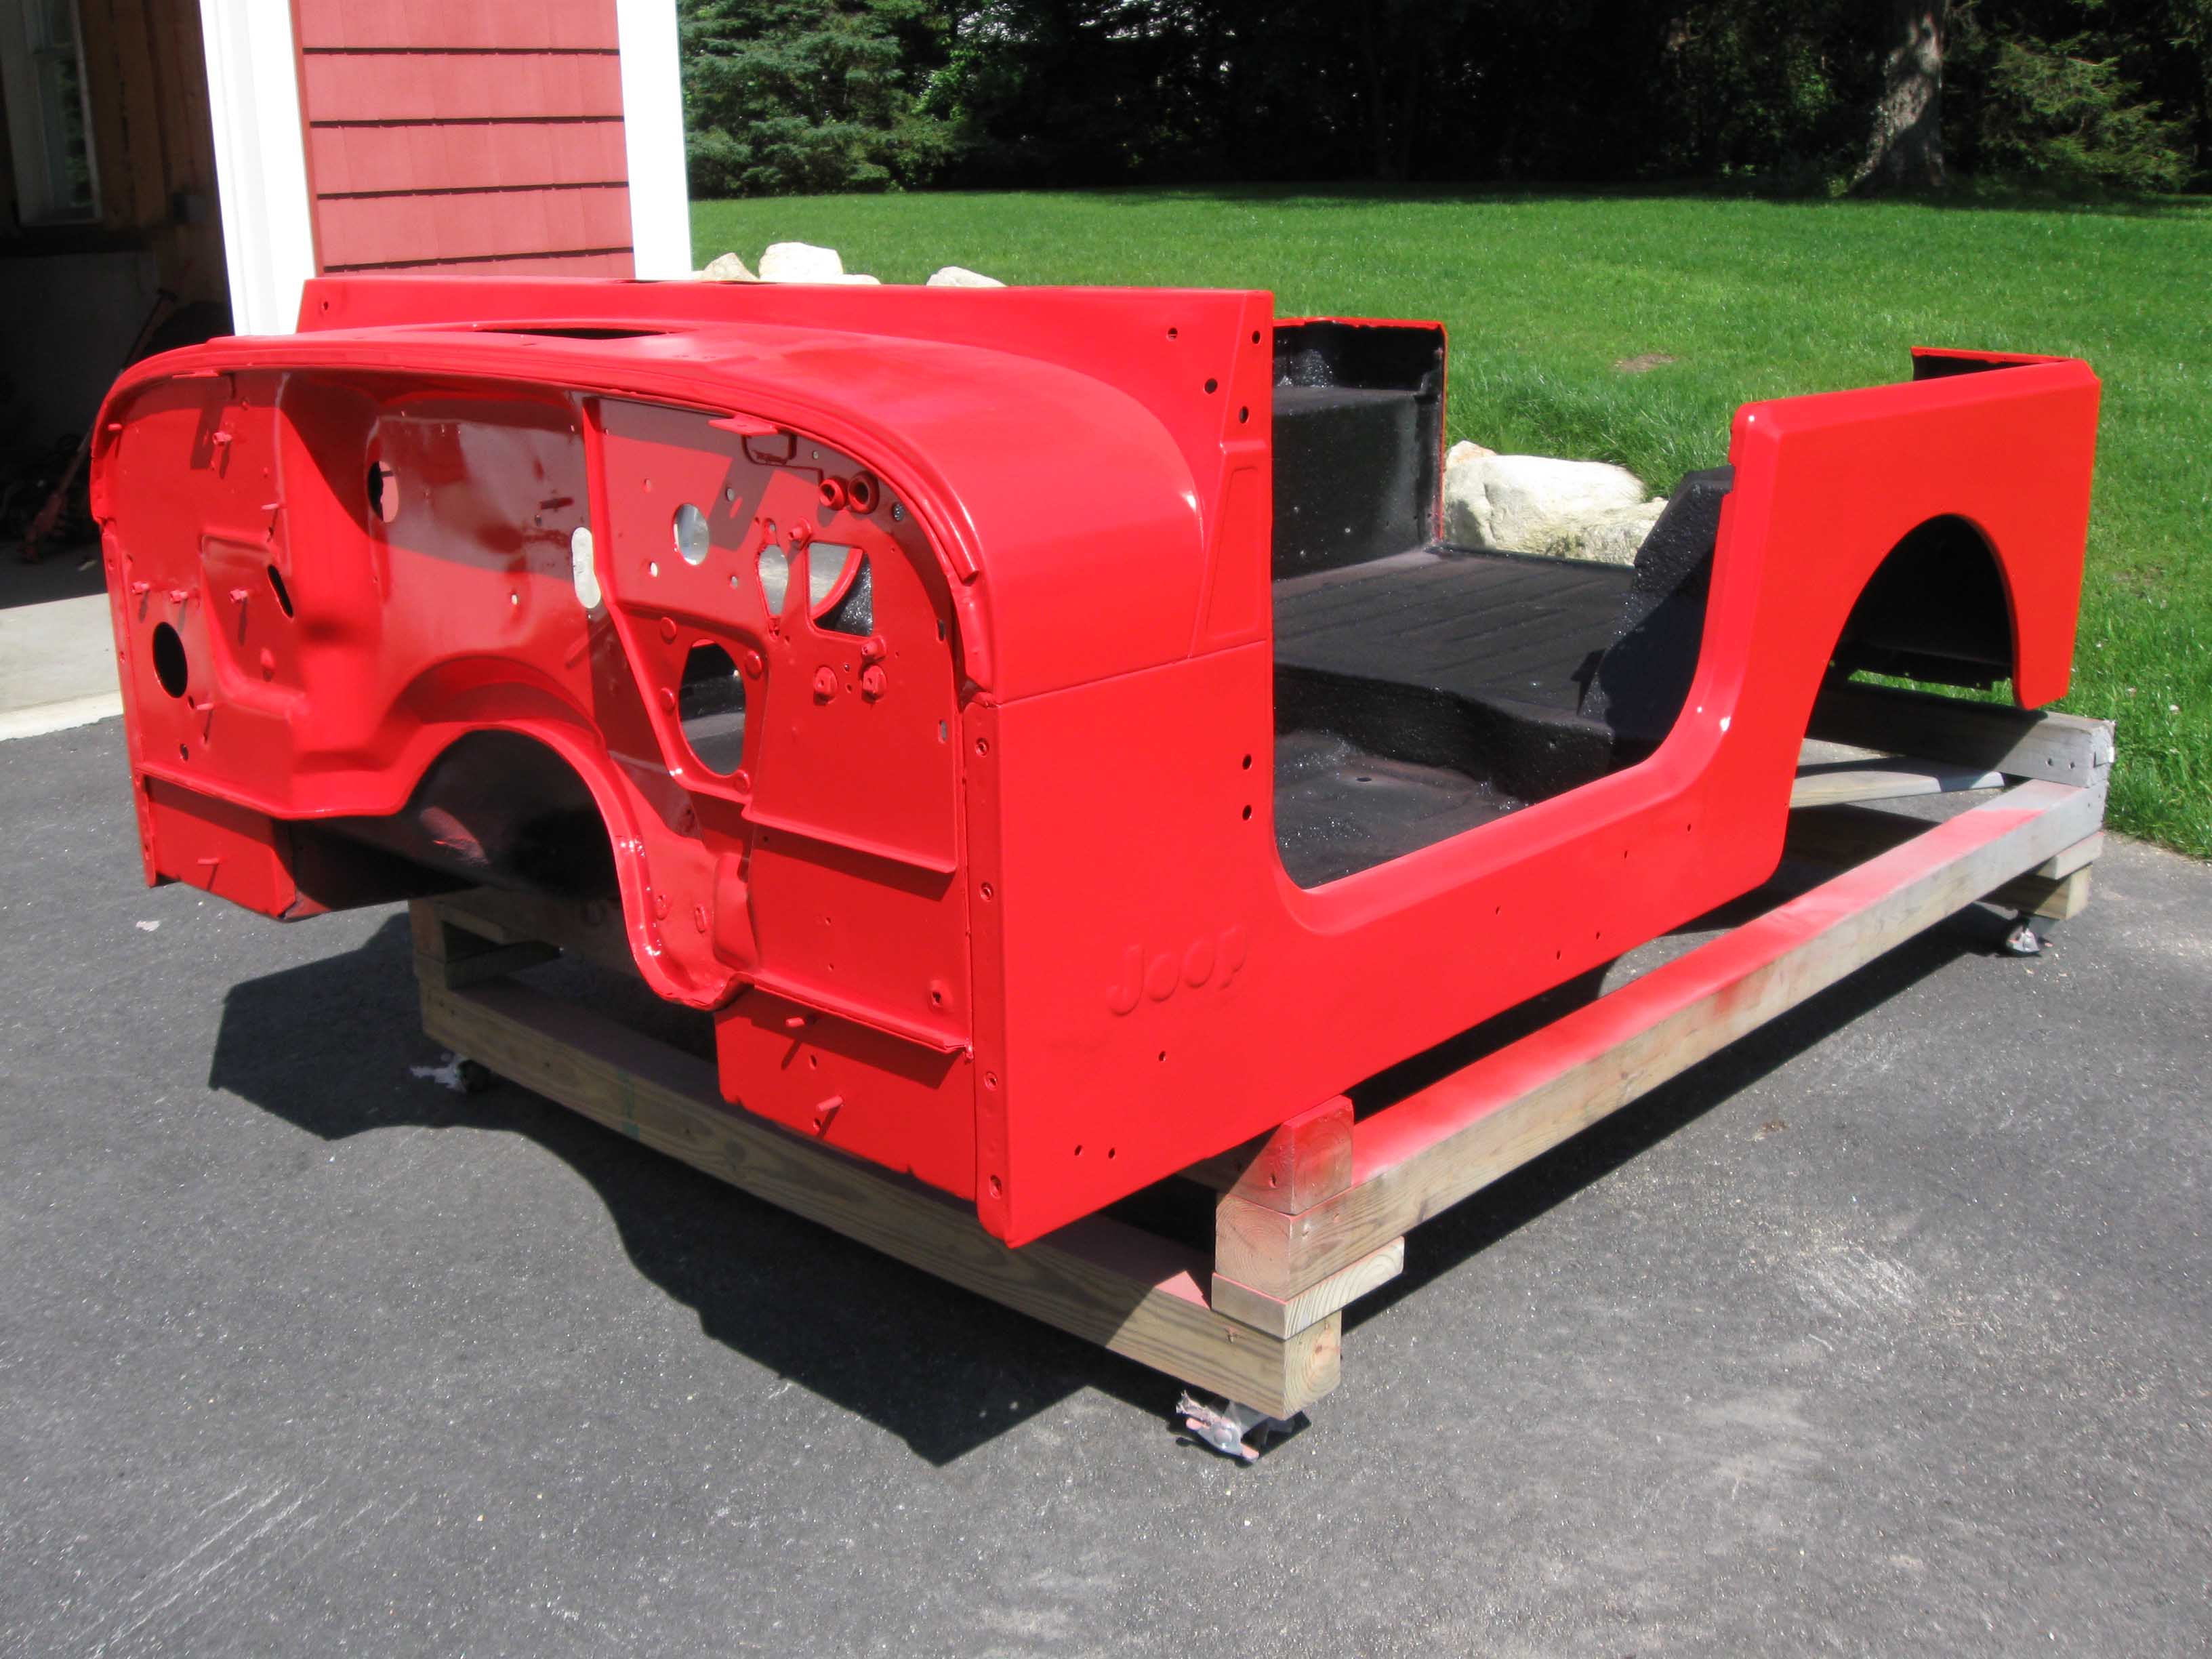
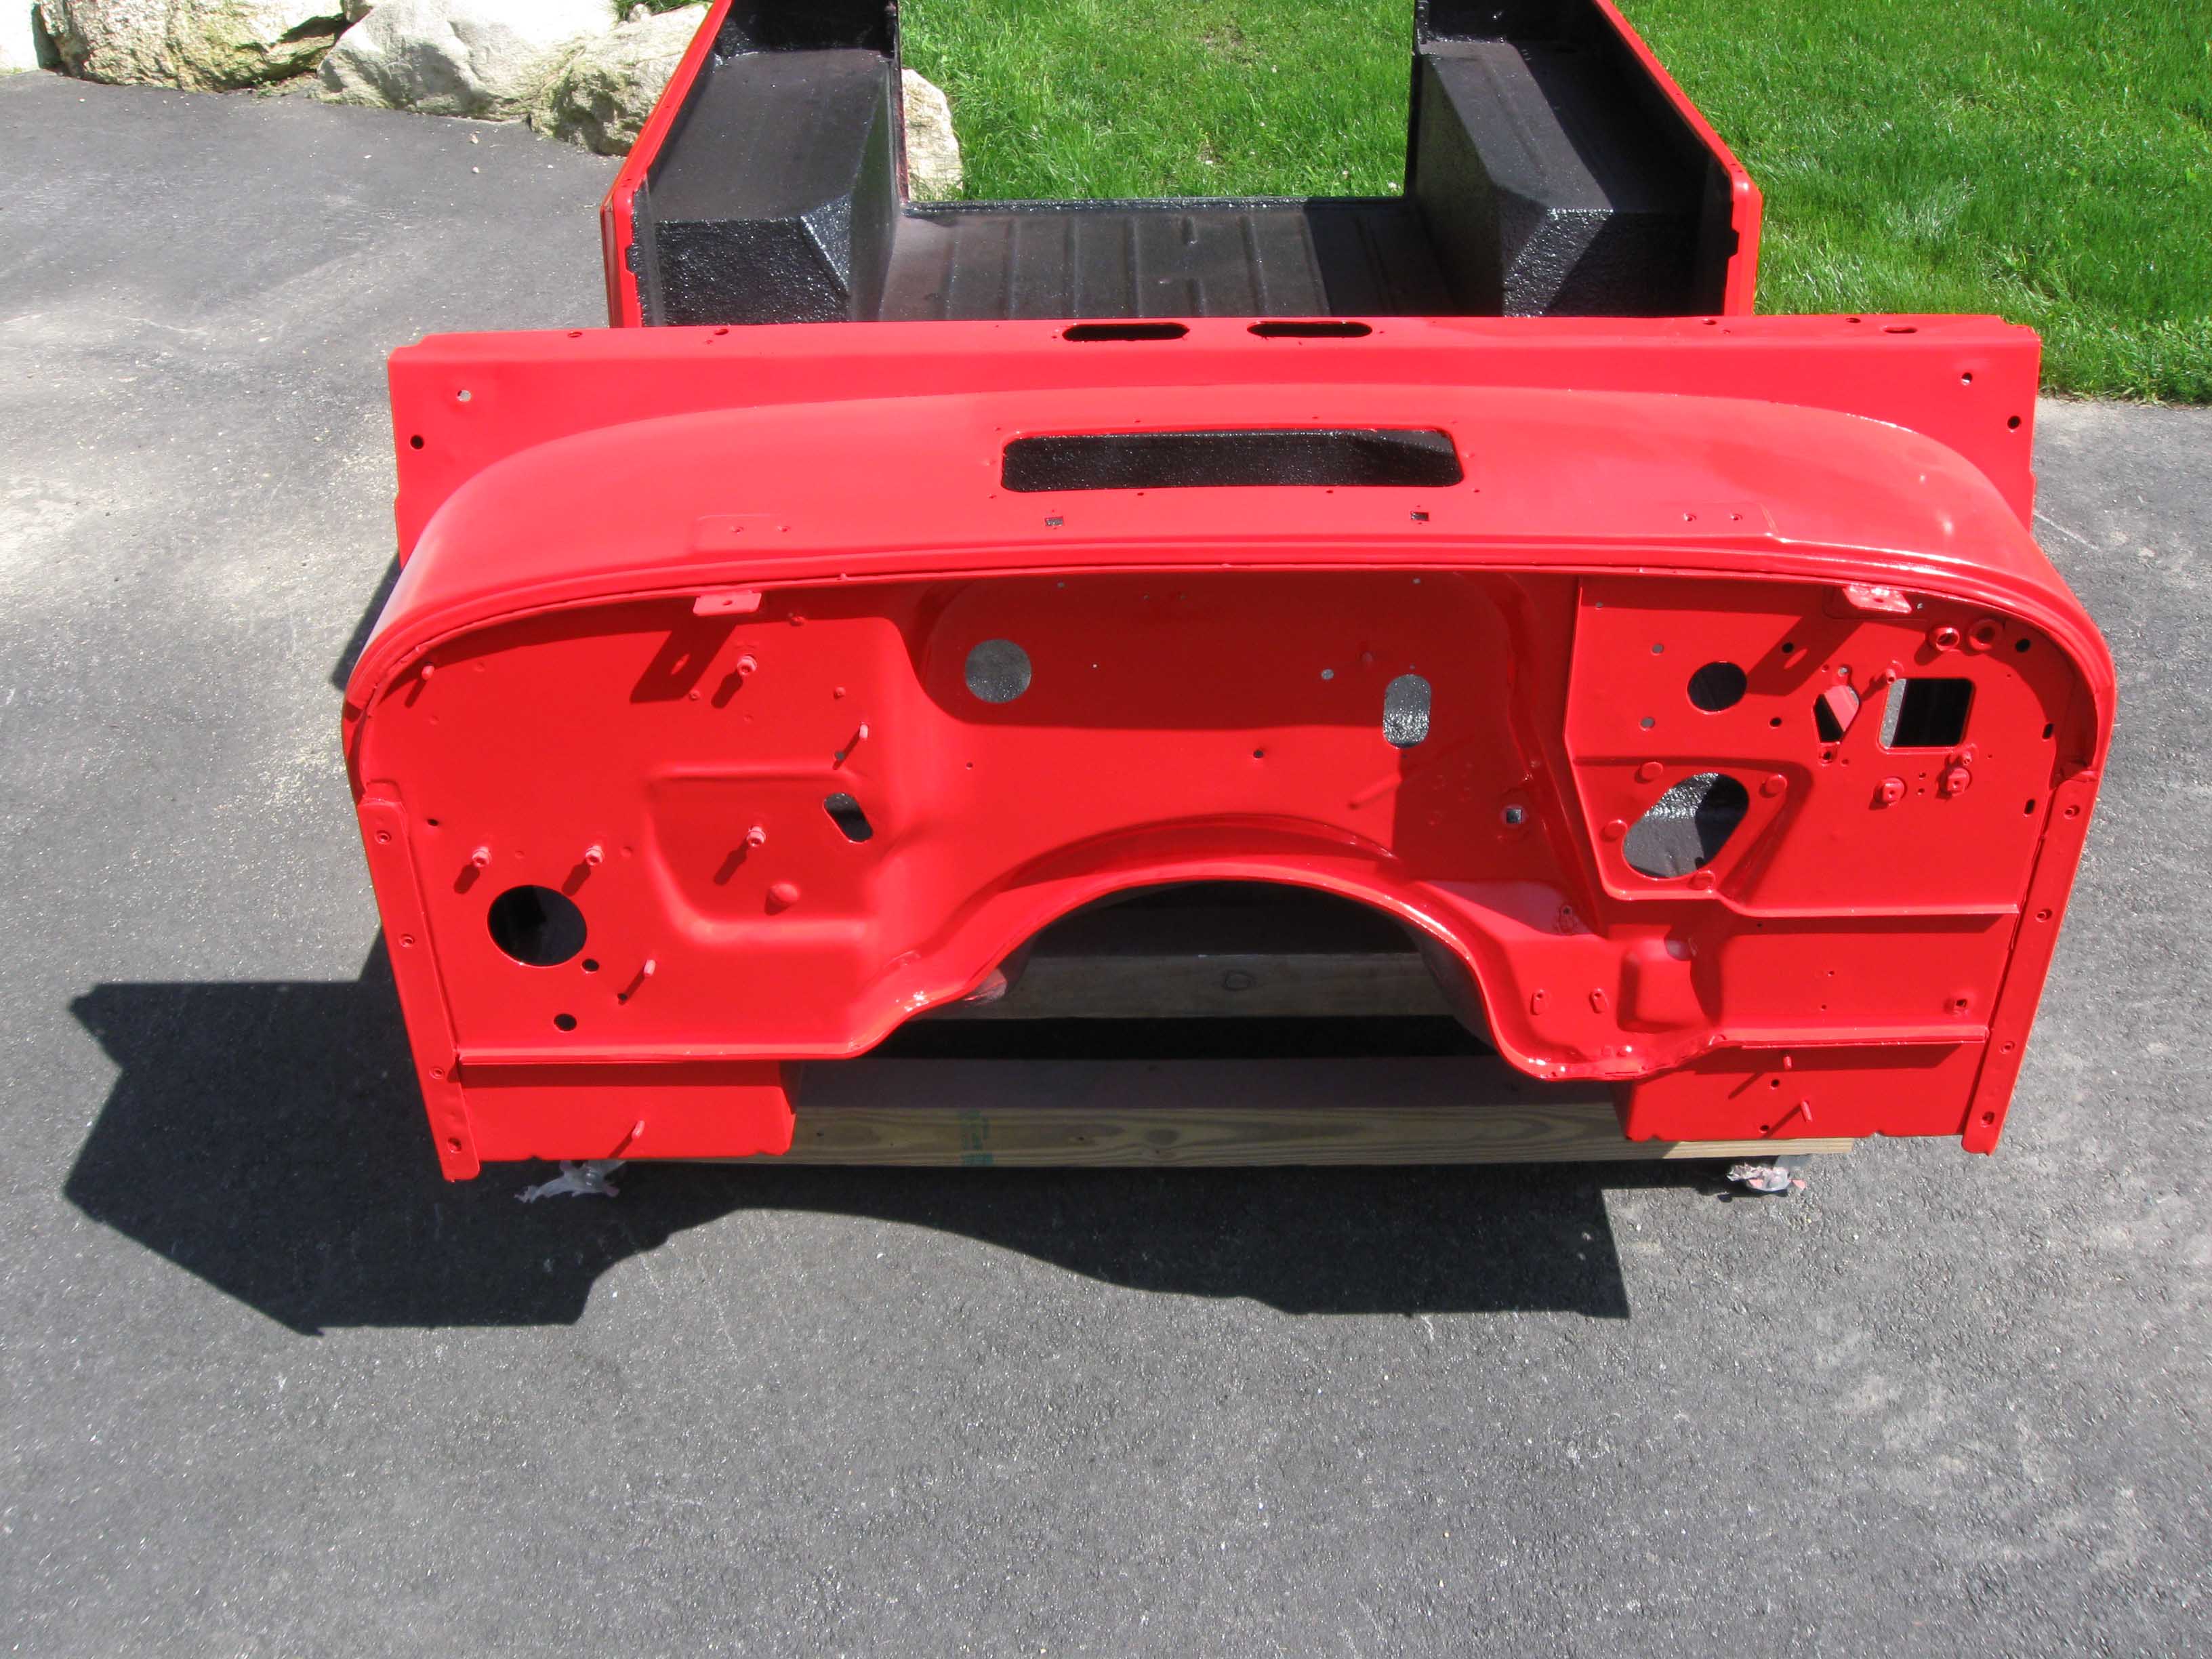
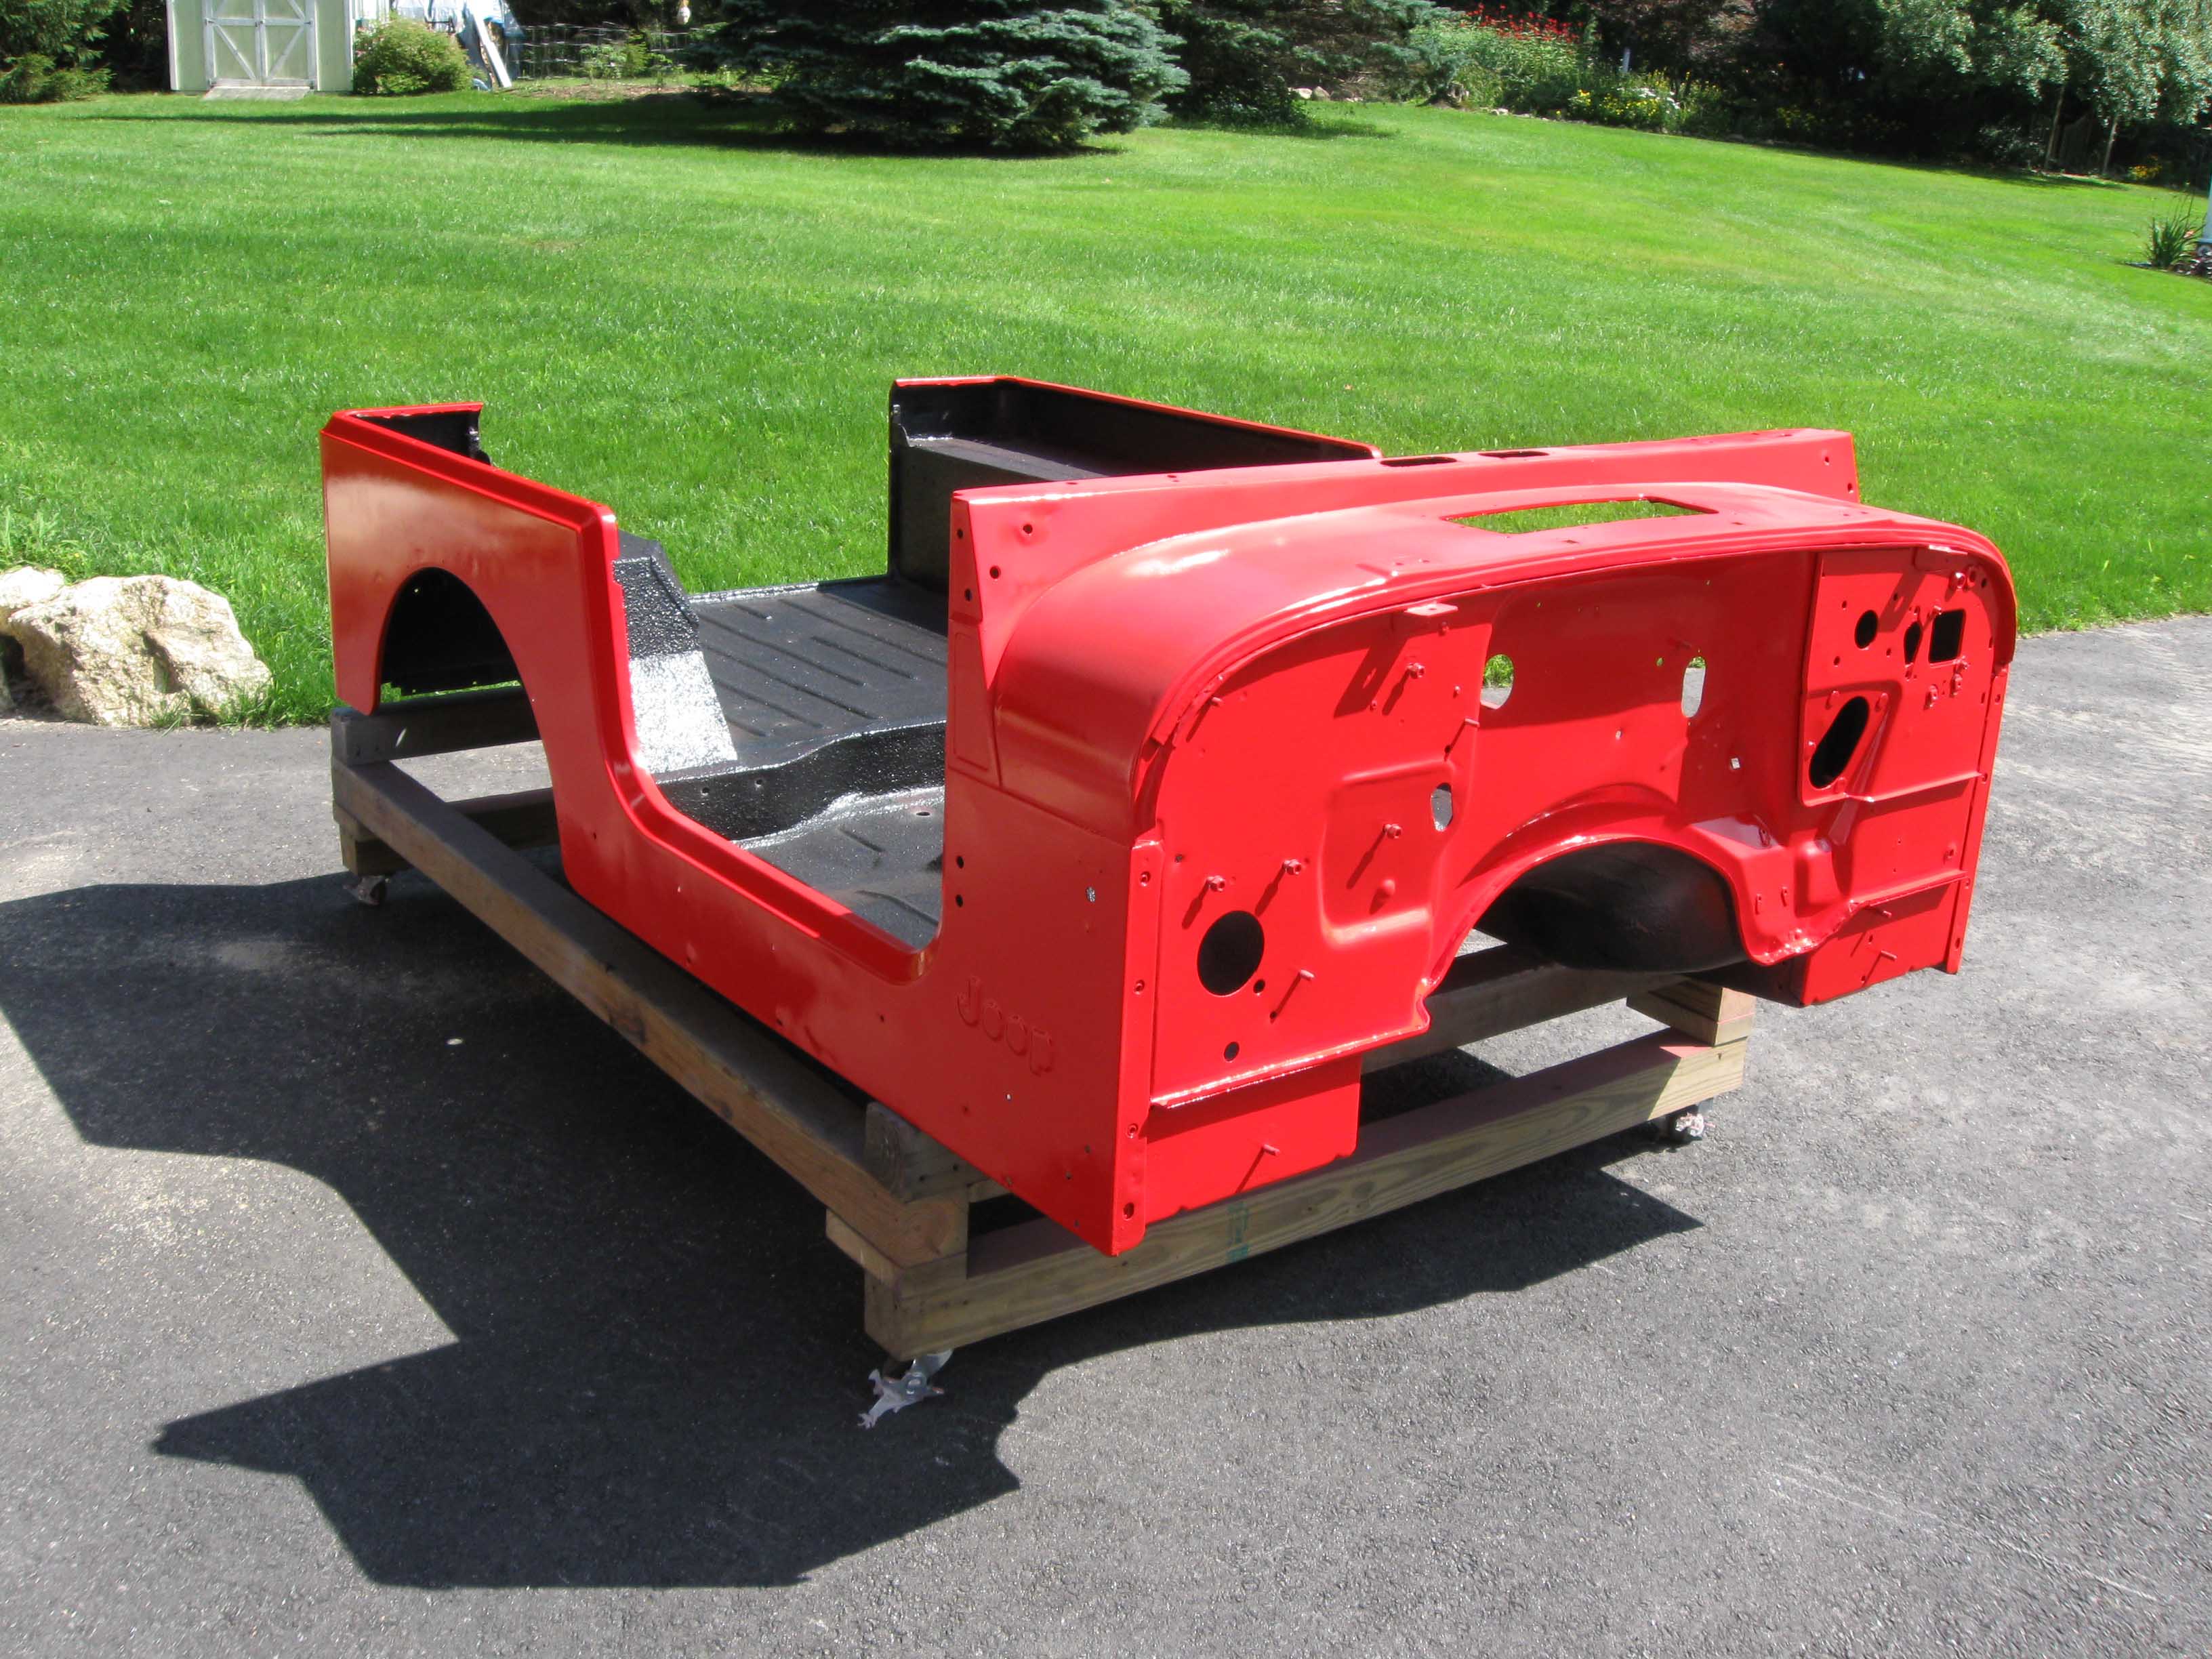
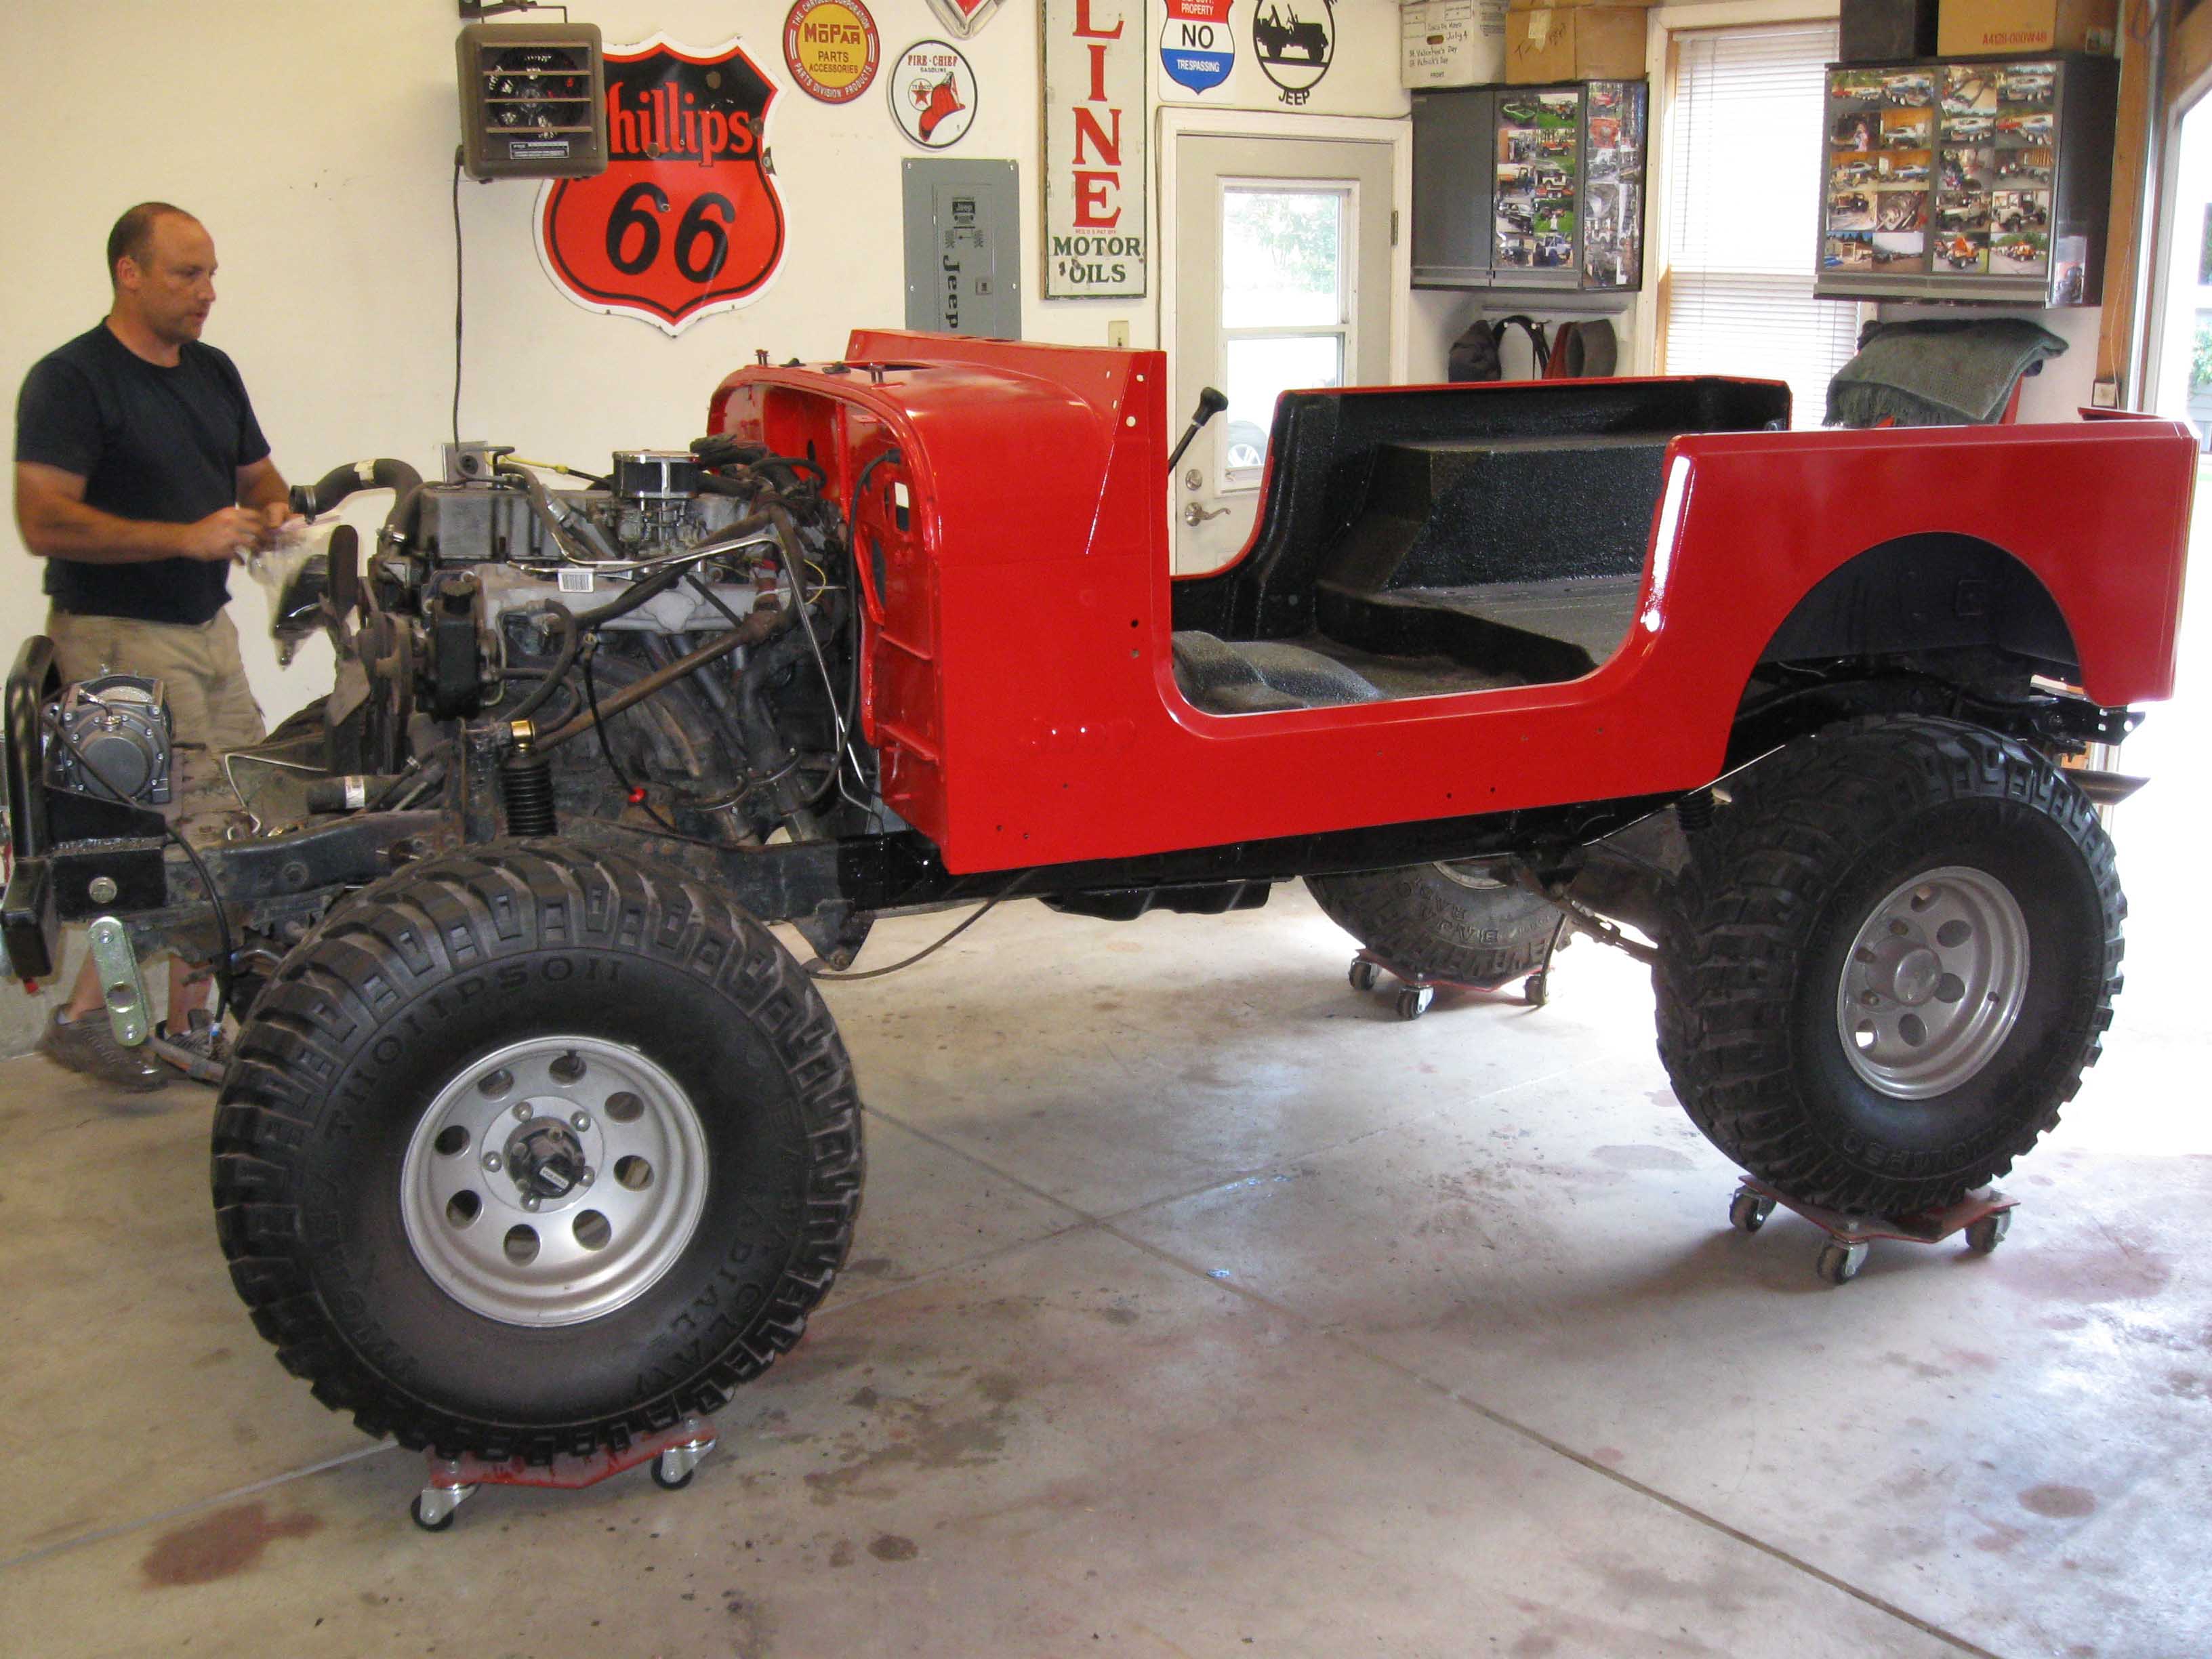
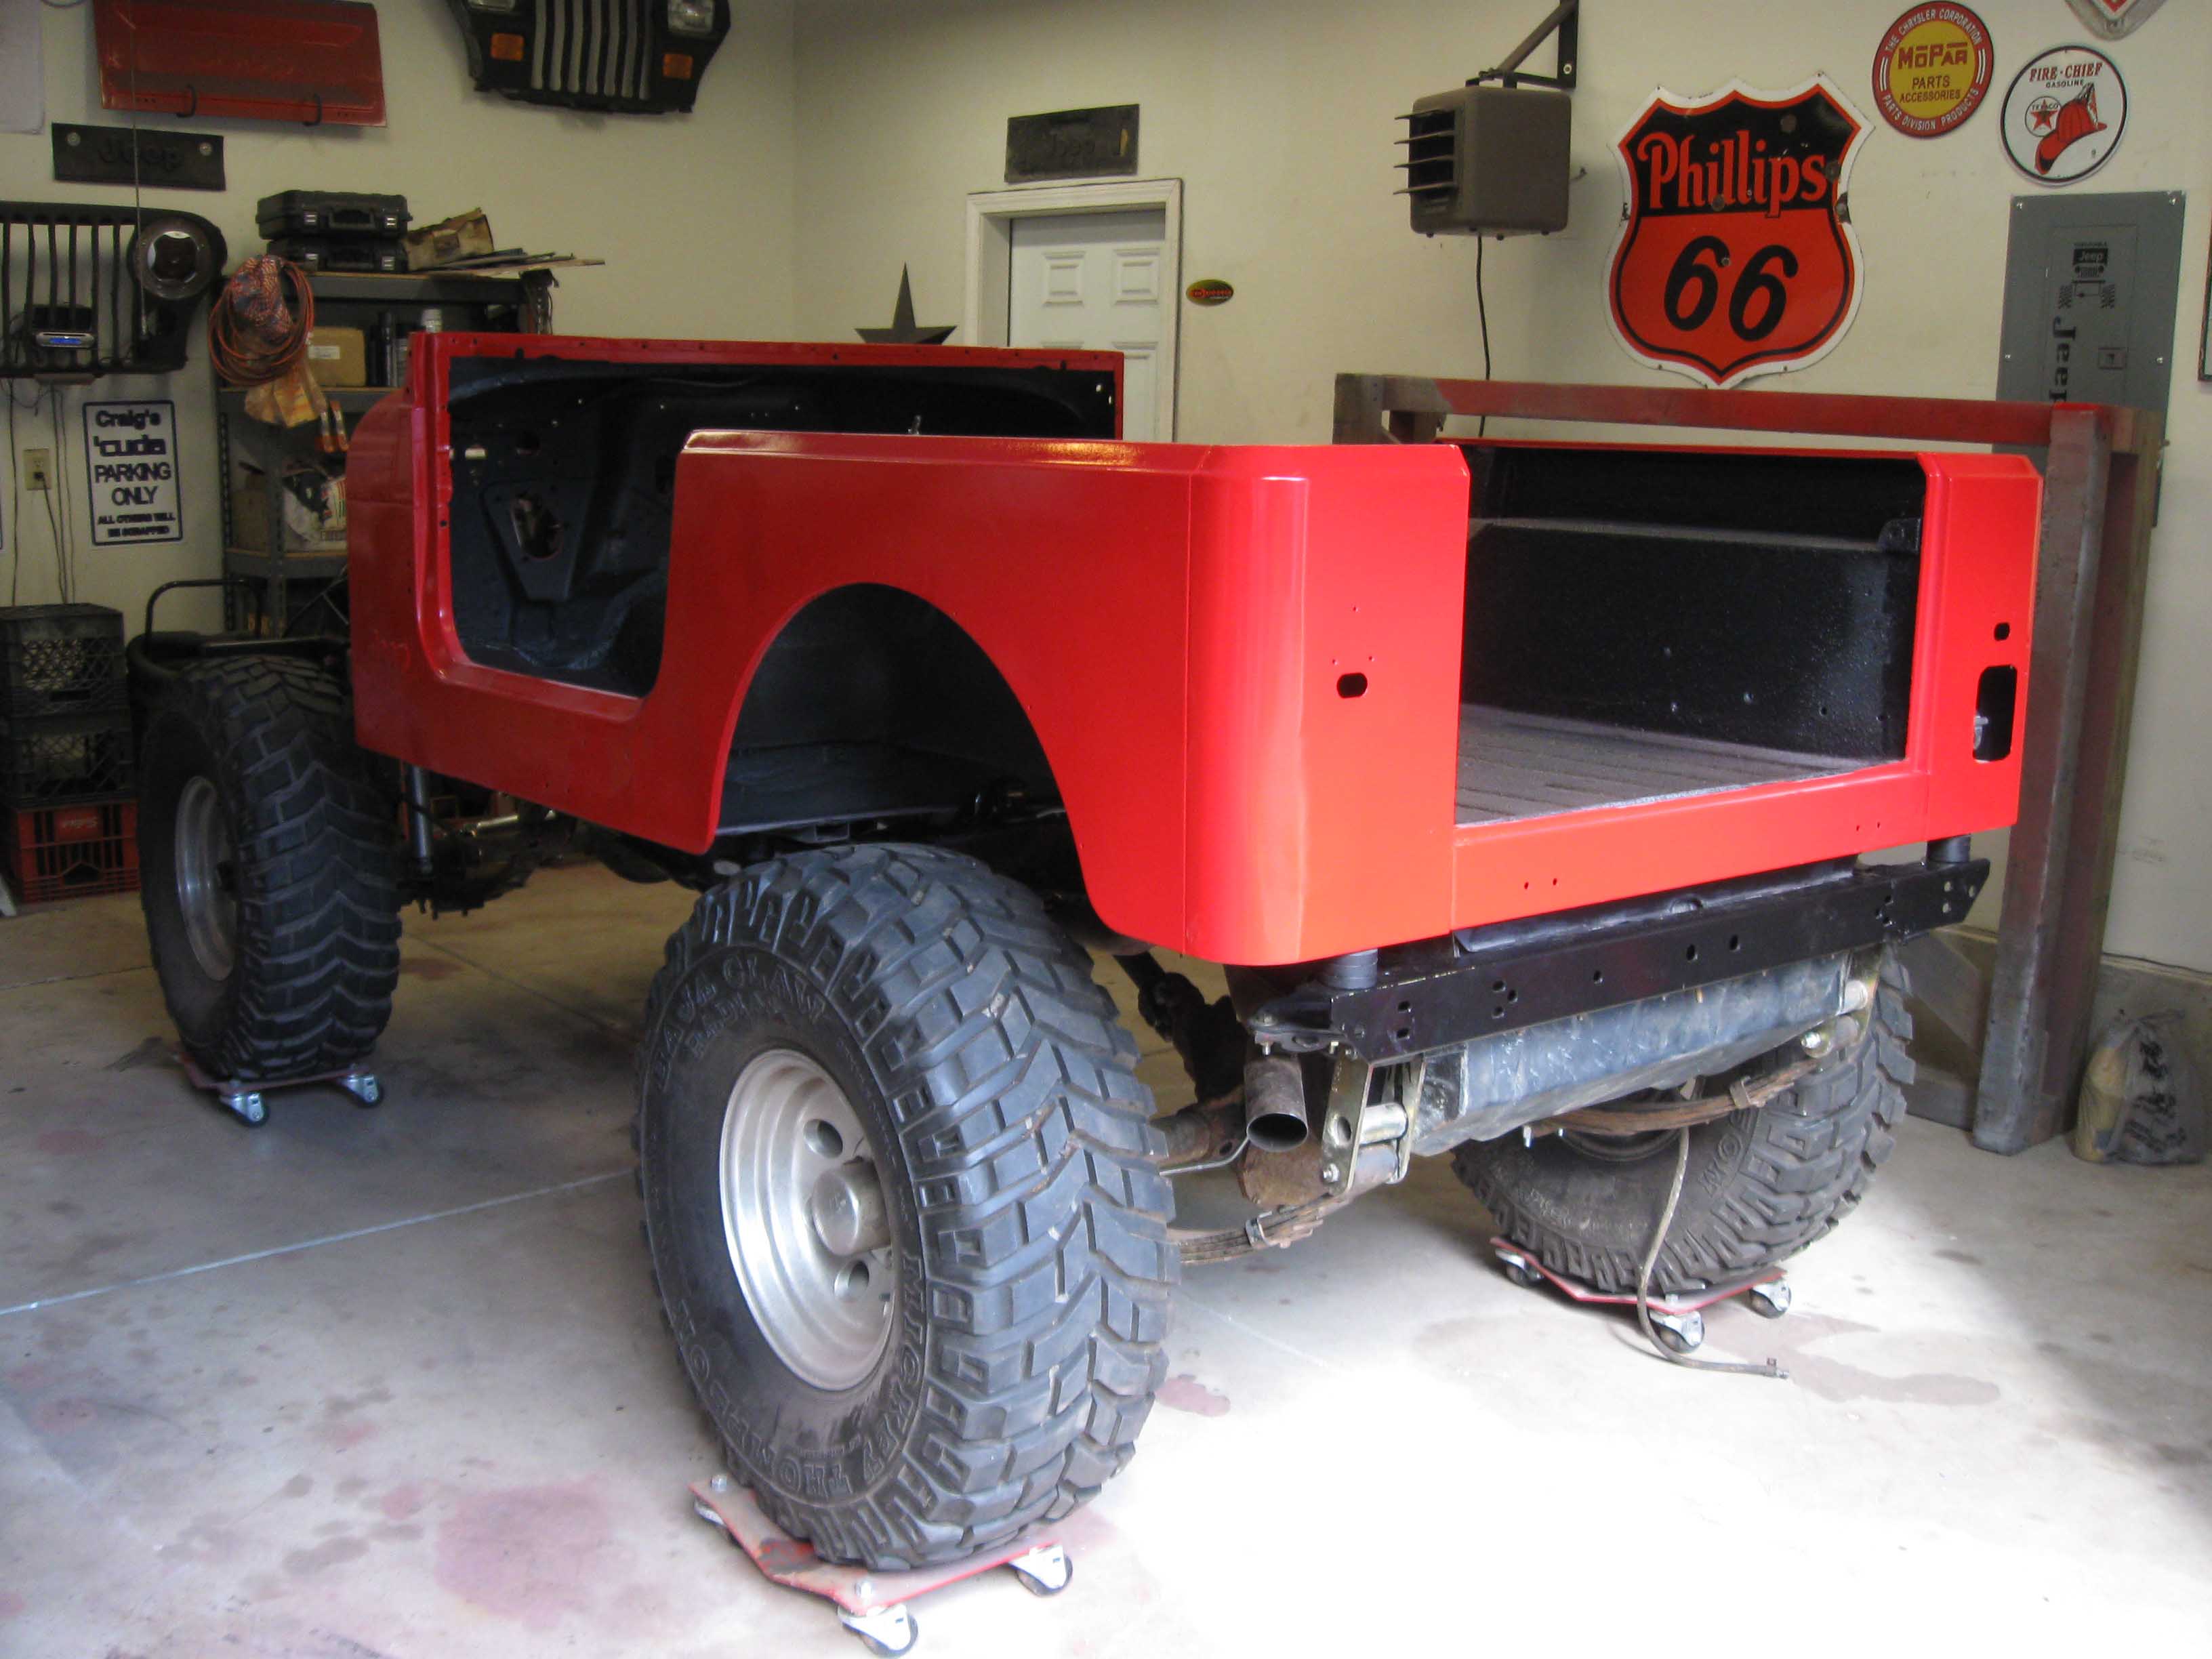
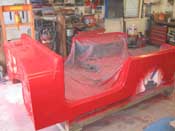
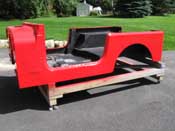
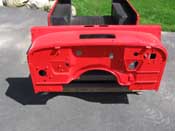
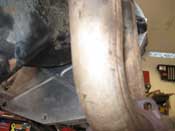
| I pushed the tub outside so I could see the pop of the red in the sunlight. When
the clear is rubbed out, I think we will have one bright and shiny Jeep on our hands here. The color looks very
bright and shiny and it seems to have evenly covered. Not bad for a spray can and a mini-roller job. I just didn't
have the time to roll the whole thing.
|
| |
|

|

|
|
| |
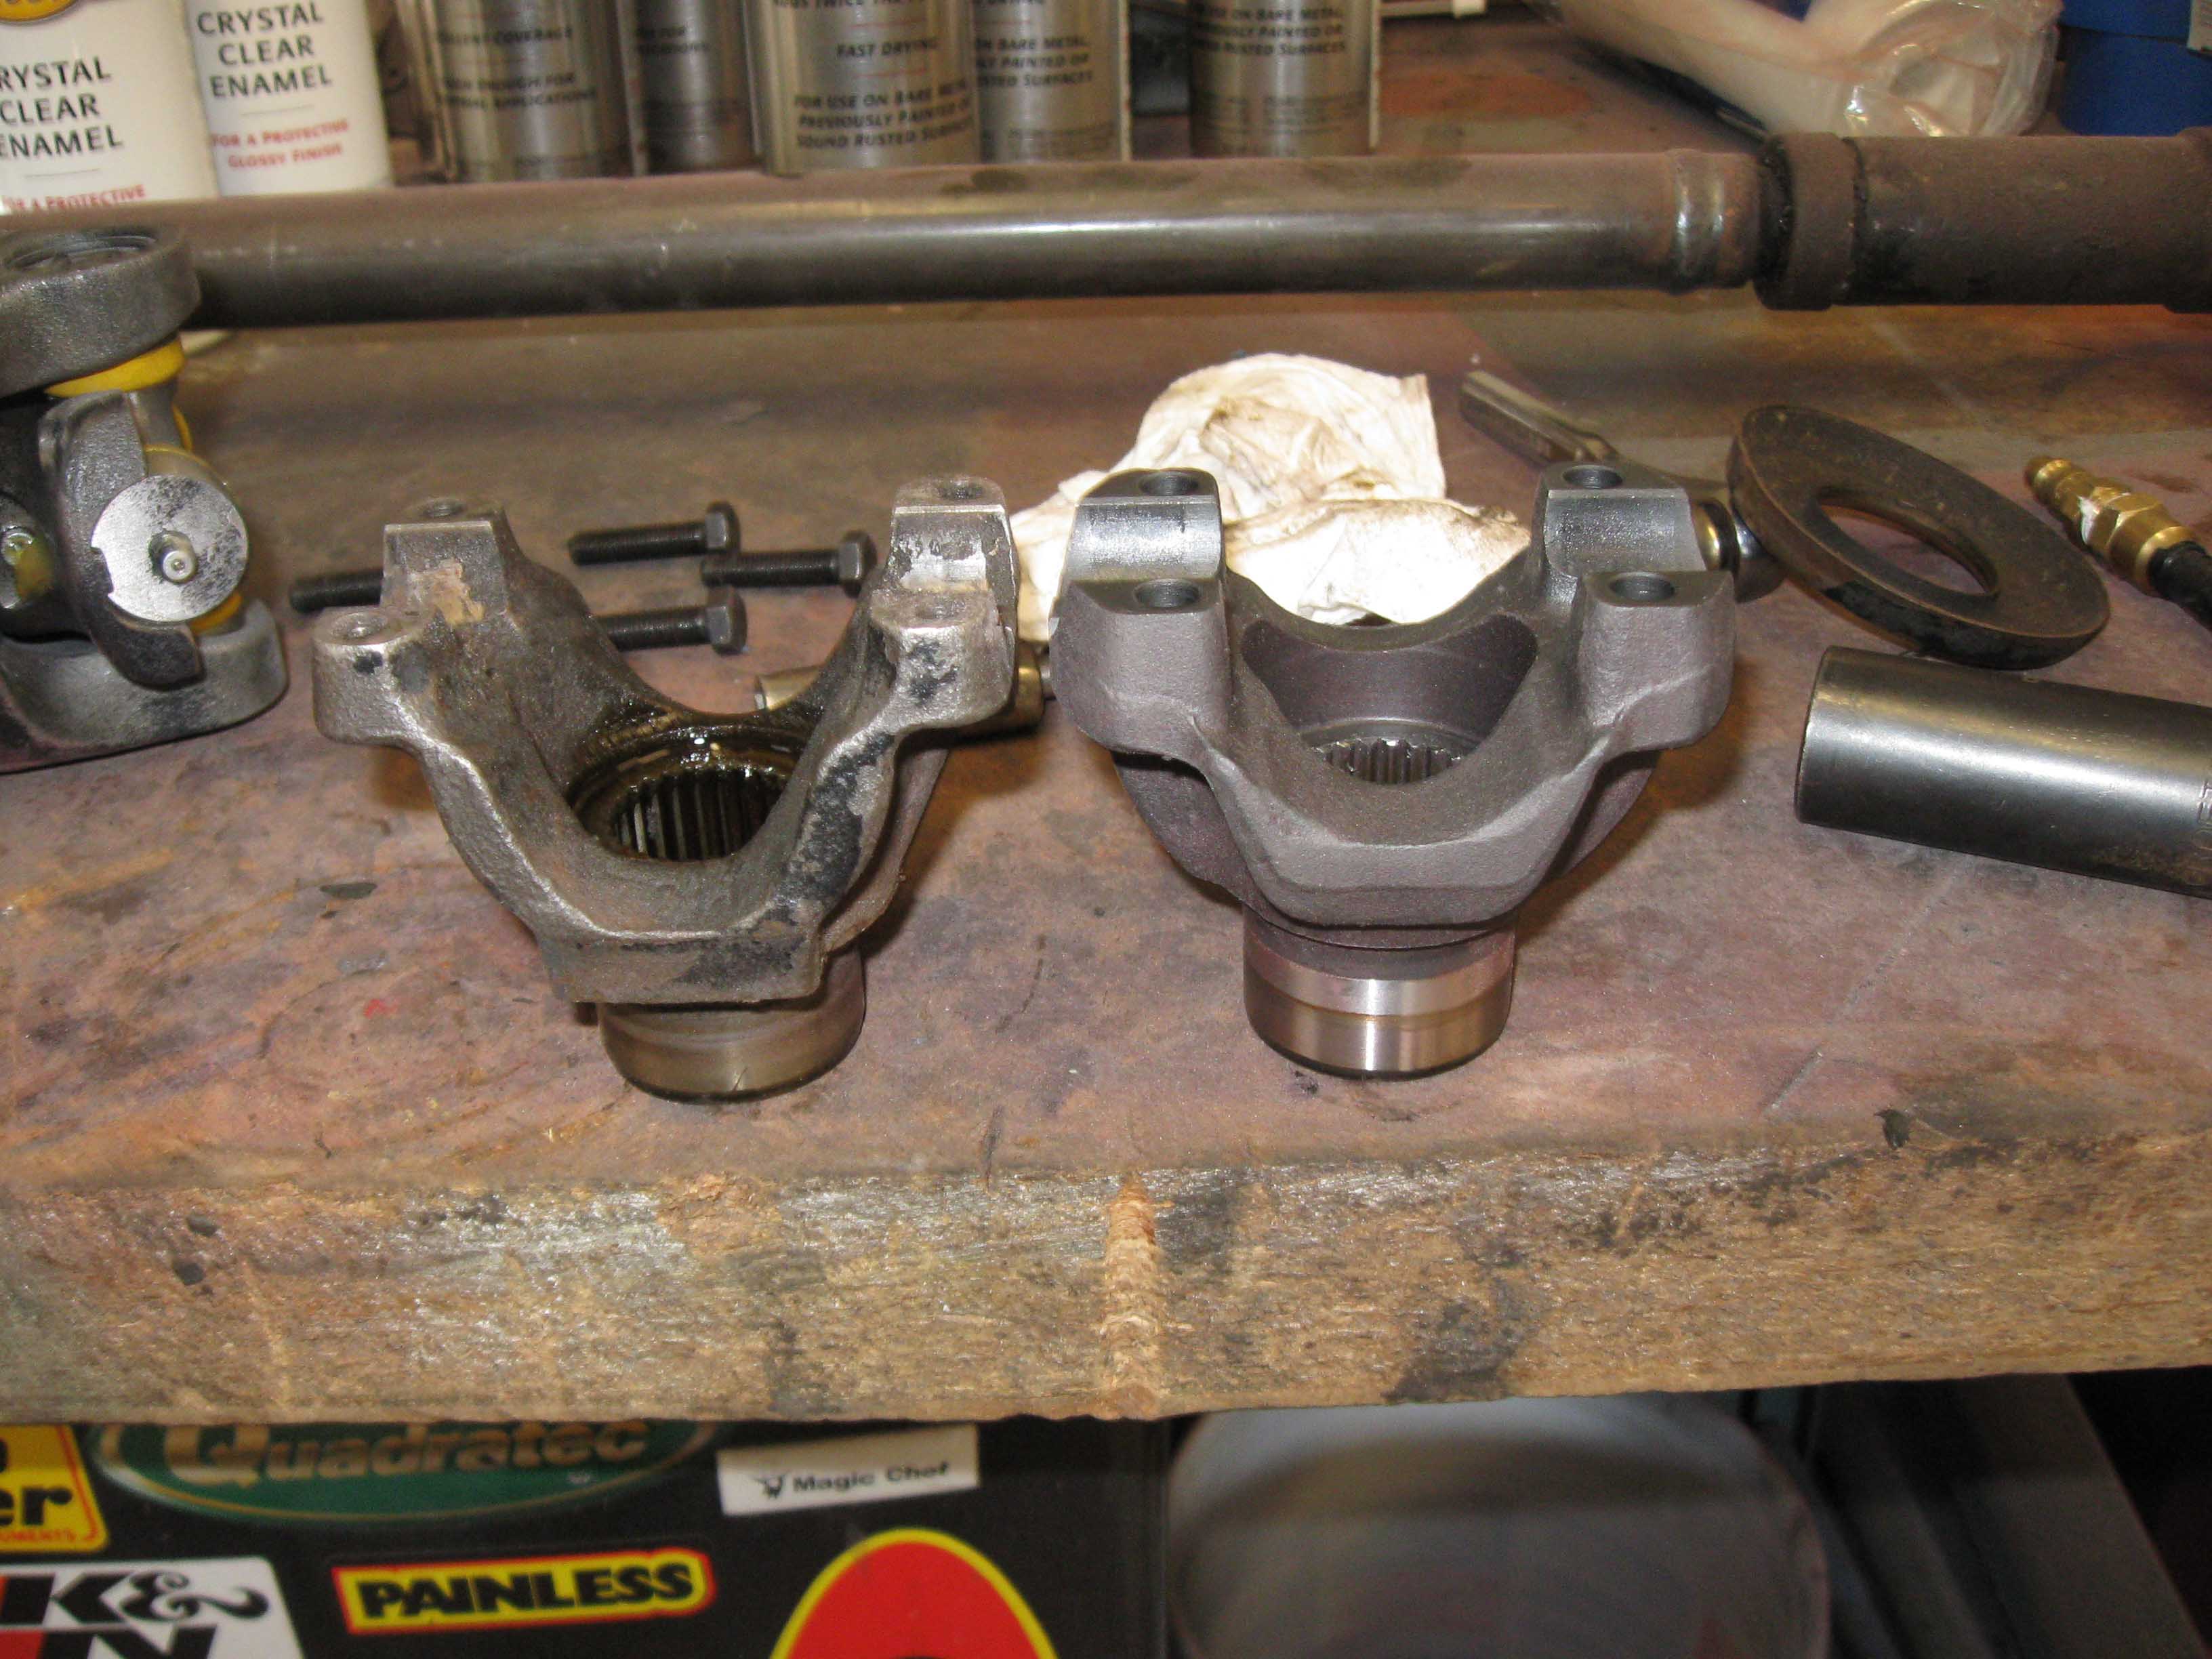
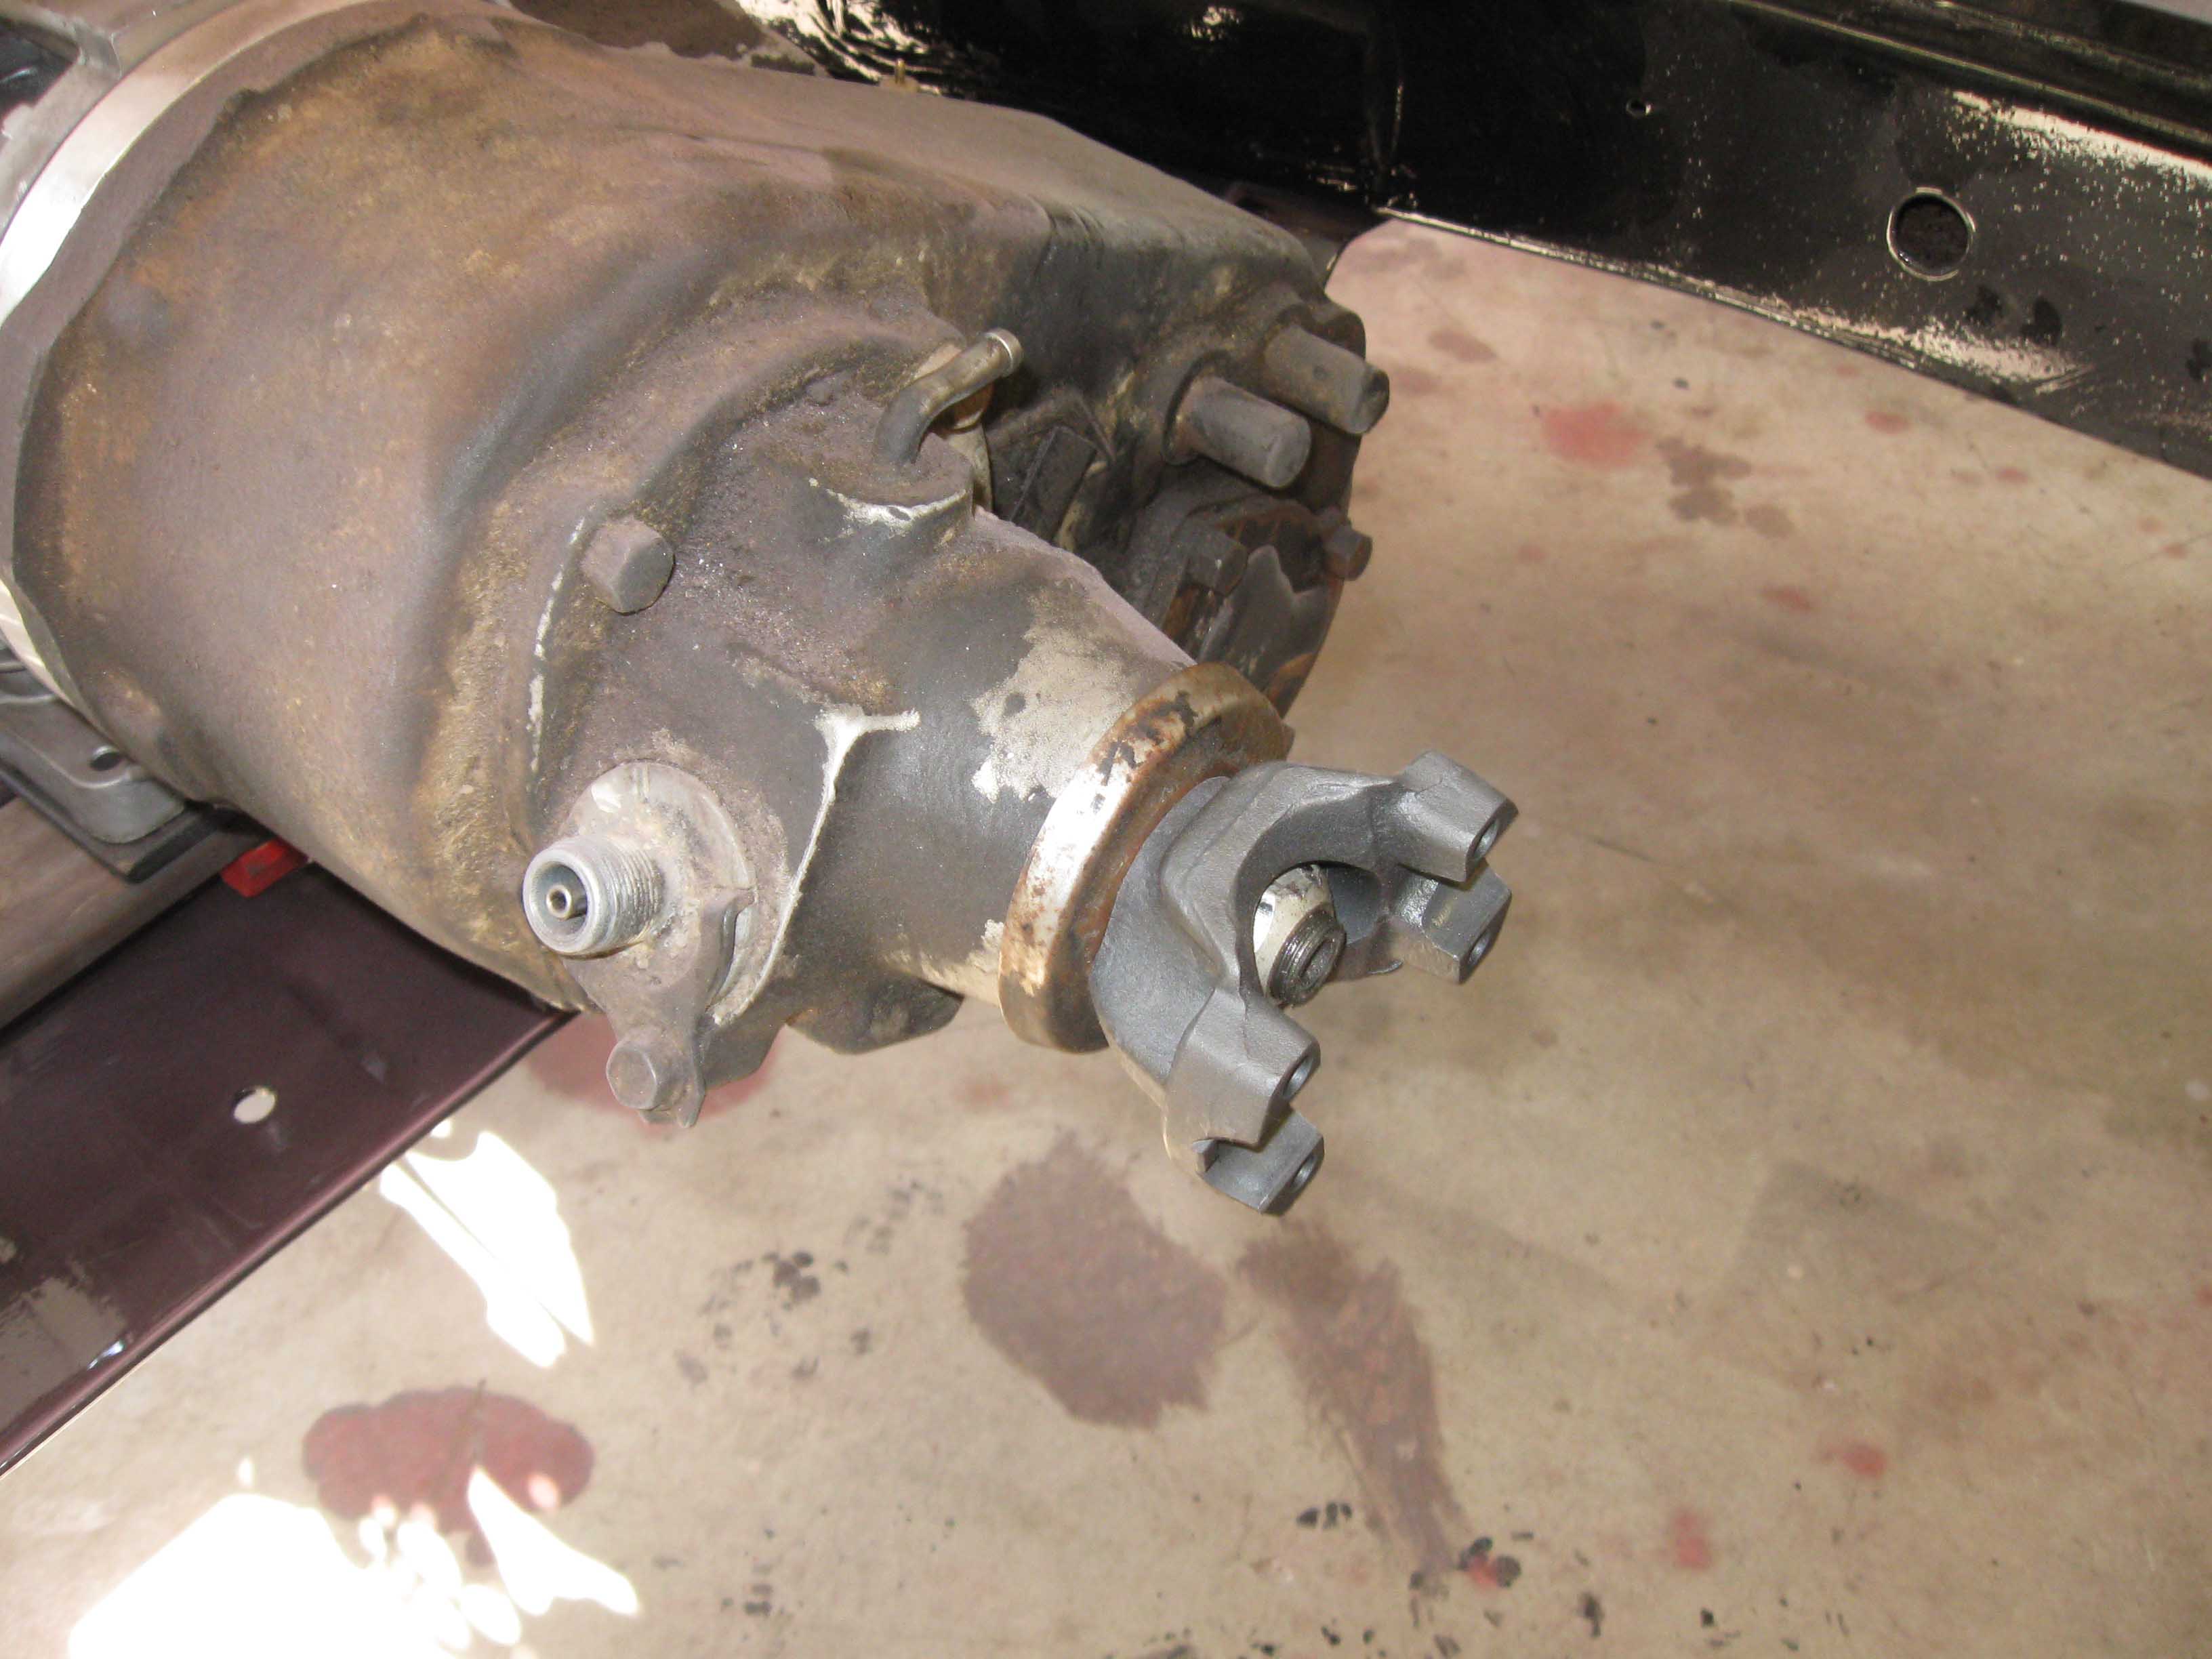
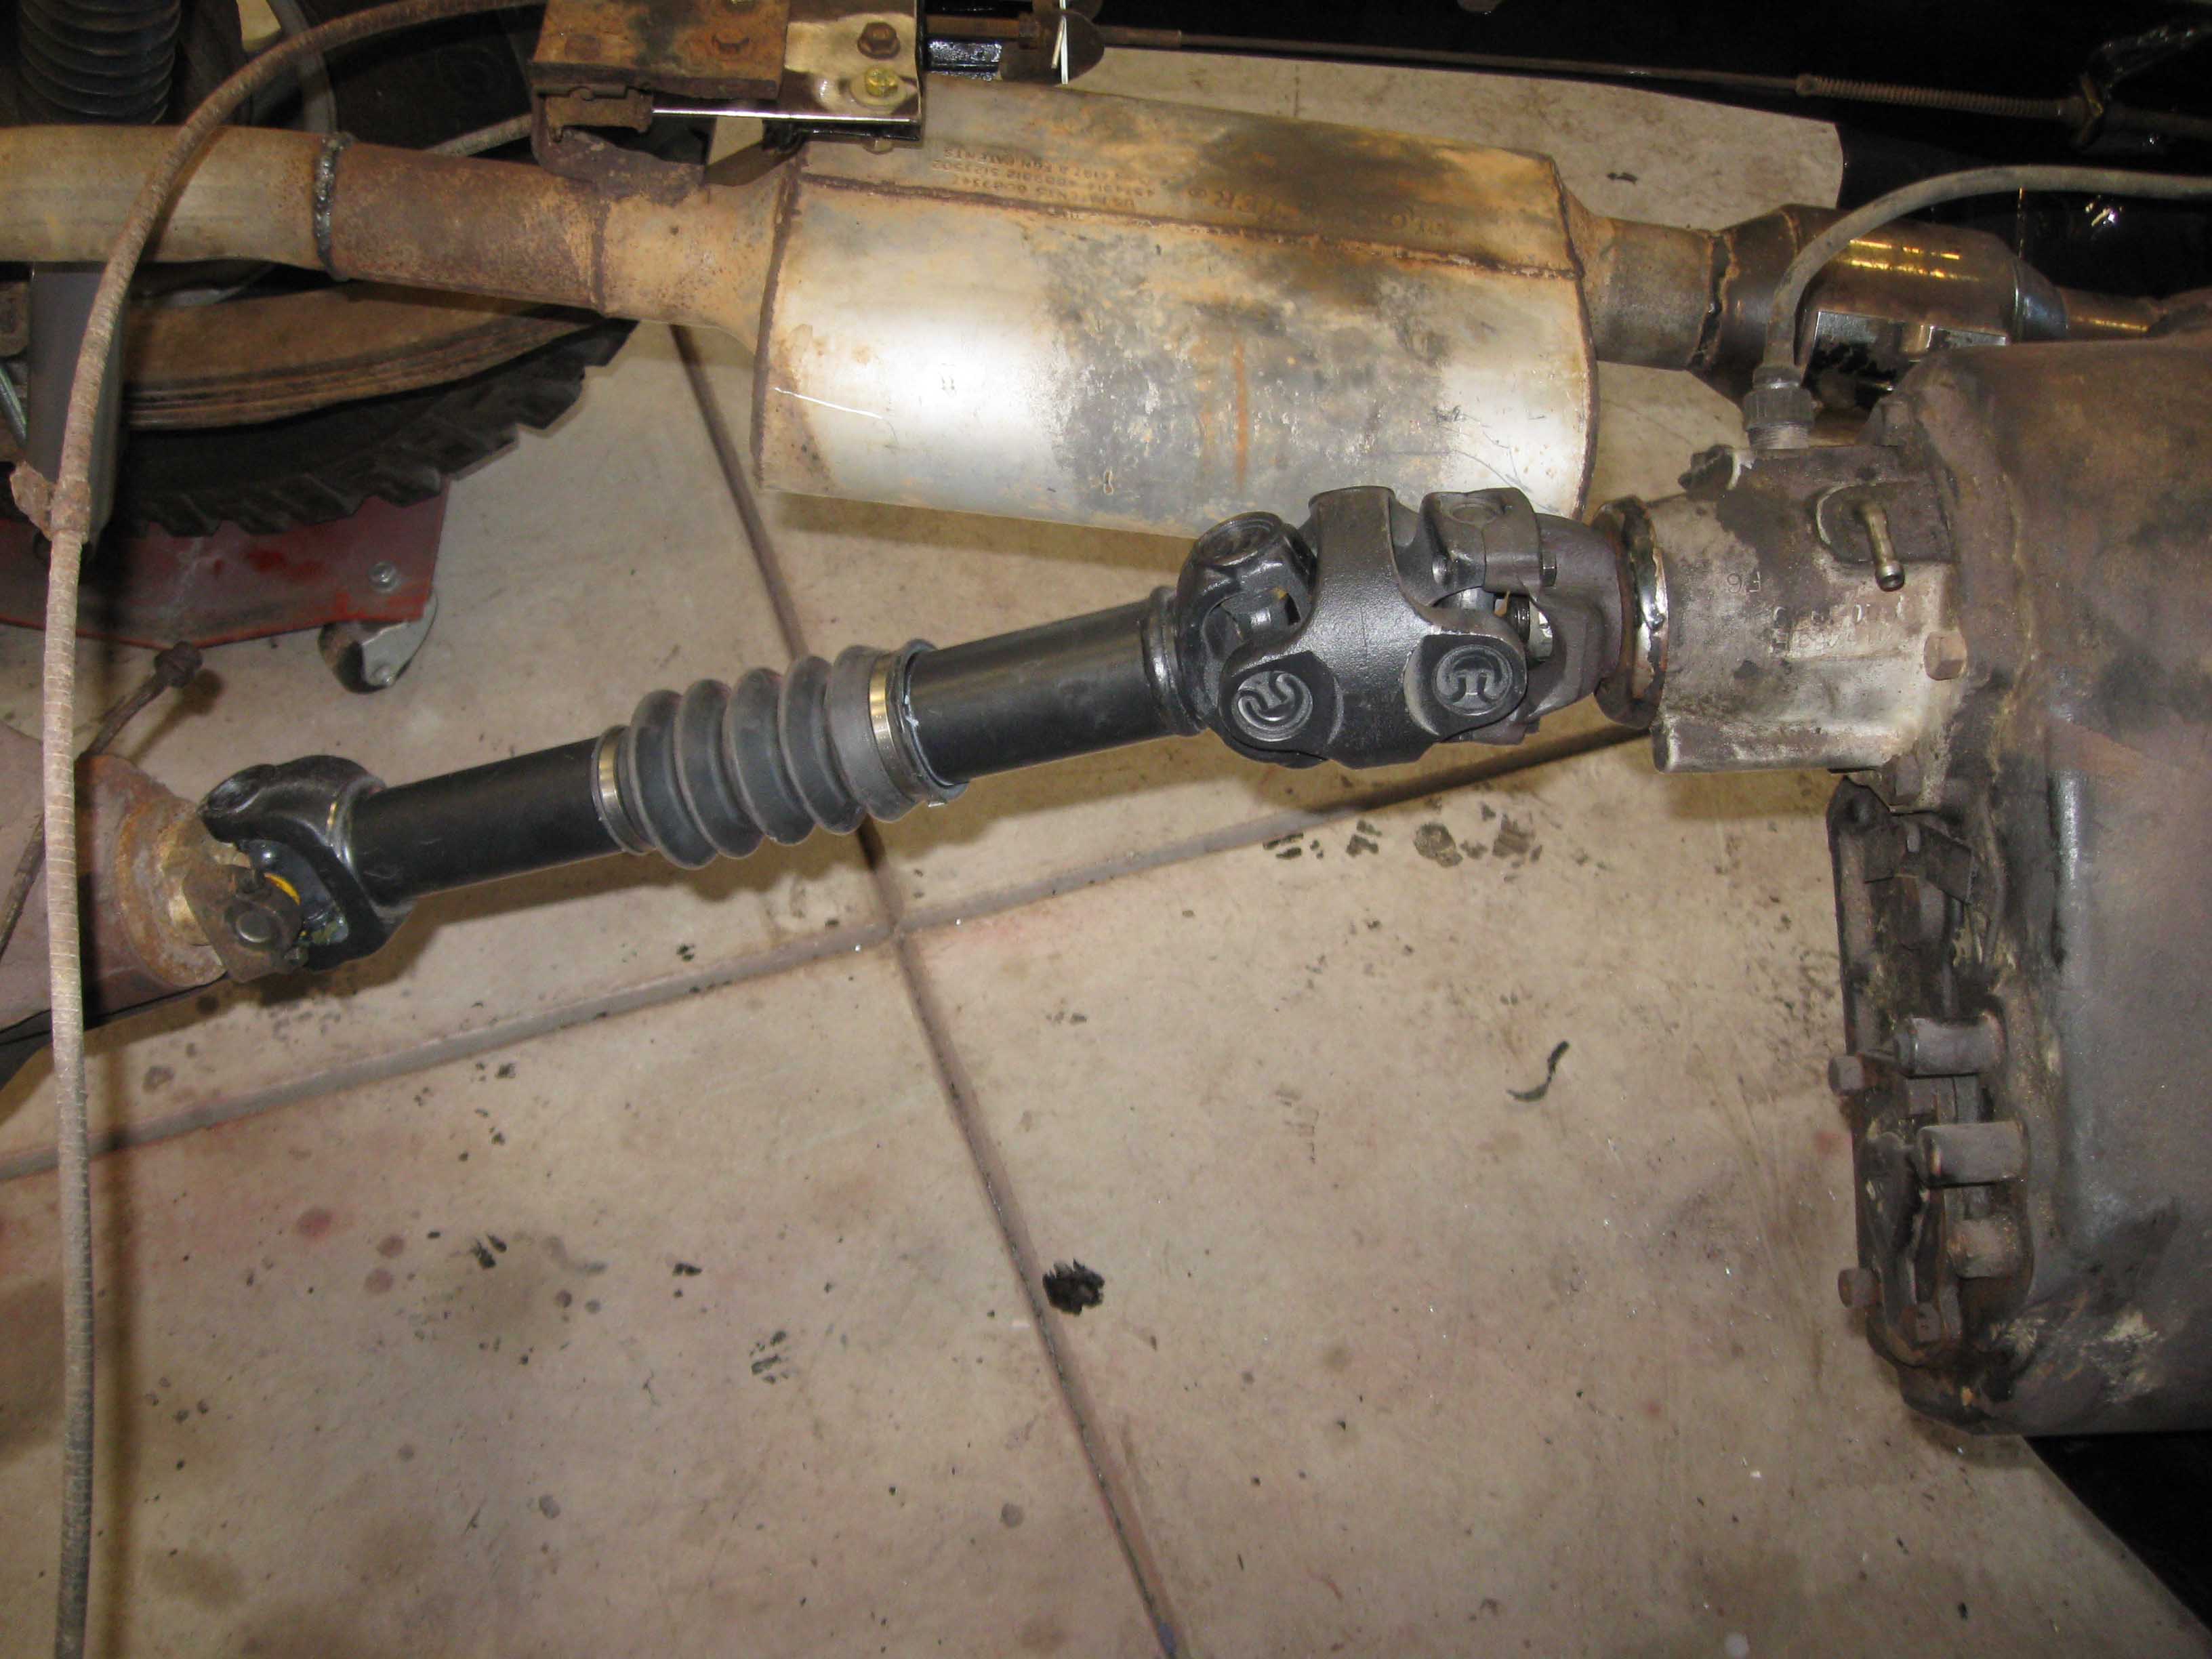
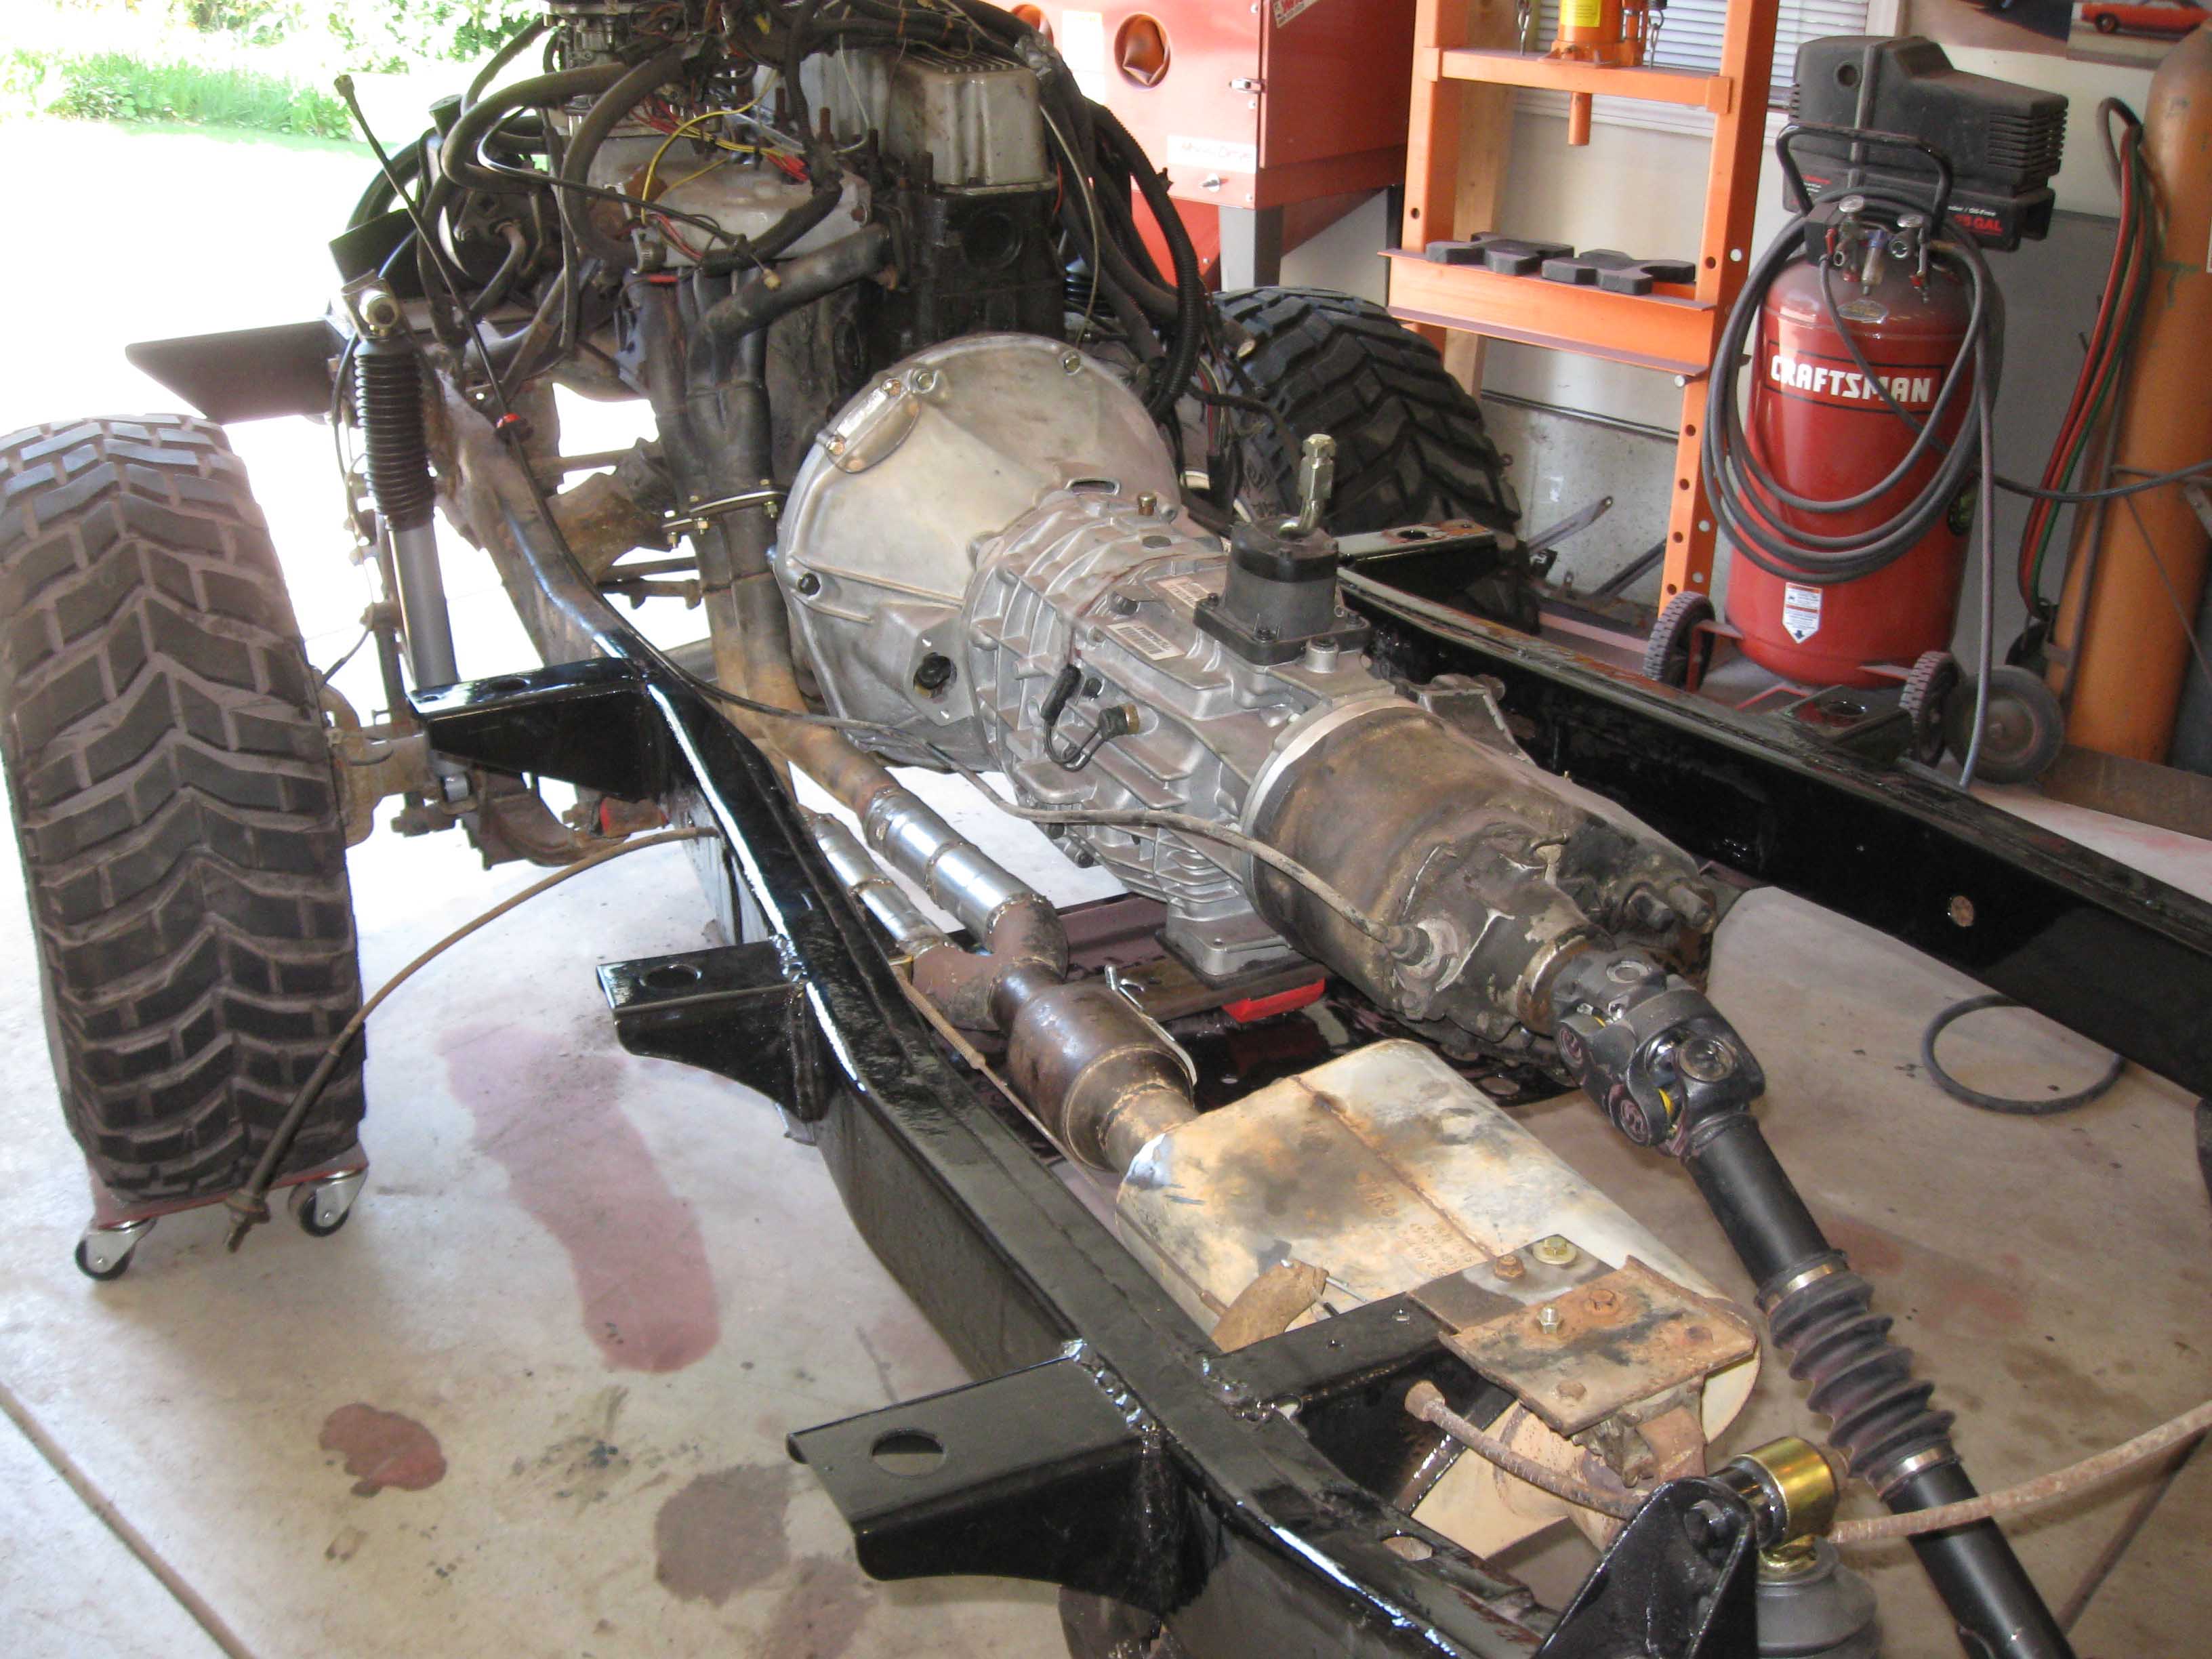
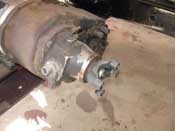
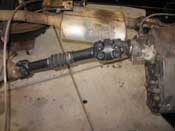
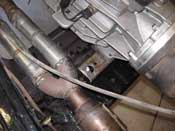
| When the paint was done, I put the new yoke on that came with the new CV rear shaft.
It requires a different yoke, so I had to take off the protective boot that goes over the Dana 300 and the washer,
transfer them to the Dana 300 and then sock that down... with that done, we were onto the axles.
|
| |

|
|
|

|

|
|
| |
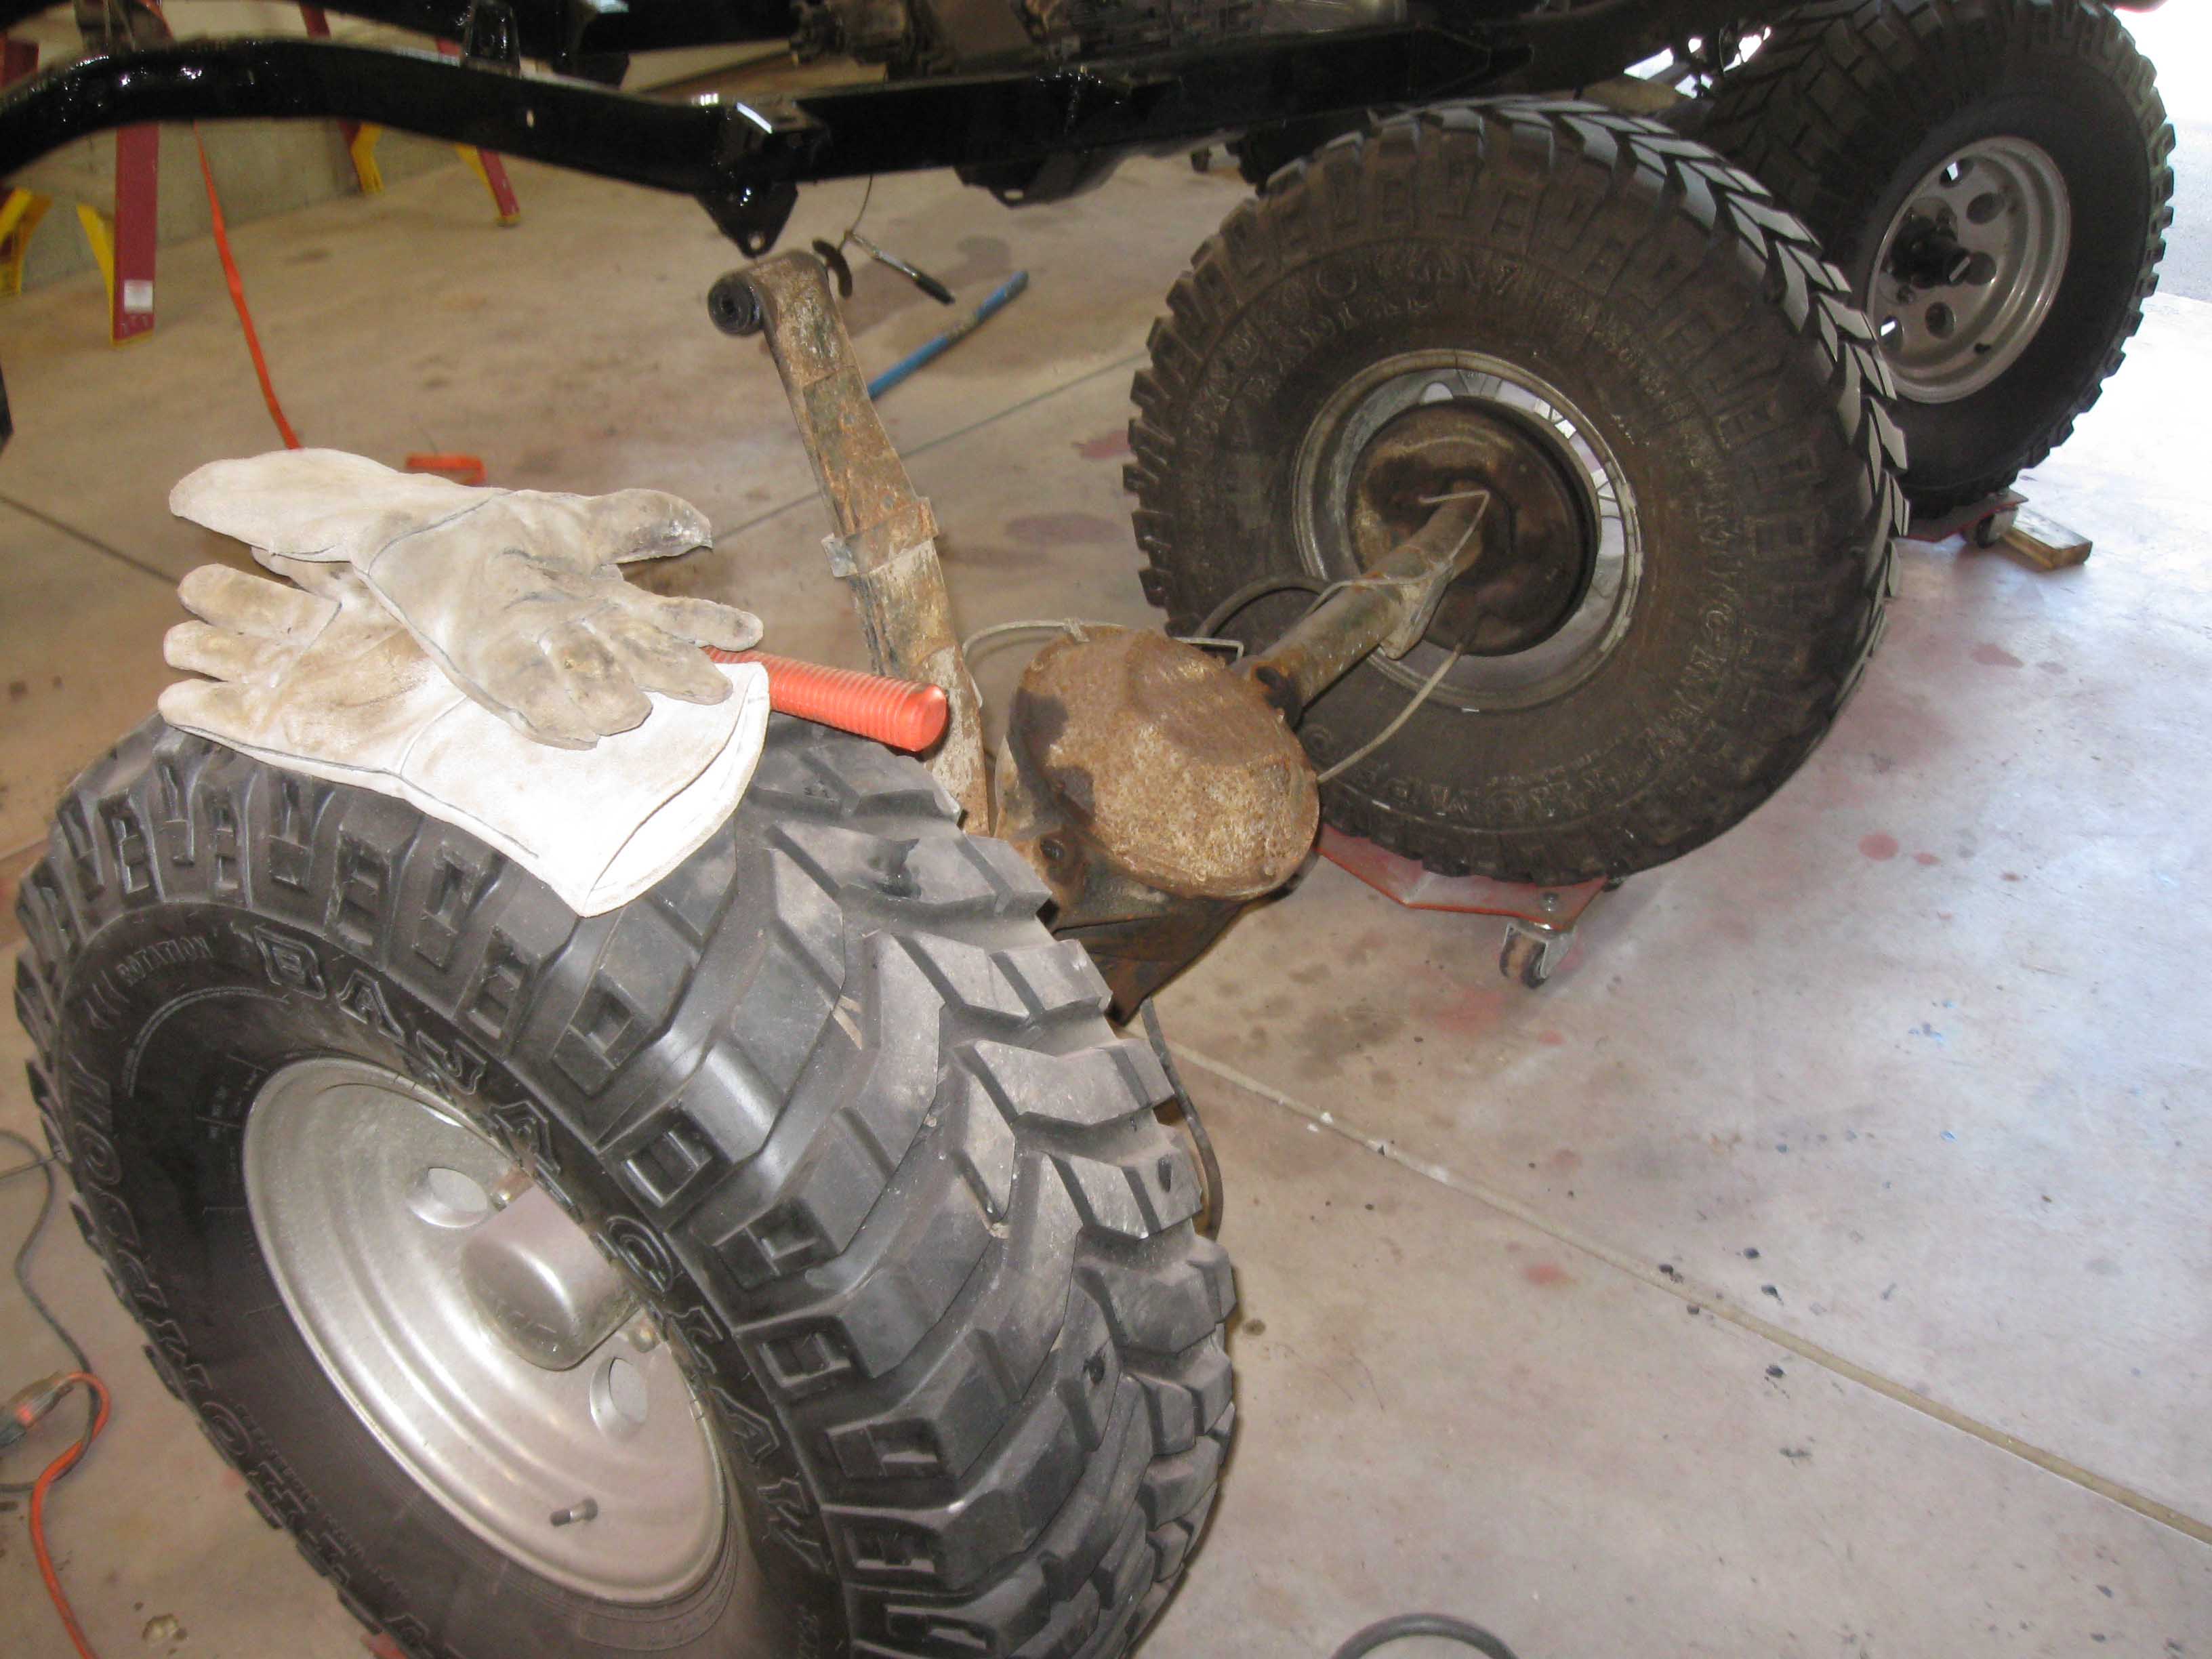
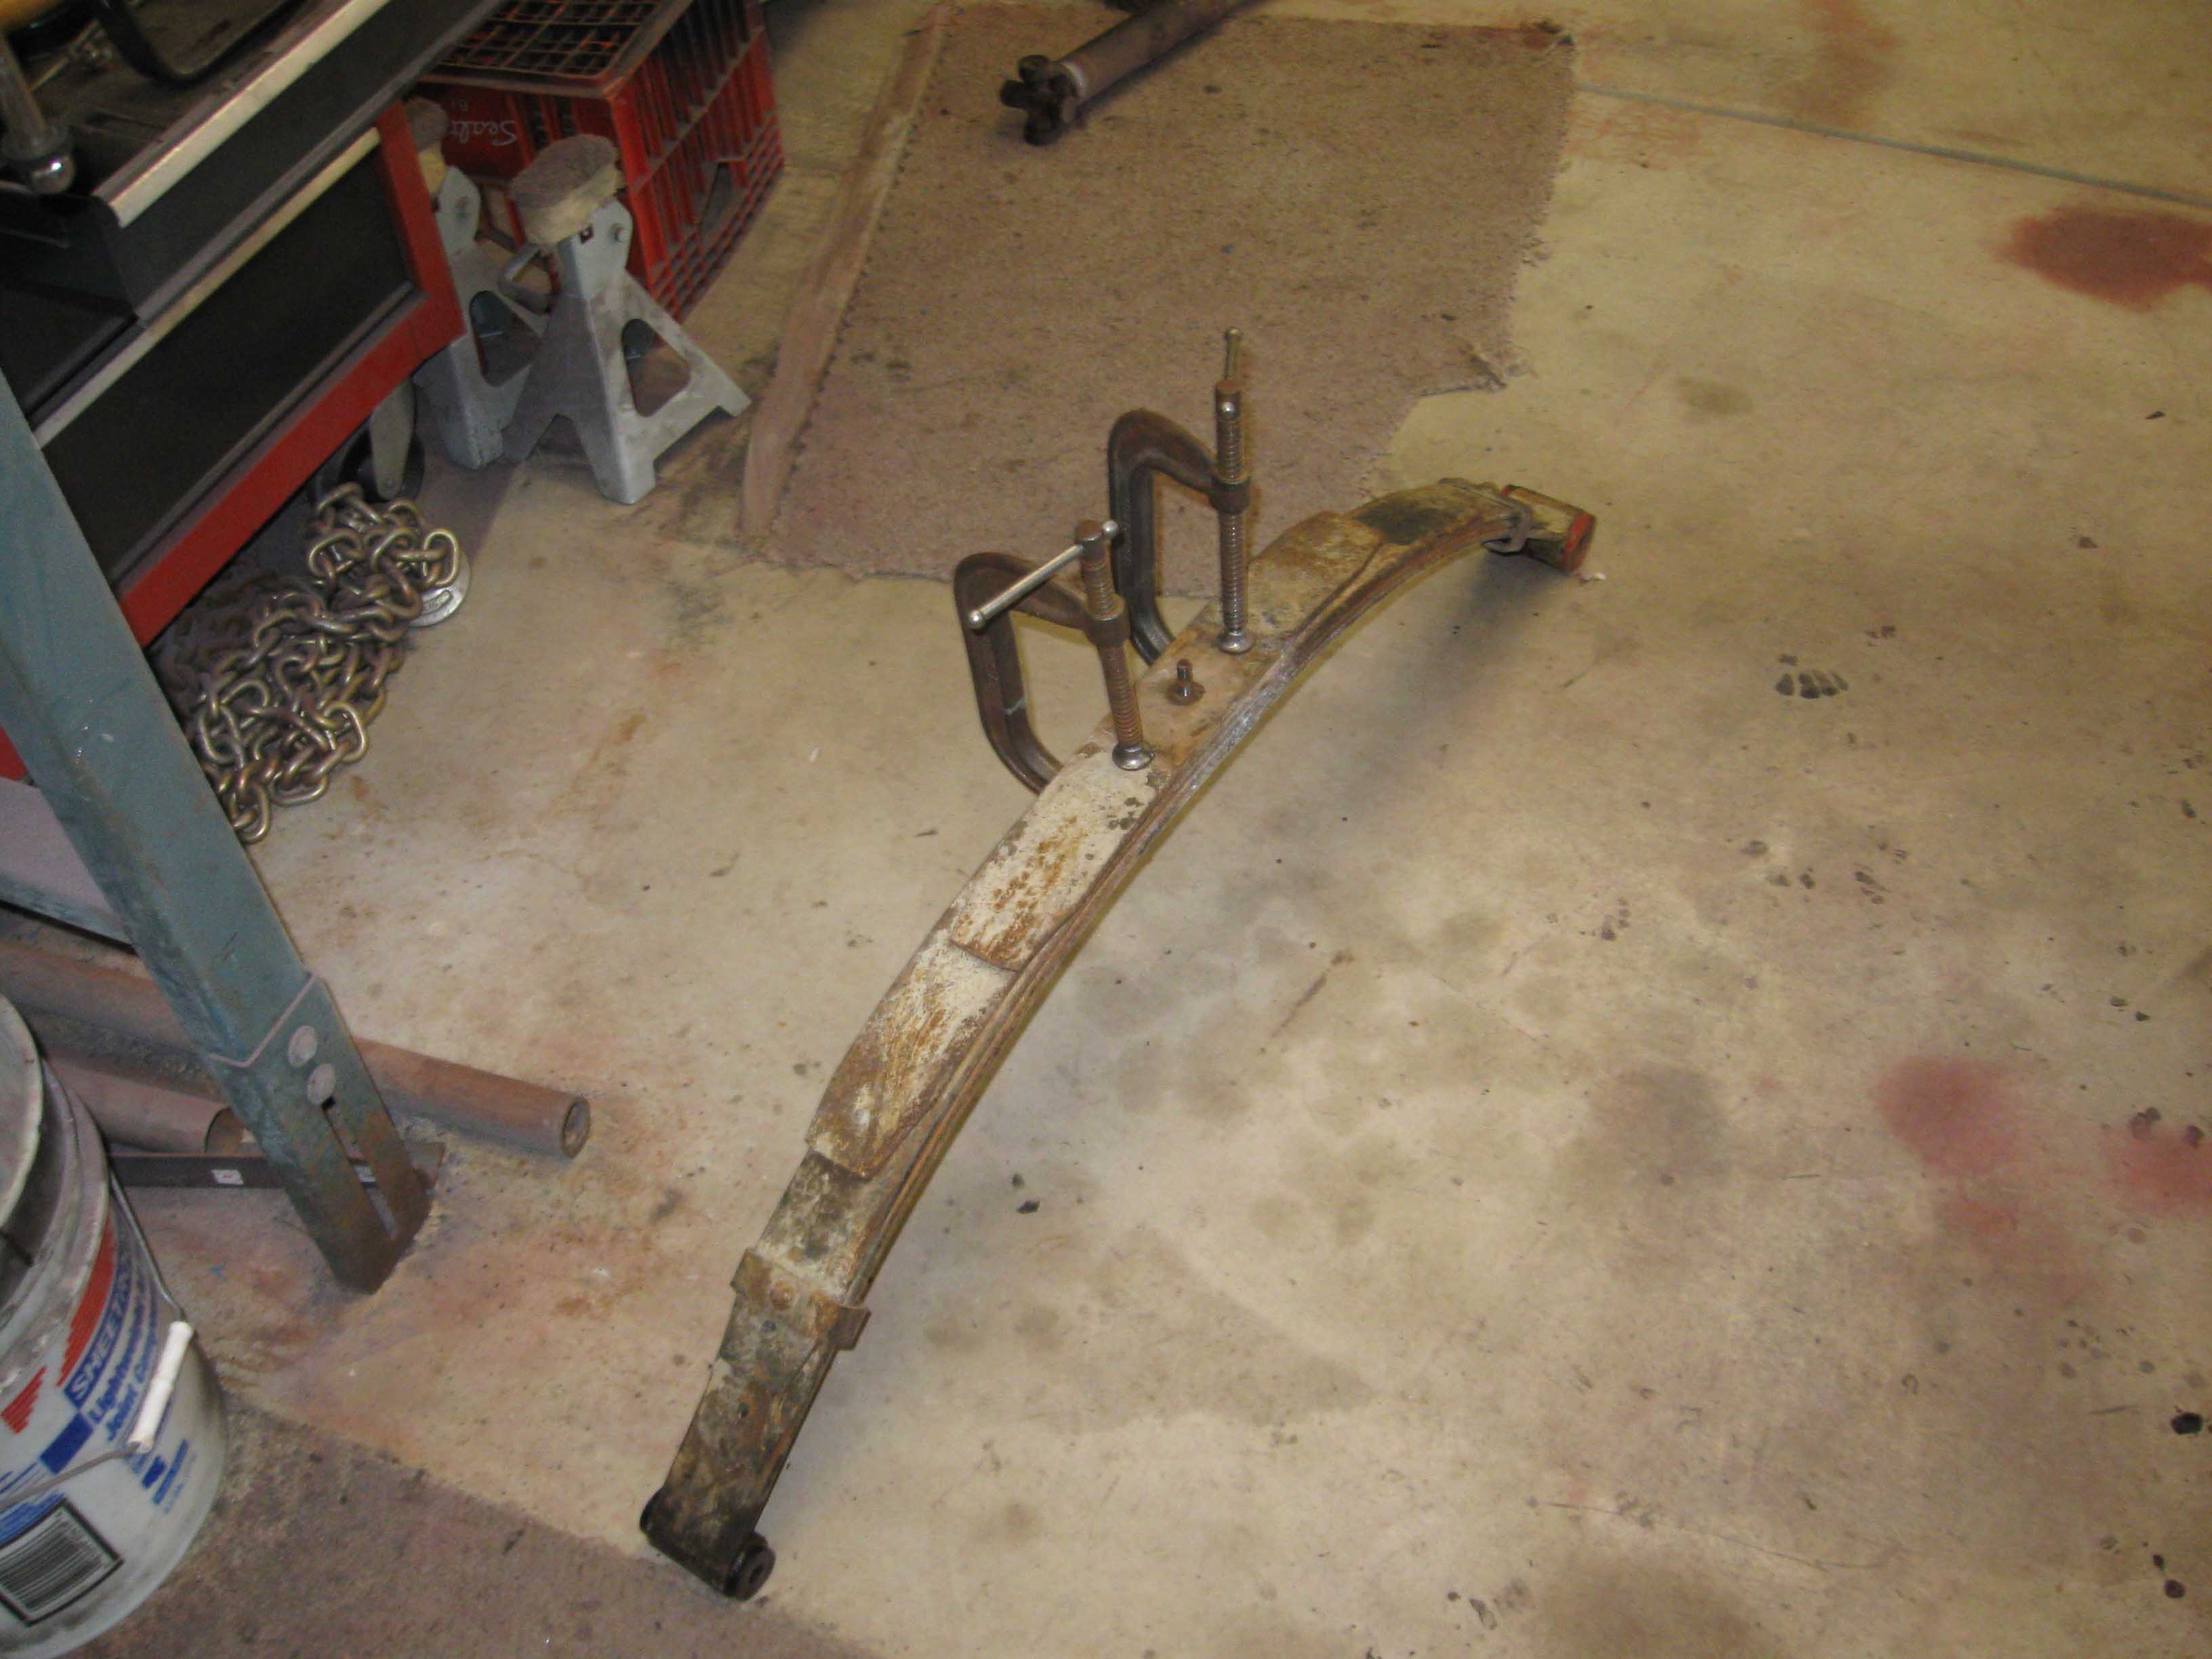
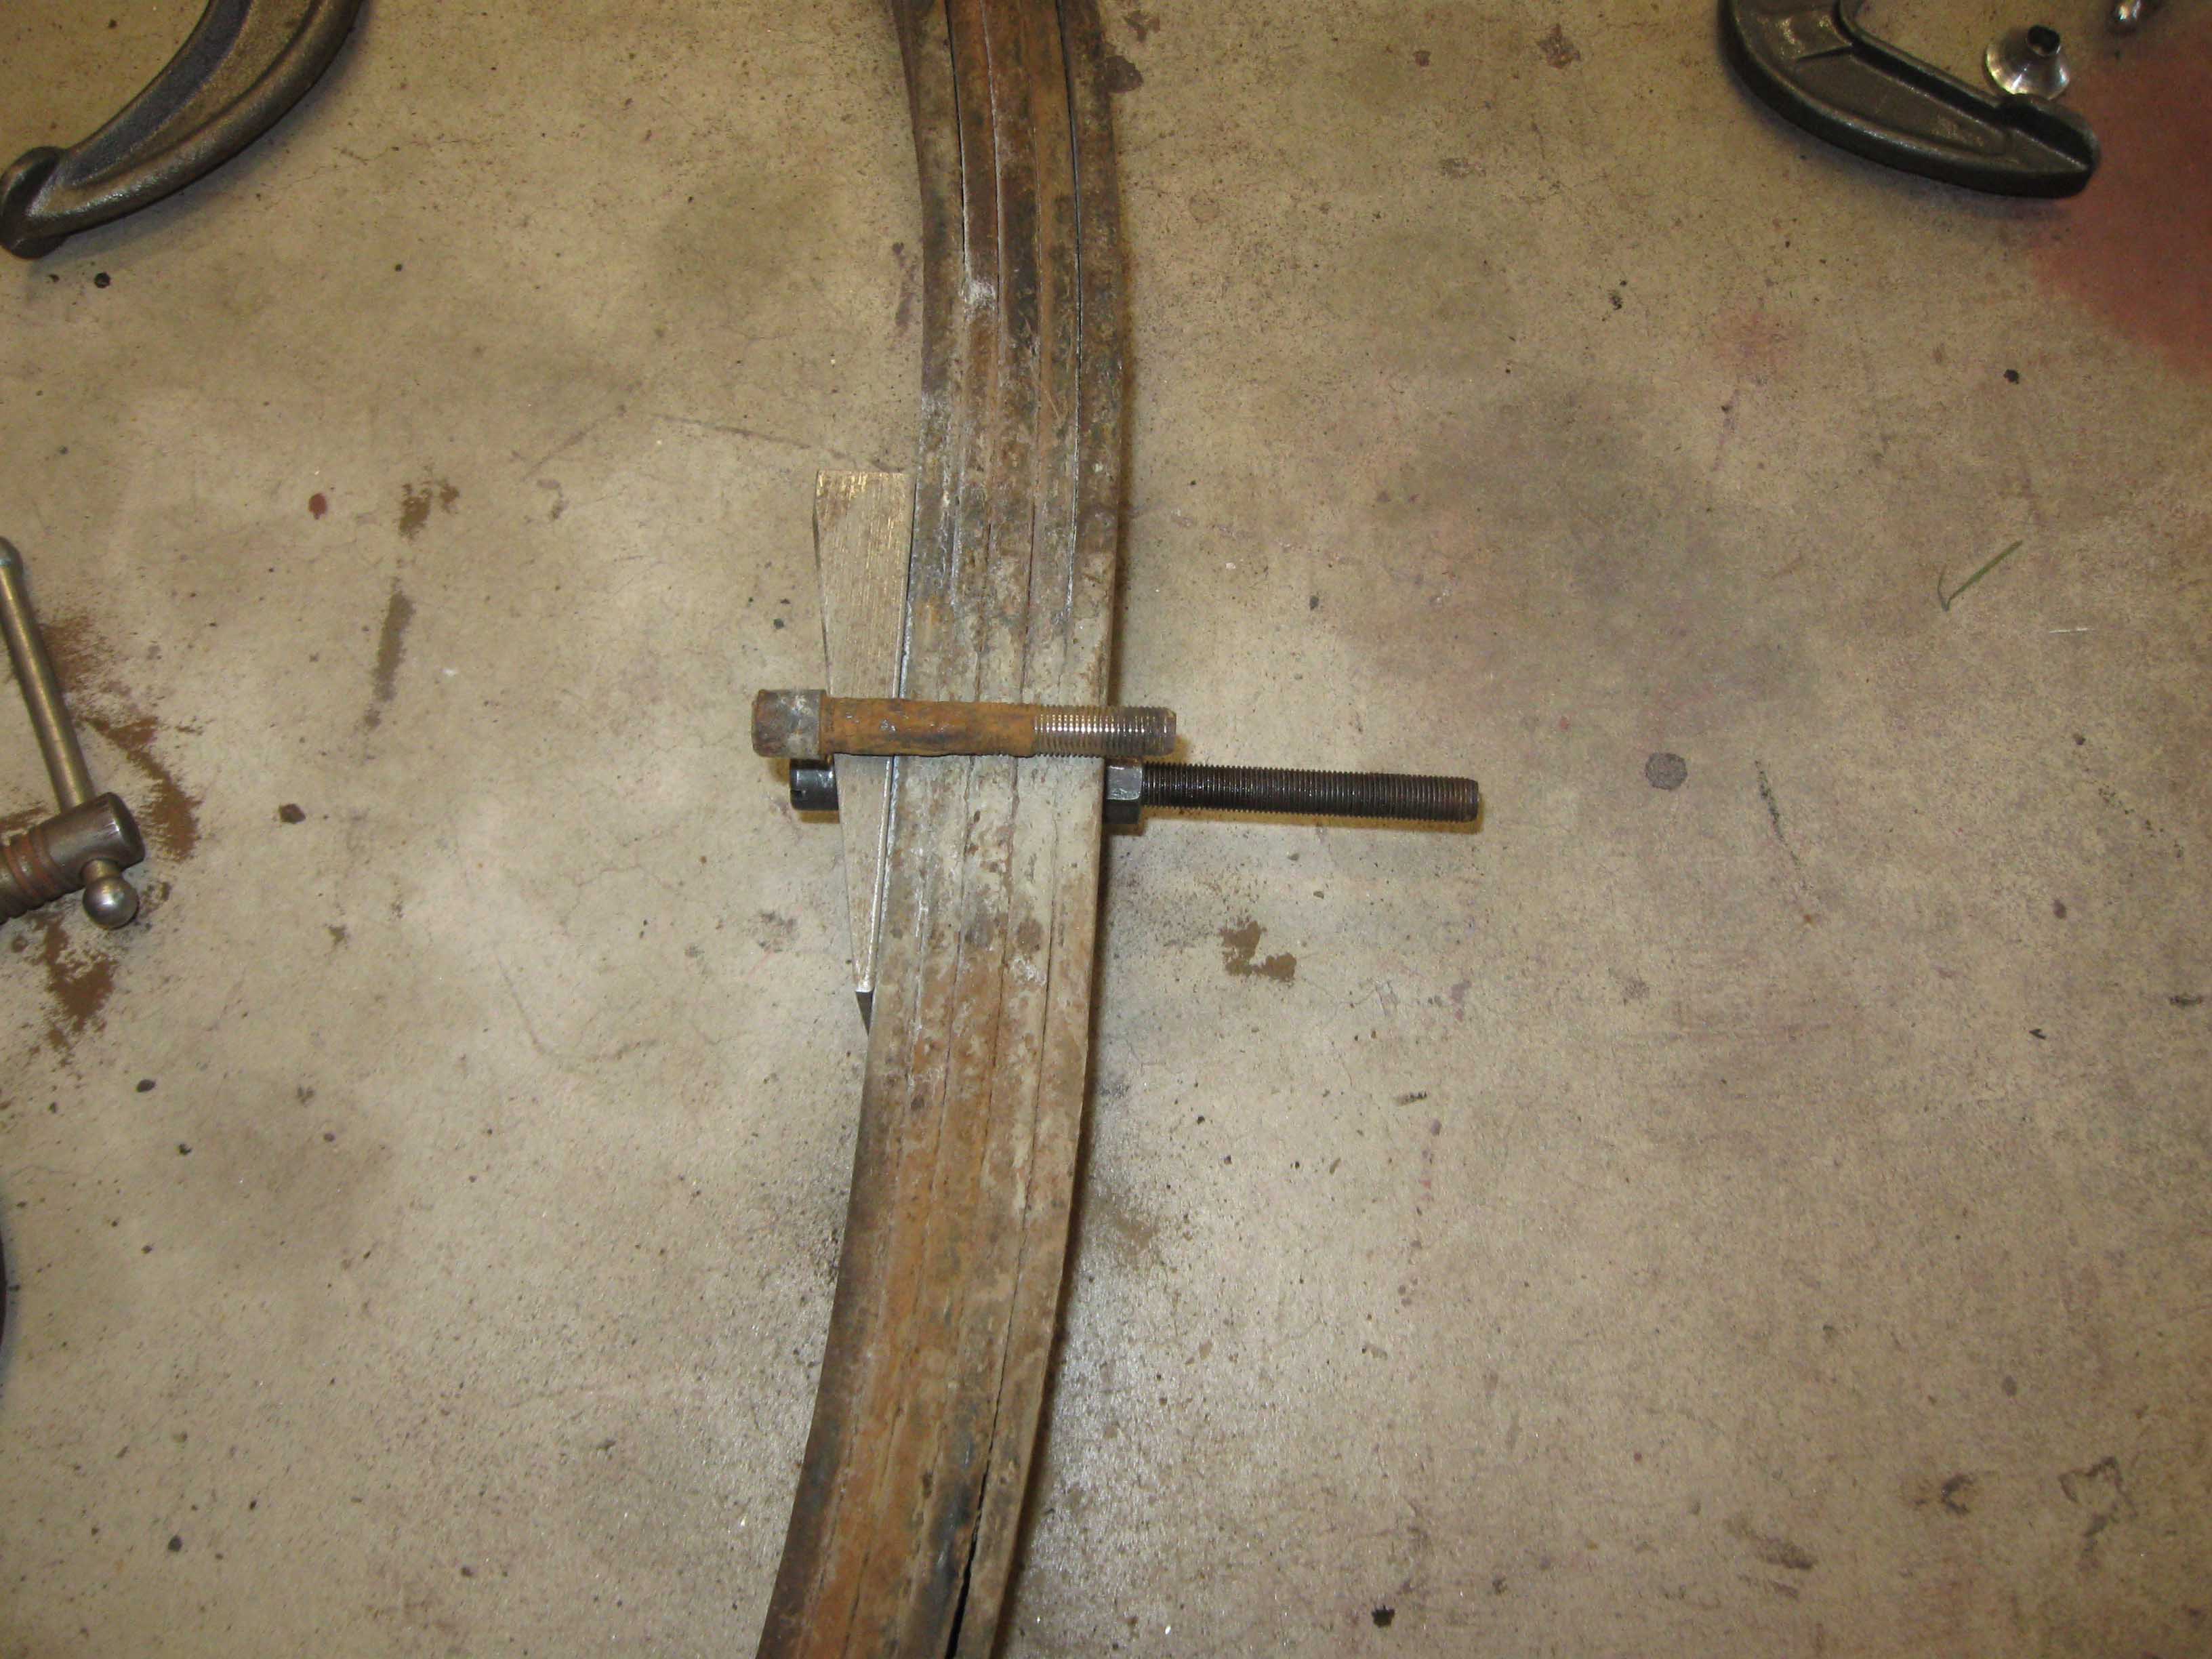
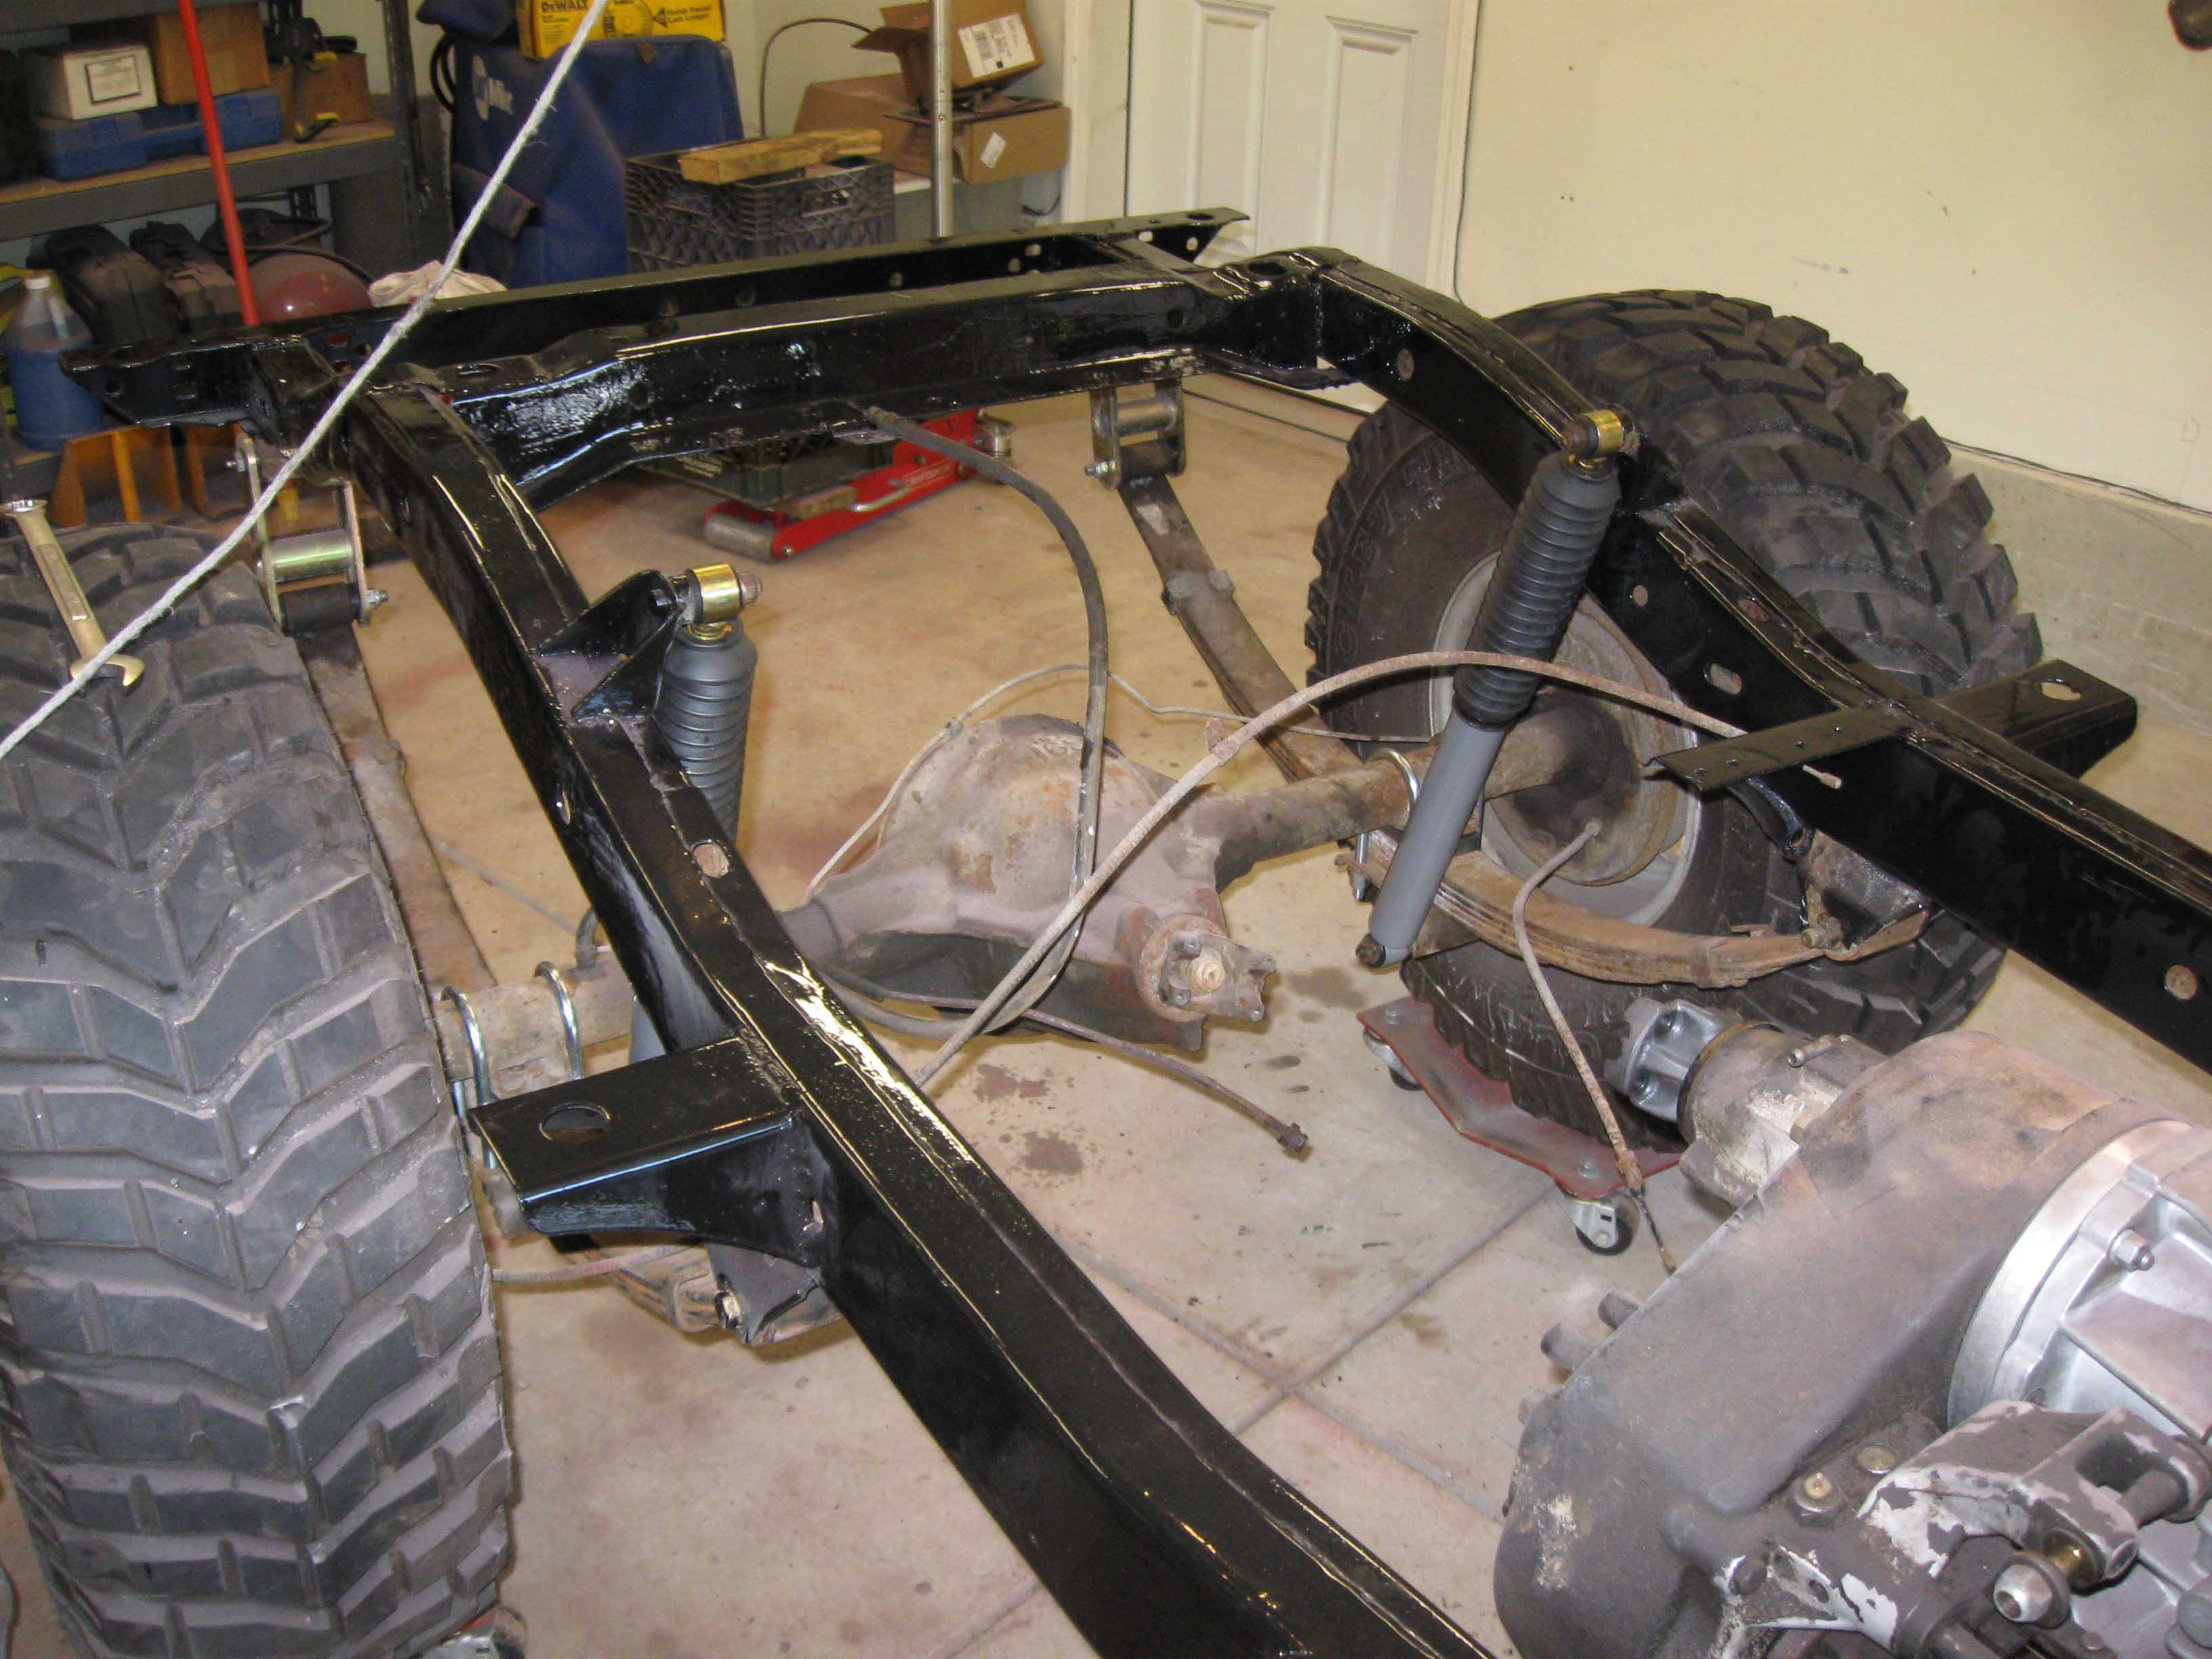
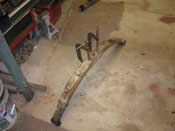
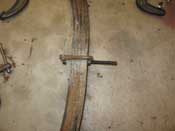
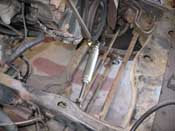
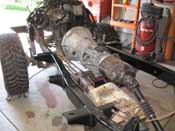
| The axles were the first things of the day. Basically we had to replace the
shims on the axle to rotate the axle more up towards the Dana 300. With the axle taken out of the frame and the
u-bolts cut off (they wouldn't come off with the impact wrench), we clamped down the springs and removed the center
stud and replaced the whole assembly with what was provided from Tom Wood's. We finished that up, rolled the
axles back under the rig and then started to put the shocks on. That is when the phone rang and the guy with
the inspection plate I thought we needed called.
|
| |
|
|
|
|
|
|
| |
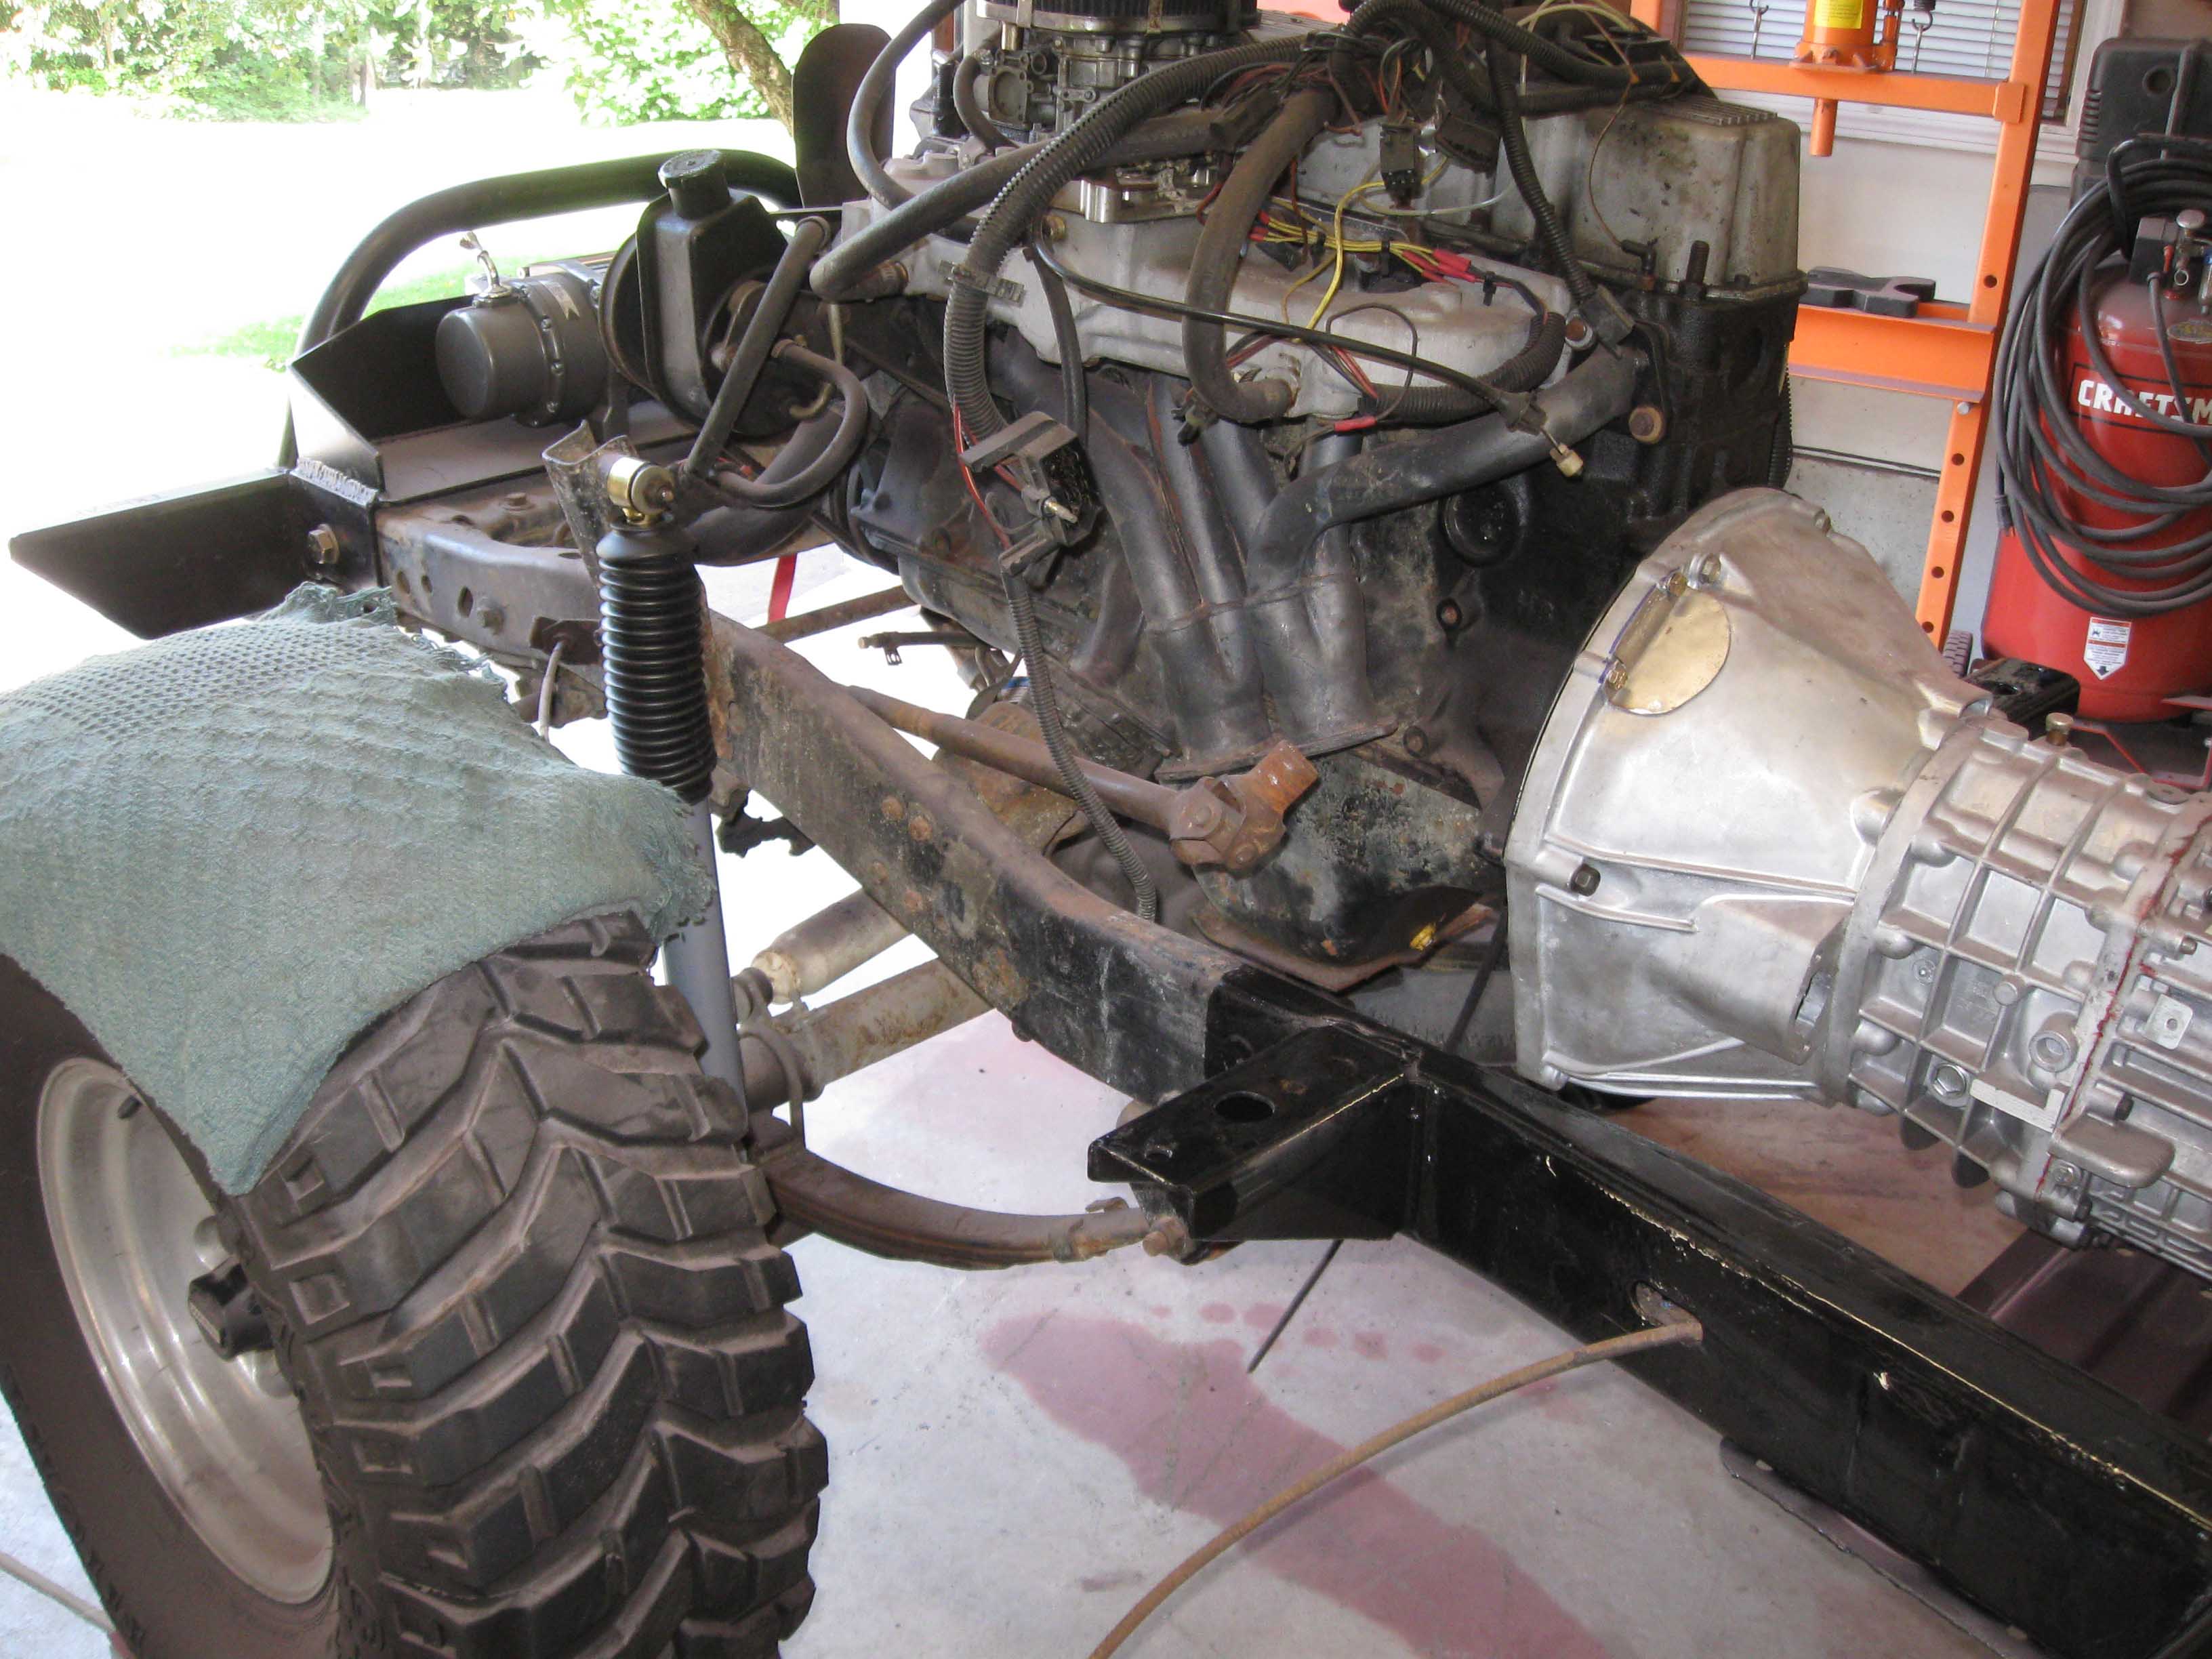
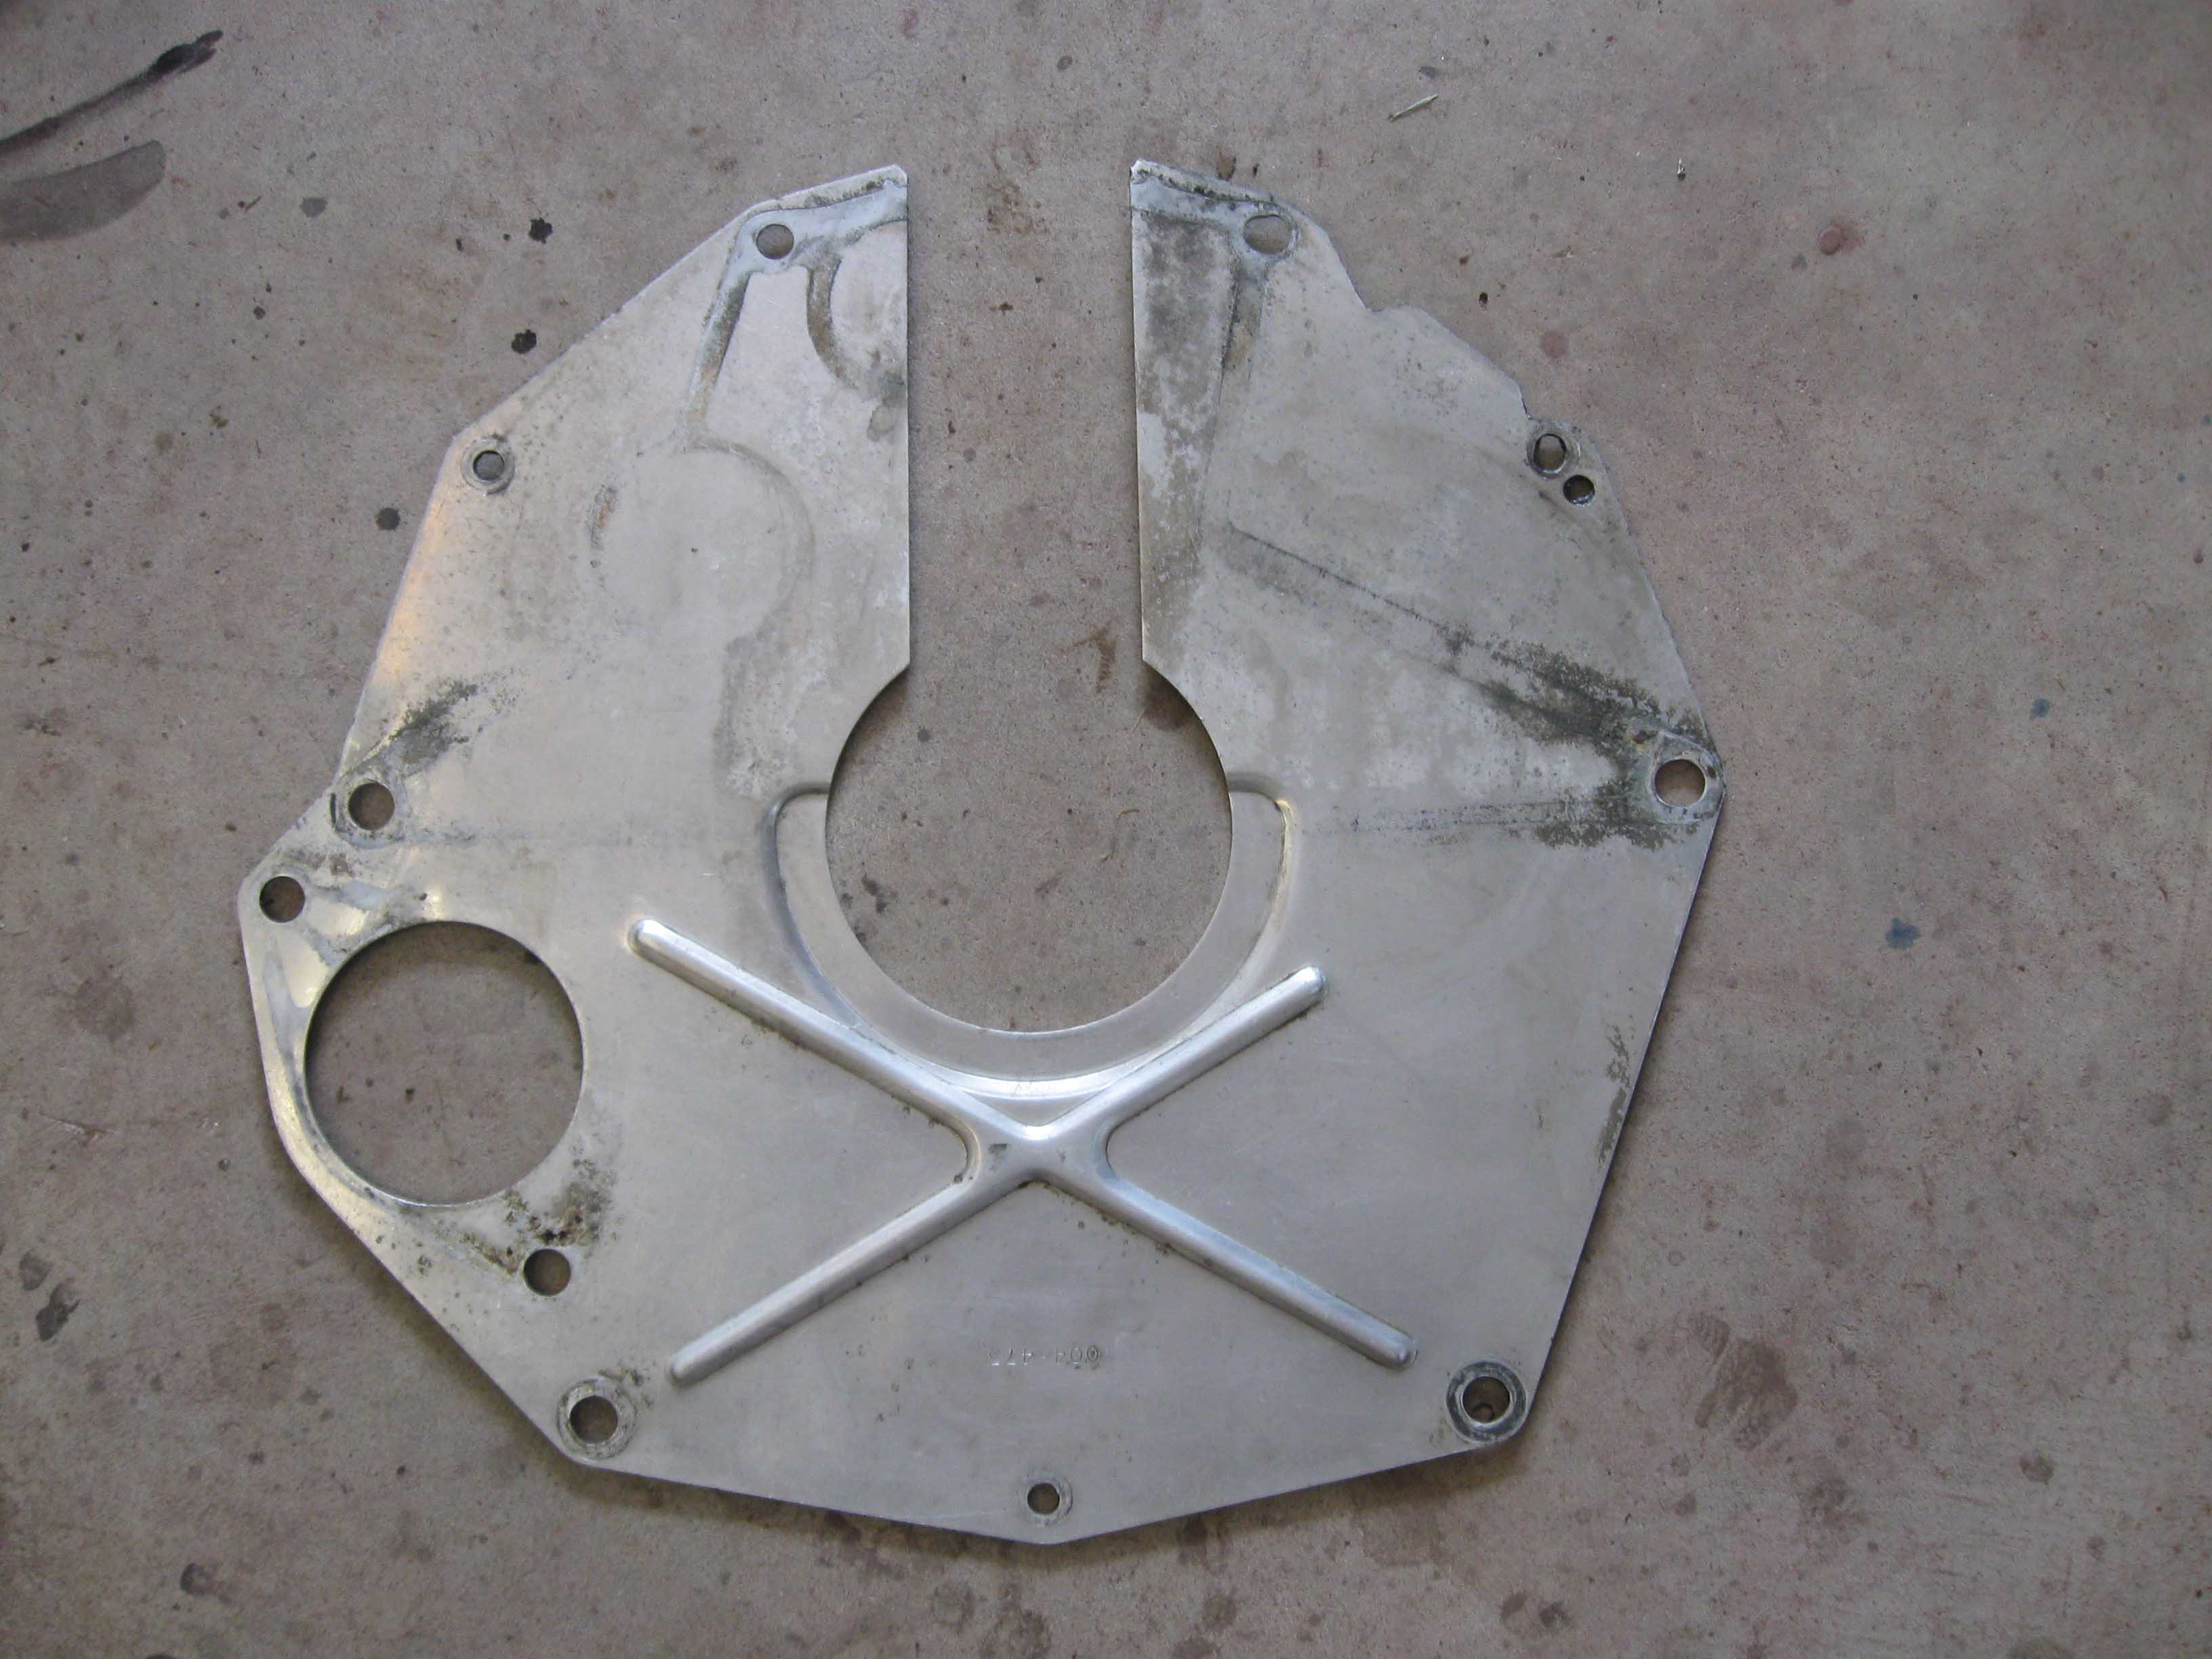
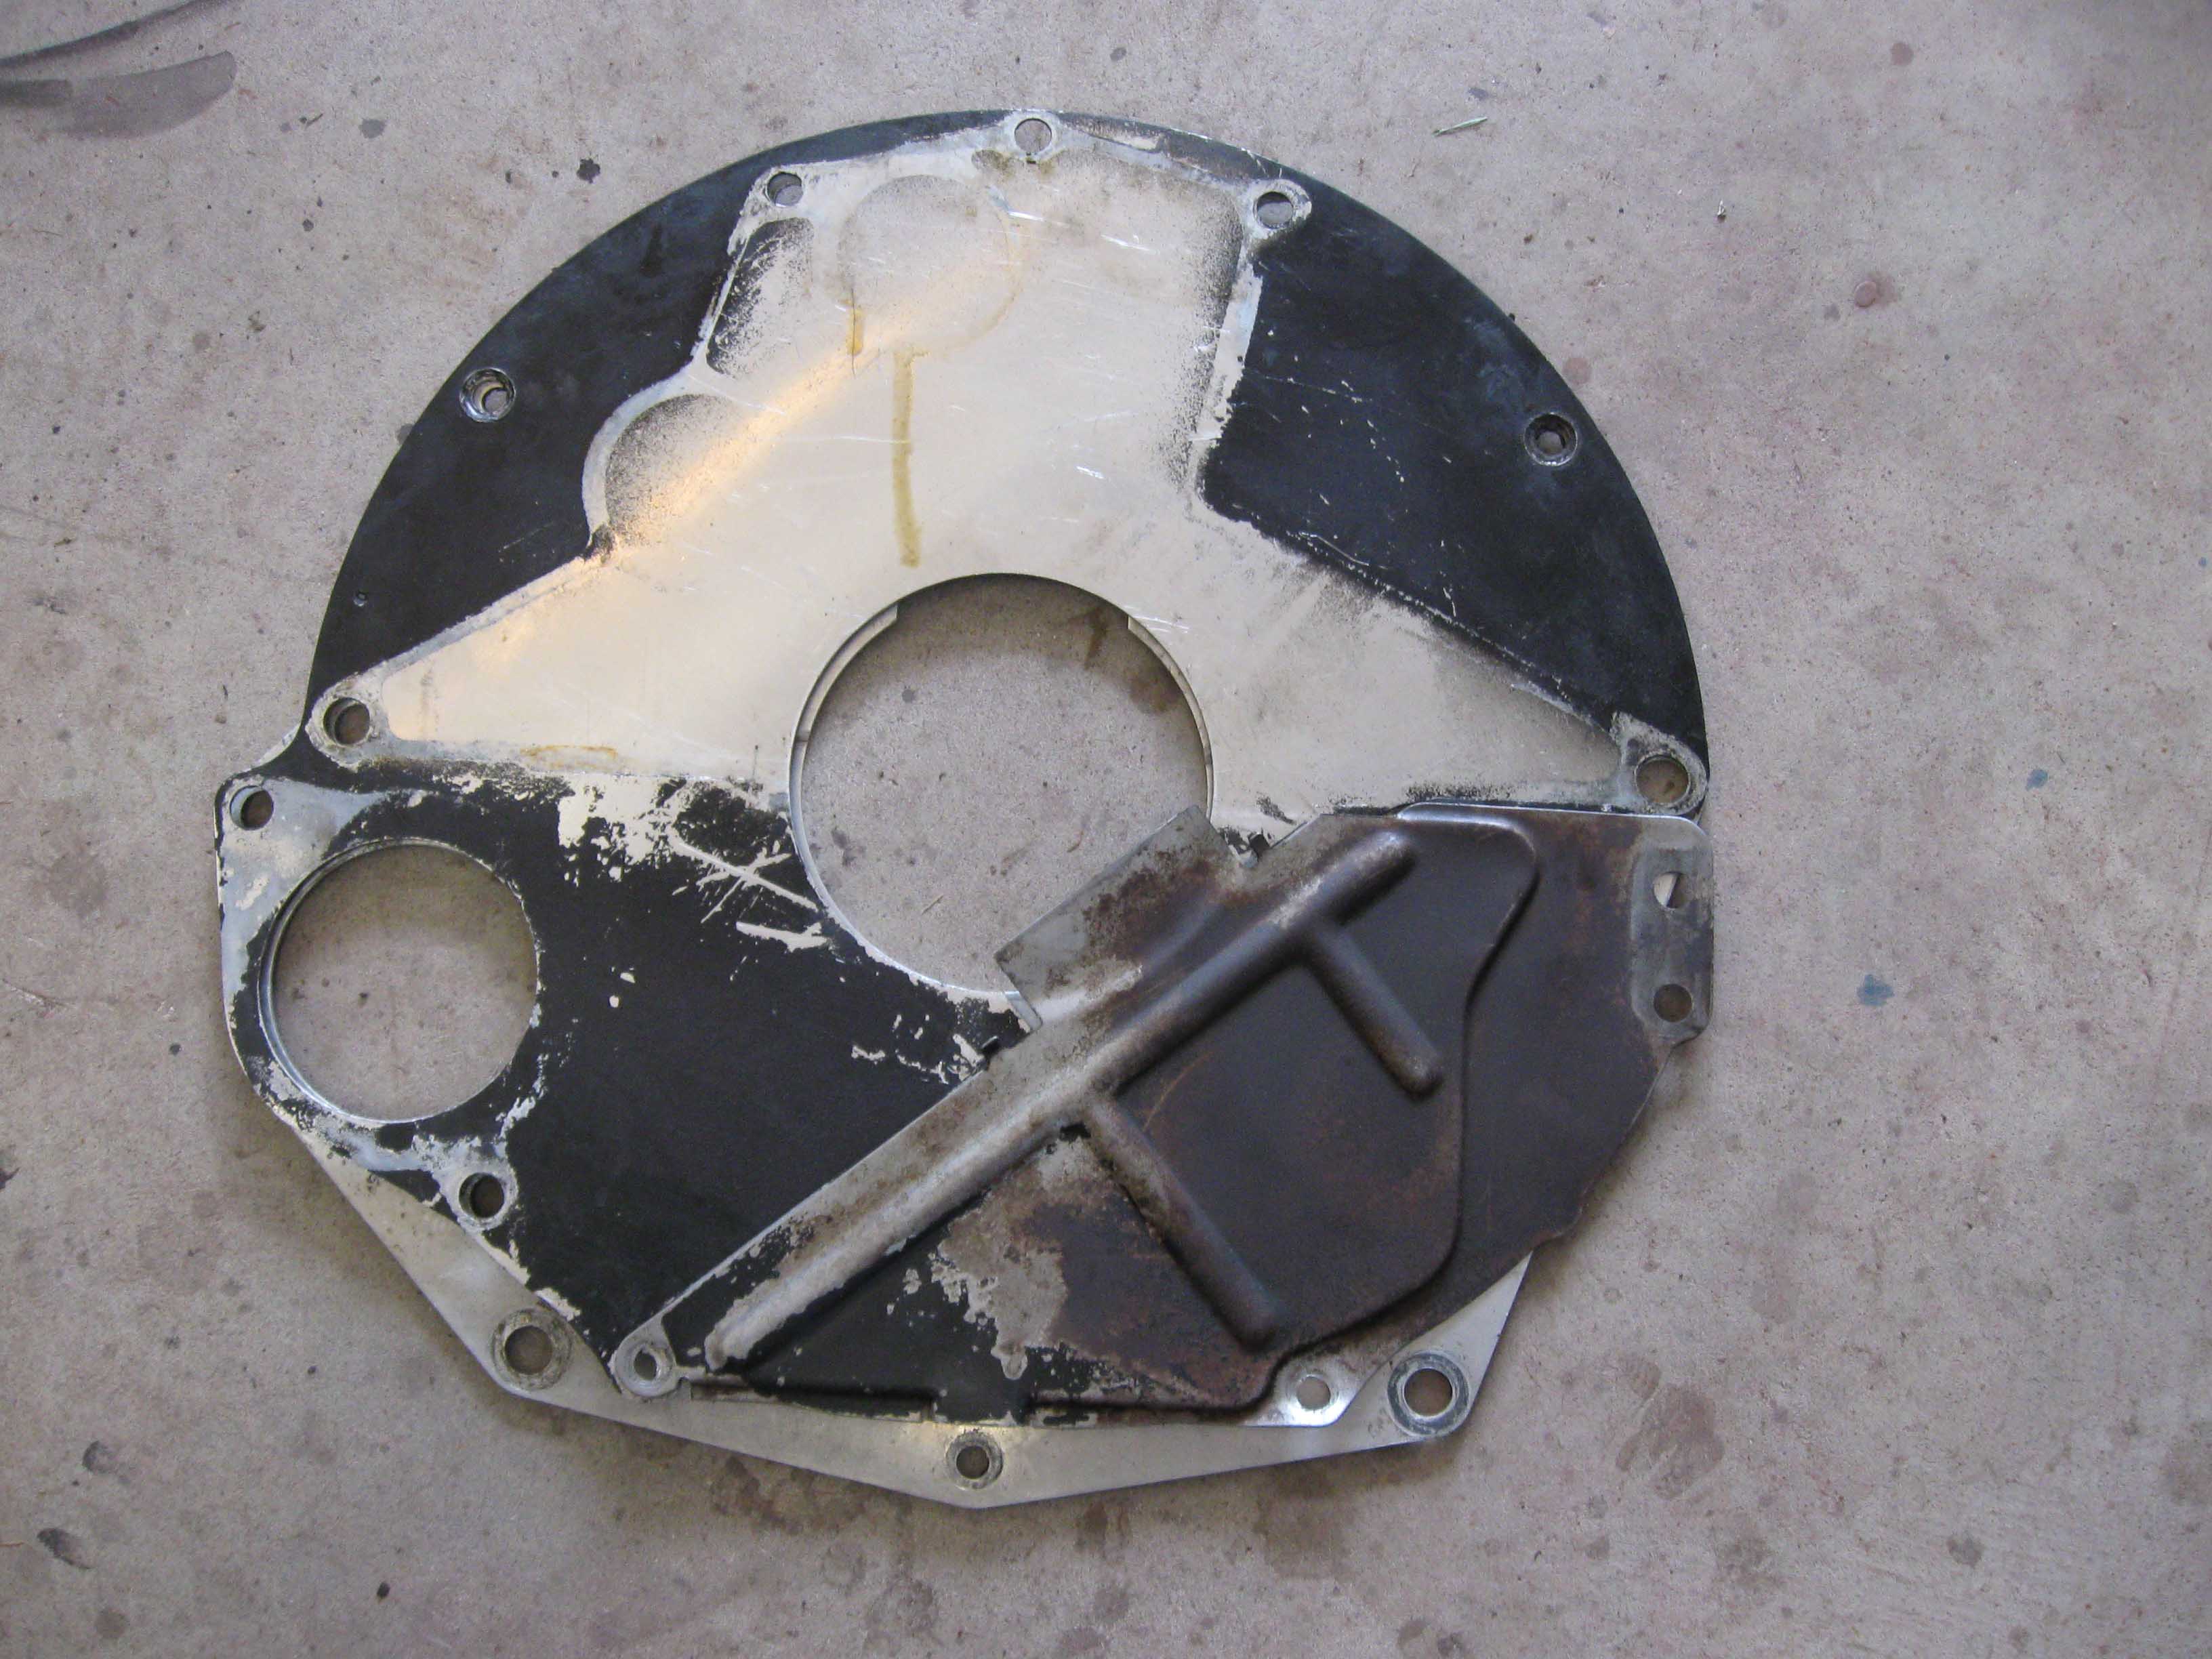
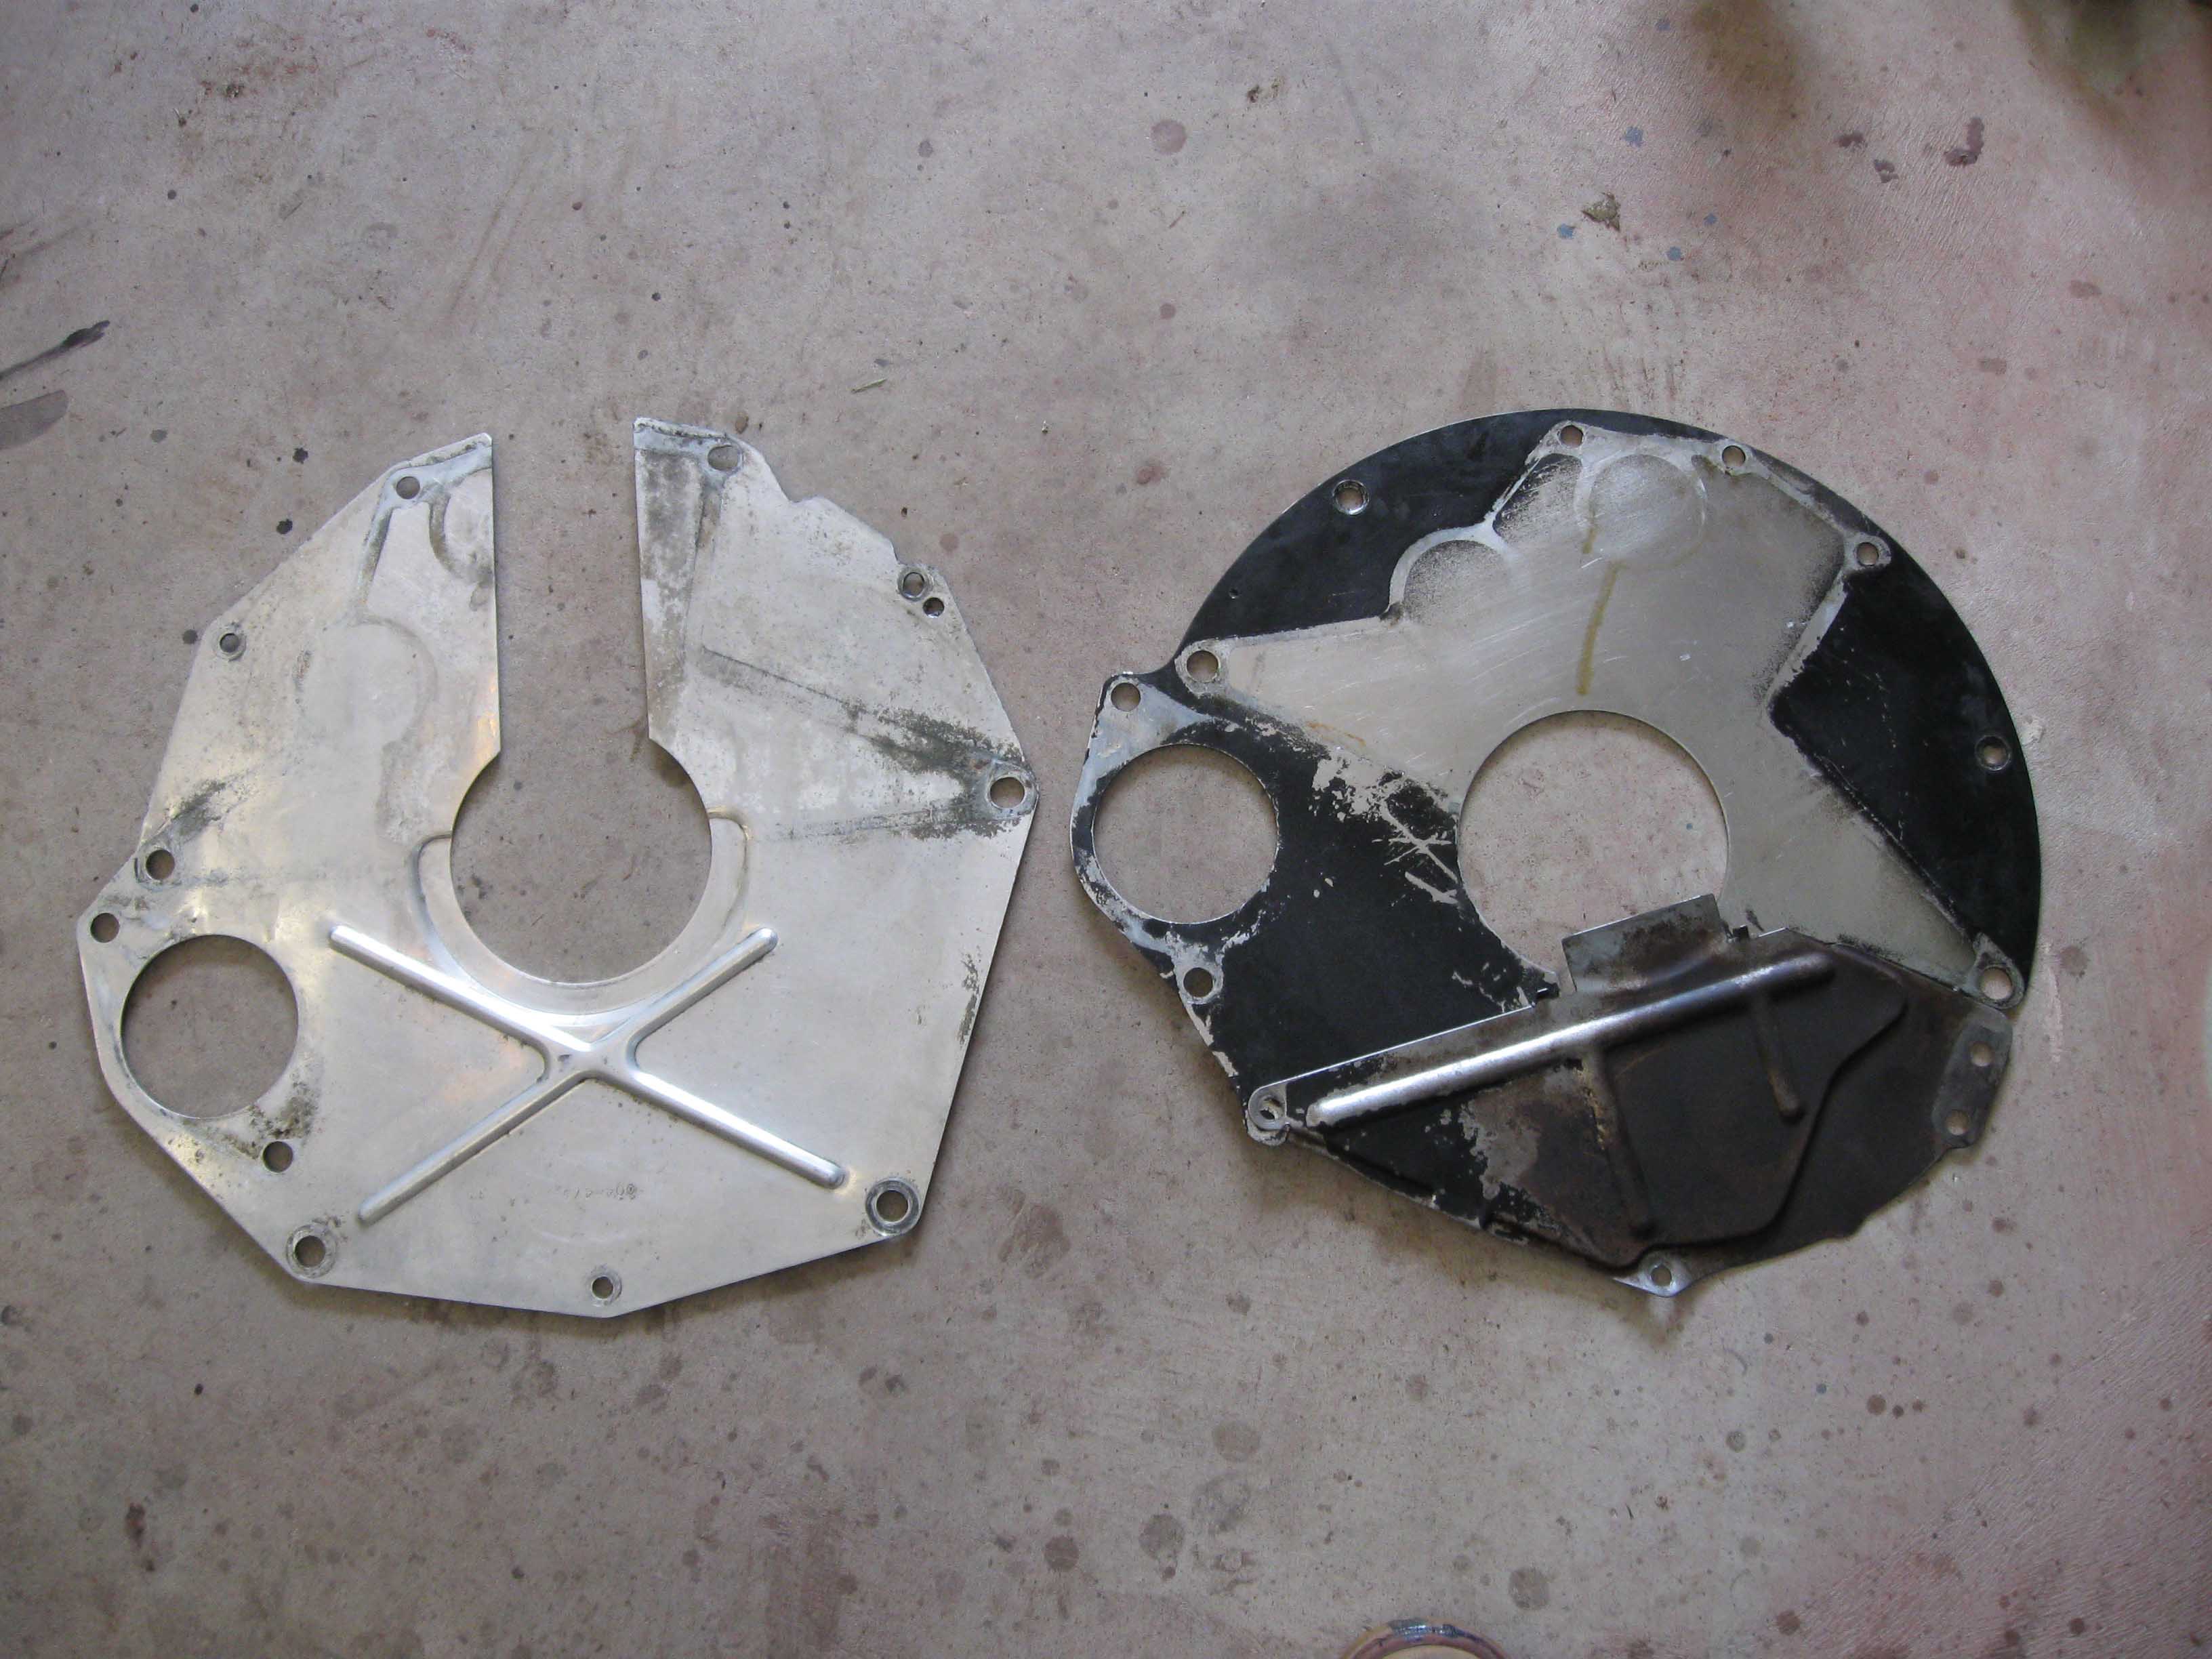
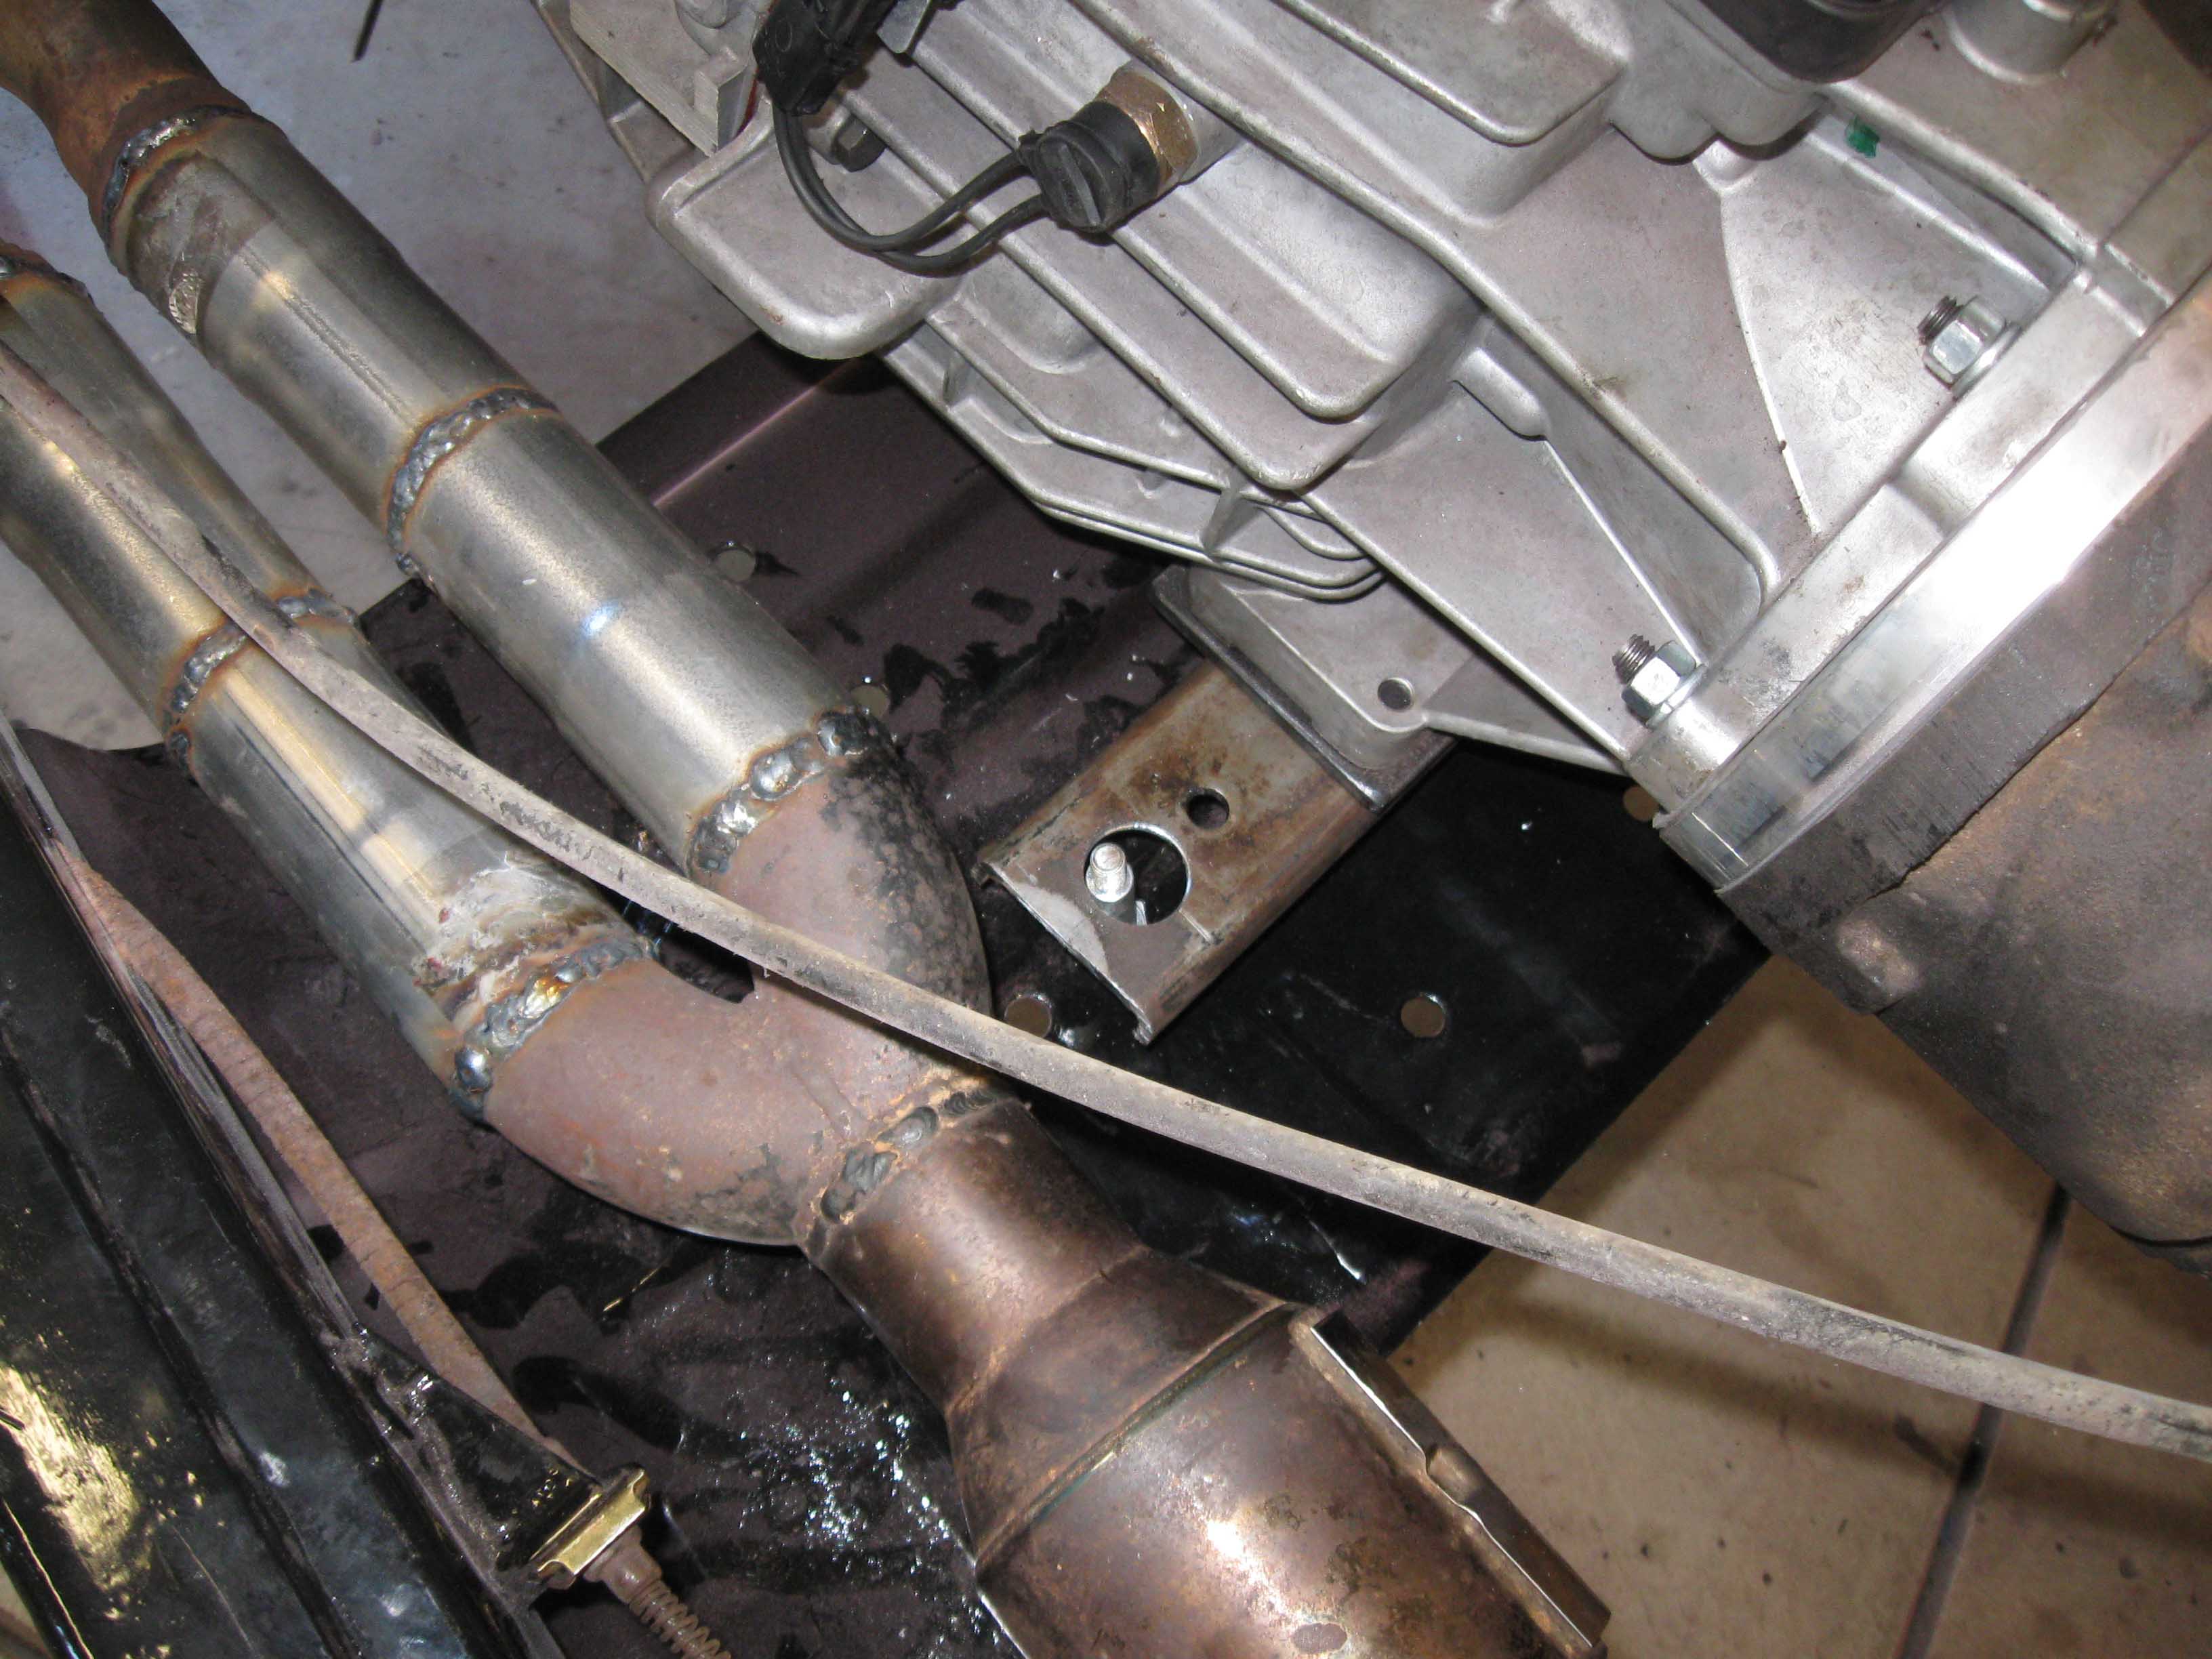
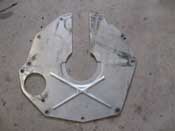
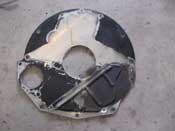
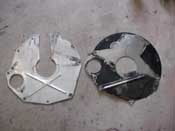
As you can see, the inspection plate on the right is the one we got from a guy in
NH for an AX-15. This is the same one they use on the NV3550. The CJ one will simply not work as you can see
from the pictures, I put it on top of the AX-15 one as well as side by side and you can plainly see the difference.
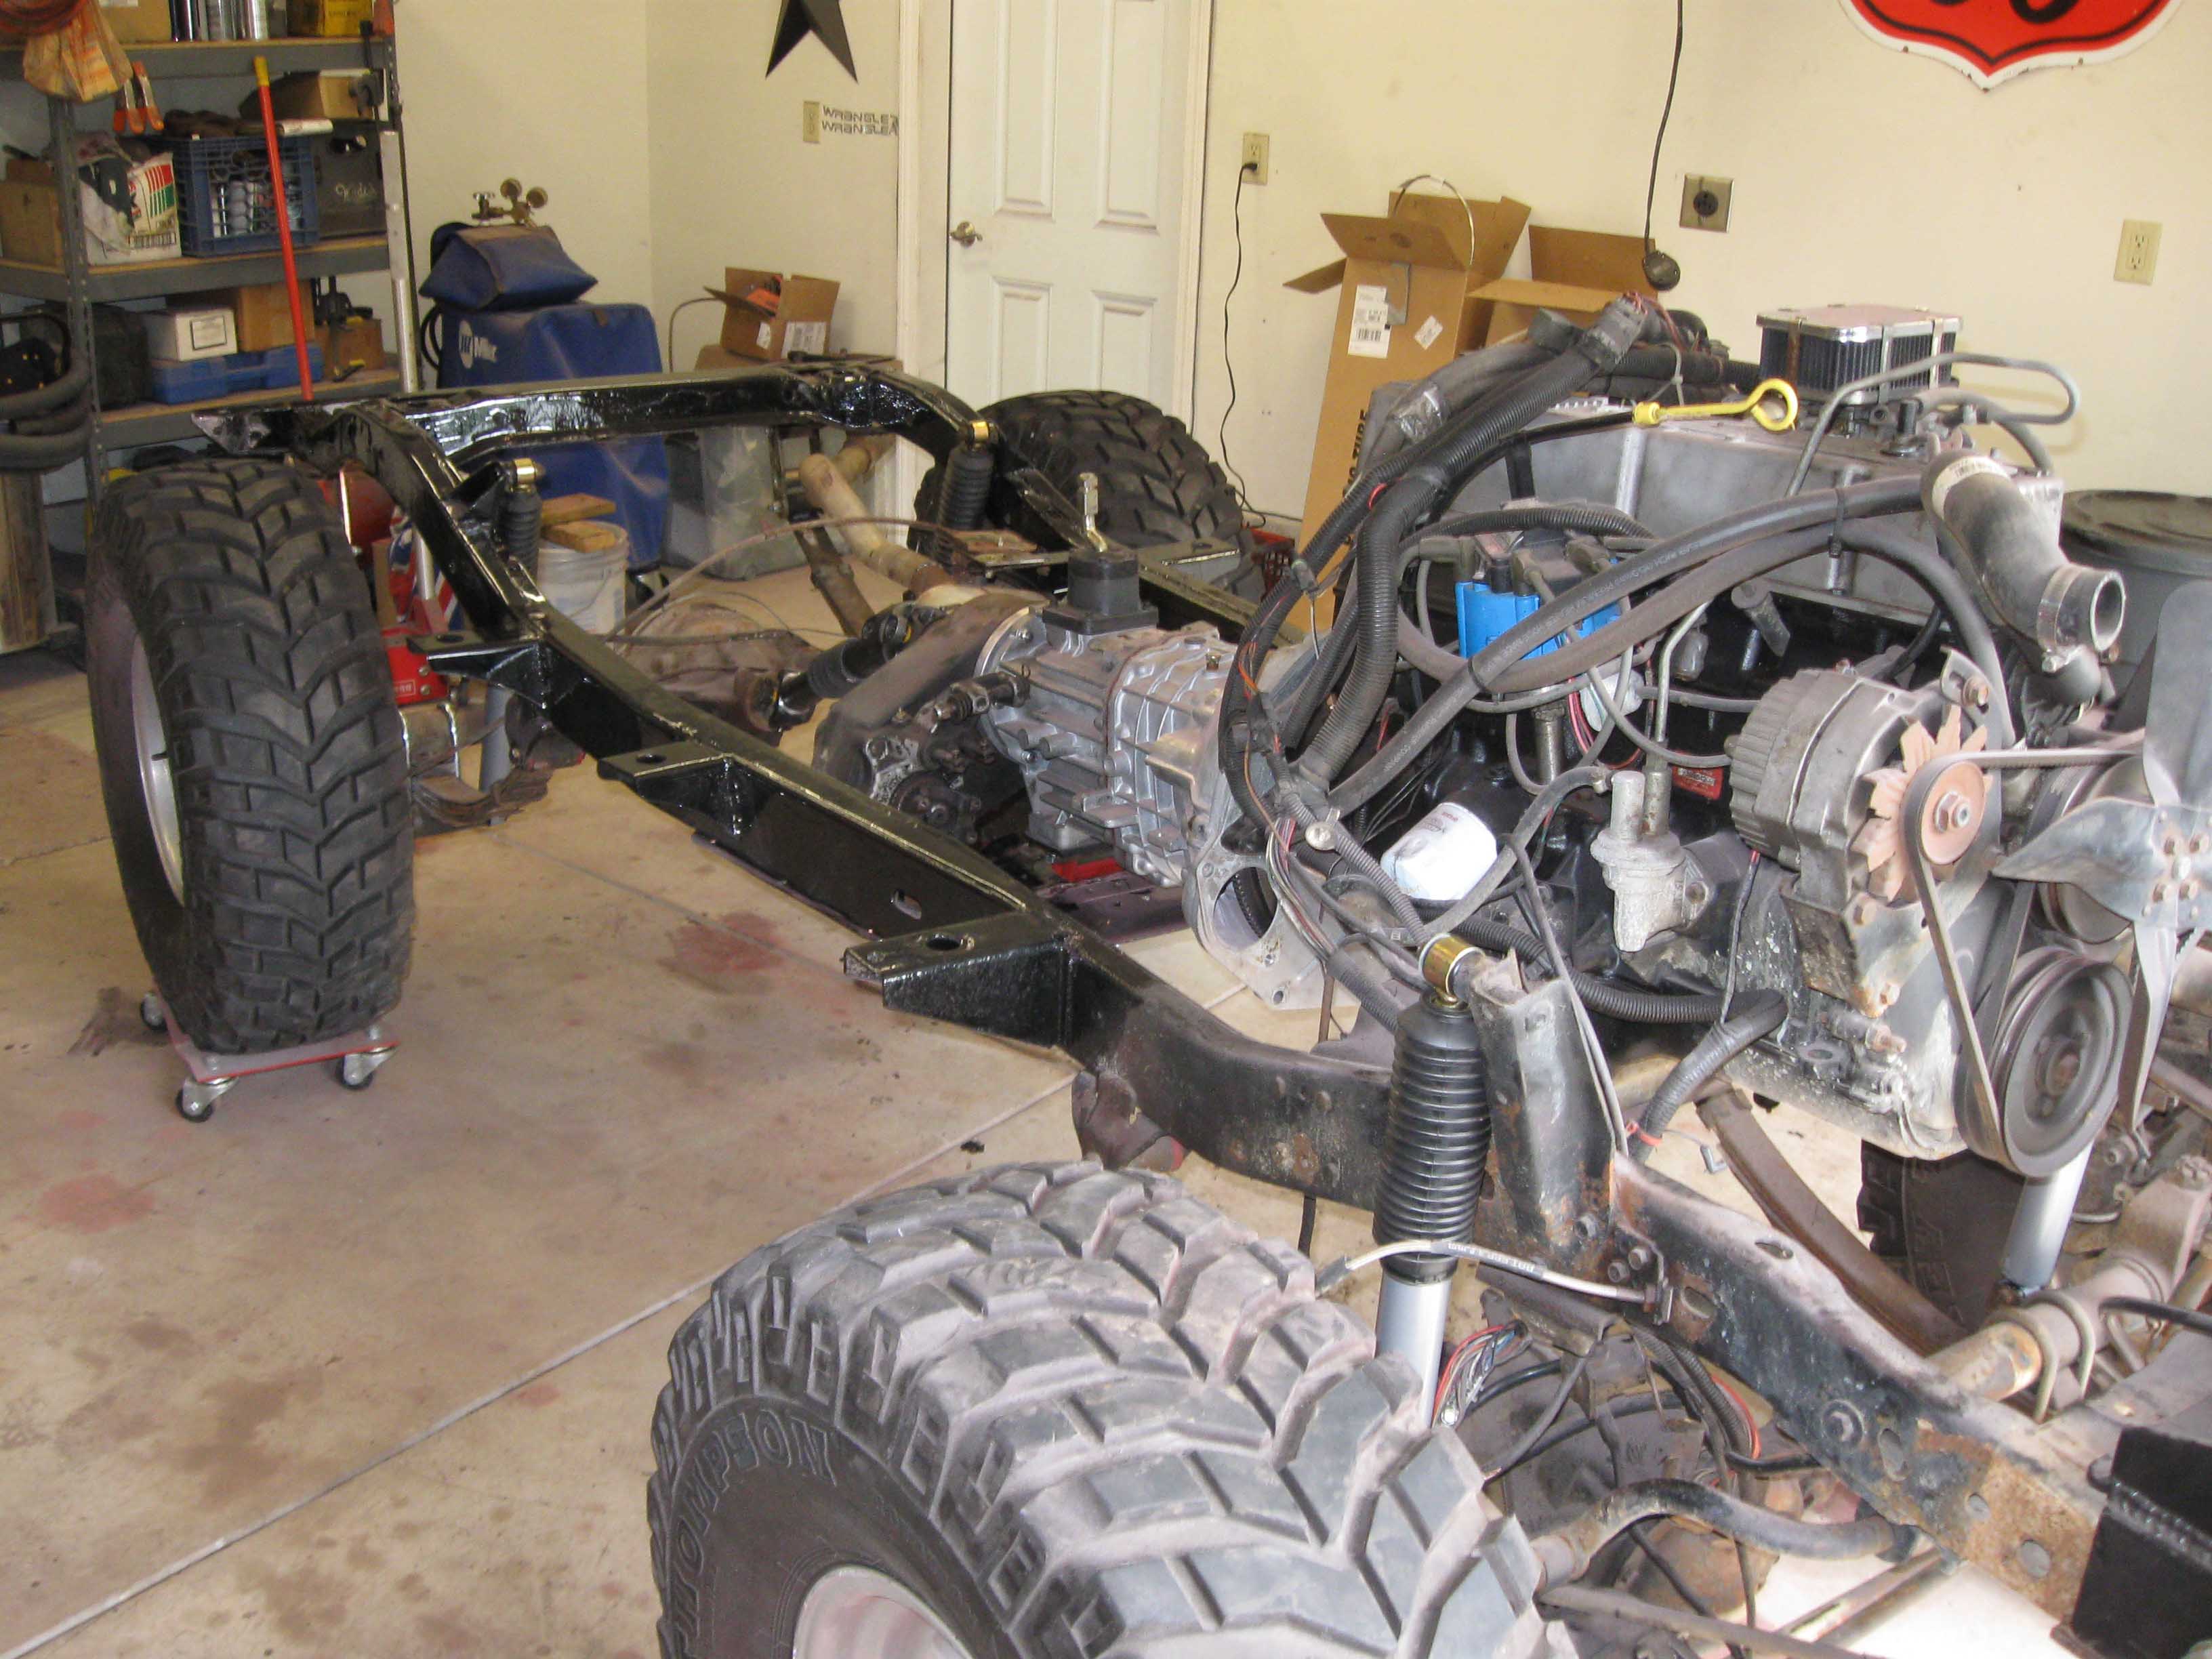
It is not a simple swap when it comes to this. Also, we had an issue with the torque arm and the exhaust, but I will
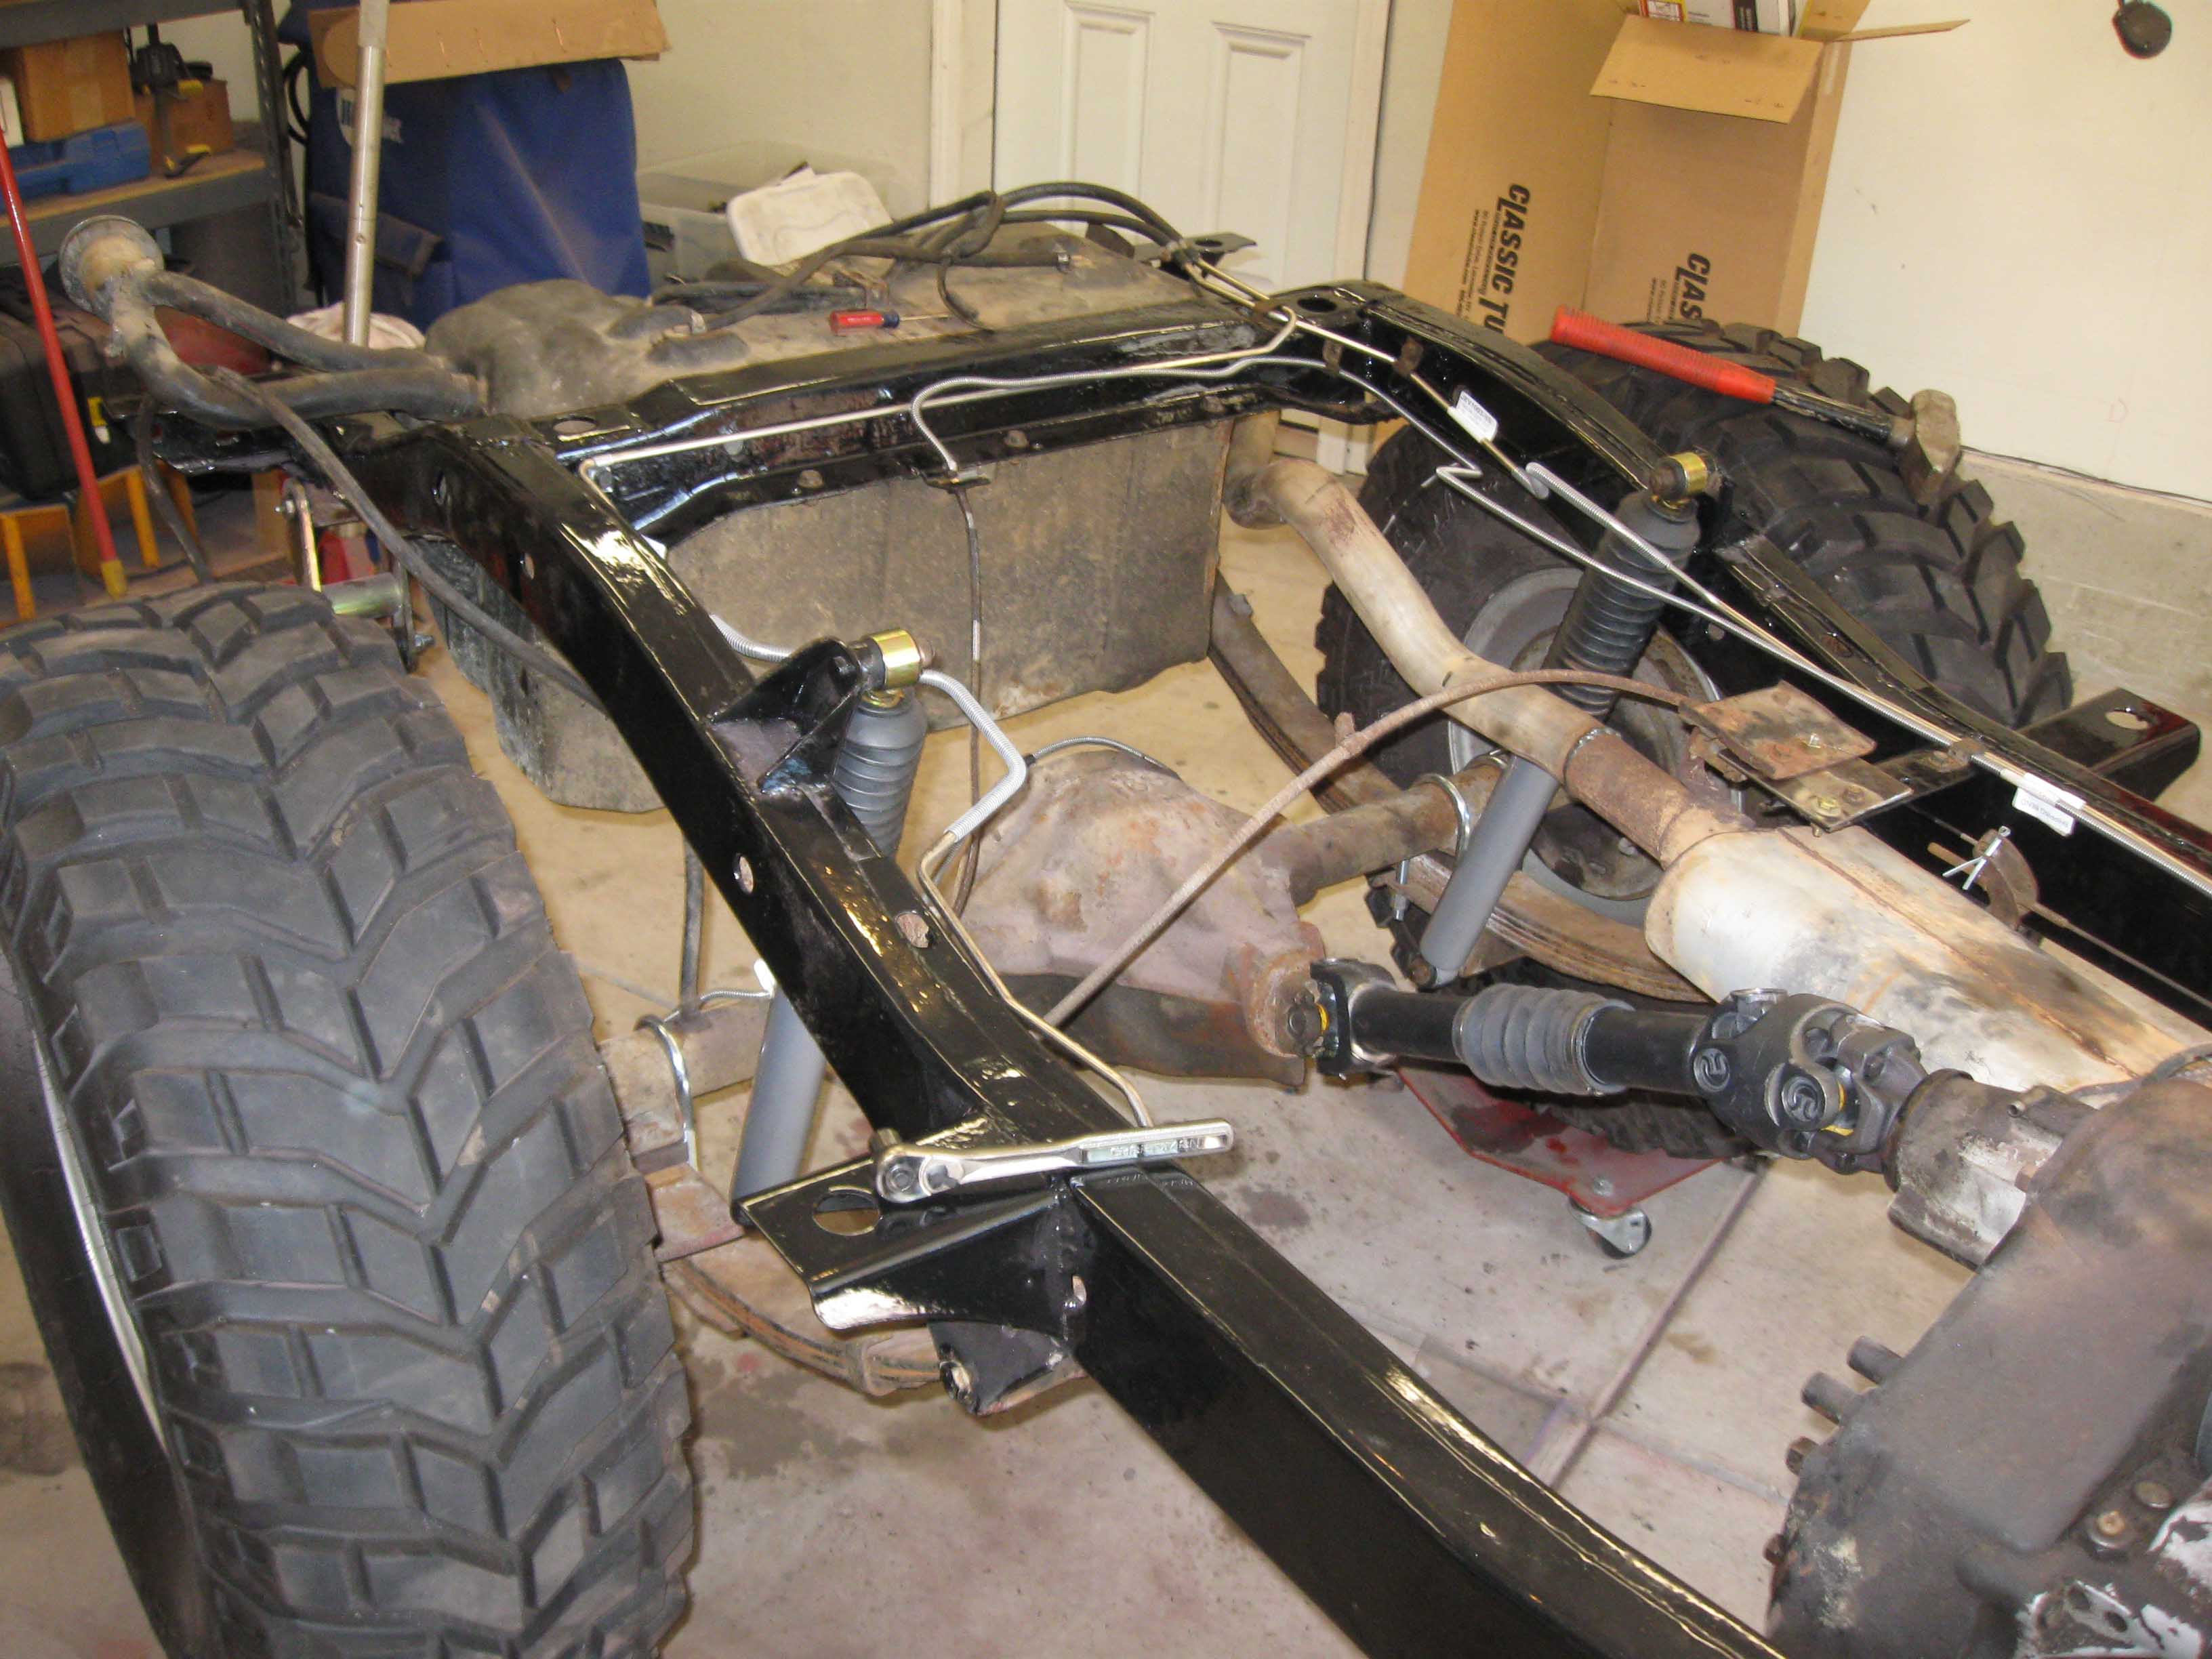
explain that at a later time as to how that was cut down, re-drilled and put back into place. We finished the
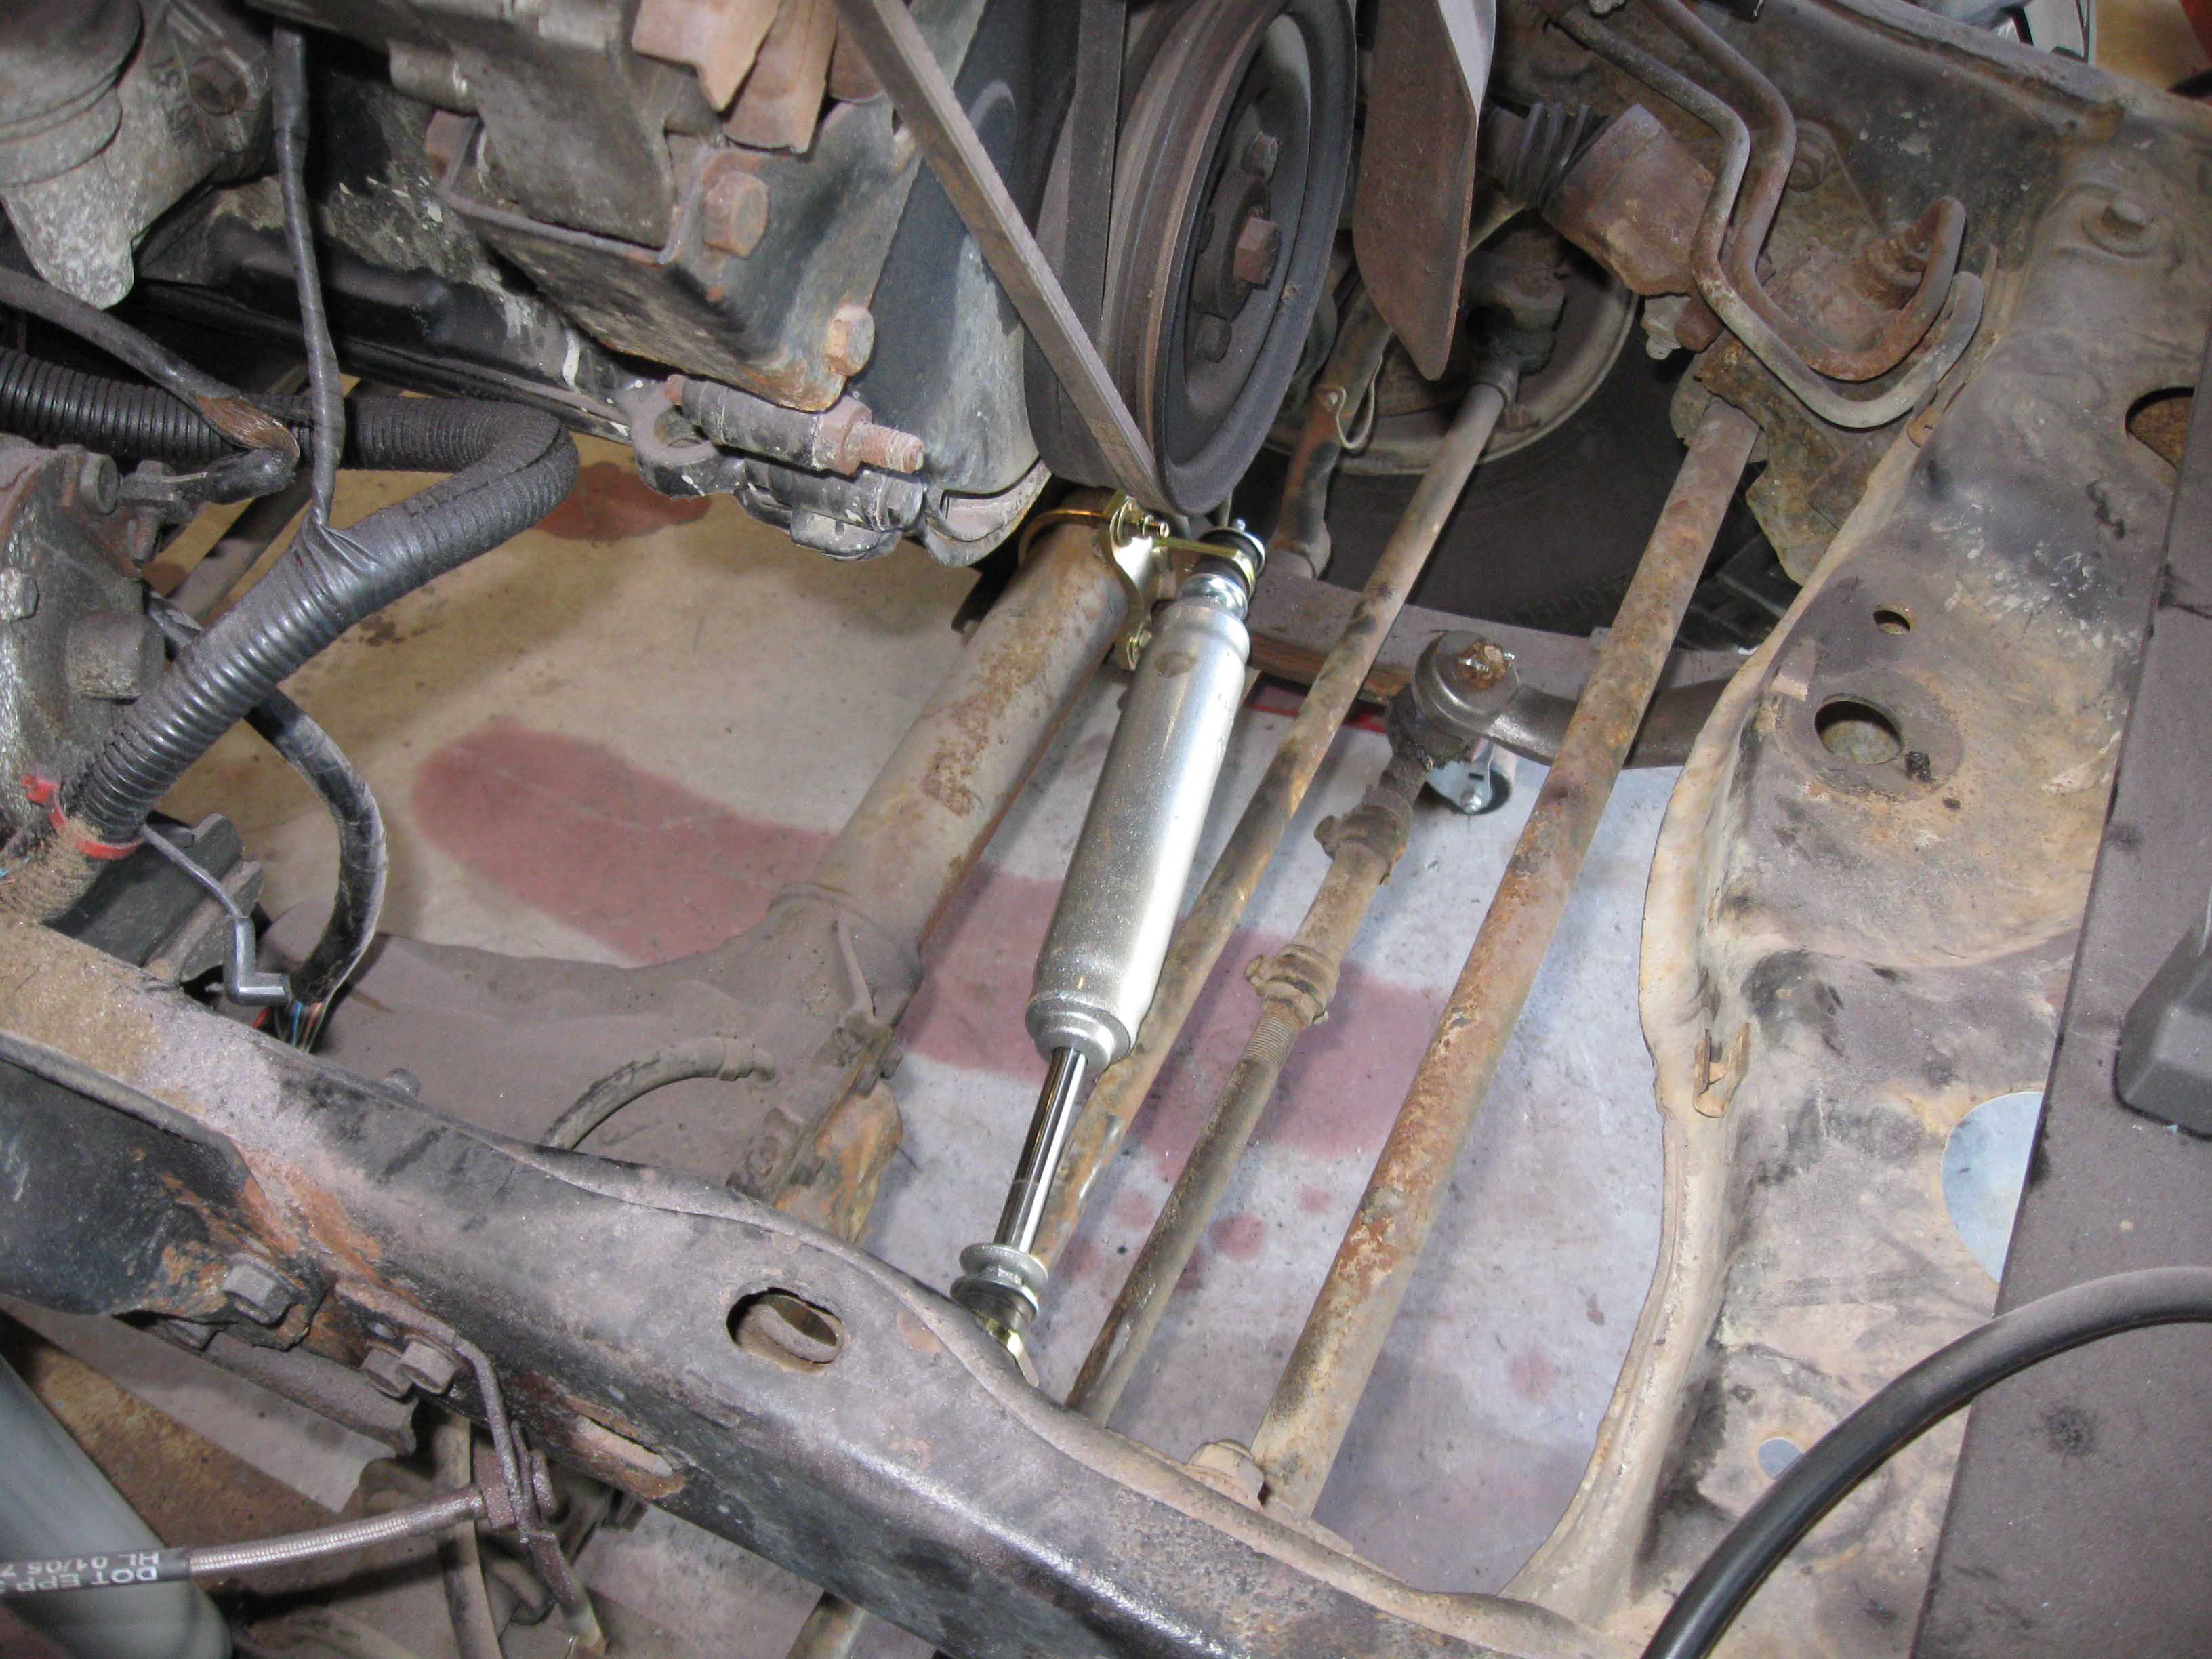
day up with removing the front steering stabilizer and getting the rear drive shaft in place with the freshly
mounted (and hopefully permanent) drive train. Tomorrow is a lot more bolt-ons and hopefully we can get the body
on so I can start on the dash. It needs paint, but also needs to get stripped down of all its gauges so we can
put the new ones in after the paint dries.
(07/11/09)
|
| |
|
|
|

|
|

|
| |
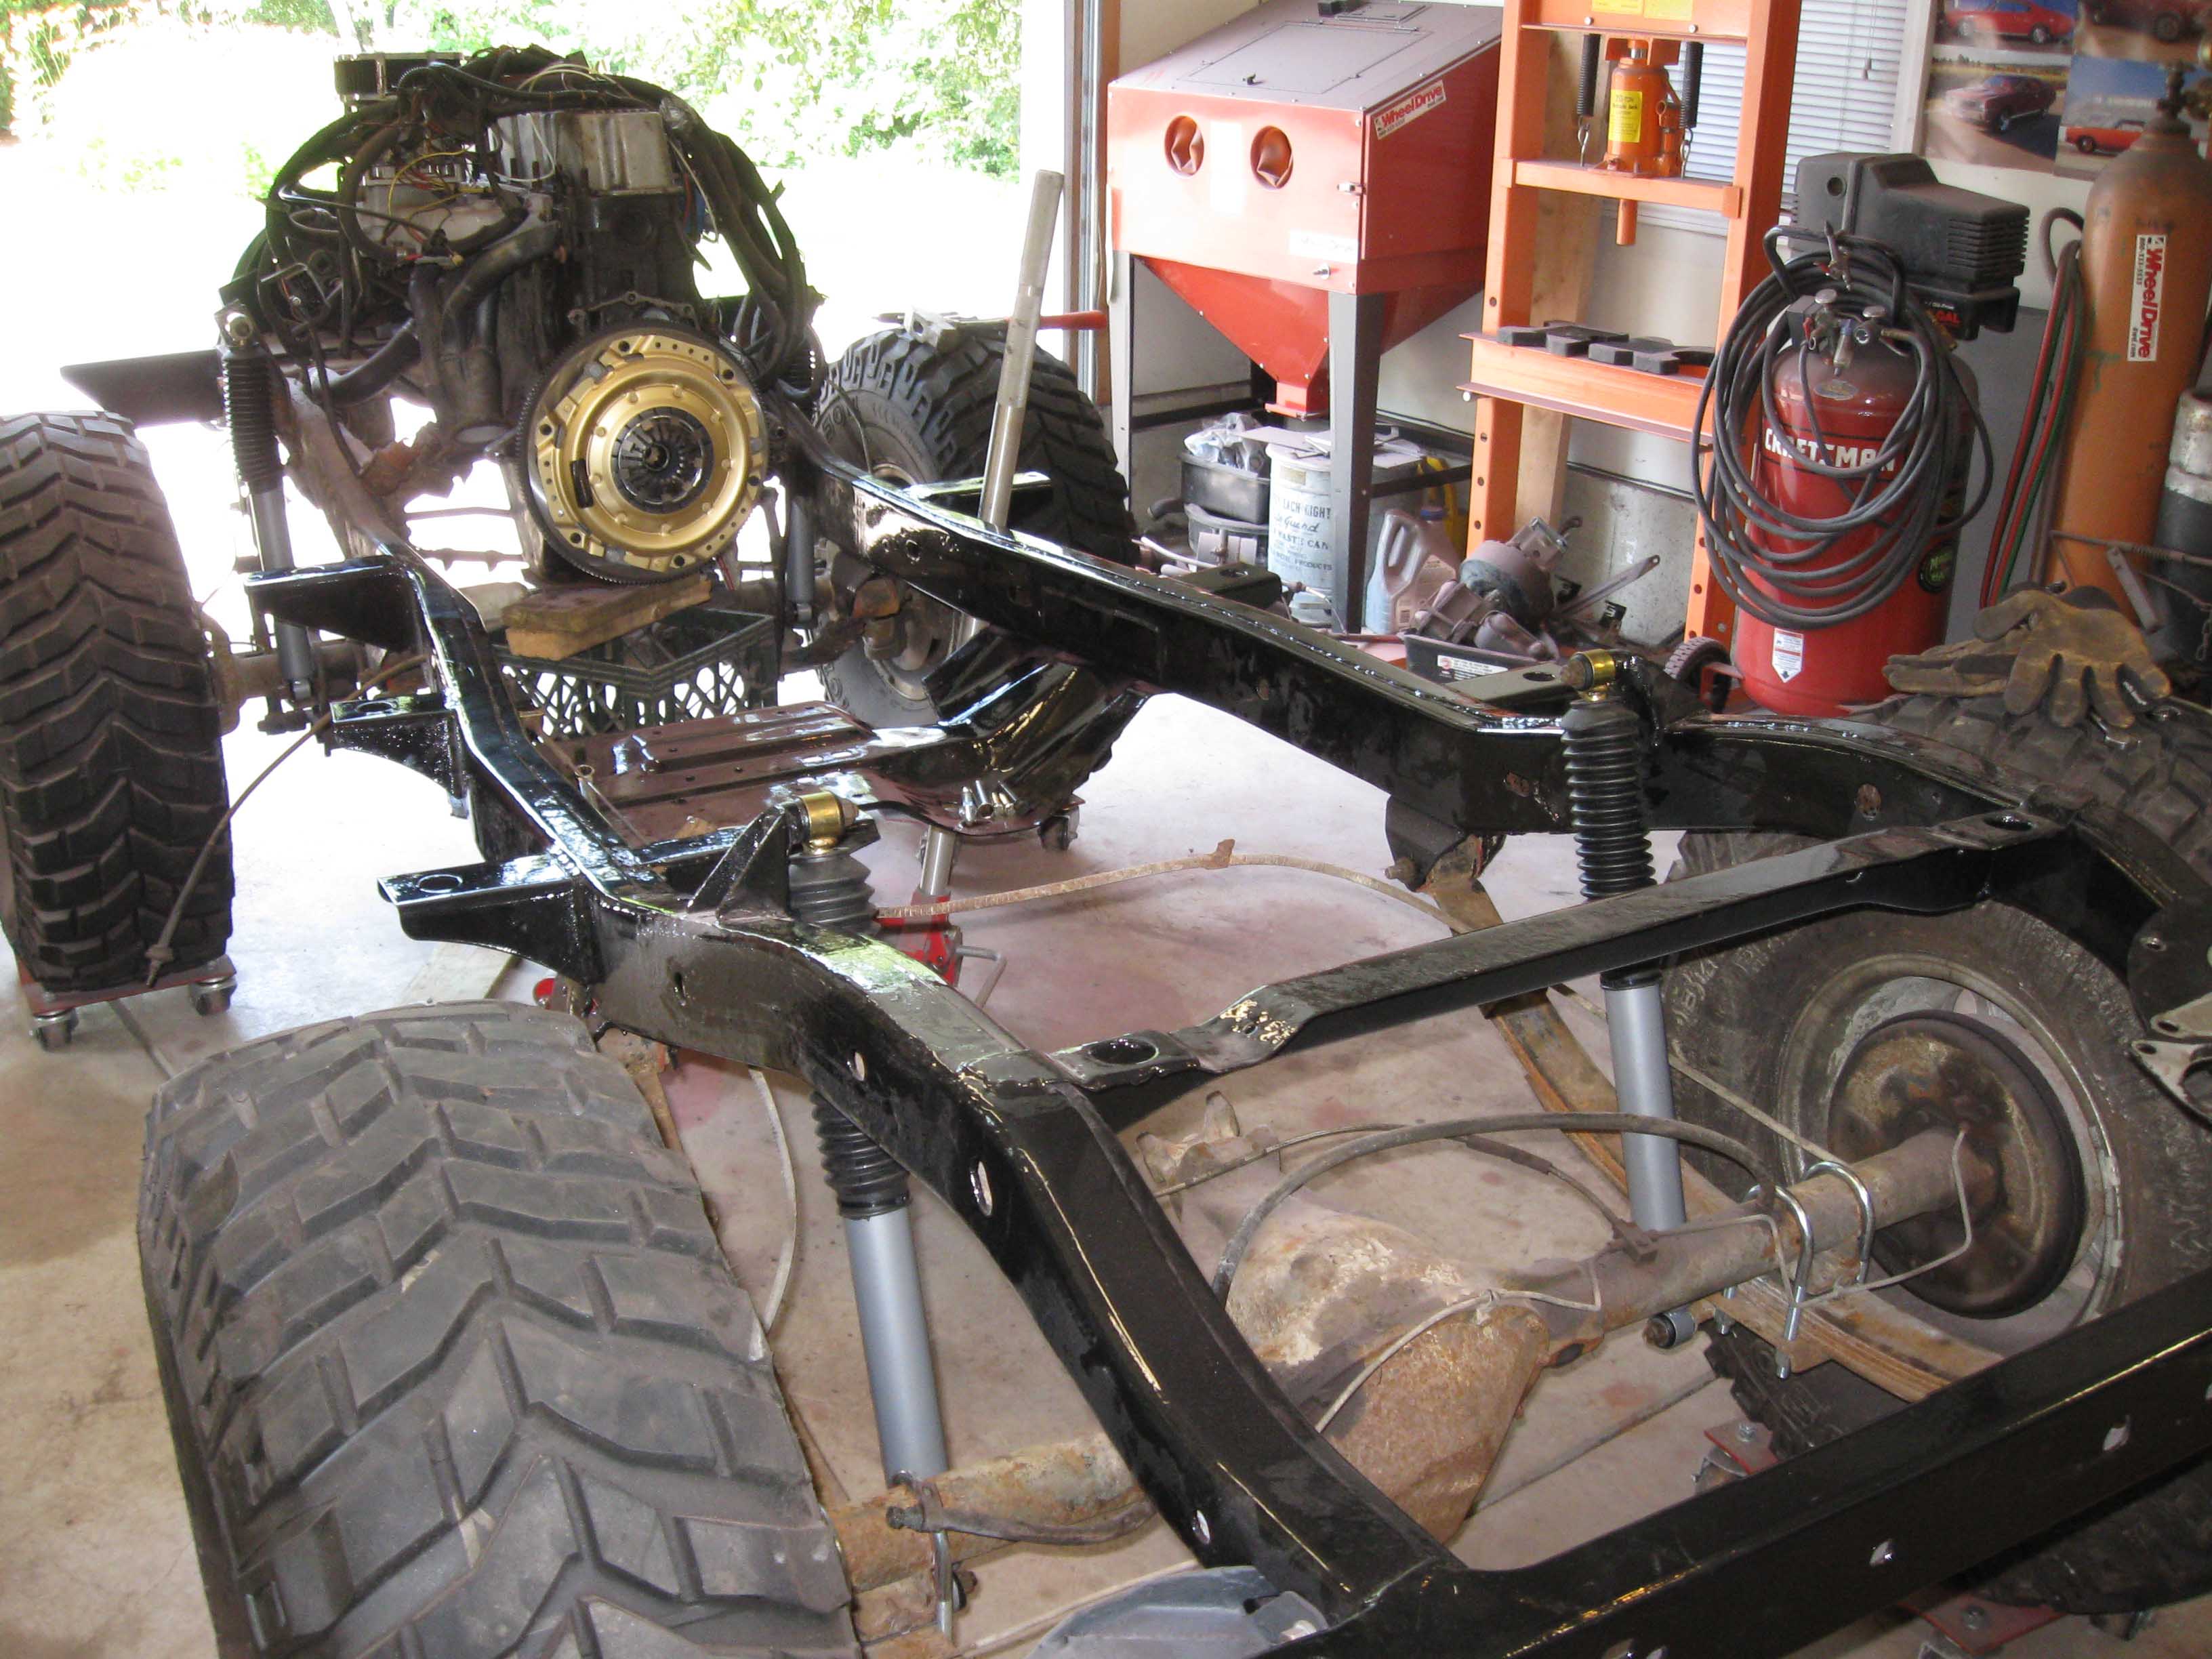
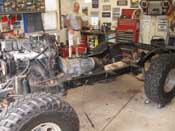
(07/13/09) We got a ton of stuff done this weekend on the Jeep... even managed
to get the body on... with wiper sprayers installed so I don't have to fish them through the dash when I remember
at the last possible moment!
With the pinion turned up on the rear axle, the new Tom Wood's shaft was installed and then we moved onto the
transmission mount situation, where we modified the CJ torque arm to hopefully give us a little more stability on
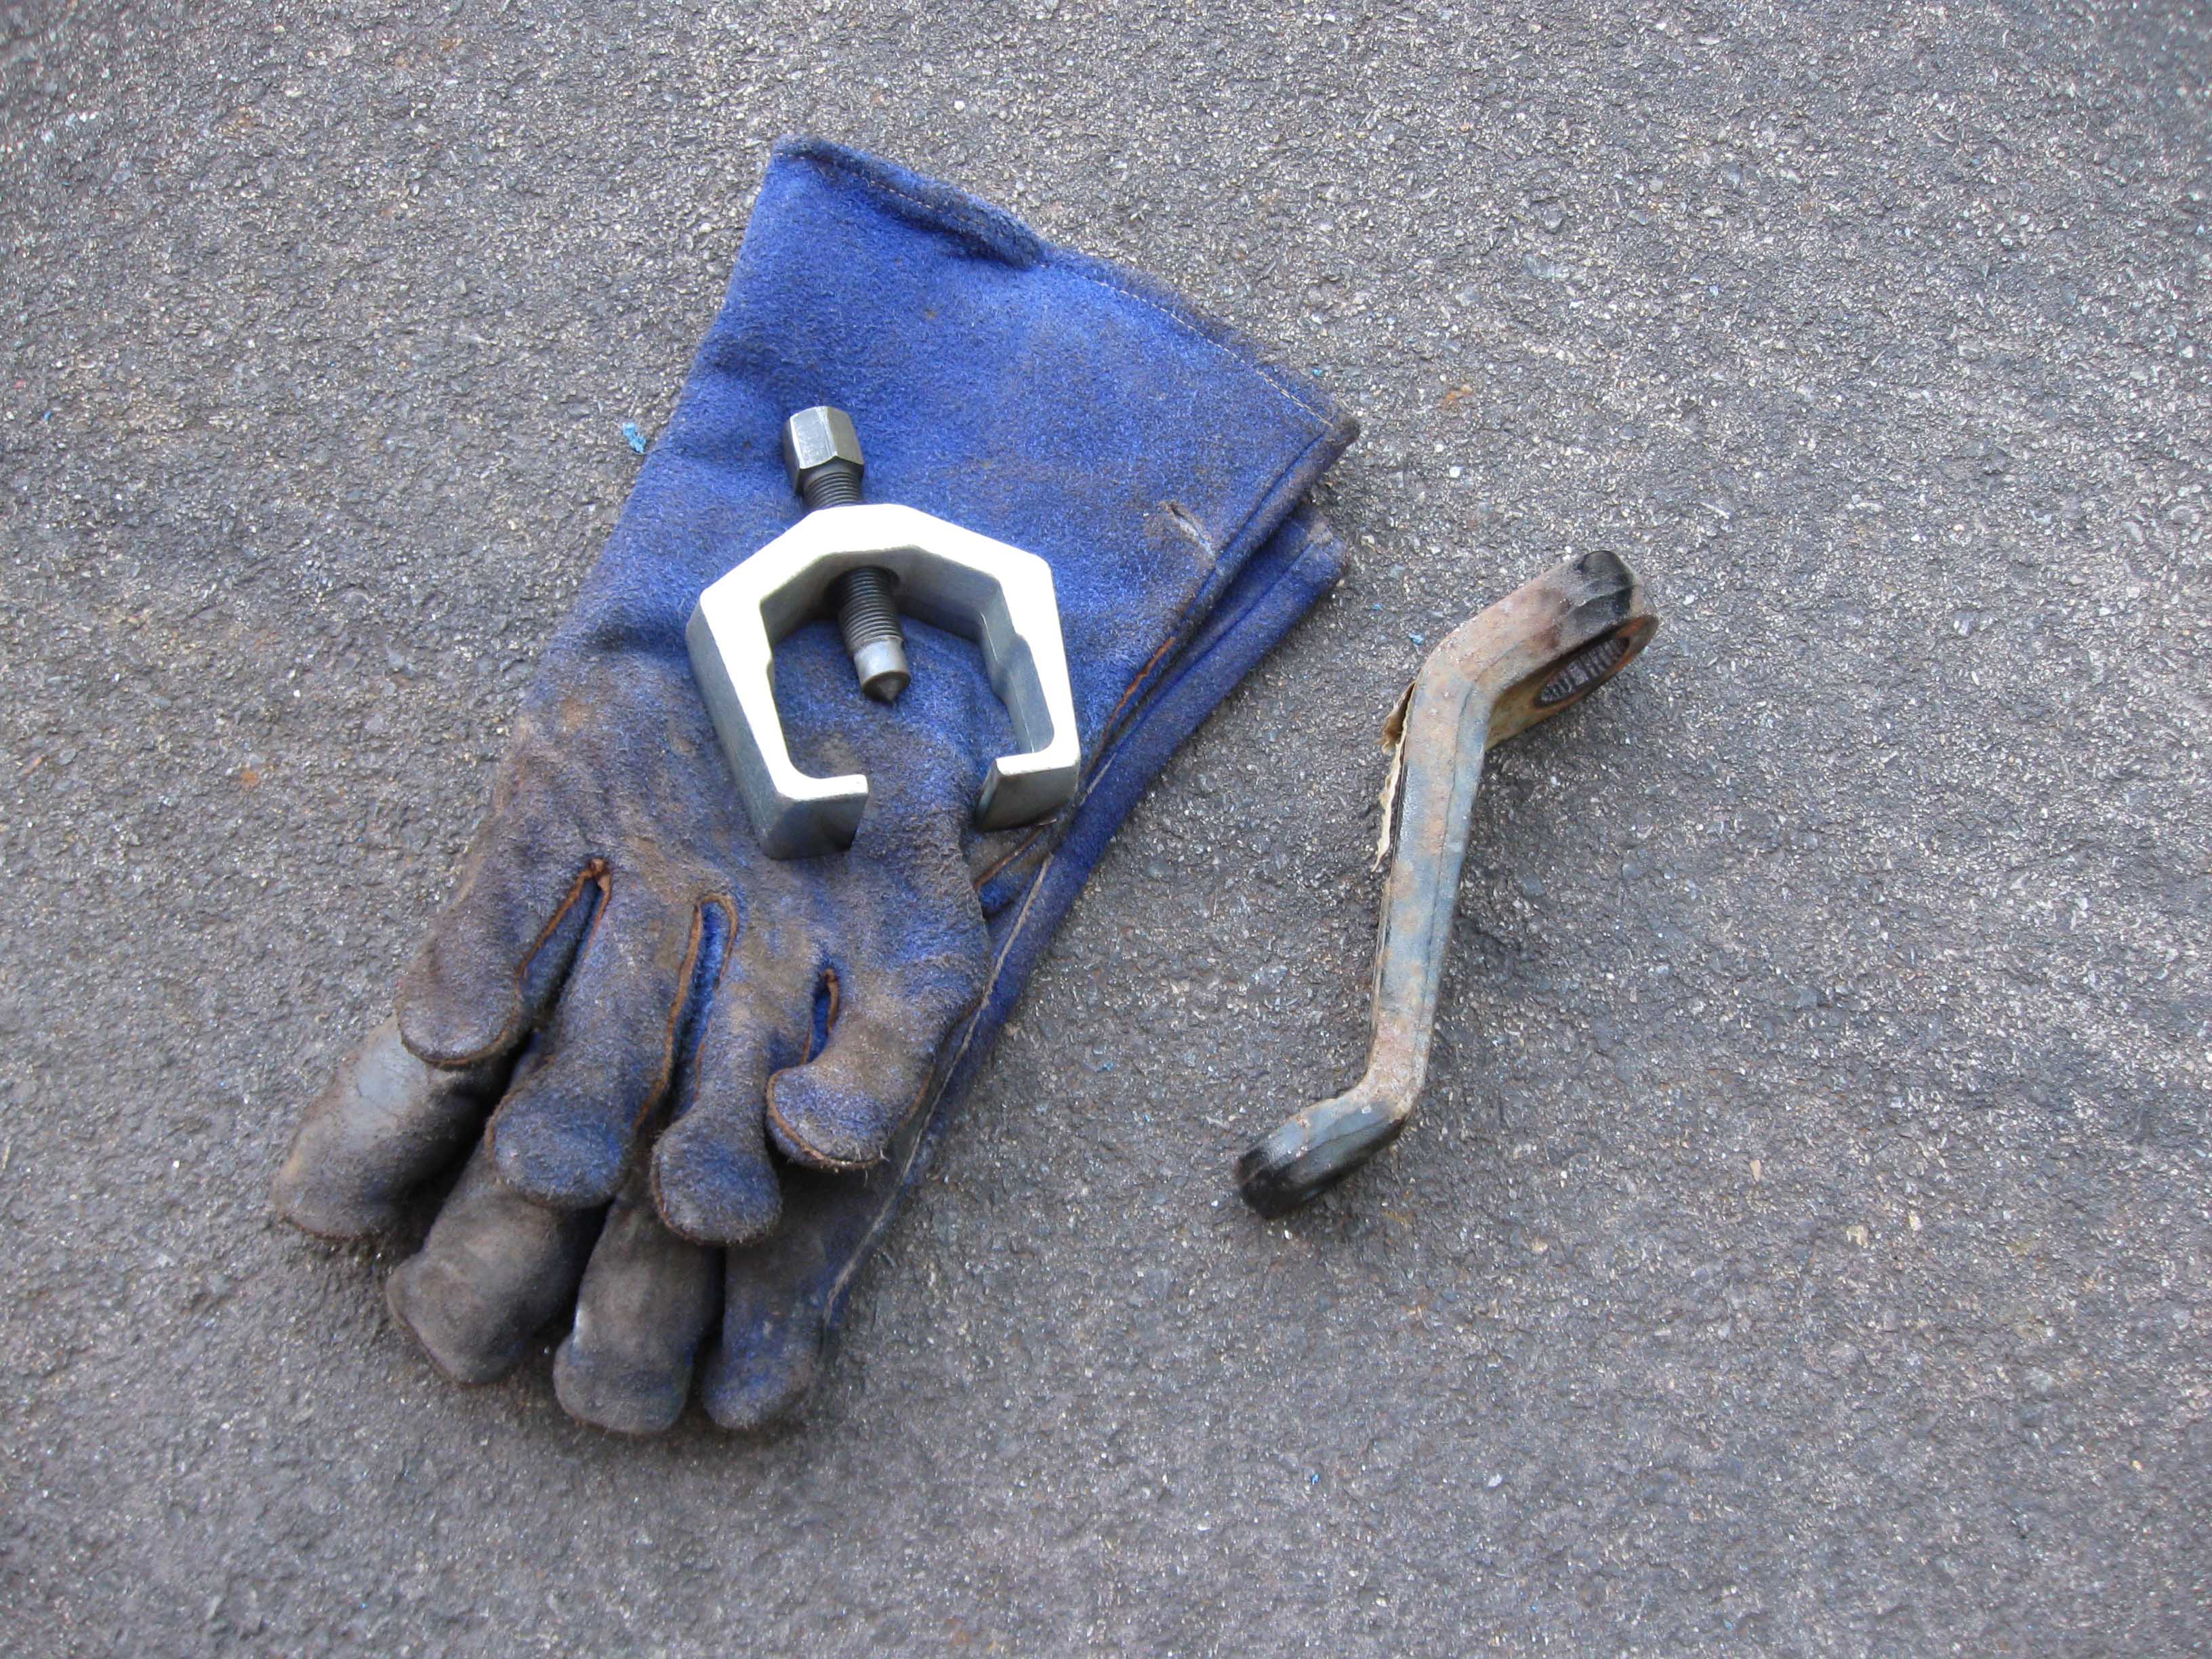
the mount. The front end was tackled next with the new steering stabilizer and new drop pitman arm. The old arm
was heated with a torch and really made it a lot easier to get off. Next up was filling the cases and we realized
we need a 17 mm hex wrench (on a Sunday), so we went to a few stores and found one at Sears... so we filled them,
dropped in the gas tank, put a new sending unit in there and then took some time for some burgers and dogs on the
new grill.
|
| |

|

|
|
|

|
|
| |
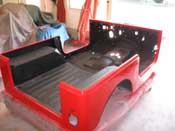
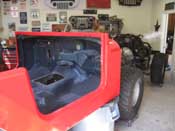
After lunch we ran the lines for the brakes and the gas and once they were all in
place and tightened down, we staged the body on some garbage cans, then put in the Dana 300 shifter and then put
the body on the frame. It is a little tough with the lift and 2 people, but we managed and didn't even scratch
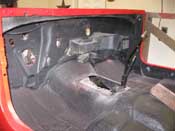
the new paint. The heater box was installed prior to the move and then afterwards with the body sitting on
the frame, we cleaned up and made a plan for the rest of the week and next weekend.
The dash needs to be taken apart and new gauges put in after sanding and painting. Also the tailgate needs to be
done as well, so that is what we have on tap for today. Well, the bushings for the transmission mount as well
should be in today and I have to put those in. Also the shifter cover isn't in the exact right place, so I have
to fool with that, oh yeah there are the fenders as well, also the hood... as you can see, it will be a while
before it is up and running, but we are on the right track here to finish her up.
(07/13/09)
|
| |
| << Previous |
Next >> |
|