|
|
| Project "Moab" a.k.a "Just a Tub Swap" - part #9 |
| |
|
1
2
3
4
5
6
7
8
9
10
11
12
13
14
15
16
17
|
| |
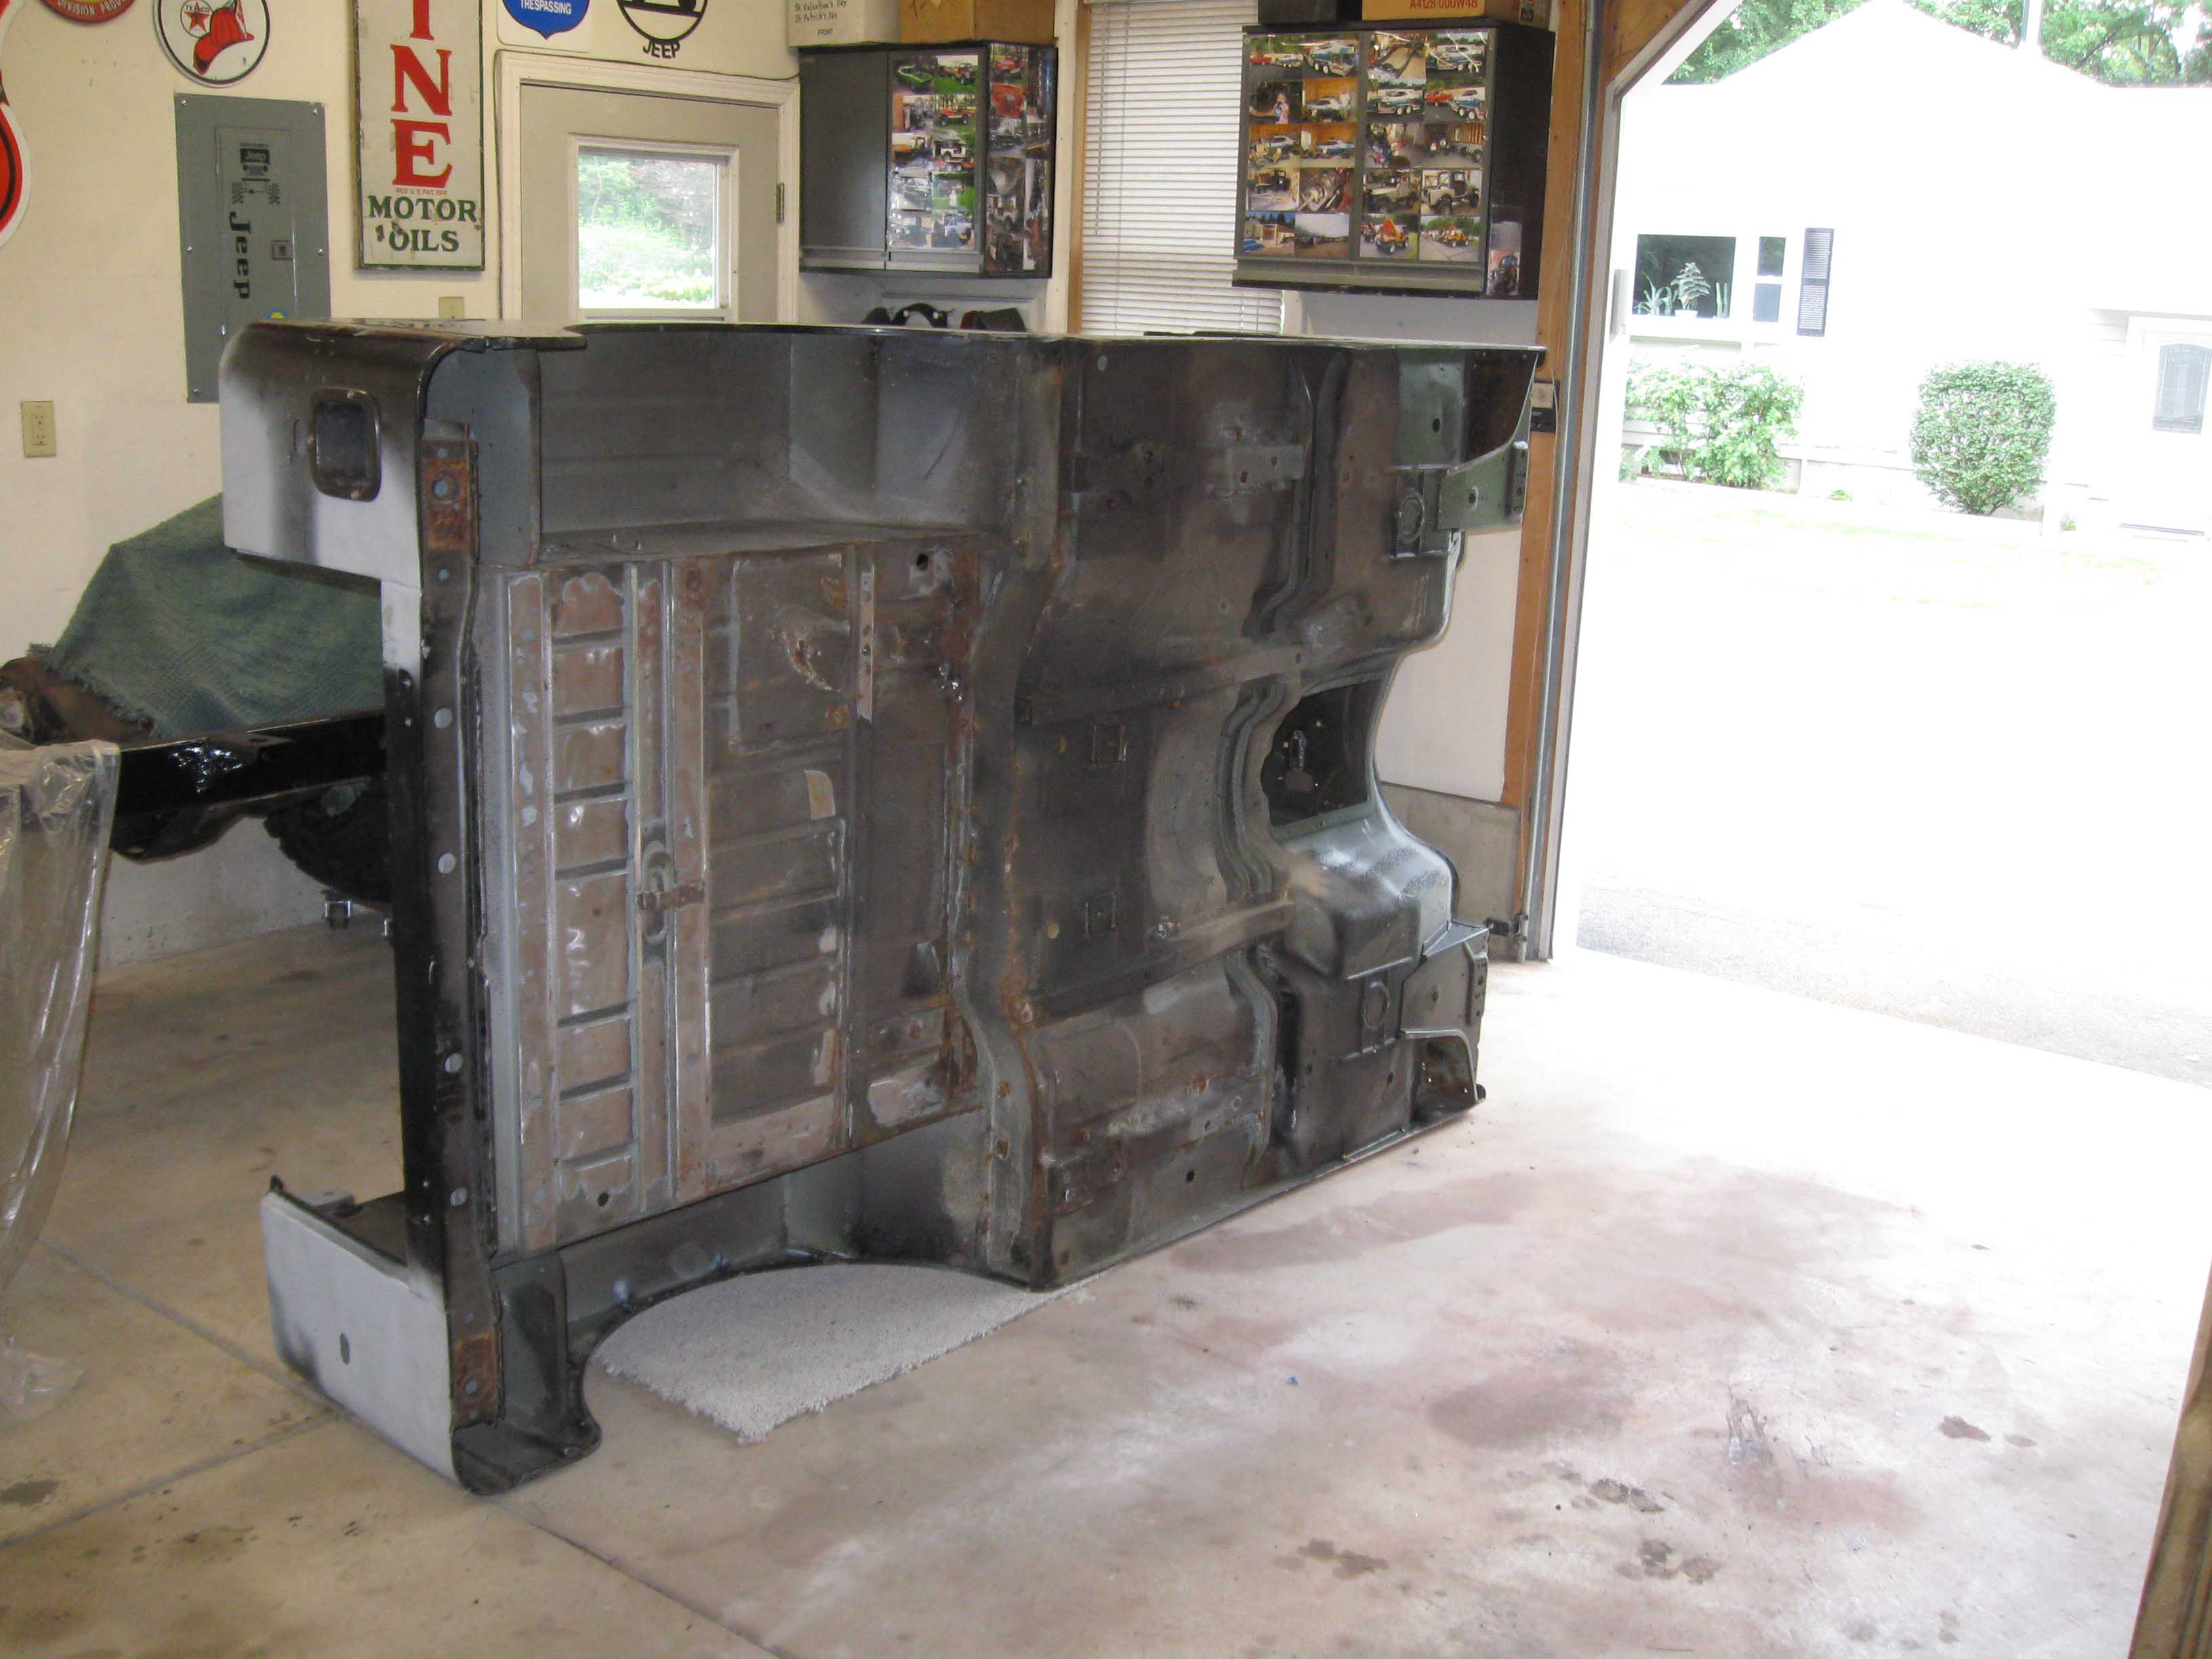
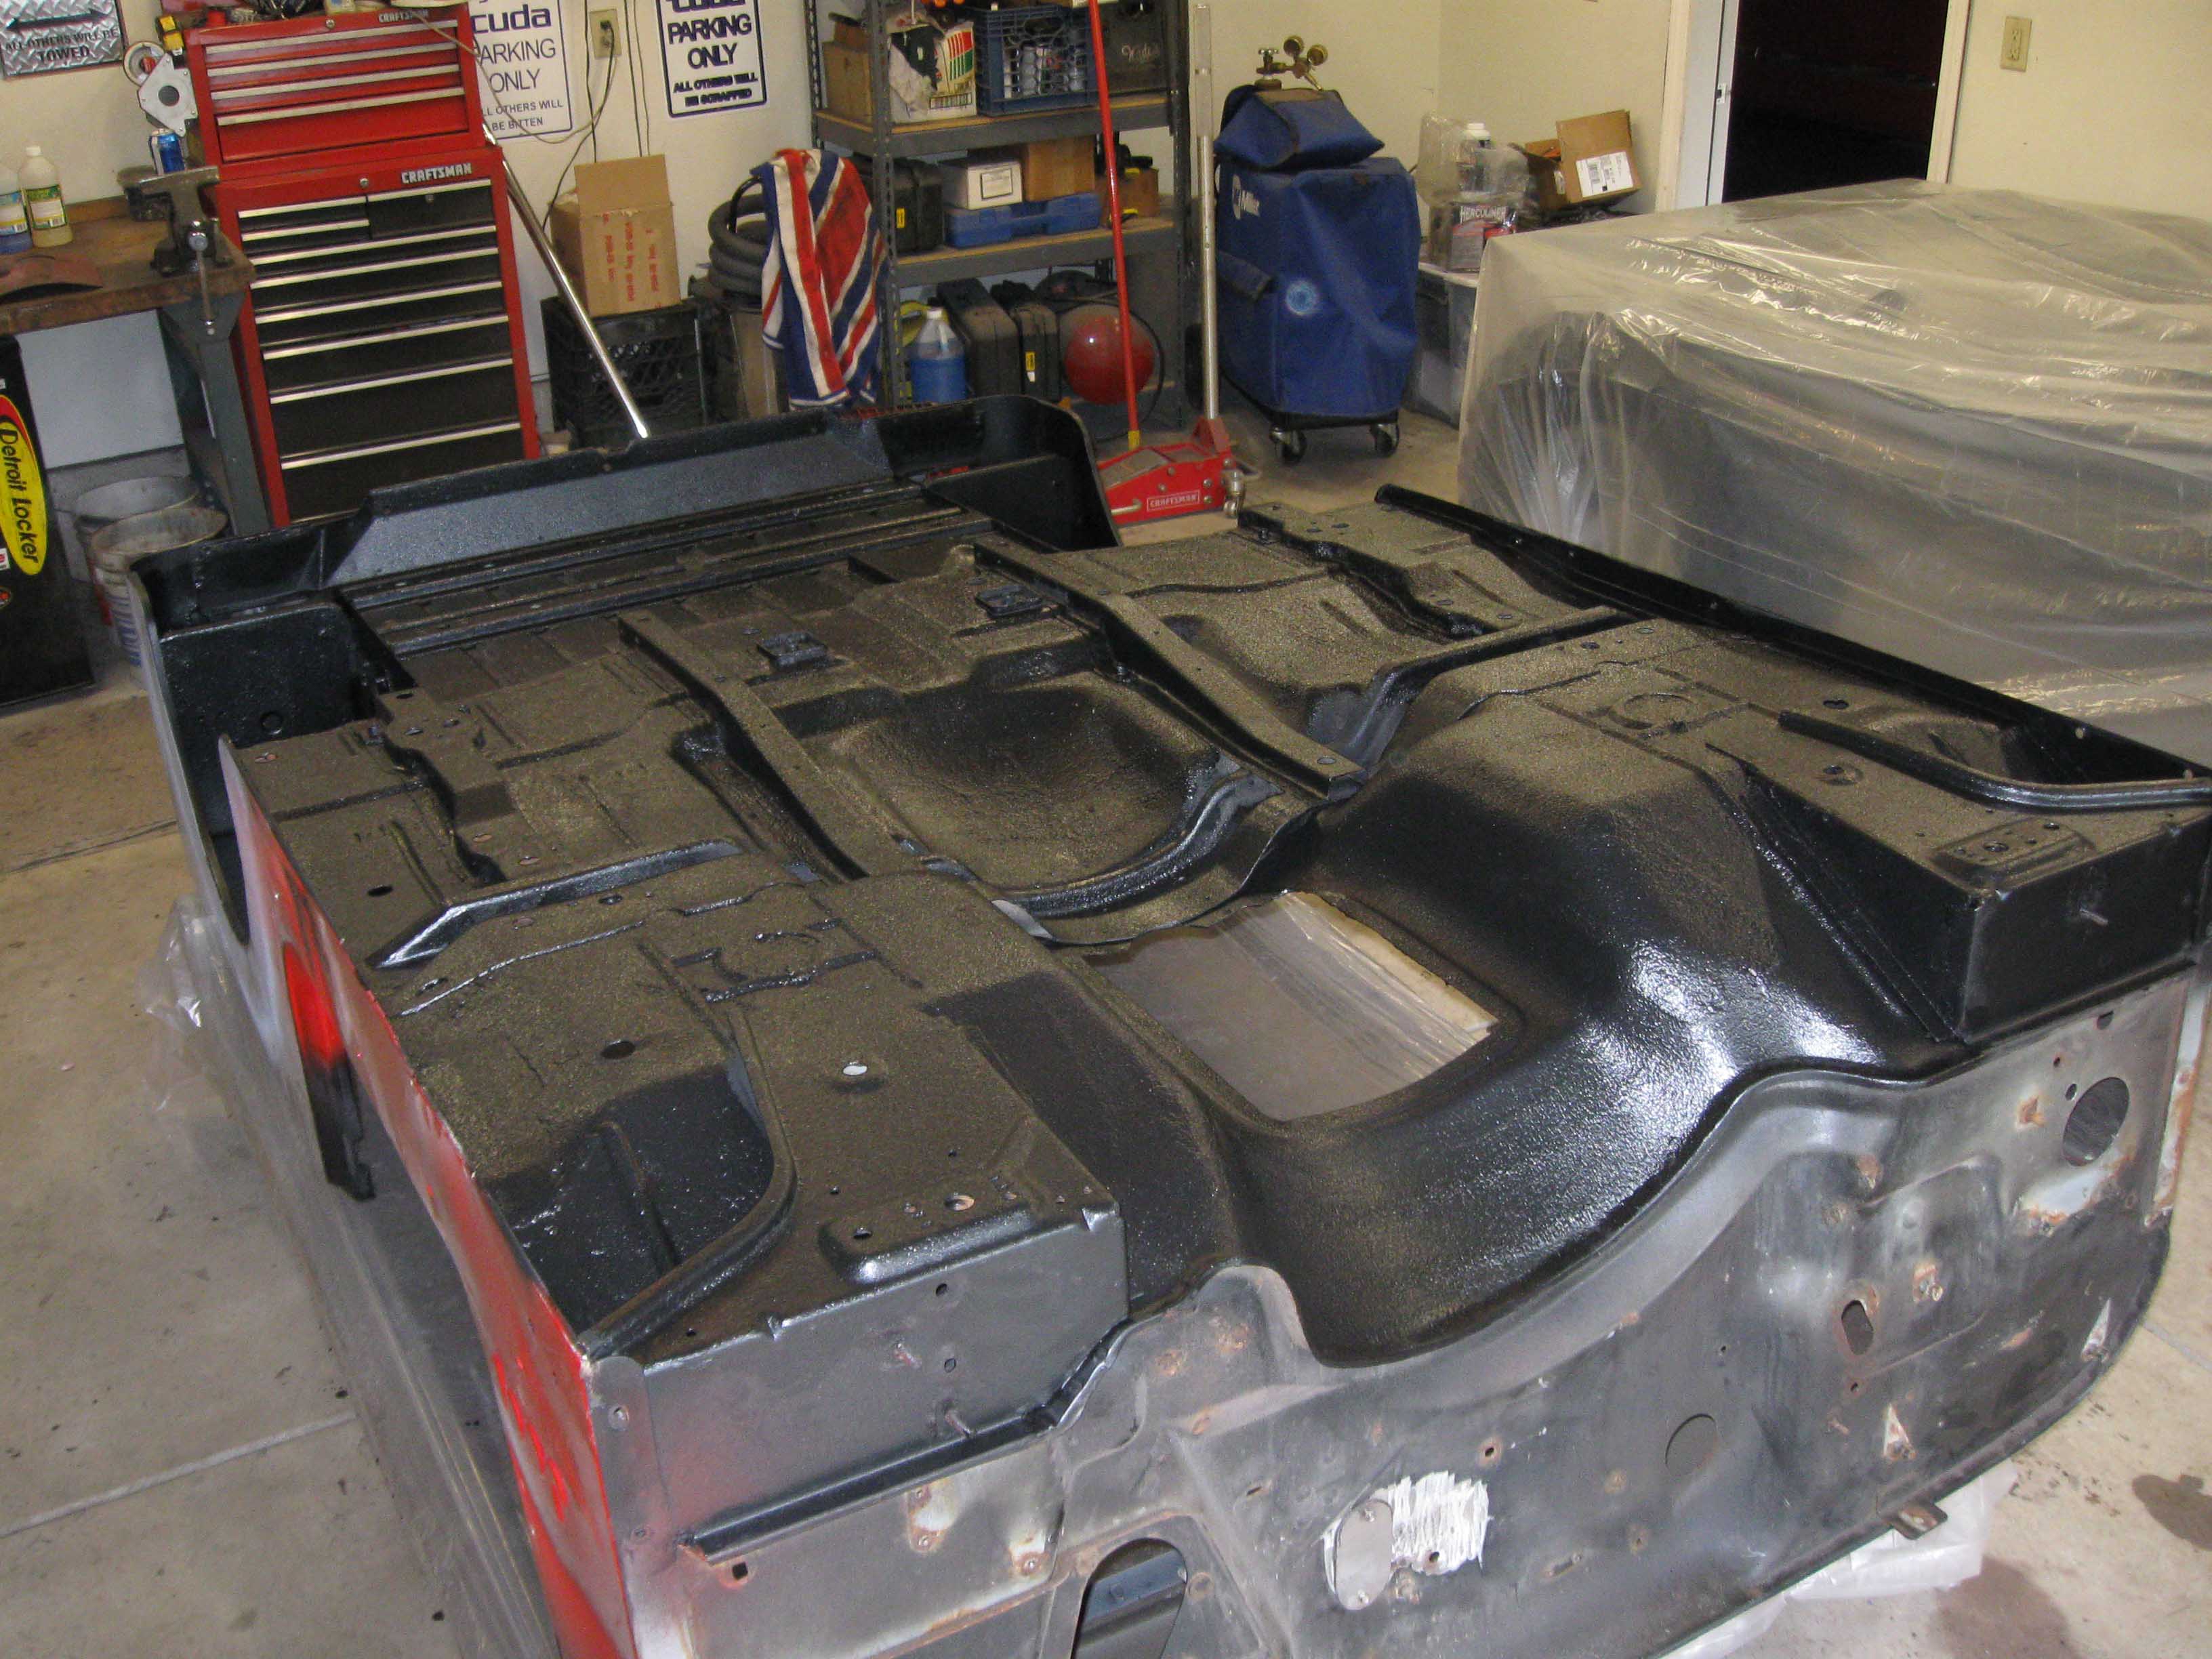
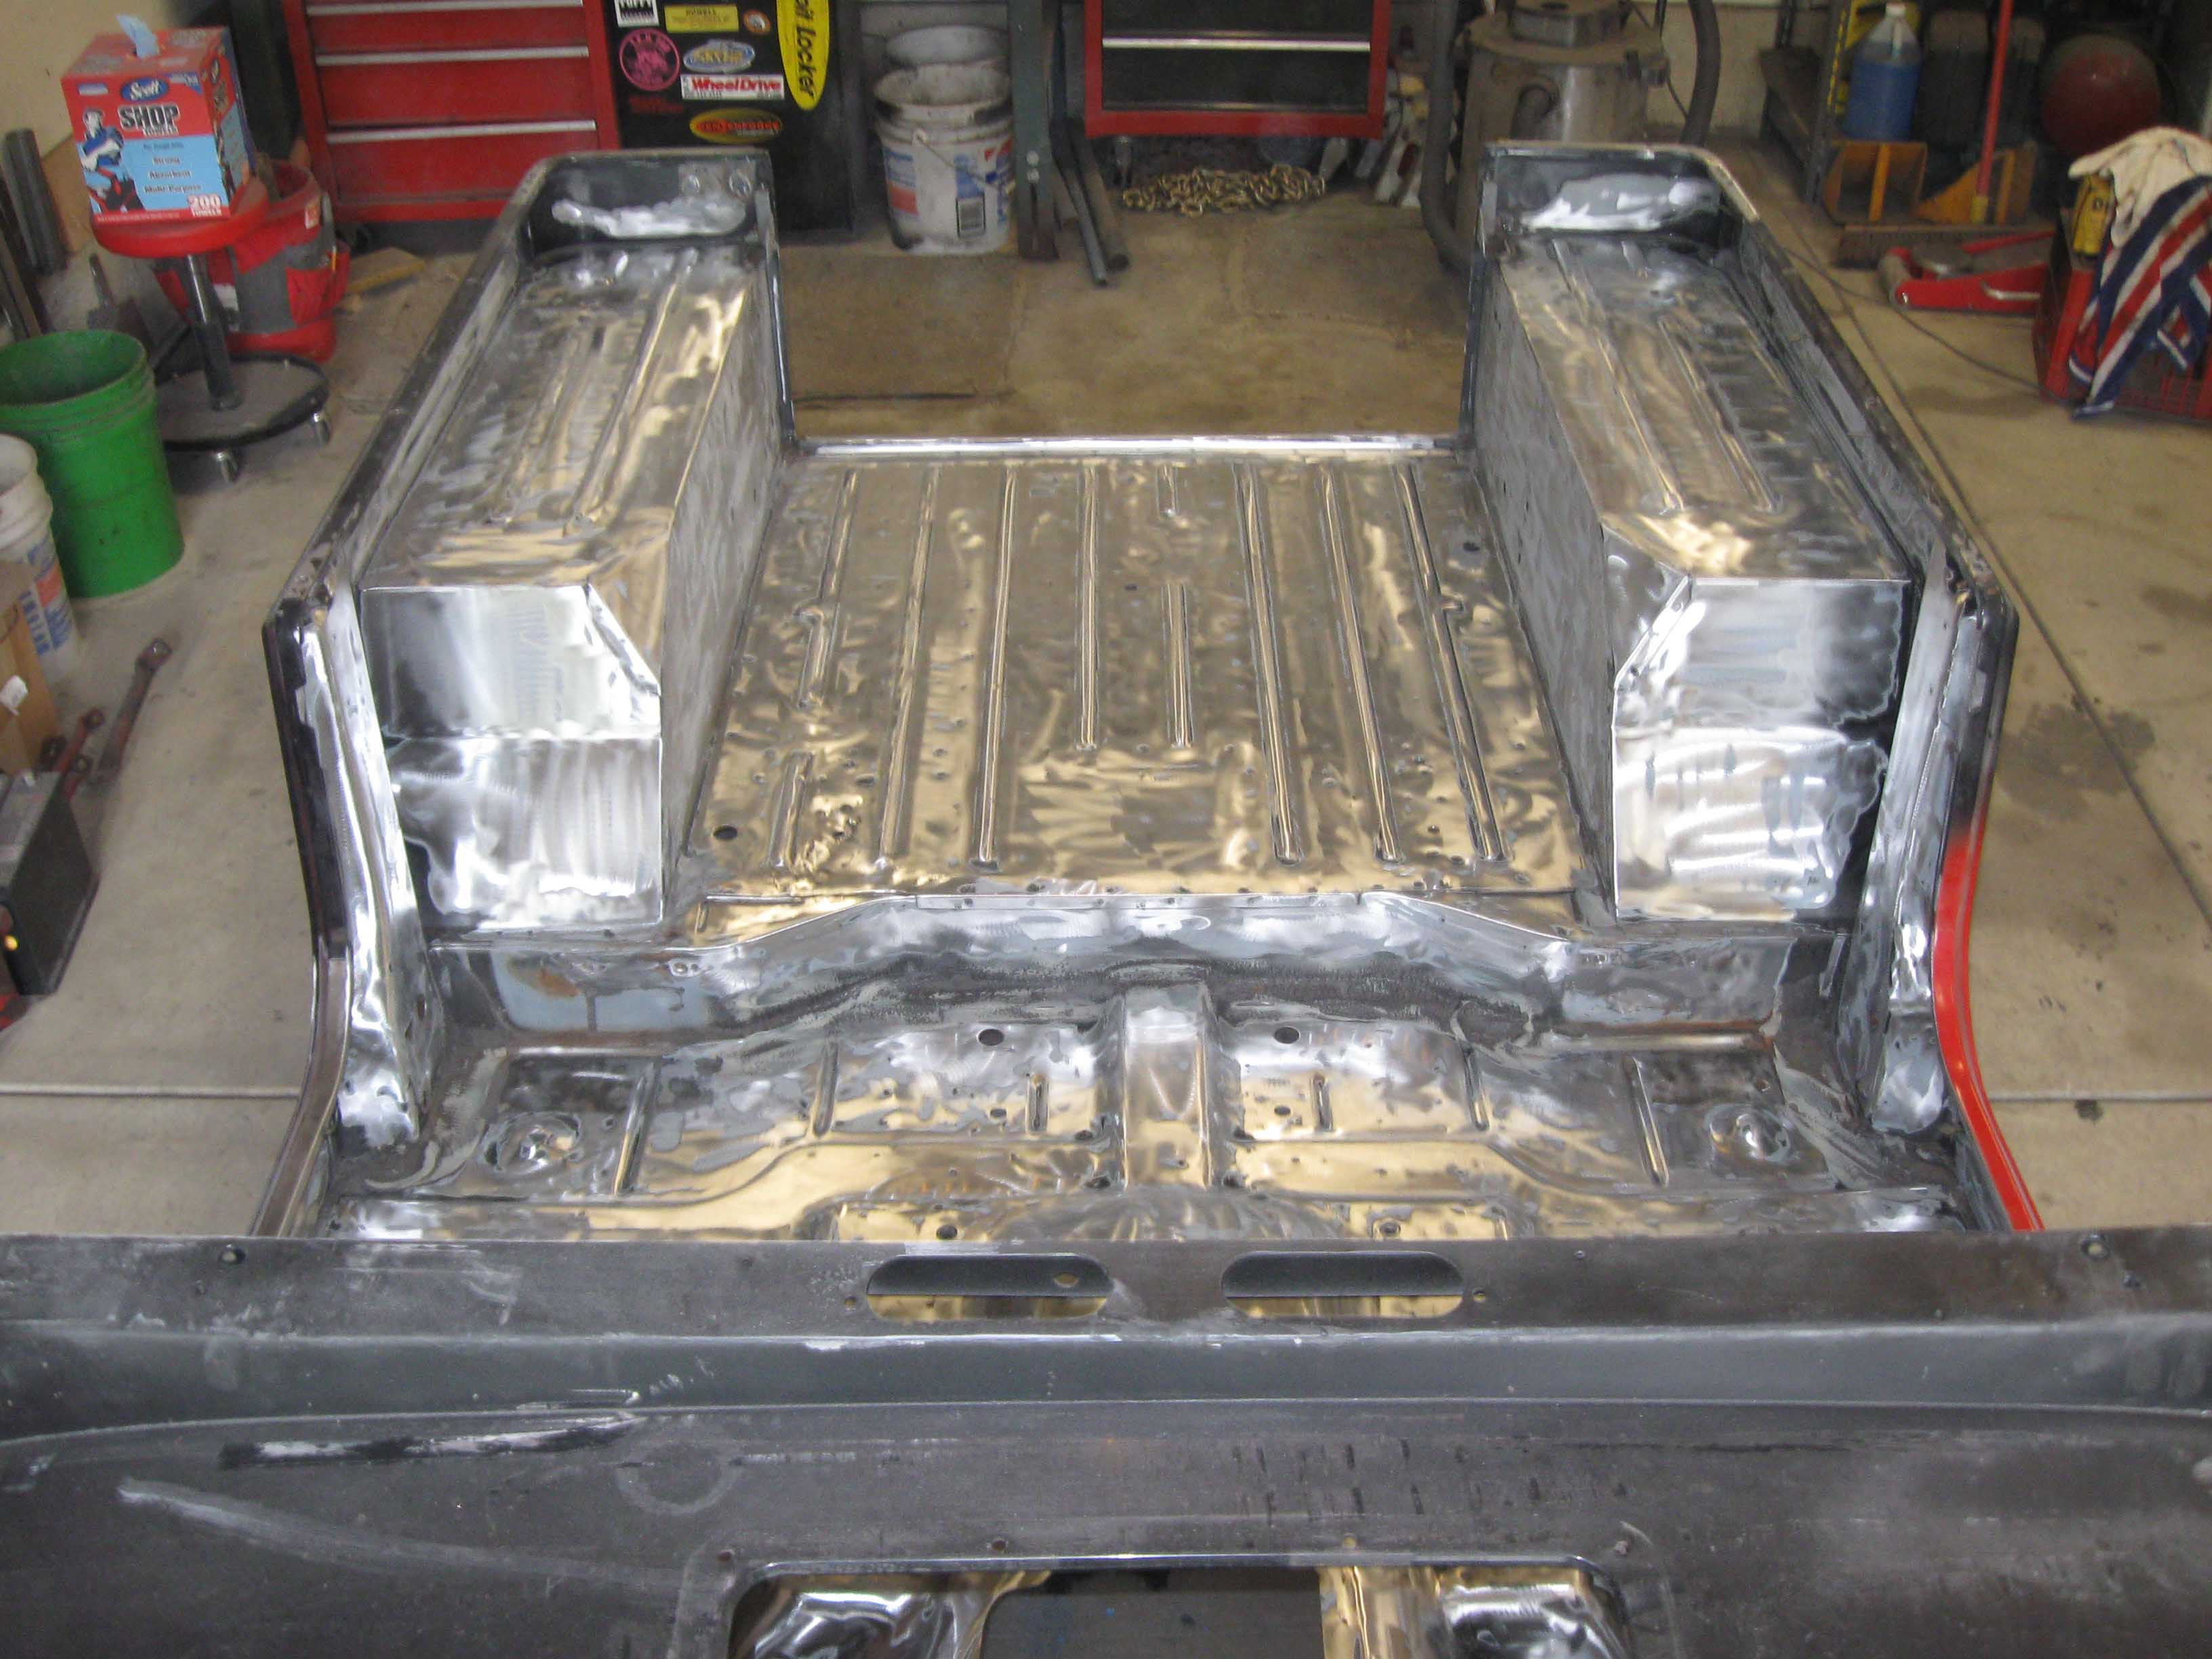
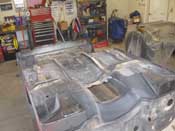
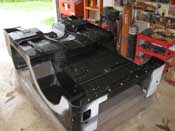
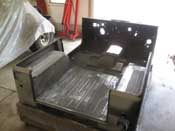
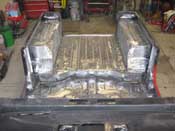
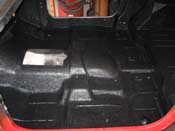
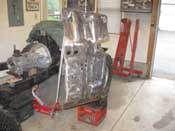
| (06/29/09) I spent a long day in the garage working on the underside of the tub.
Basically the goal was to get it all done by the end of the day. Curtis had started grinding on it a few weeks
earlier, and ate up a couple grinding discs doing it, so today I was going to continue that and use more discs
and a few other implements of destruction.
|
| |
|
|
|
|
| |
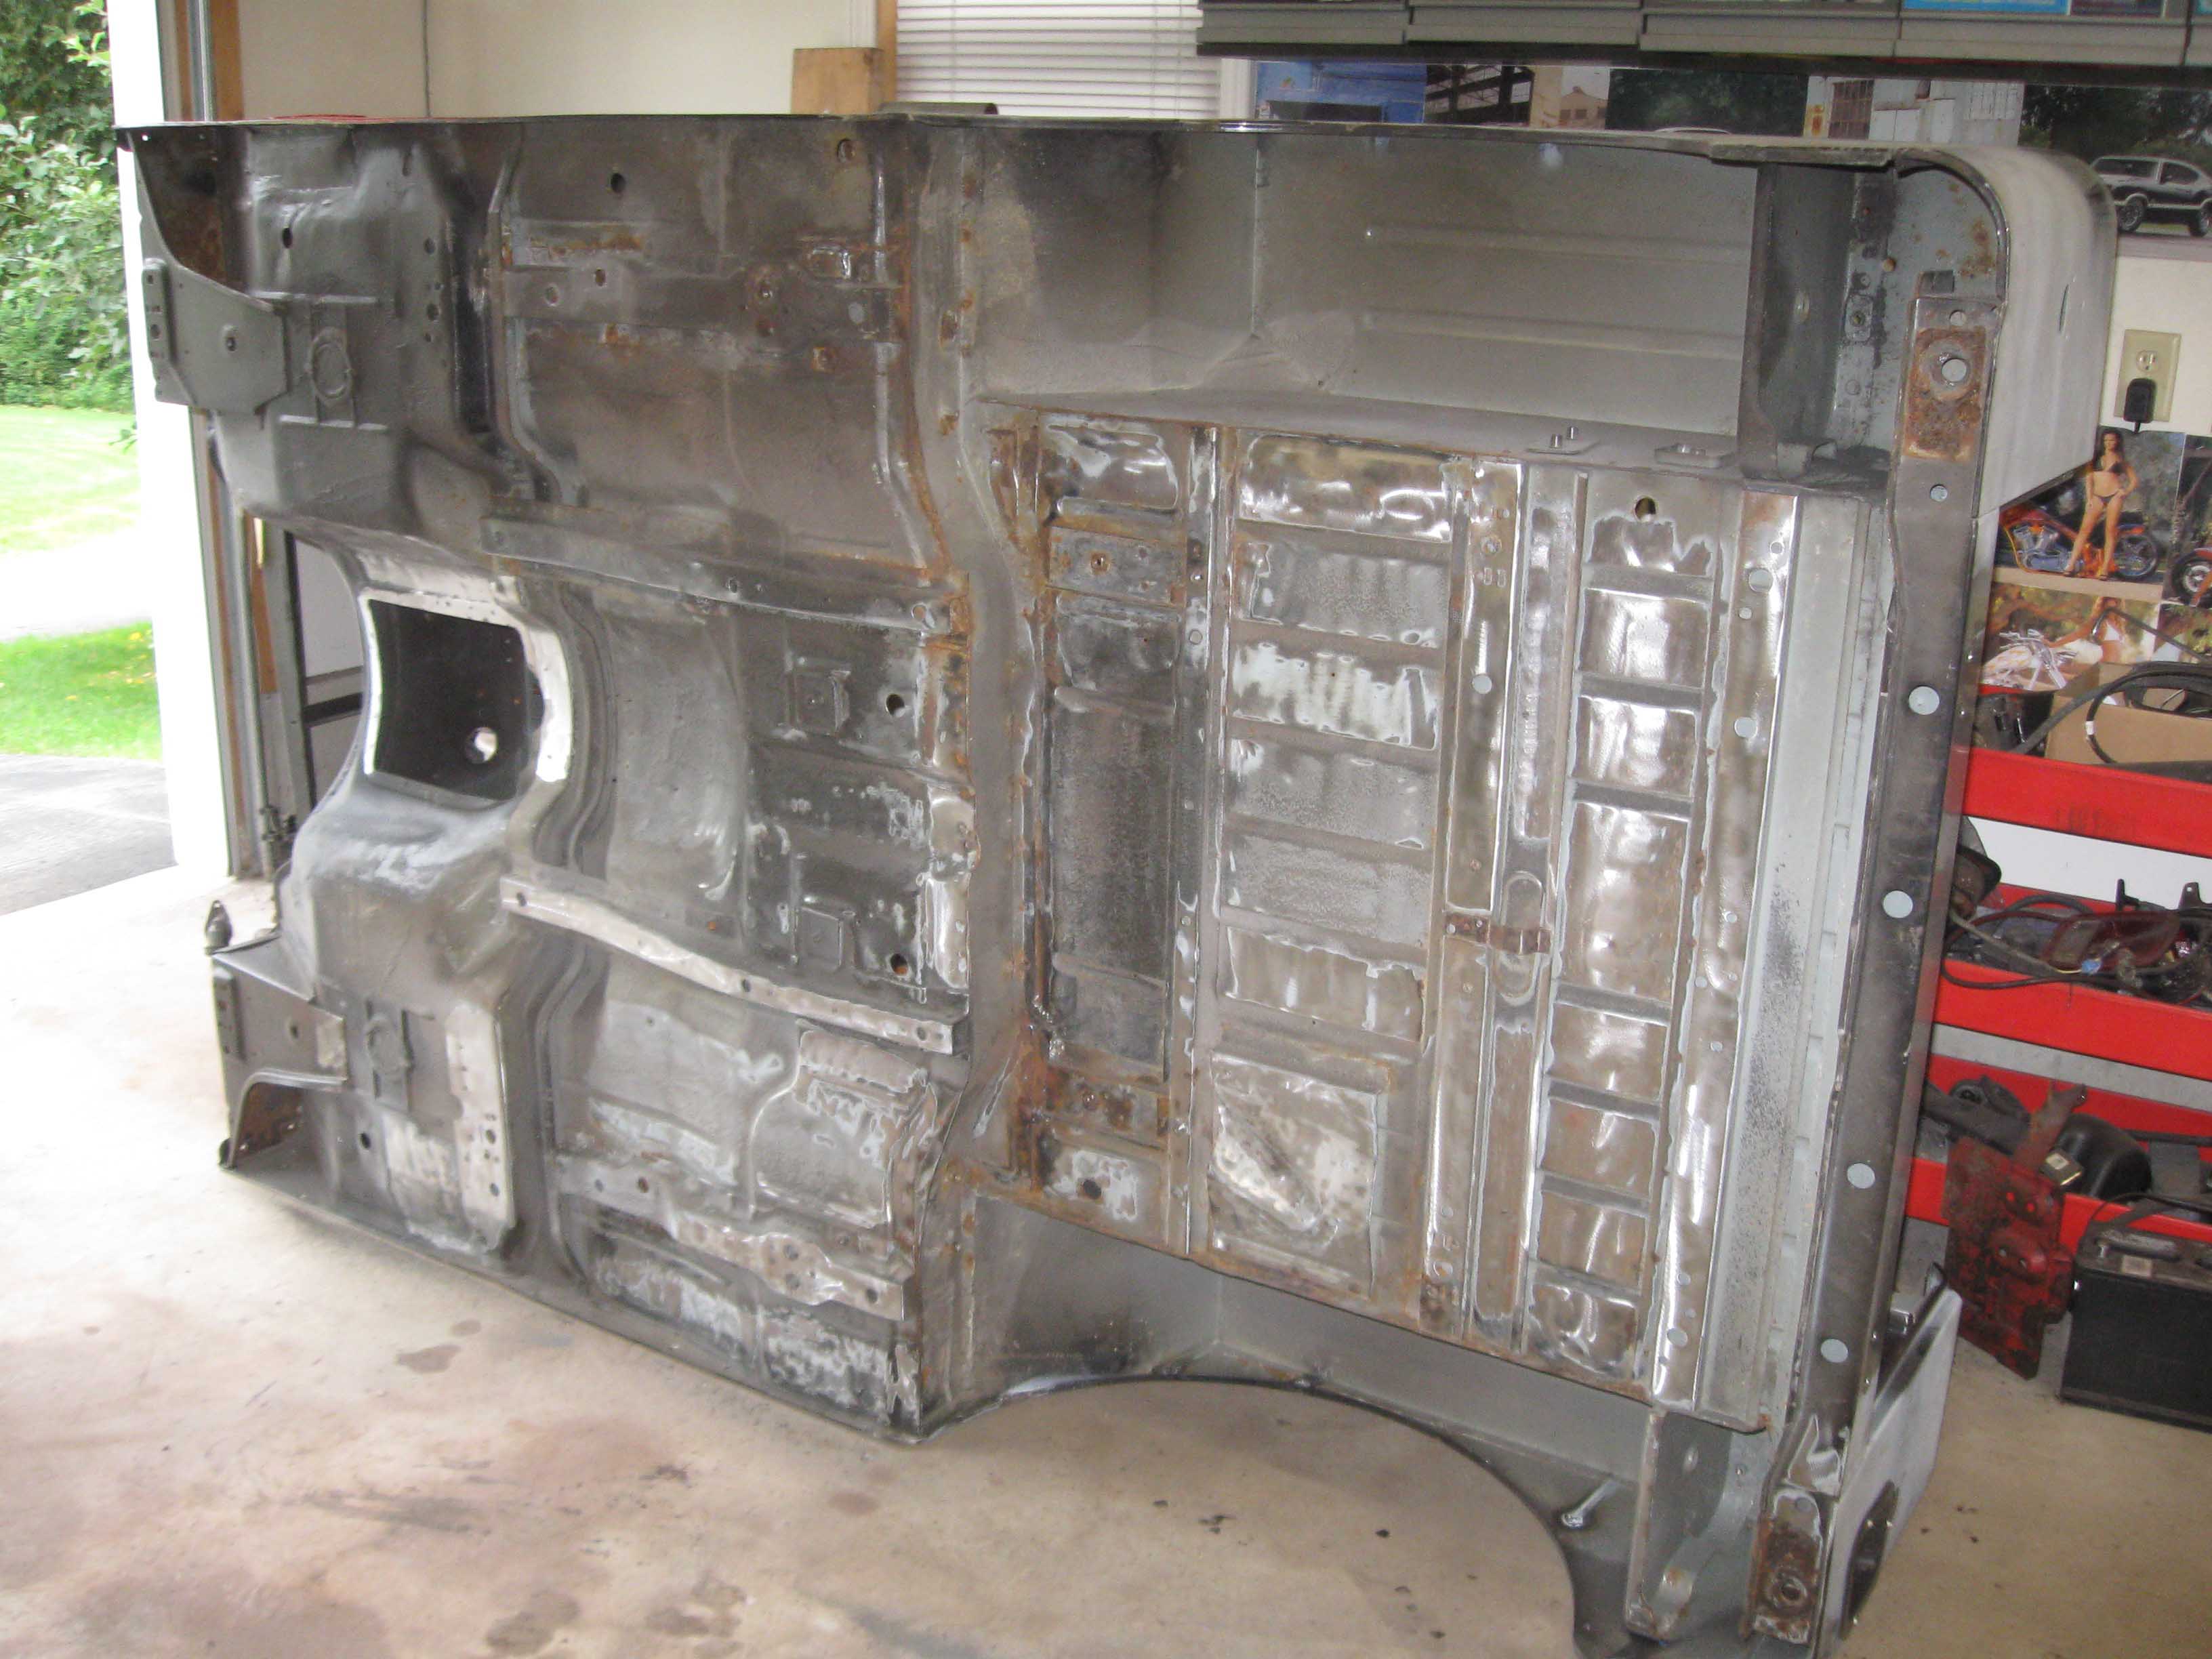
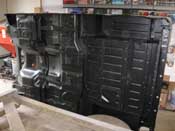
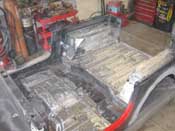
| I flipped it on it side and ground on that for a while, then flipped it over and
ground on that for a while and eventually cleaned up all that and put it back on the dolly. It really is a lot
easier when you have someone else there to help. The only person I had around yesterday was my pregnant wife, and
she can't life a whole lot these days... but I am babbling, so back to the project. With it on its back, I finished
up all the sanding and grinding and then wiped it down with some of the POR-15 Marine Clean. I then took the scuff
pad and scuffed it all up and then finally used some acetone to wipe it all down so it was totally clean and then
the first spray coat went on.
|
| |
|
|
|
|
| |
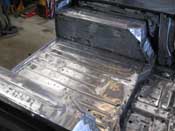
I said I used the spray cans and it really did help. I went through 4 of them. They
worked really well in the front foot wells, and in the rear where the gas tank fill is. They also worked great
along all the seams and the bracing so you can spray it inside there. The silver one I built didn't use this, but
all future ones will definitely use this approach. Coat #1 went on without a hitch and then I had to kill 2 hours
and then coat #2 went on. All in all, a really long, but productive day. Today I plan on sanding the inside and
doing some Herculiner by the end of the day!
(06/29/09)
|
| |
|
|
|

|
|
|
| |
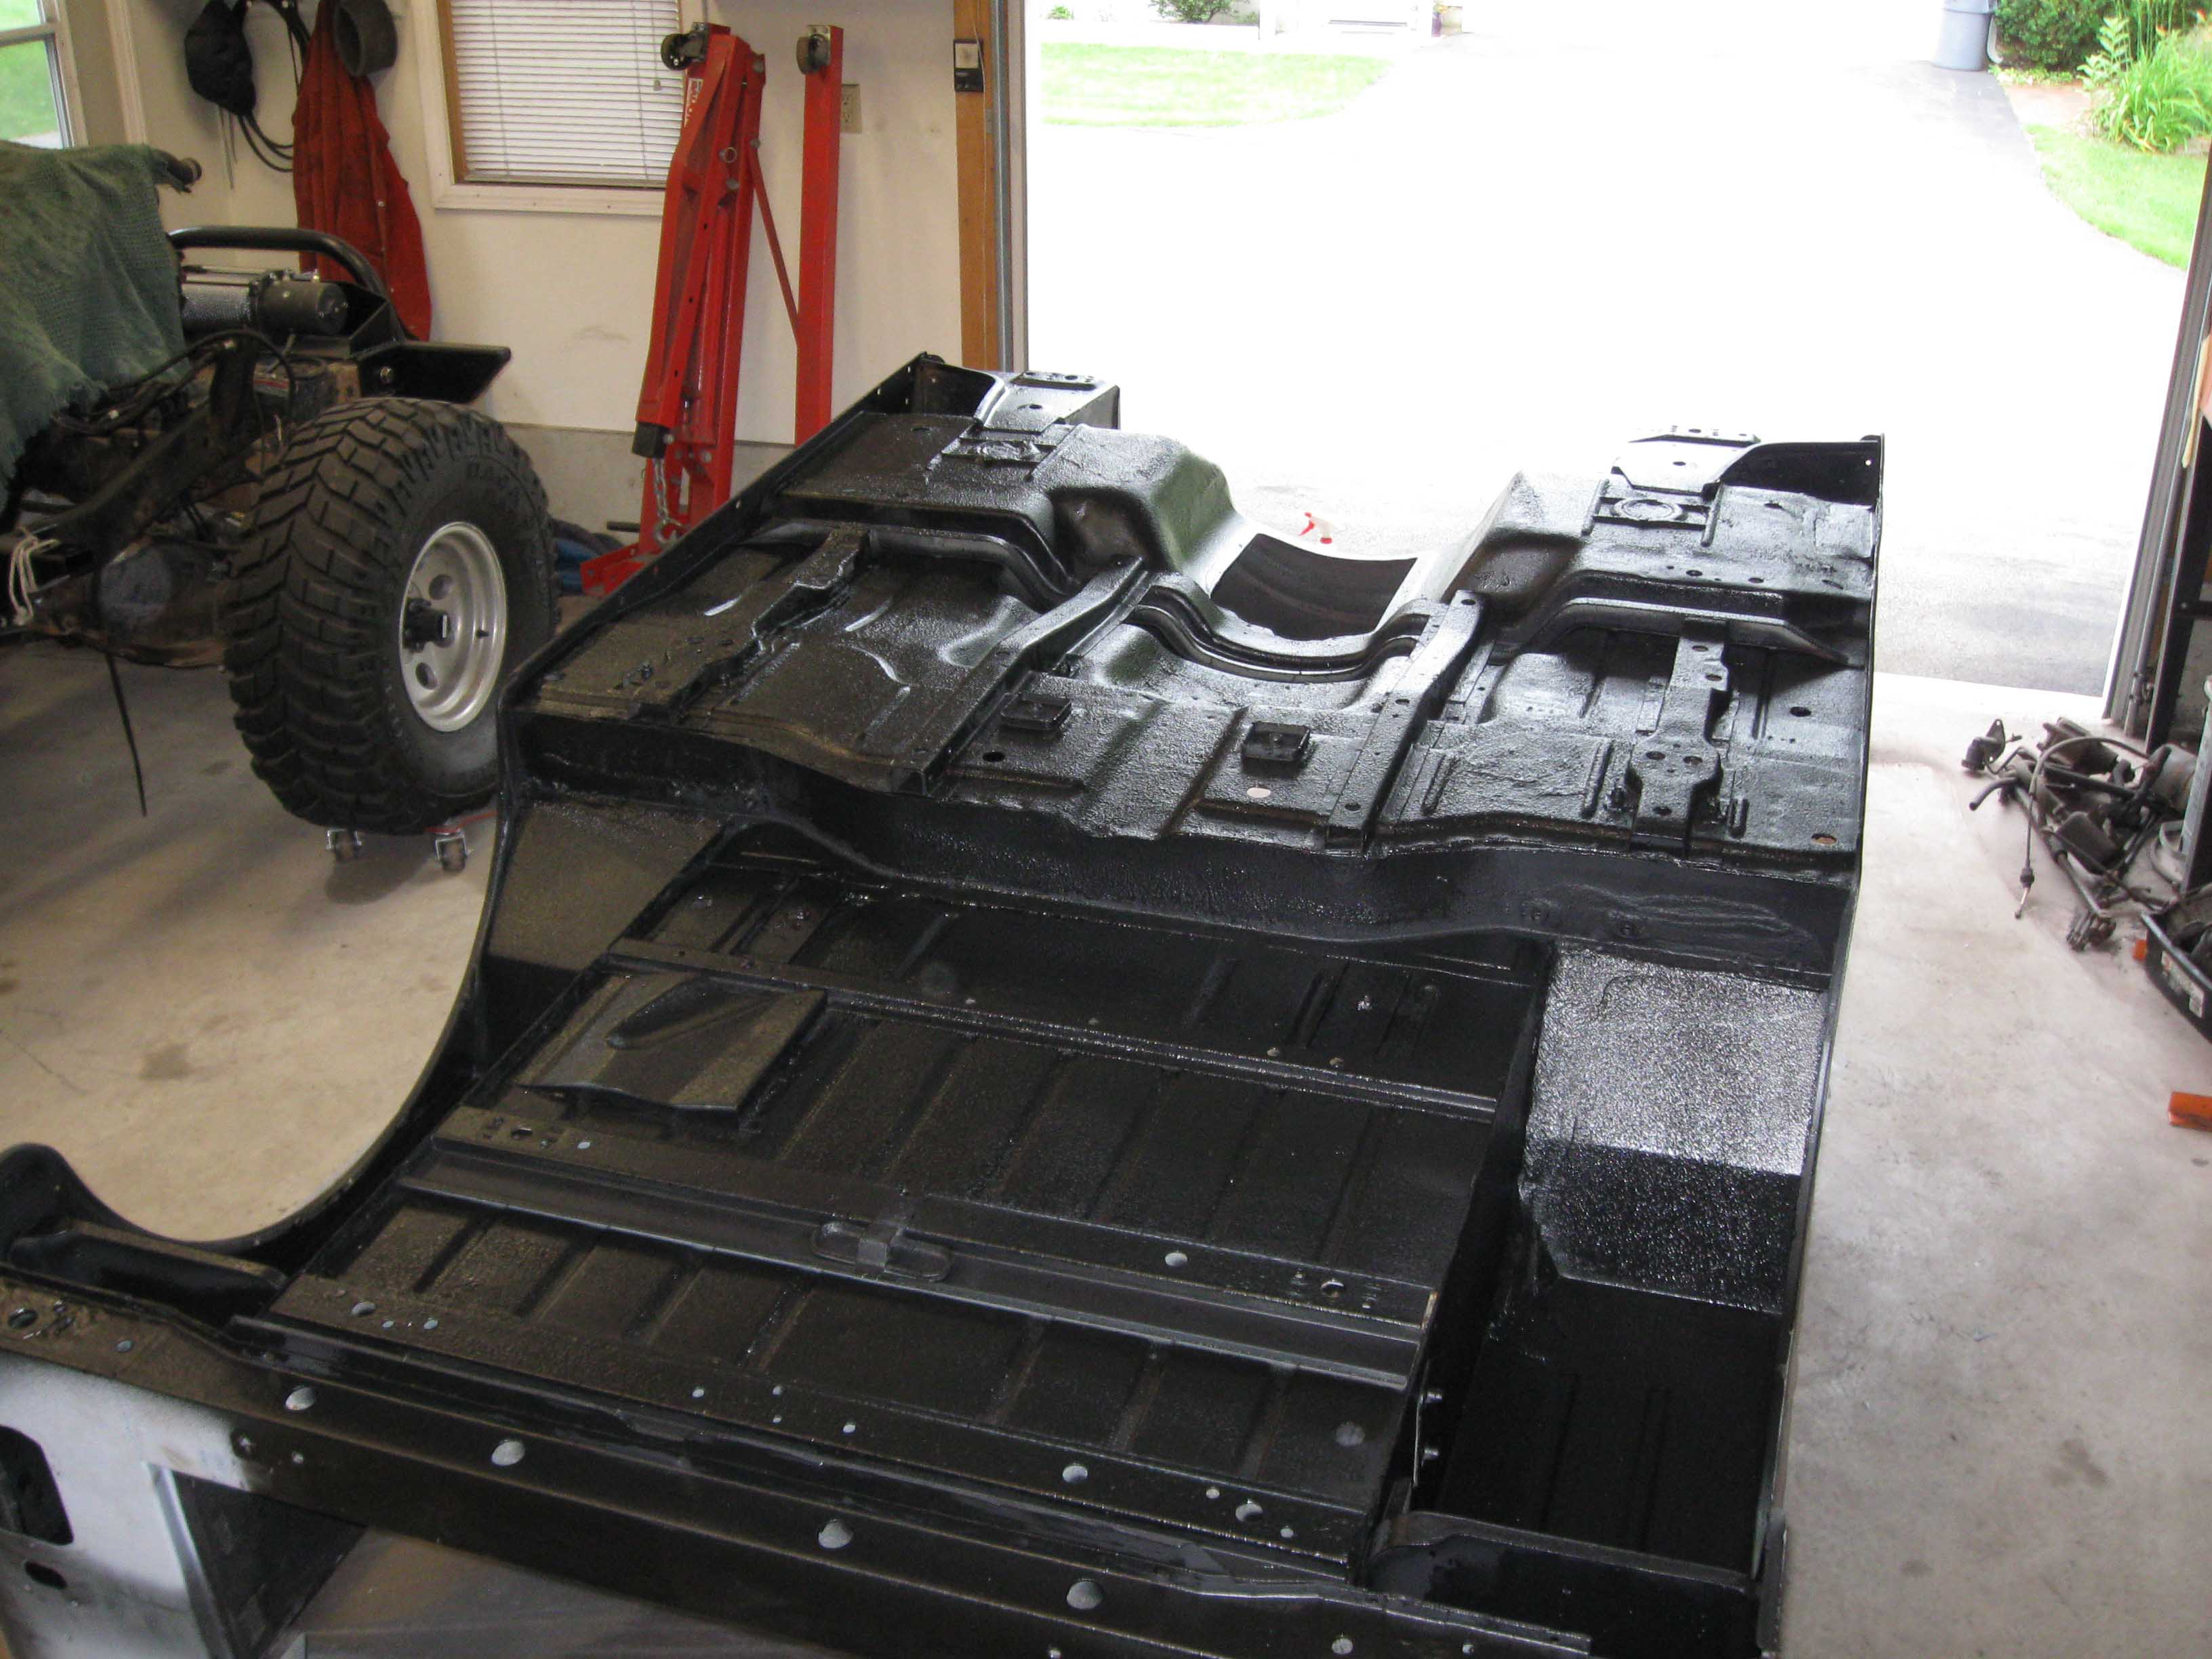
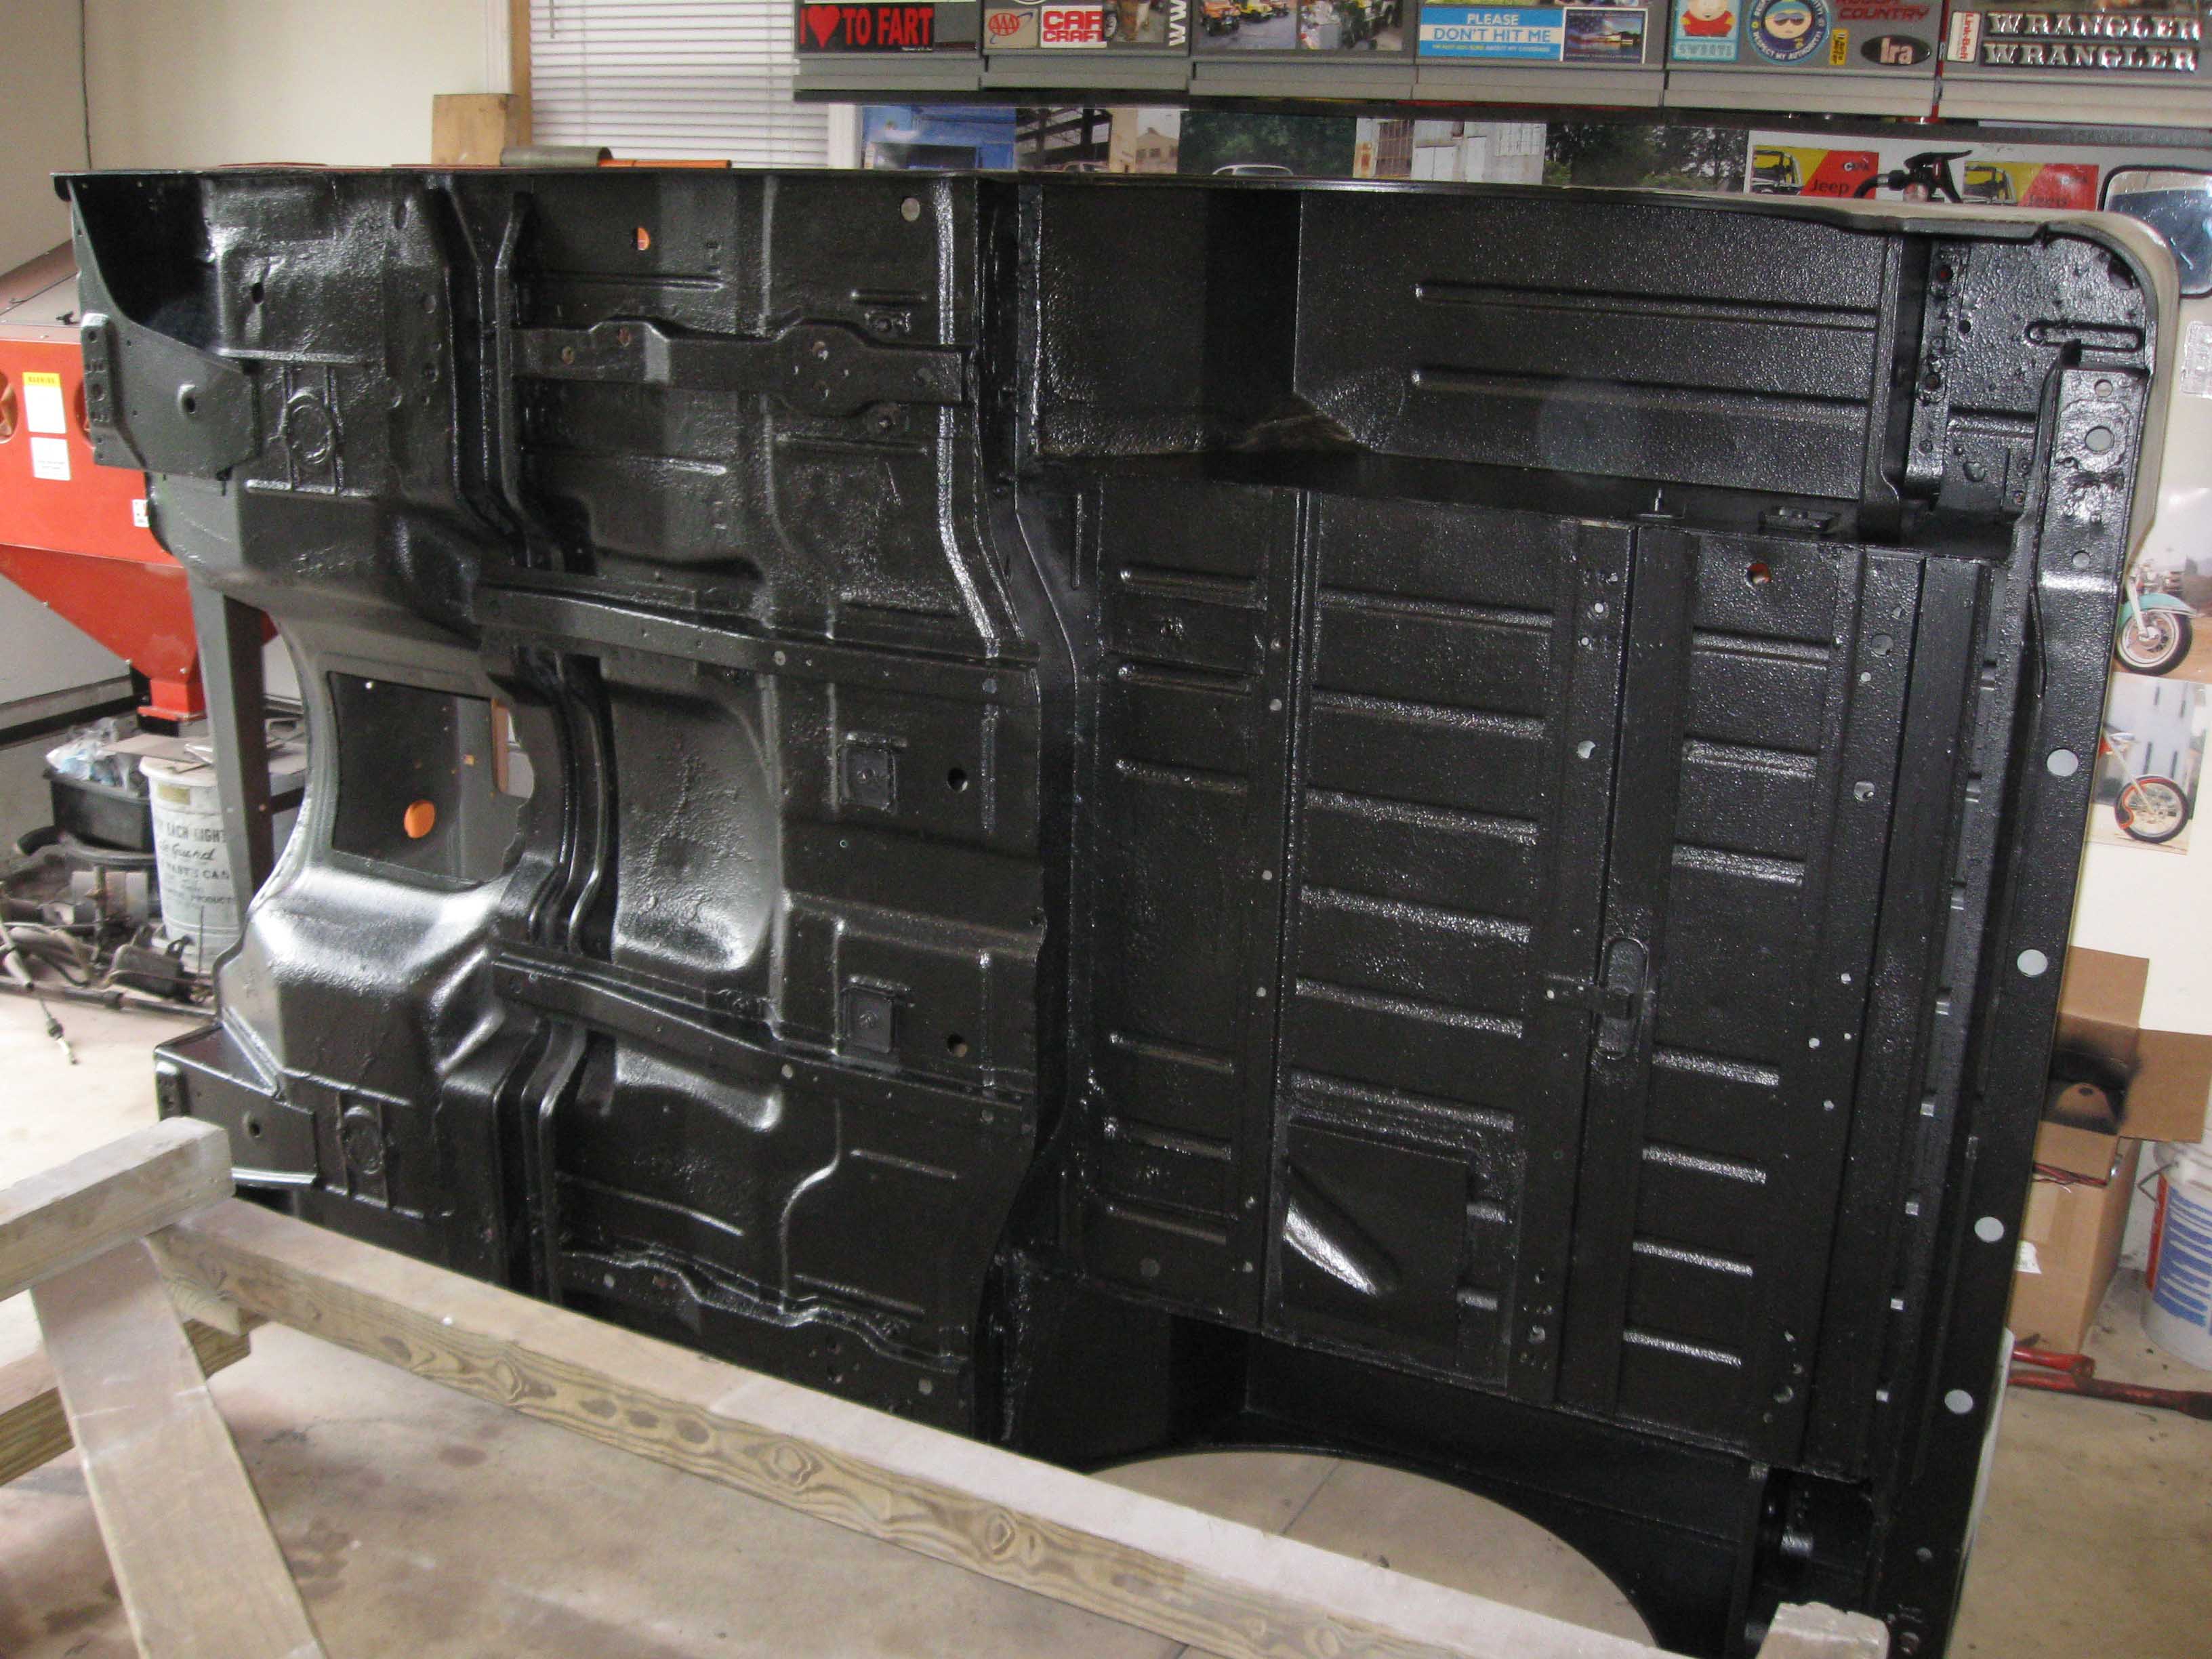
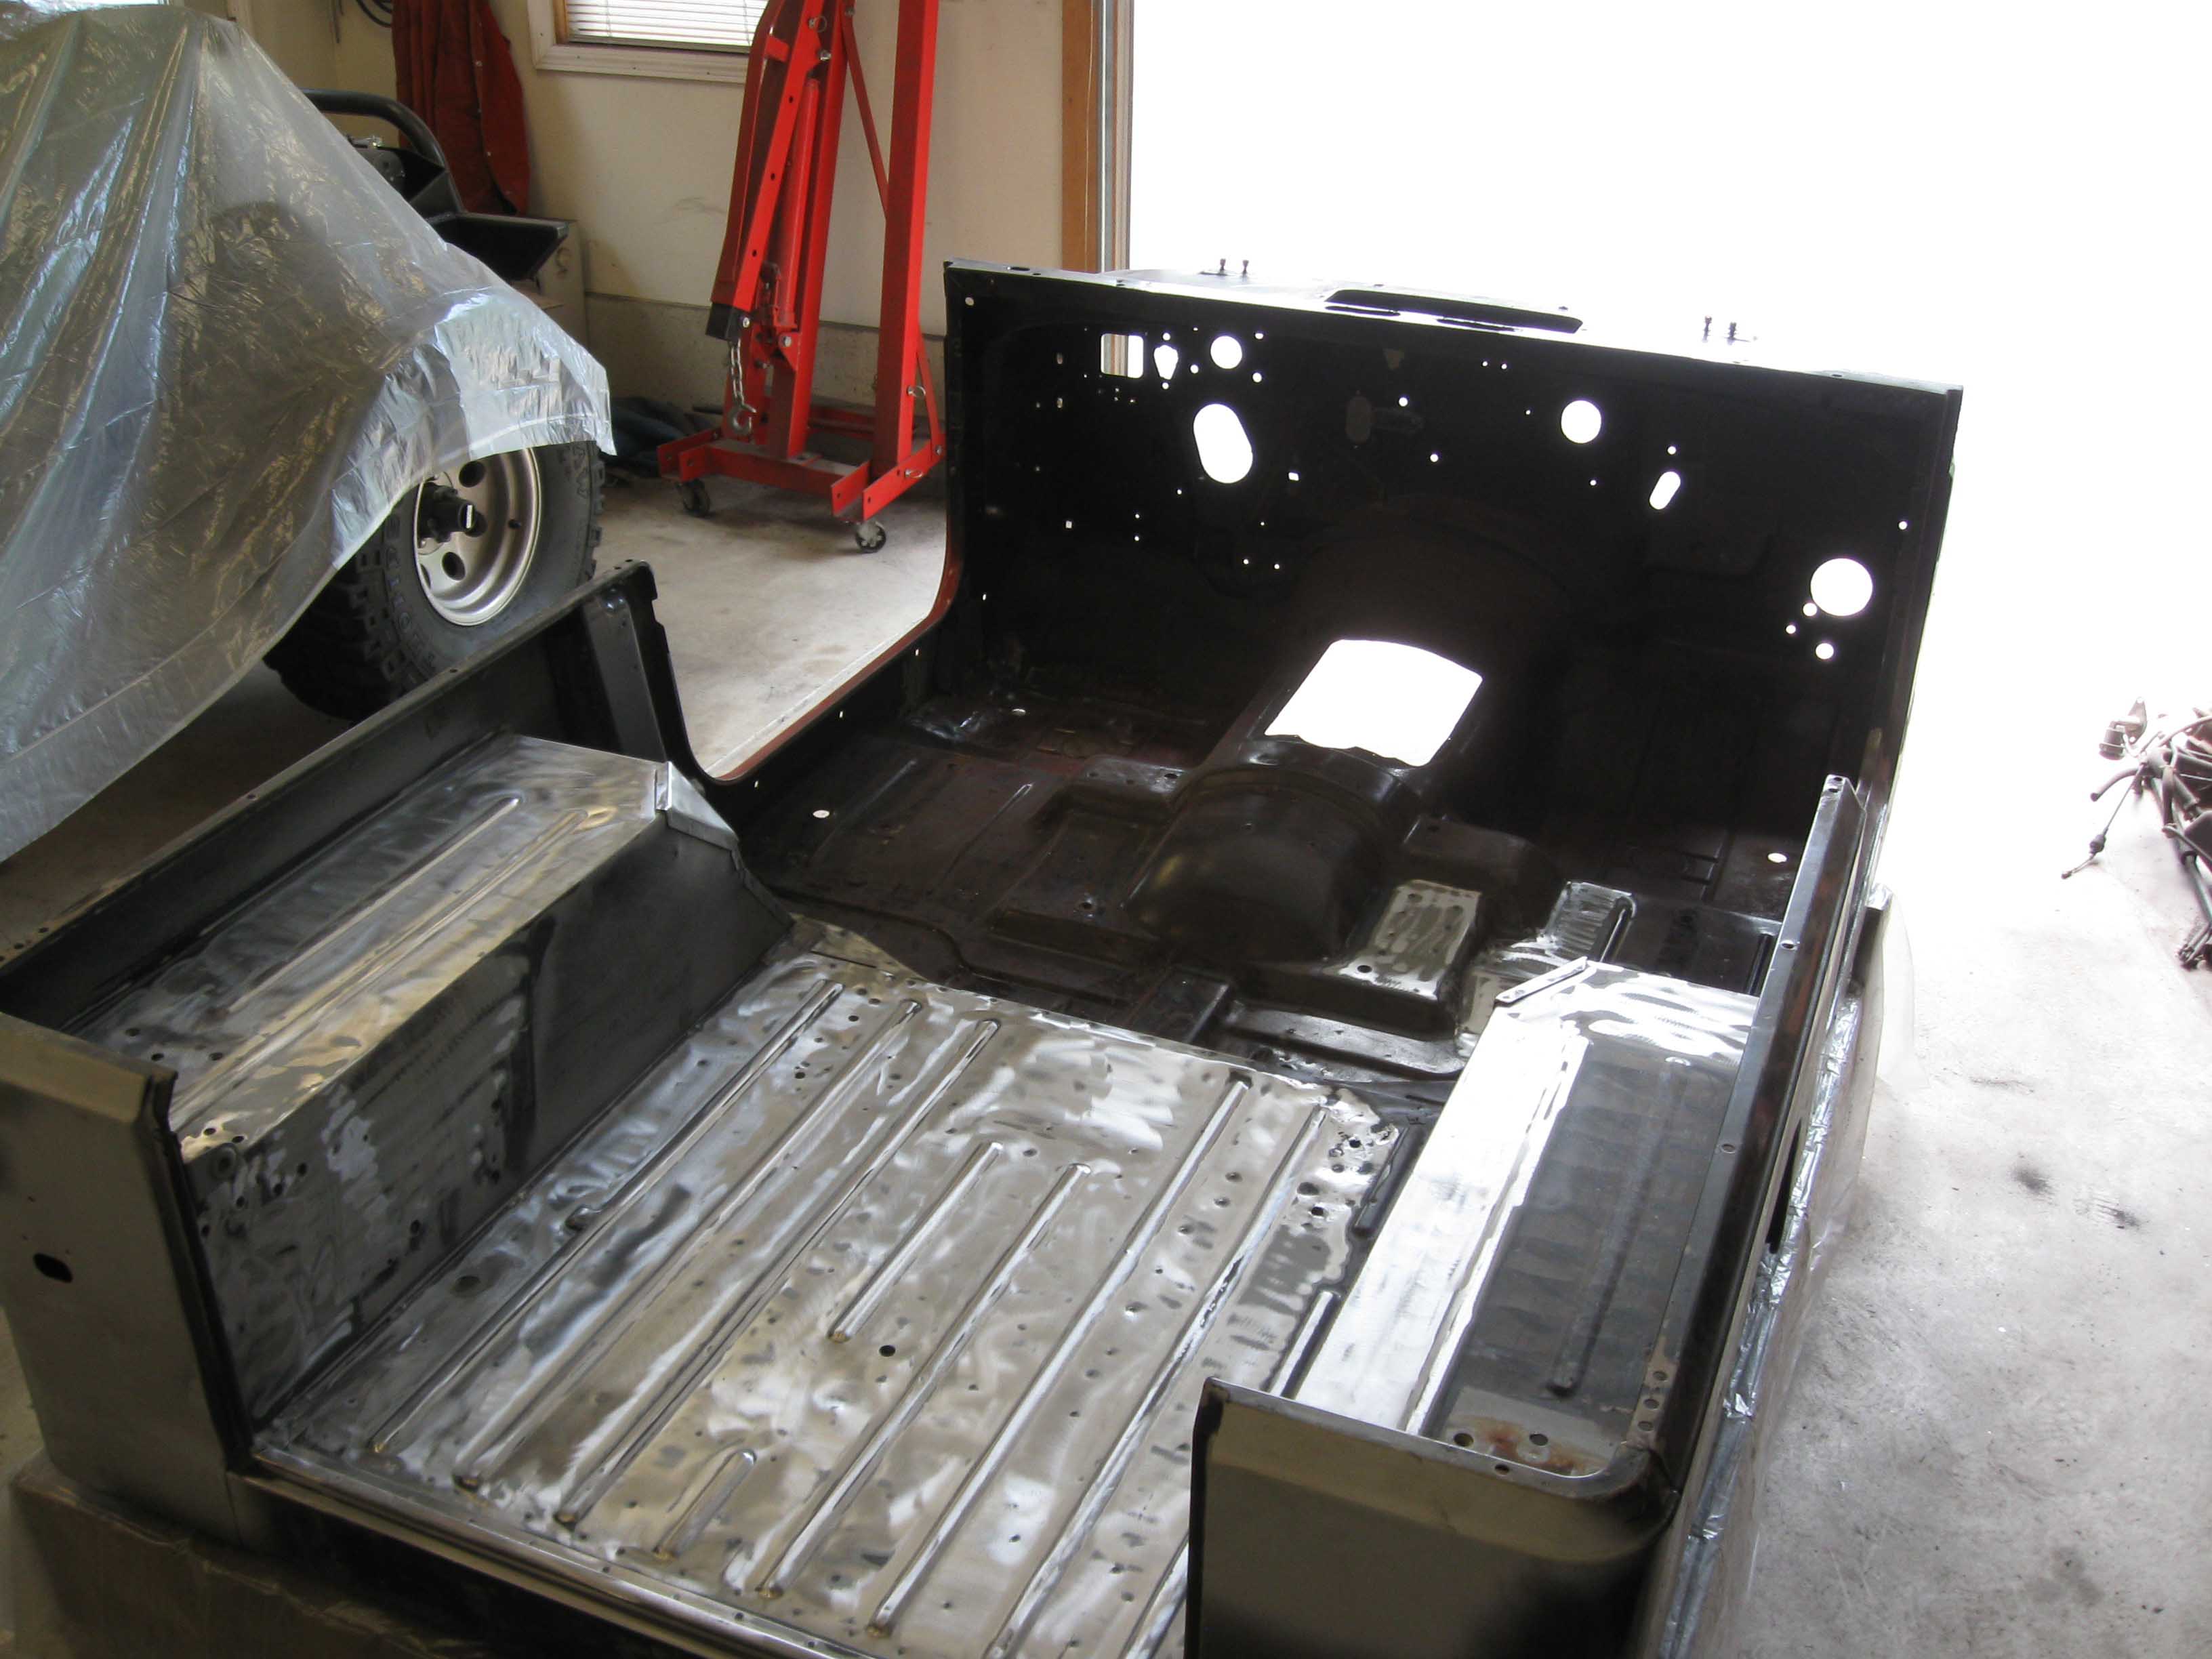
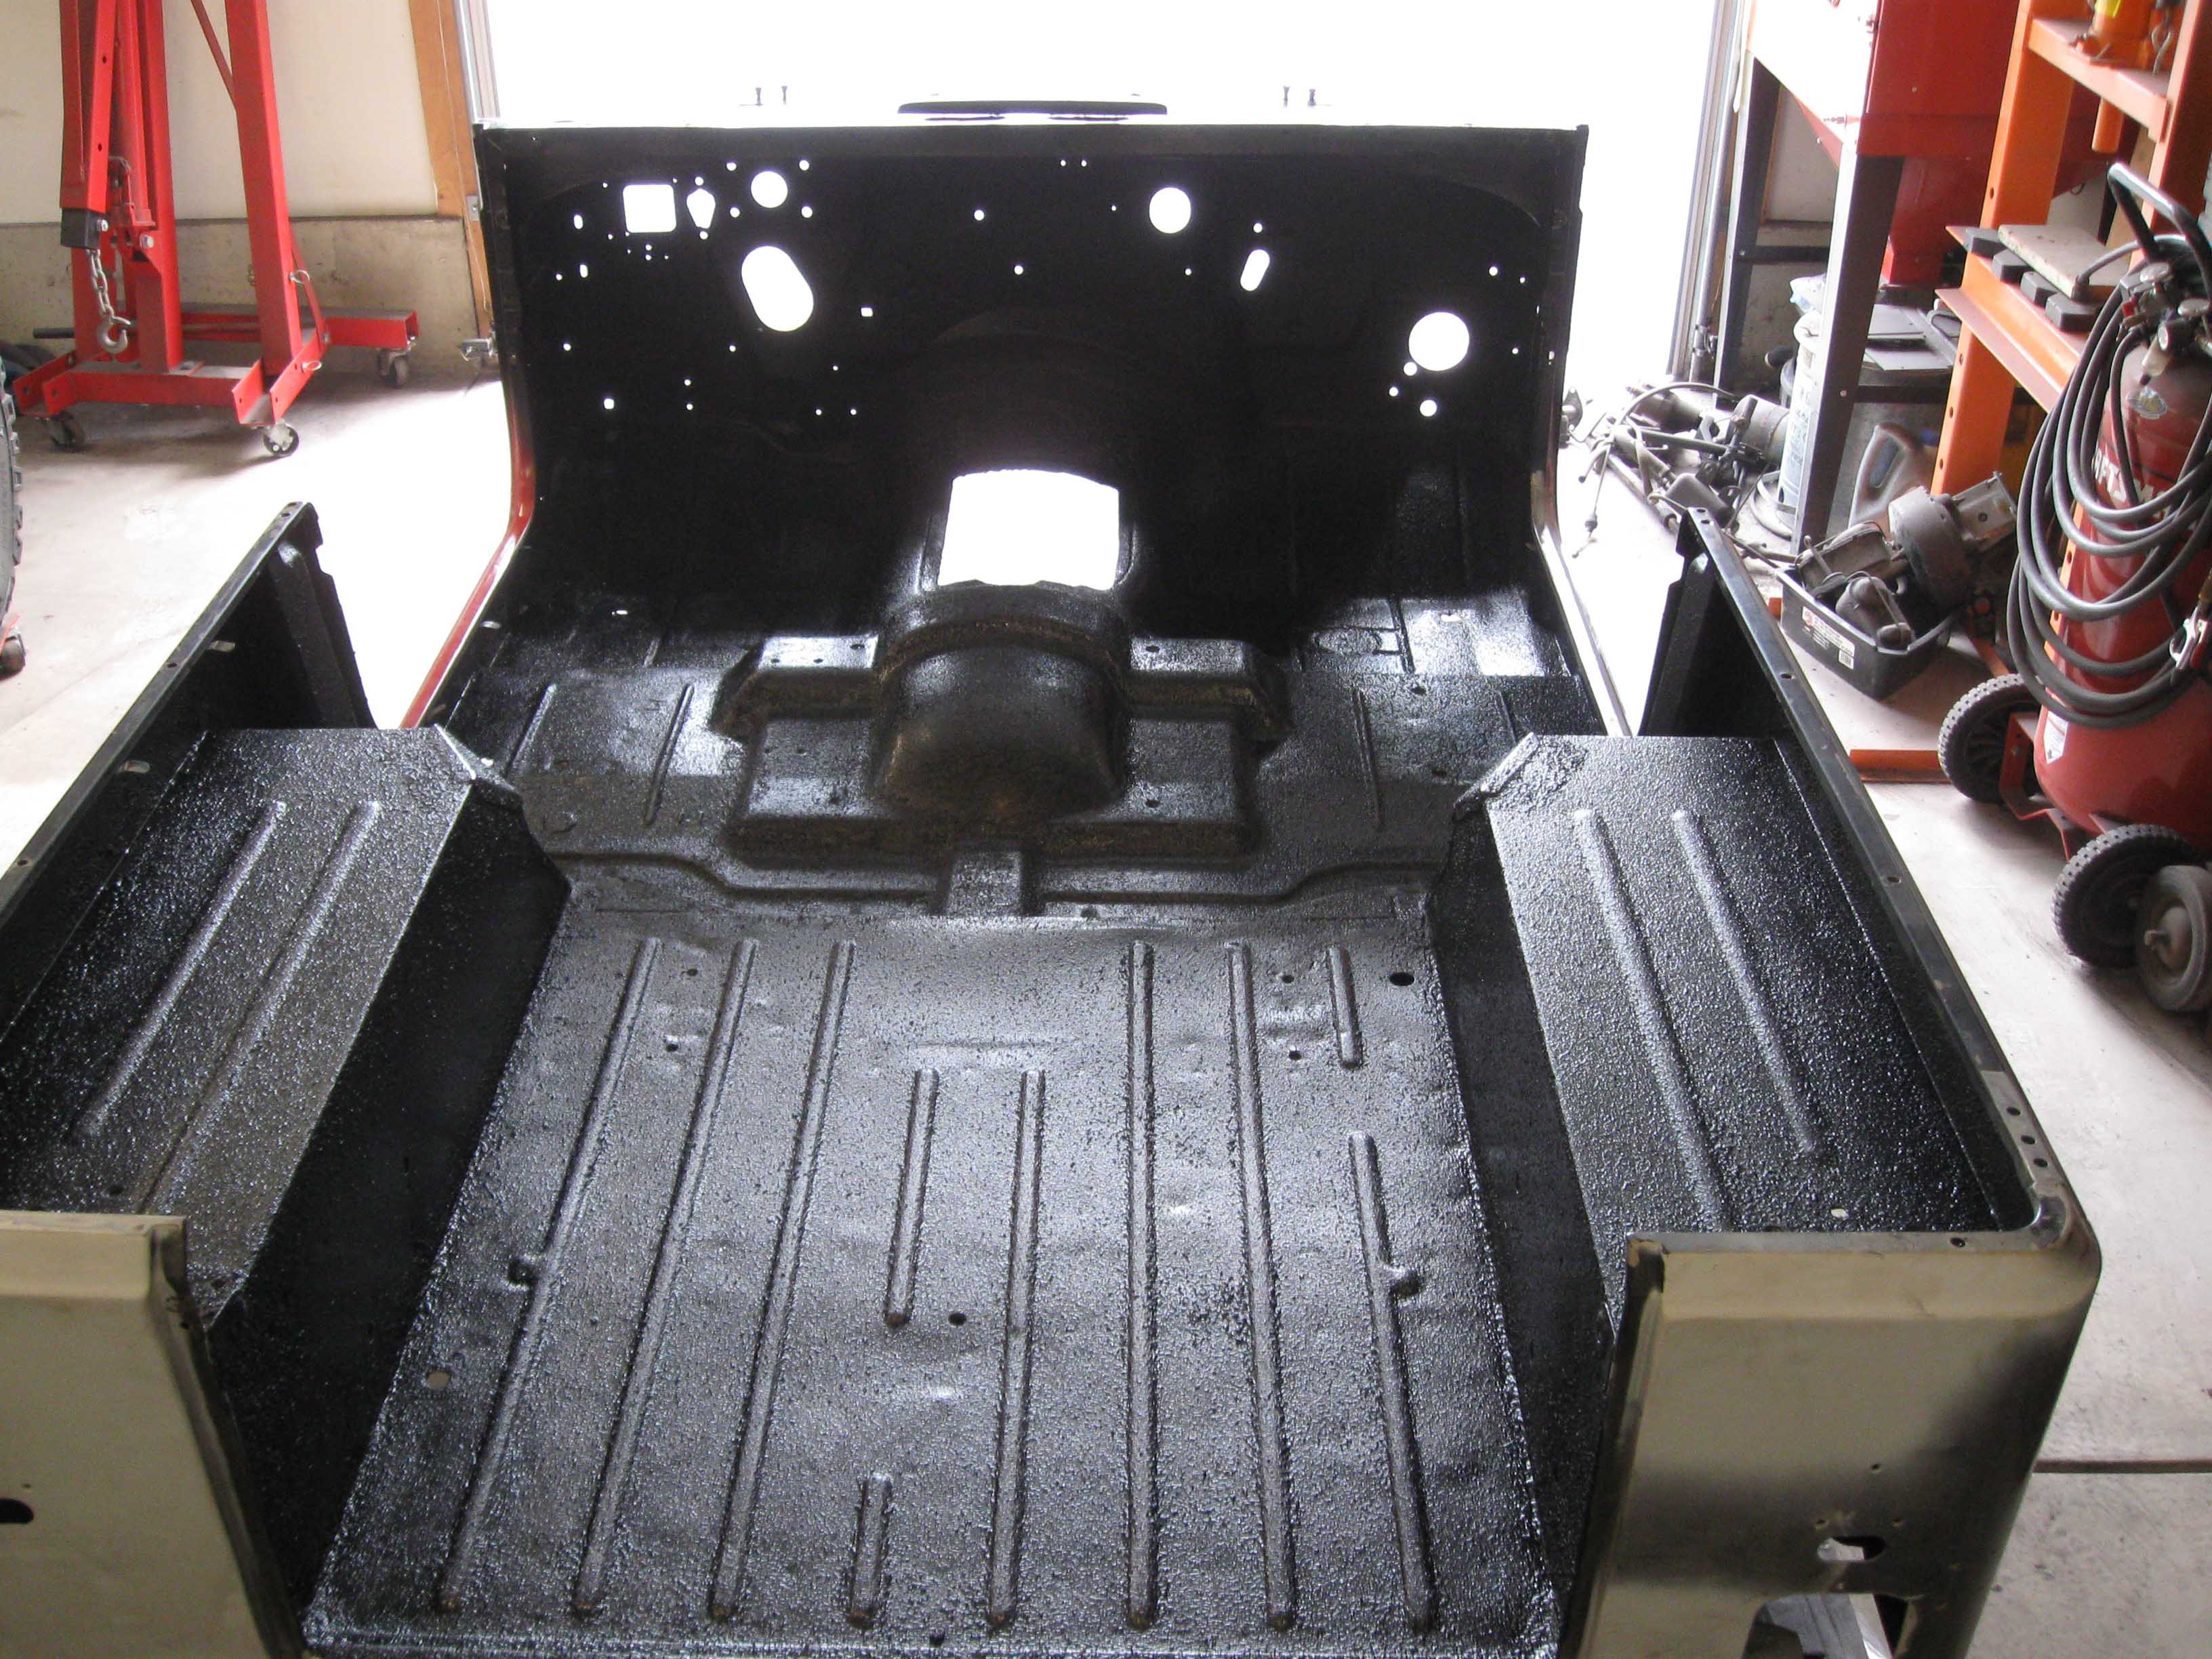
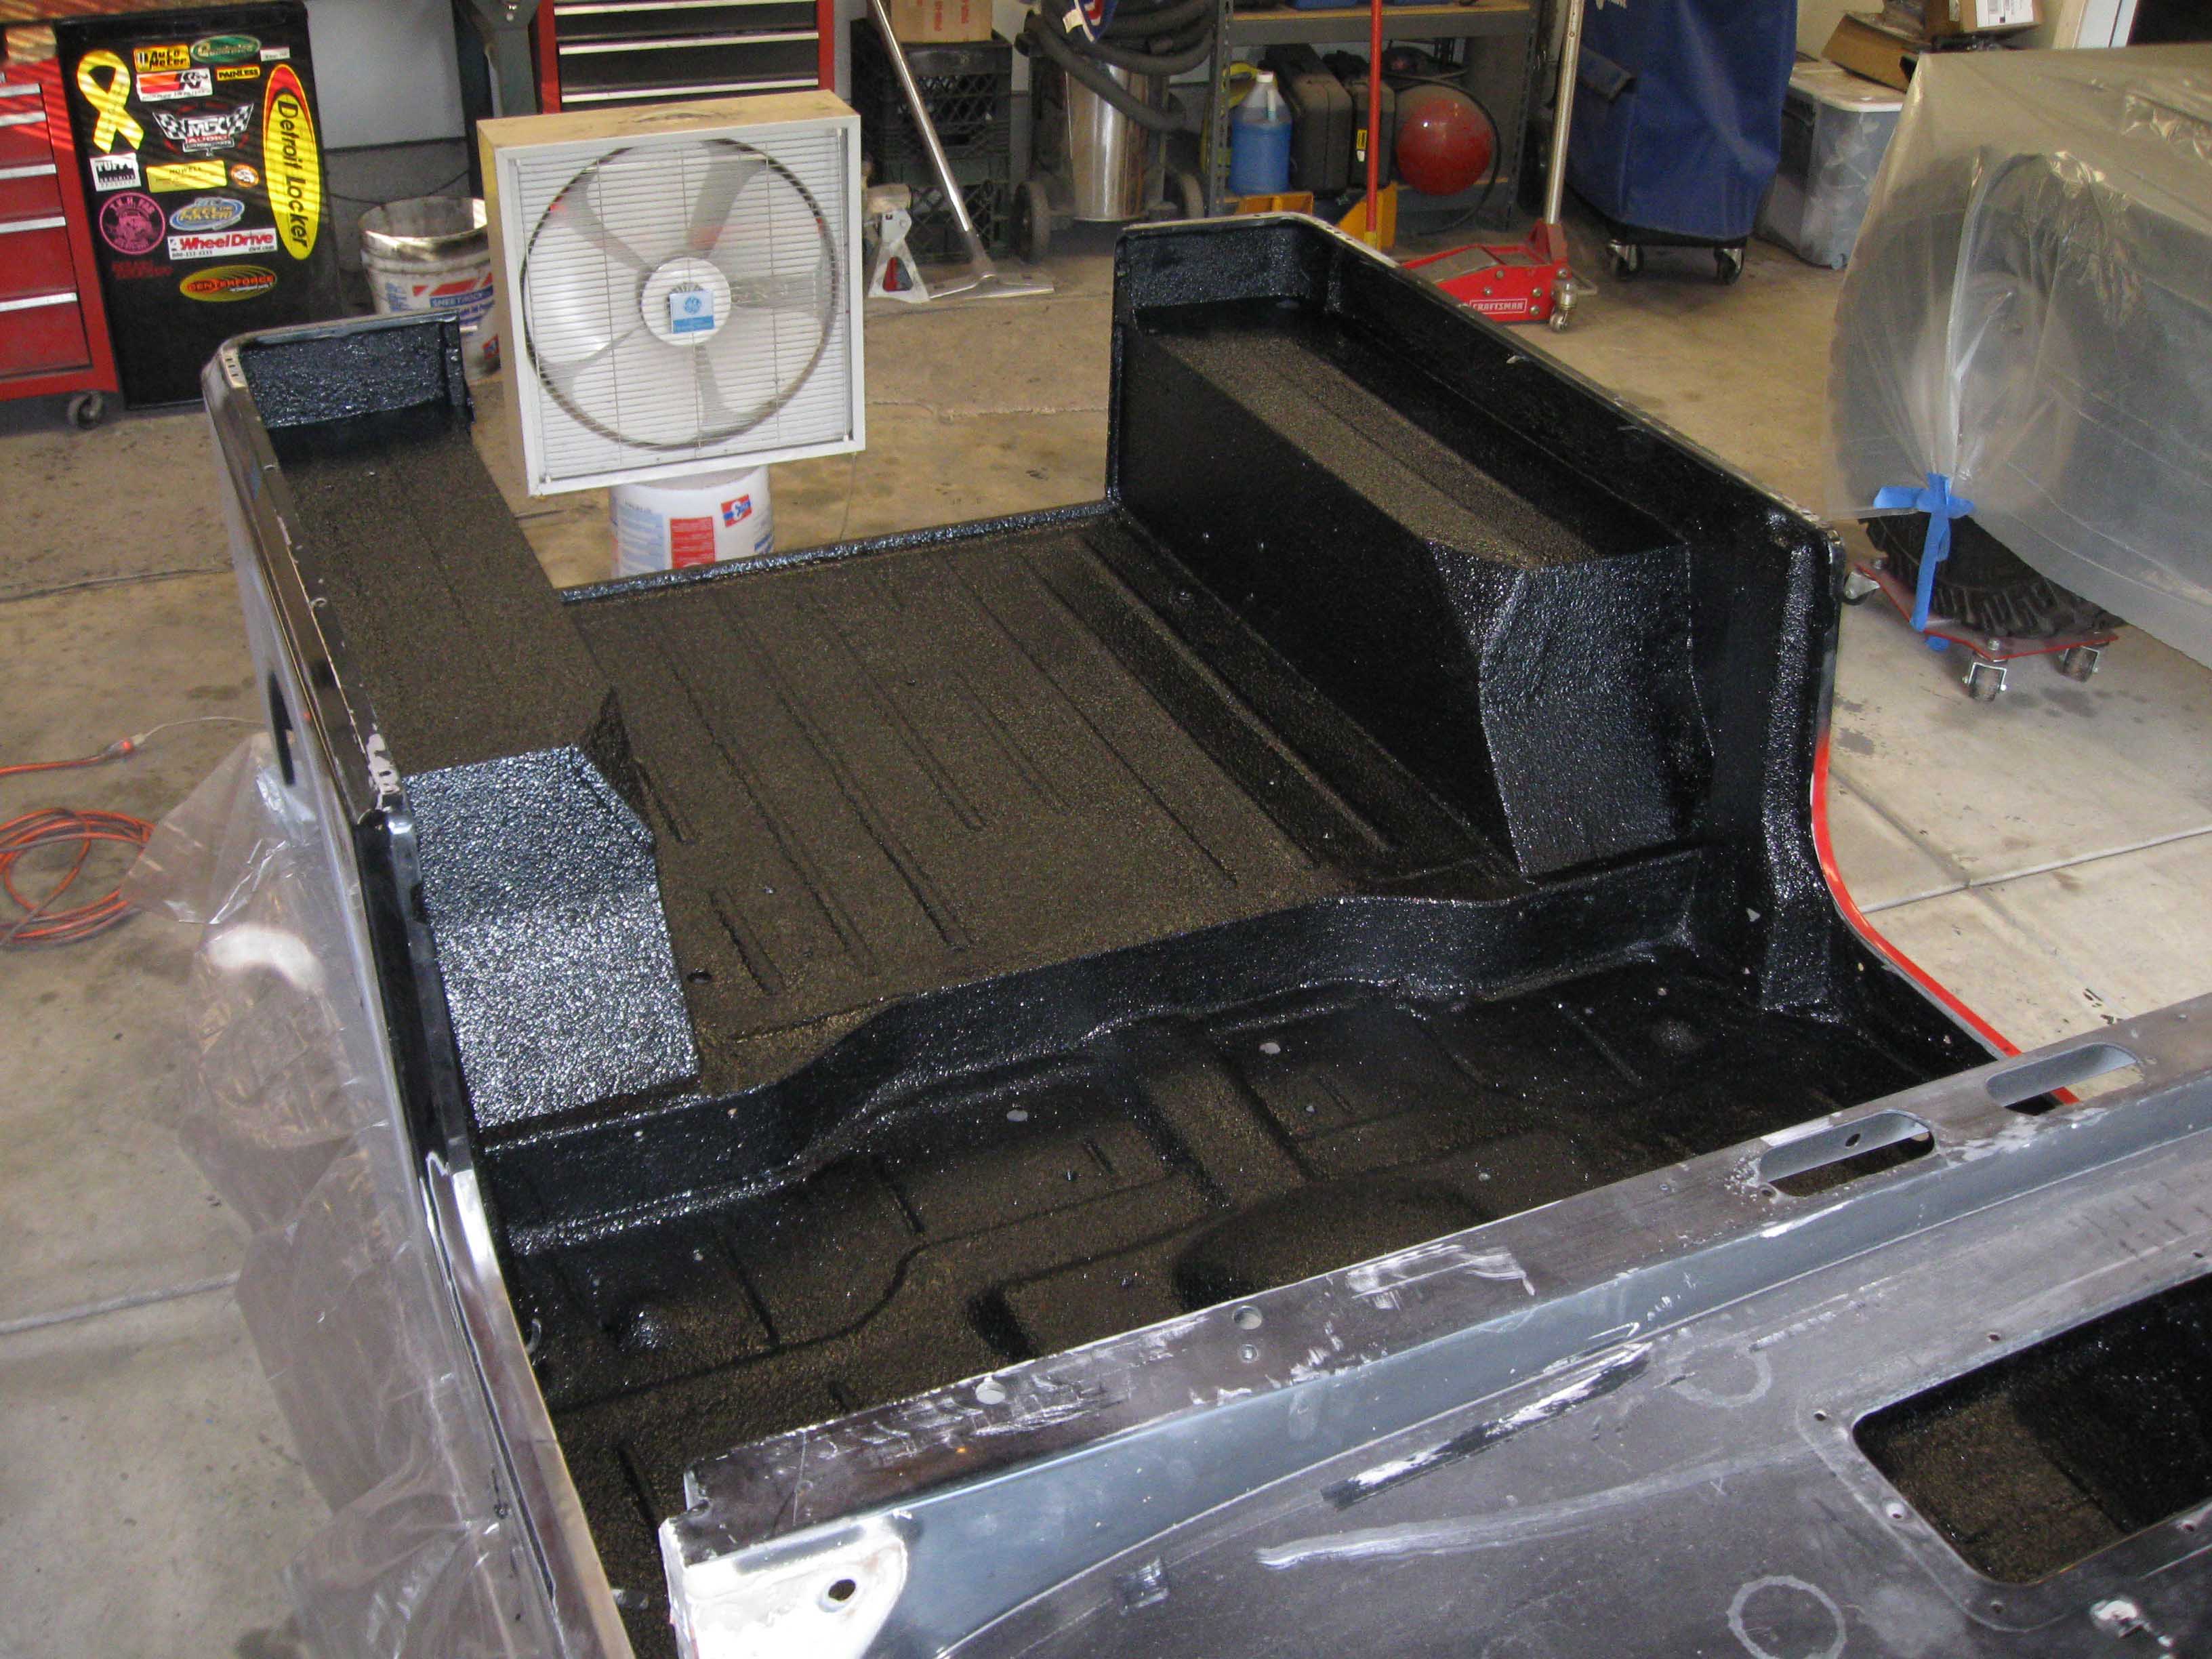
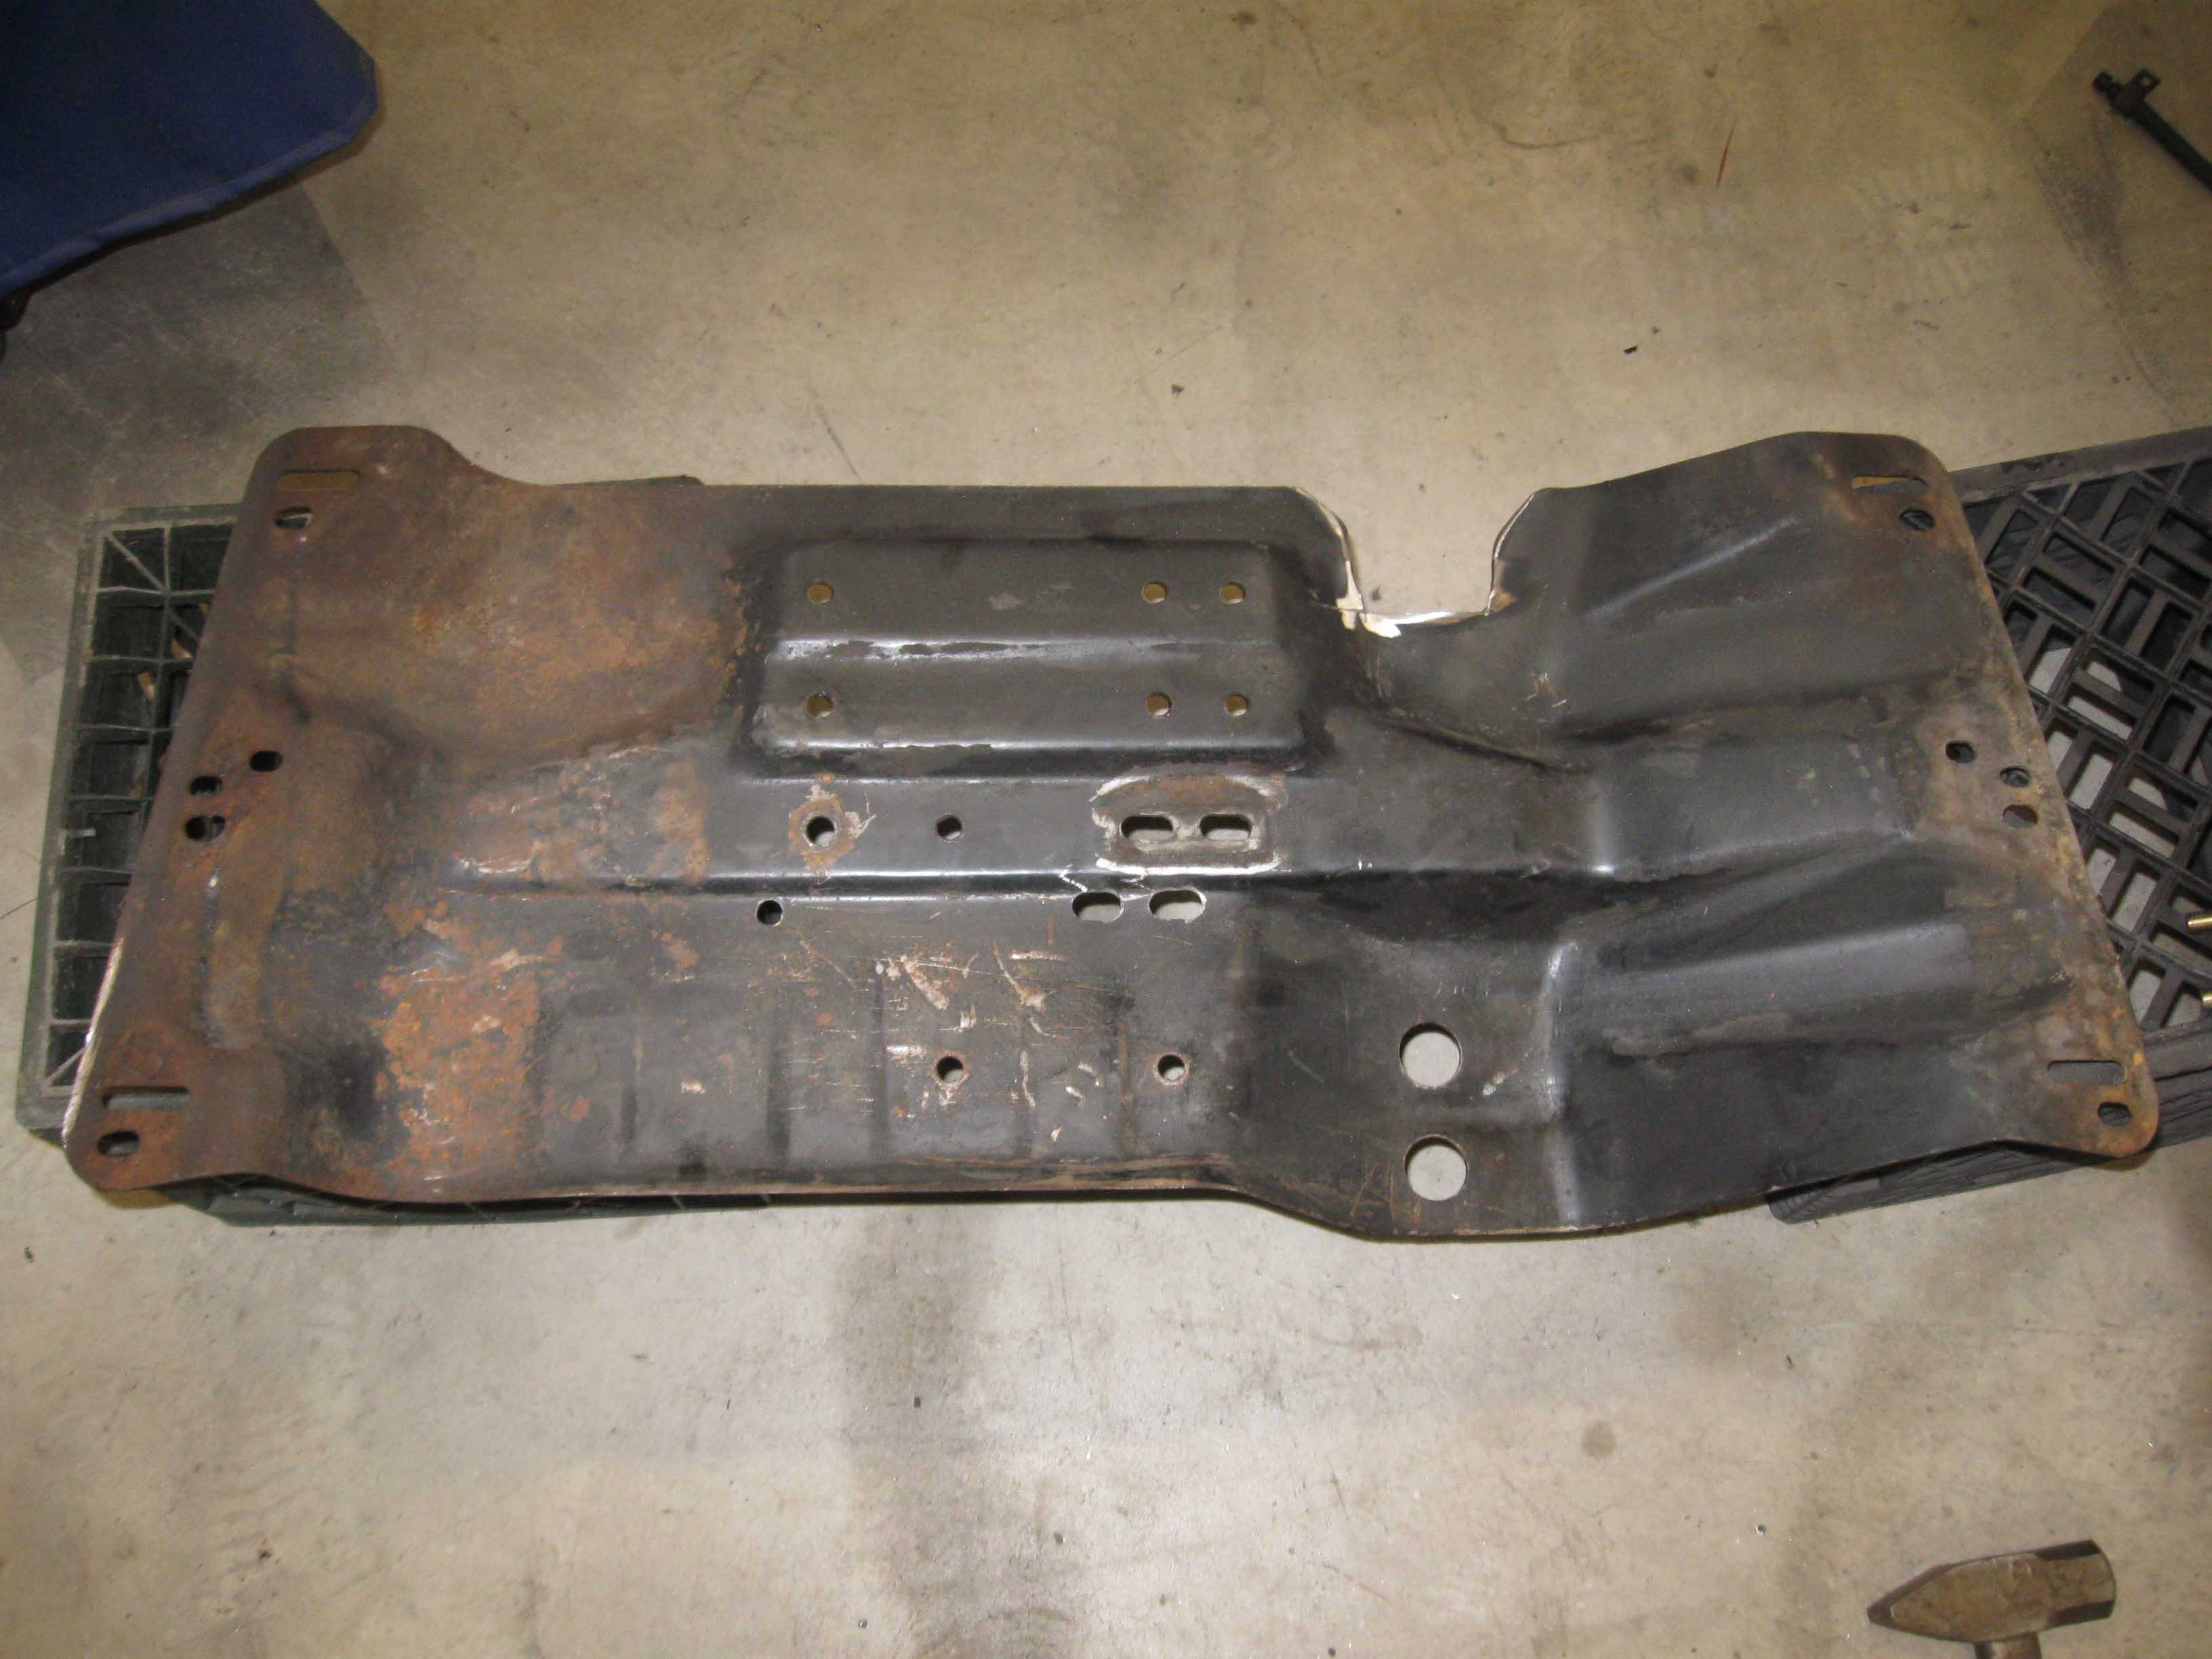
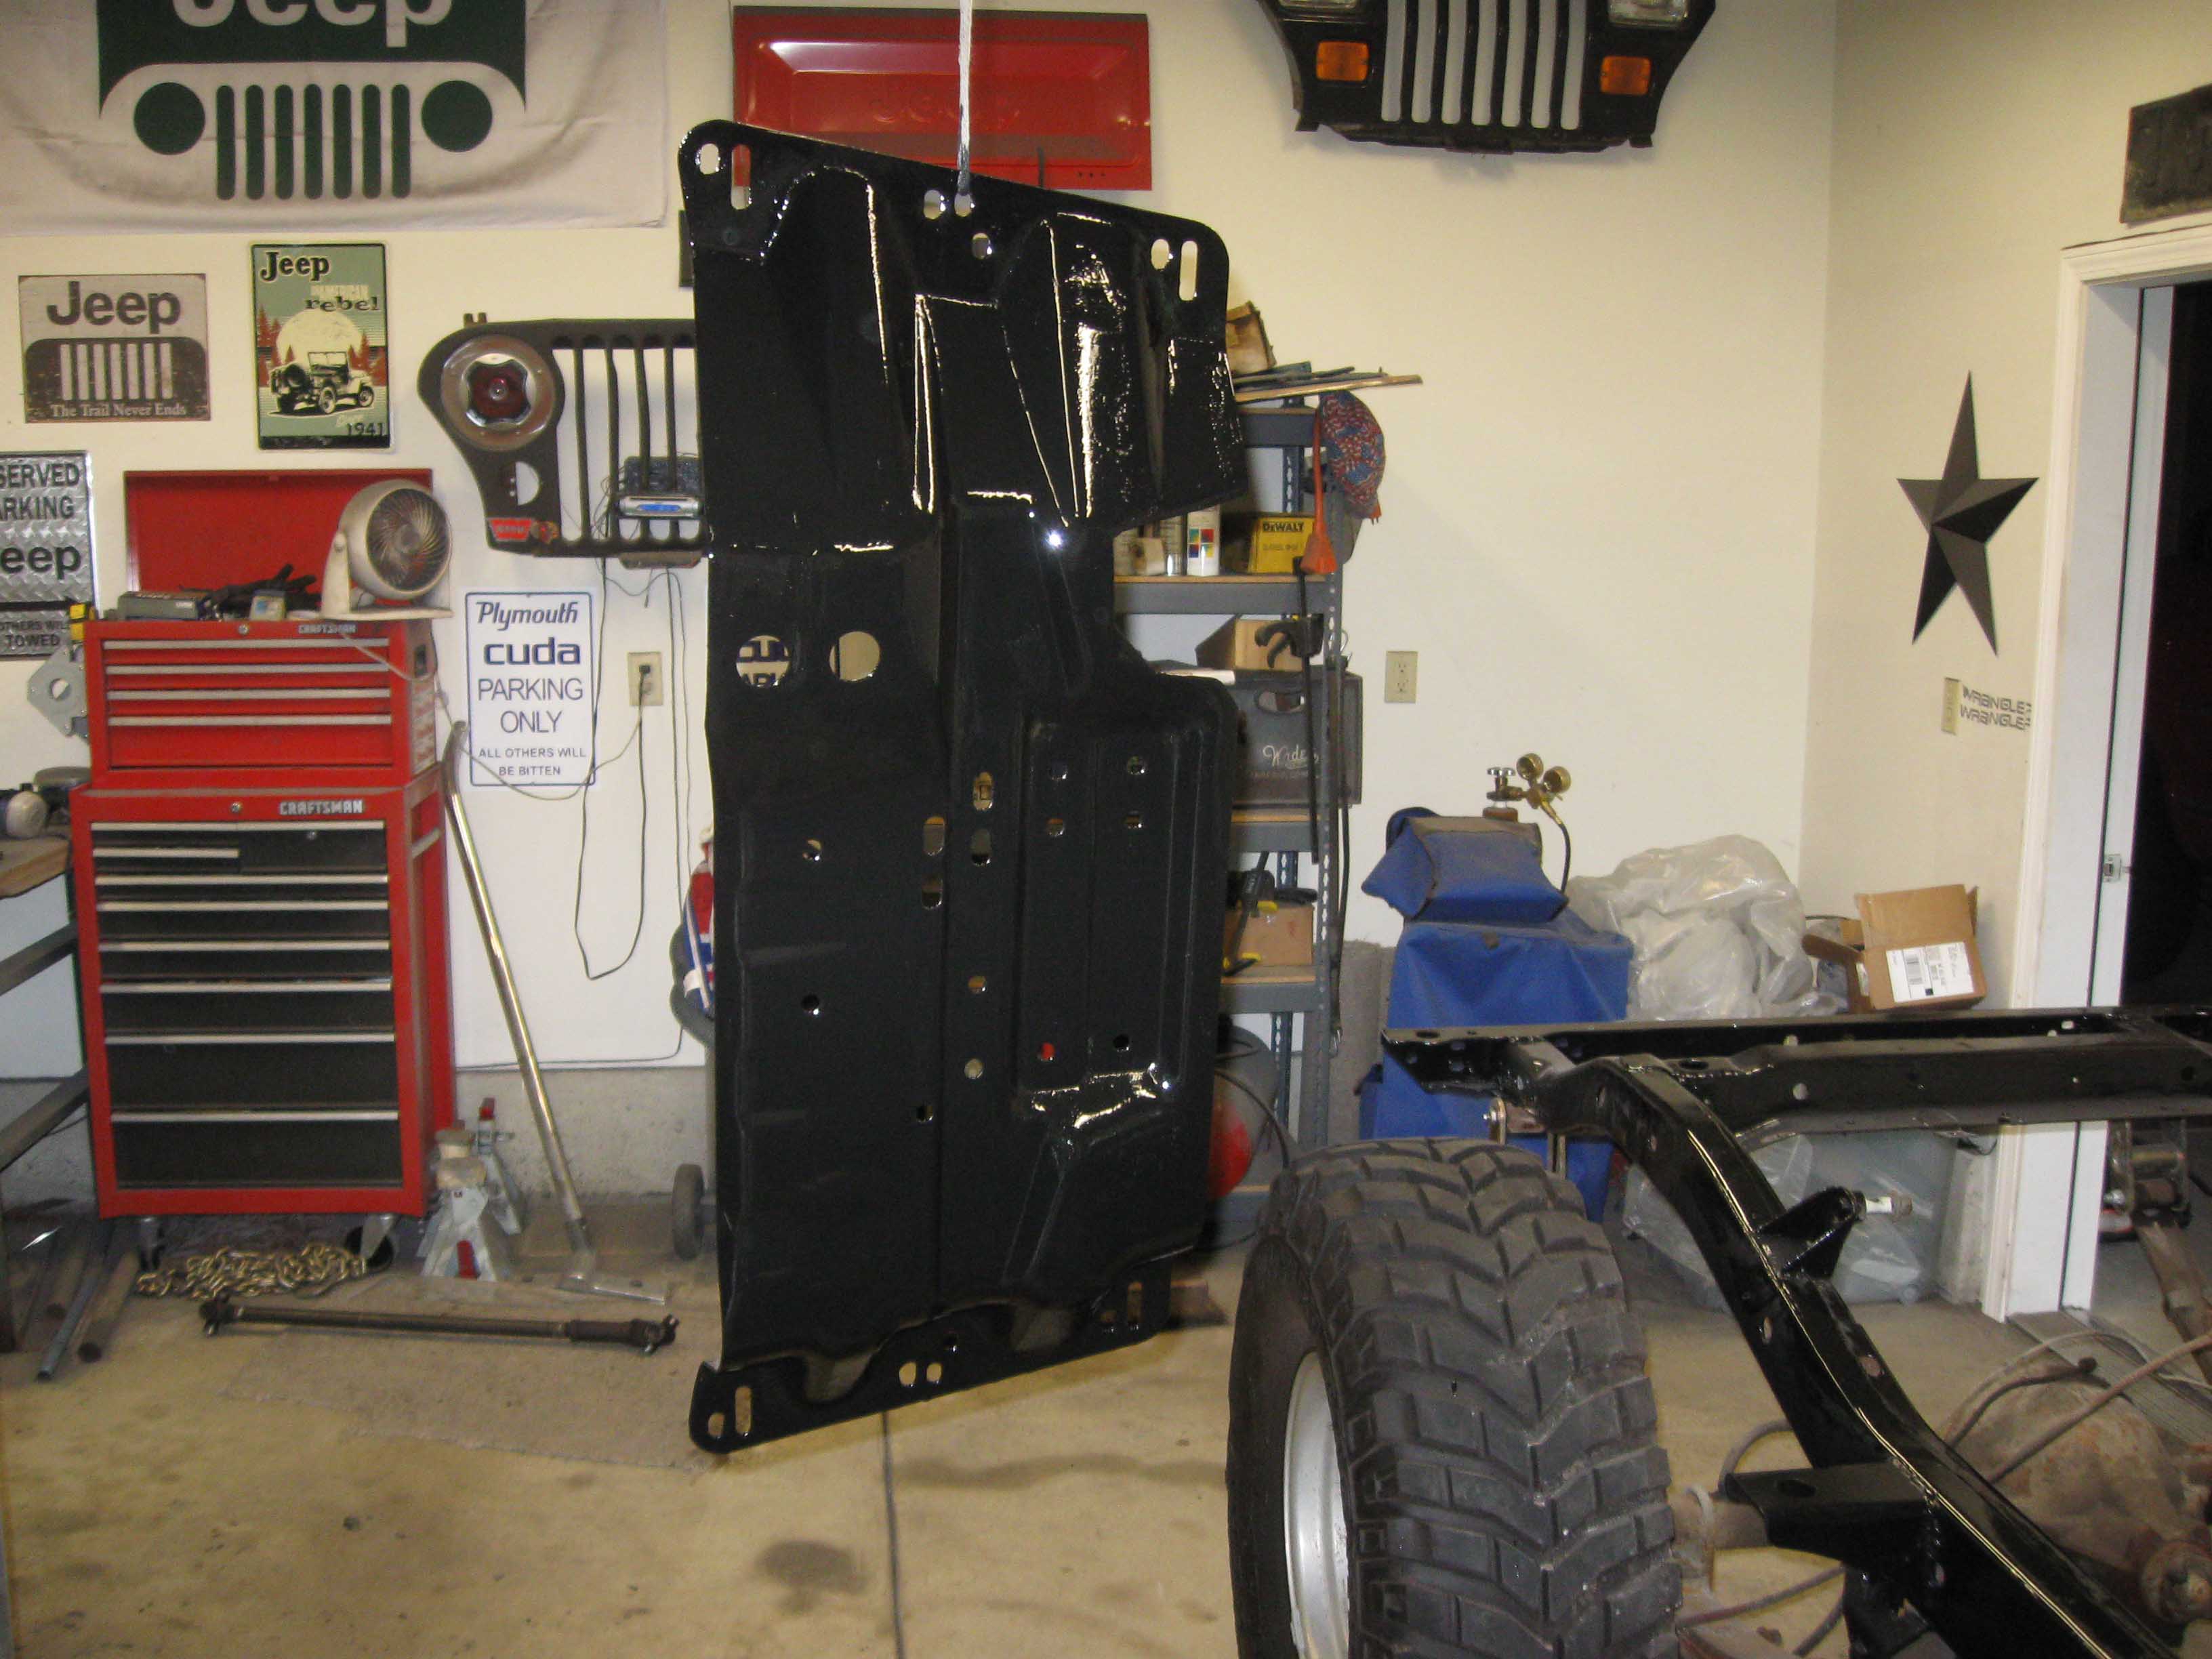
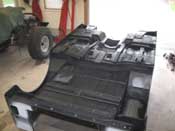
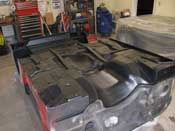
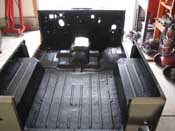
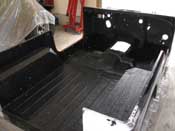
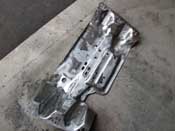
| (06/30/09) The underside of the Jeep came out great with the Dupli-color bed liner.
All the areas were dry and it was tough as nails. I moved onto putting it on the dolly and started to prepare
for the back pain that was about to ensue. Basically 4 hours of grinding, sanding, prepping, cleaning, and getting
ready for the next 3 hours of putting some of the nastiest black stuff ever made on this planet on that nice clean
surface.
|
| |
|
|
|
|

|

|
| |
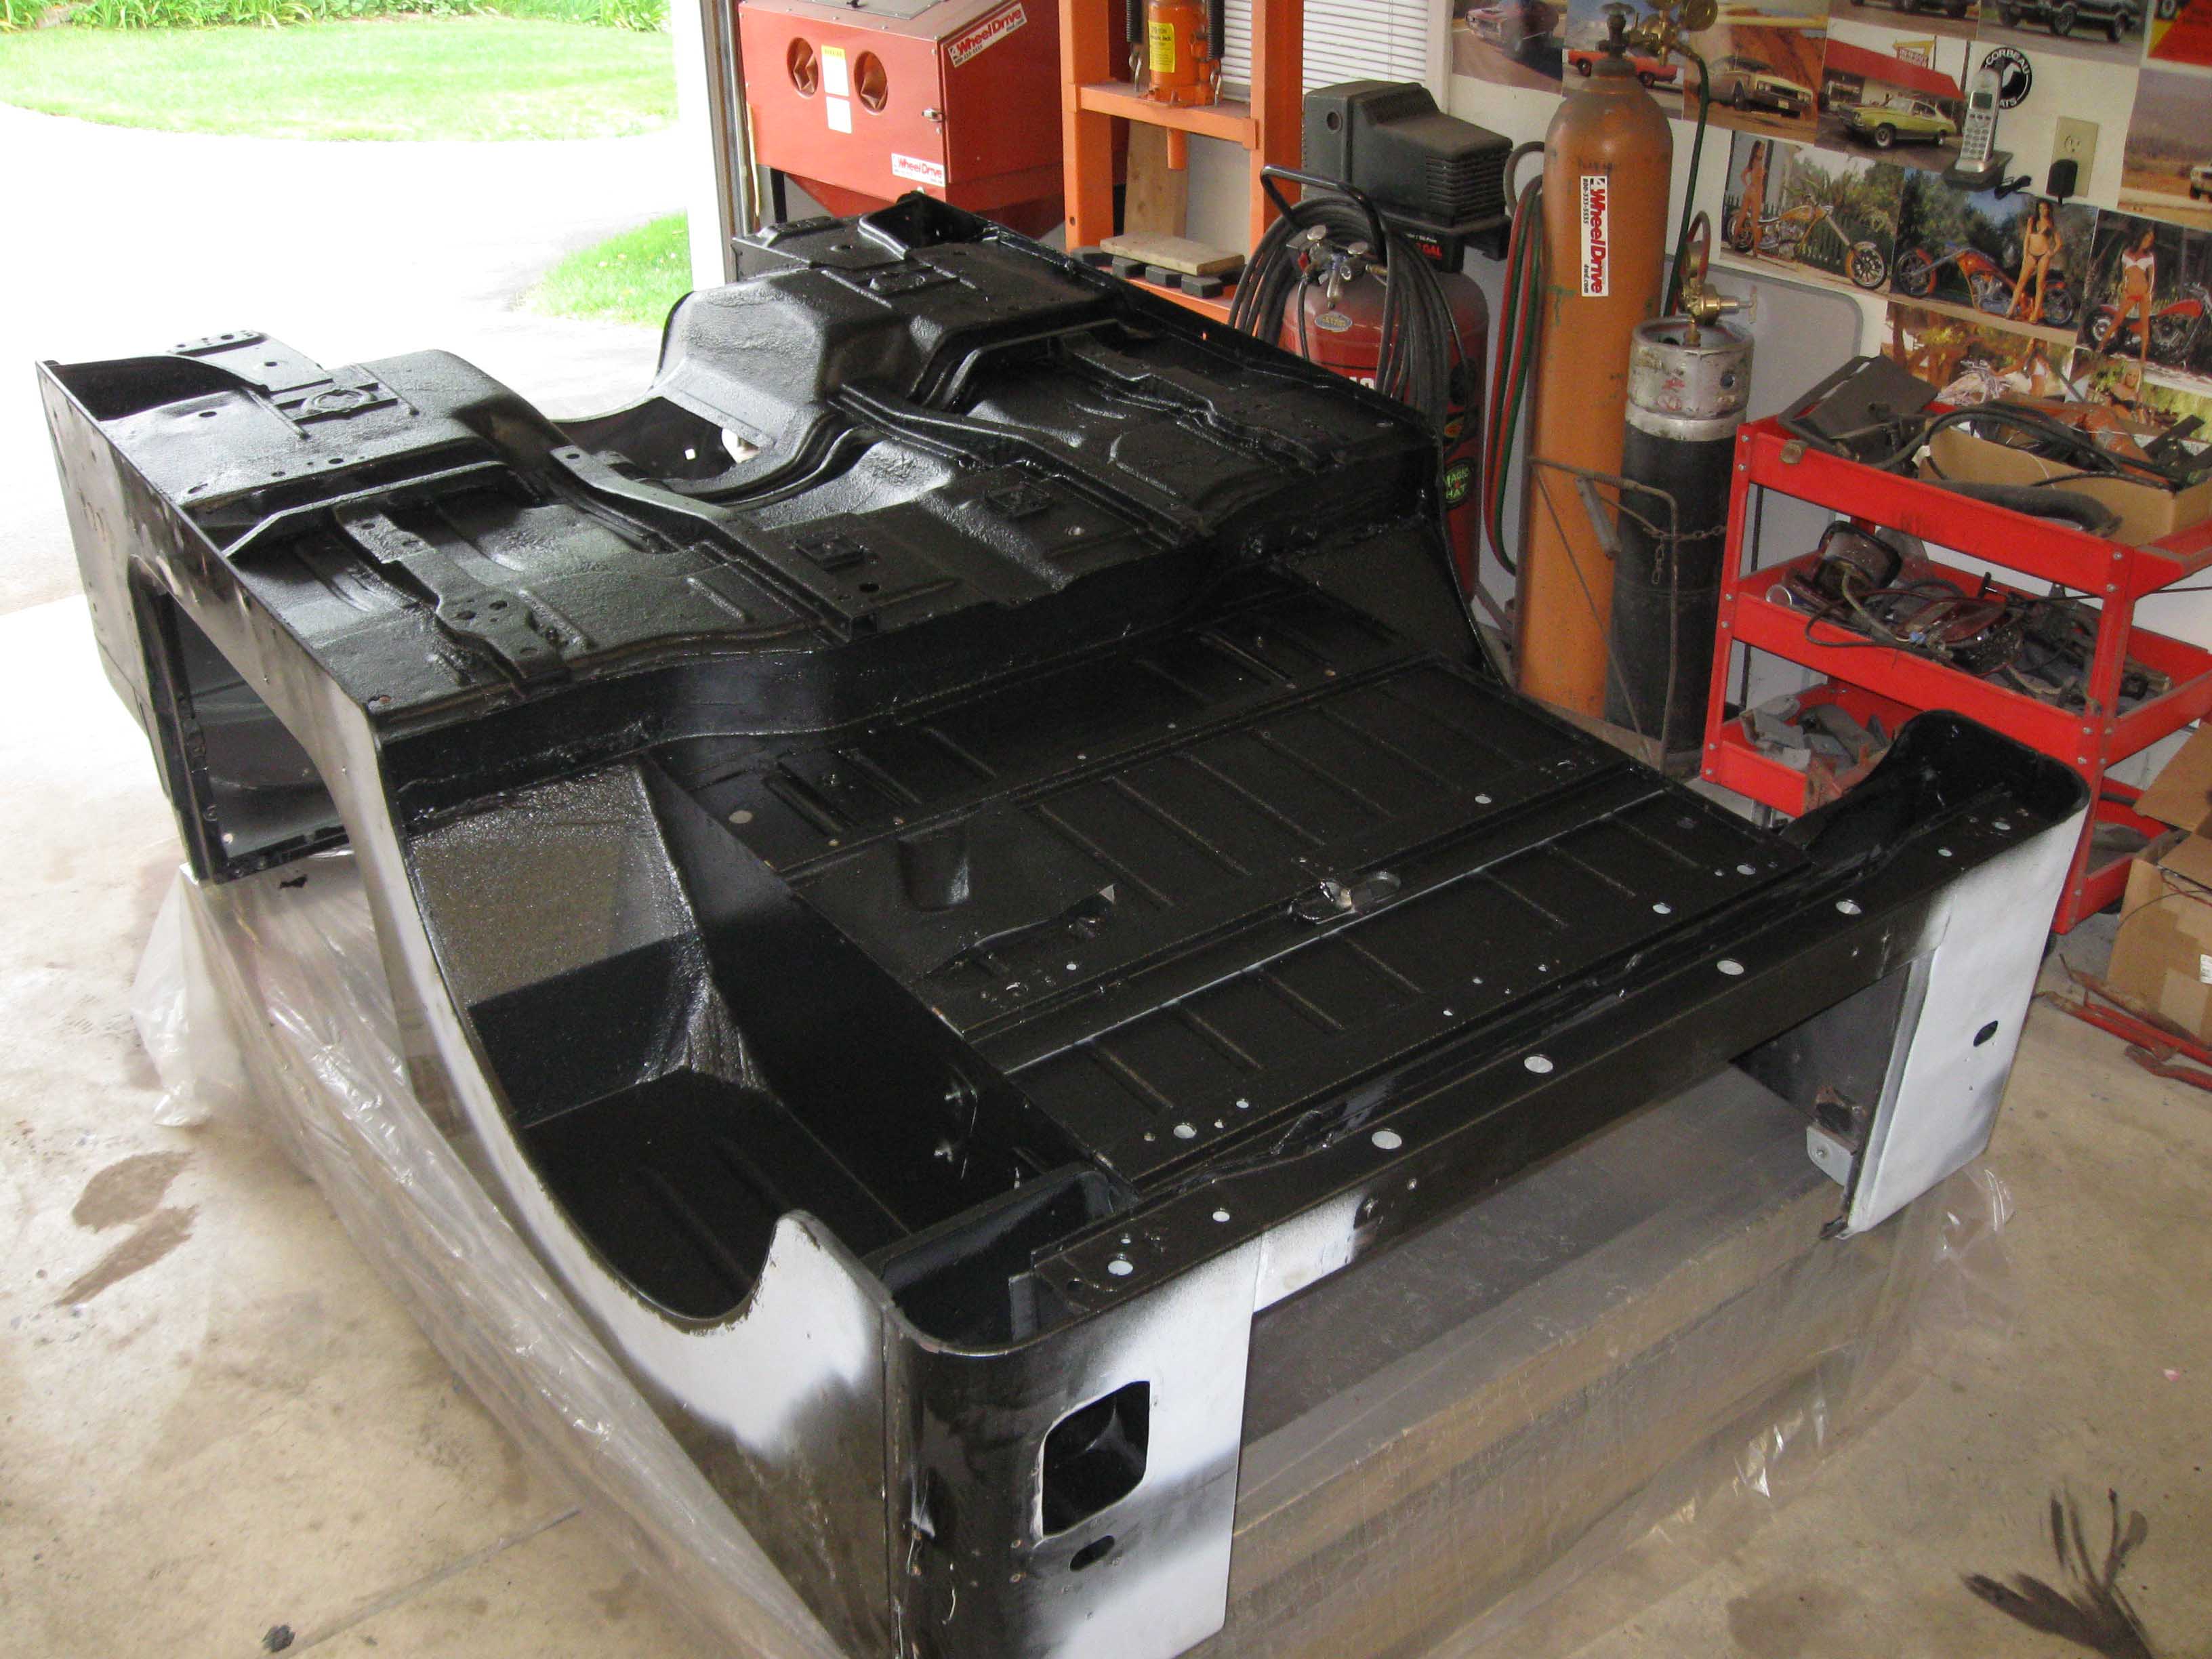
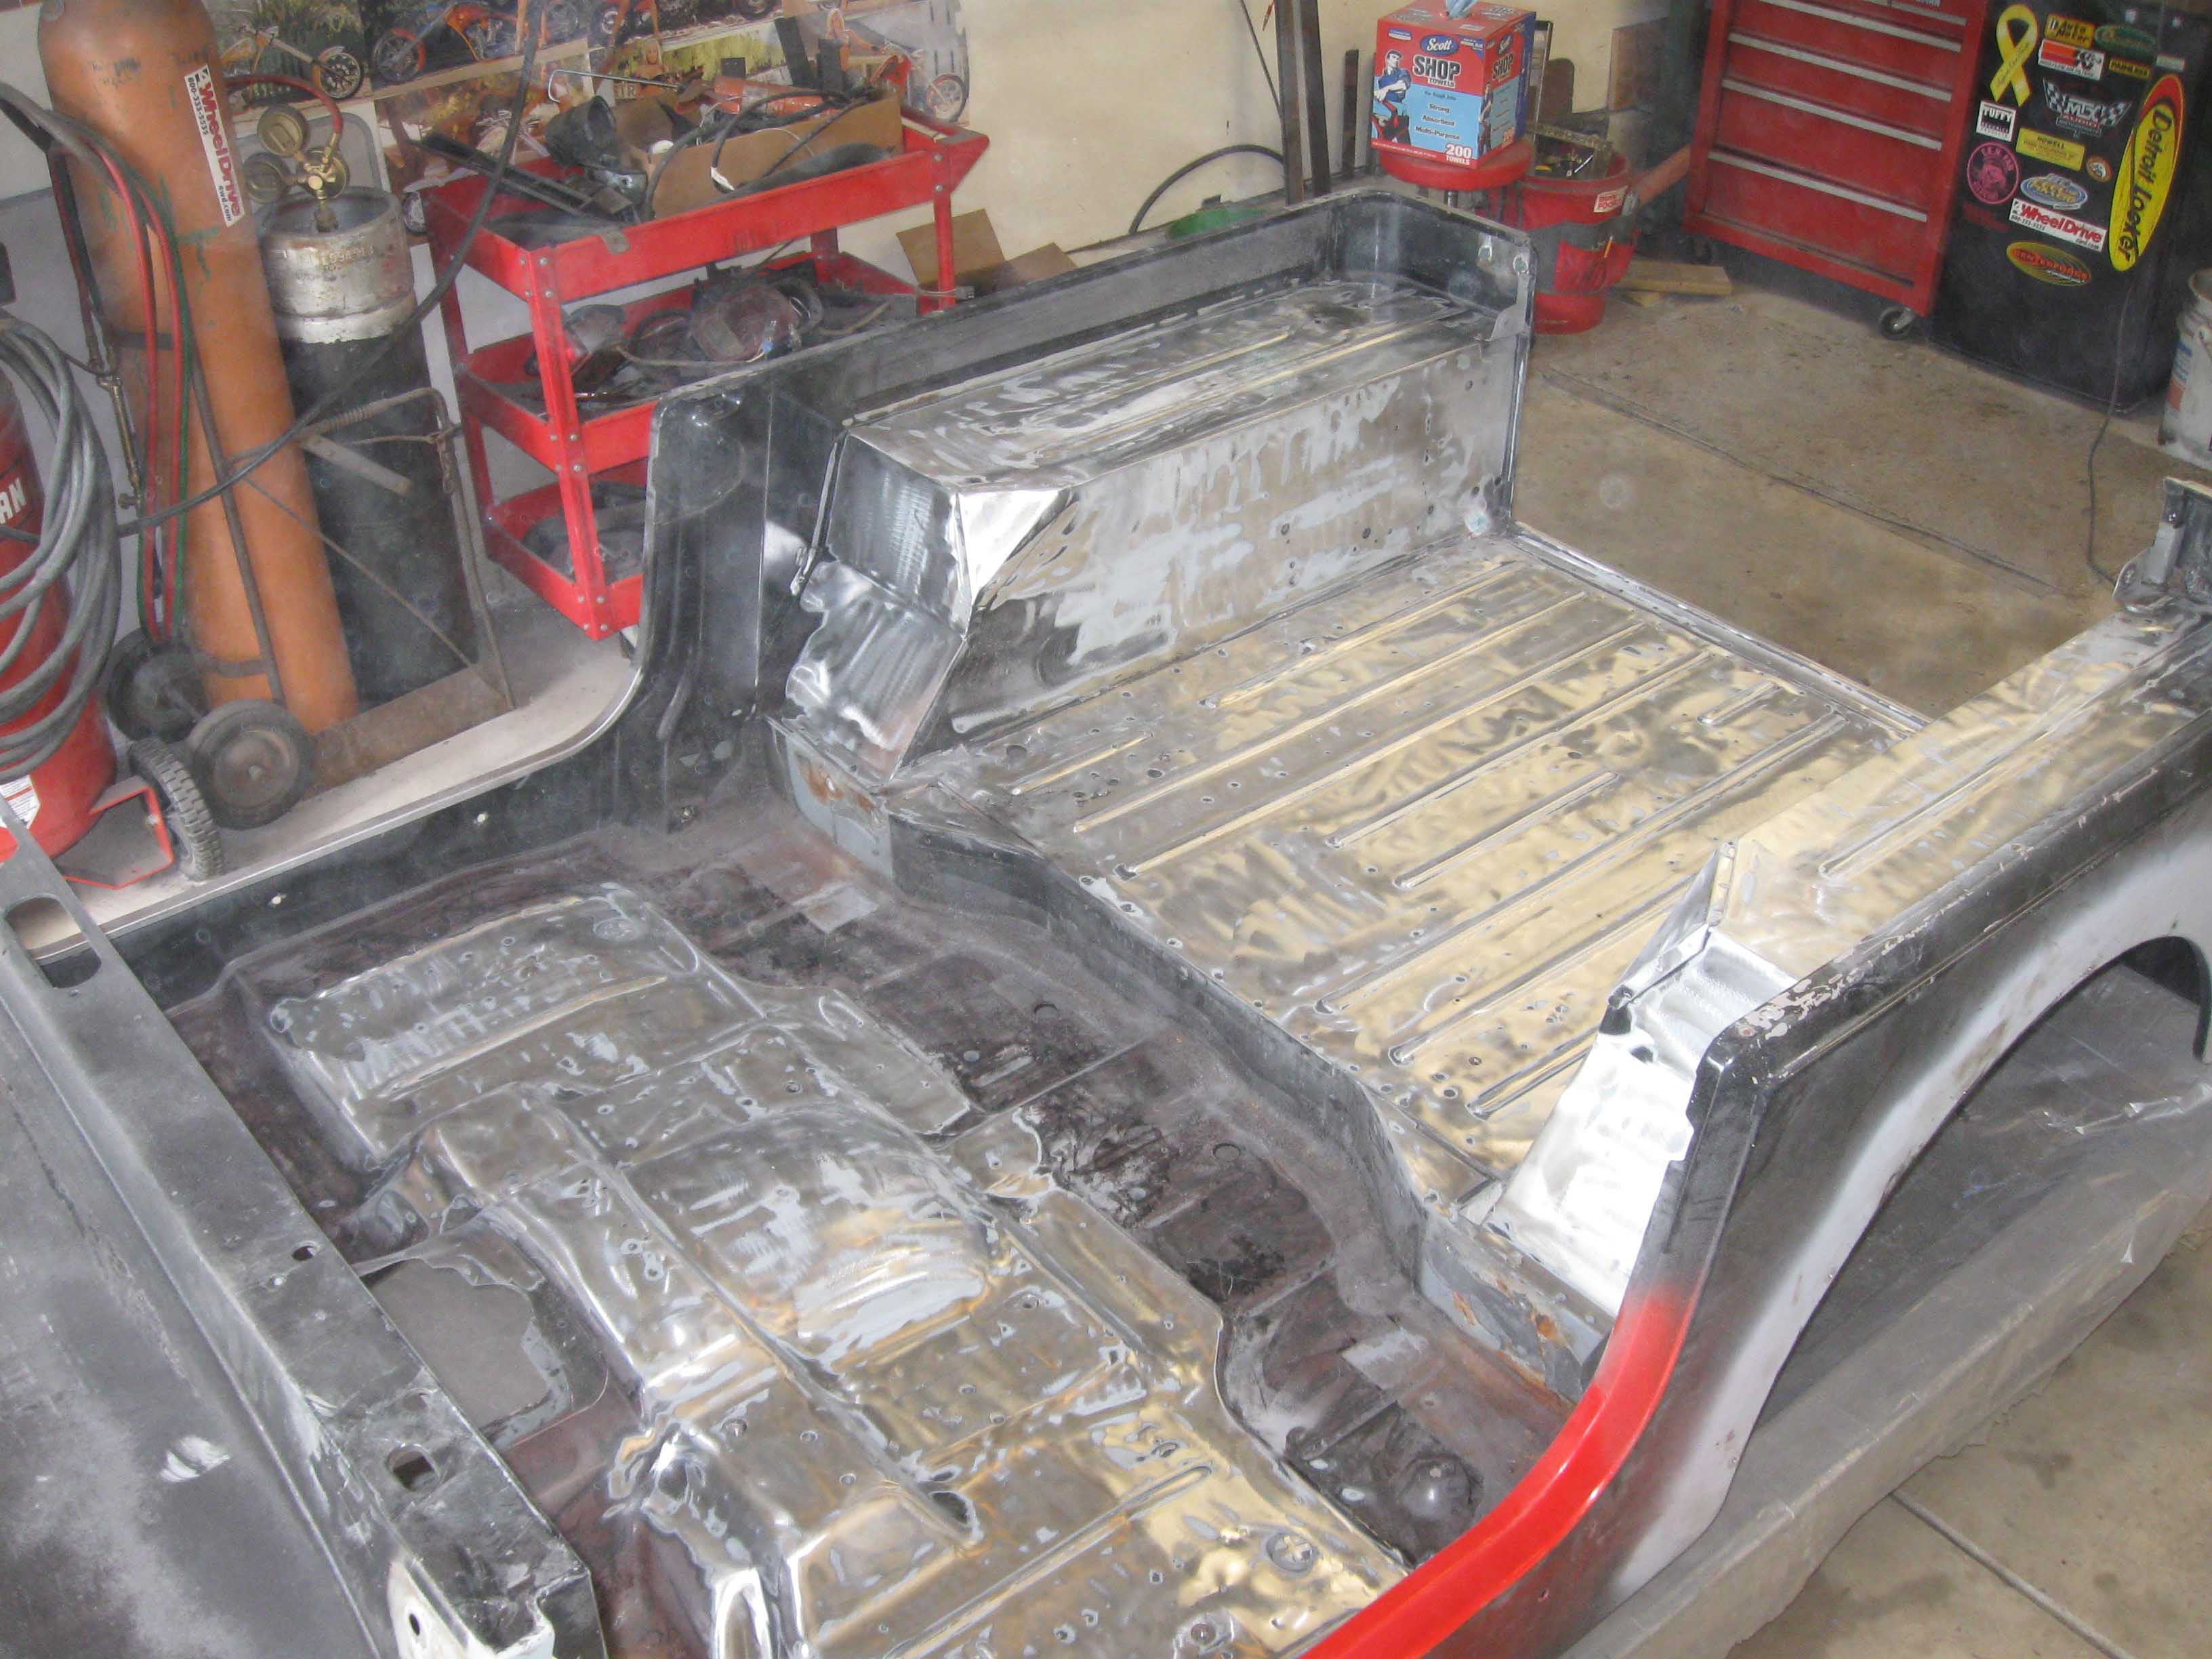
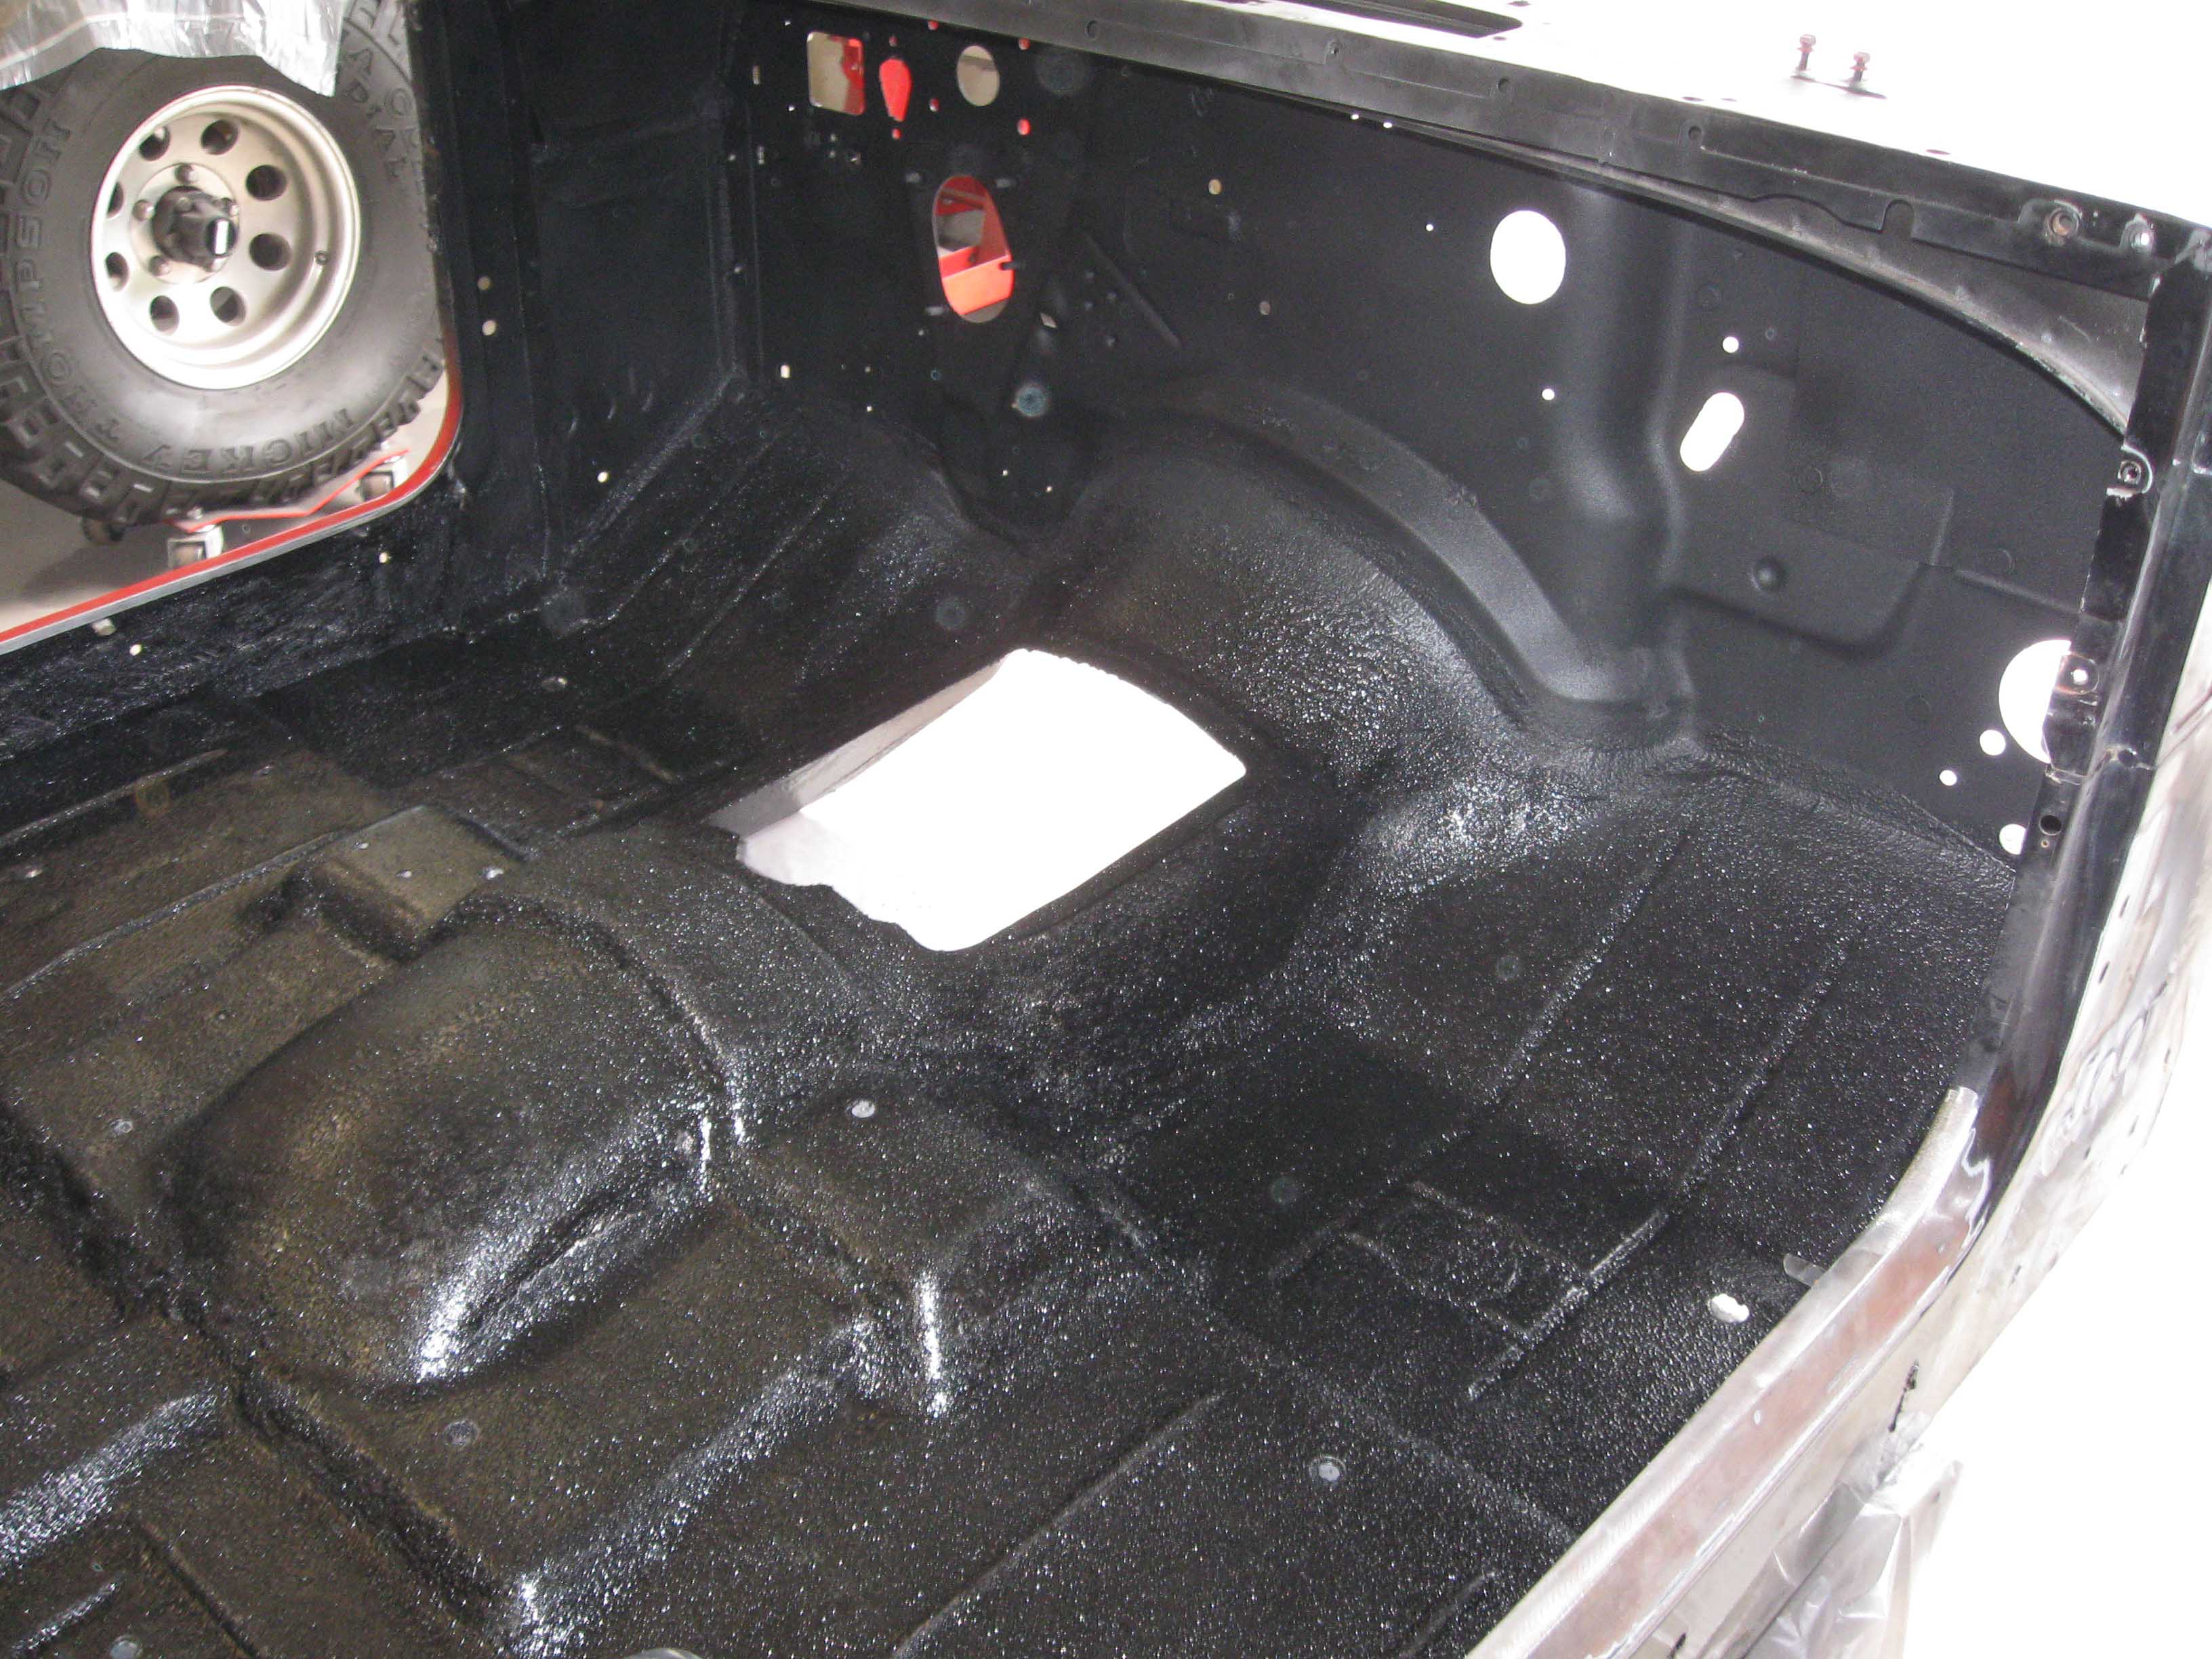
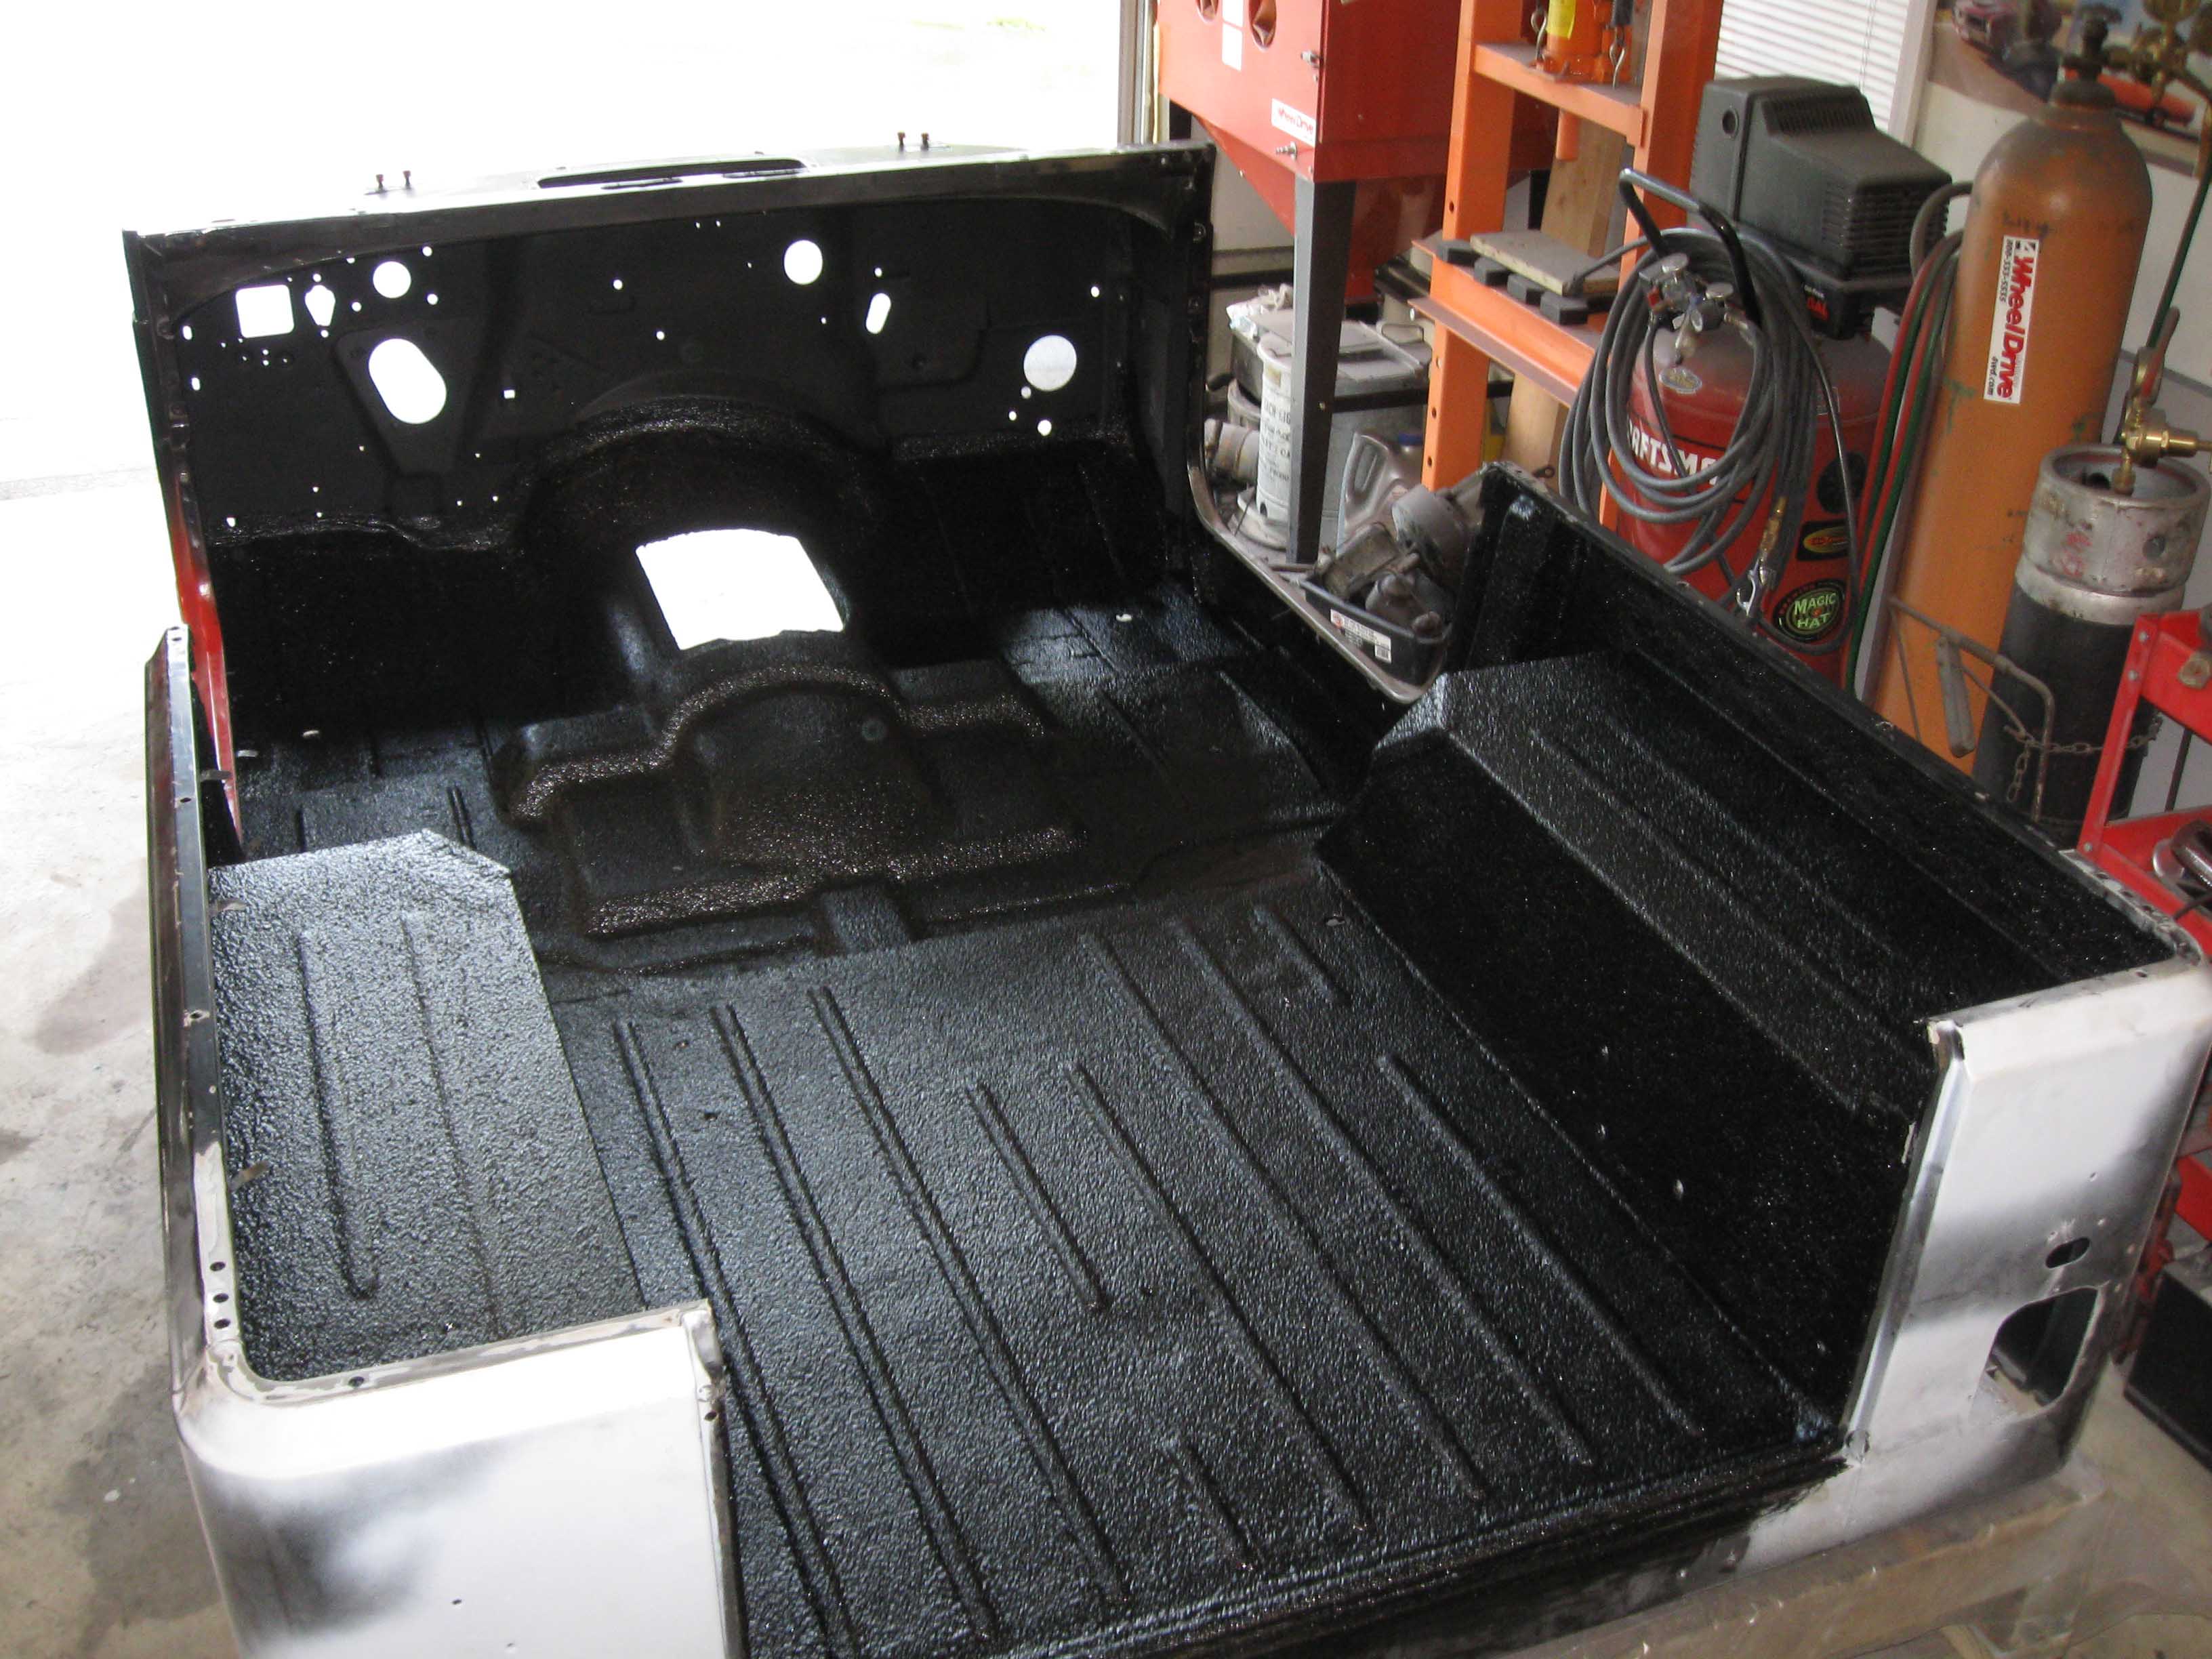
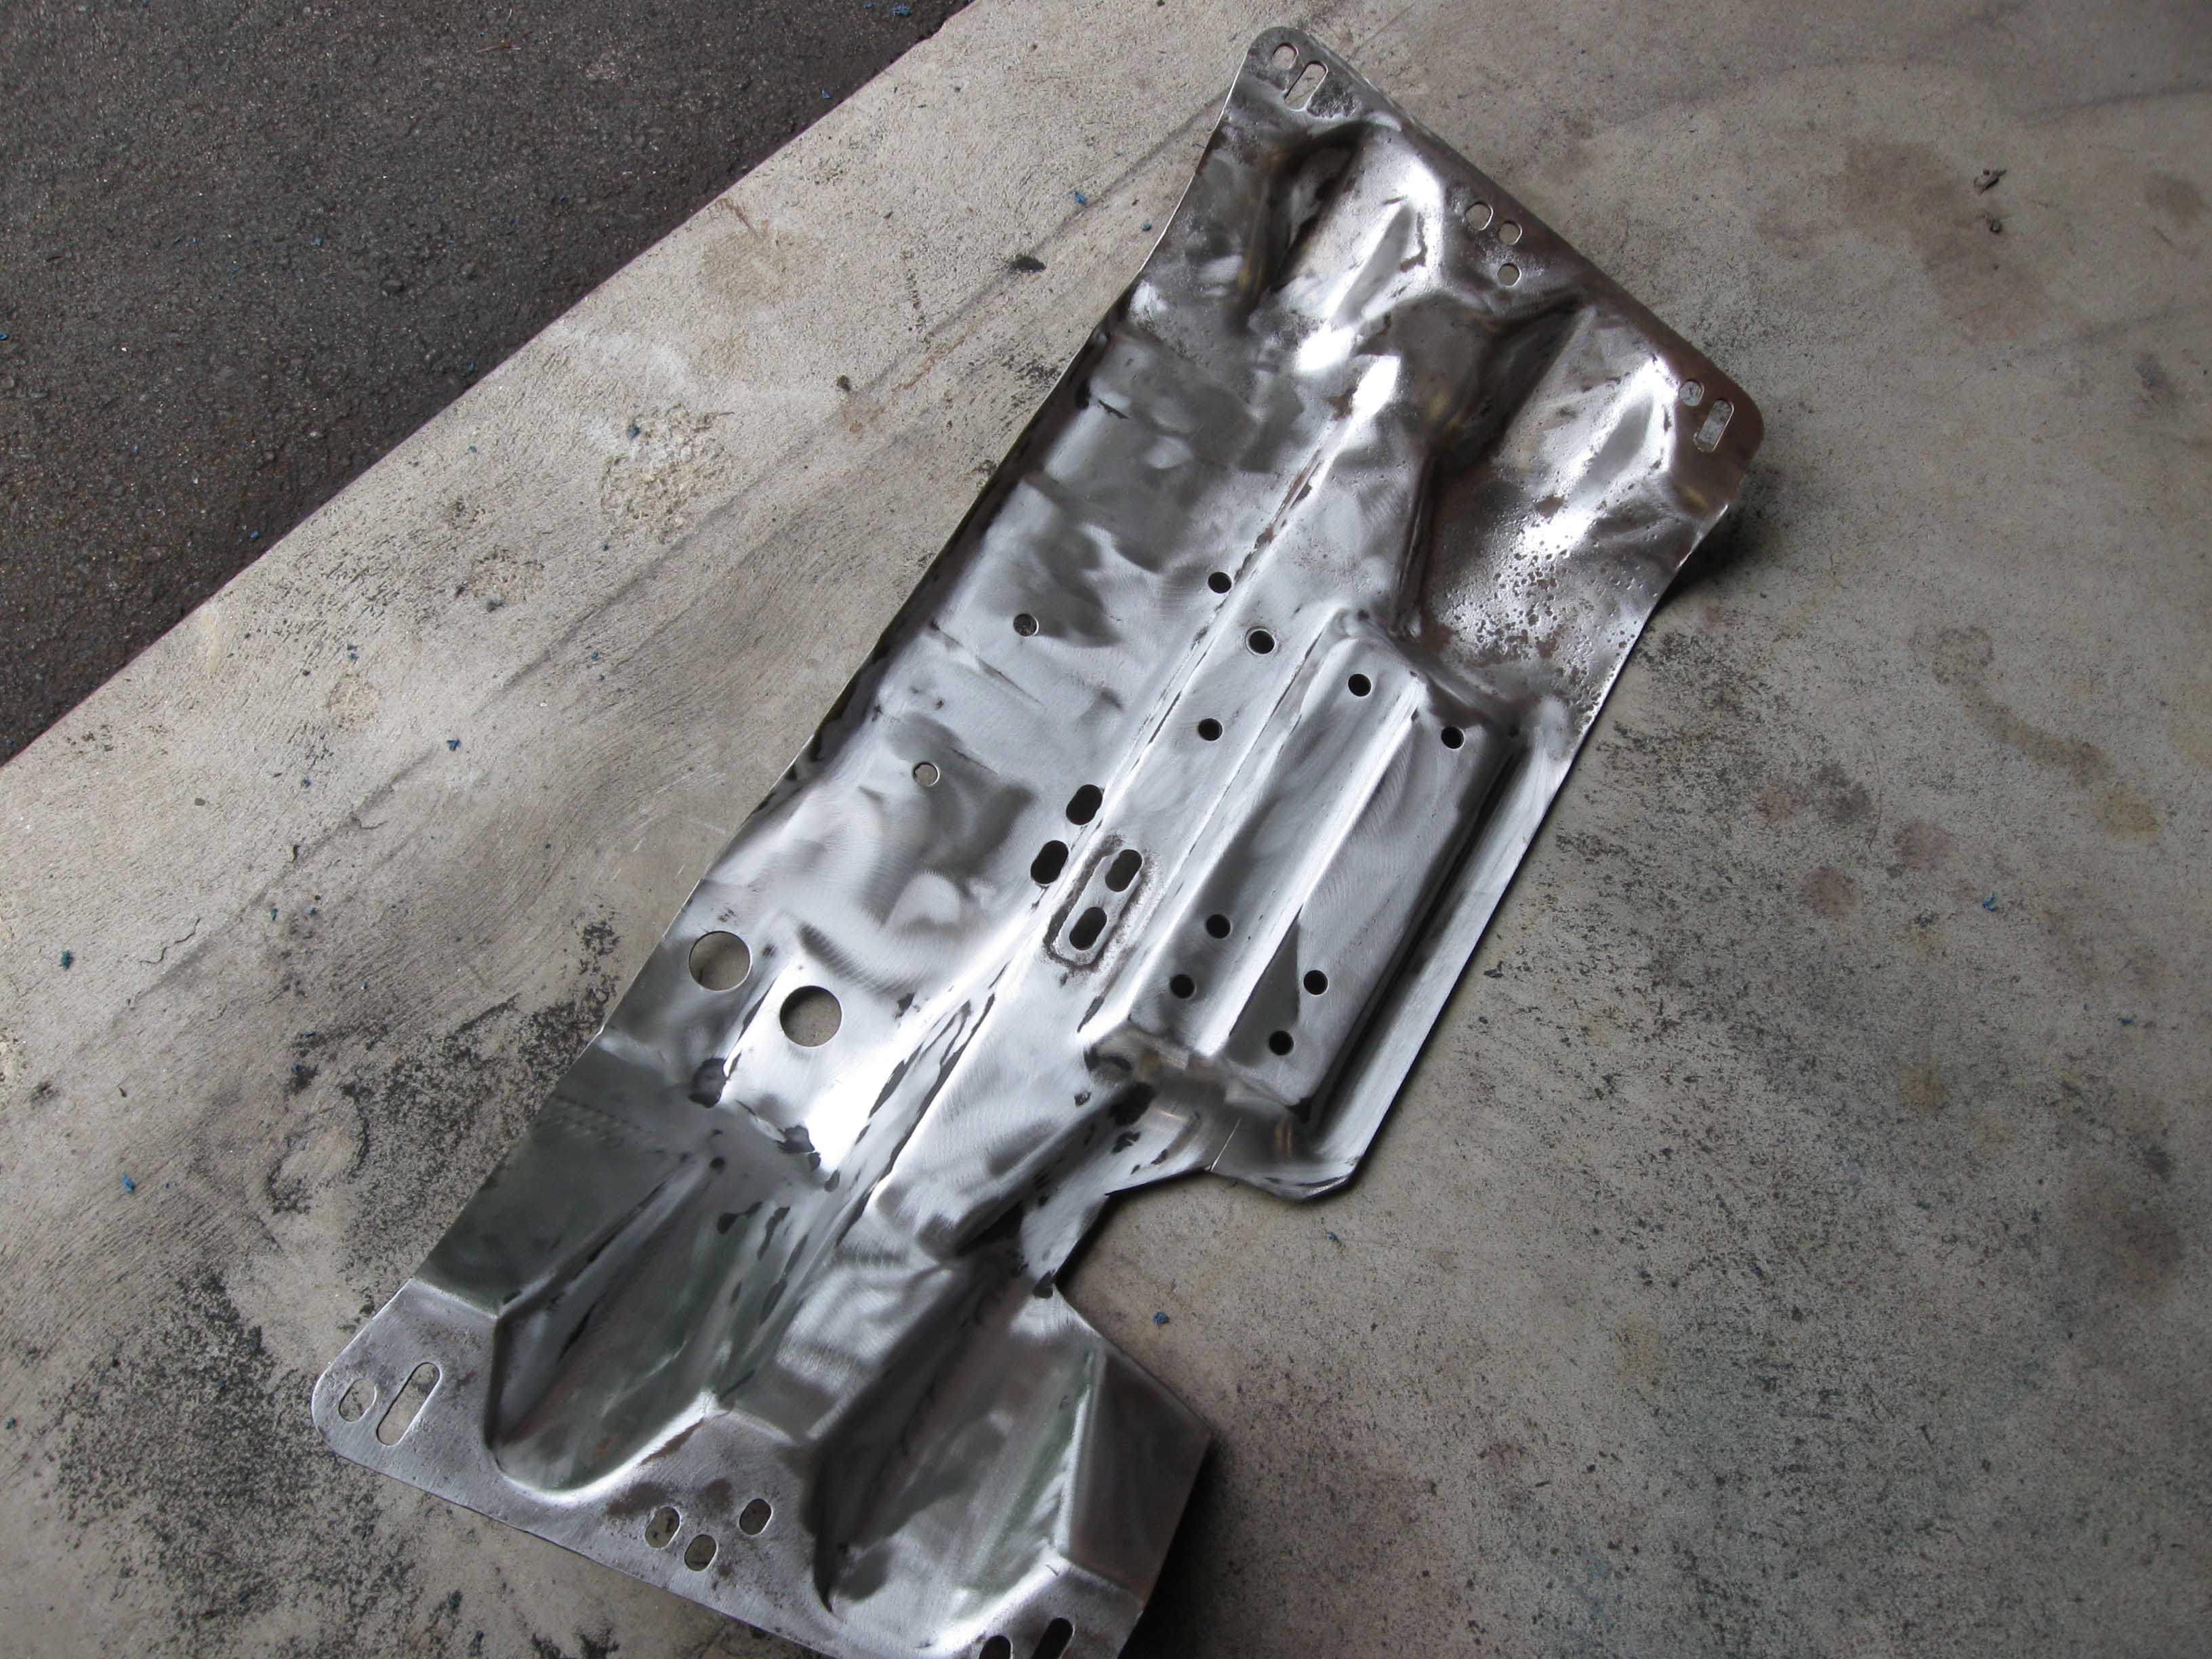
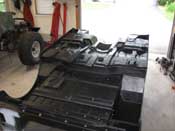
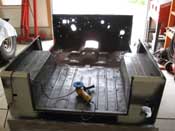
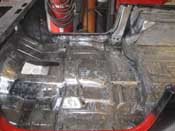
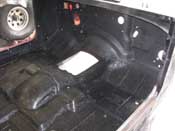
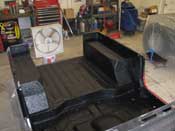
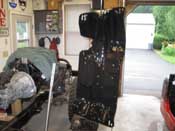
5 strip discs later and the tub was very clean and all the surface rust areas were
long gone. The prep took a while, but eventually I got down to putting down 2 coats of Herculiner. The extra
quart on top of the gallon really helped to fill in all the places that I didn't have when I did the Orange one.
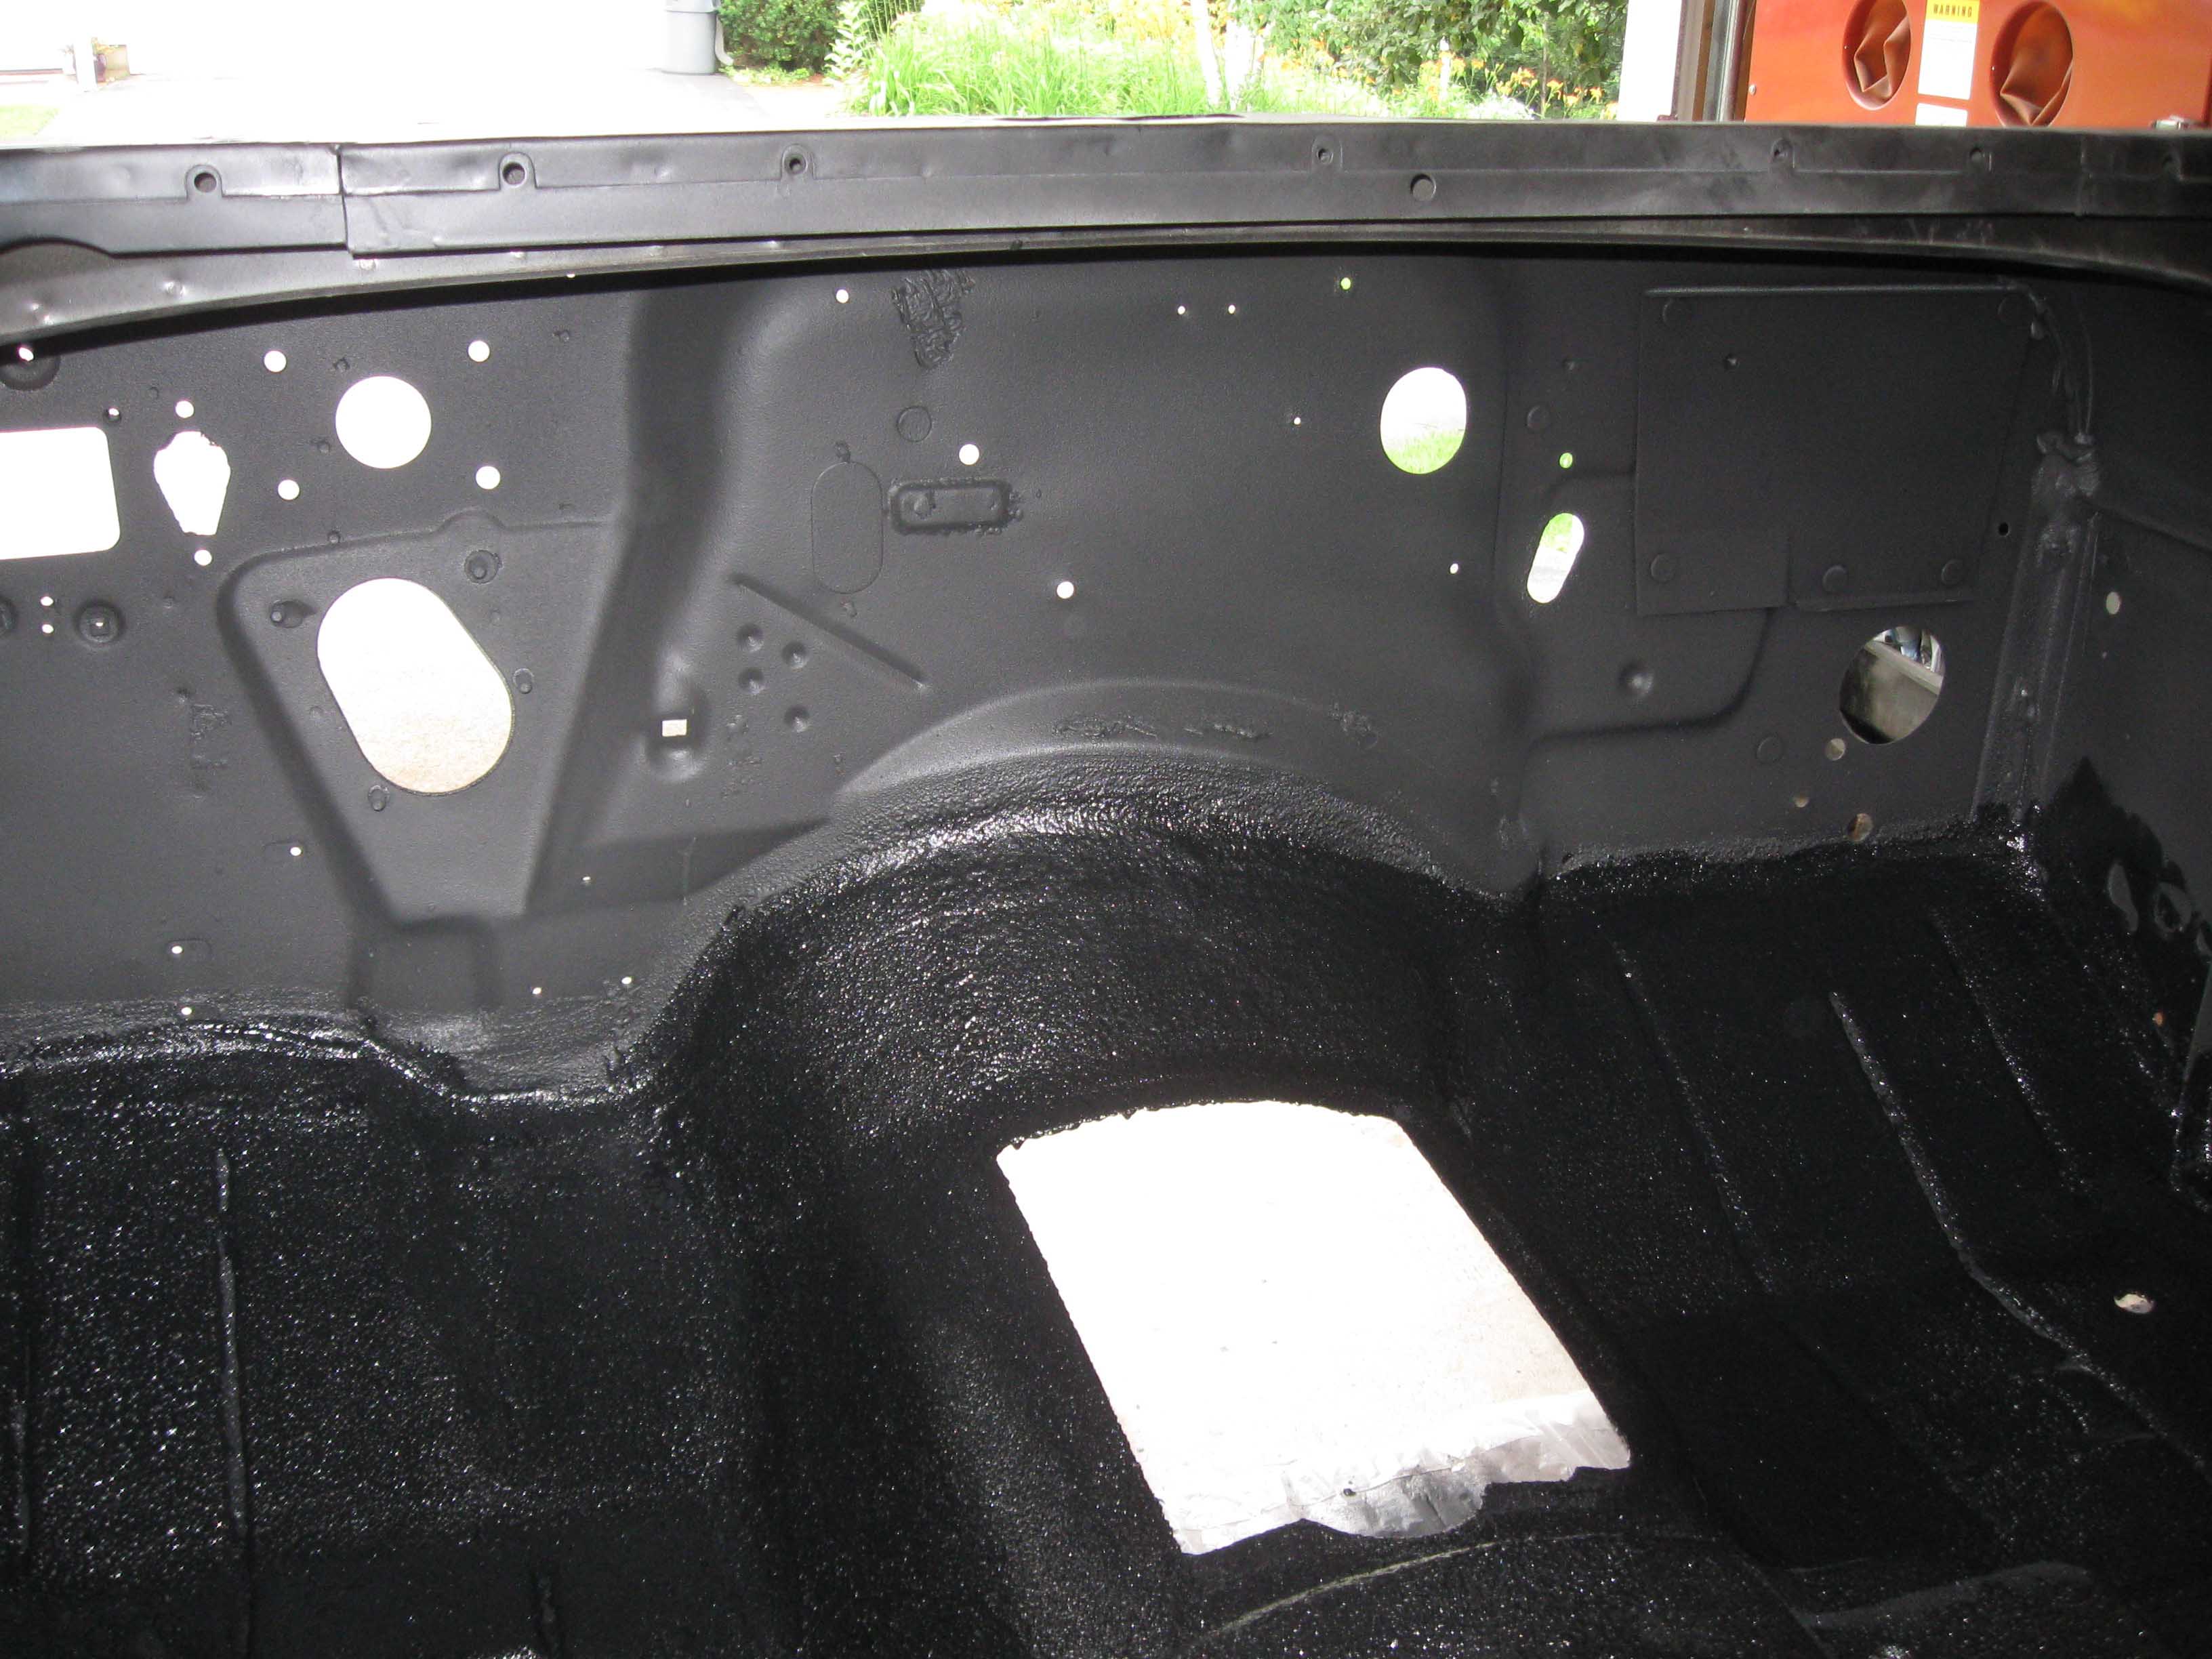
Prep is key, but having enough of the stuff is very important as well. The UV top coat protectant will go on today,
as well as some more spray in bed liner for the firewall... that stuff works good, it will protect that area and for
the most part, you will never see it behind the heater/dash stuff, so that didn't need to be Herculiner. All in
all, you get out of it what you put into it. 7 hours might be overkill, but the area was prepped correctly and this
should last for a long time.
(06/30/09)
|
| |
|
|
|
|
| |
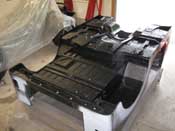
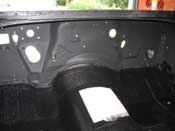
(07/01/09) I basically just did some prep and topcoat today for UV protection.
It was rainy and humid, so it didn't dry so quickly. I had the fan on it for good measure to help the process.
Today was going to be bodywork, but I have to take a few days off the project to go get some doors and help out
another fellow Jeeper, so I plan on hitting the bodywork first thing next week.
(07/01/09)
|
| |
|
|
|
|

|

|
| |
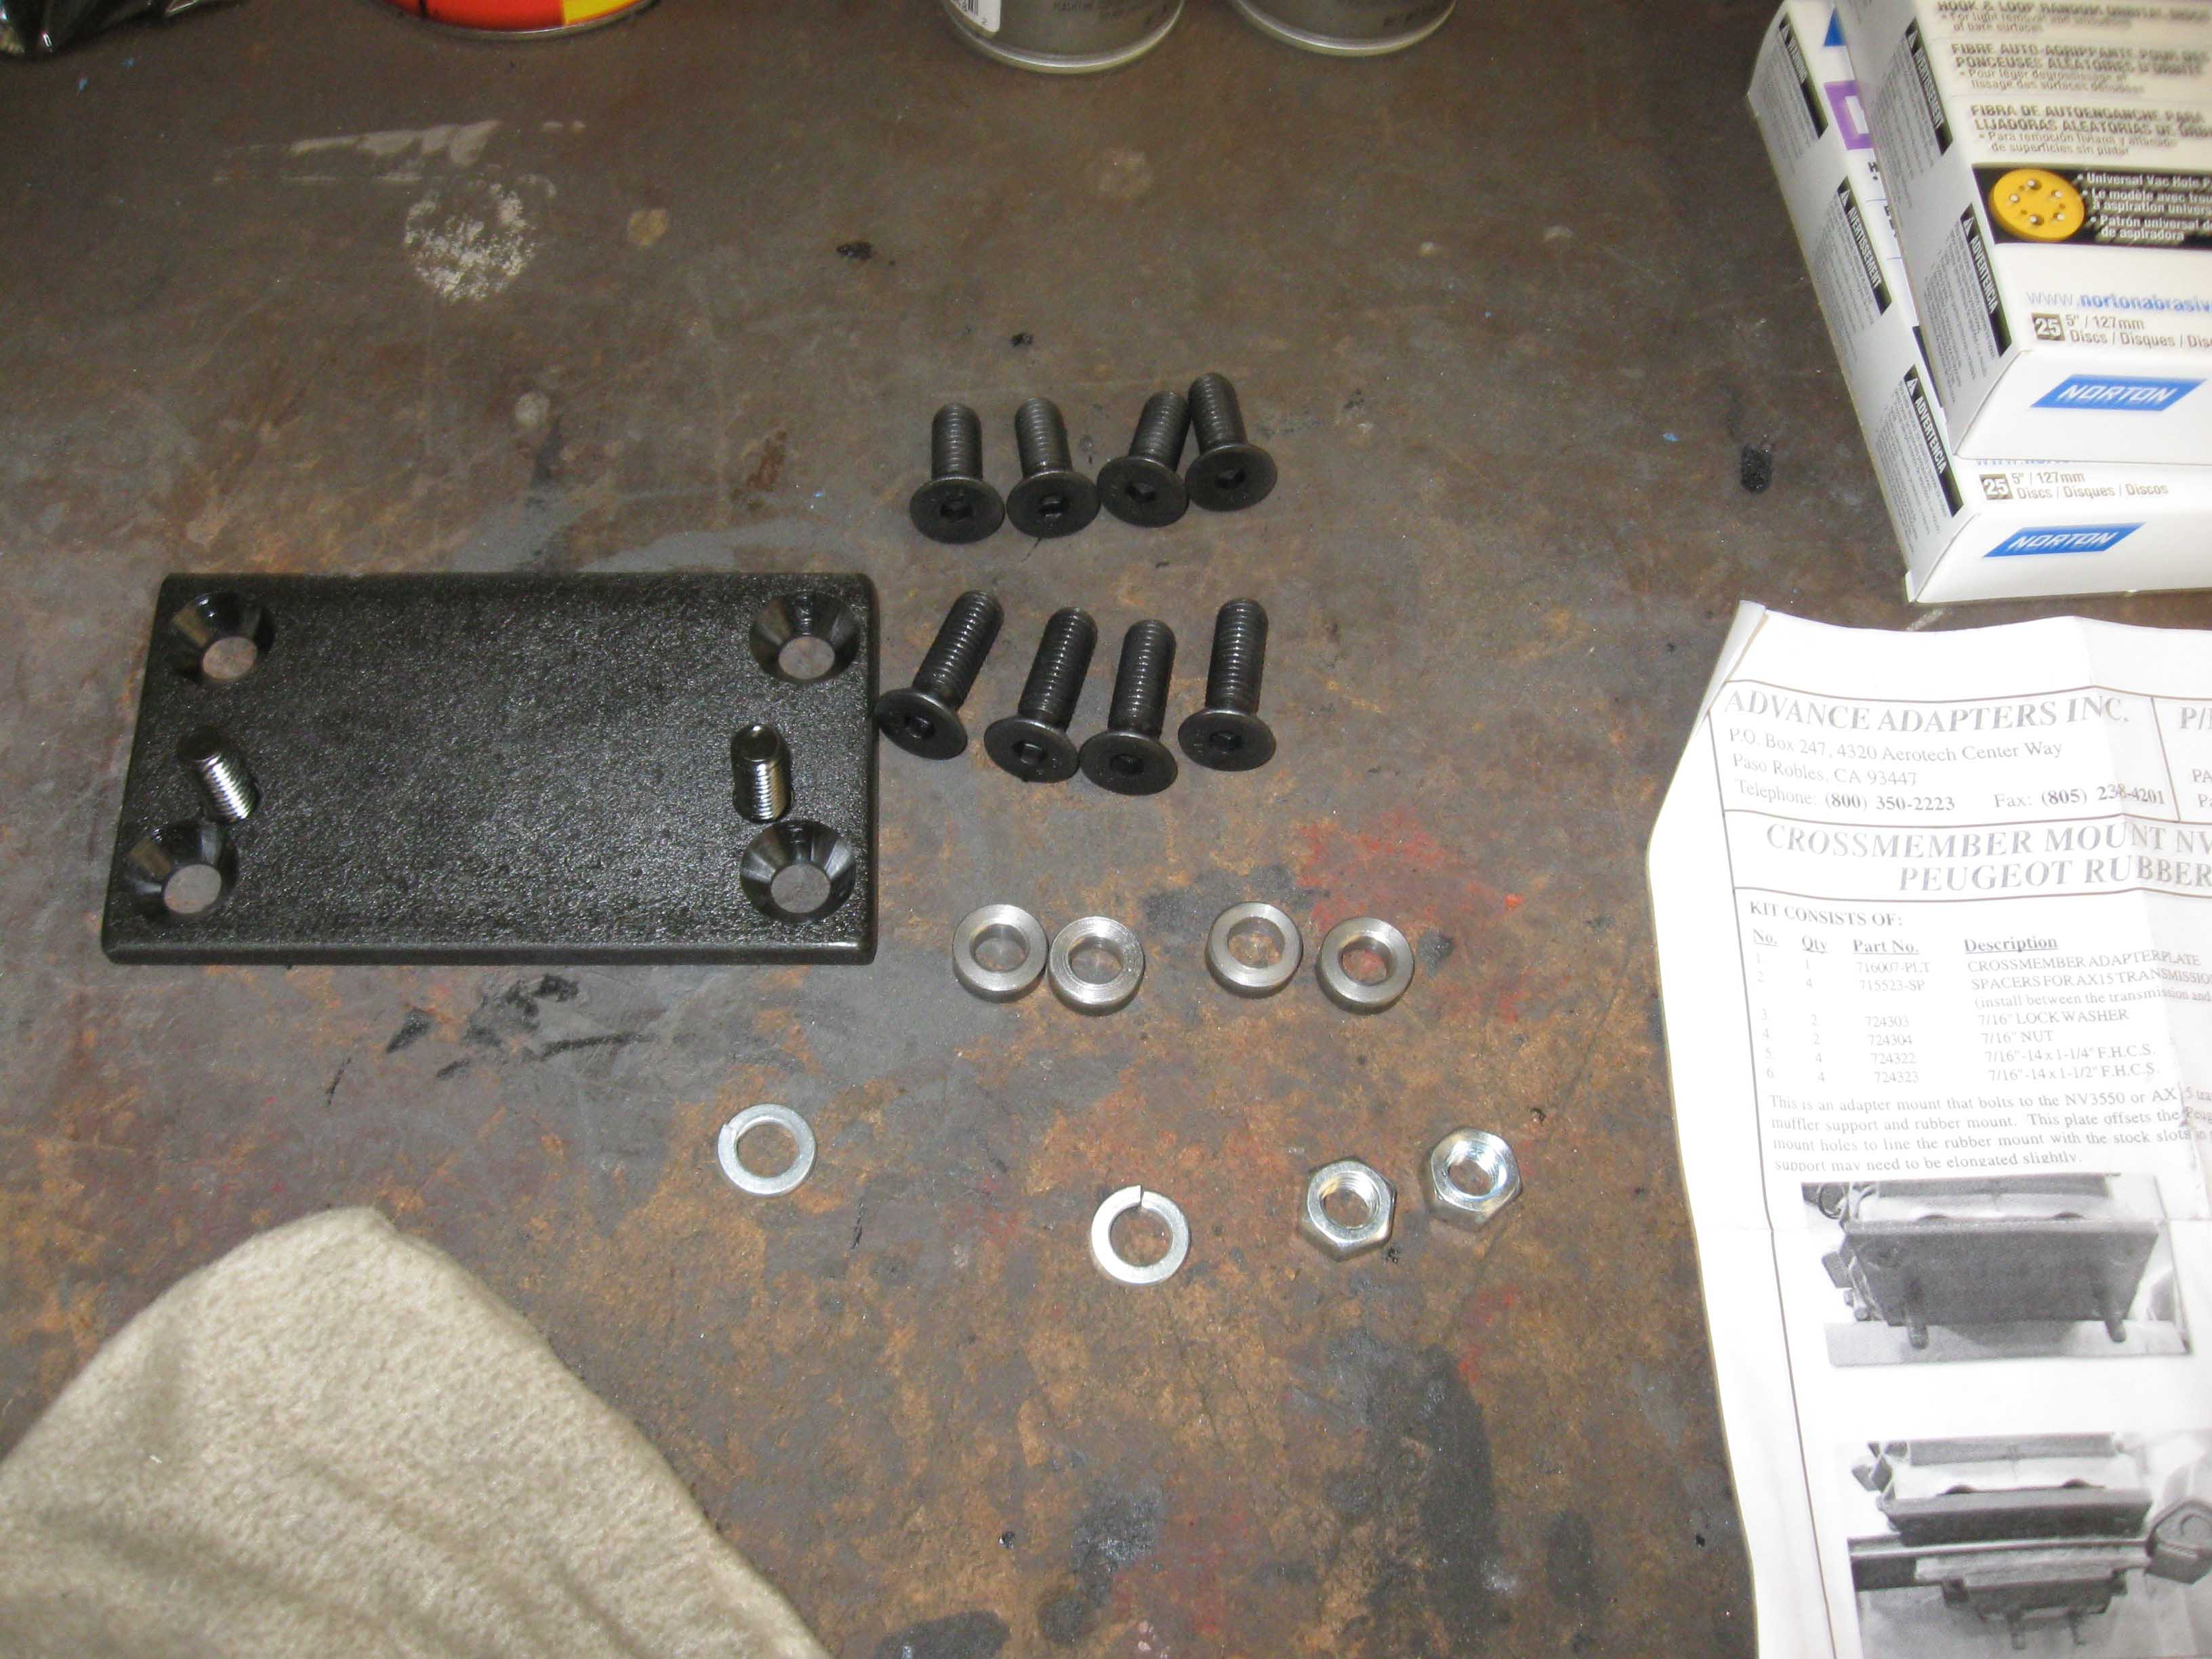
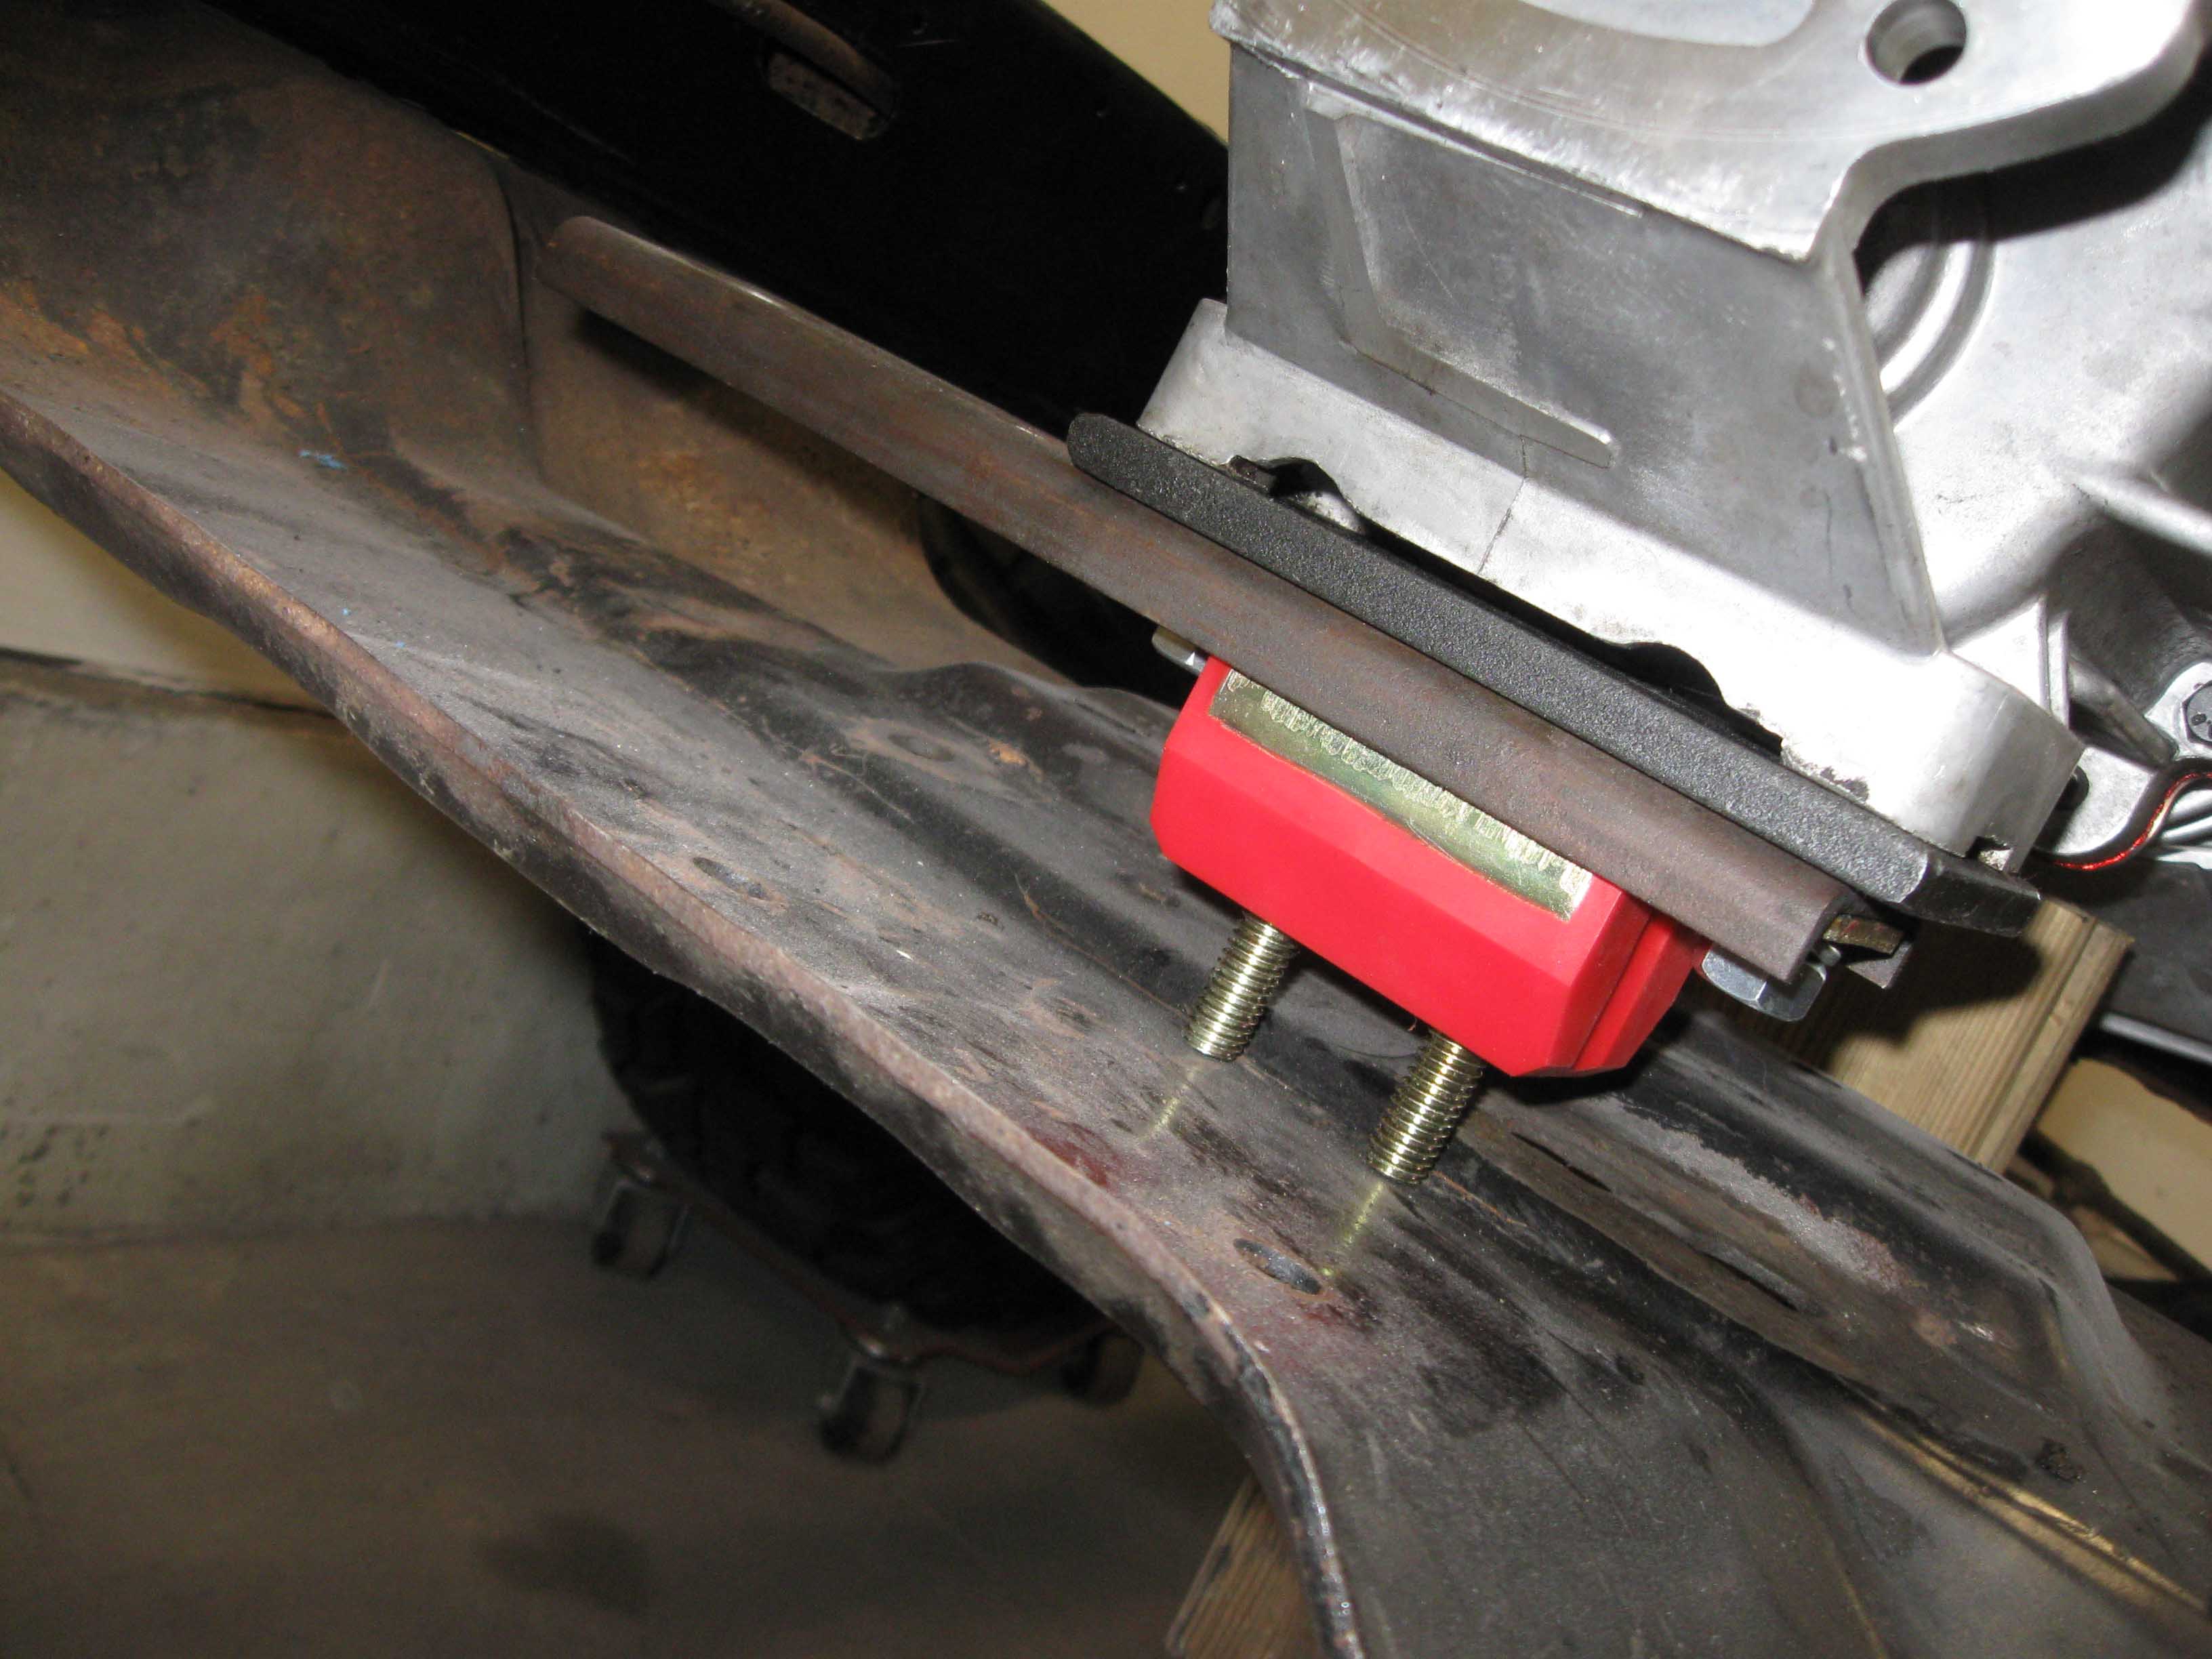
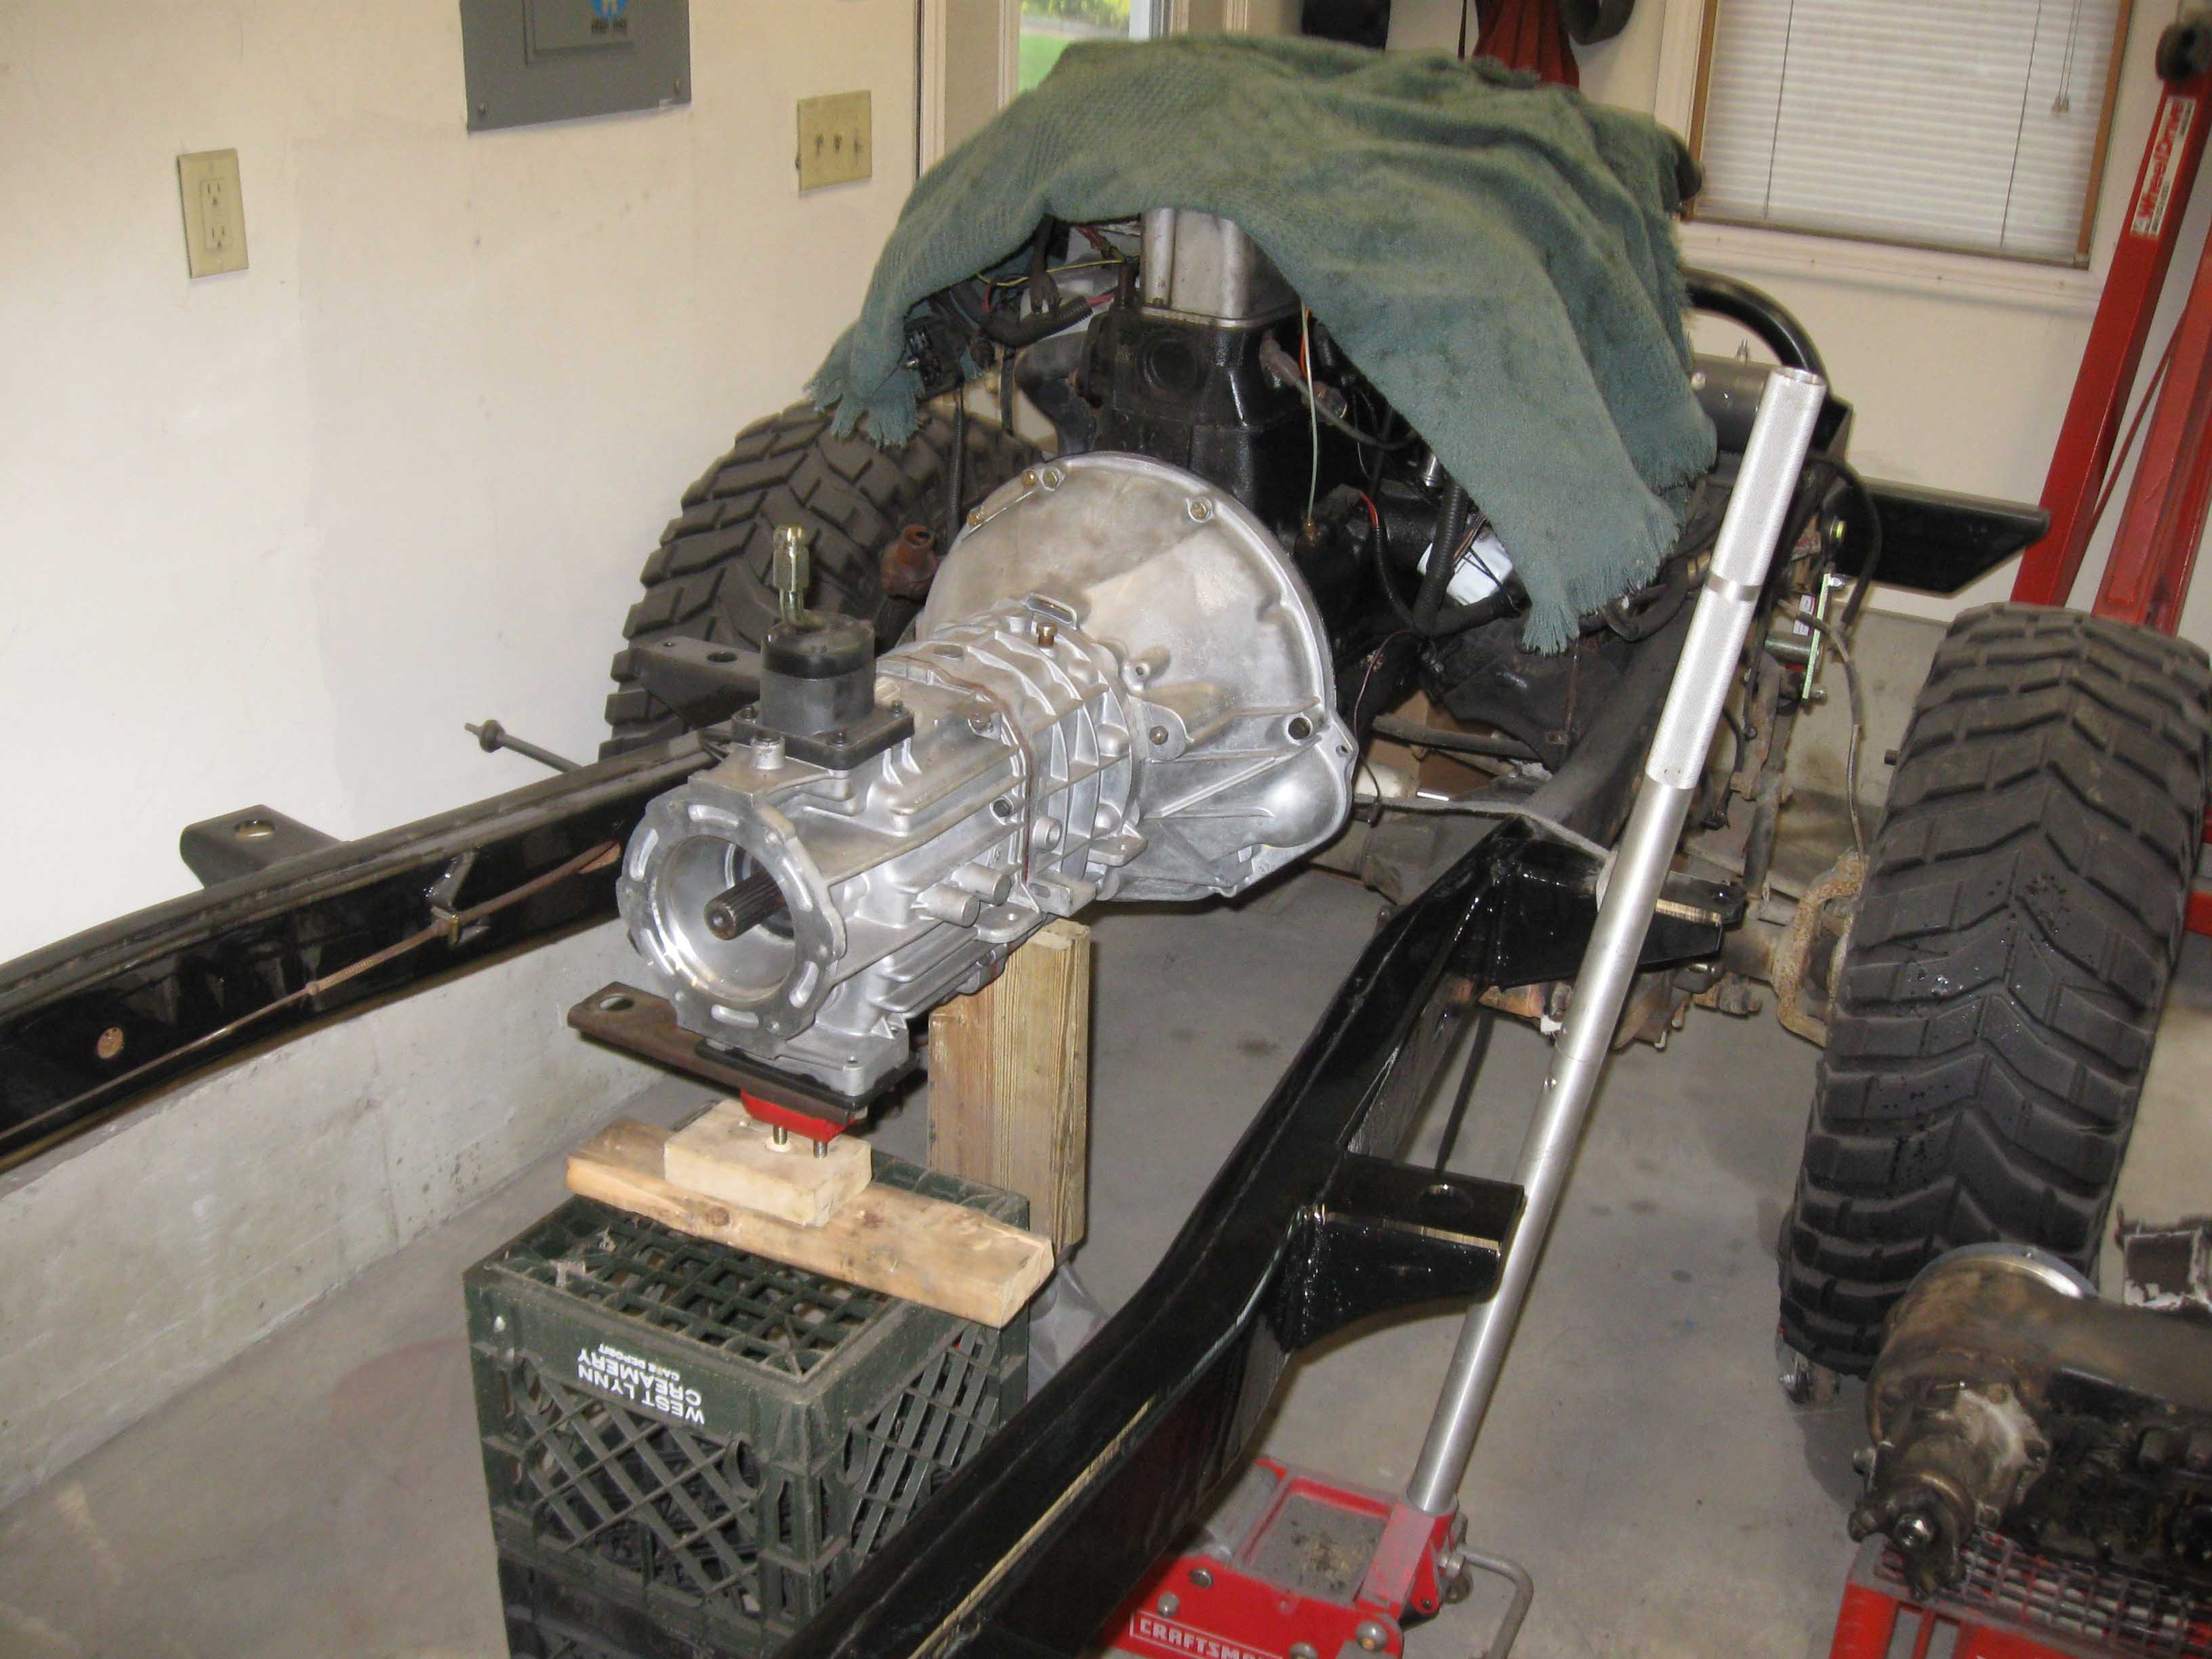
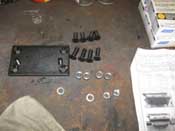
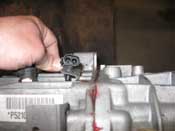
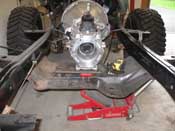
| (07/02/09) I took a break from the tub because the part that I had been waiting for
finally came in. The part is an adapter that goes on the bottom of the NV3550 and helps to bolt it to the skid
plate. Basically in a transmission swap there are a ton of things that have to be modified to fit if it isn't an
"exact" swap, and this happens to be one of them. So, I bolted it on, saw where things were, flipped it around,
saw that it was better that way, so I marked the skid plate, removed it, notched it for the front drive shaft,
drilled holes, put it back in, saw that it worked good on the mount, but not the drive shaft, then took it back
off, notched some more, fit that, and then stripped it.
|
| |
|
|
|

|

|

|
| |
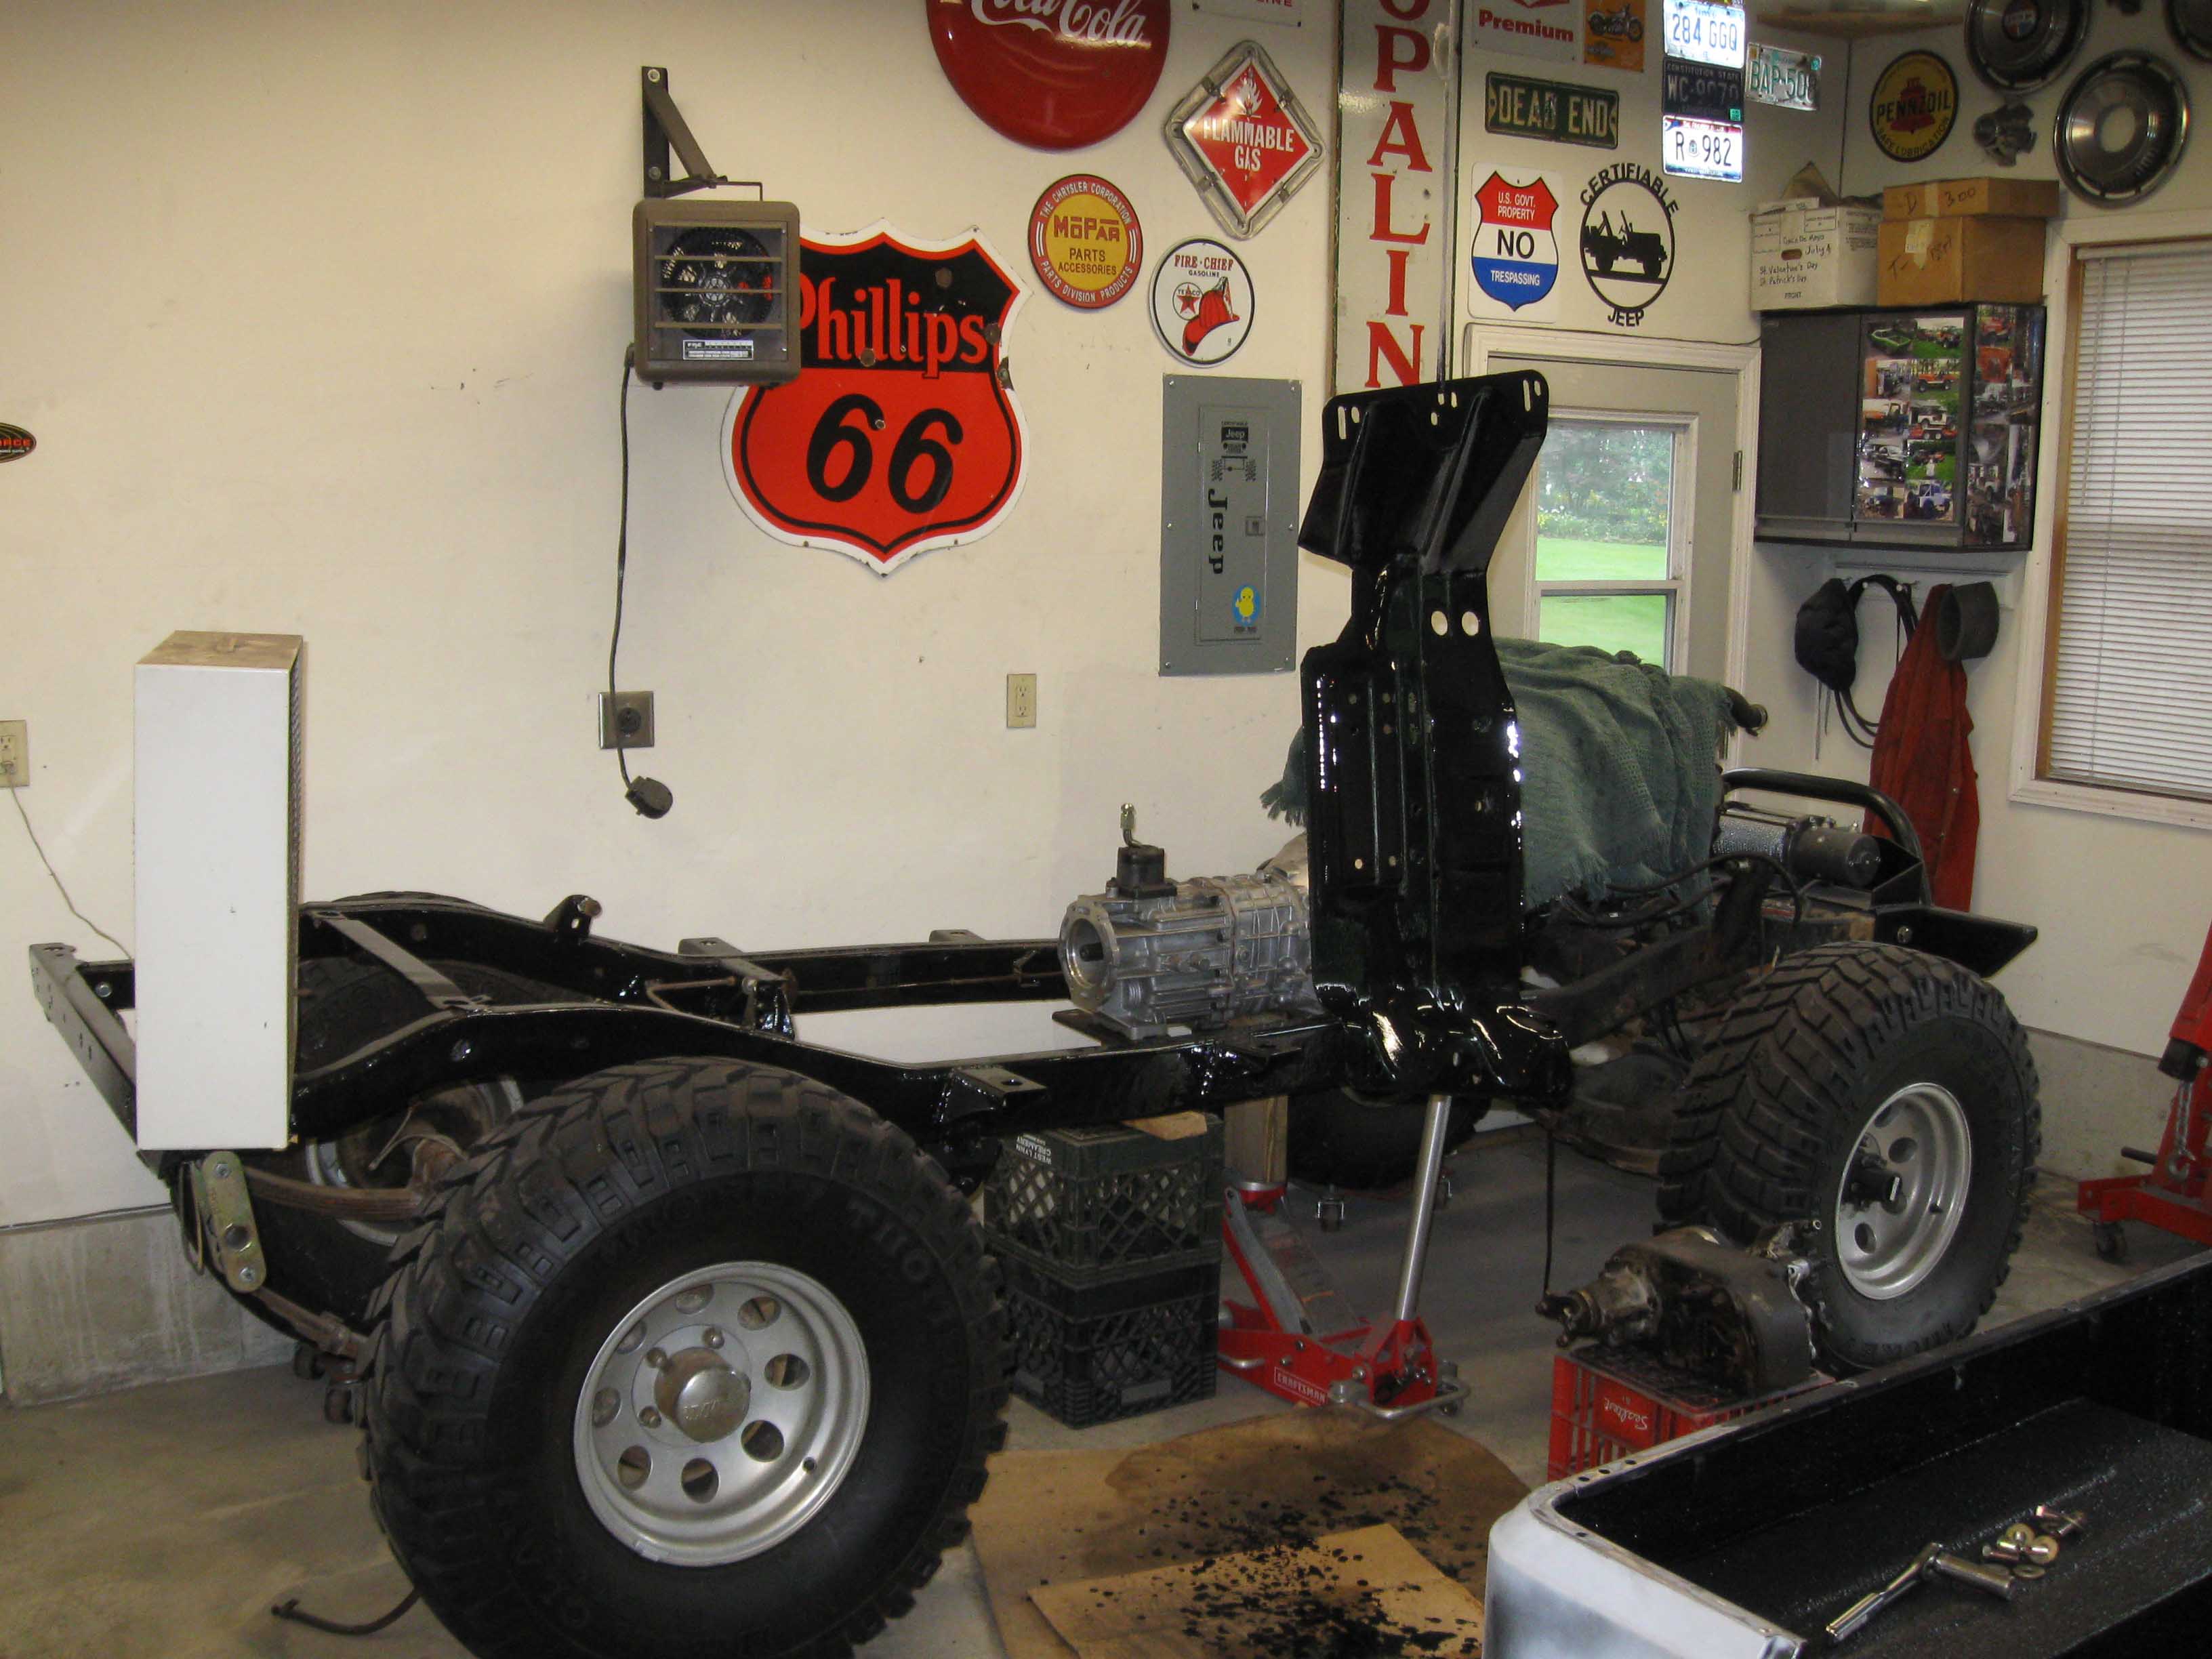
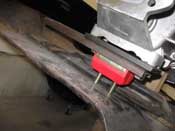
I then hung it up, put some prep cleaner on it, then etcher, then 1 coat of POR-15,
then waited an hour, then another coat and then the fan and hopefully it will be dry now so I can go put the skid
on and put everything in place so it is properly supported for the next few days. I have to take time off of this
to do some day trips. On one of them I am getting another transmission cover to extend the one I have as well
as a set of hard doors for this thing. All in all, I should have all the parts I need to finish it by next week,
which is good news as it is July and we still have a ton of work to do on this.
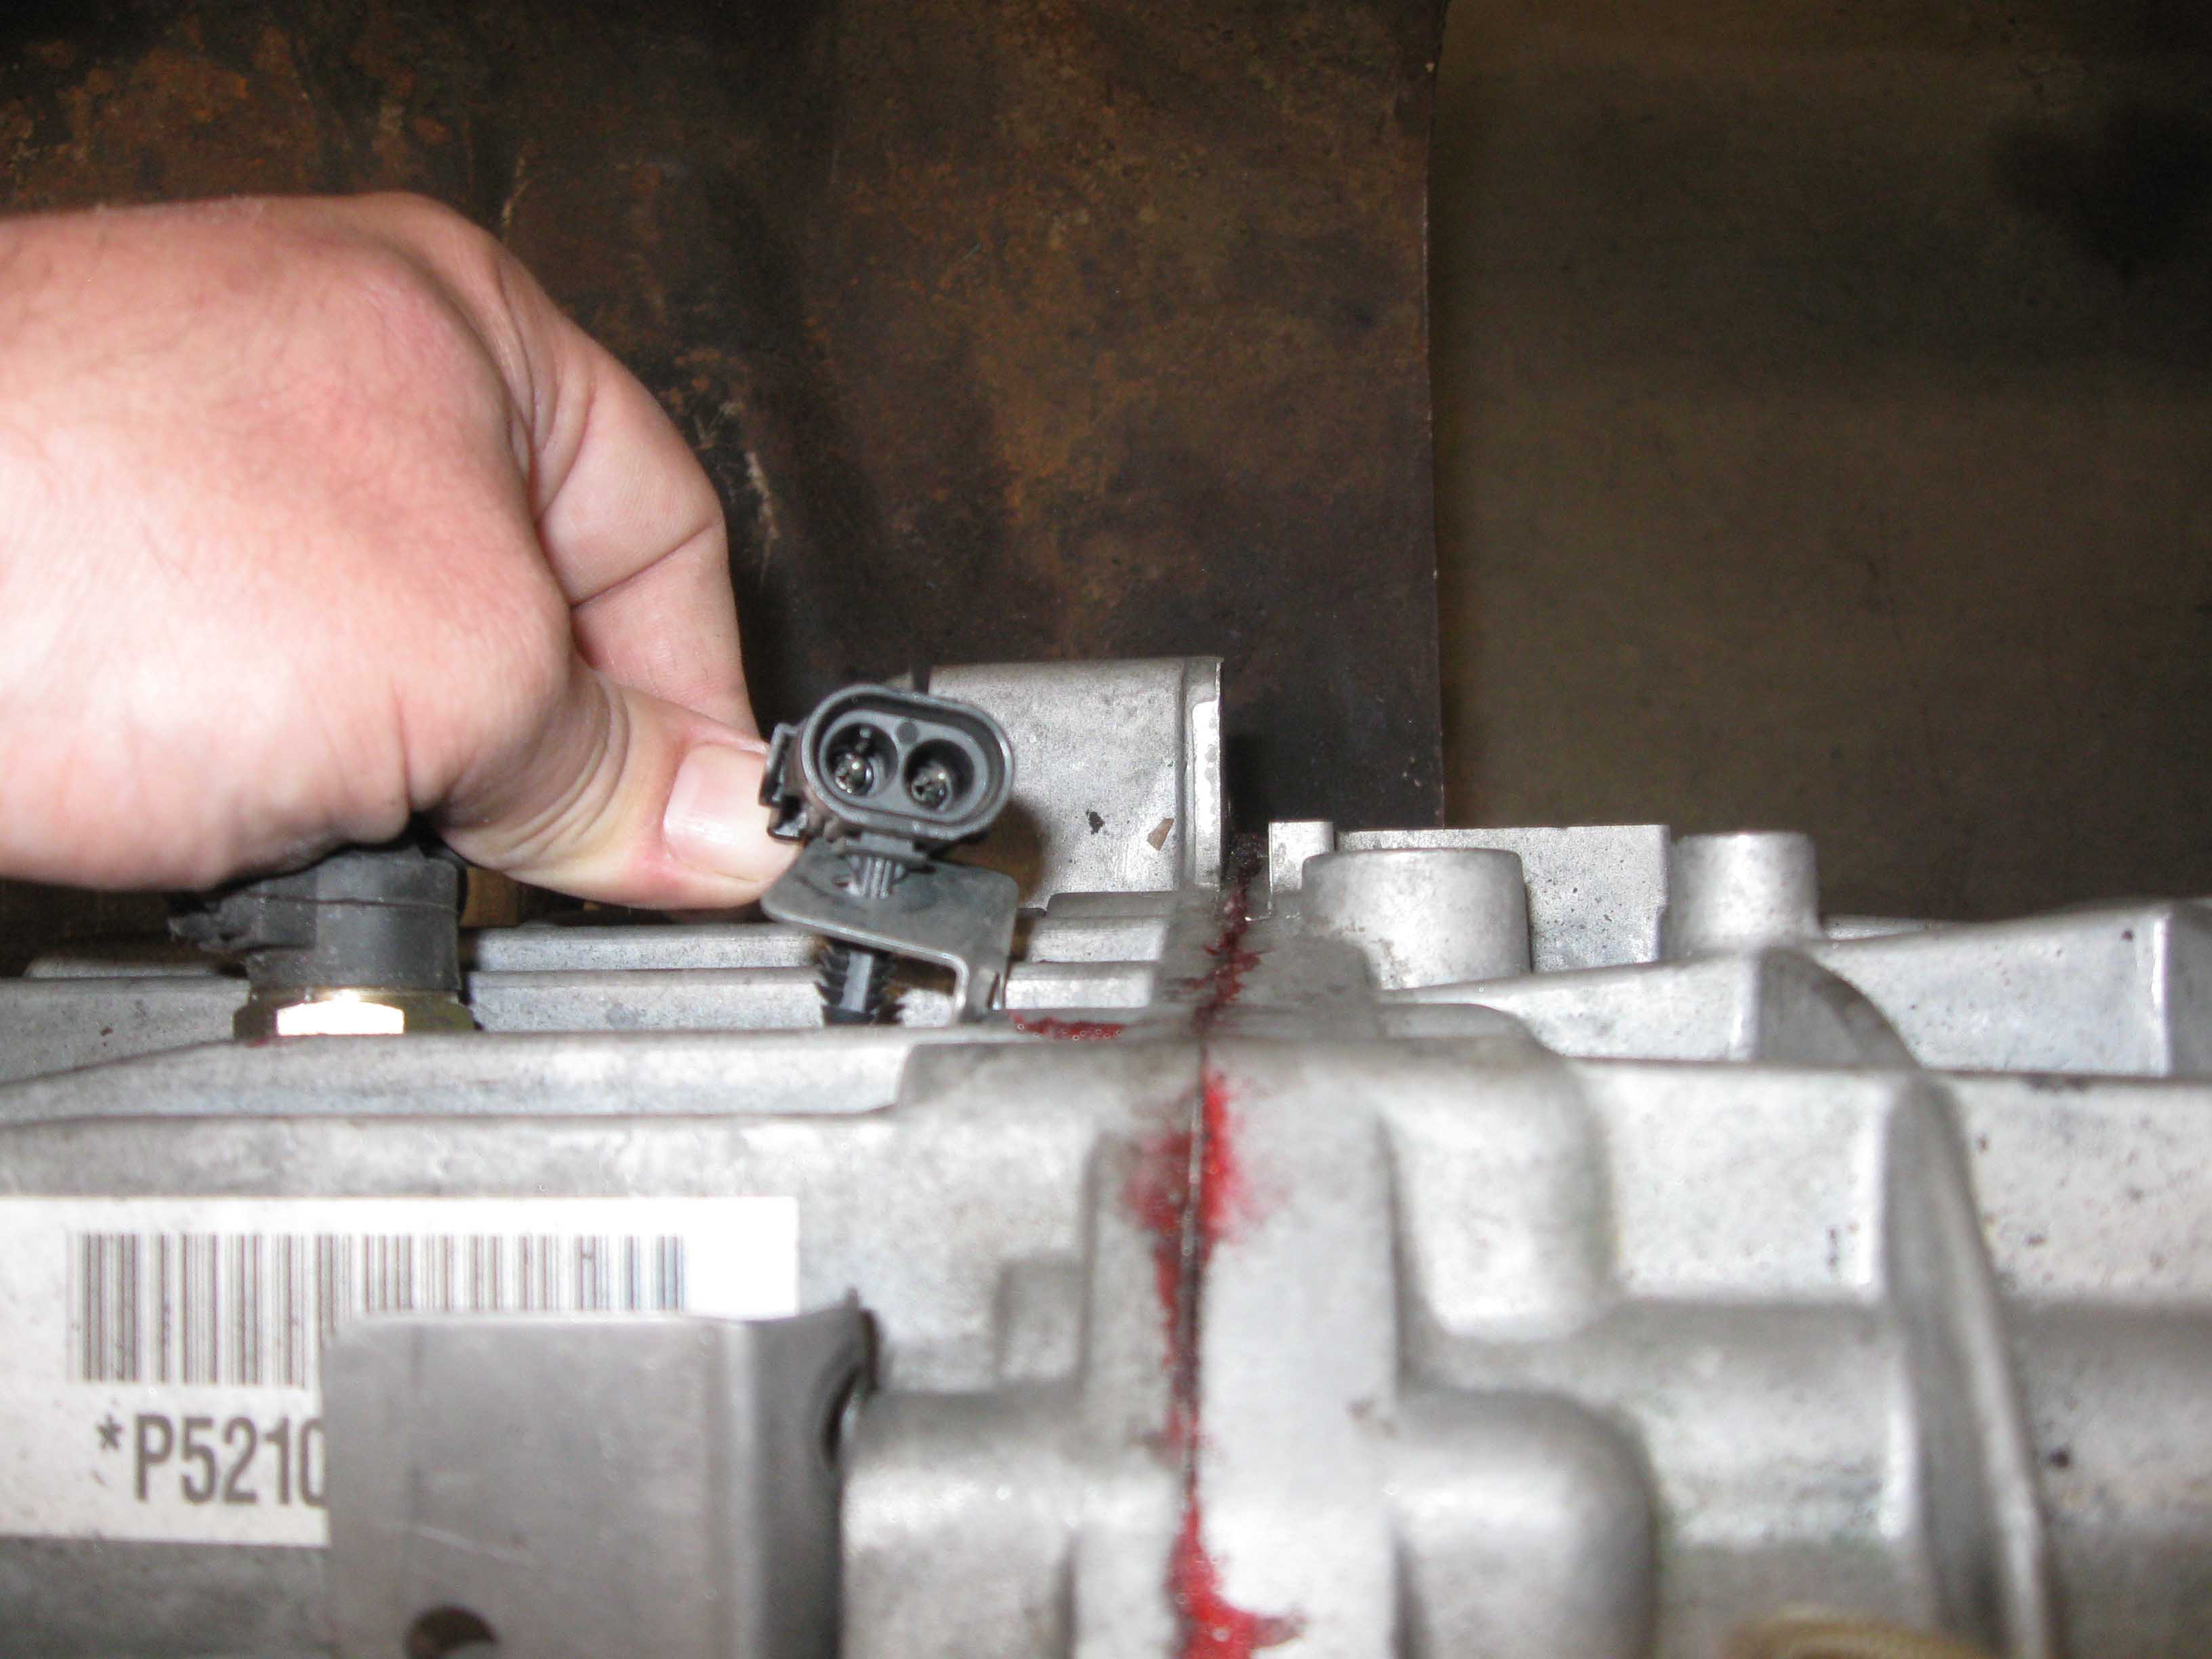
NOTE: Just like the mount, the inspection cover as well as the reverse switch are not part of this kit.
You have to figure those things out yourself. I am still working on solutions for both of them, but I think I
have a plan with the switch, the cover, I have a question into Advanced Adapters on that one.
(07/02/09)
|
| |
| << Previous |
Next >> |
|