|
|
| 304 Engine Rebuild - Part #2 |
| |
|
1
2
3
4
5
6
7
8
9
10
11
12
13
14
15
16
|
| |
When I saw that I had one more day to take off of work I thought it was a great opportunity
to get a nice 4 day weekend in which I could pull the motor out of the Jeep and get the parts off of it that I would need to
give to the machine shop so they could dyno the motor once they had rebuilt it.
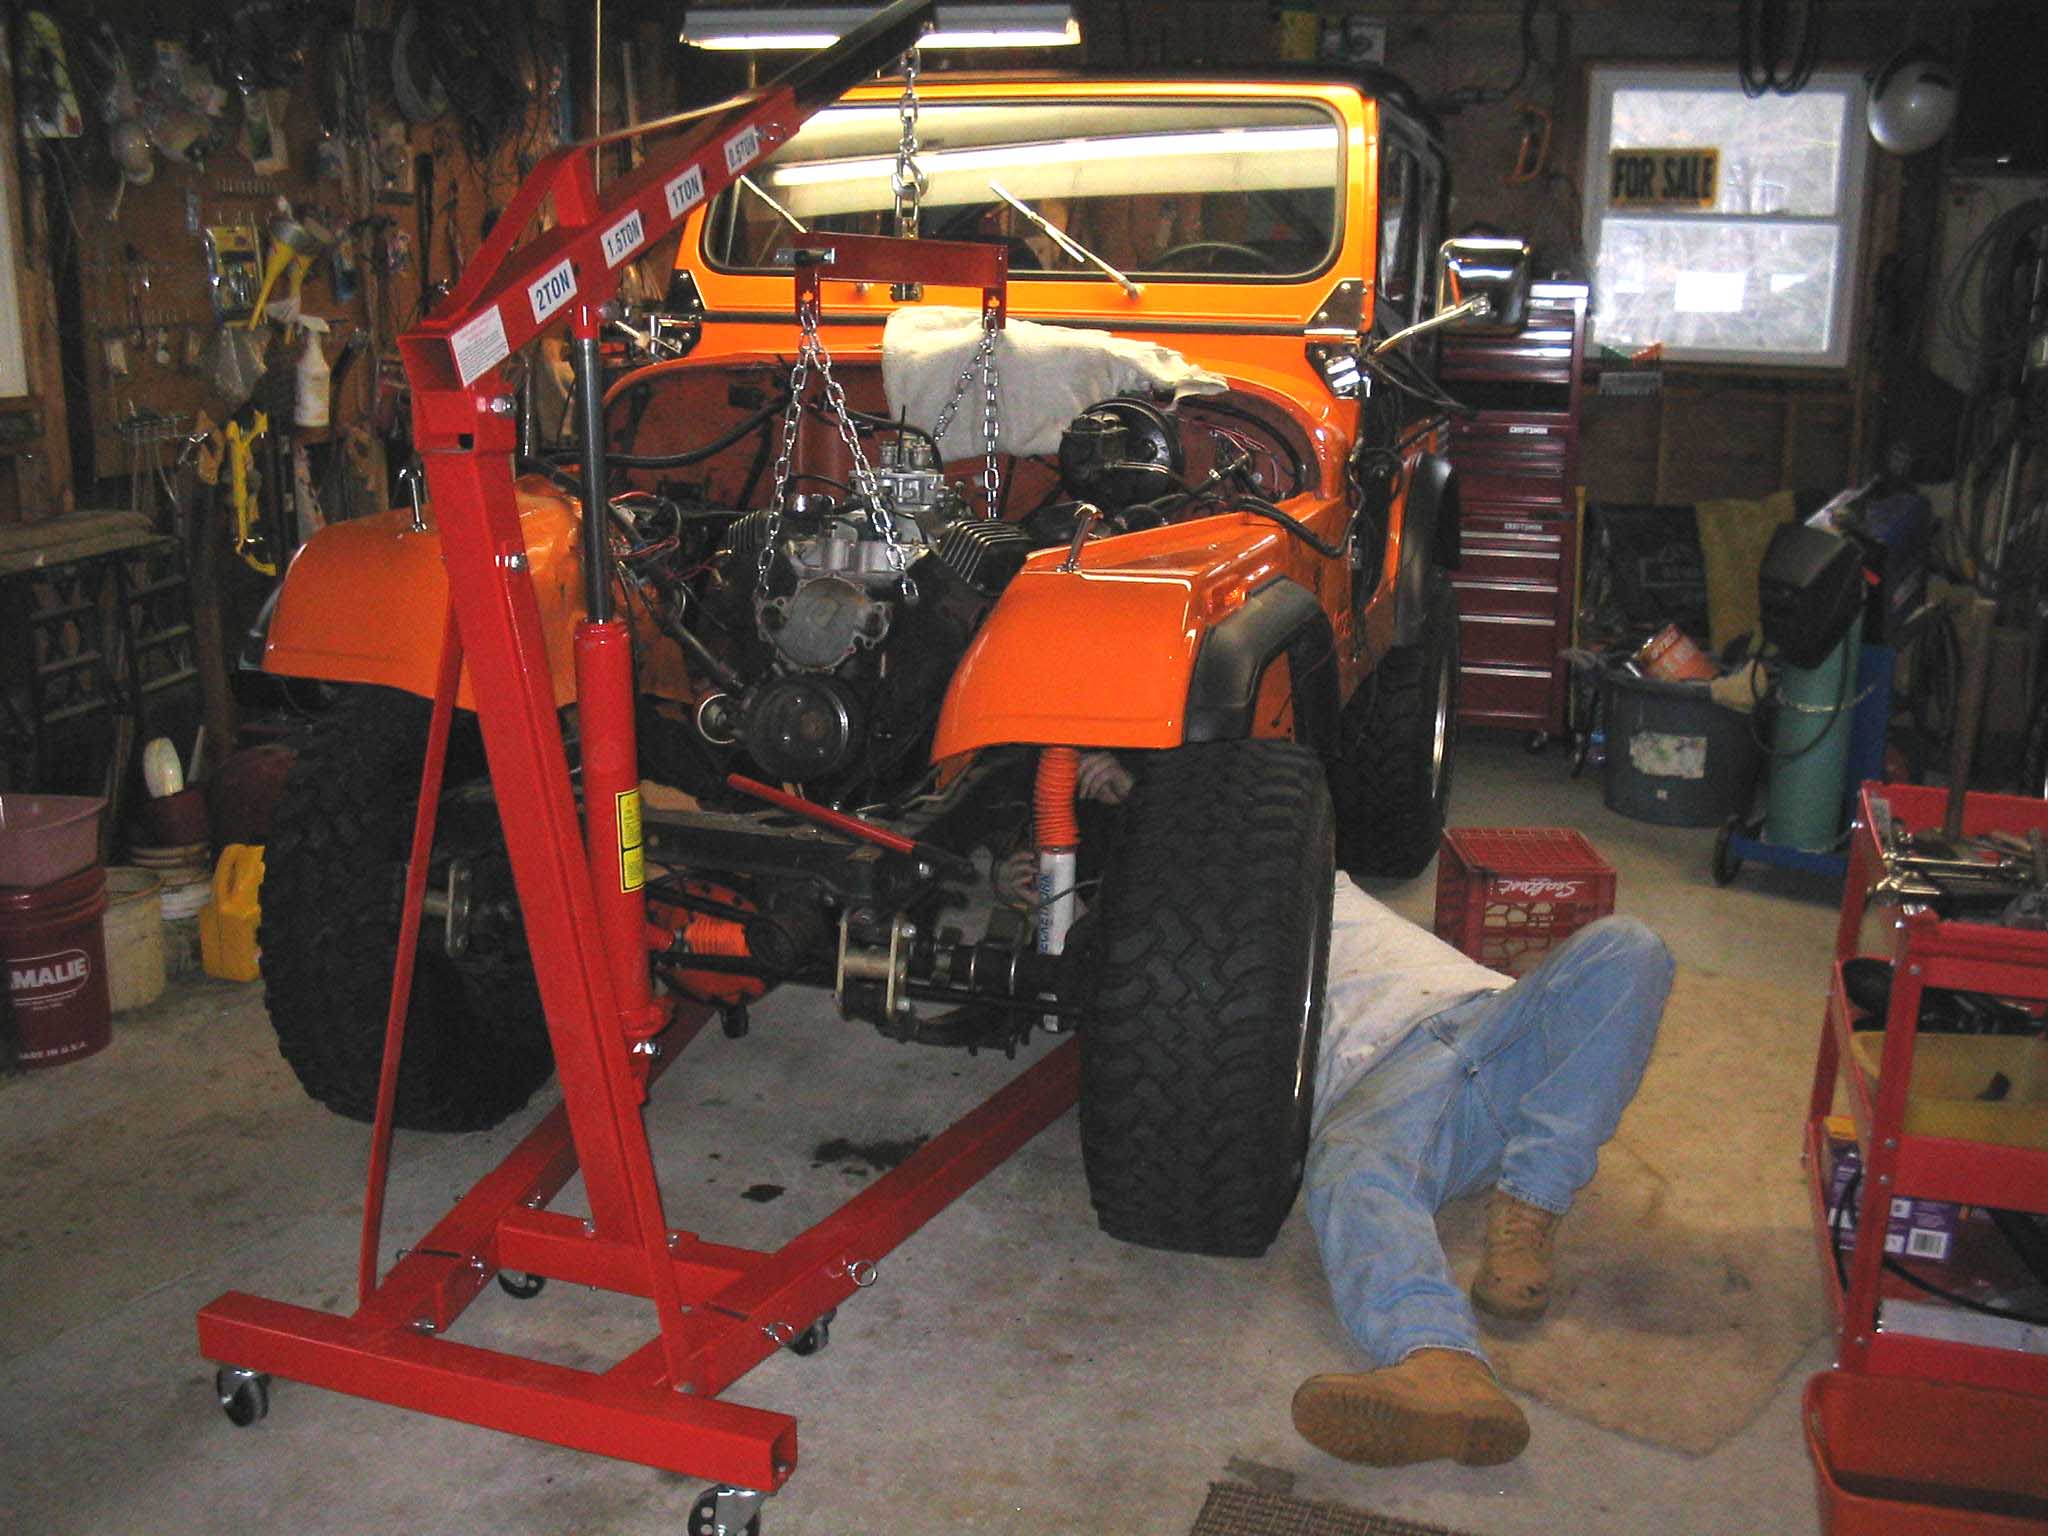
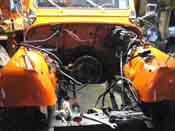
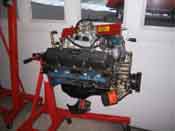
It turned out that I needed those 4 days to do this project. It only took about 10 hours, but the engine is out of the Orange
Jeep and it is on the engine stand ready to have the intake, valve covers, and oil pan removed so they can be put on the new
motor (1974) that is currently at the machine shop being taken apart and inspected for damage.
|
| |
|
|
|

|
| |
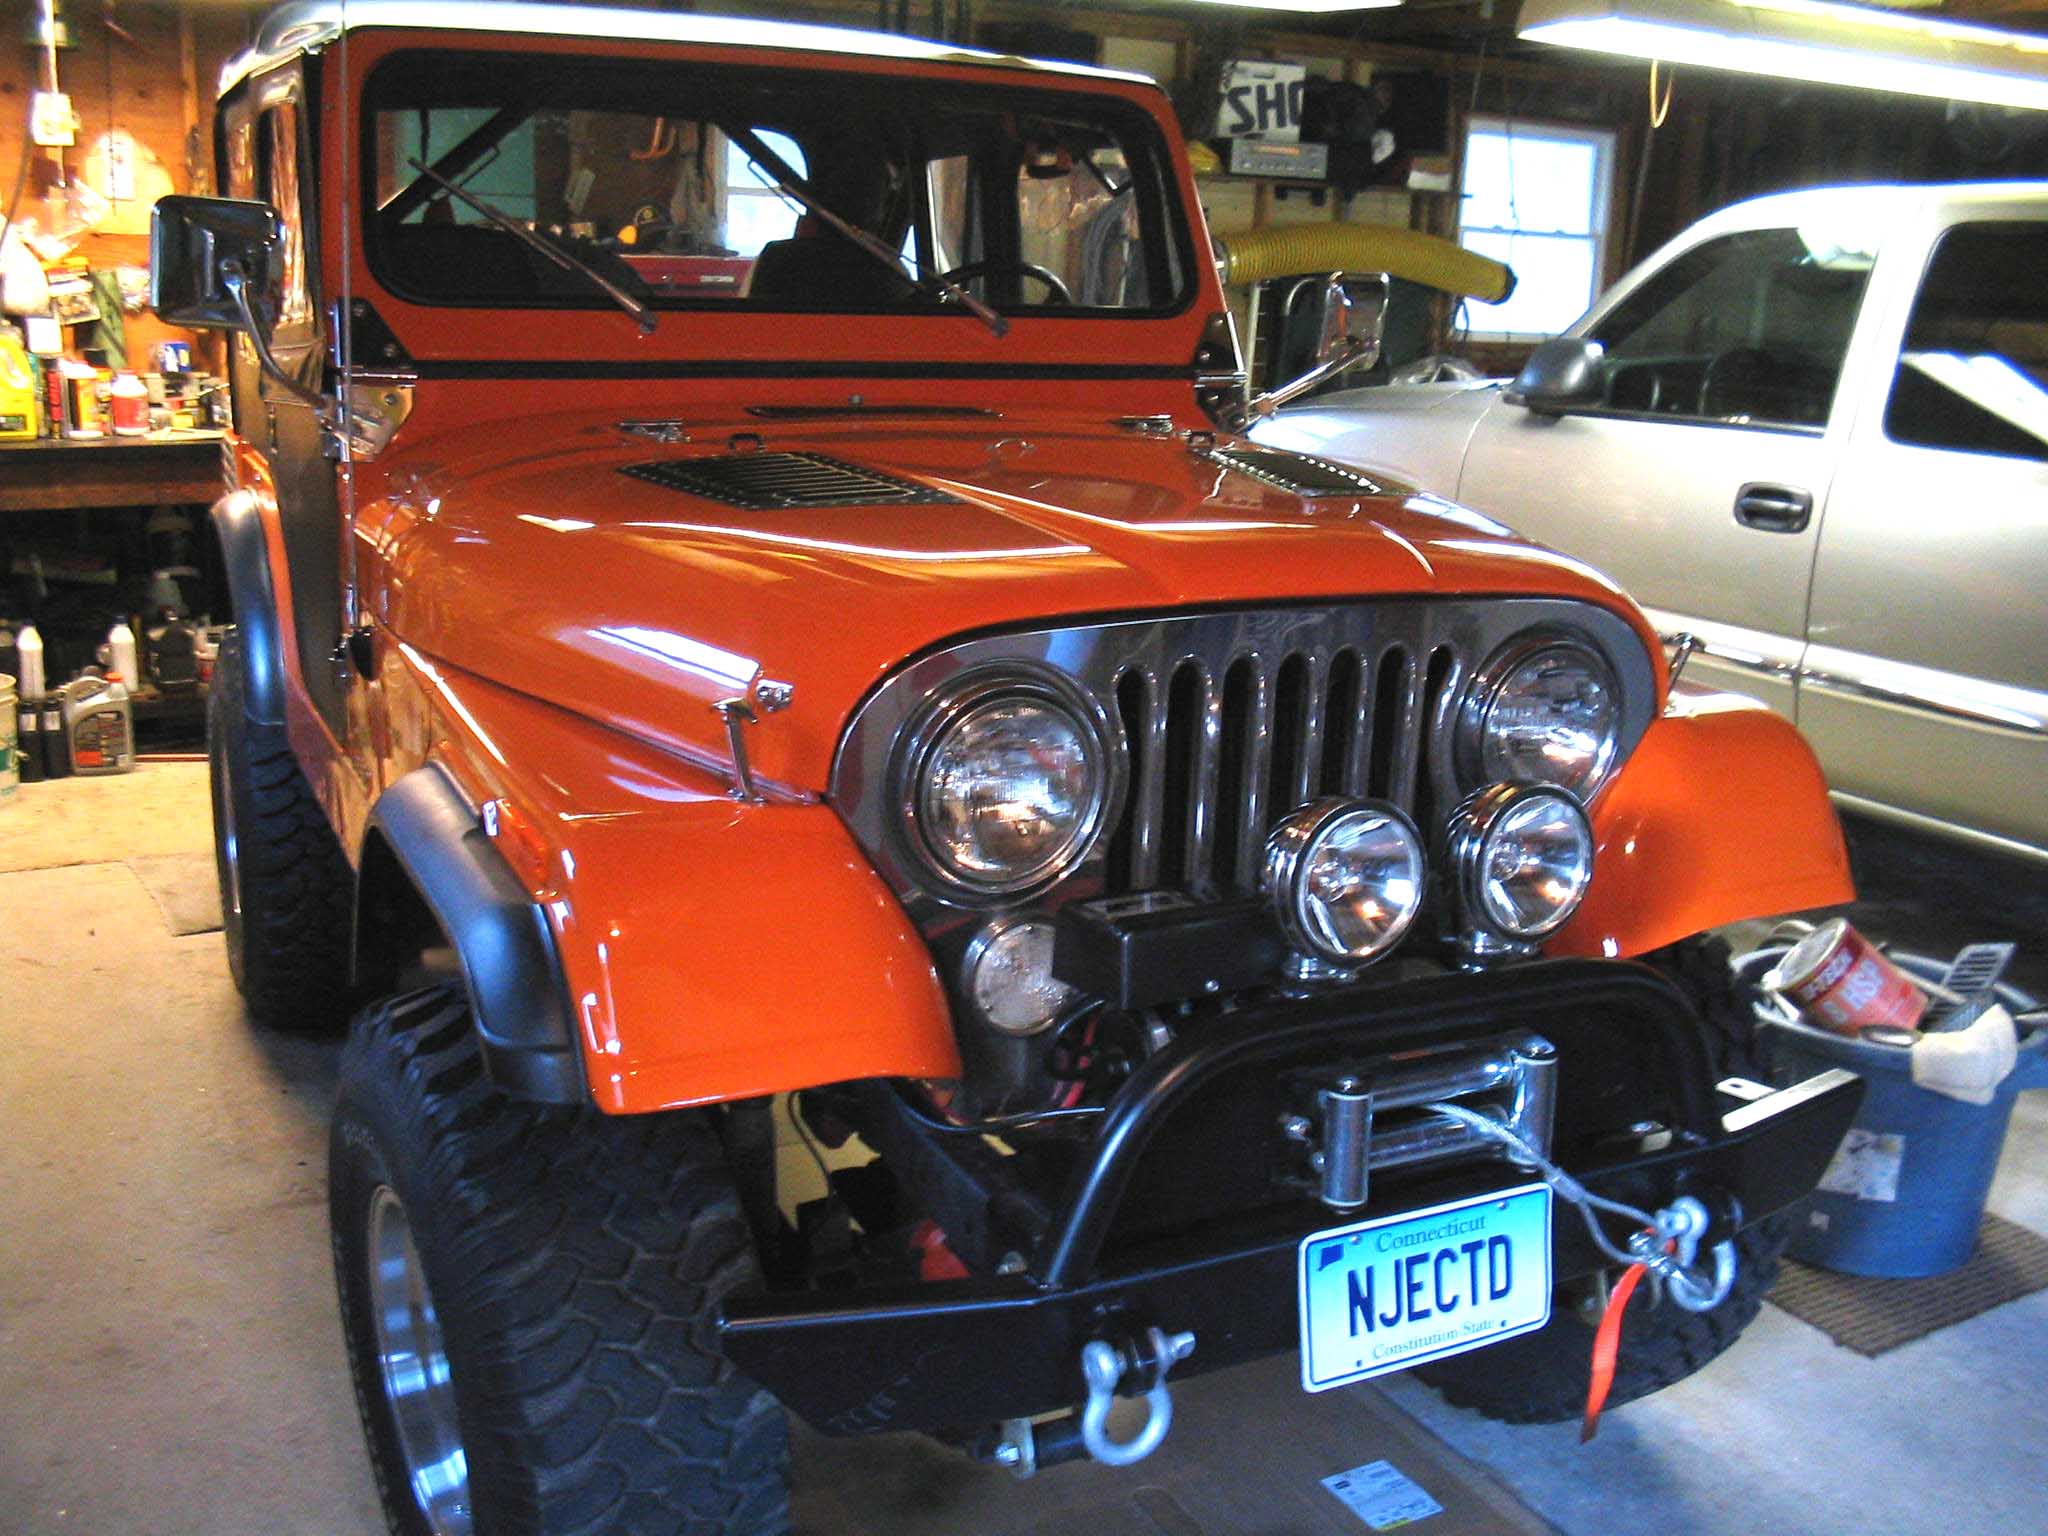
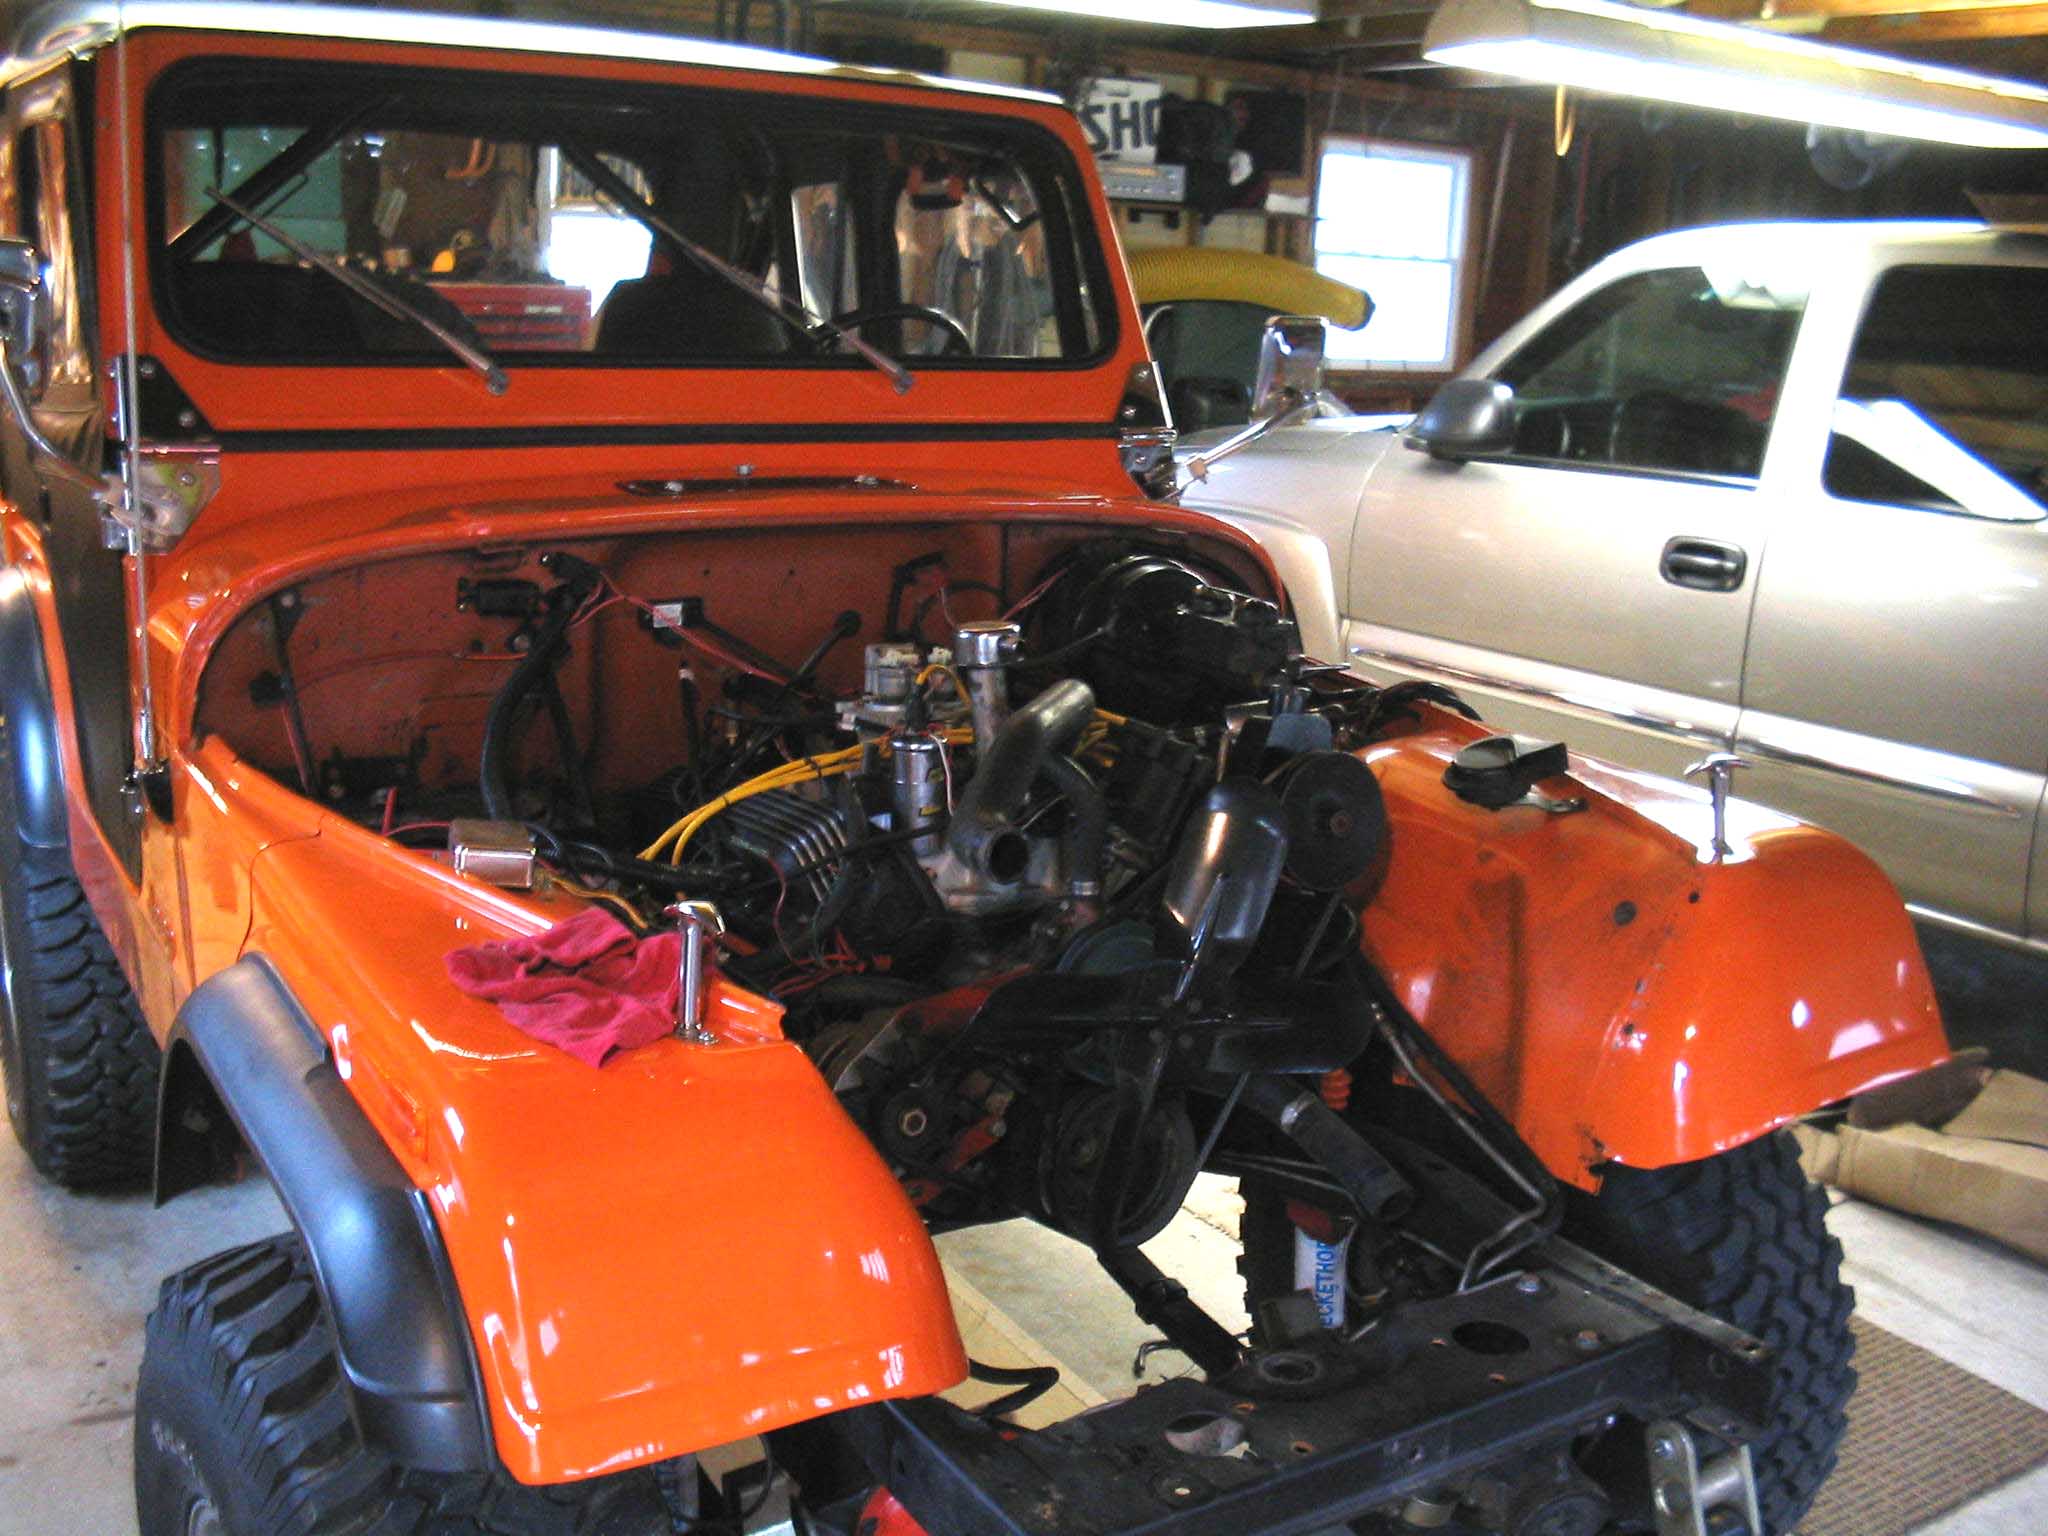
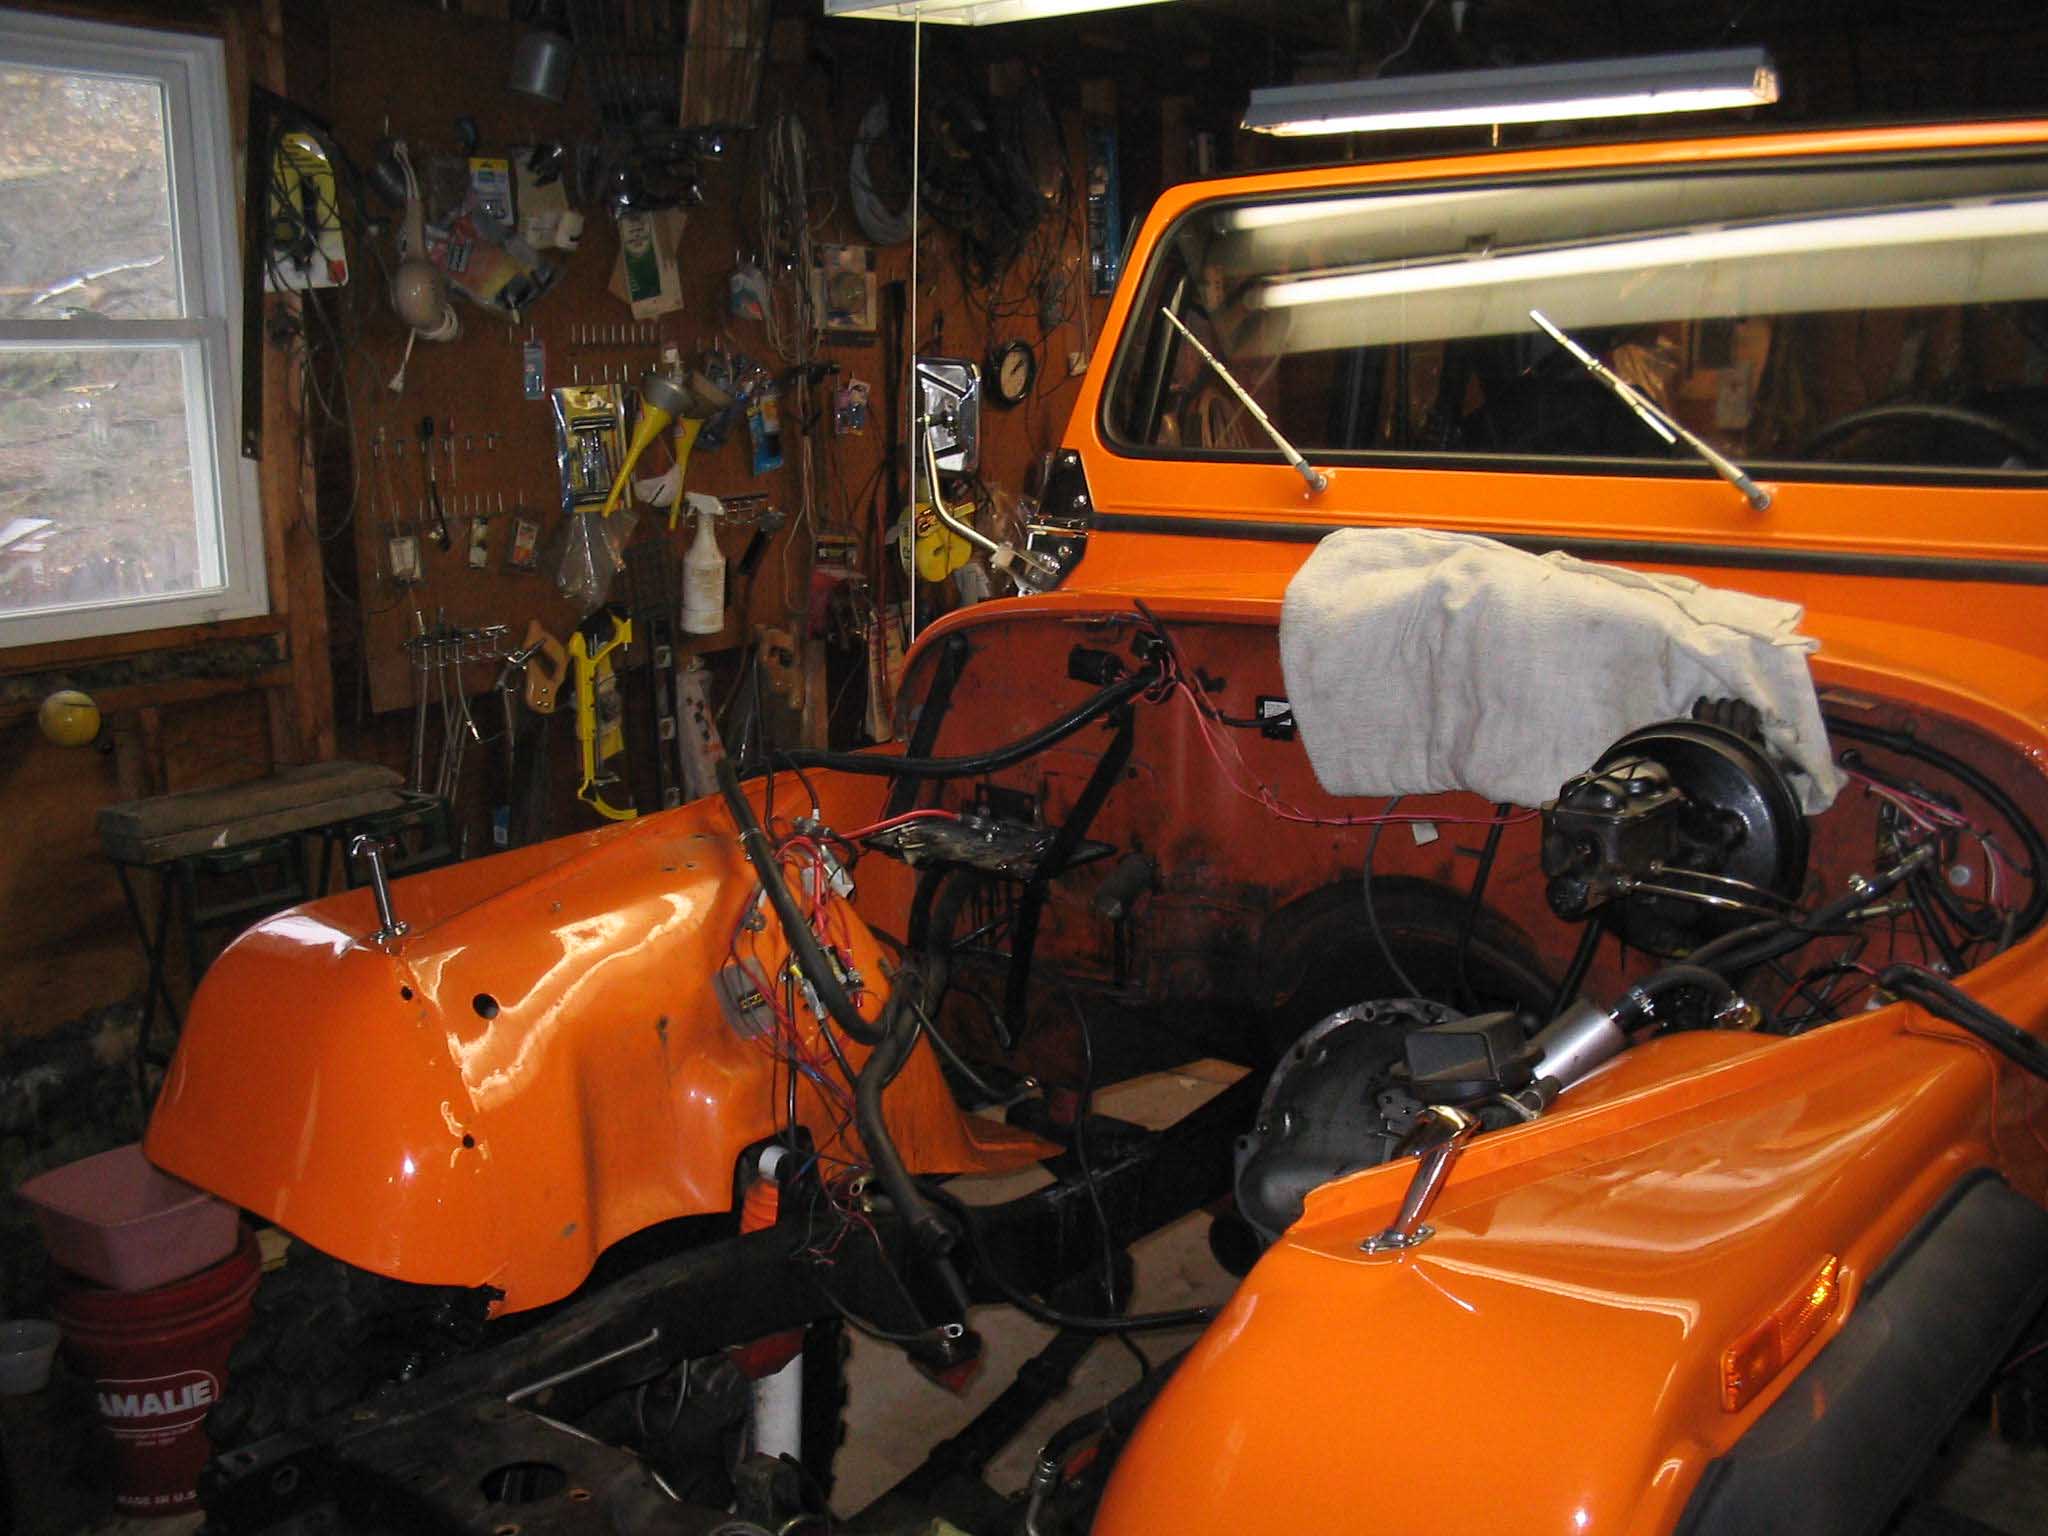
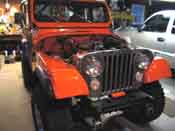
| I knew that a lot of the parts had to be taken off the Jeep in order to get to the engine. The
first step in the process was to remove the hood. Once that was removed, the battery was disconnected and then we moved onto
removing the battery from the tray and then removing the air cleaner. I had read that you could remove the engine from the
Jeep without removing the fenders, so that was the approach that I was going to take. I had to get the lights off next on the
bumper along with the winch. This was put on to never be removed, so this took some doing, but finally it gave up and off
came the front-end components.
|
| |
|
|
|
|
| |
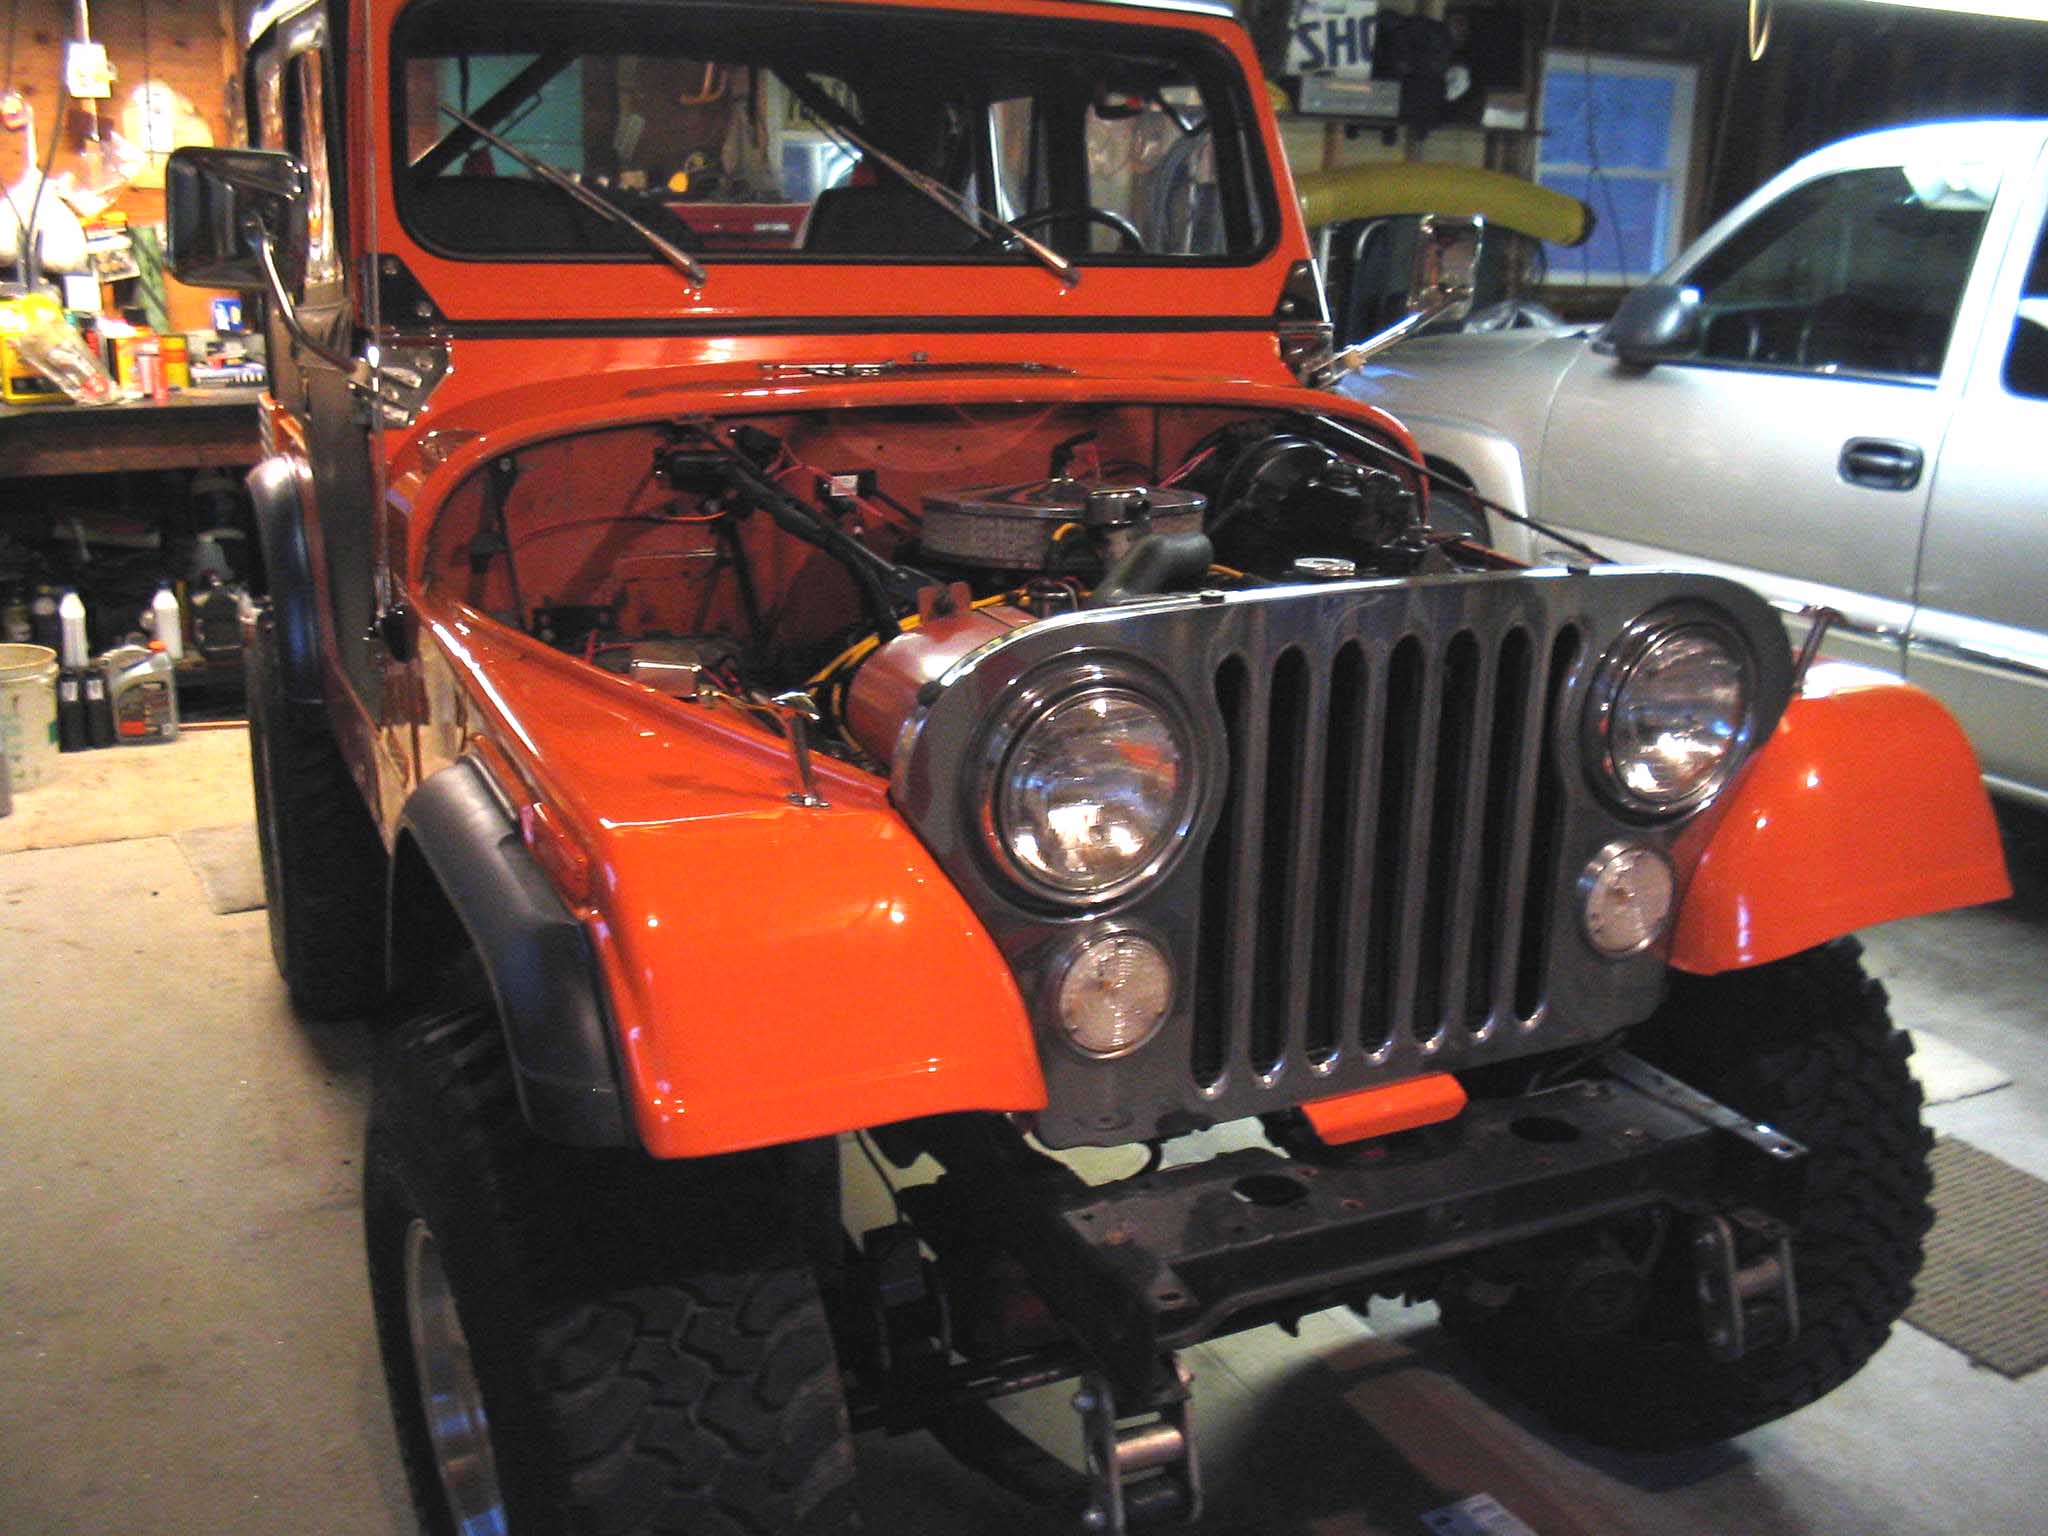
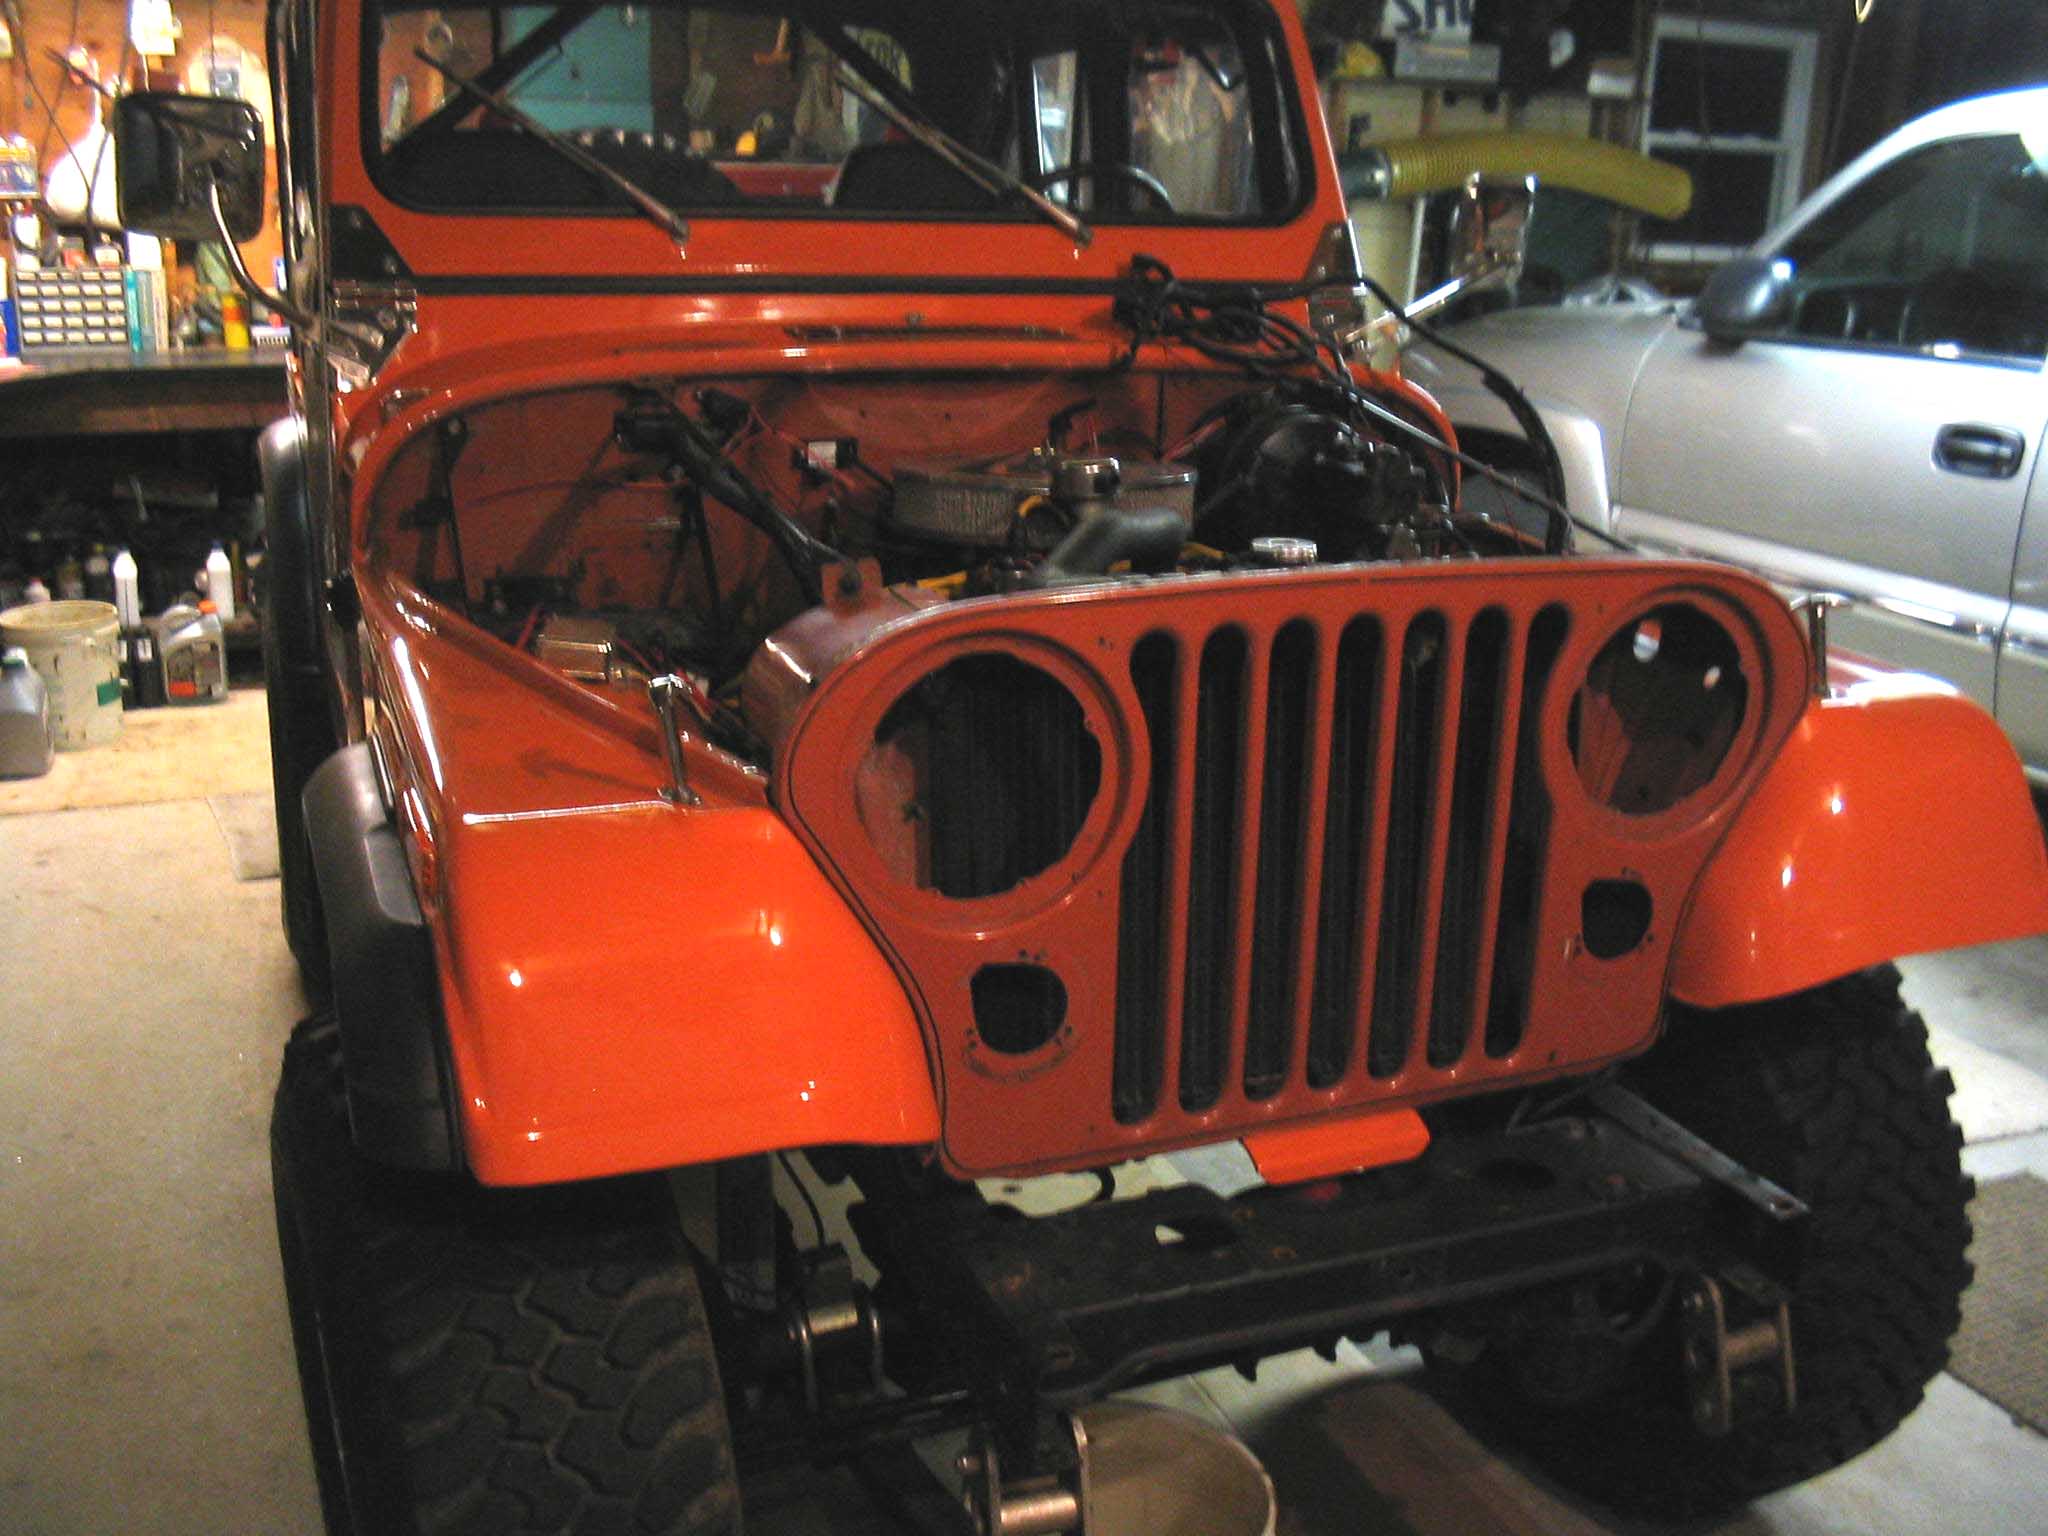
With those parts removed, the headlights were removed, then the chrome grille shell. I knocked
off at that point and figured the next day I would tackle the engine wiring and parts on it that needed to be removed to
get that motor out of there.
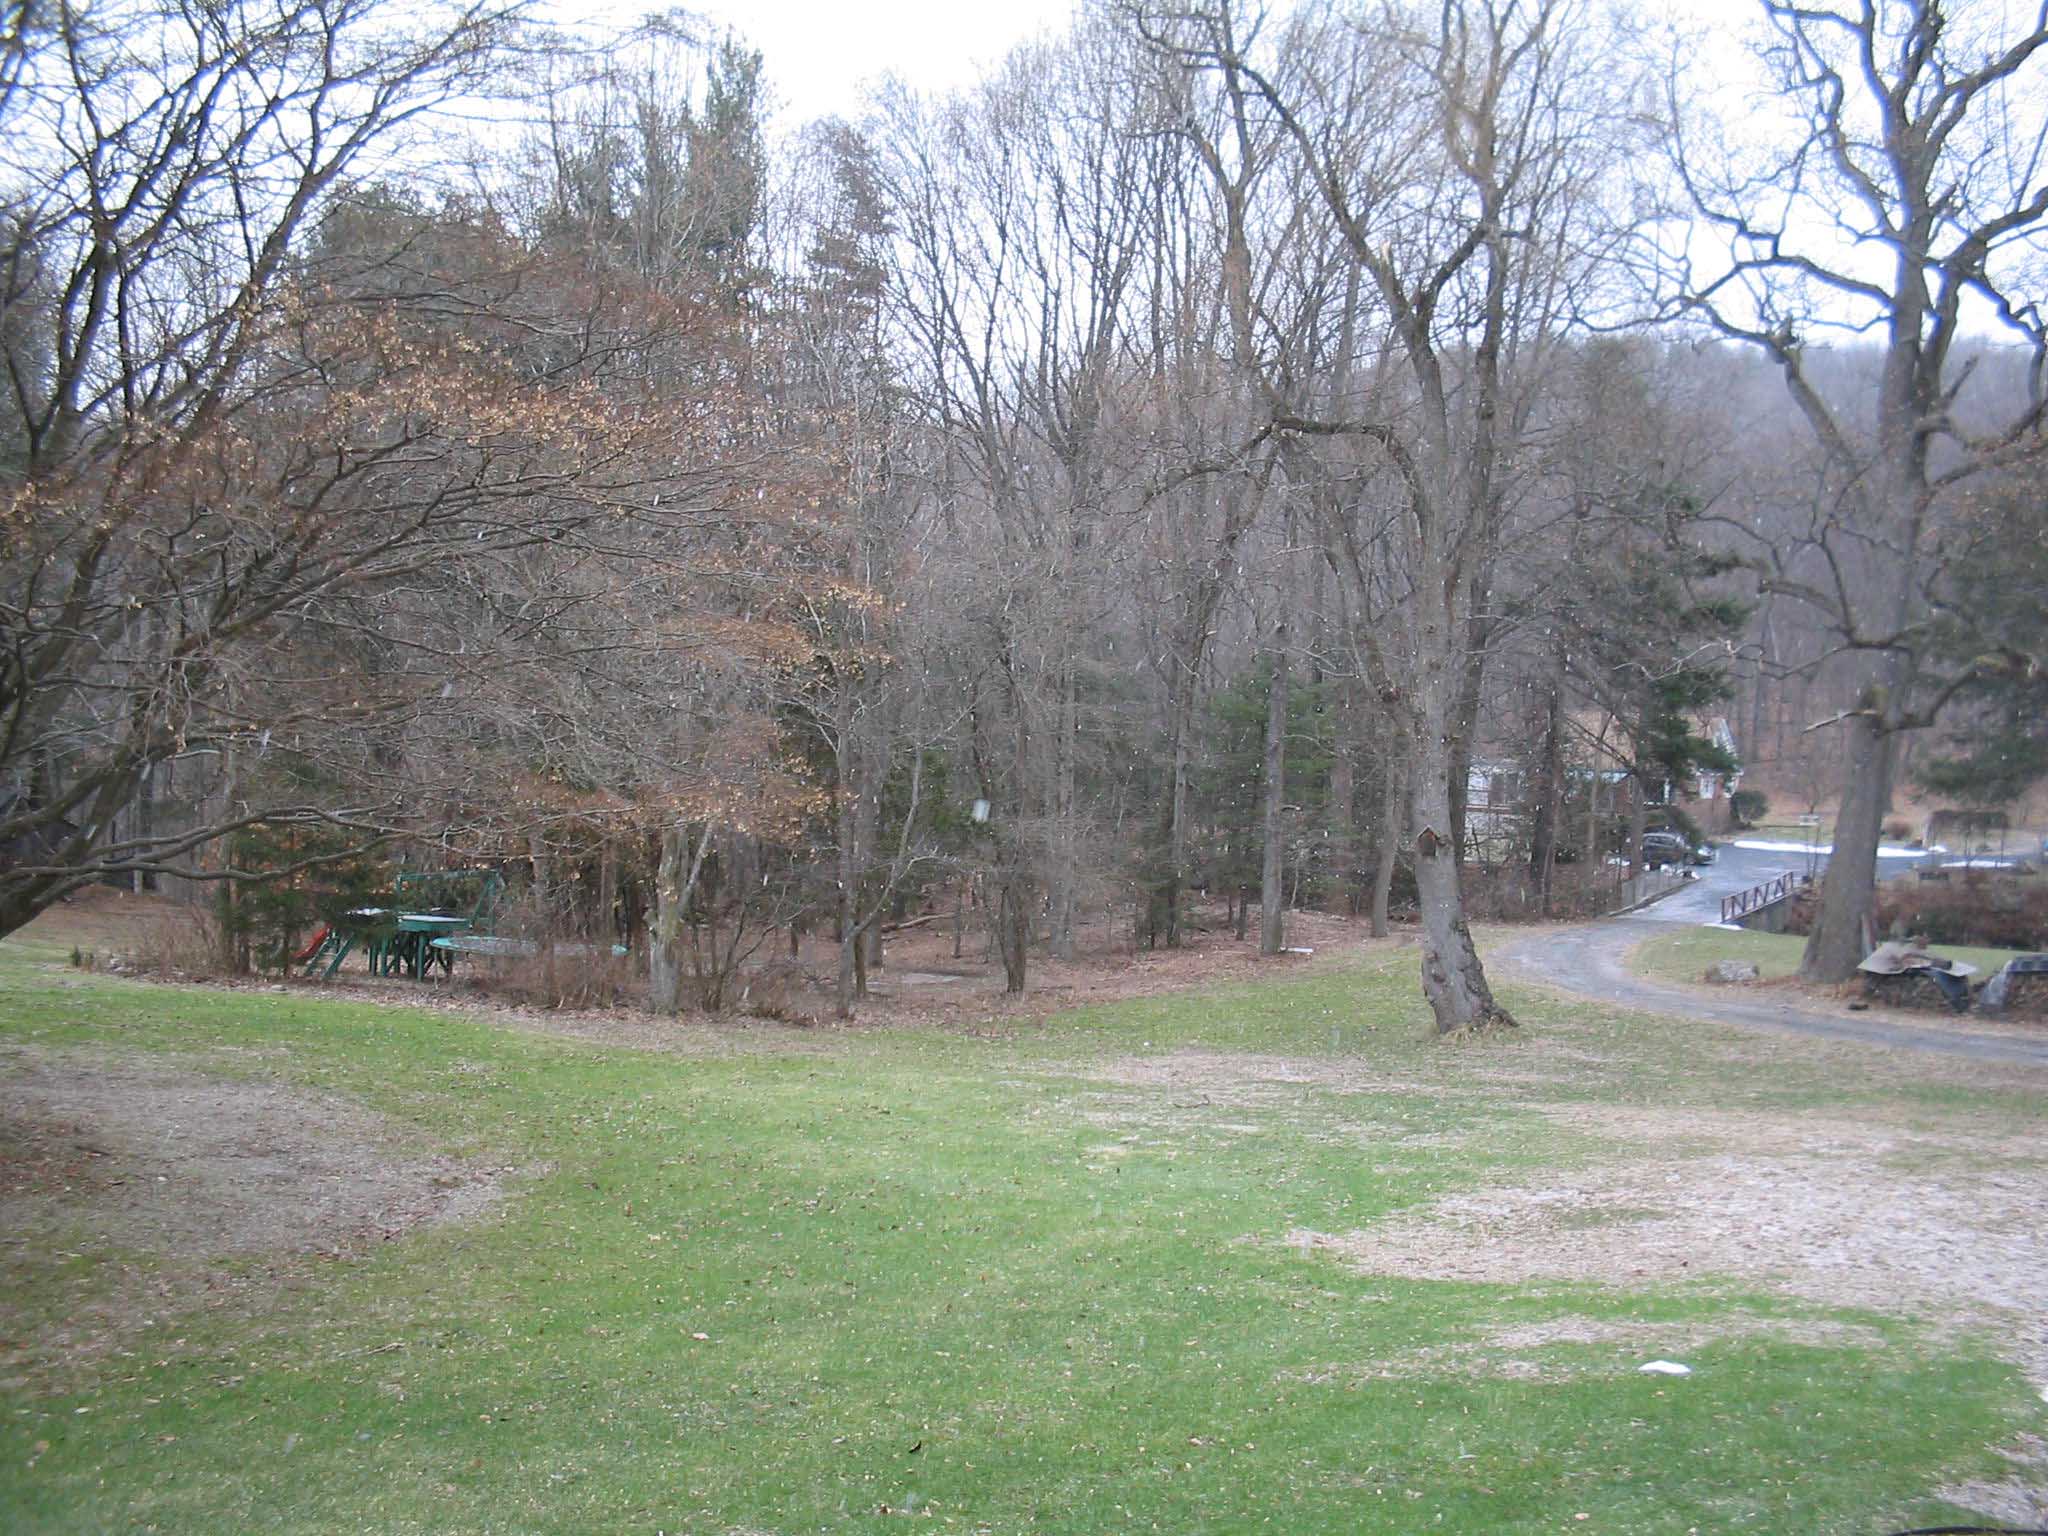
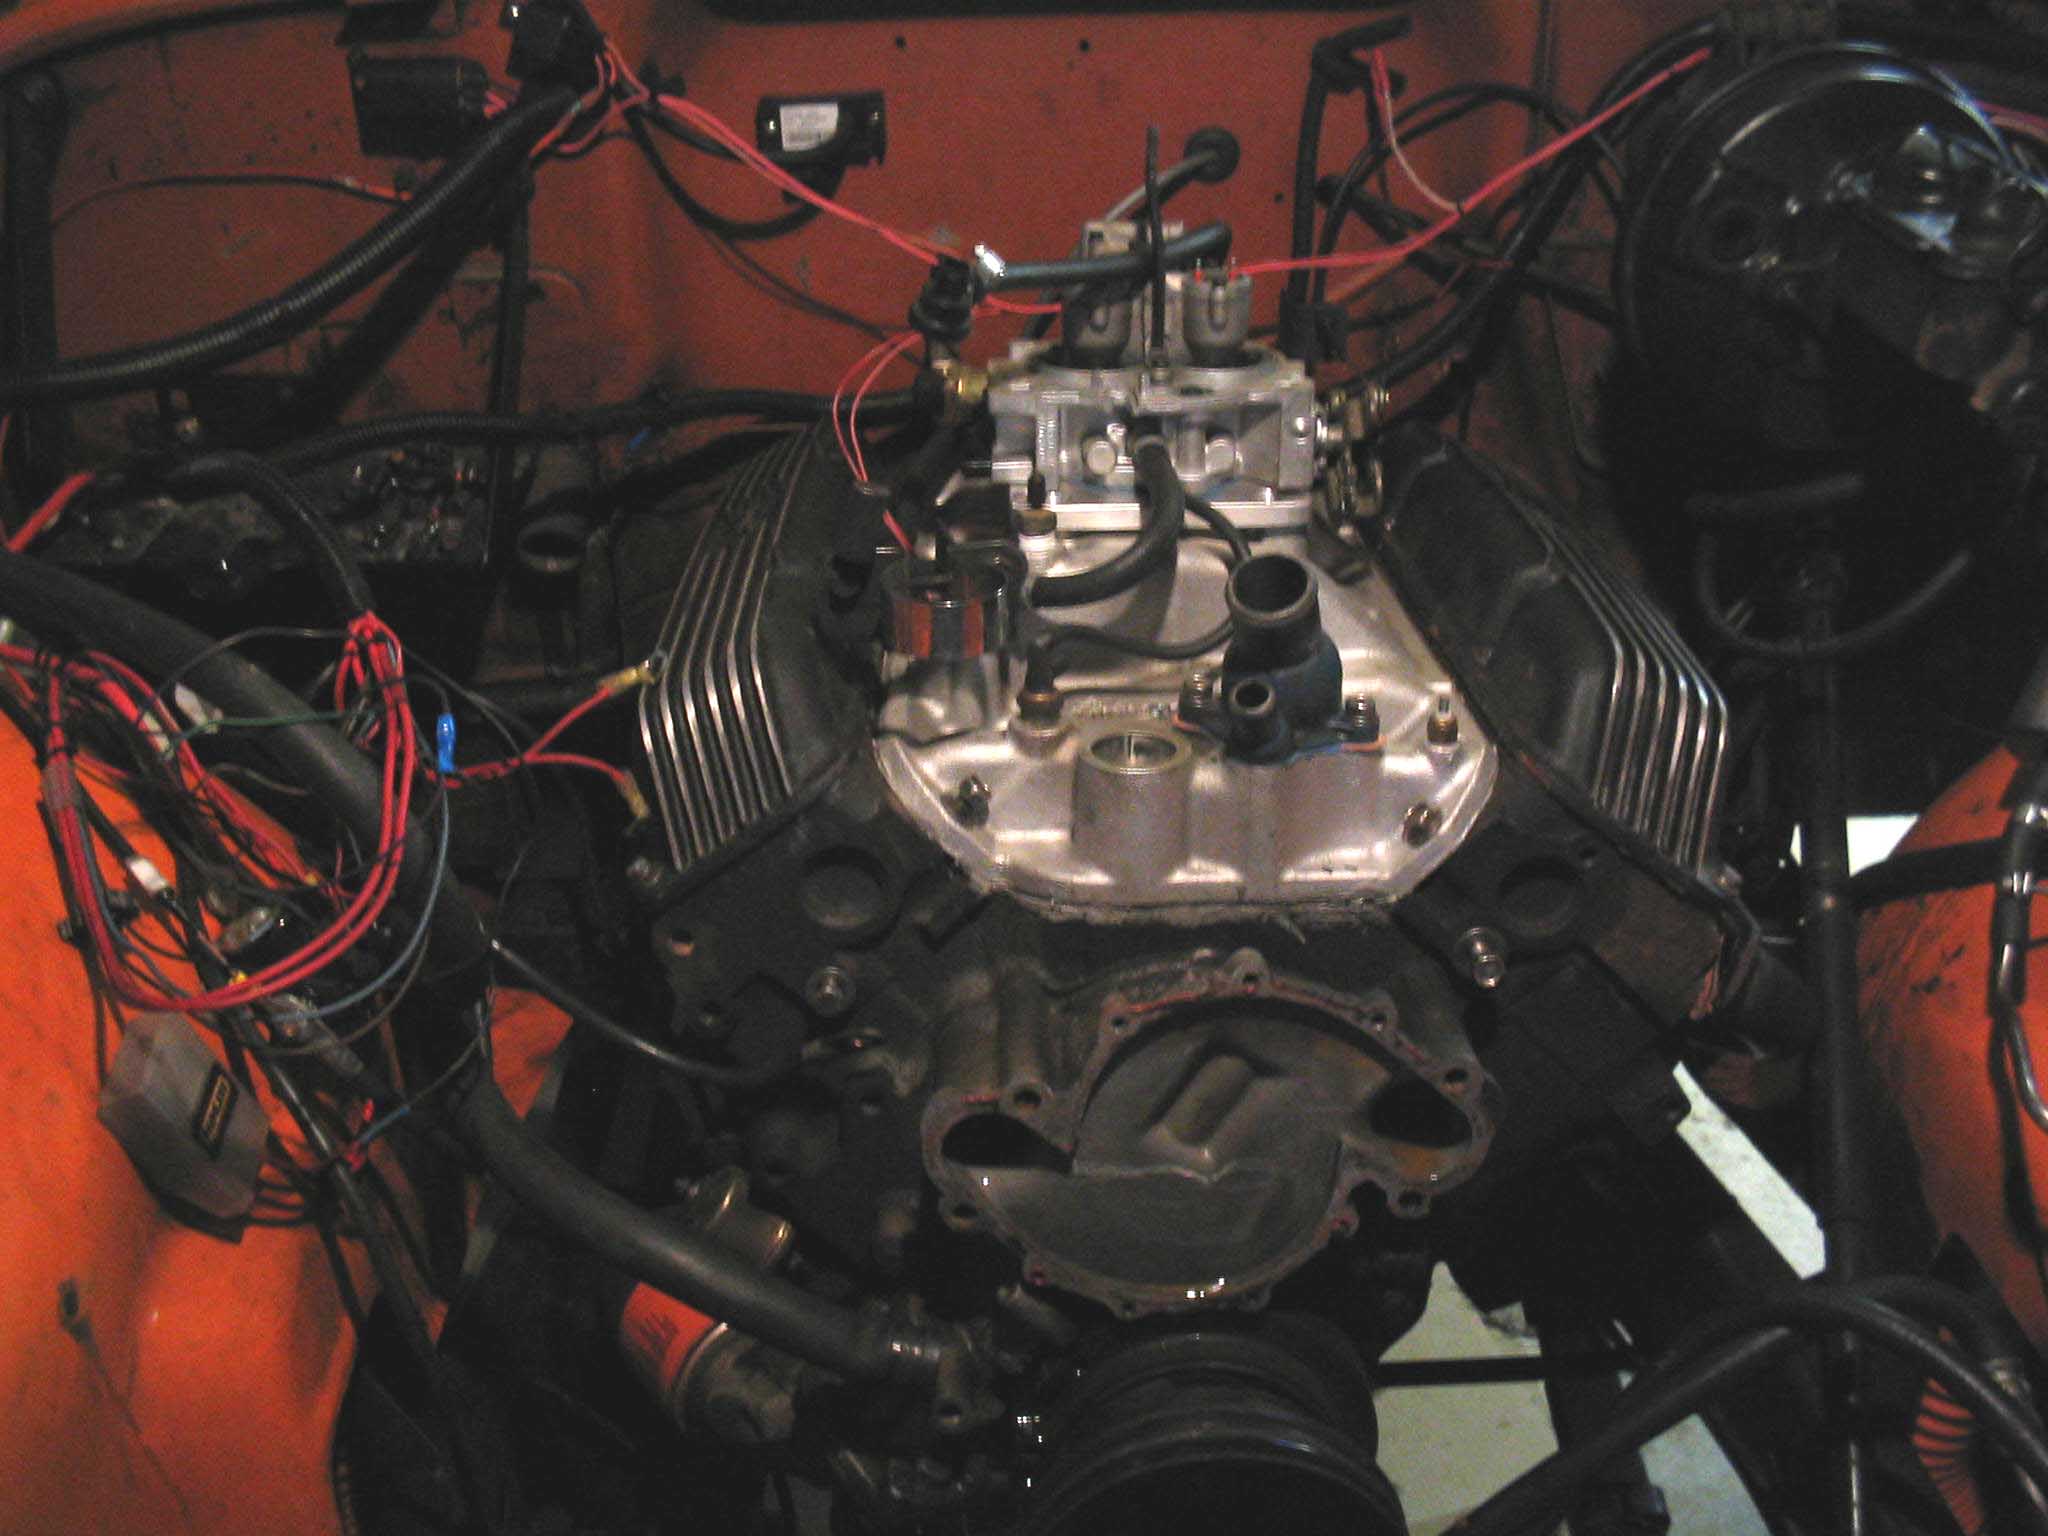
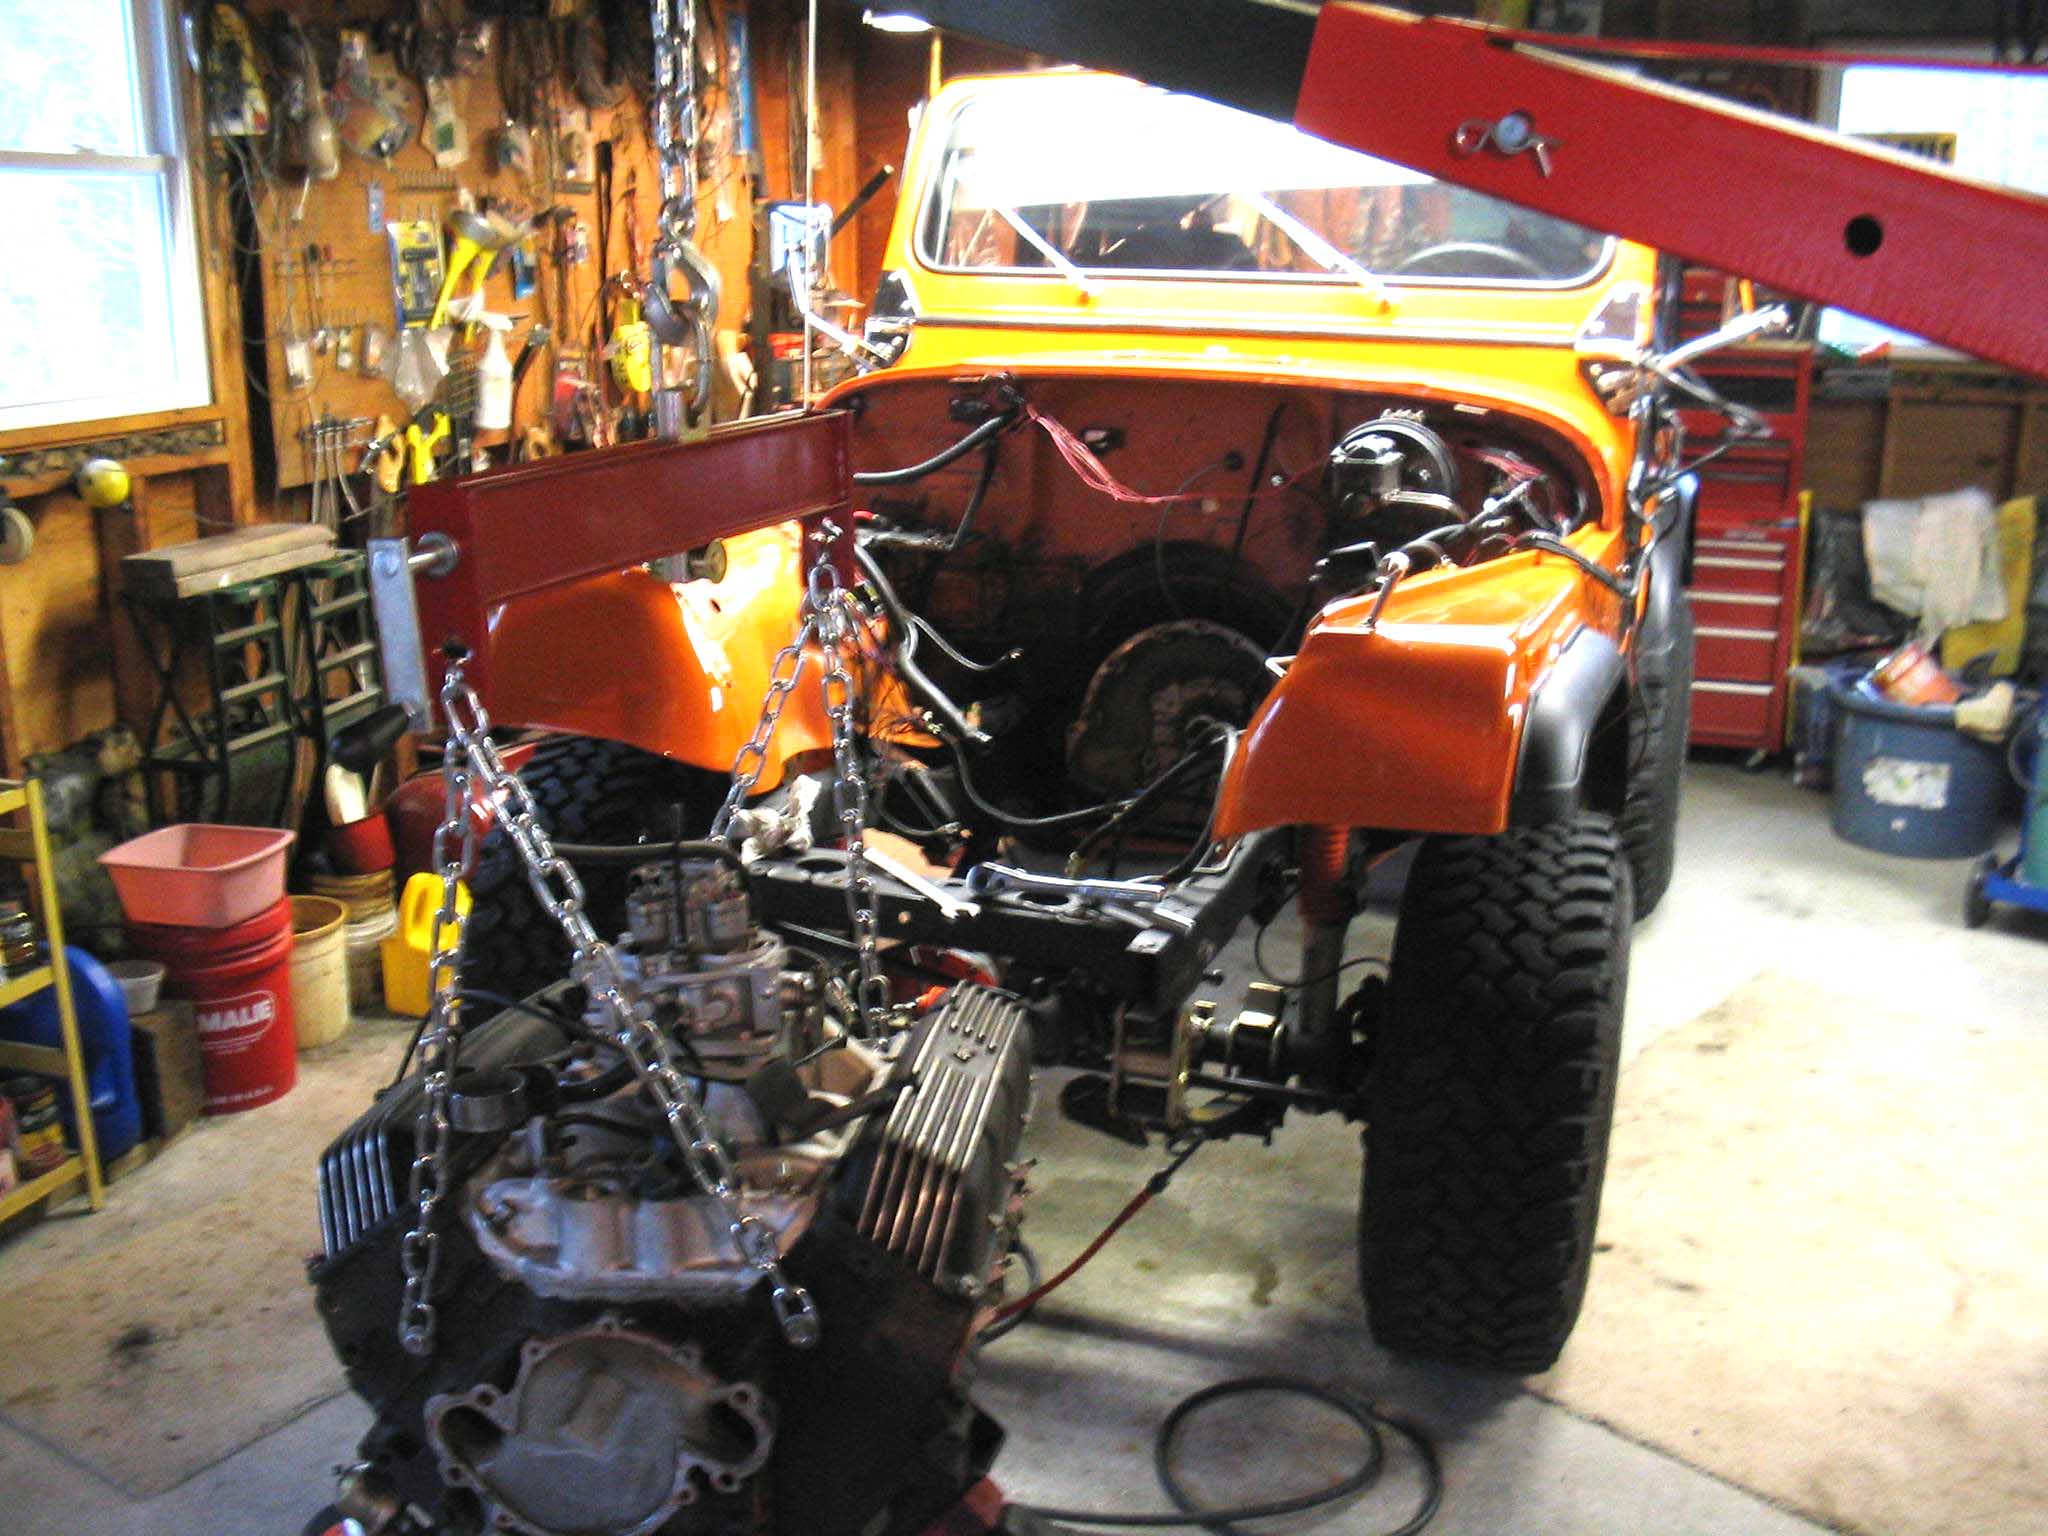
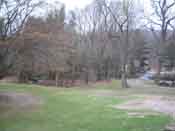
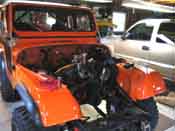
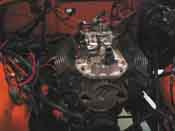
It was snowing when I got there, so I took a picture of that and then I started in on the engine. The fan came off, then the
power steering pump (if you unbolt it from the engine and lay it on the side, you don't have to remove it altogether), and then
finally the alternator. The water pump was next and finally all the hoses that connected up the cooling components were done.
Keep a bucket nearby, as you will need it for all the burping the engine does and that gets messy. After that was done, all the
linkages on the intake as well as the fuel lines were disconnected. This also burped up some fluids, so have a bucket and a
rag ready for this as well.
|
| |
|
|

|

|
| |
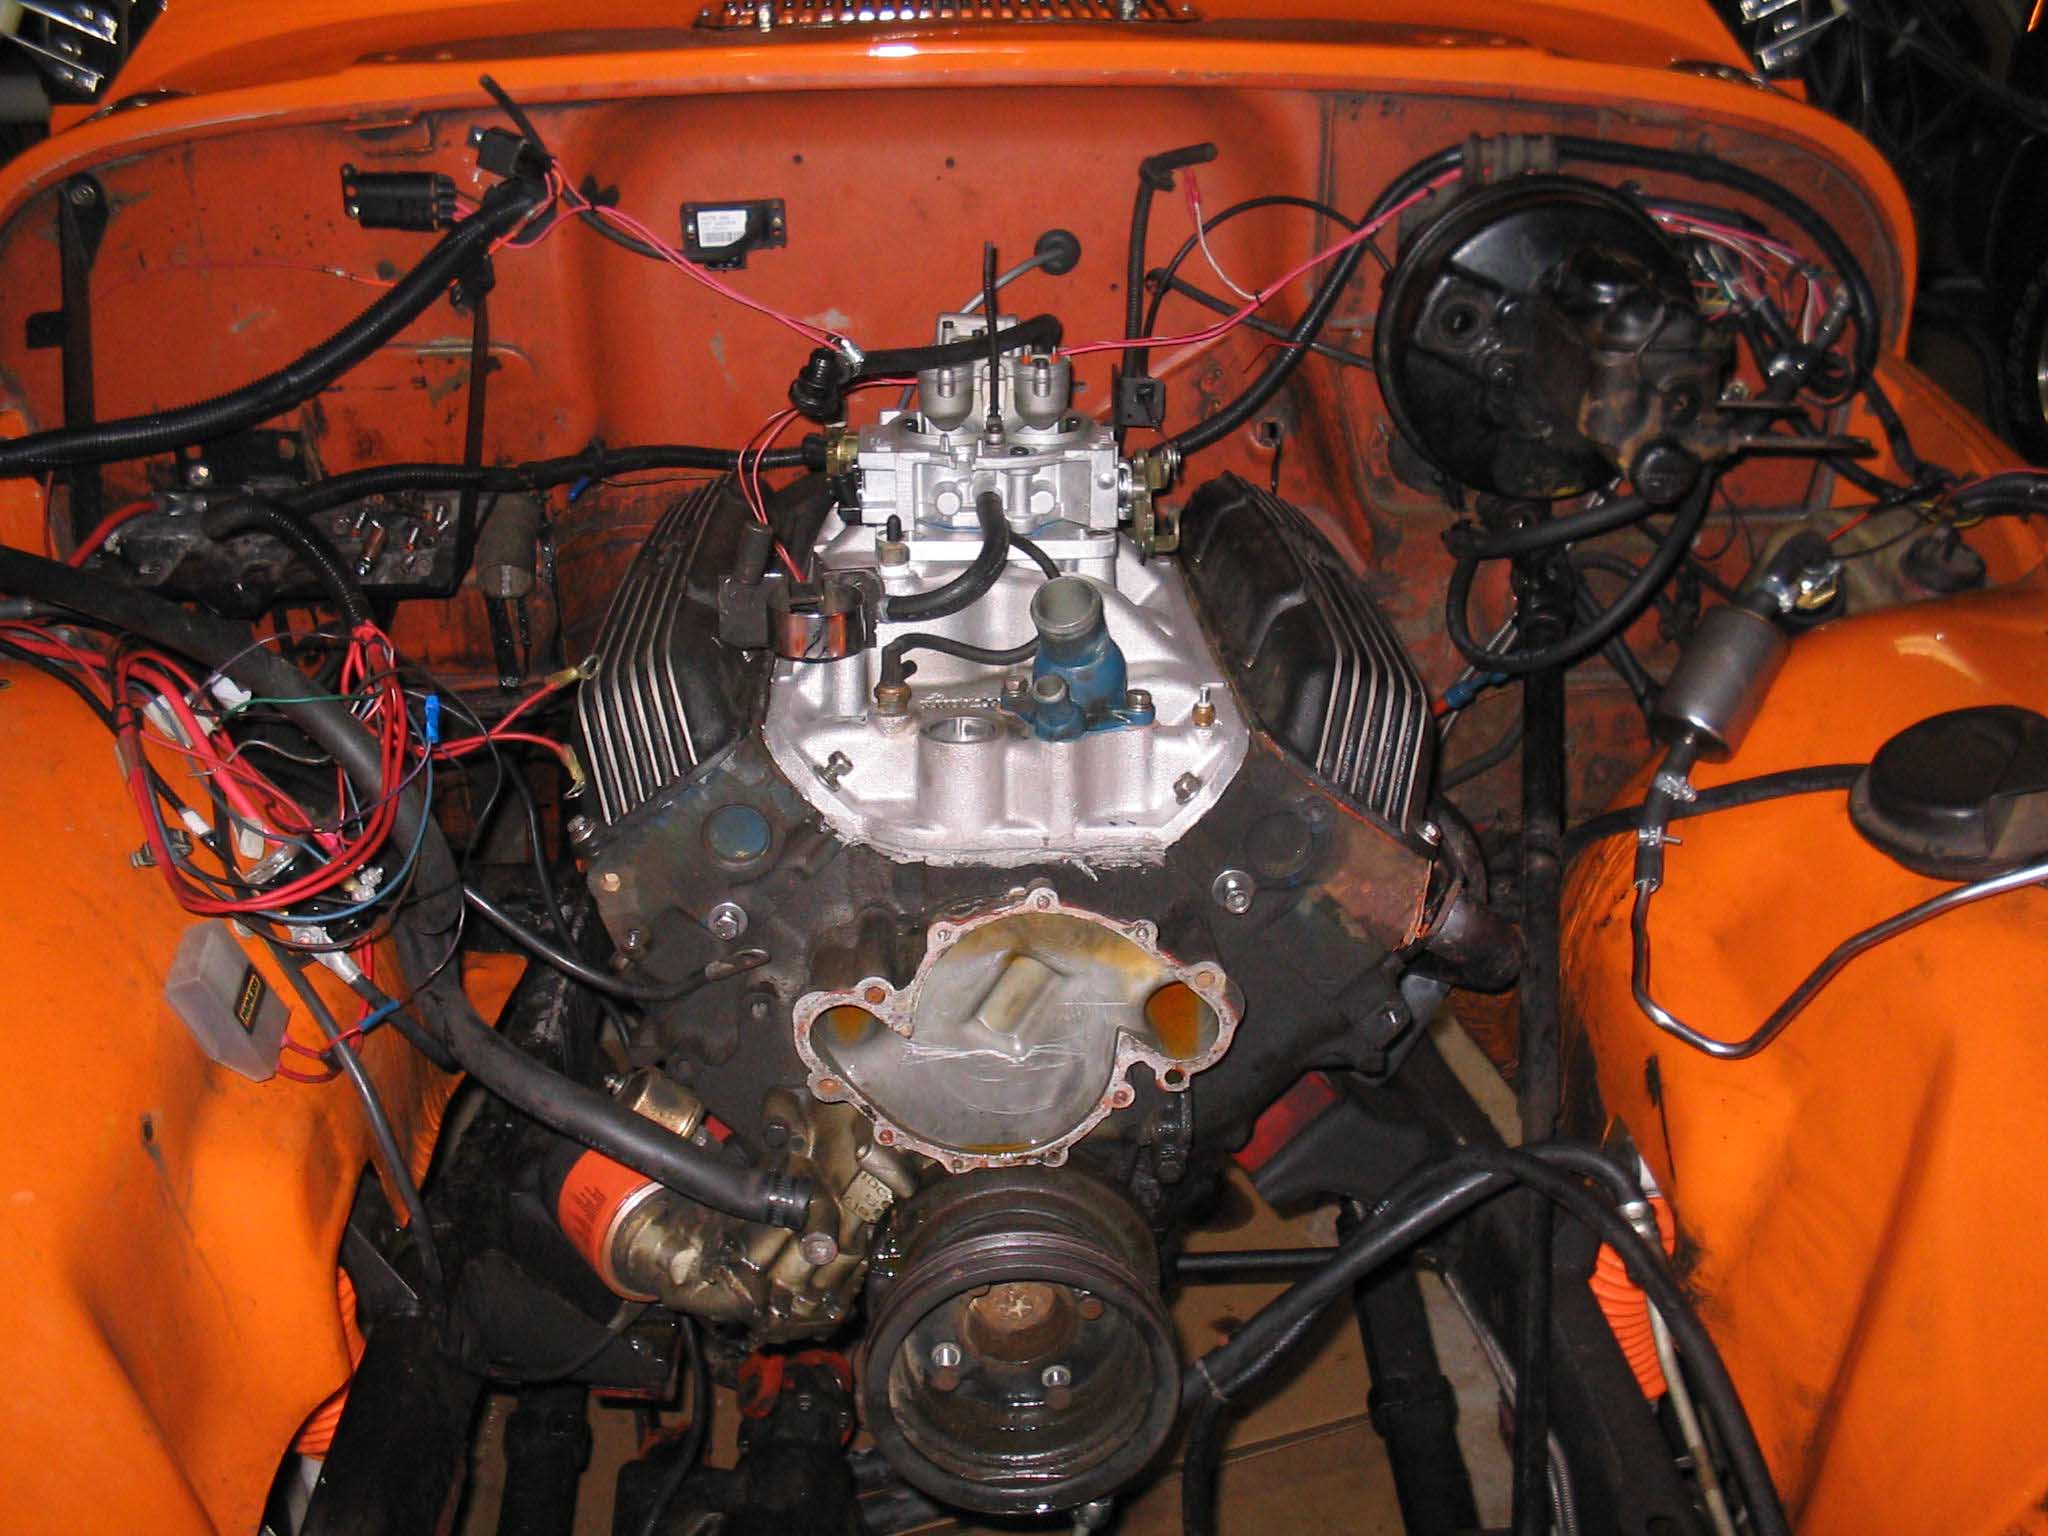
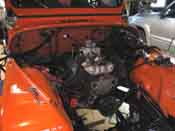
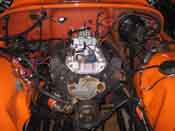
The distributor came out next and then I went onto remove the headers and the exhaust system
from the underside. The starter came out along with this and then finally you have to unbolt the inspection plate on the
underside. There are 4 bolts to do this with 2 of them being the clutch linkage if you have a manual clutch. If you don't
do this, then the engine won't come free from the input shaft of the transmission. I didn't do this in the correct order,
so learn from my mistakes here.
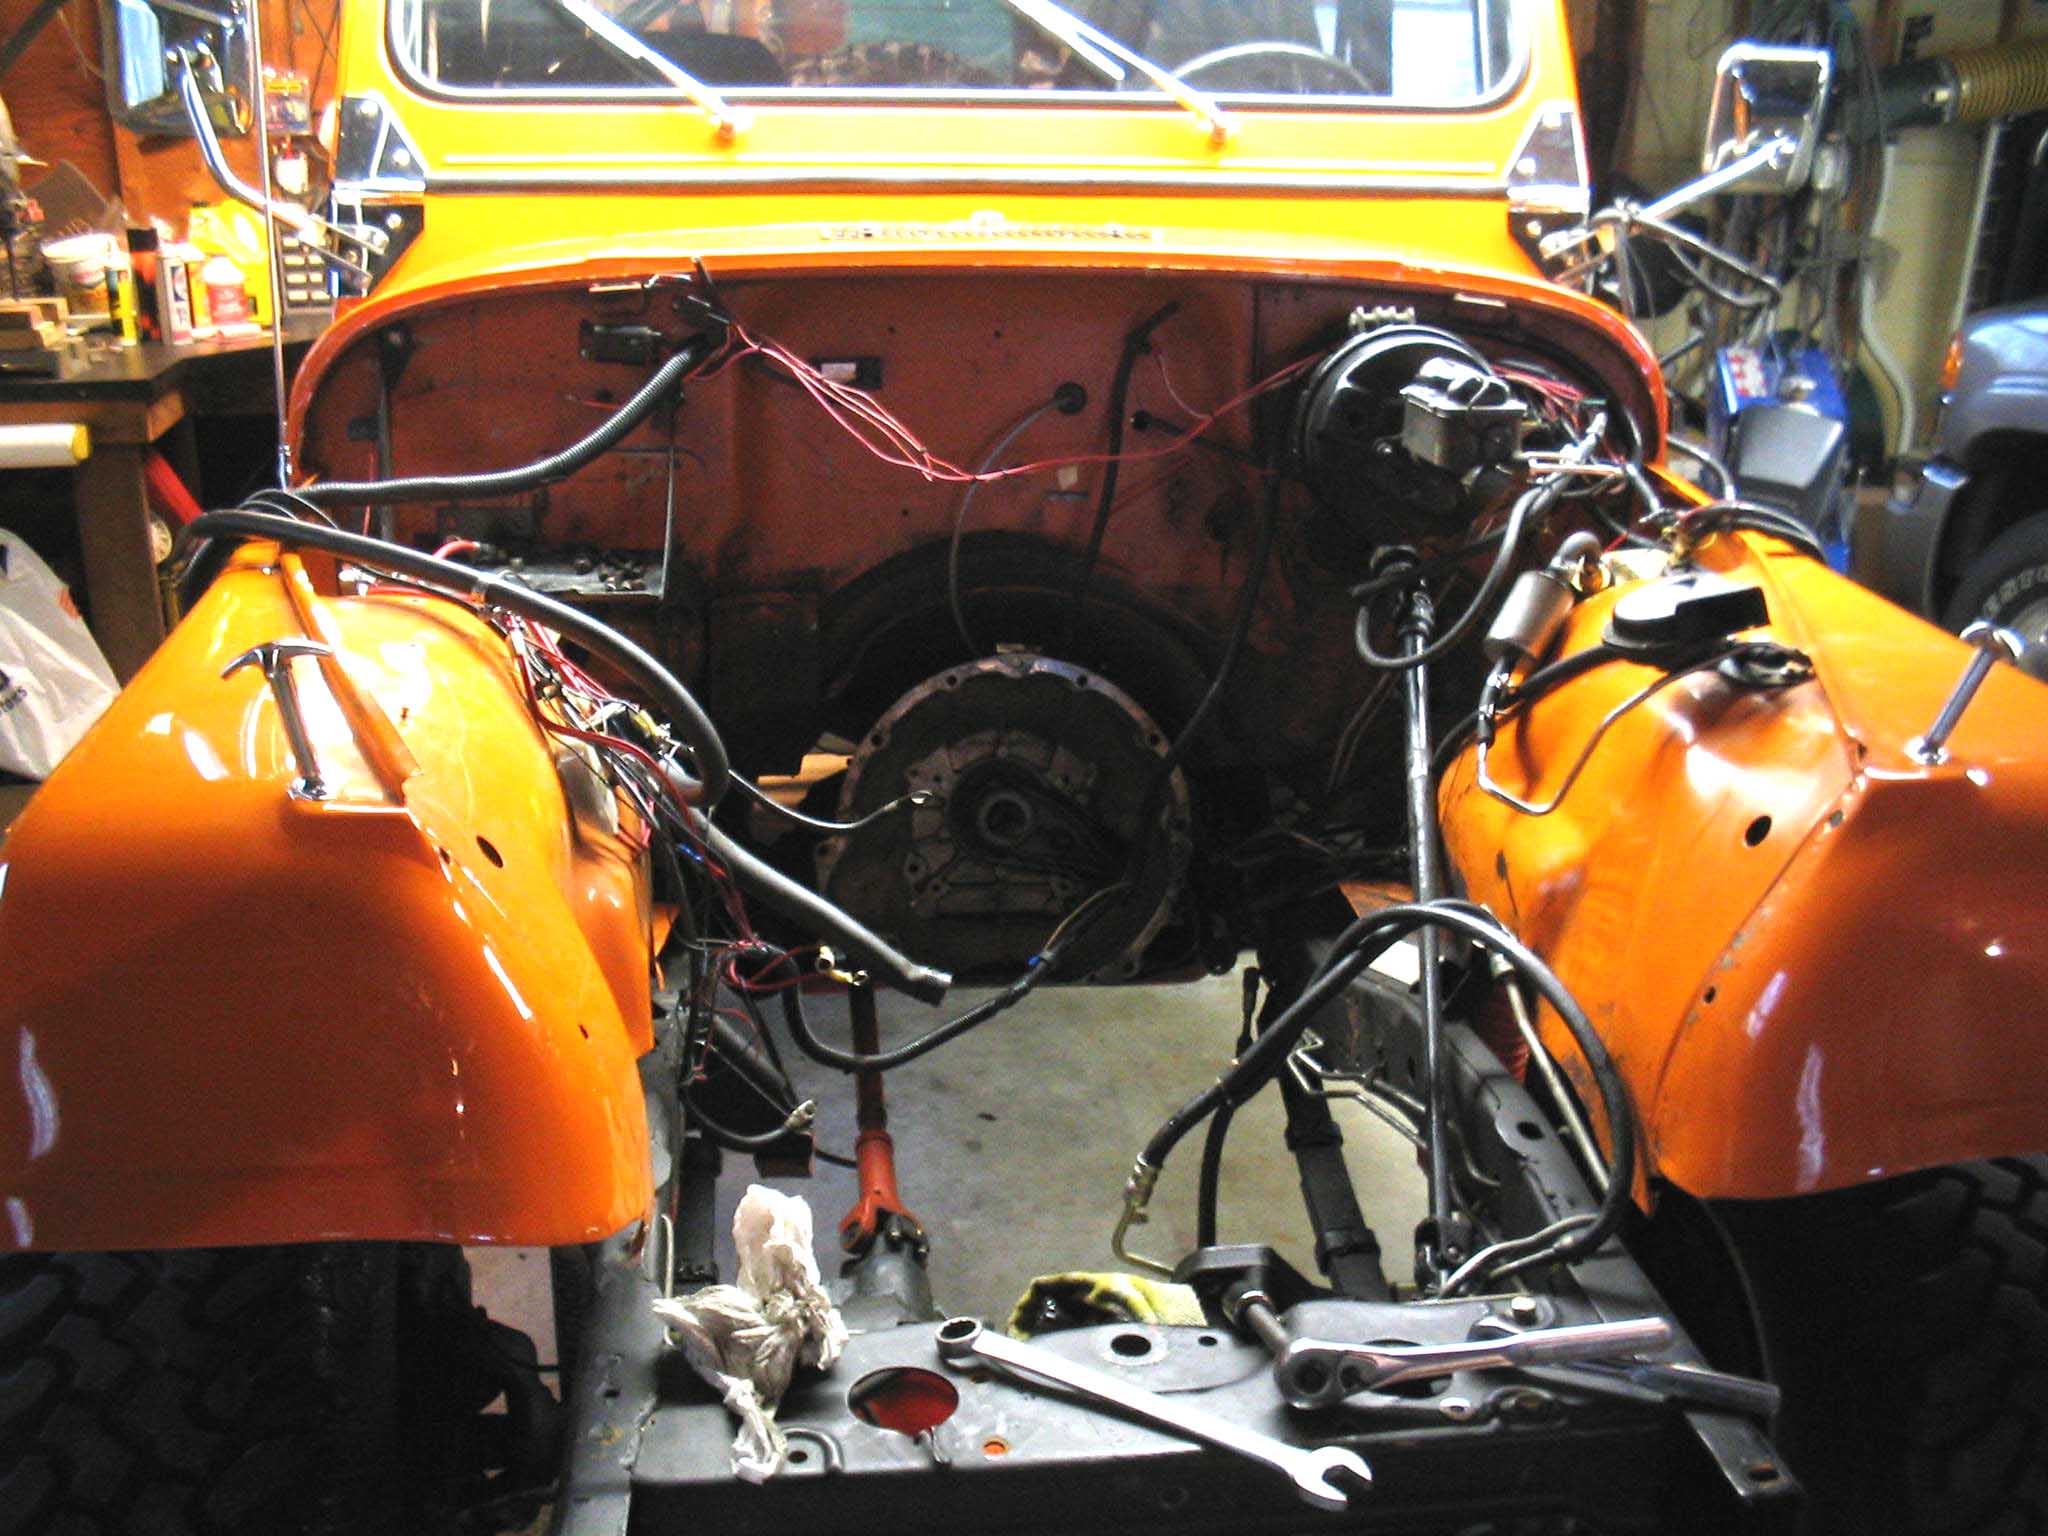
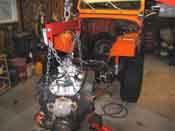
With all the above done, I just had to get the 6 bolts that held the bell housing to the motor and then finally the 8 bolts
that held the motor mounts to the rails of the frame. I did this after I hooked up the engine hoist and put some tension on
the engine so it wouldn't fall down. With everything hooked up with the engine stand, we were ready to start pulling the motor.
This came out without a hitch once we unbolted the passenger side motor mount. This was in the way of the bump stop bracket.
This was also a learning experience, as I had not seen this as a factor when I was planning this.
|
| |
|

|
|
|
| |
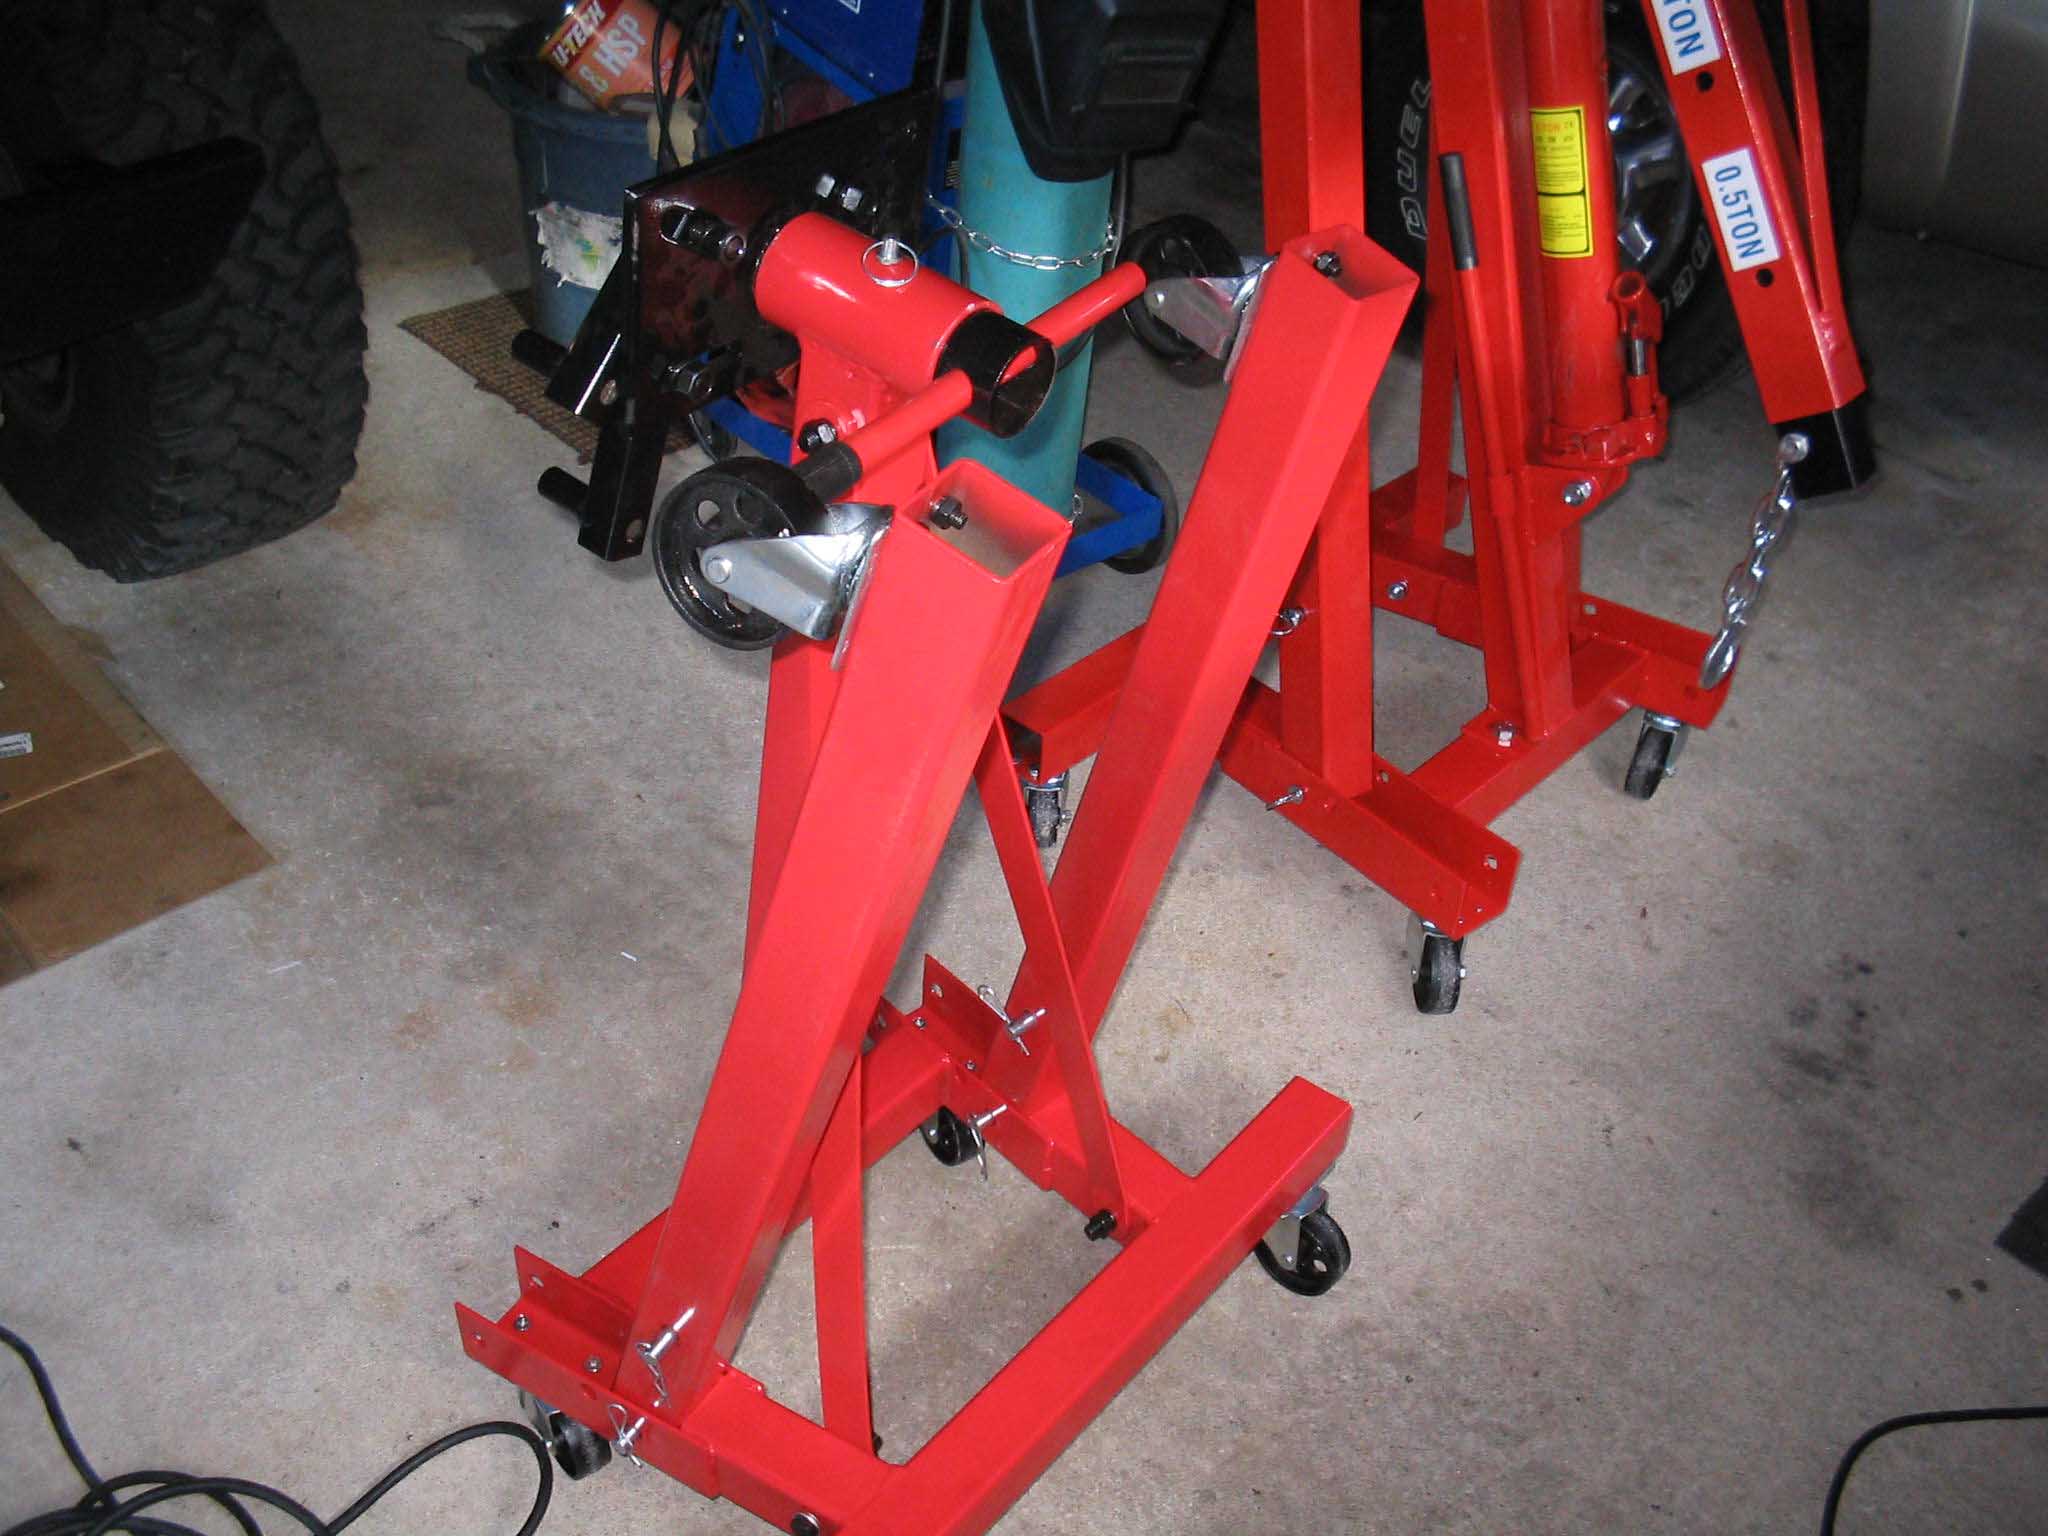
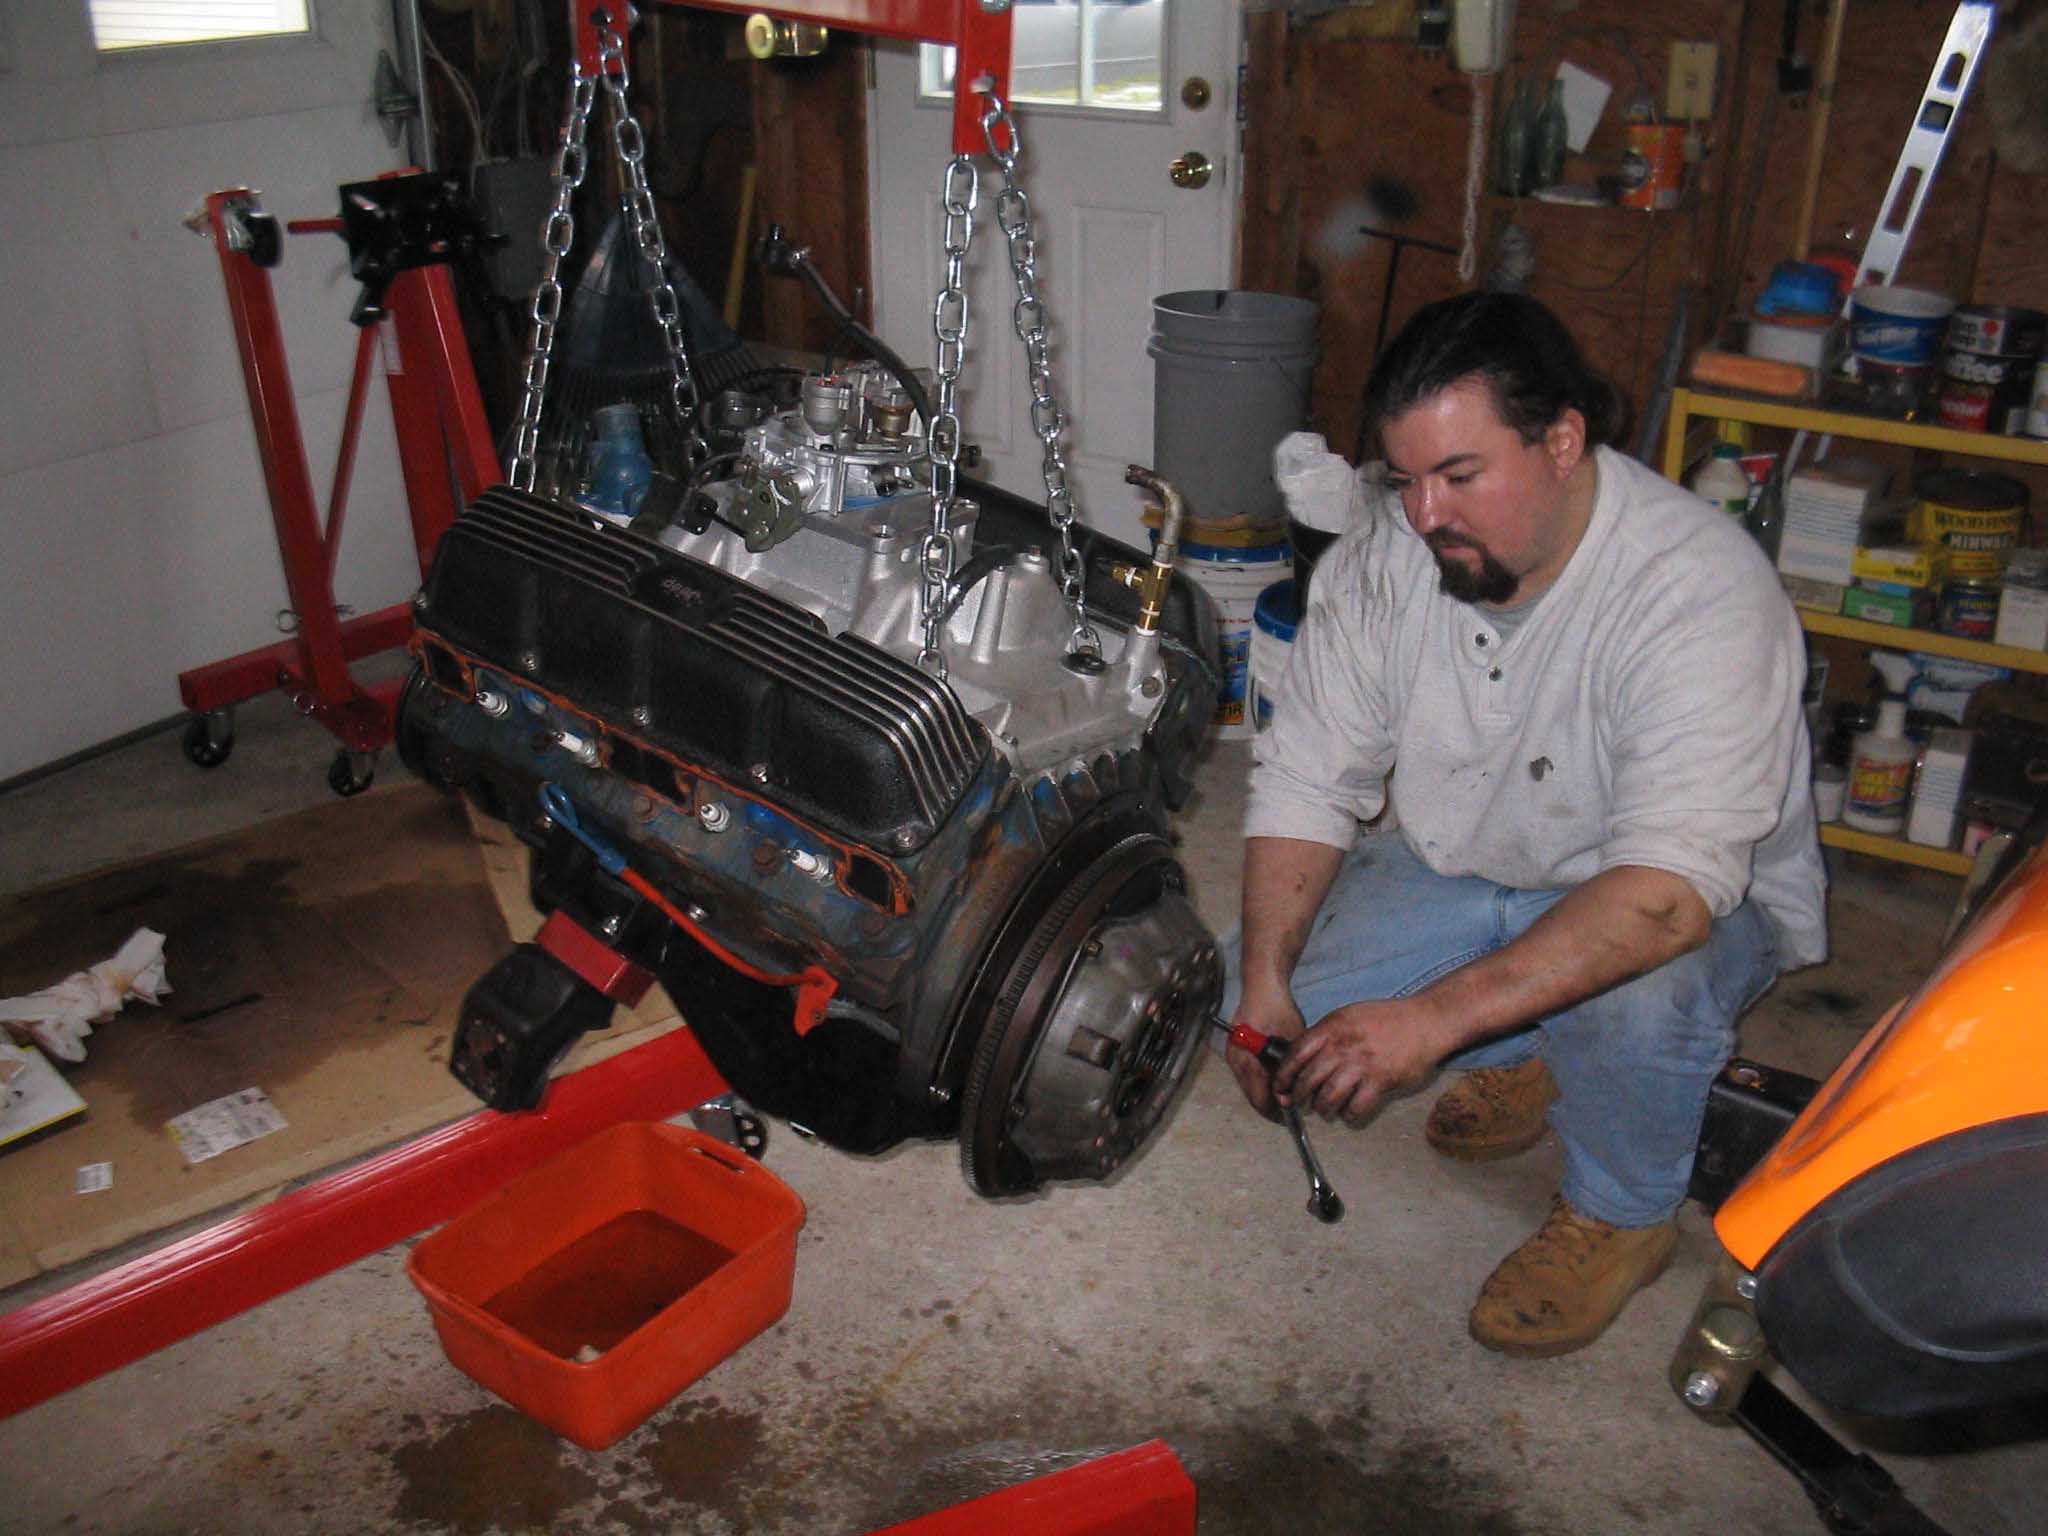
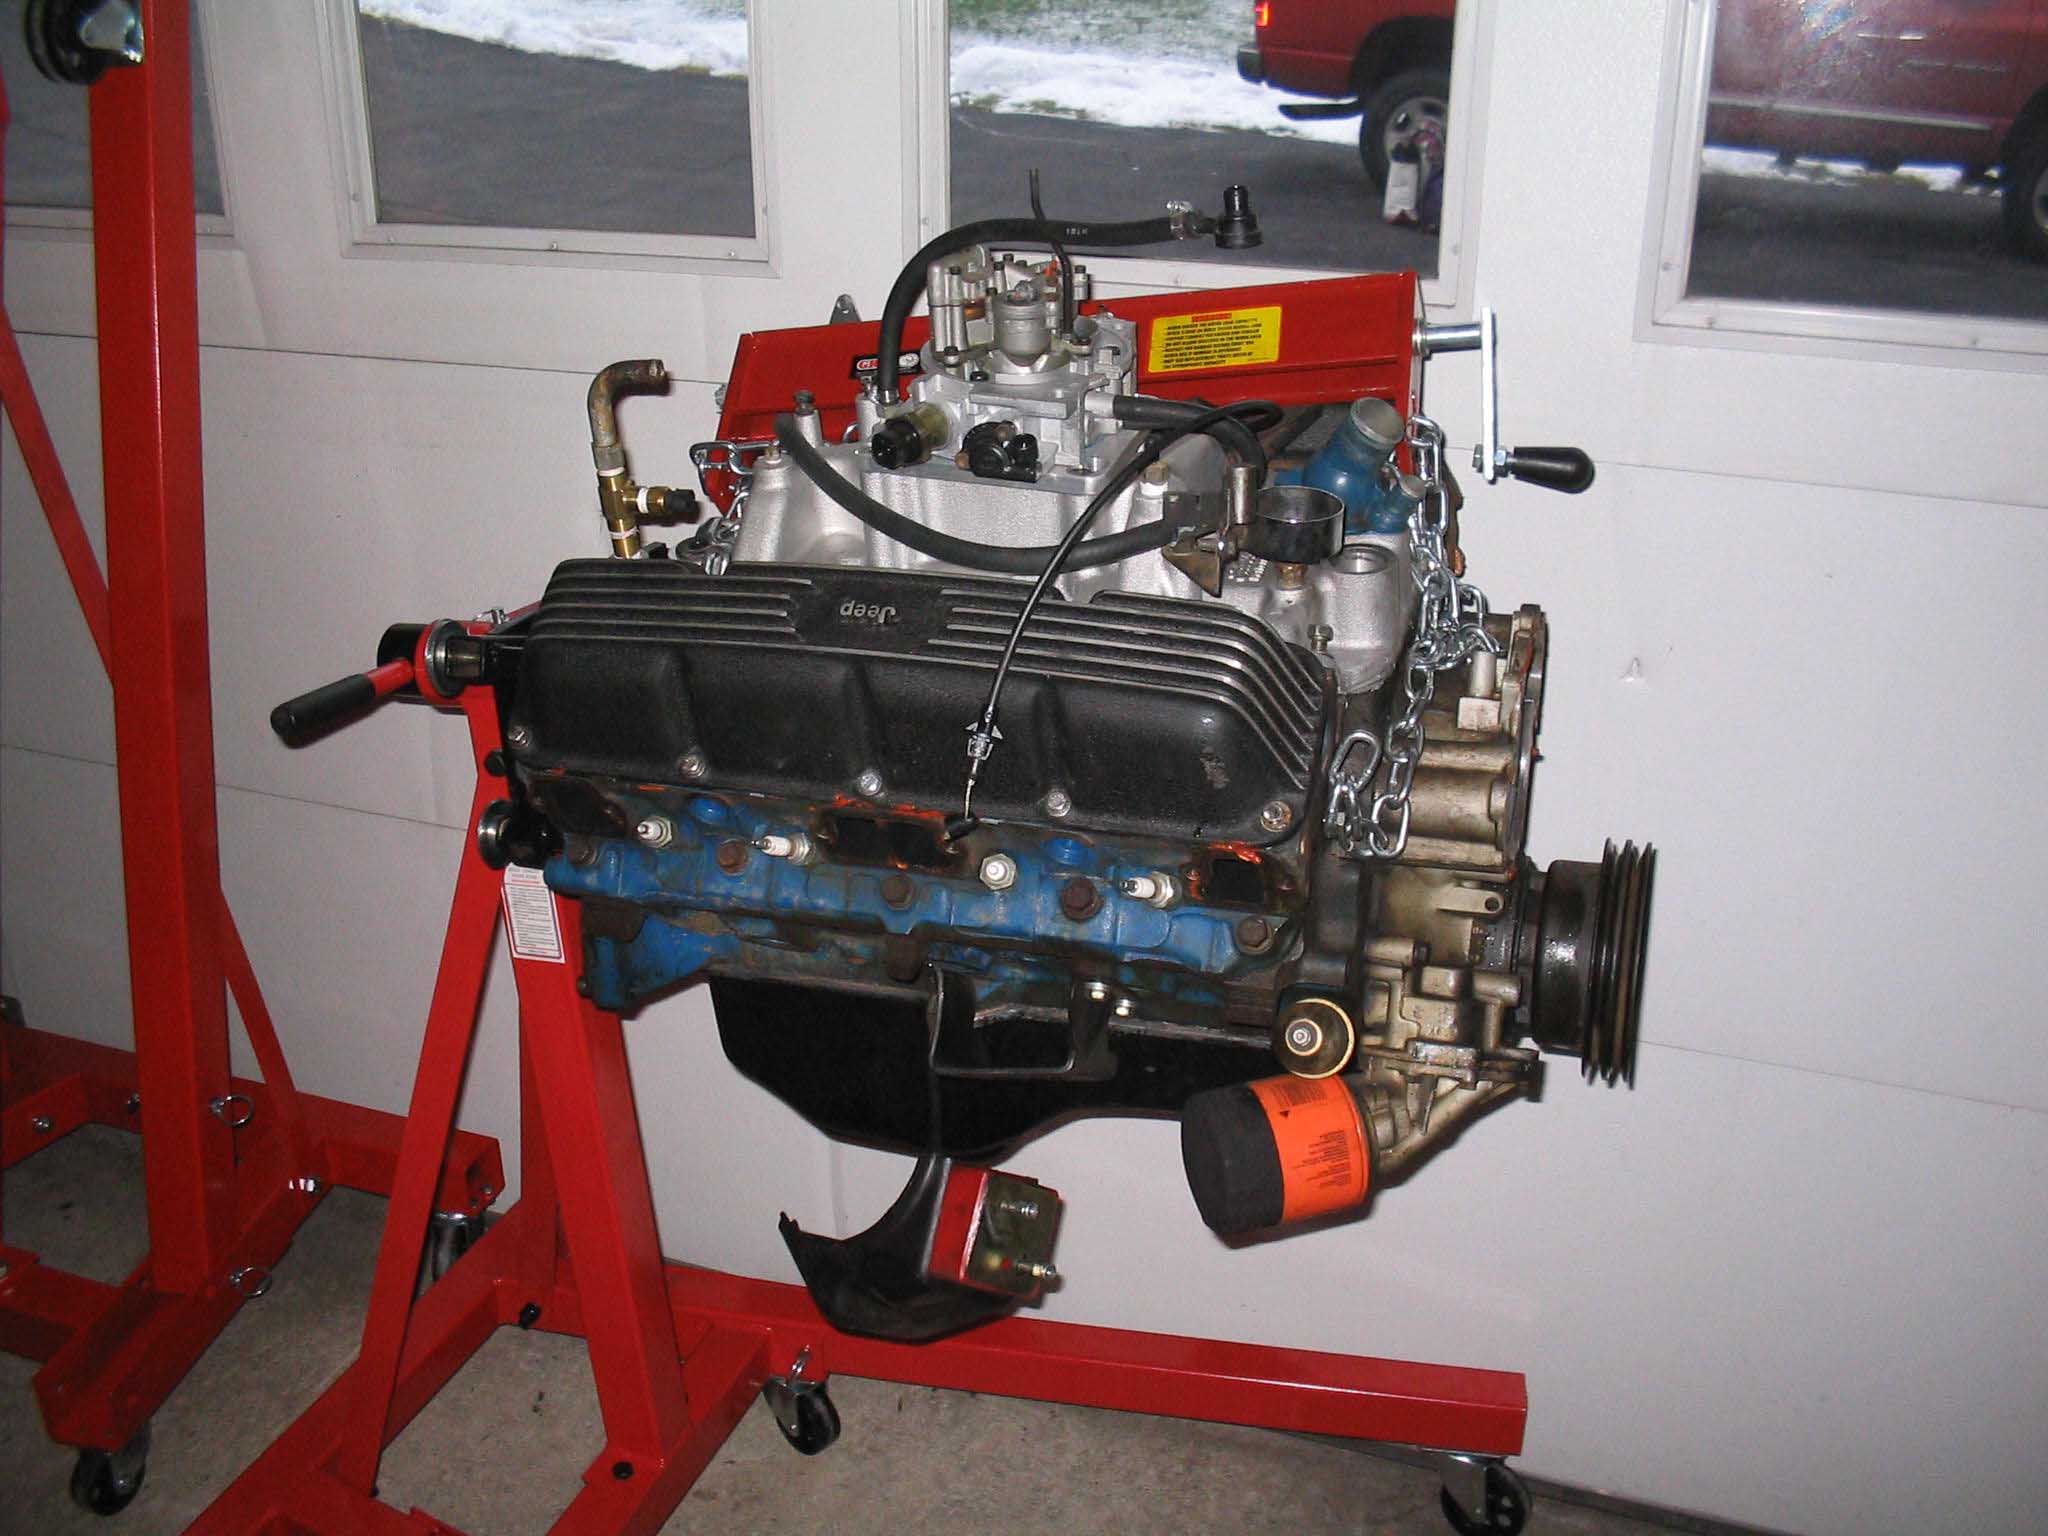
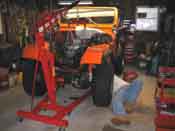
With the motor out, we went on to attach it to the engine stand. Make sure you get a good
engine stand if you are going to go this route. I got a 2,000 lb. rated stand and it worked out really well for what we were
trying to accomplish. The engine is out and on the stand as we speak. I have to take off some parts on it and then we should
be all set to put them on the new motor. Hopefully towards the end of January, I will have all the parts back from the
machine shop and we should be in good shape.
One last thing that I learned was that the clutch was in pretty bad shape as was the pressure plate. I will replace all these
when the motor goes back in. Also going along with this will be a new water pump that flows more then the stock one to help
with the cooling. The clutch and flywheel come off a lot easier with air tools for those of you who don't know that. I tried
the brute force method and that didn't work out too well, so go with the air tools and you should be all set.
|
| |
| << Previous |
Next >> |
|