|
|
| 304 Engine Rebuild - Part #5 |
| |
|
1
2
3
4
5
6
7
8
9
10
11
12
13
14
15
16
|
| |
(01/08/06) After ordering up the parts for the clutch assembly for the Jeep, they
came in a few days later. I opened them up and much to my surprise; this wasn't a kit at all, just a bunch of
the pieces in one box. All the part numbers looked OK, but there pilot bushing was floating around in the
bottom of the box and there wasn't a part number associated with it. This concerned me, but since the old
engine was at the garage, I couldnt do much about it.
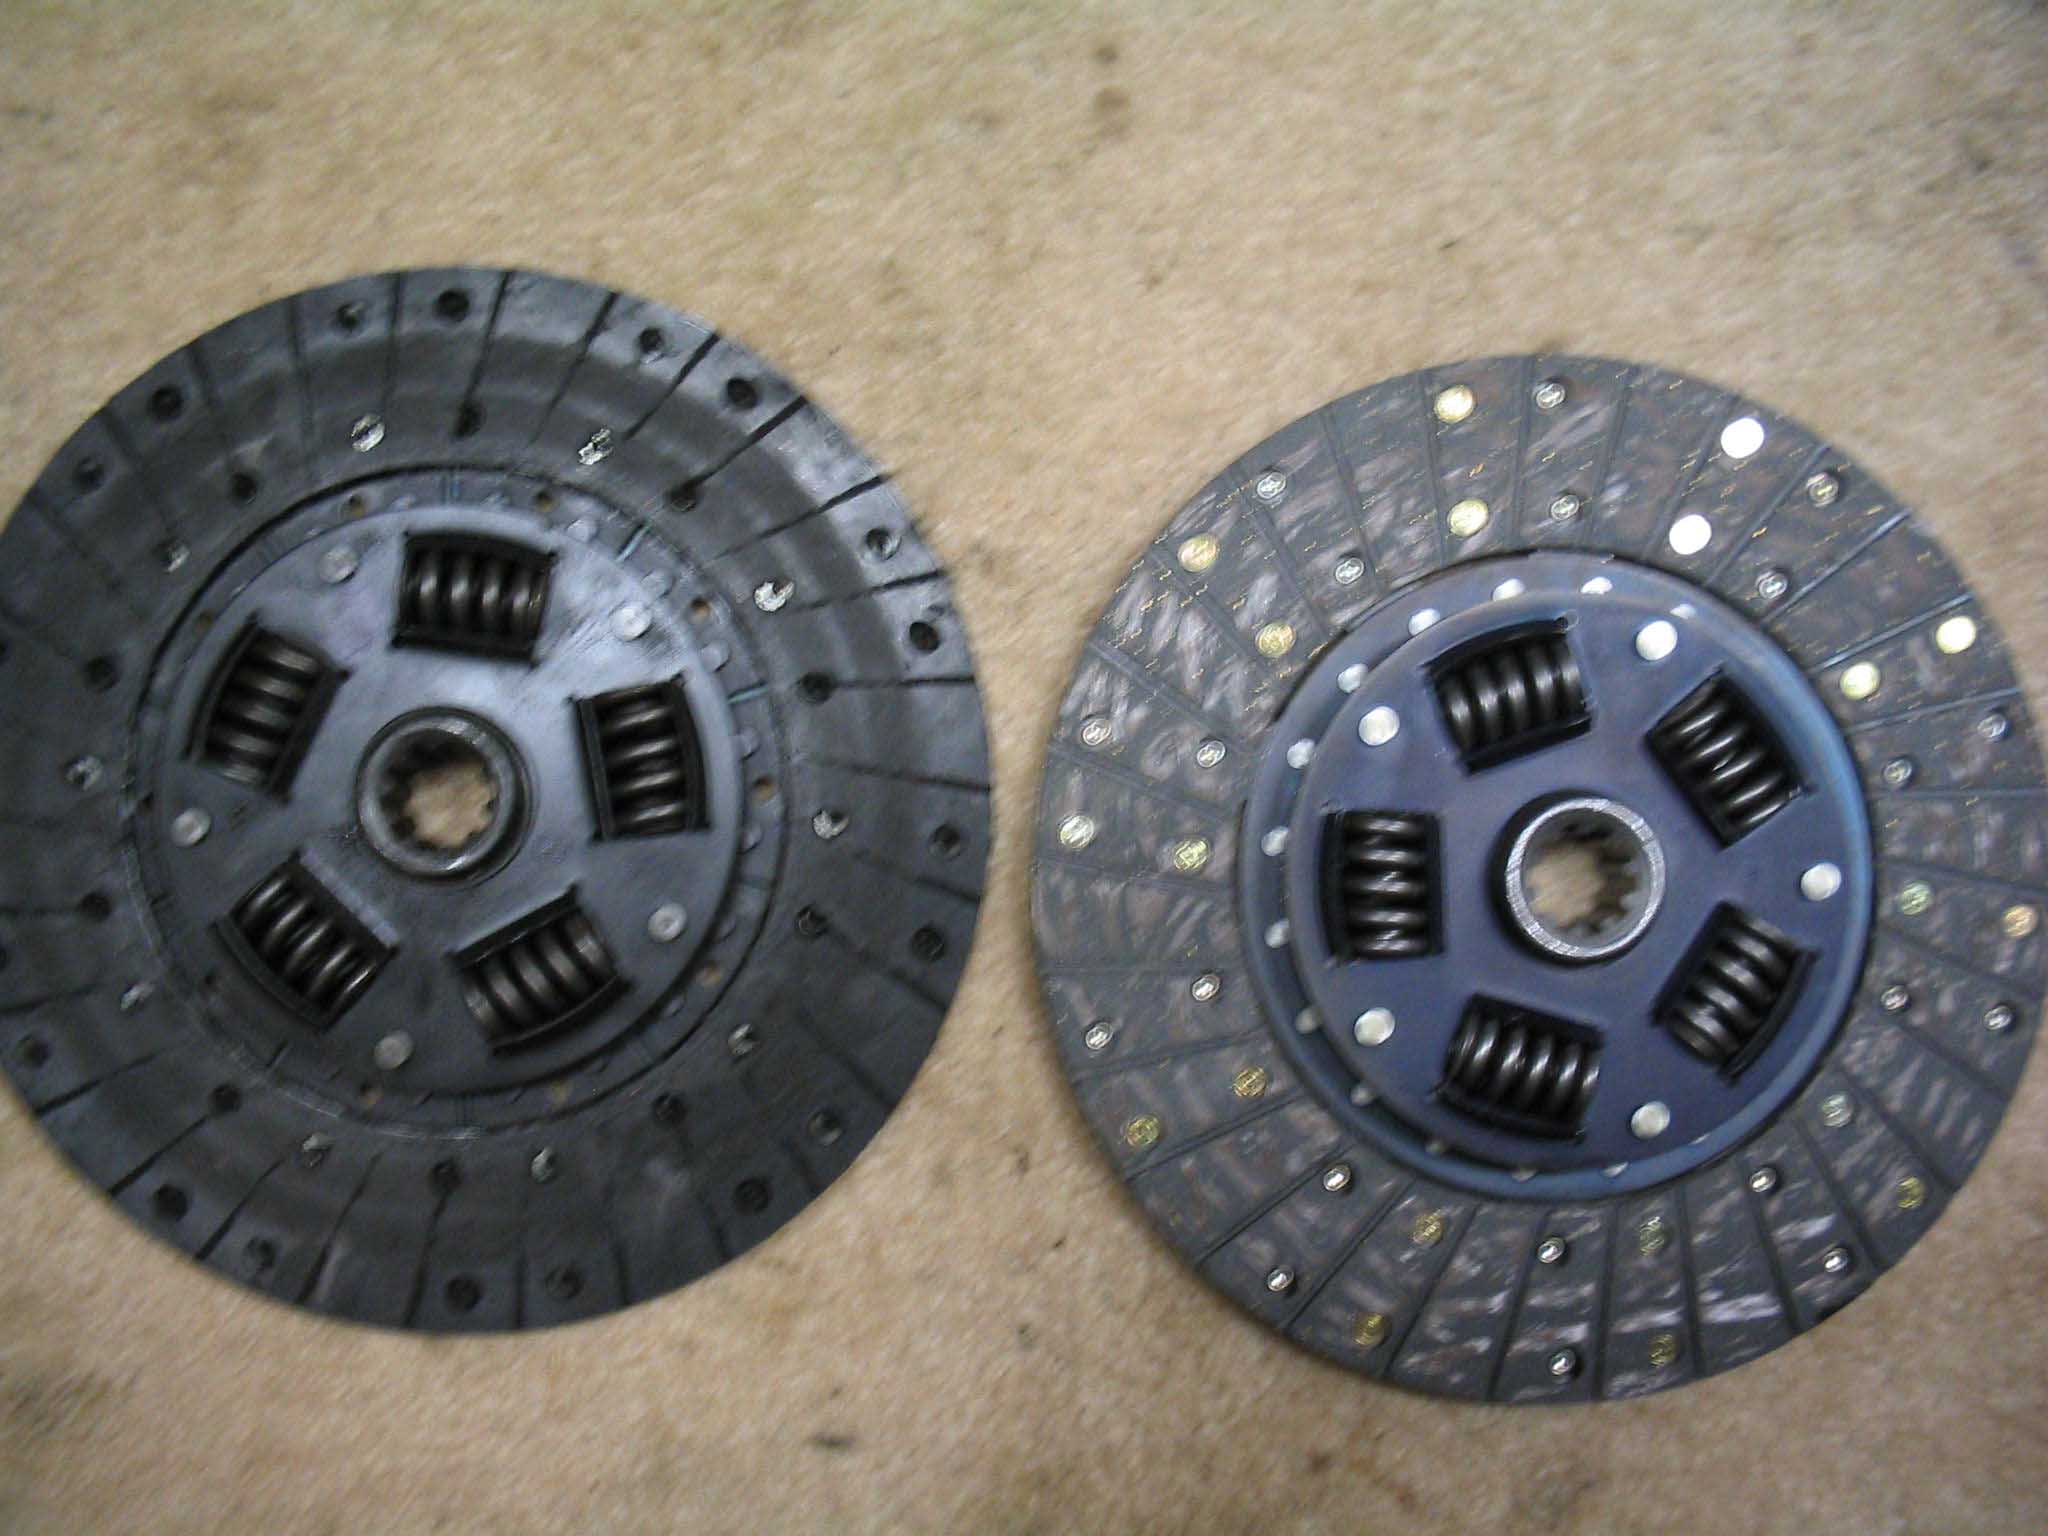
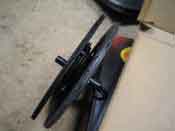
I went up to NH for the weekend to relax and then returned on Sunday afternoon early enough to stop at the garage
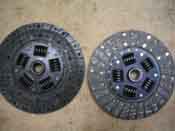
to check out all the parts against the existing pieces. The clutch discs lined up fine, I put the clutch
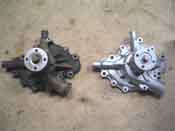
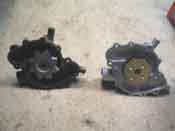
alignment tool through both of them and they sizes were the same. I took the water pump out and compared that,
it was dead on, except it was a few pounds lighter. As you can see in the photos, the impeller is also a
different setup, so I am looking to see how much cooler the under hood temperatures are with this setup.
|
| |
|
|
|
|
| |
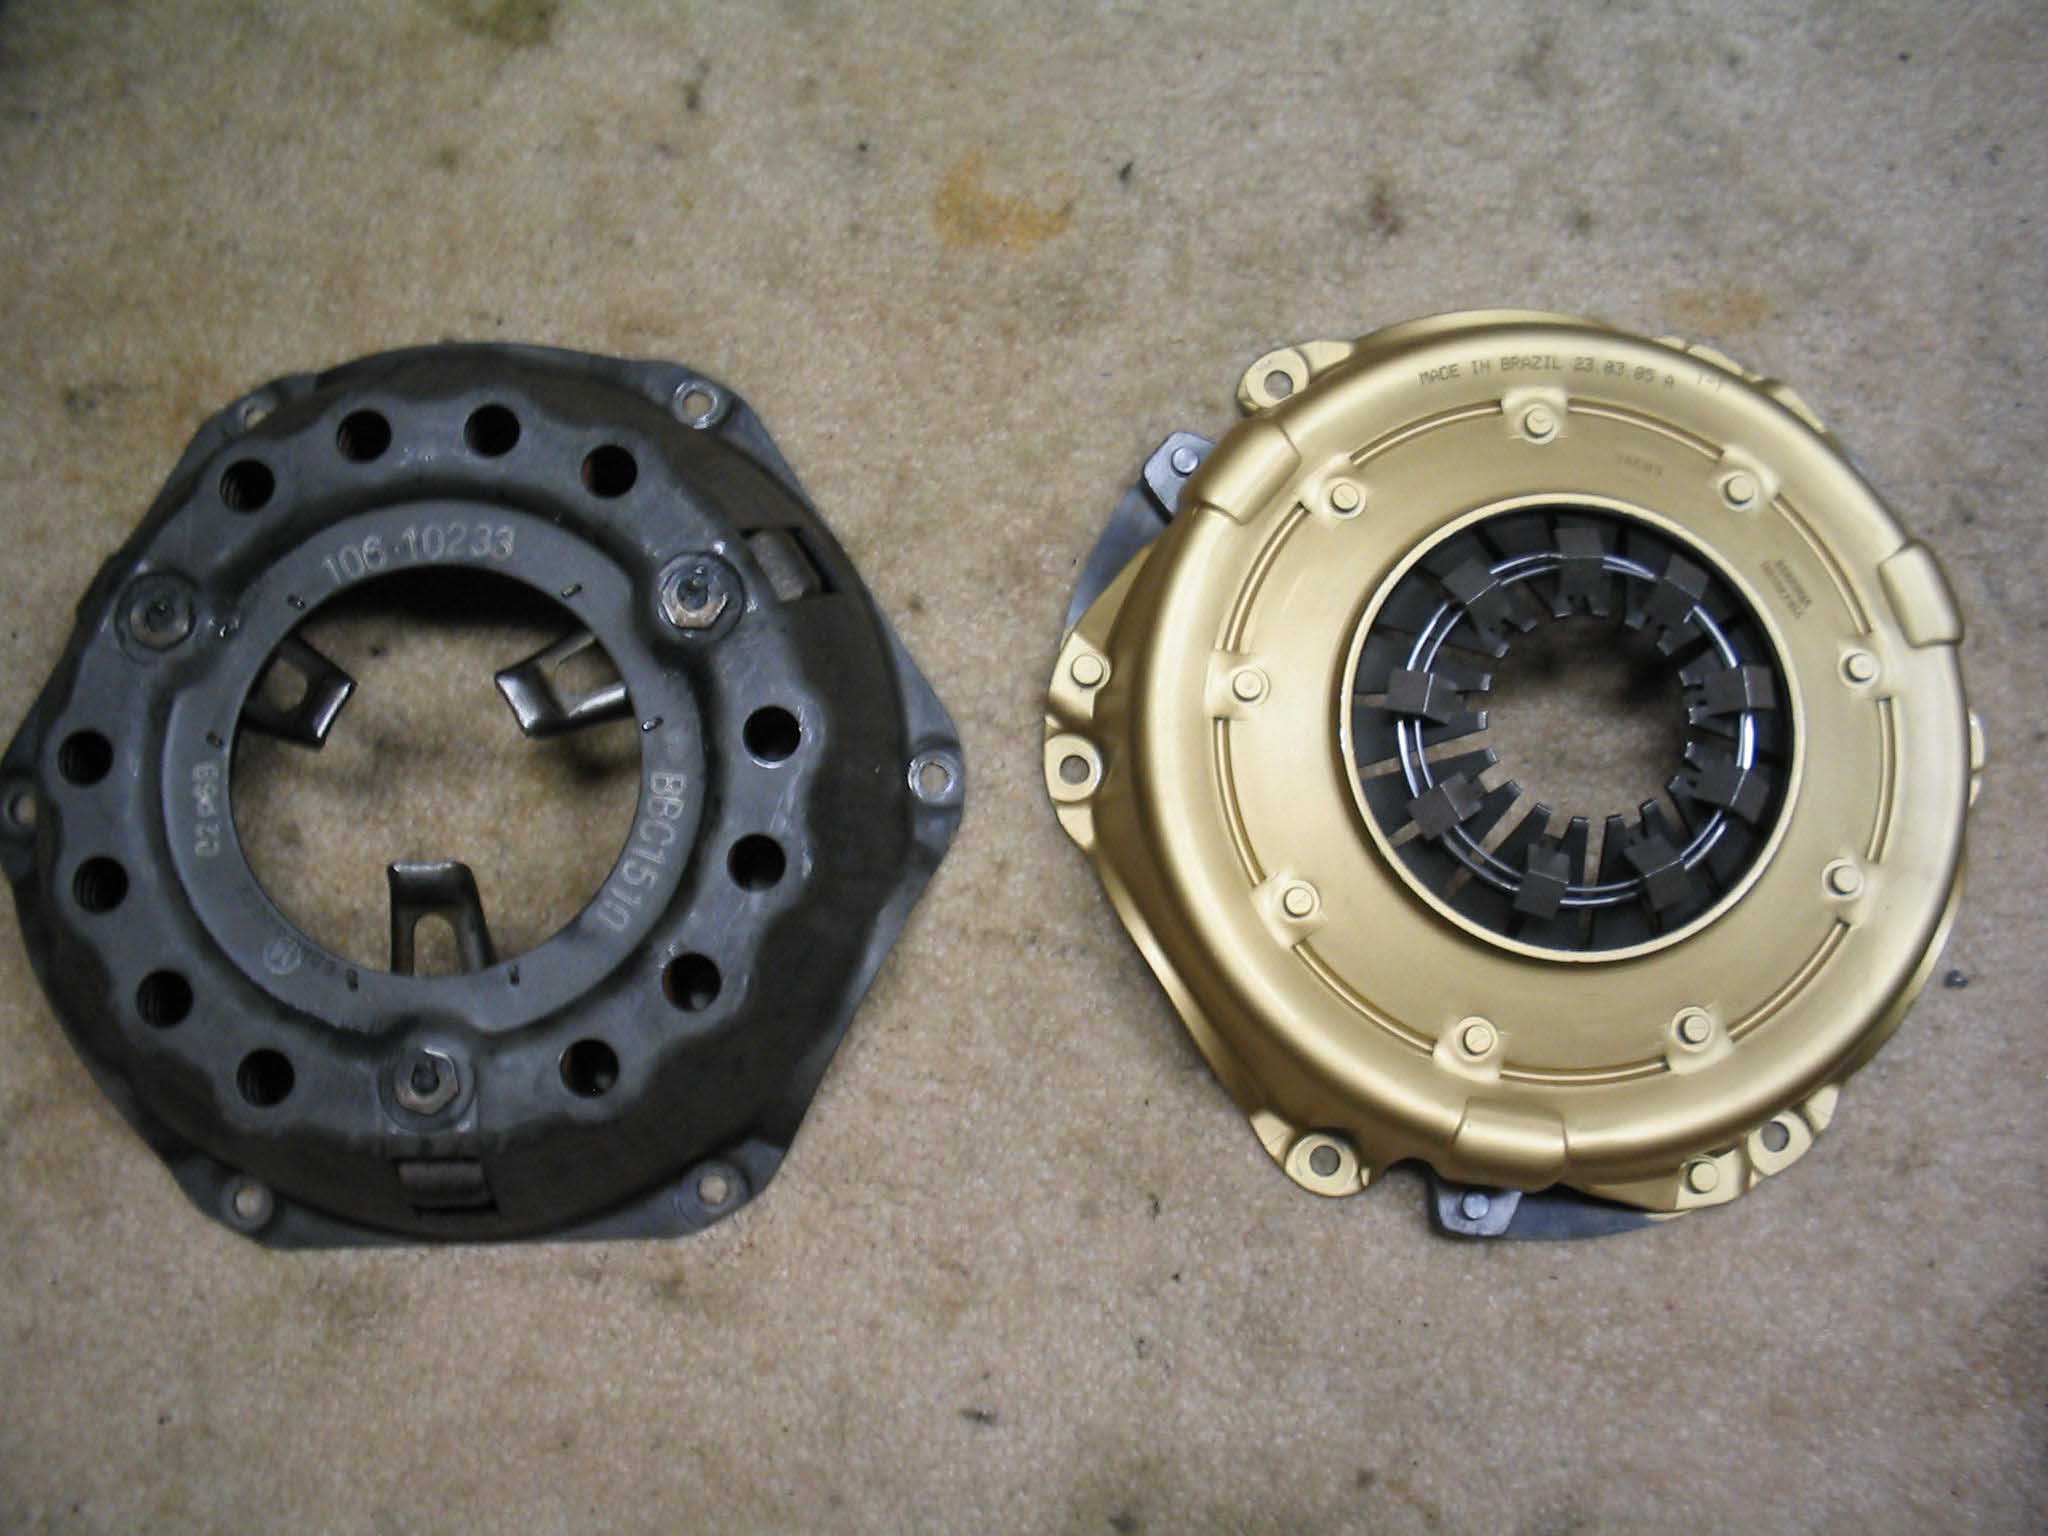
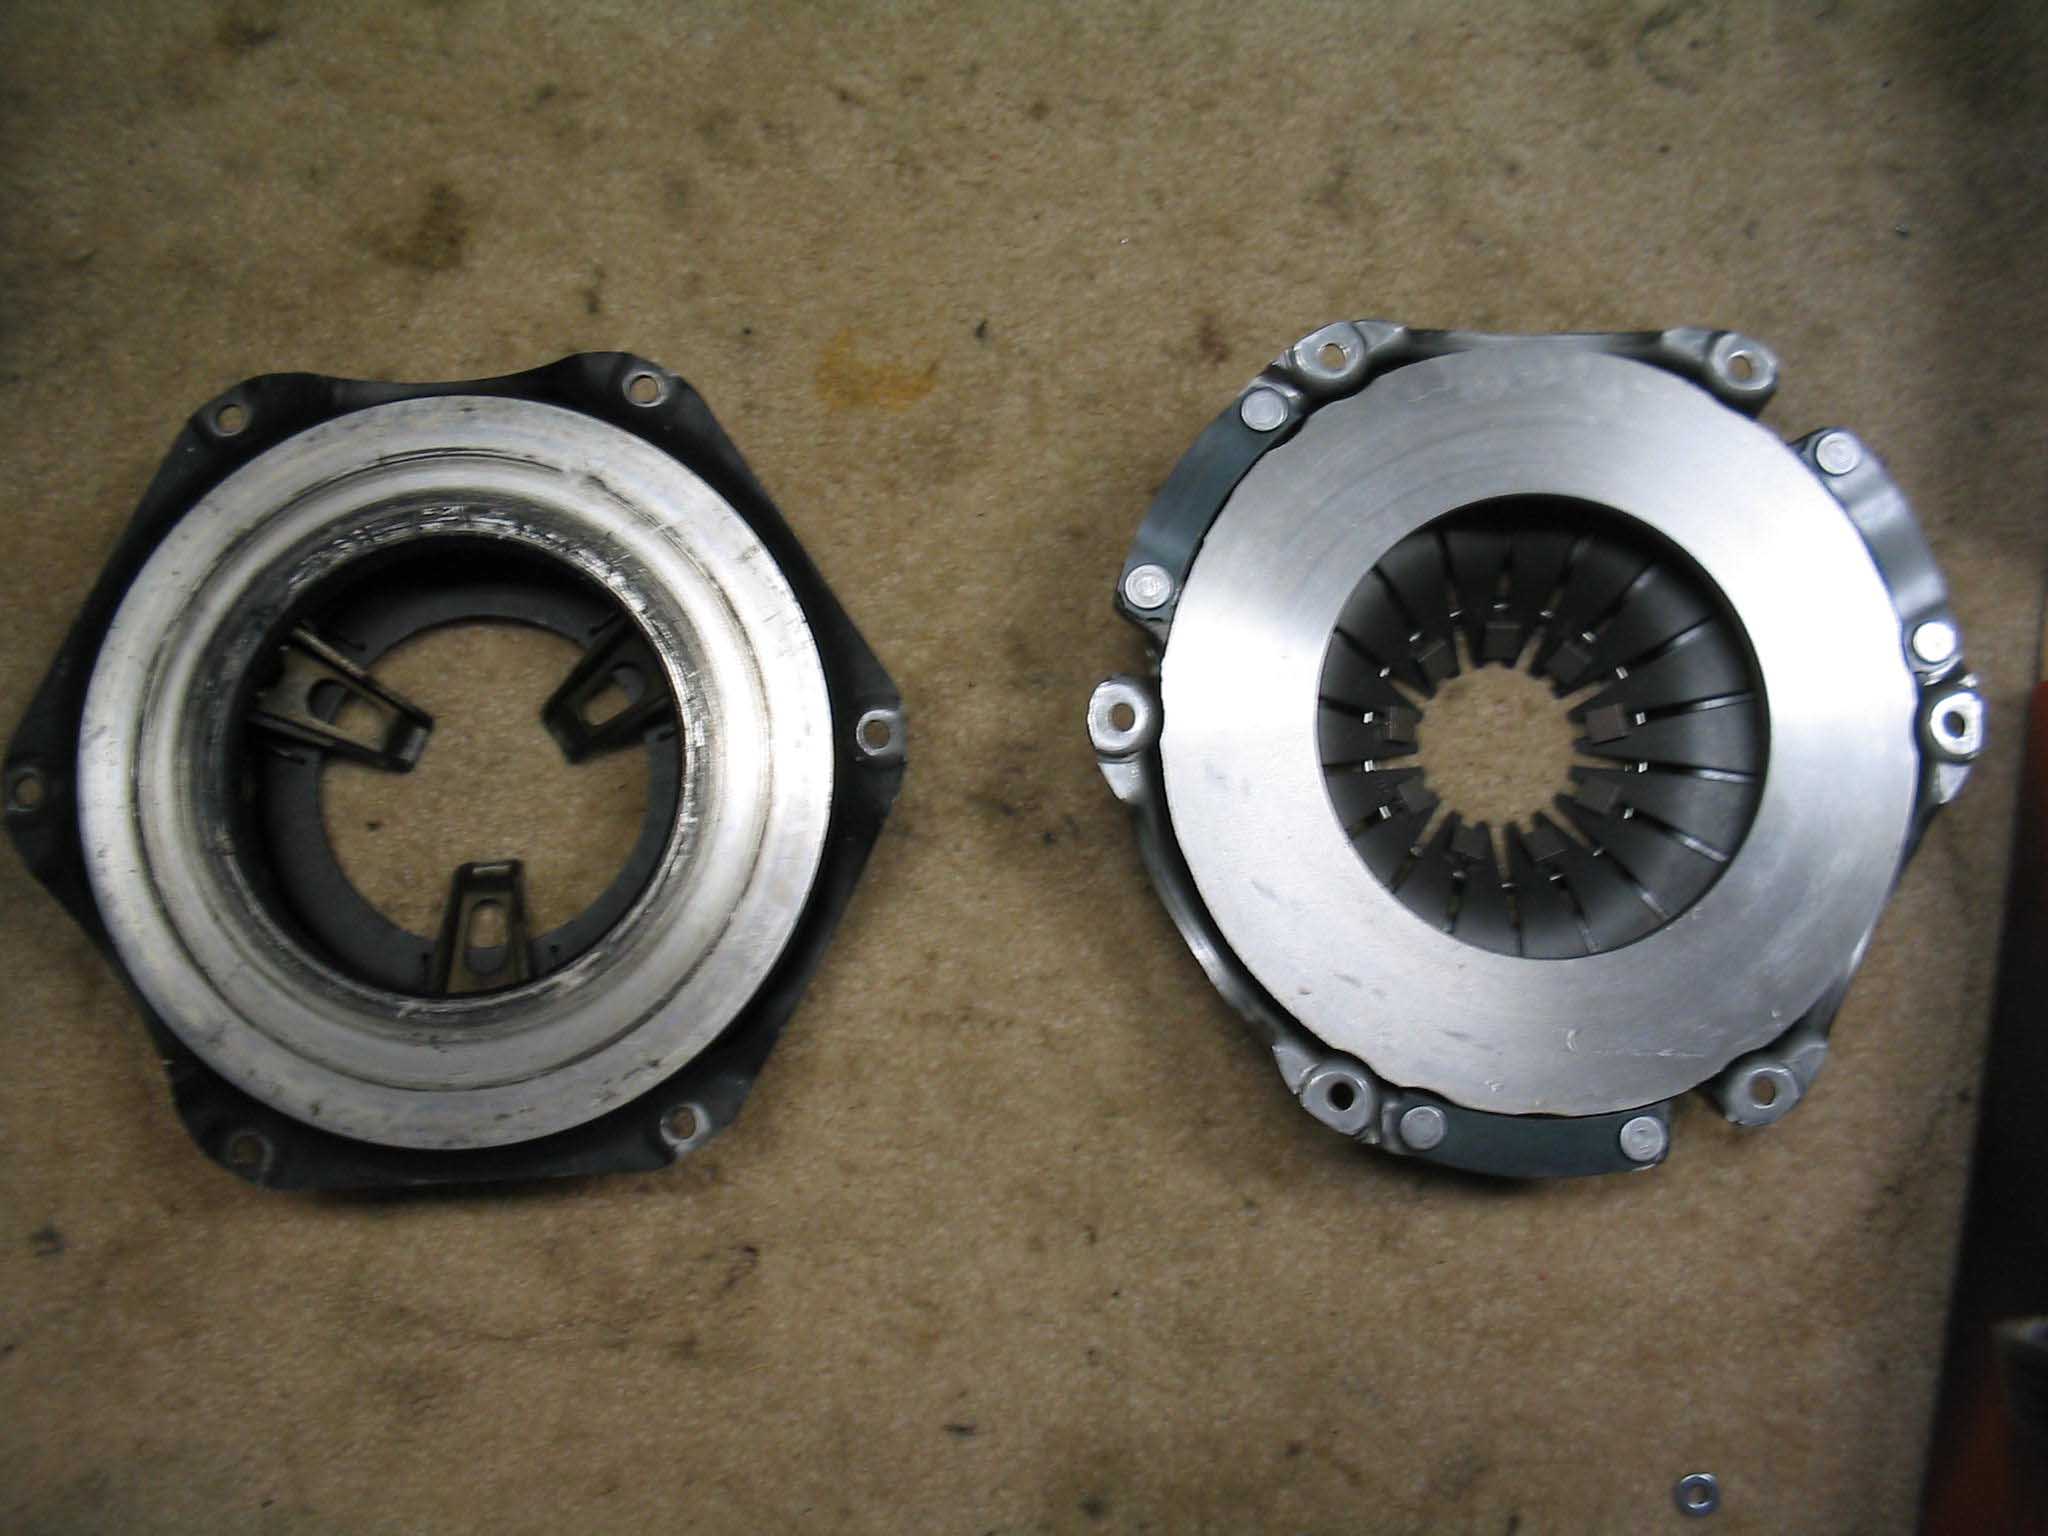
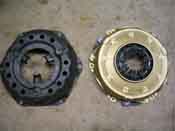
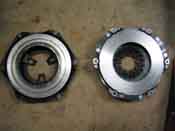
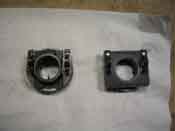
The pressure plate was attached to the box with some little fasteners, so when I
removed the new pressure plate to check it out against the old one, I was able to simply just slip the old one
onto the mounting points of the new box and they lined up perfect. As you can see in the pictures, they are the
same size and the mount points are the same, the new one just has some balancing weights around the teeth.
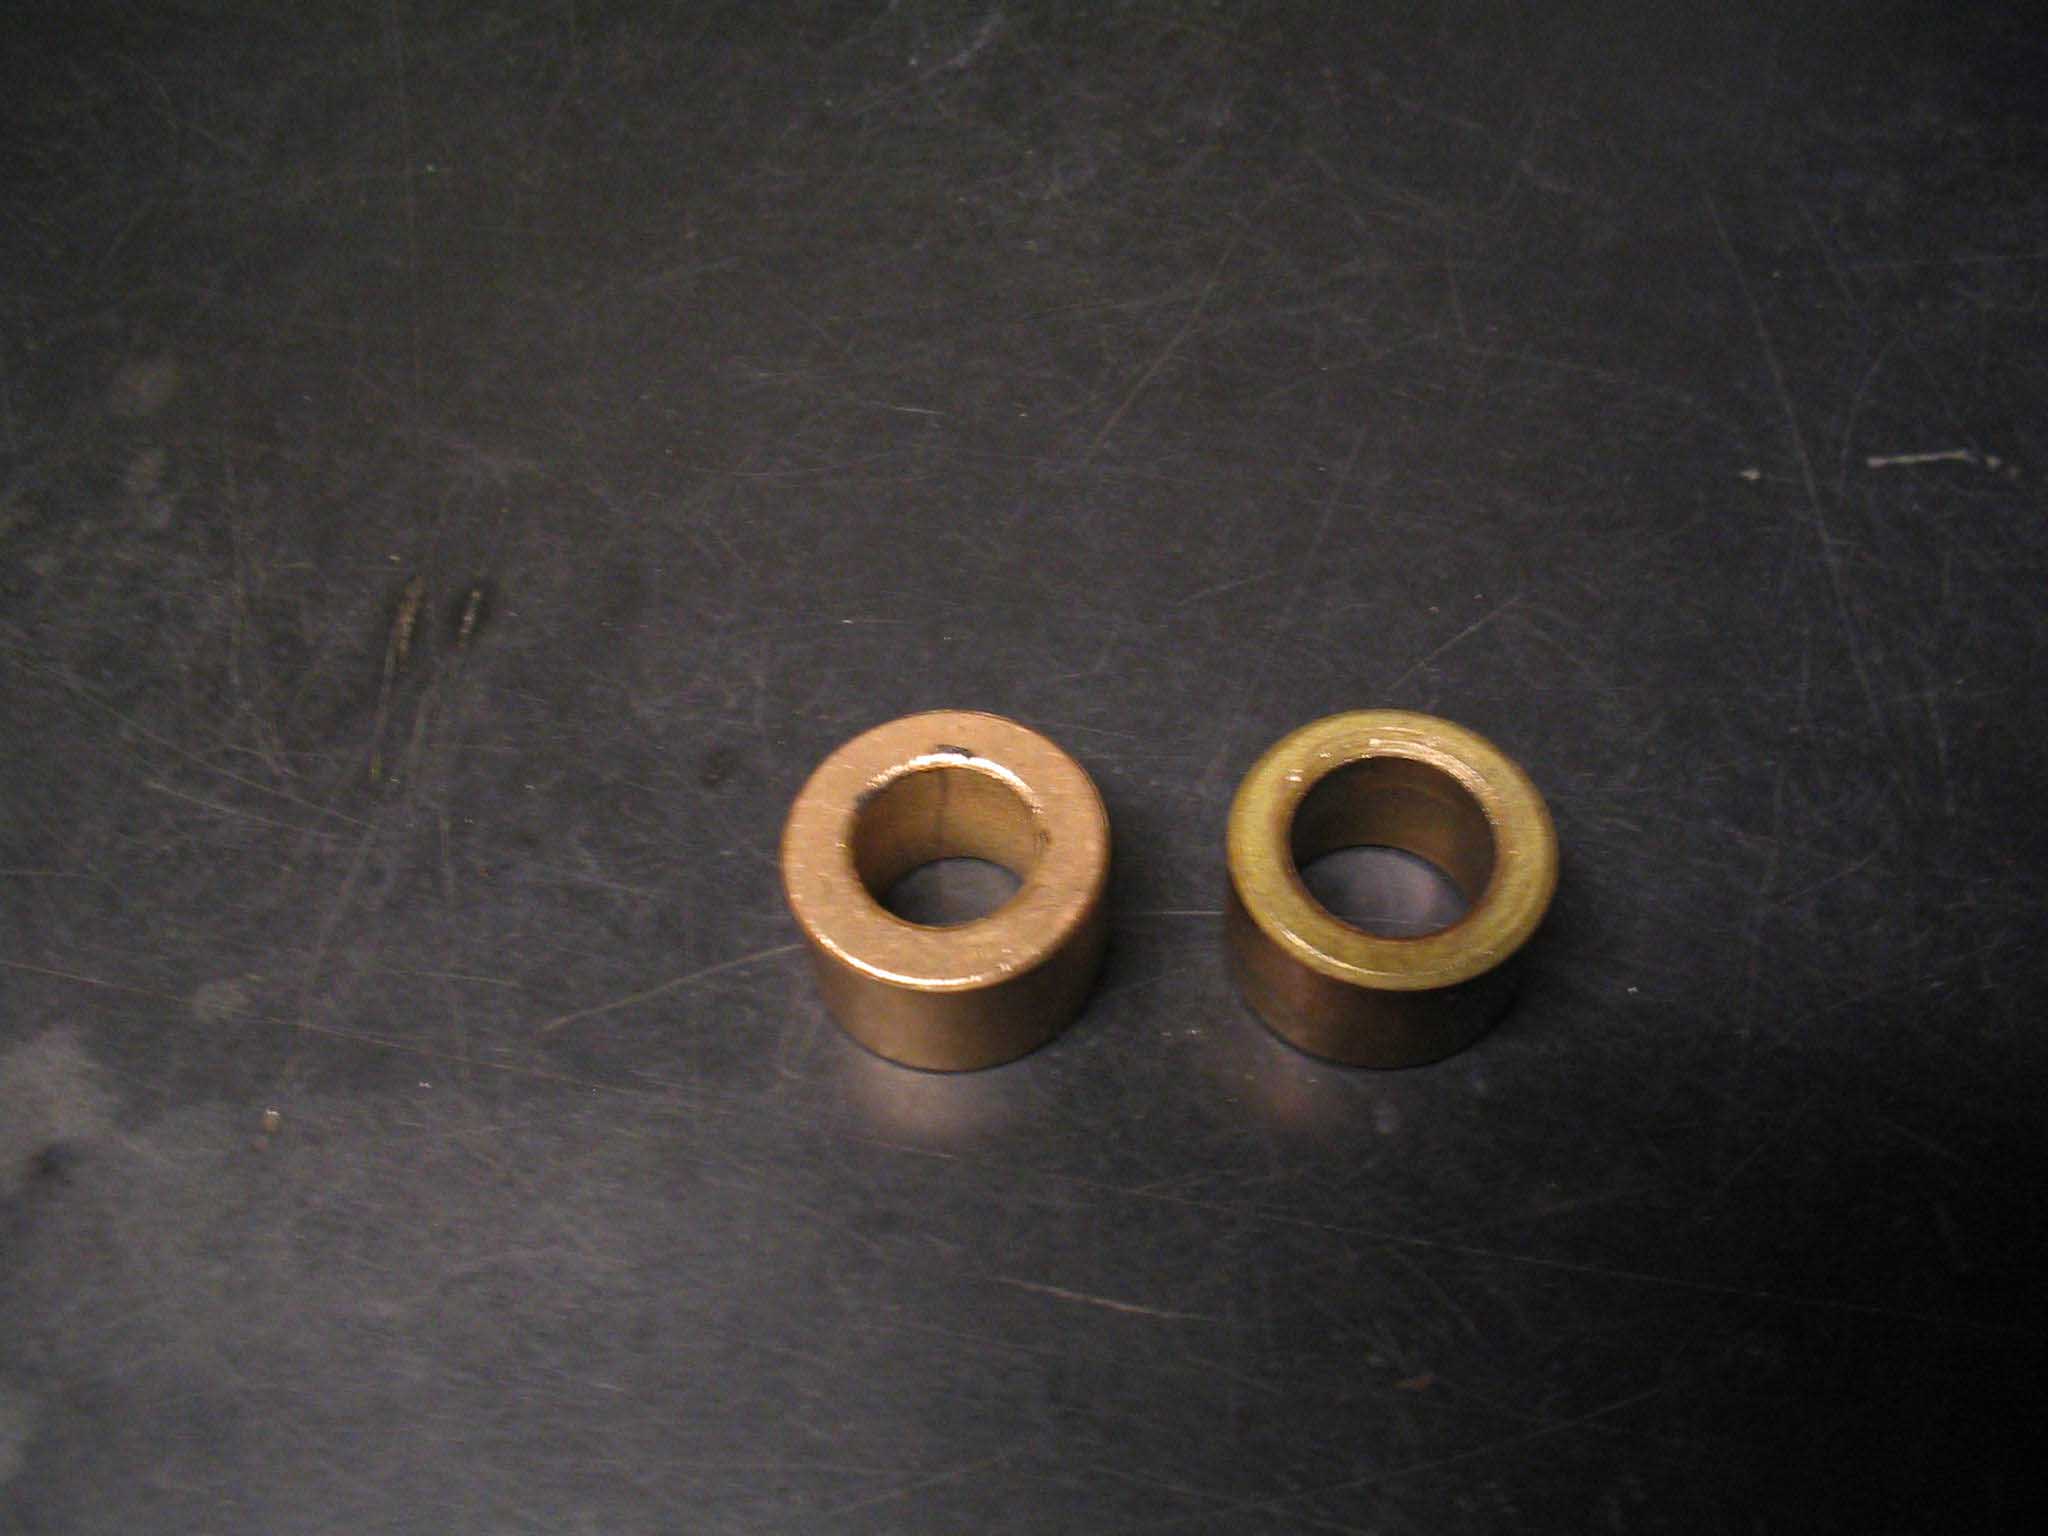
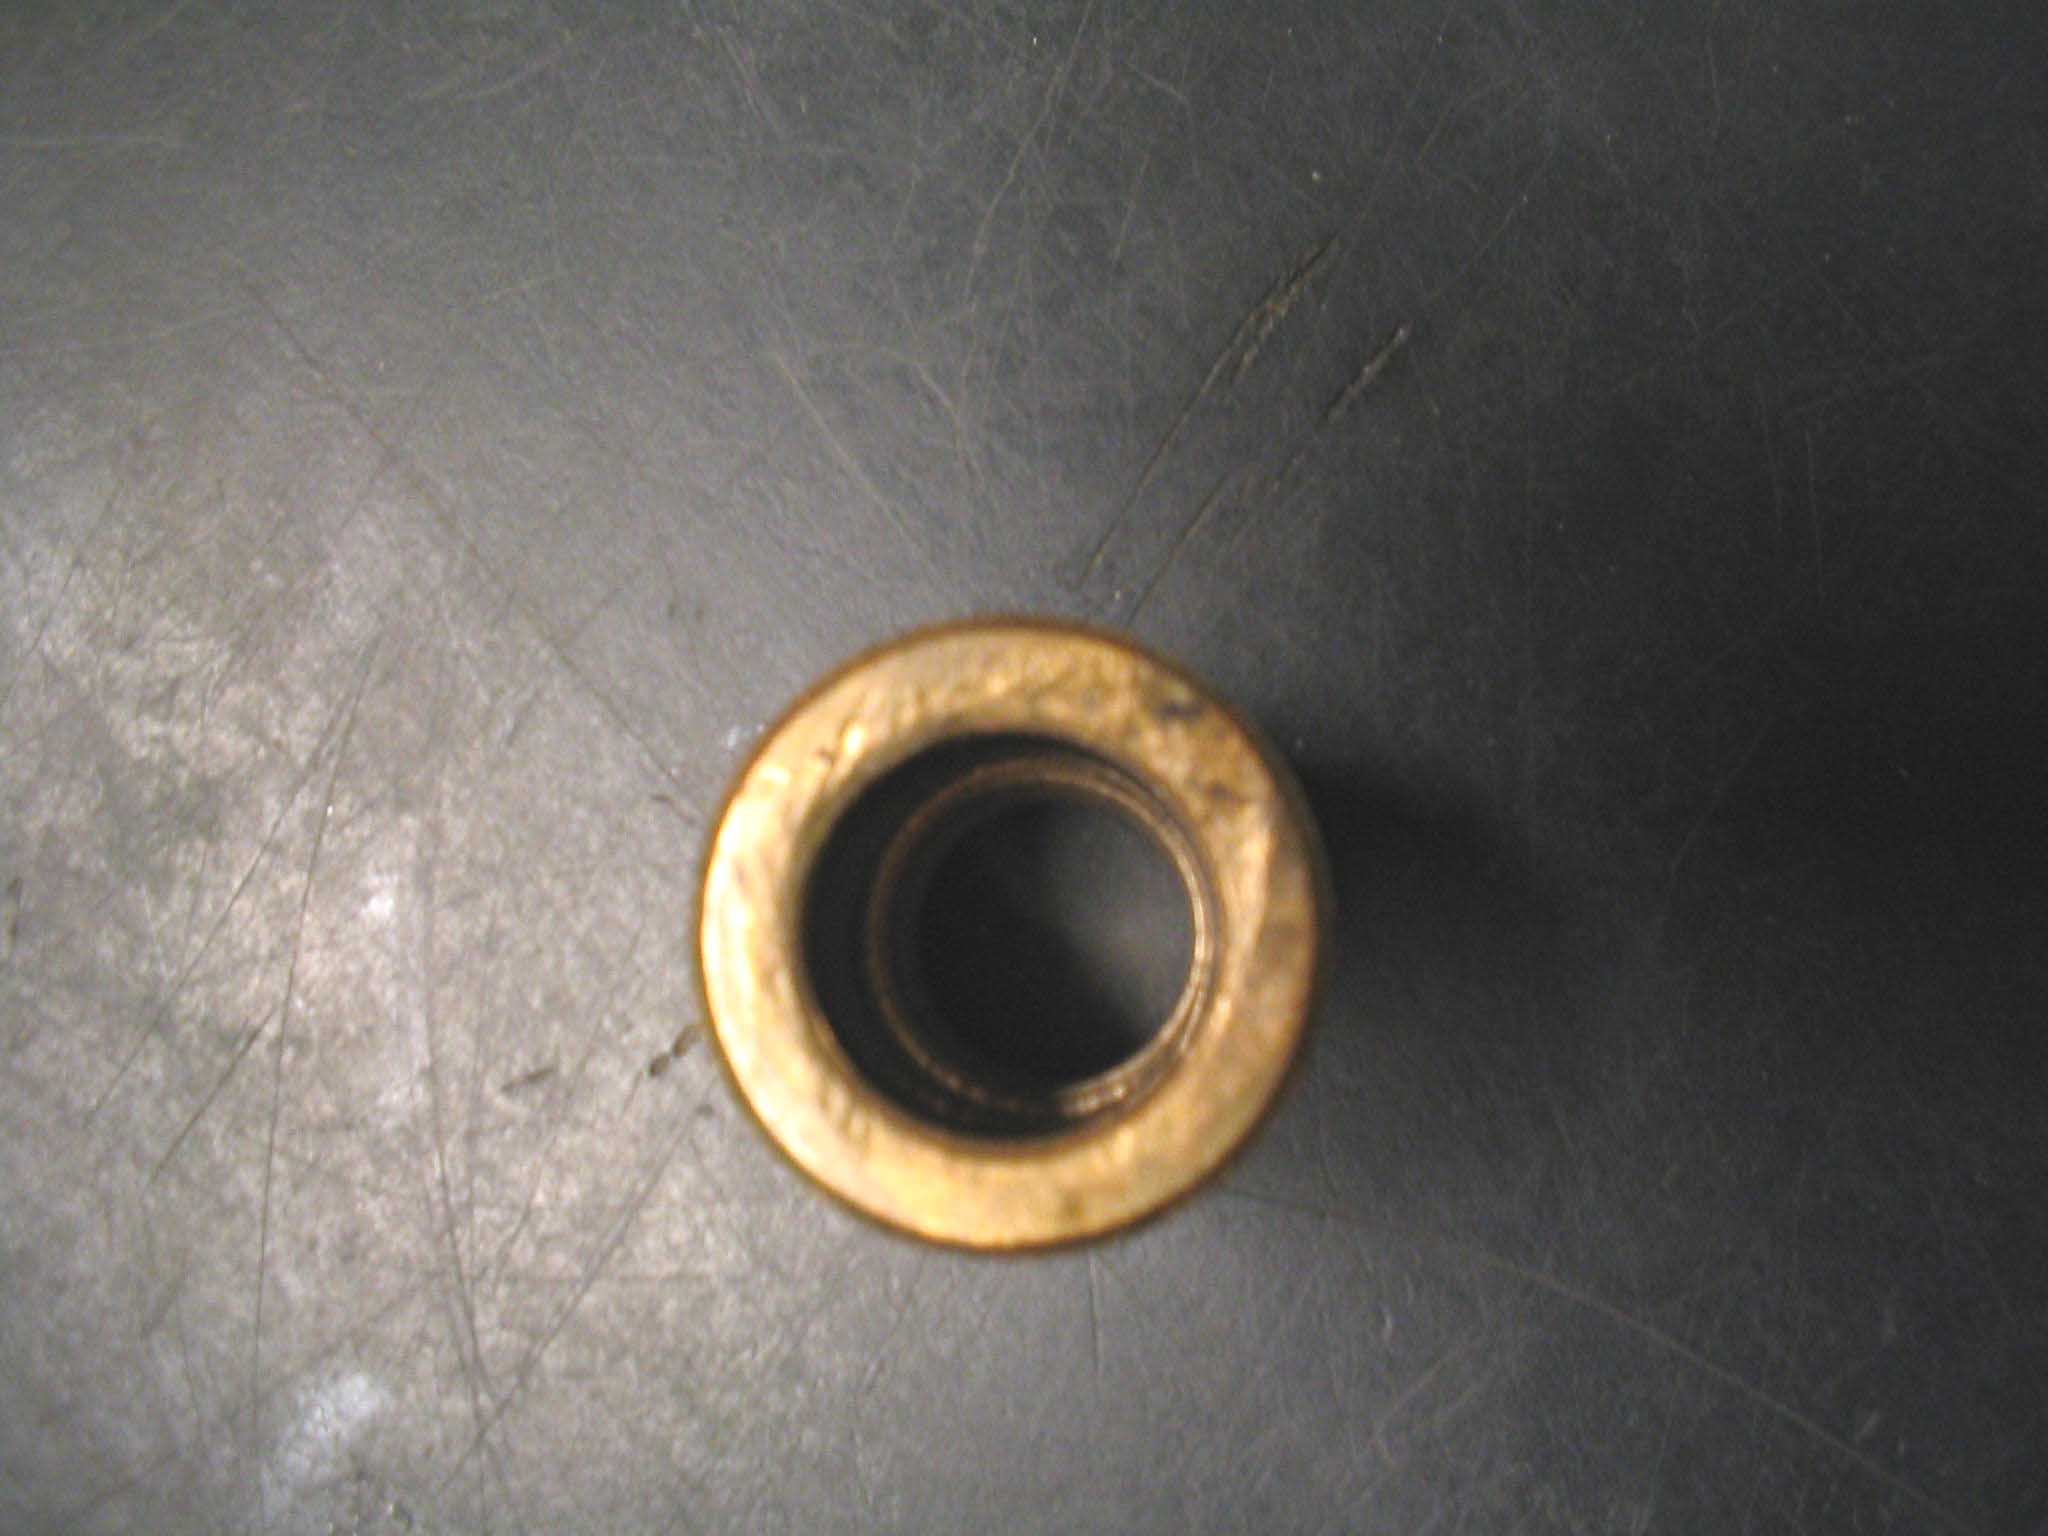
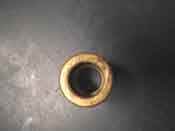
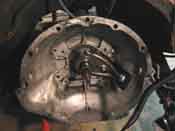
After all the measuring was out of the way, I took the new pilot bushing removal tool from the case and removed
the pilot bushing from the back of the crankshaft. It really helps to have the correct tools. I just popped in
the tool, turned the wrench a few times and out it popped. Much to my dismay, it was not the same size as the
one I ordered. I knew my premonitions of the floating in the box pilot bushing were correct. I have to contact
Quadratec on Monday to rectify this situation.
|
| |
|
|
|
|
| |
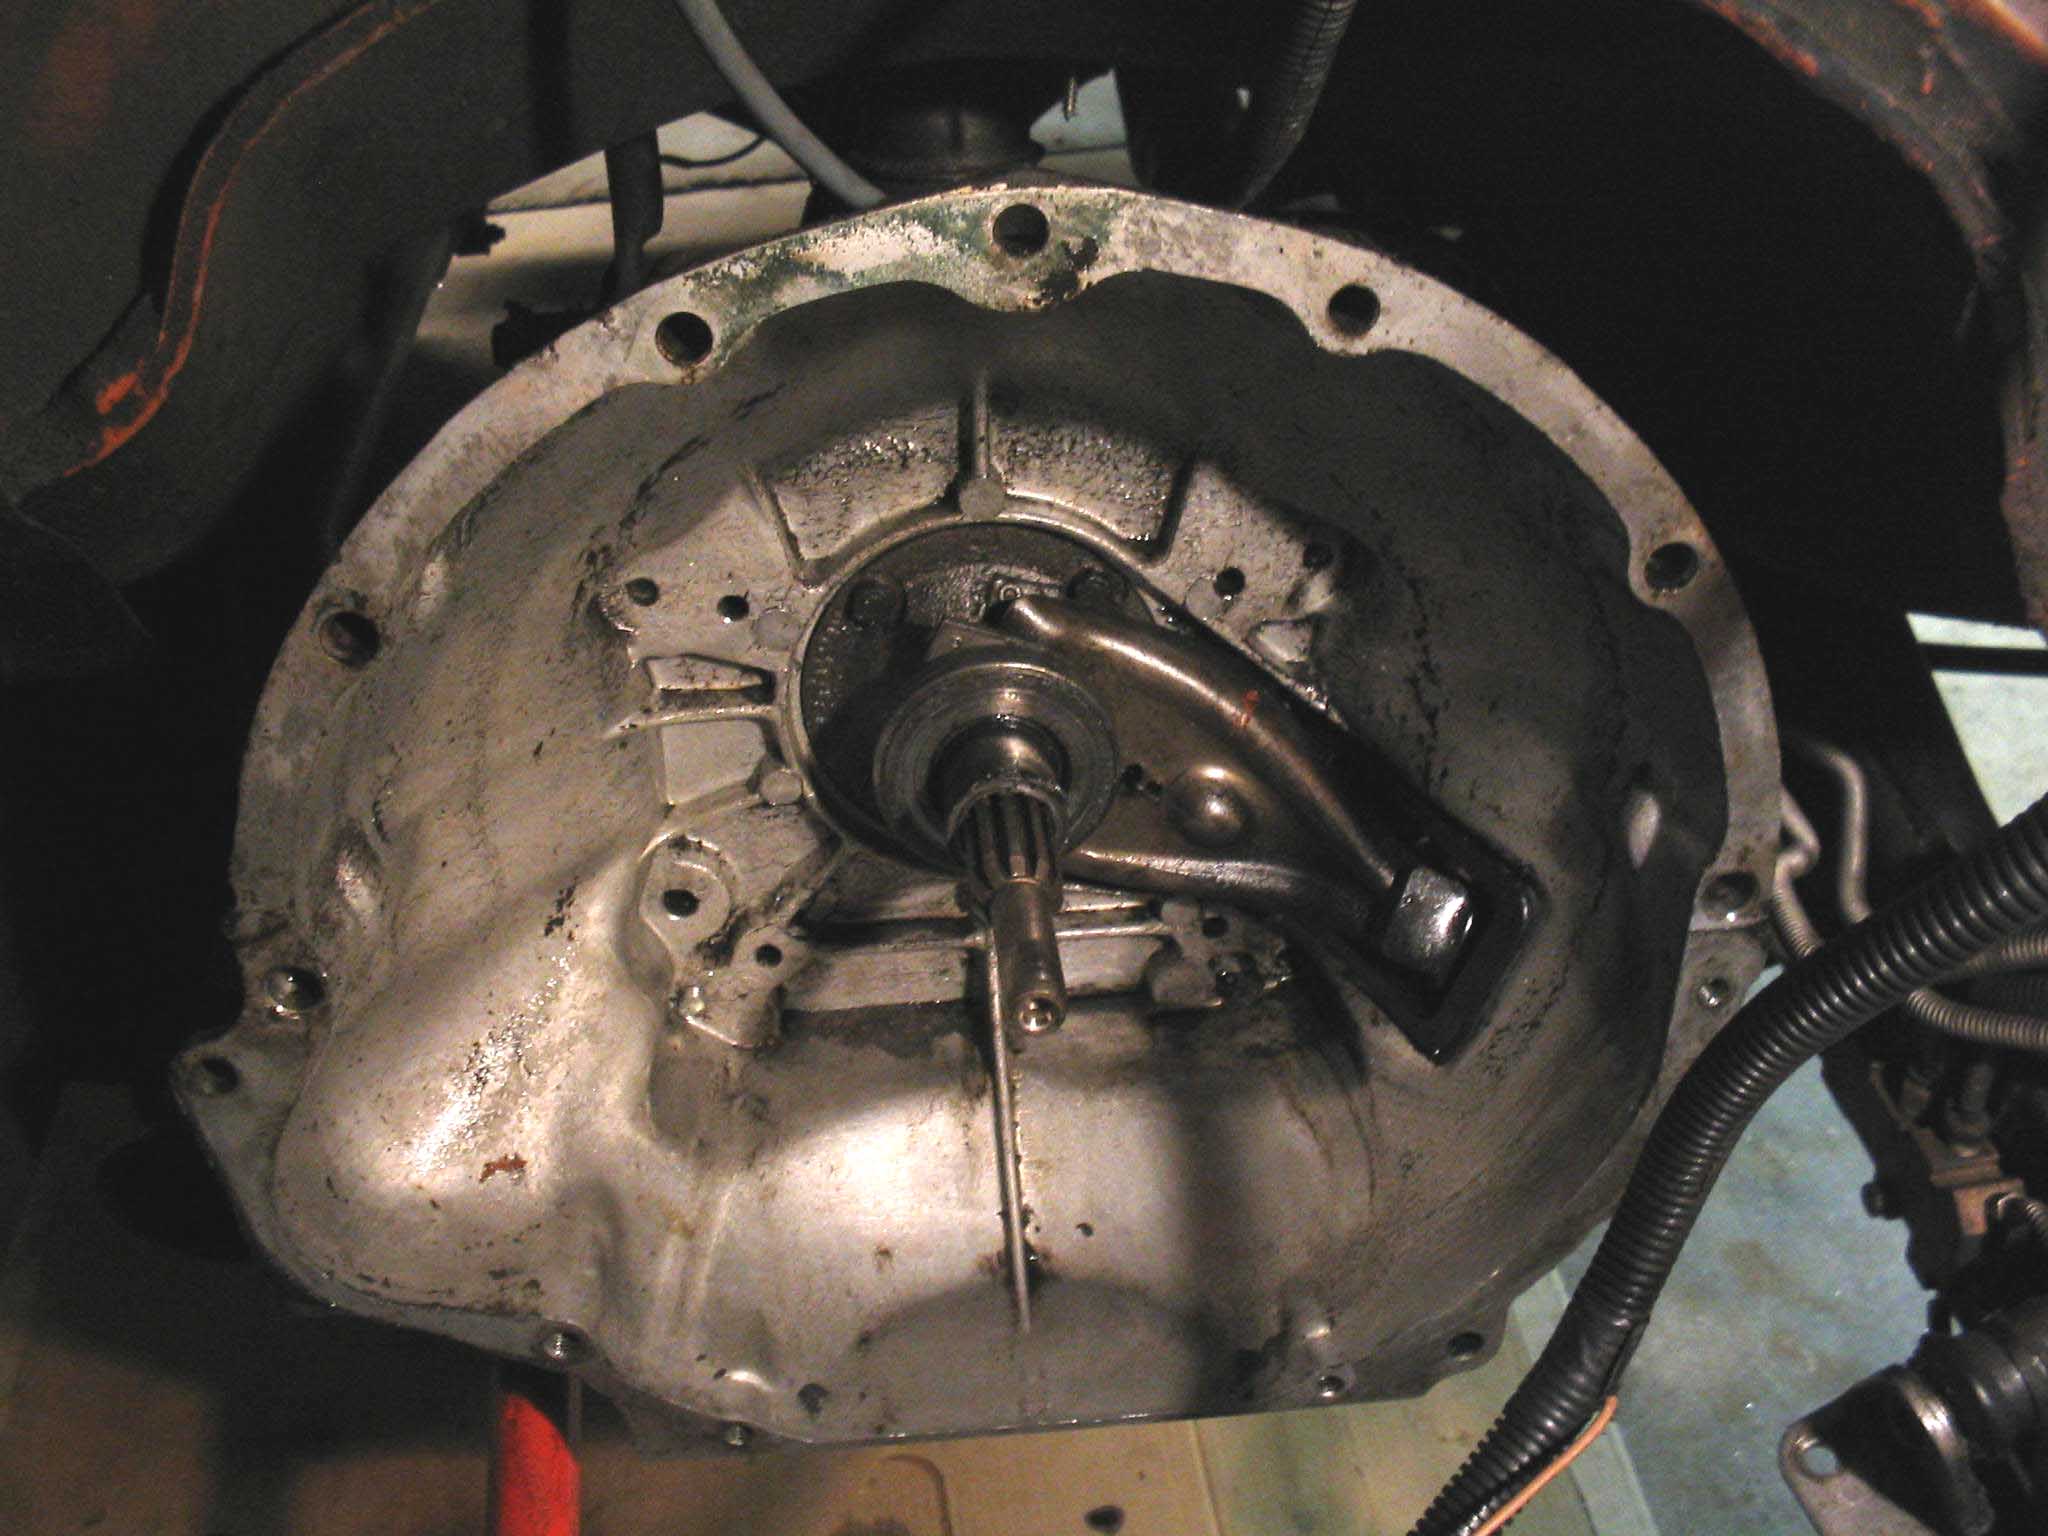
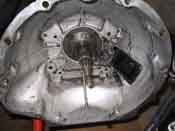
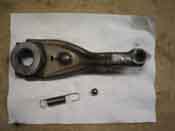
So, we were done with all that and we moved onto removing the old throw out
bearing from the input shaft of the transmission. This was relatively easy as the fork was holding on the throw
out bearing. The fork had 2 springs holding it in place and that was all centered upon the pivot ball bearing.
The springs were disconnected and then the throw out bearing slid off the input shaft with a little effort. The
end of the shaft was a little tight, but it eventually came off with a little force.
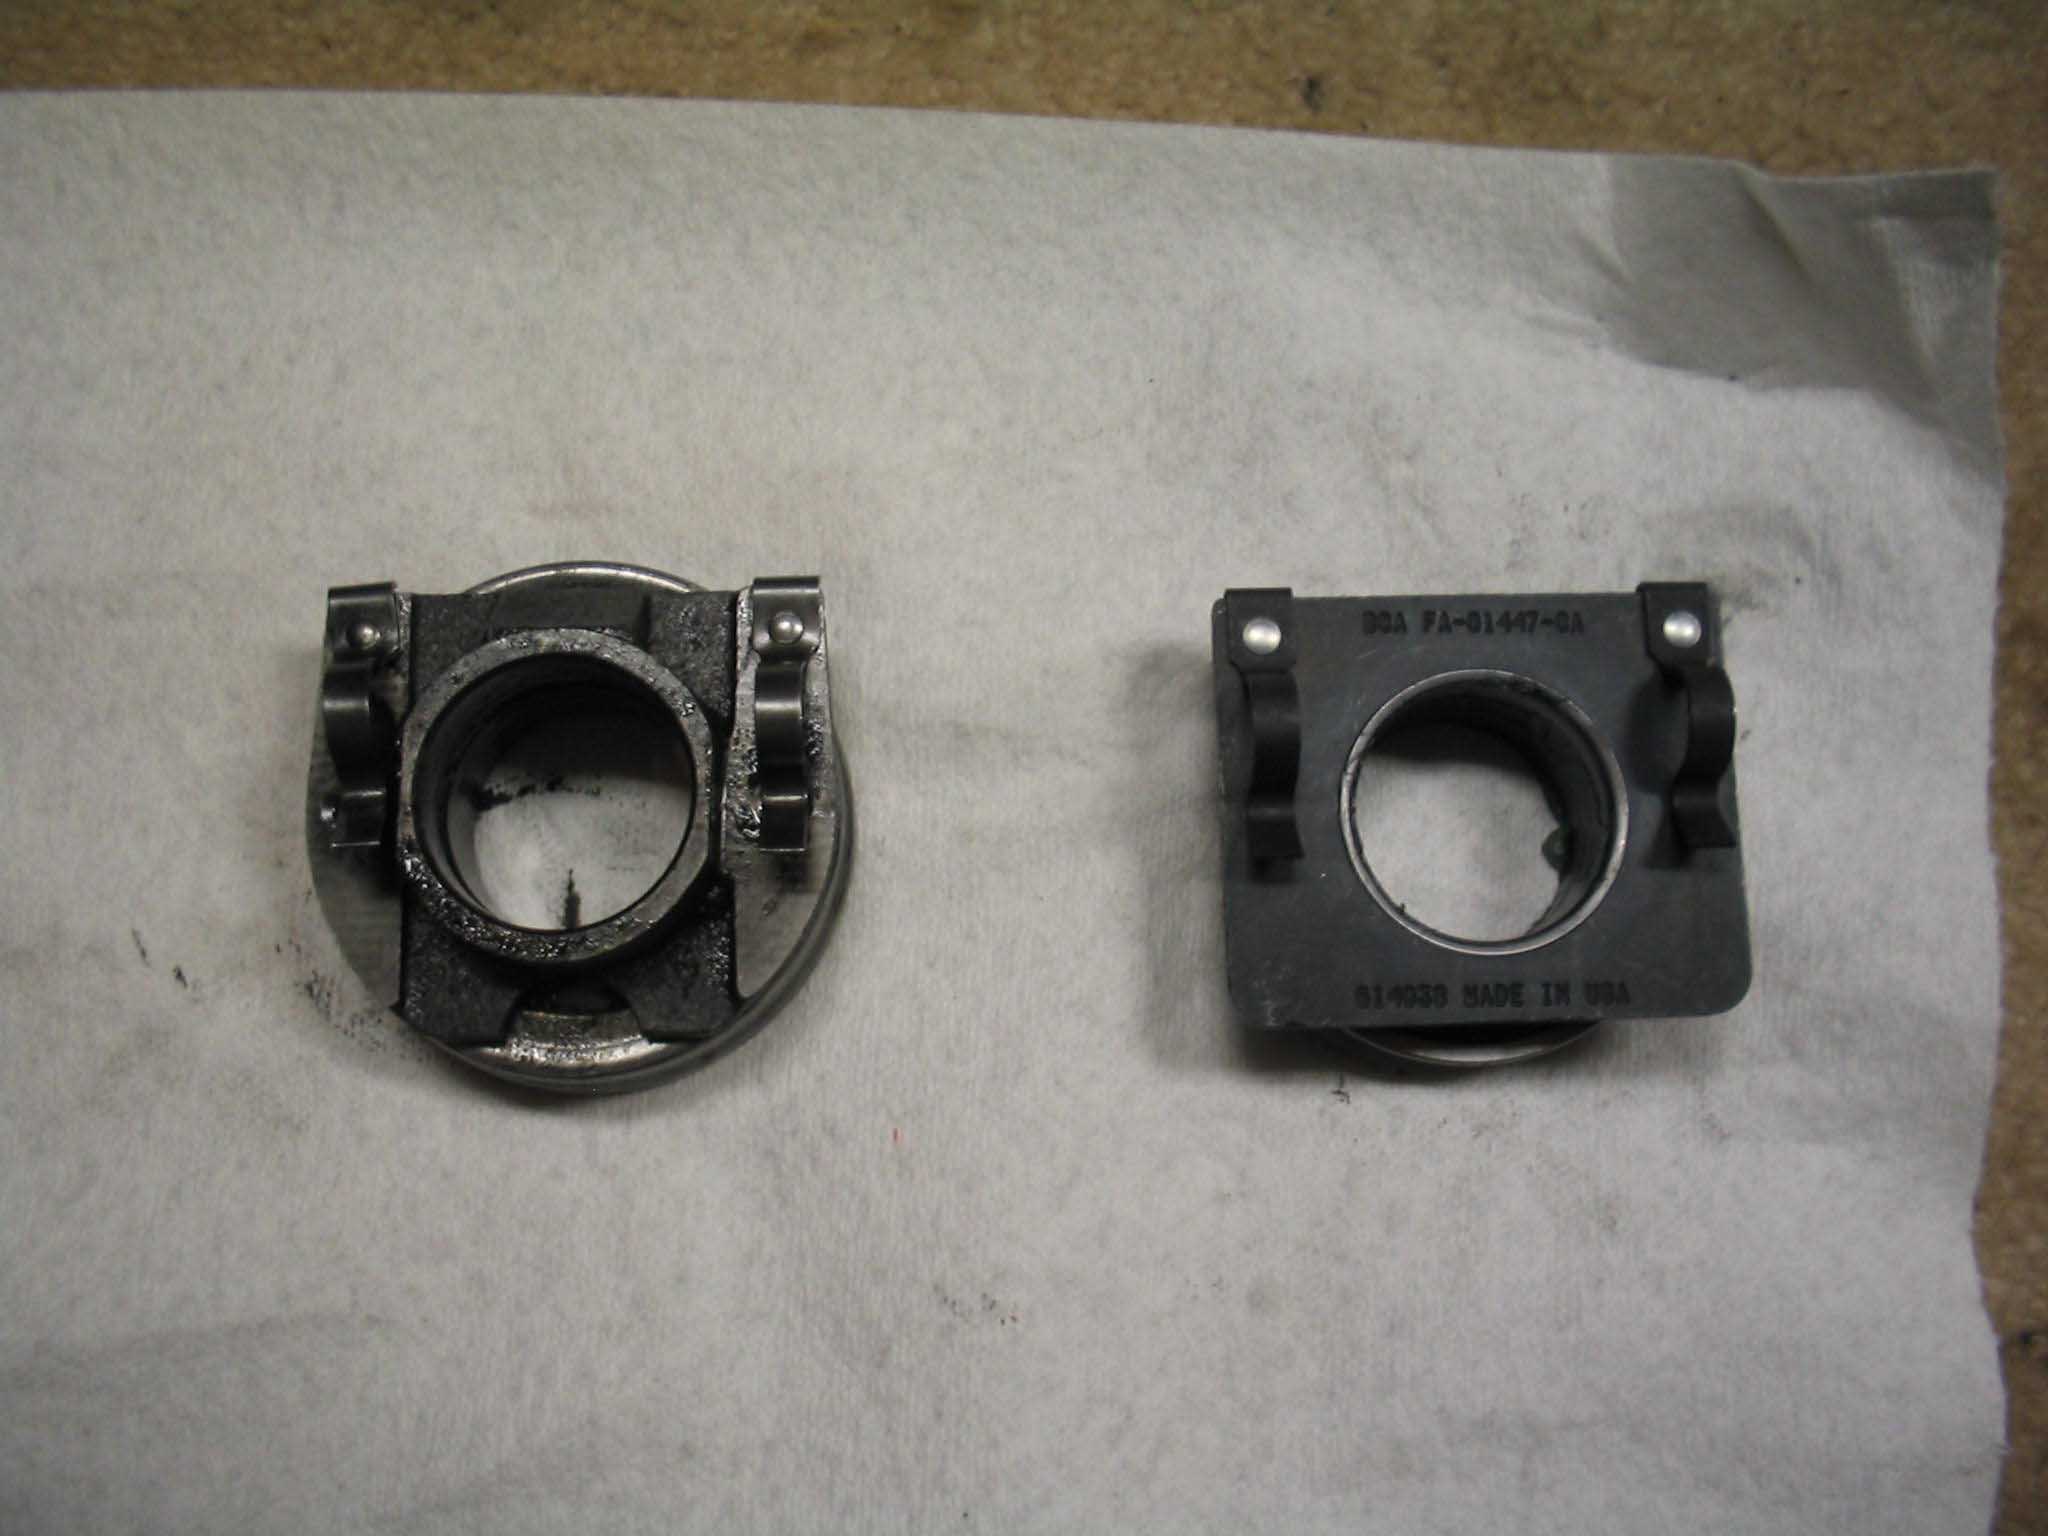
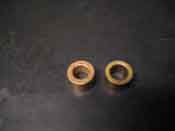
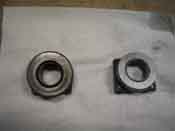
With the parts all disassembled and out, I was able to compare the throw out bearings and they lined up perfectly
with the inside diameter, just the outside casings were different, but I guess this stands to reason since the
manufacturers are different.
|
| |
|
|
|
|
| |
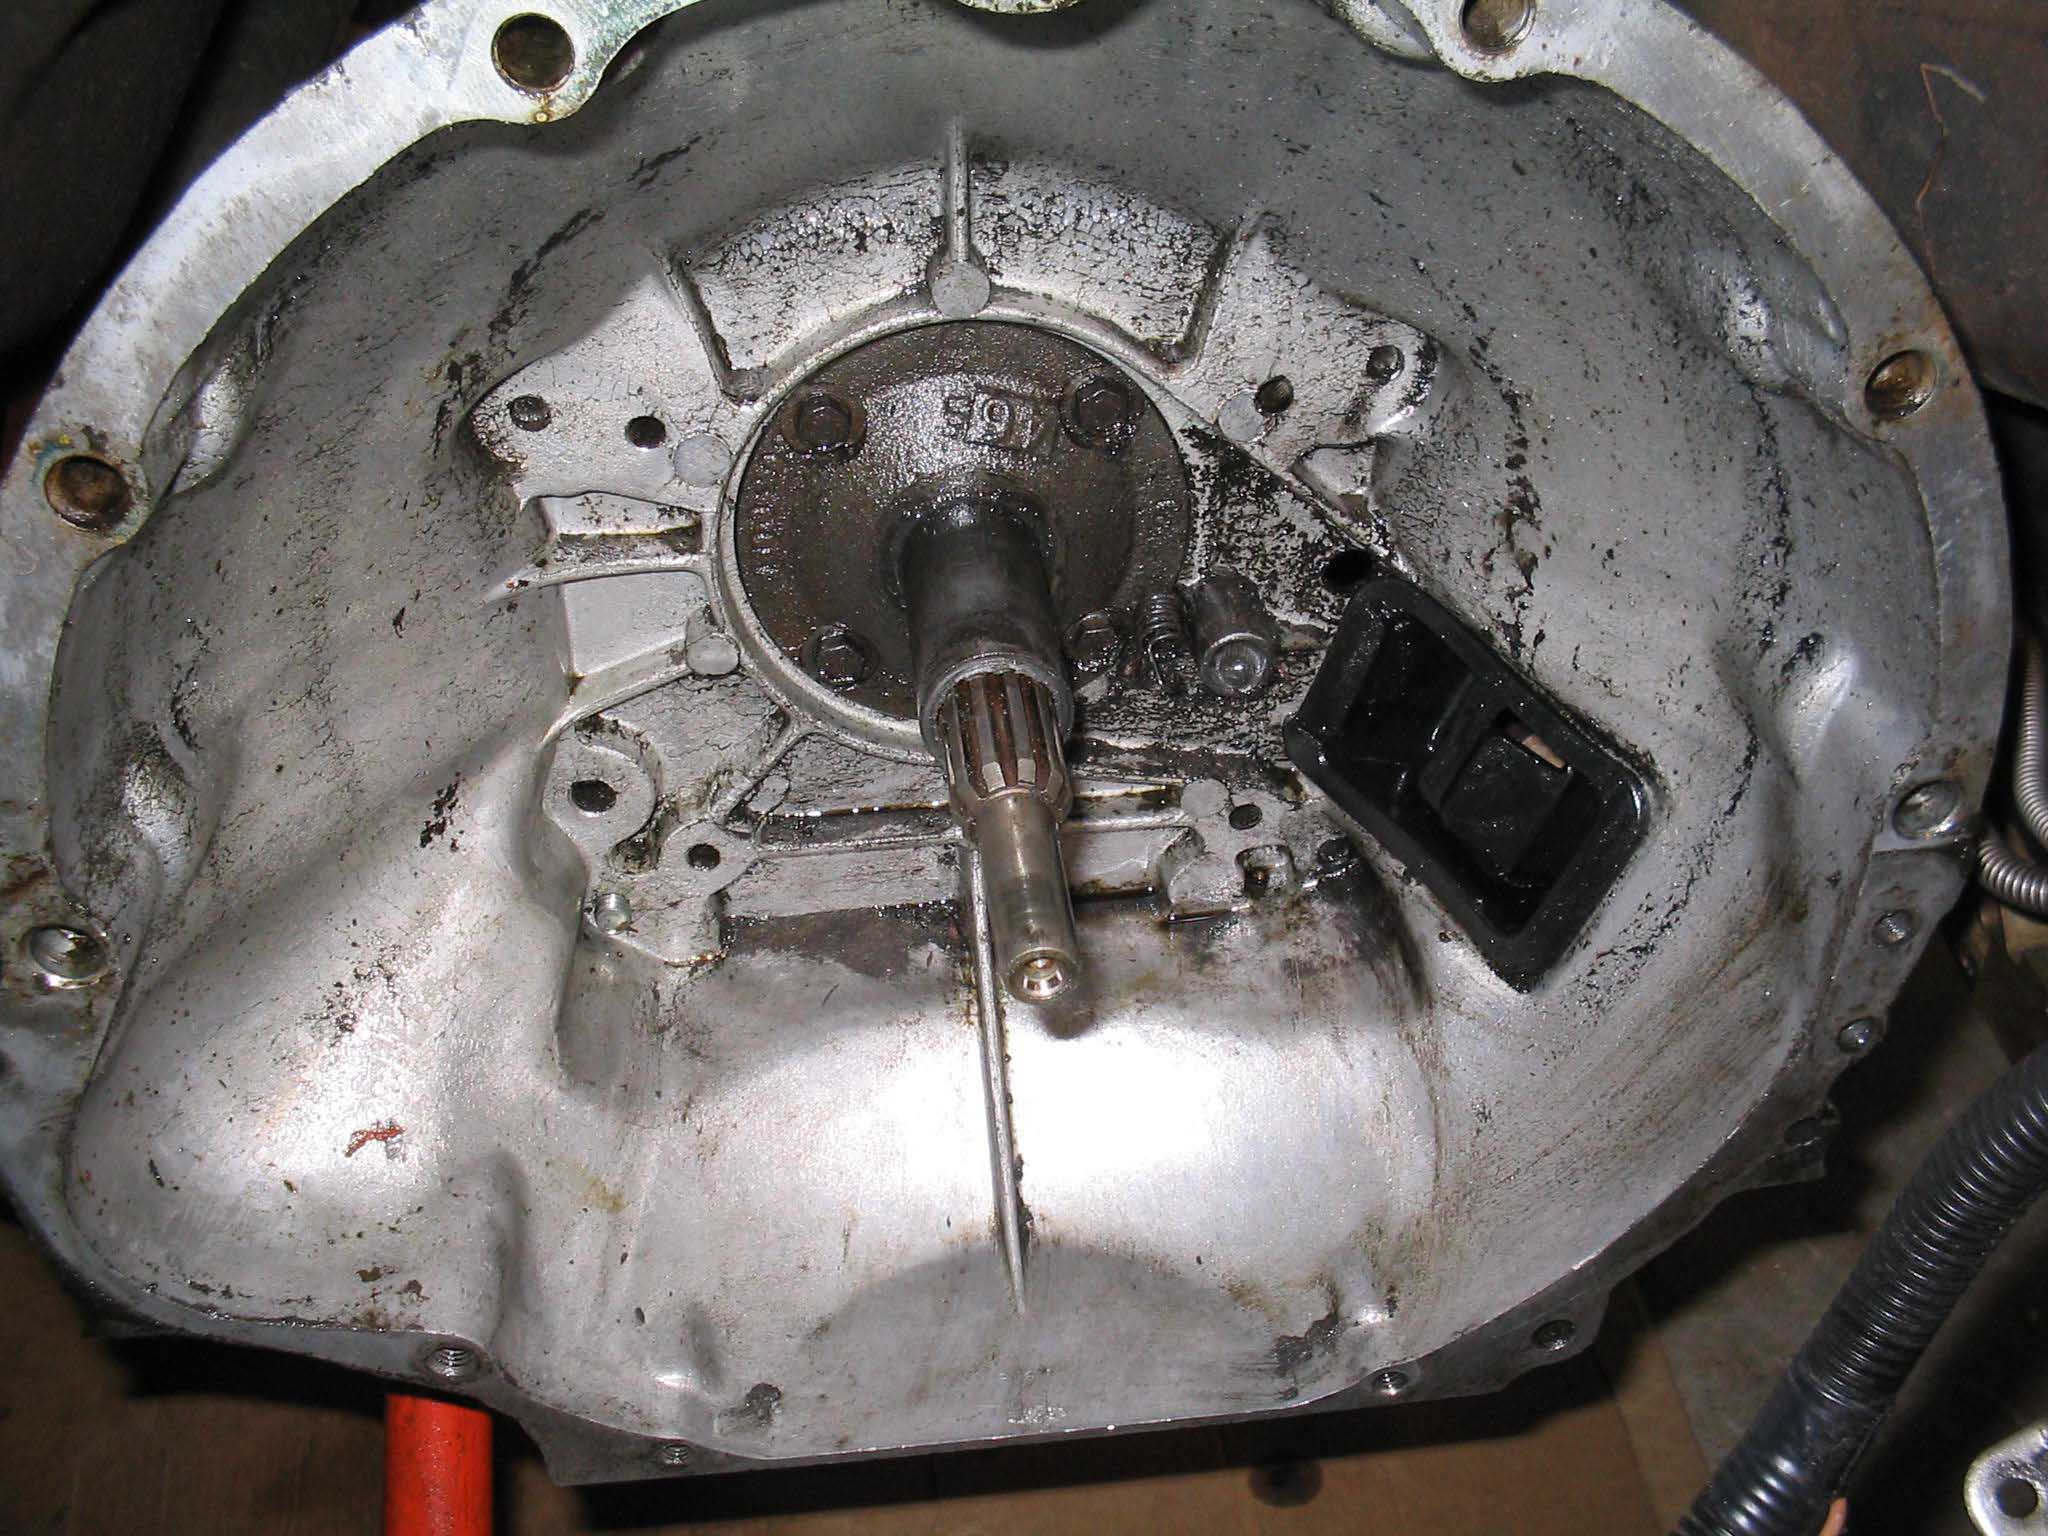
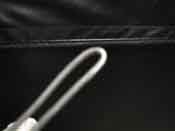
| I cleaned up the clutch fork with some brake cleaner and then assembled the
throw out bearing on it. I cleaned up the rest of the parts and then greased up the pivot ball and assembled
the assembly onto the input shaft of the transmission. I had a little trouble getting the spring through the
hole in the clutch fork, so I fashioned a loop of wire to snag it and pull it through. A crotchet hook would be
great here as well. Dont ask, my mom did a lot of knitting
I actually have one of those hooks in the garage;
they are great at pulling through snagged pieces into tight places.
|
| |
|
|

|
|
| |
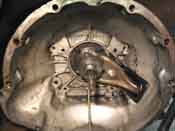
| So, after that was through, the bottom spring was attached to the end of the fork
to the transmission housing and then we were all set. The entire transmission needs a little final cleaning
before the reassembly with the engine, but all in all, this worked out better then I expected with the only
issue being the pilot bushing not being the correct size.
|
| |
| << Previous |
Next >> |
|